
The build diaries · May–December 2014
The solar-powered container workshop
Follow the first dedicated Crawfords workshop from an empty shipping container to a fitted repair space, powered by solar panels and batteries.
138 photographs · From the first steps to the finished space
Follow the photographs in date order, or choose a stage. Select a photo to enlarge it and move through the sequence.
01Bare container and initial batteries
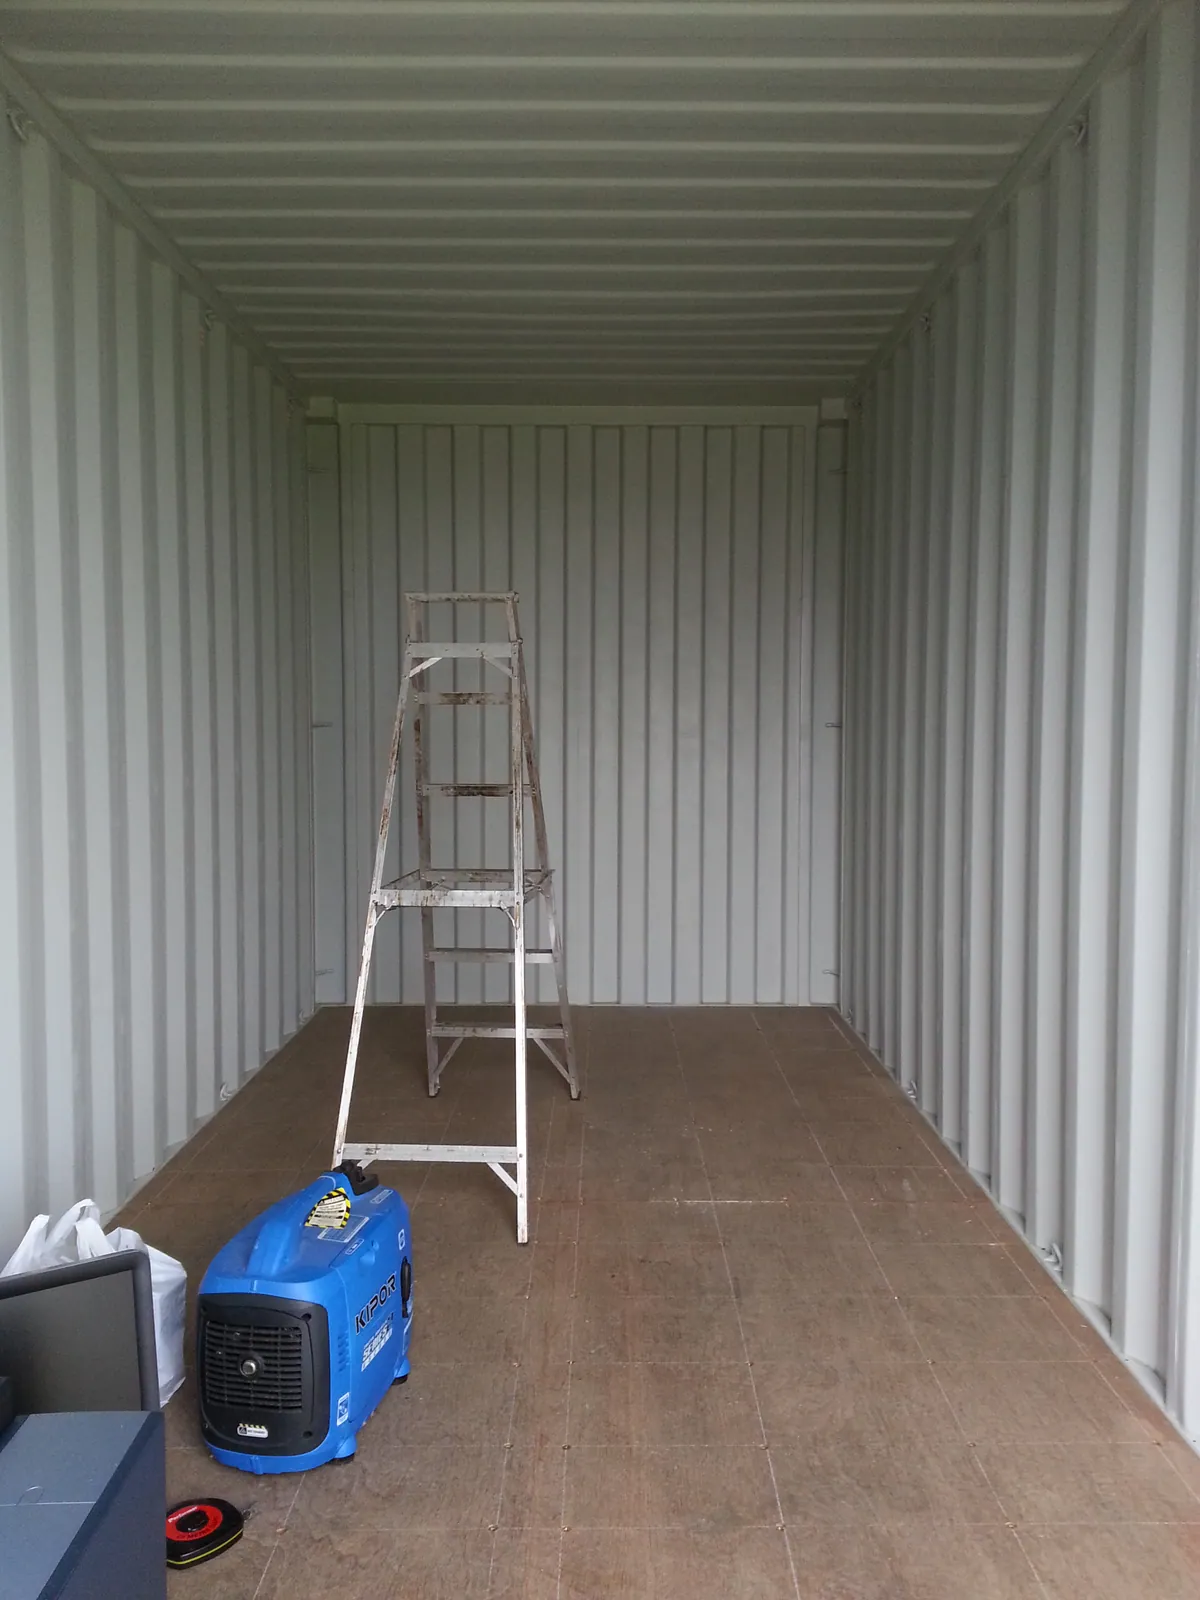
The empty container interior before fitting out.
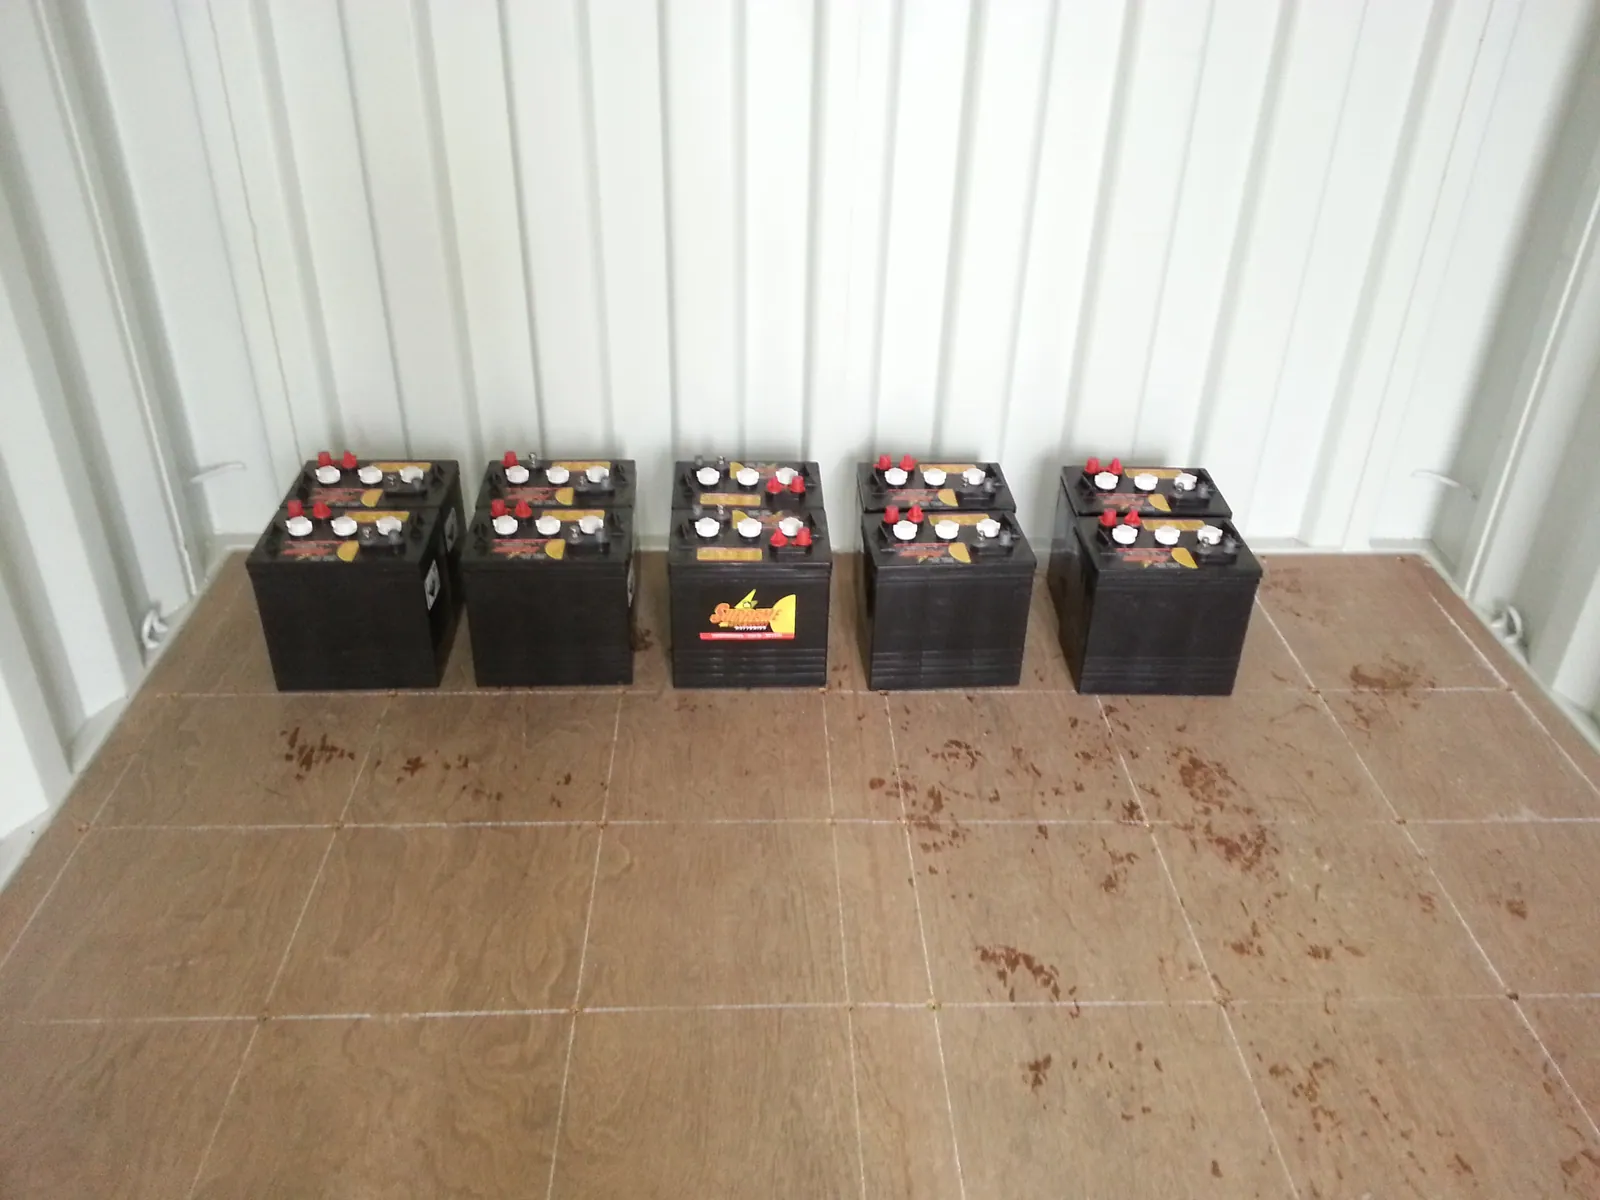
The first batteries set out at the rear of the container.
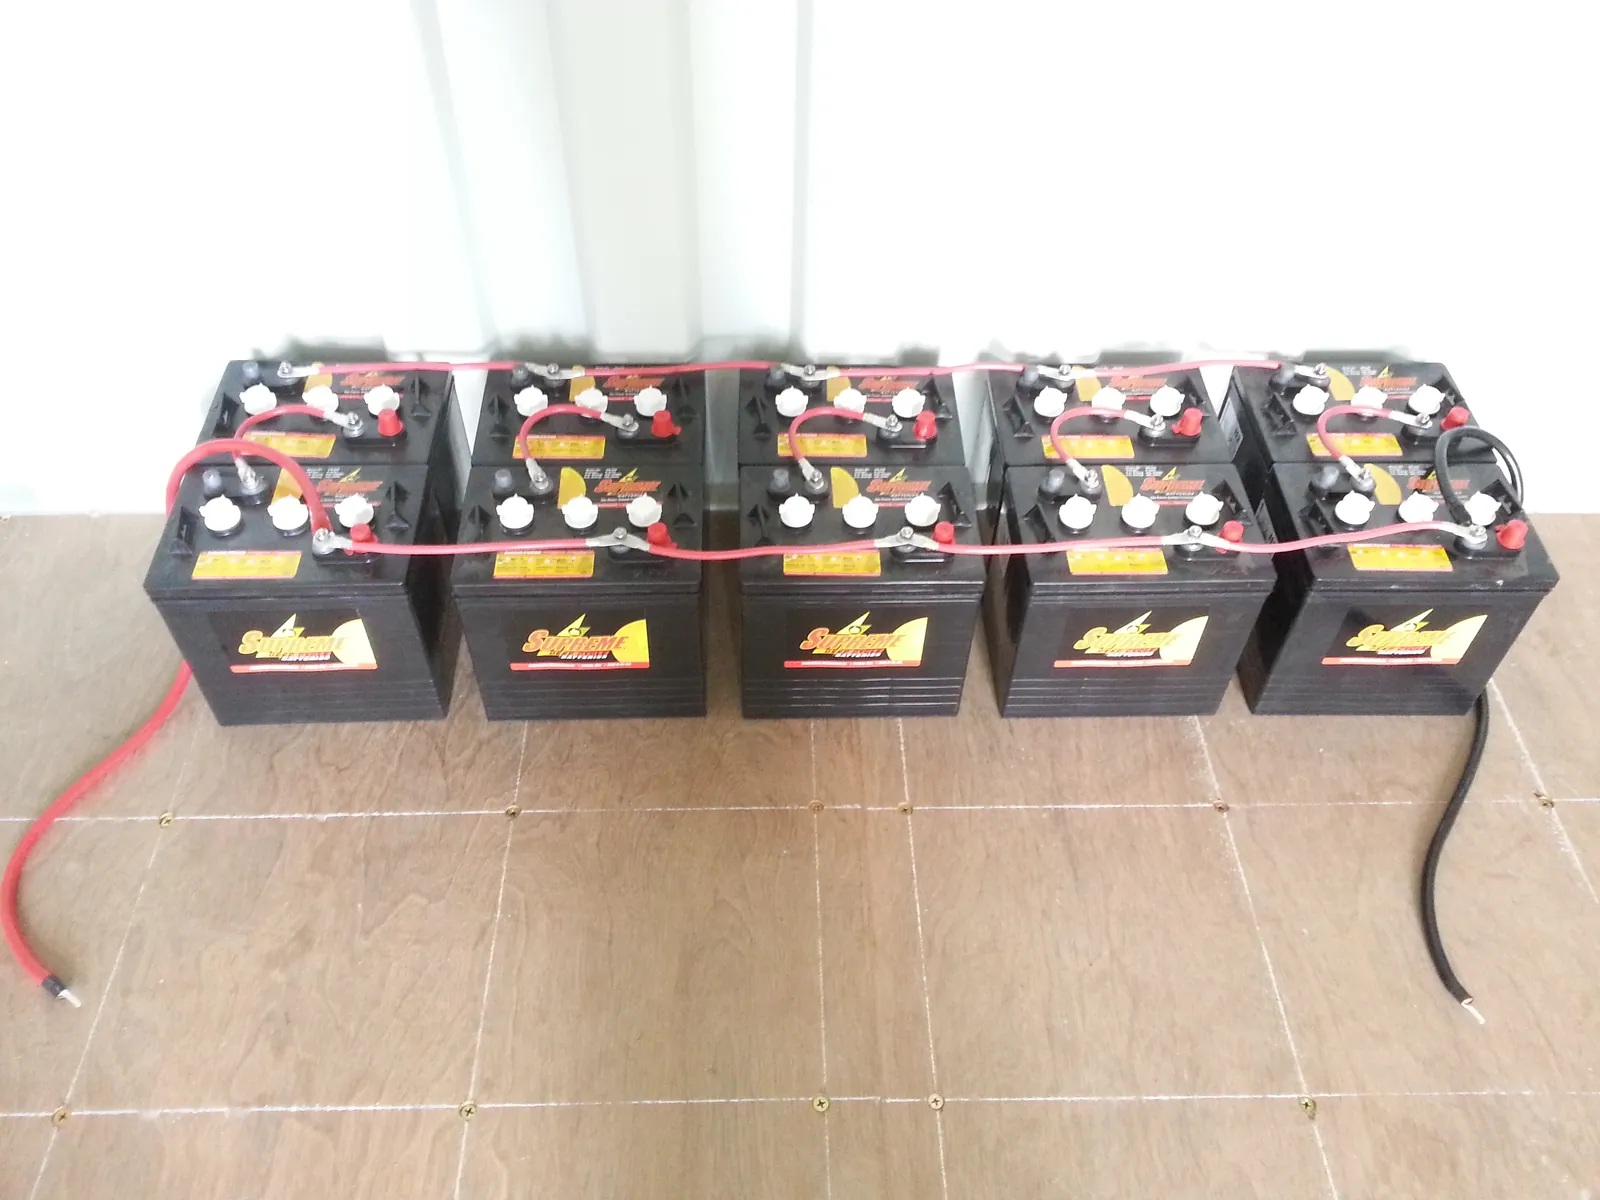
Battery connections being assembled on the original container floor.
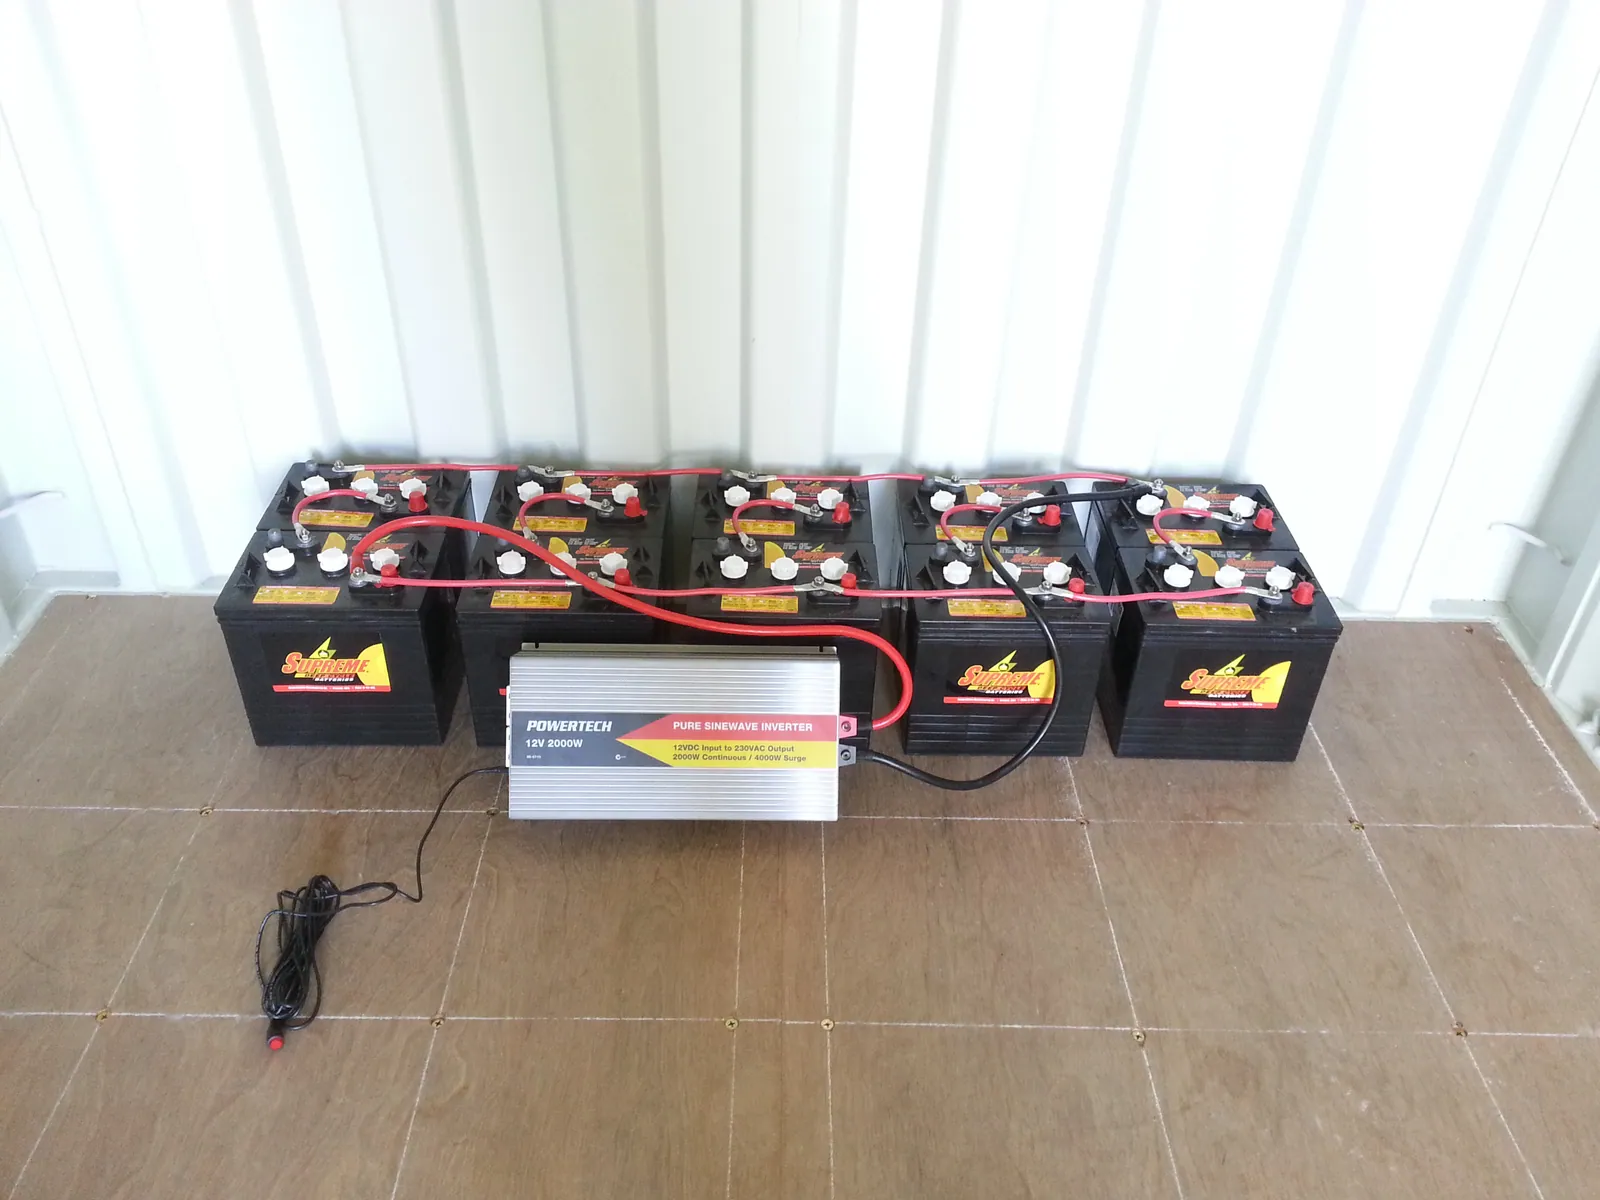
An inverter added beside the initial battery bank.
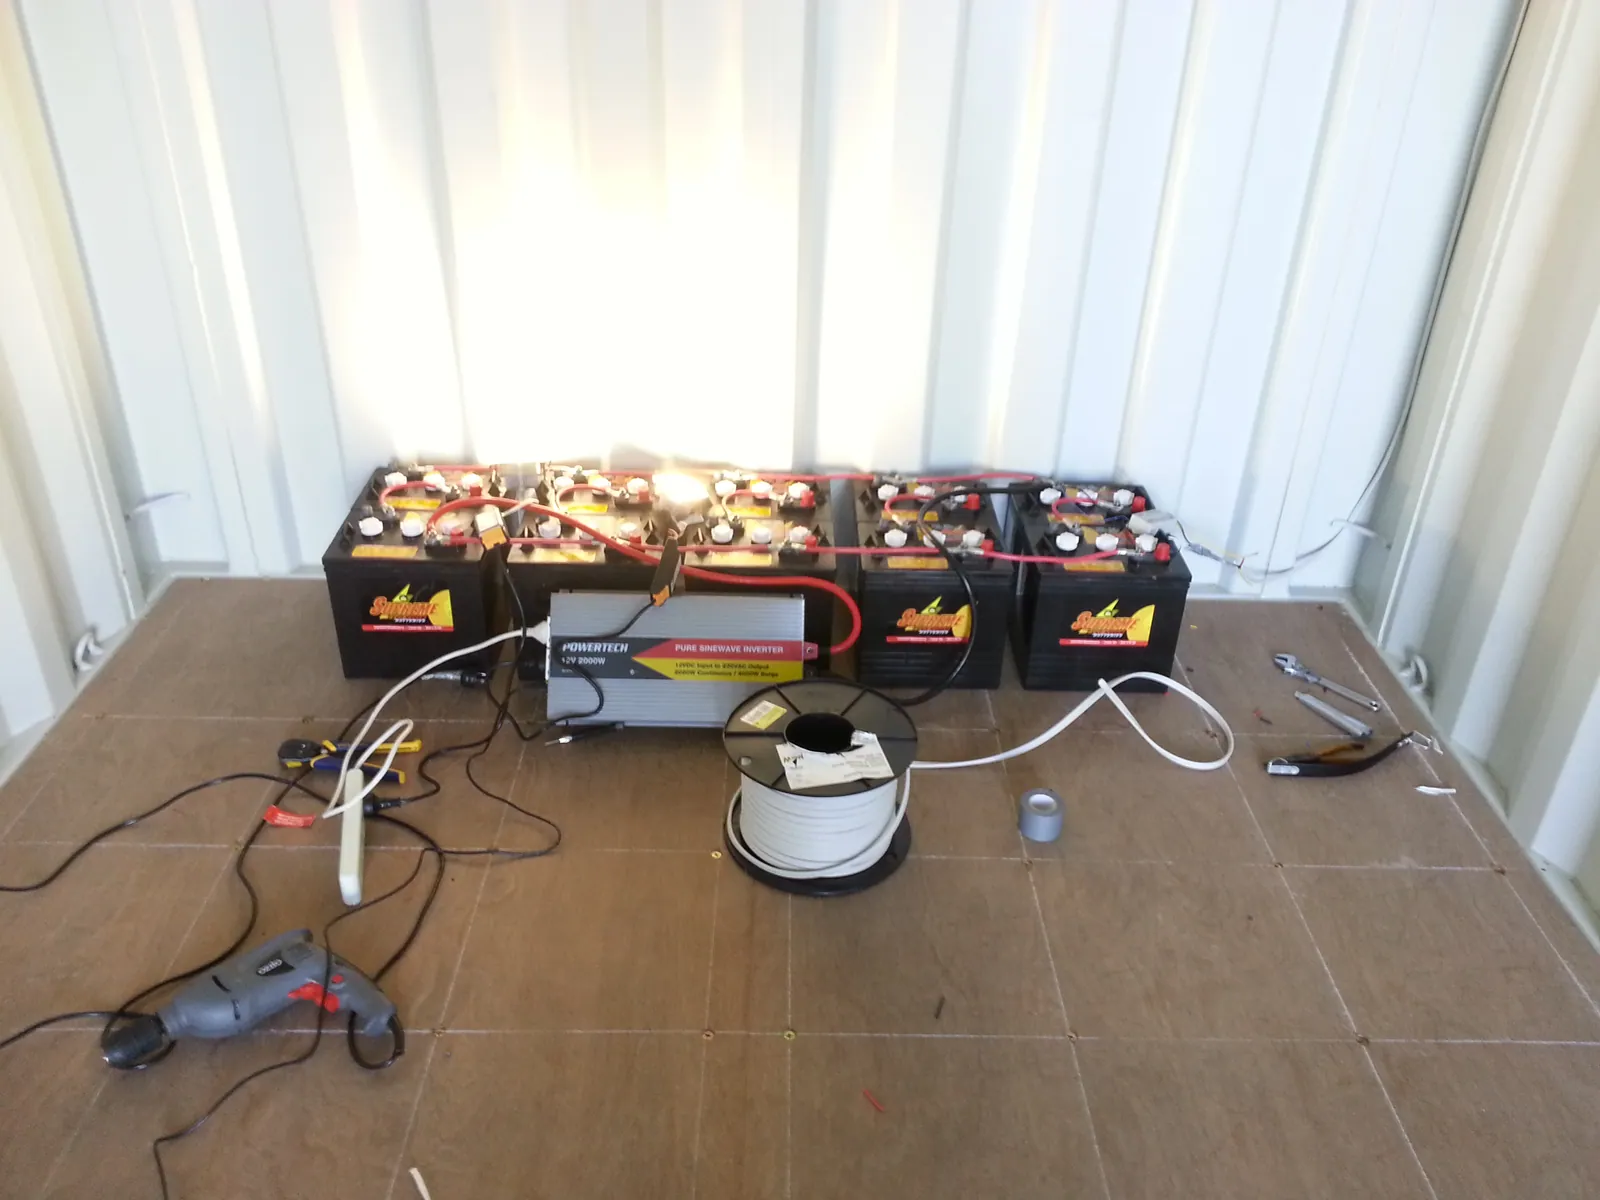
Early wiring and equipment laid out for the power installation.
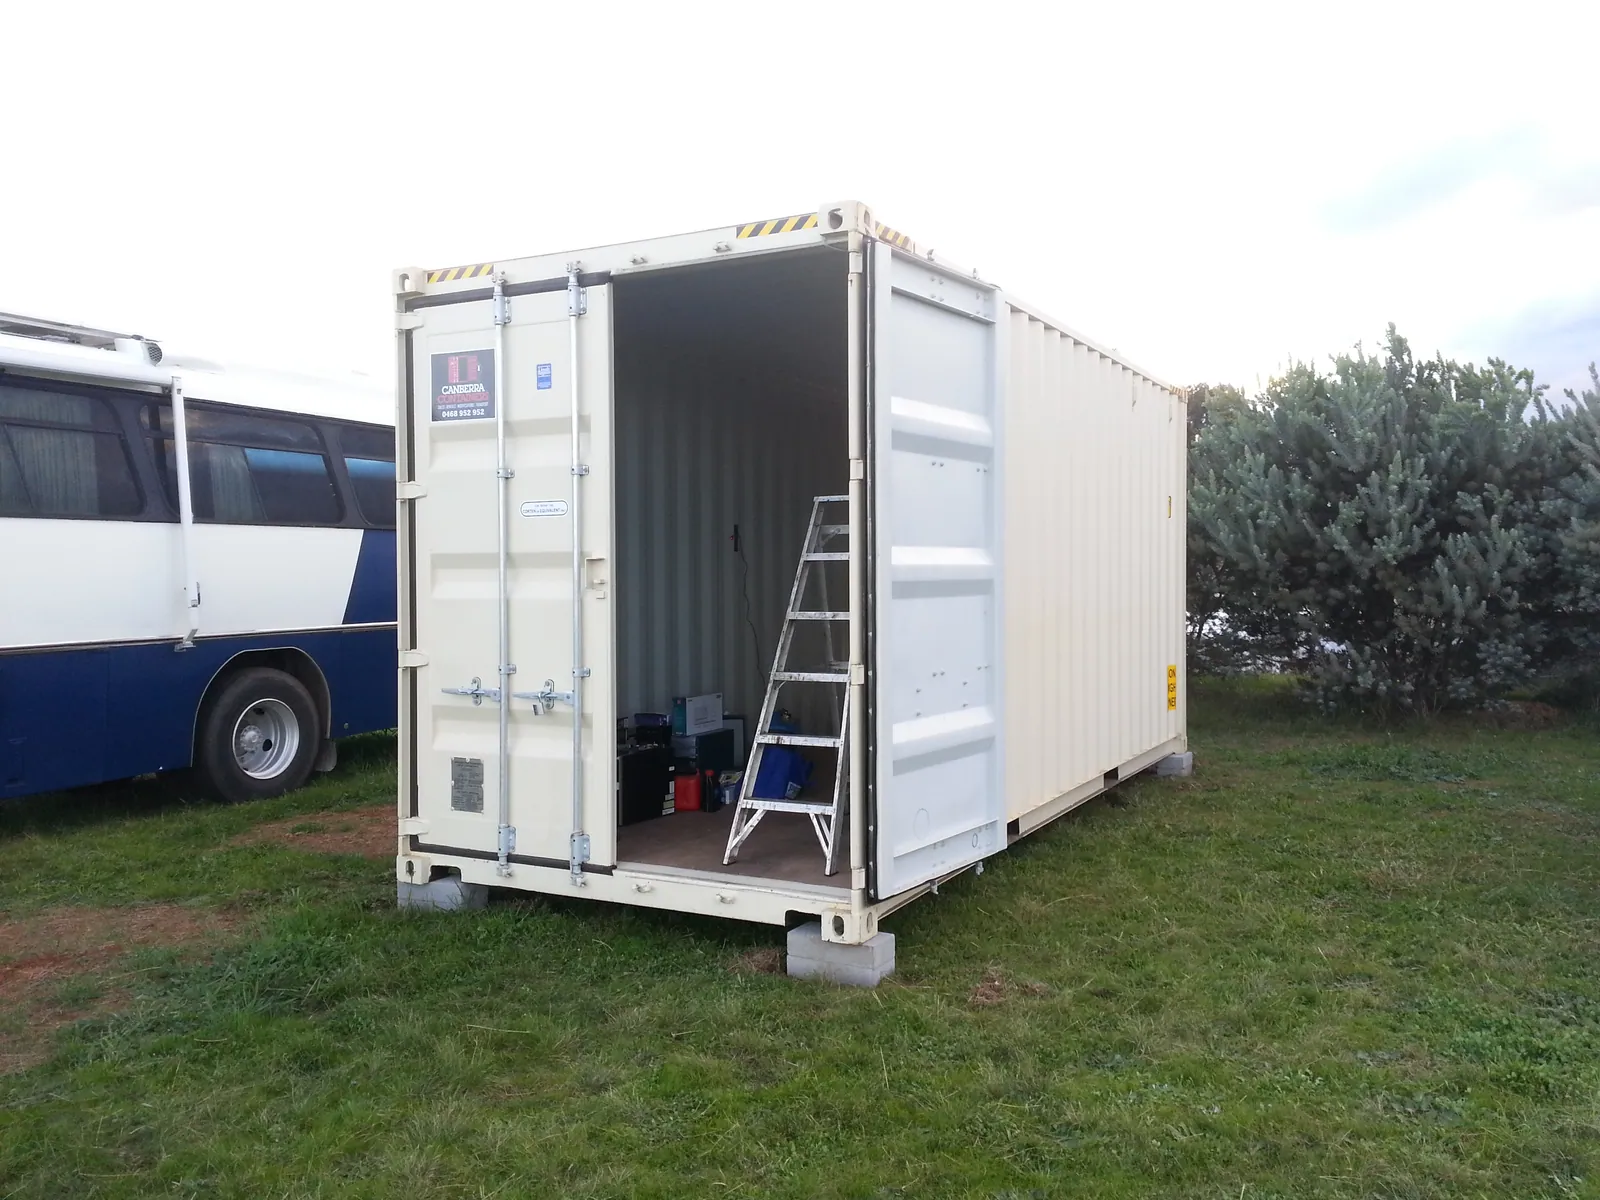
The bare container with its doors open.
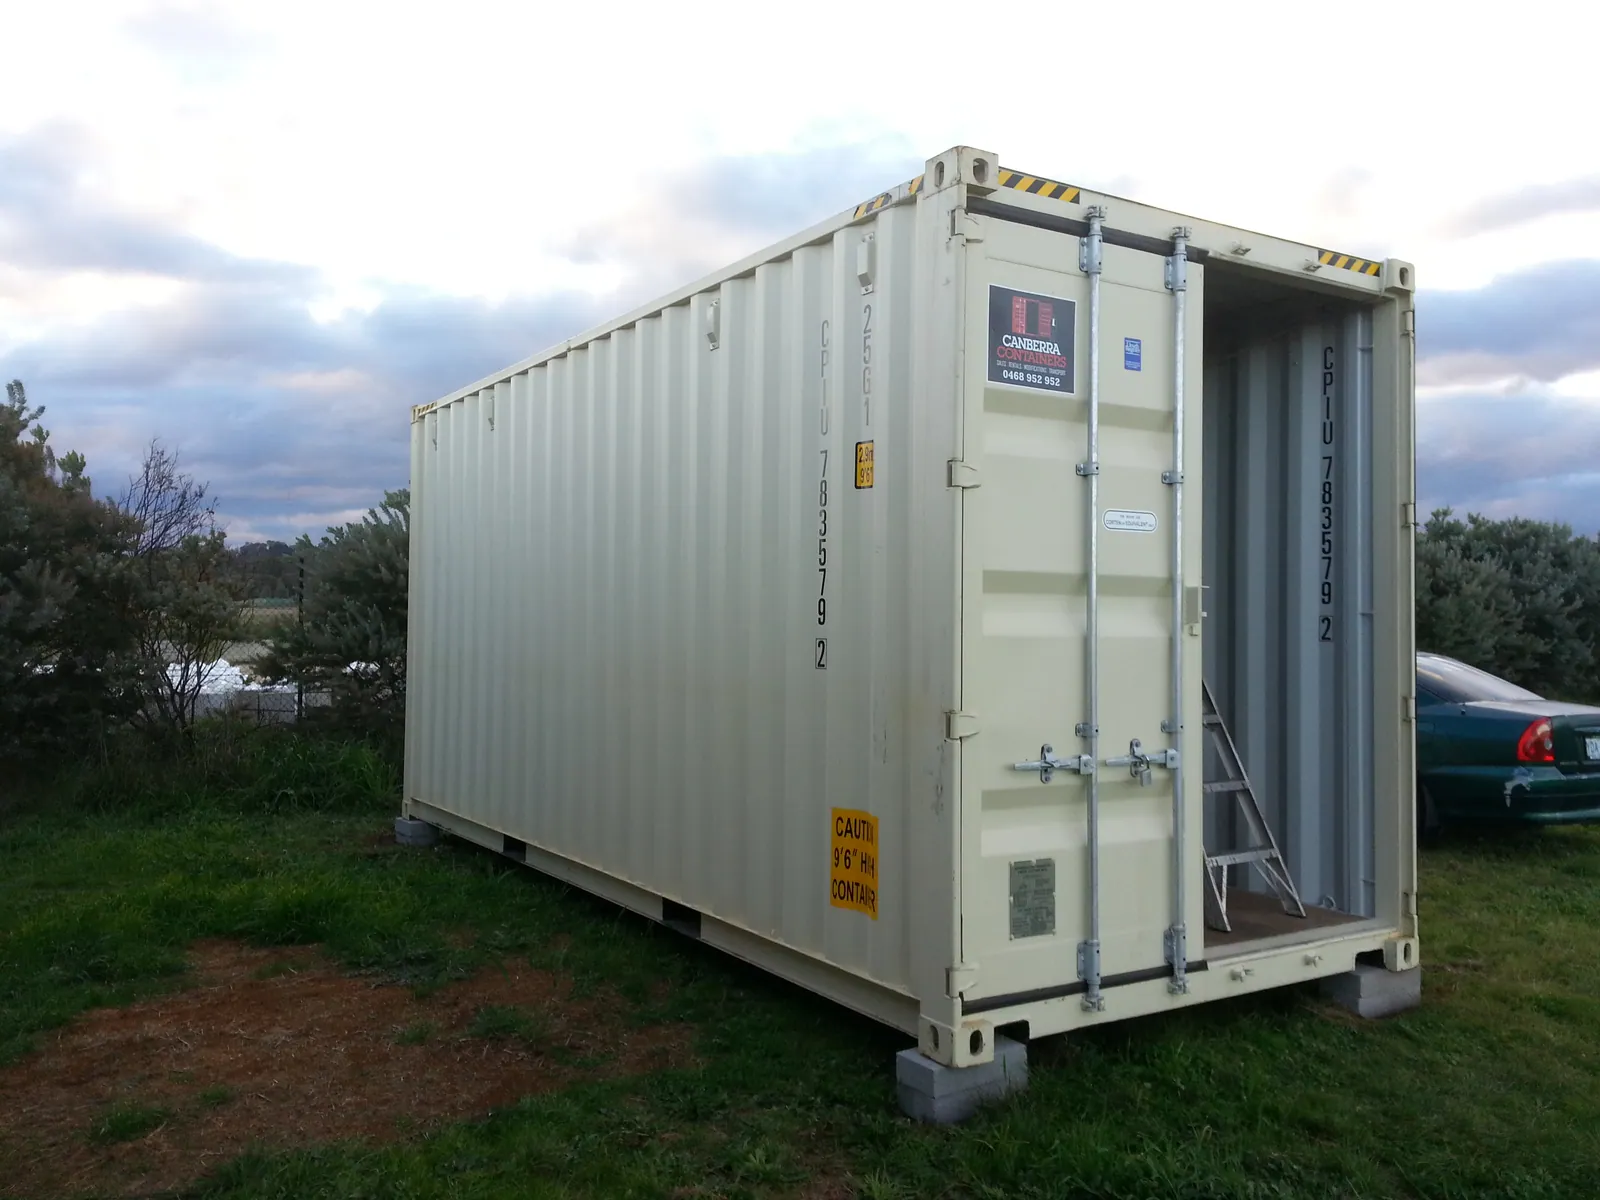
The container exterior at the beginning of the conversion.
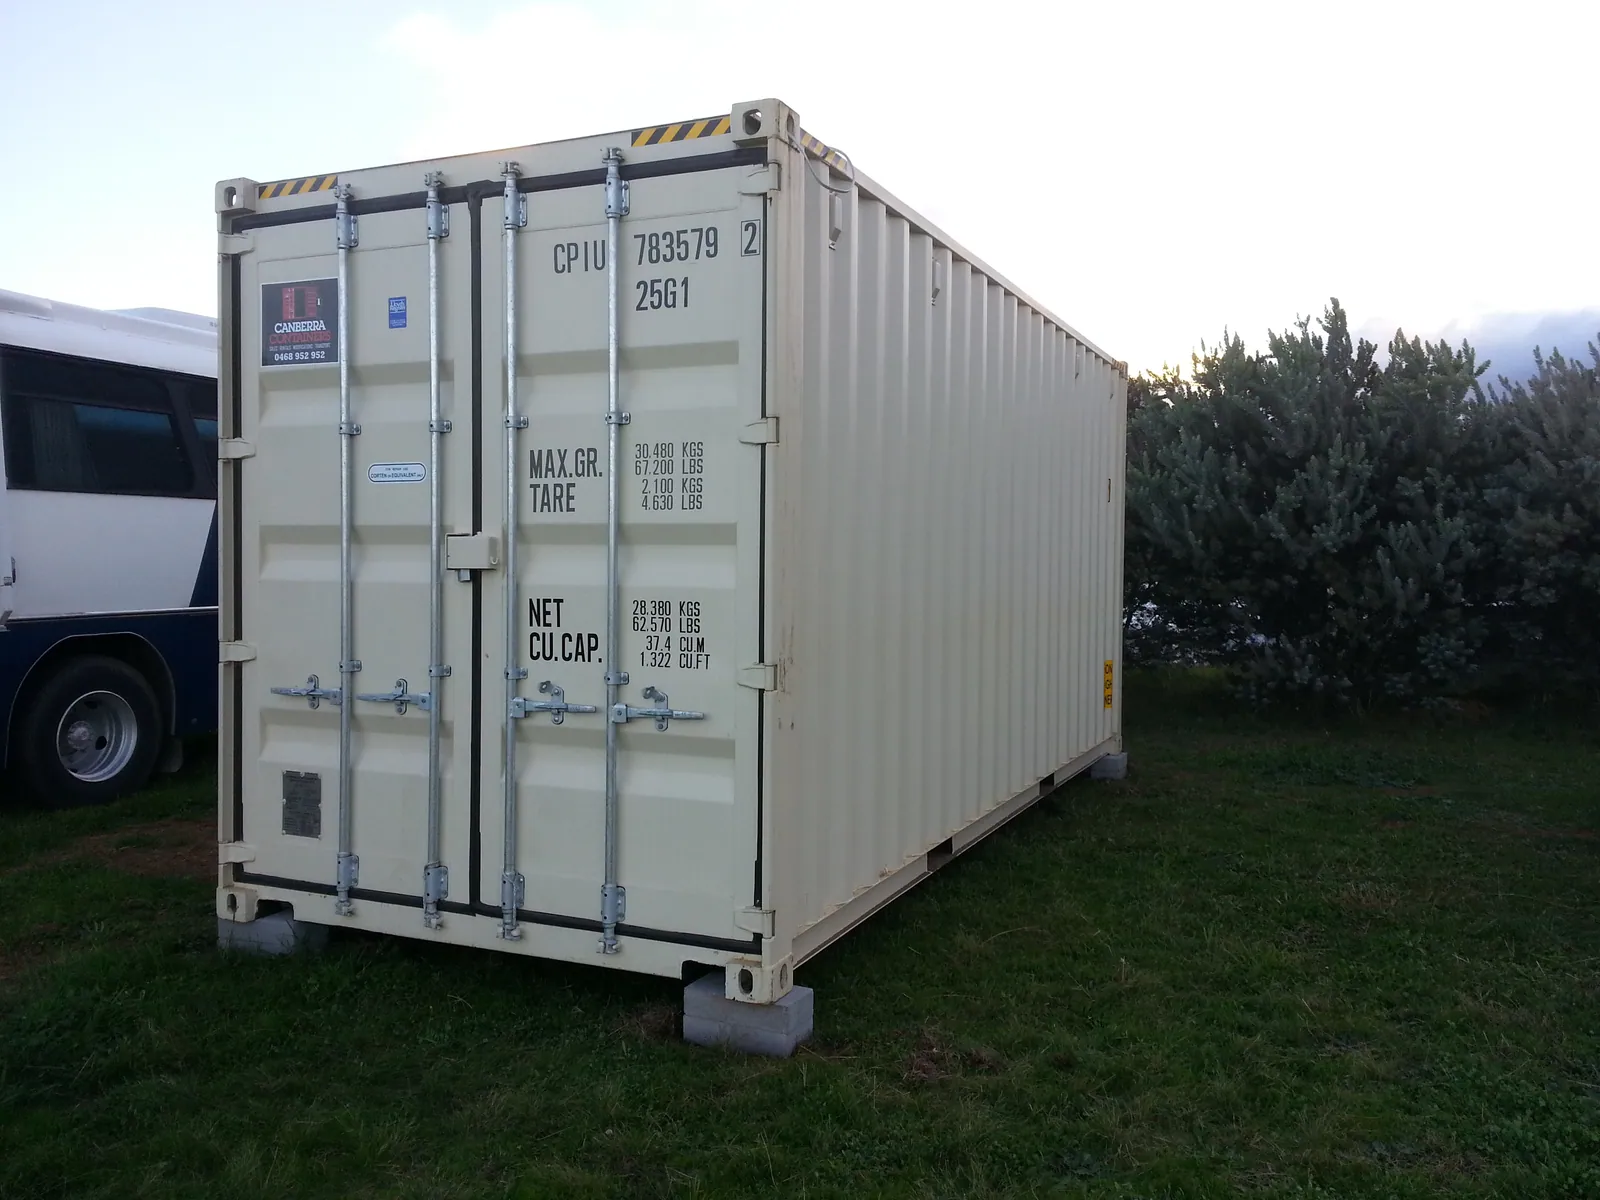
The original cargo doors closed.
02Electrical installation and data cabling
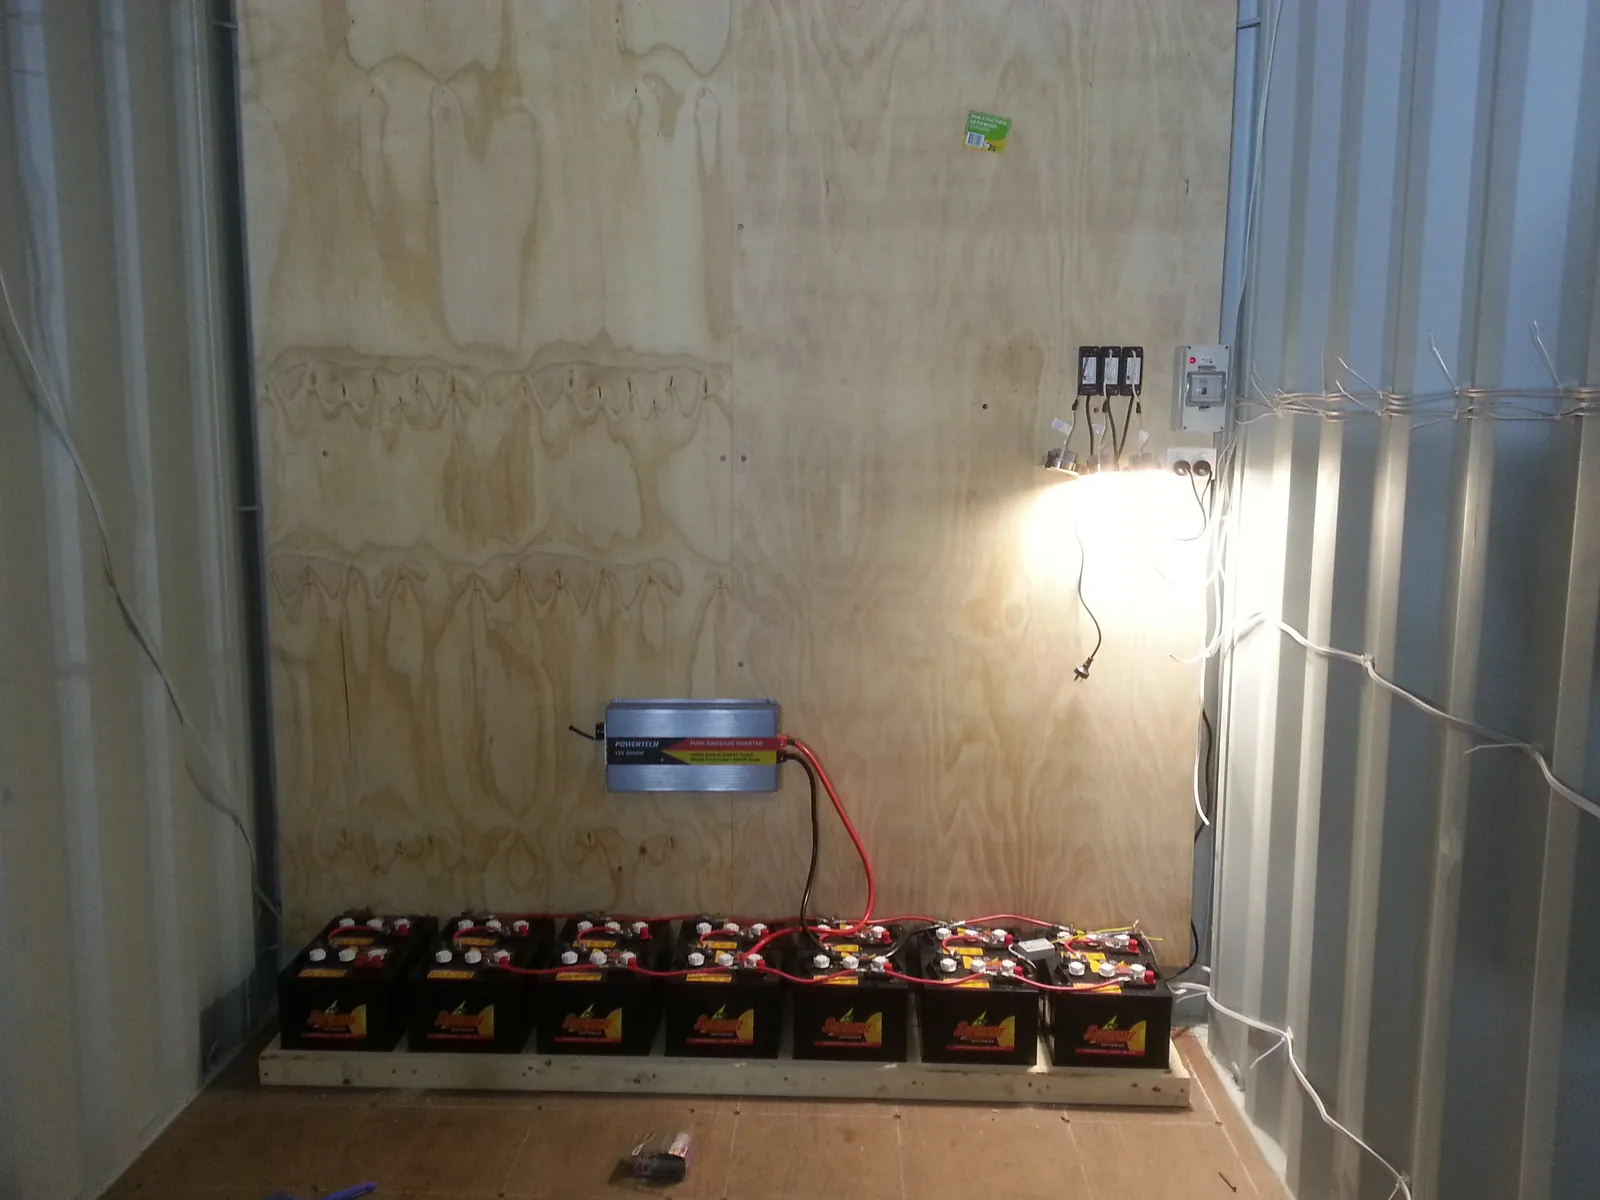
A plywood mounting wall installed behind the batteries and power equipment.
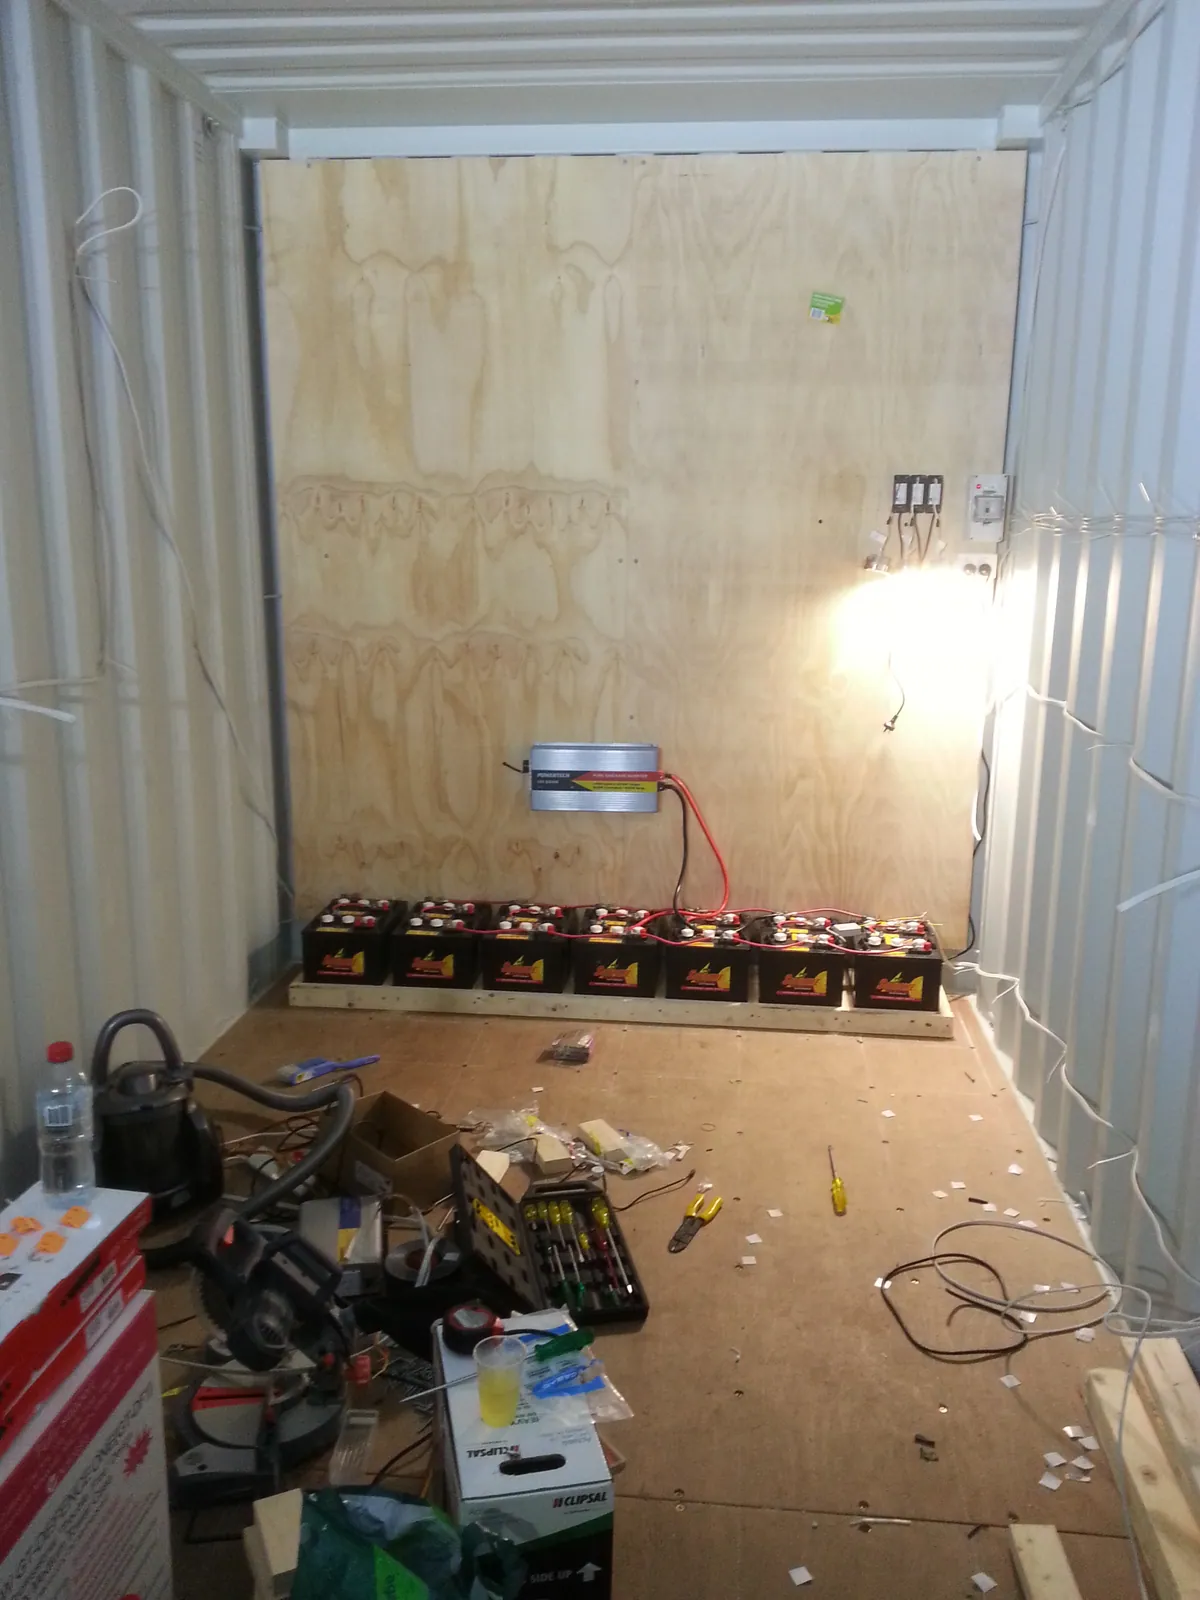
The early power installation and tools inside the unlined container.
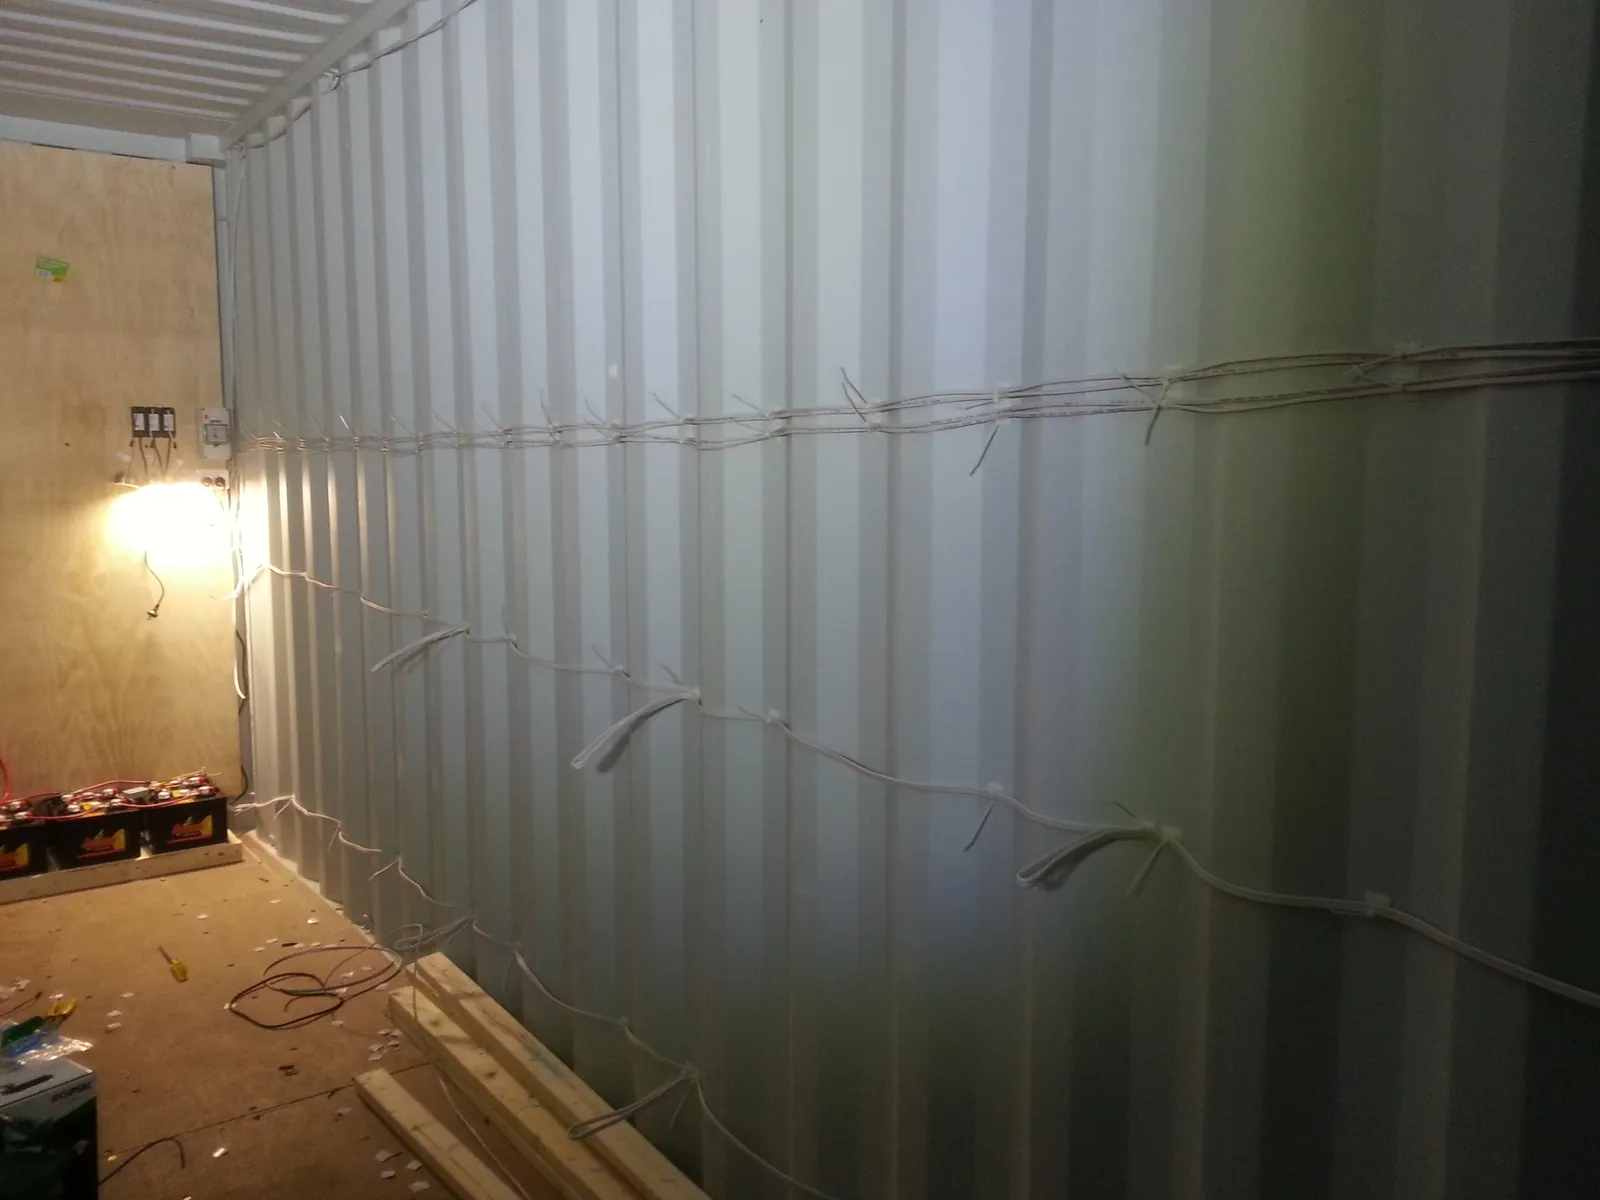
The first cable runs fixed along the corrugated wall.
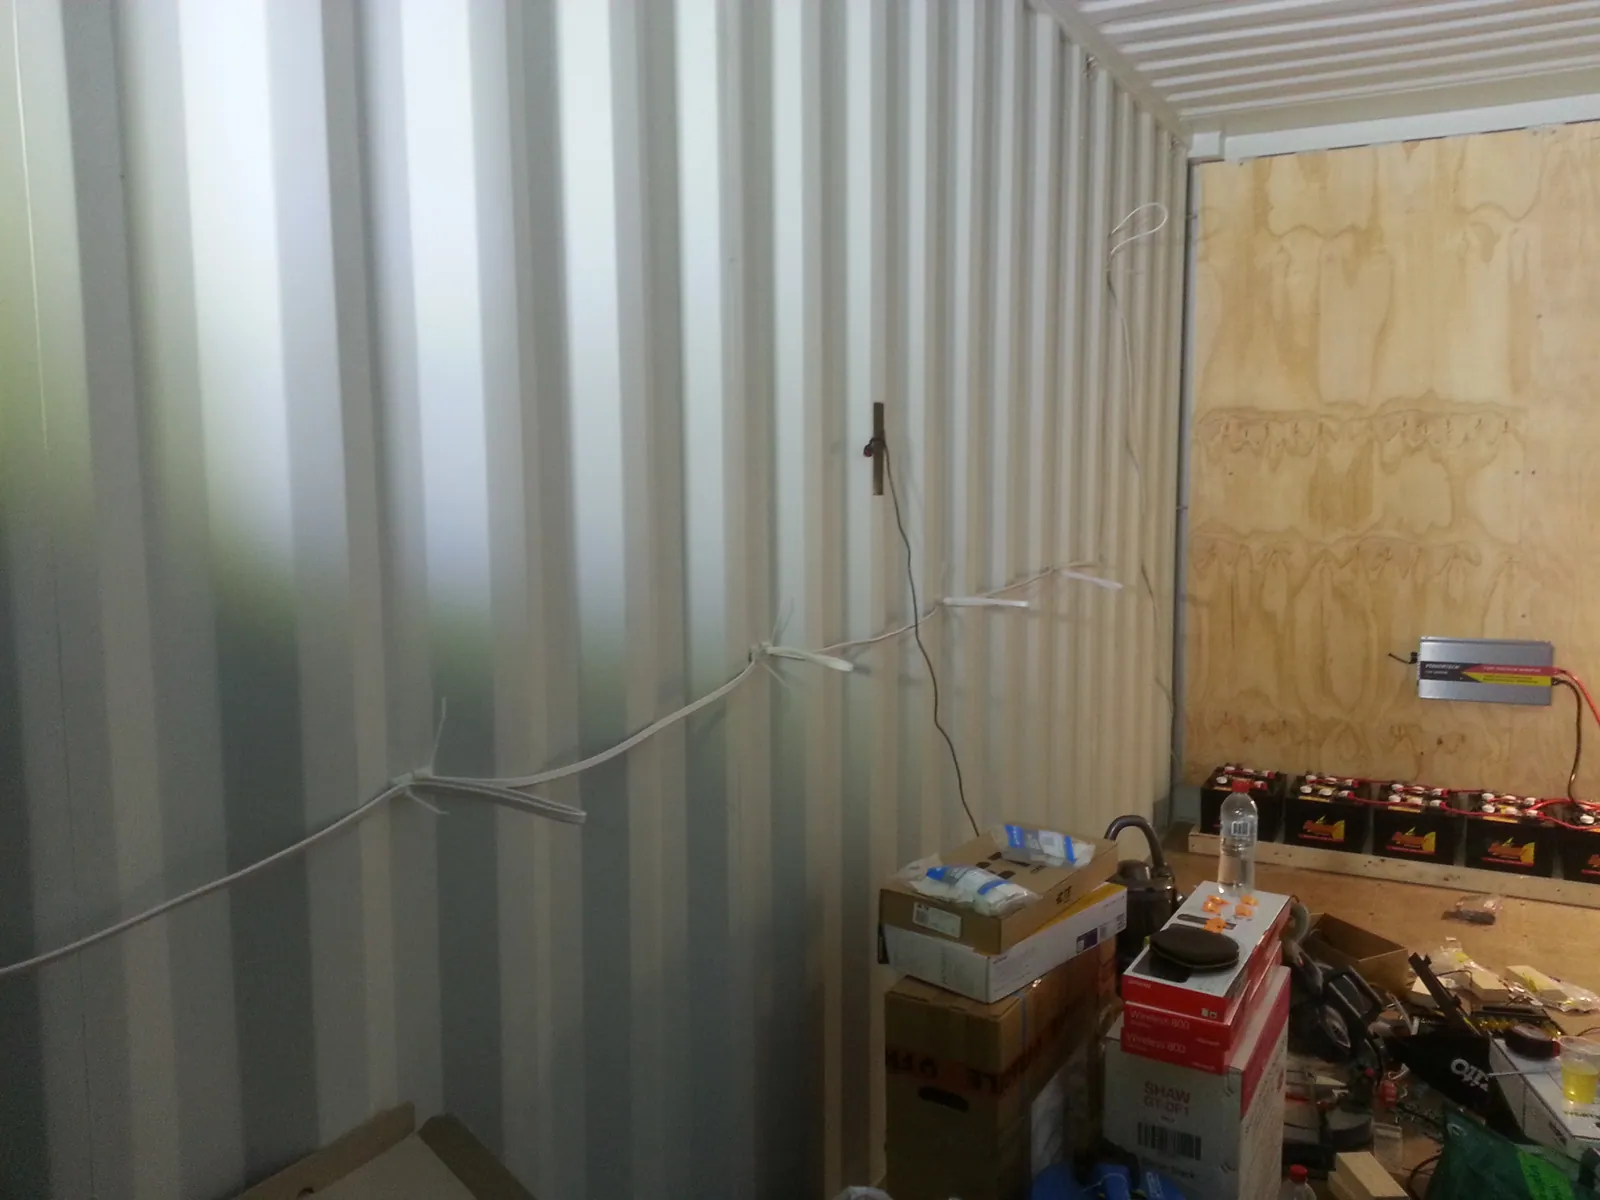
Cable runs along the opposite wall, before lining.
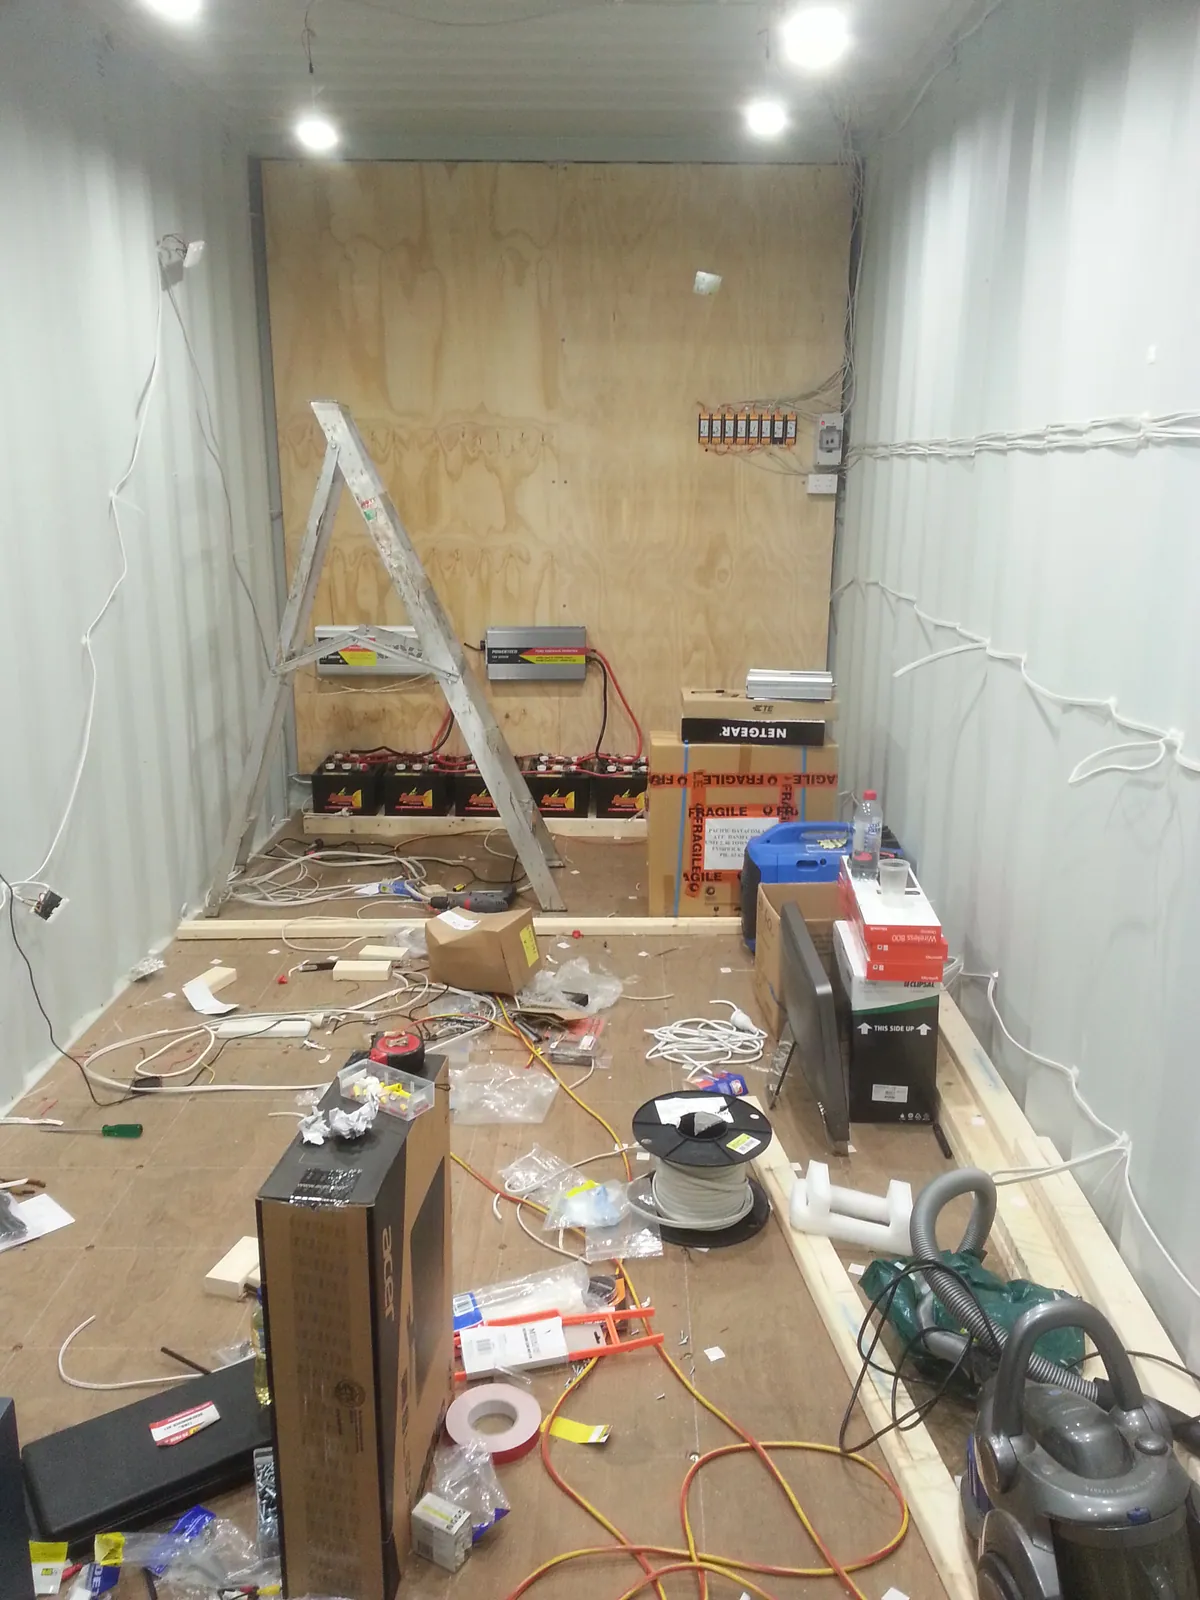
Ceiling lights and wall wiring installed while the container is still unlined.
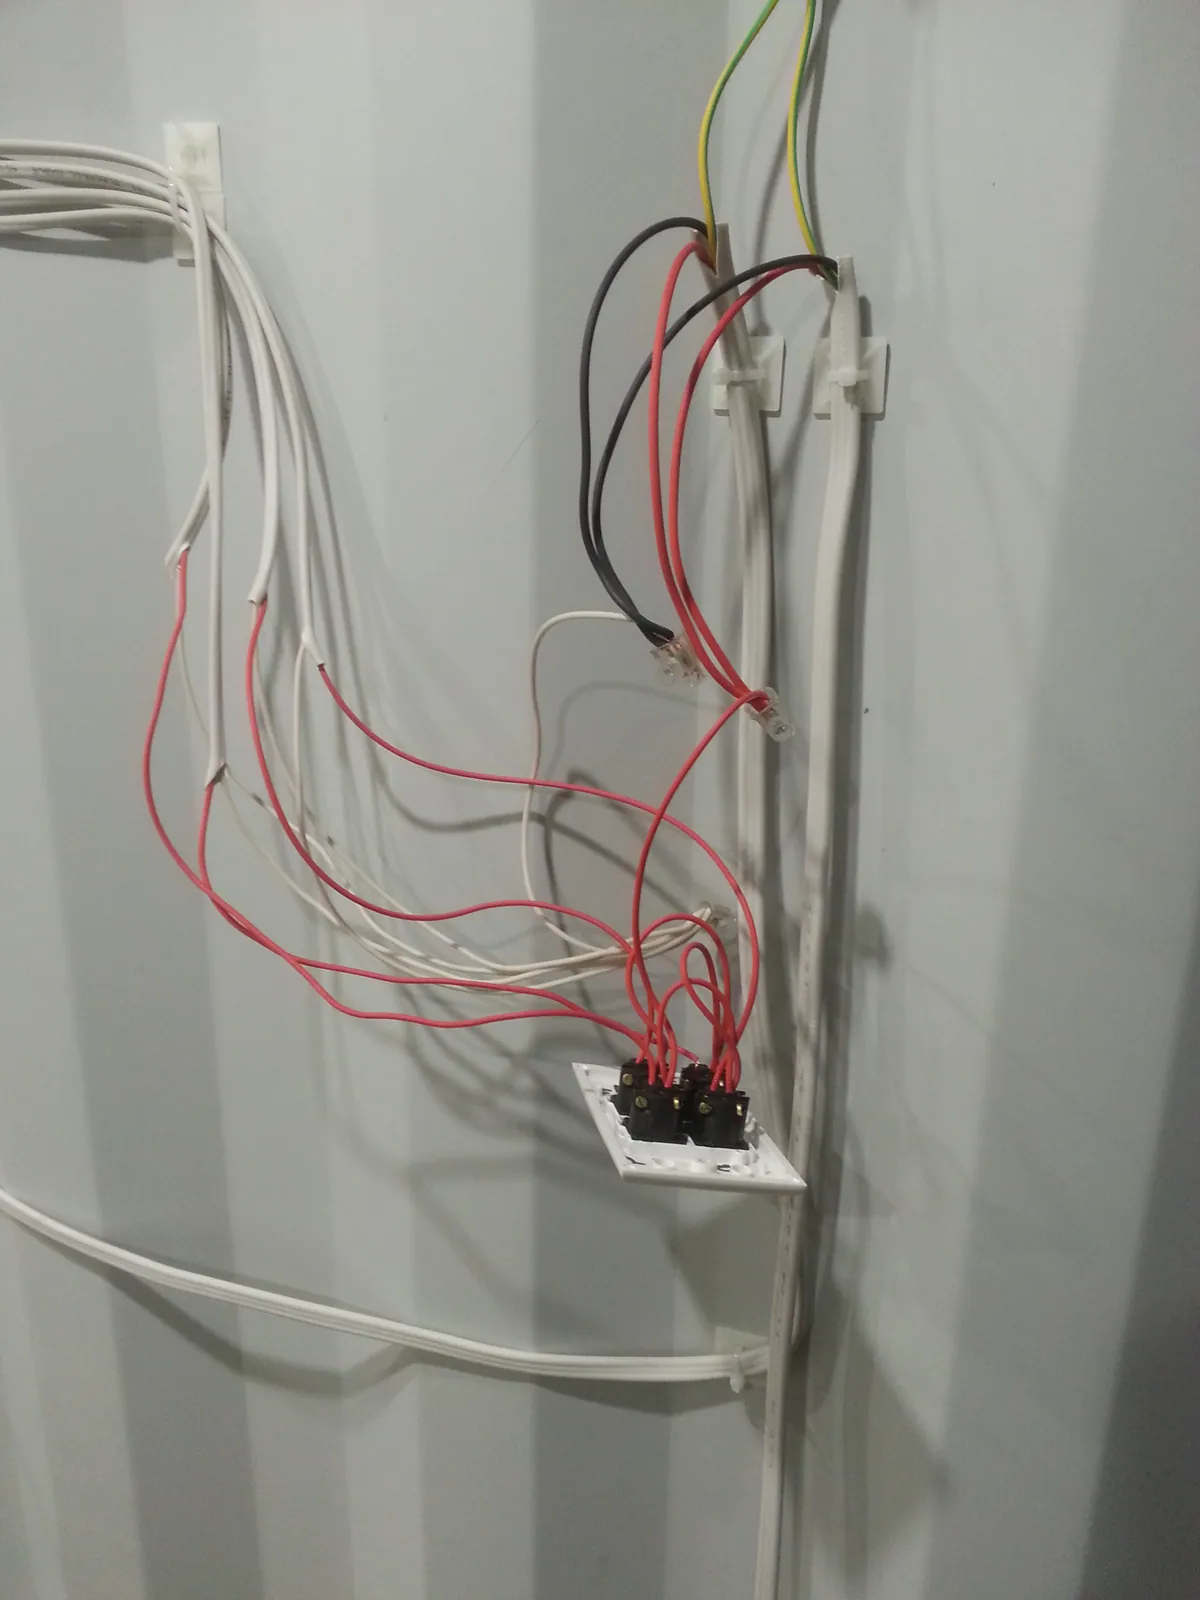
Wiring brought to a wall outlet position.
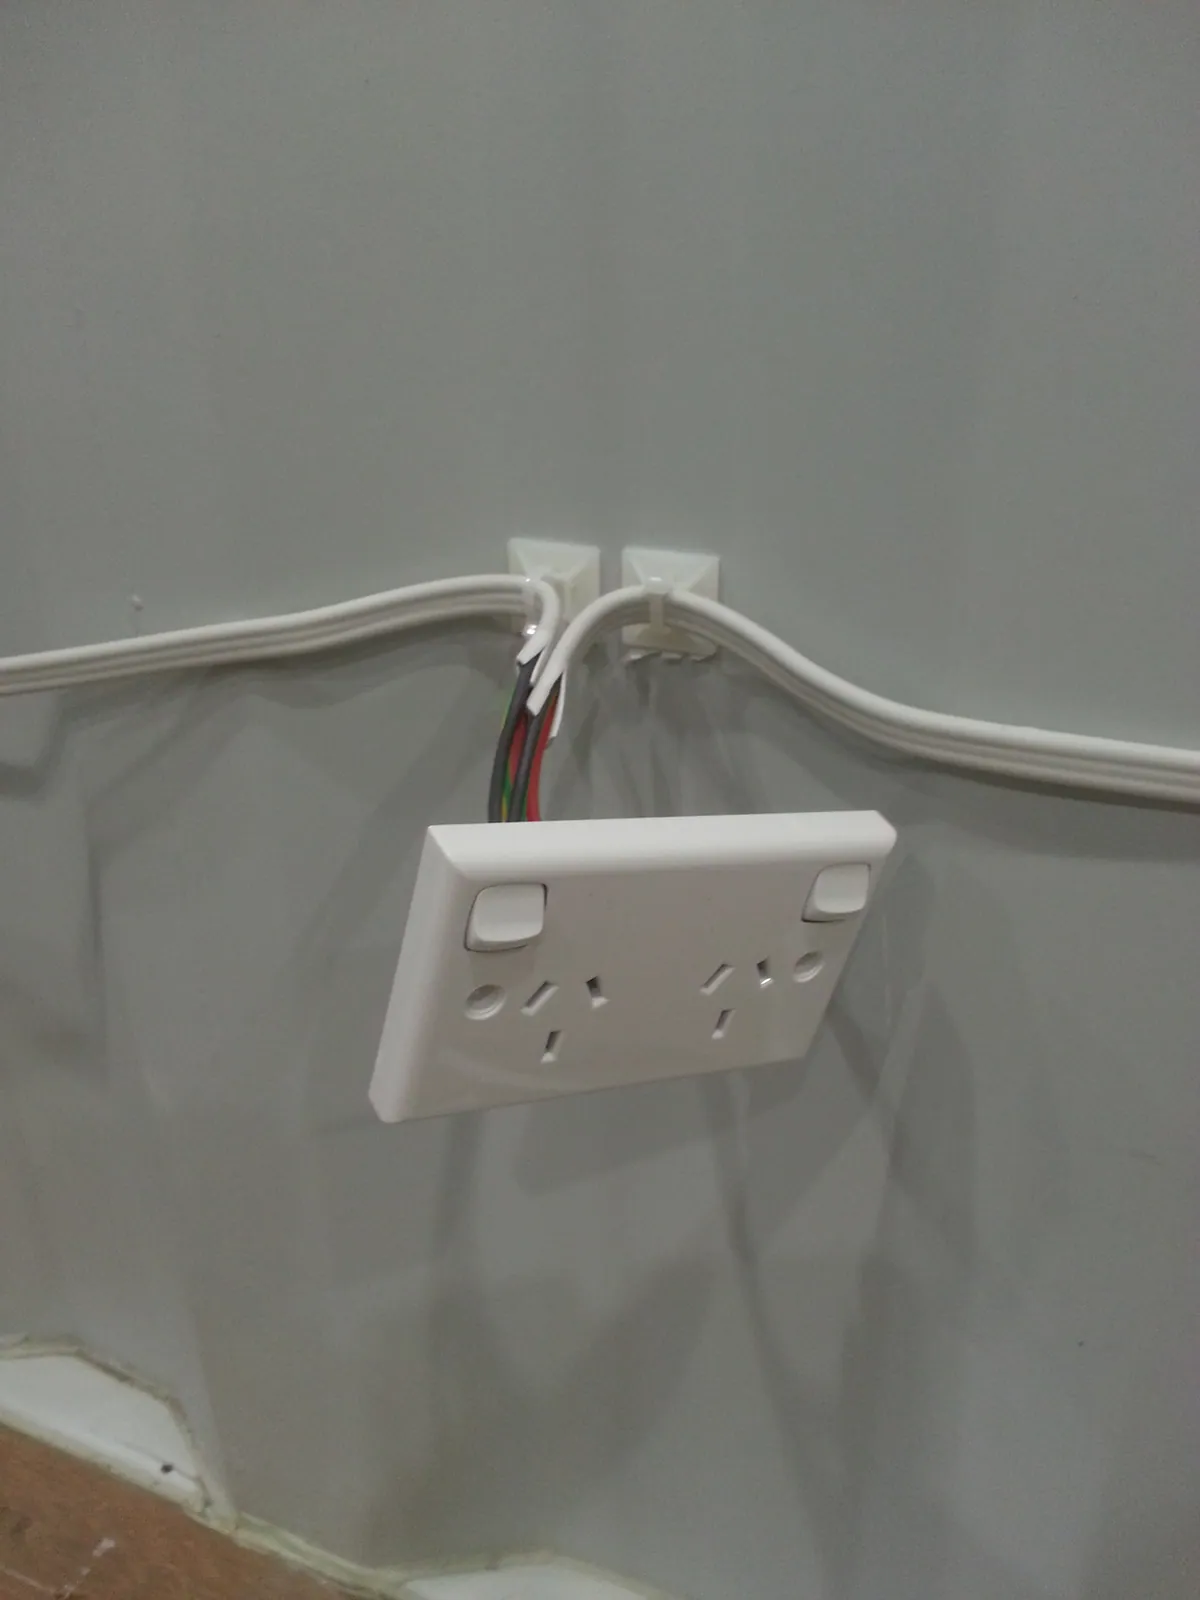
An early surface-mounted power outlet.
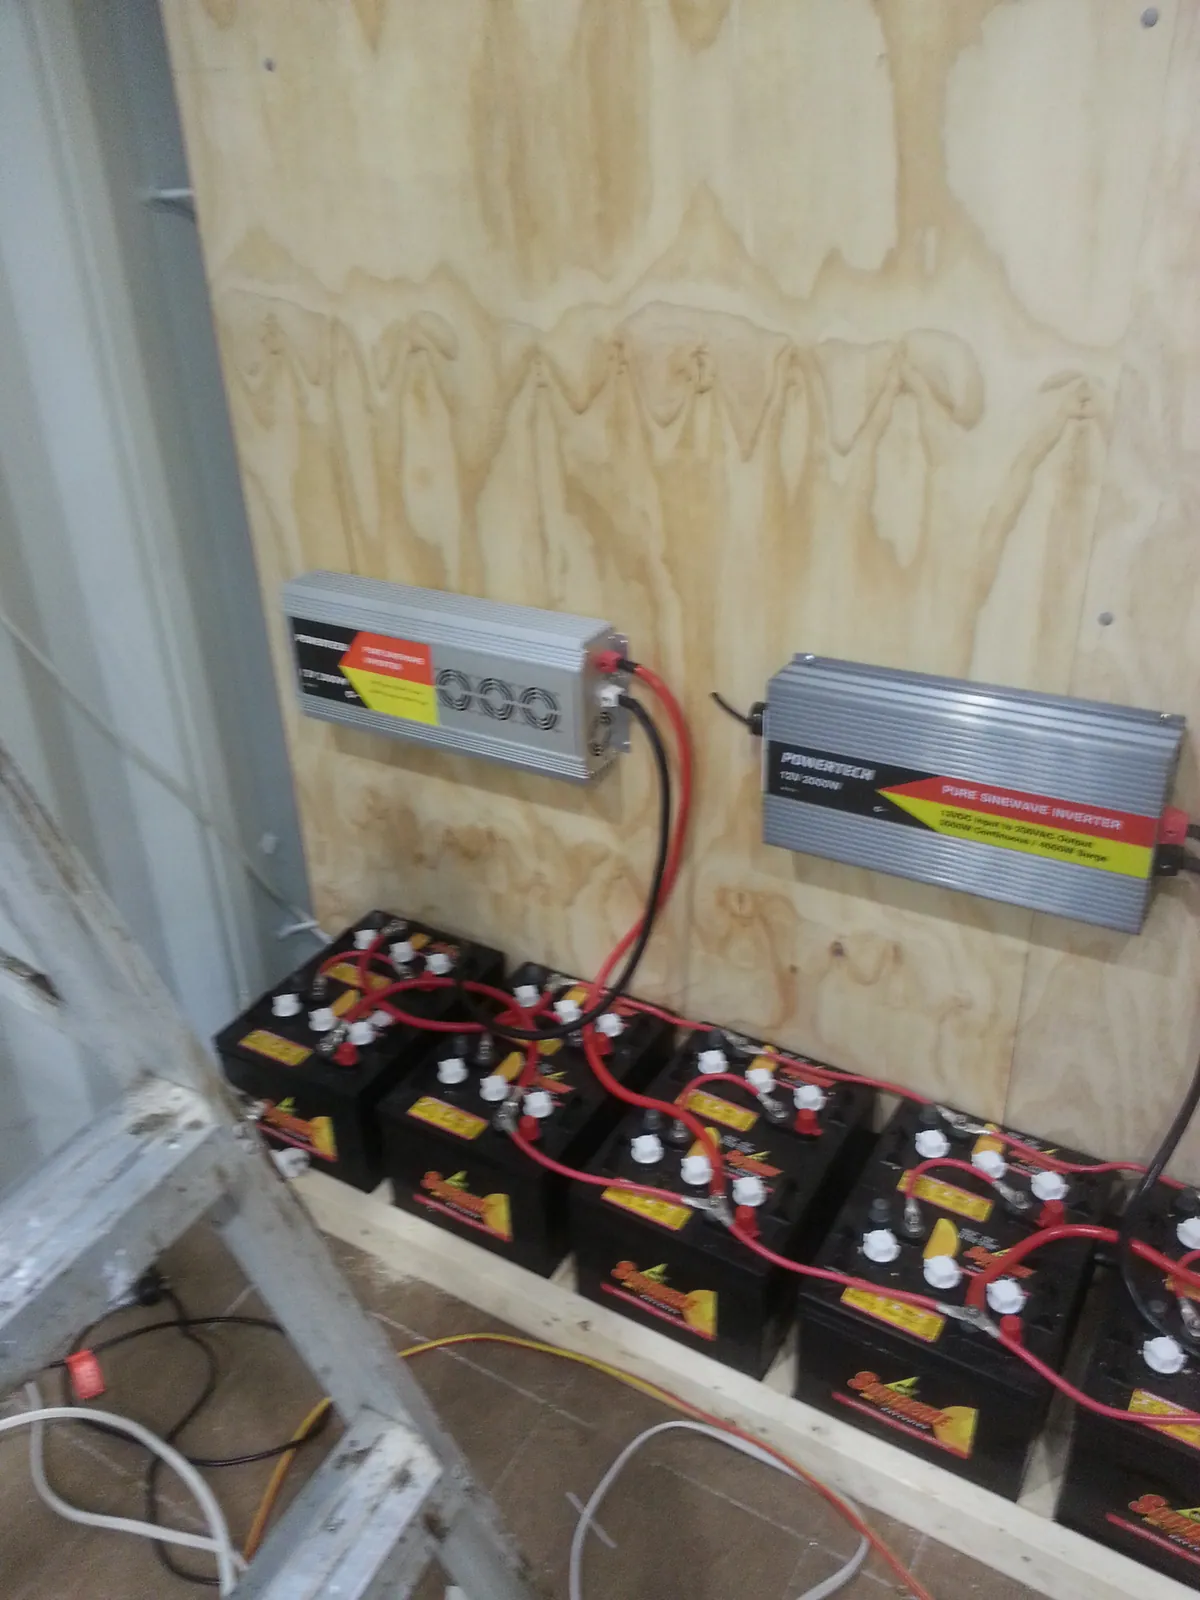
The battery bank beneath the wall-mounted power equipment.
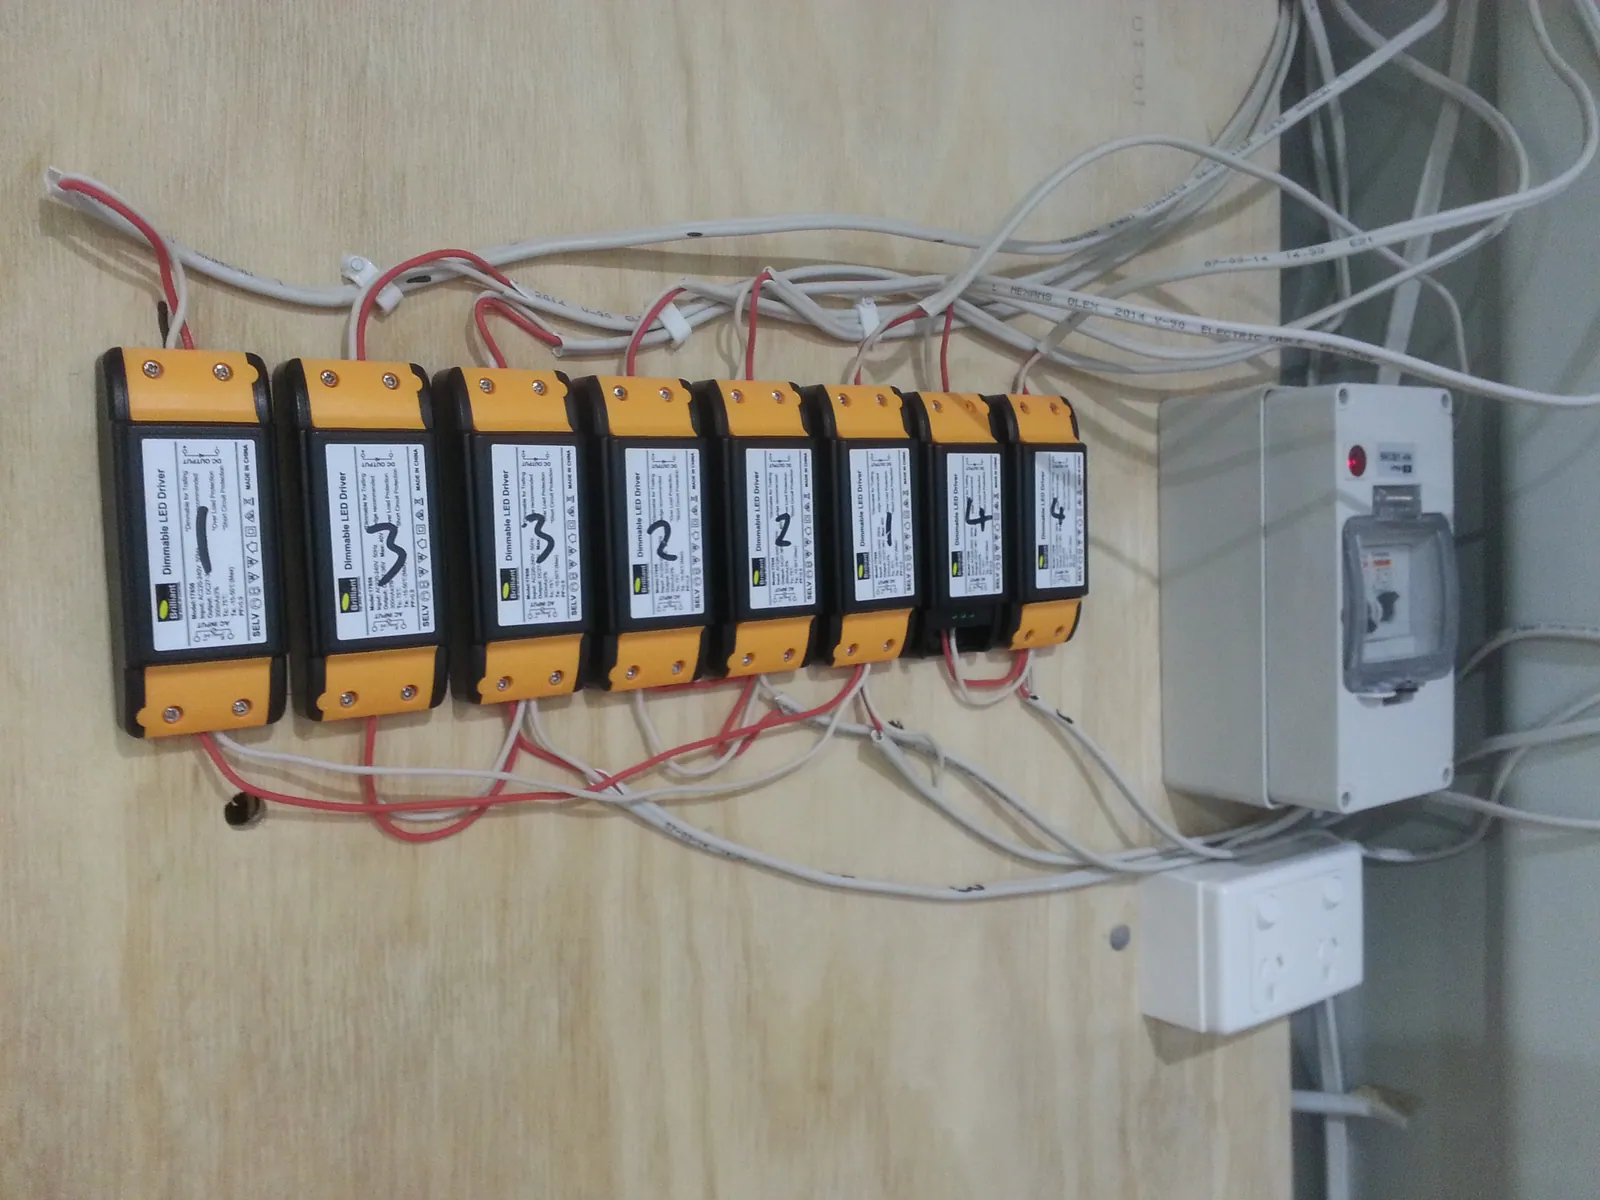
The numbered electrical units and their wiring on the mounting board.
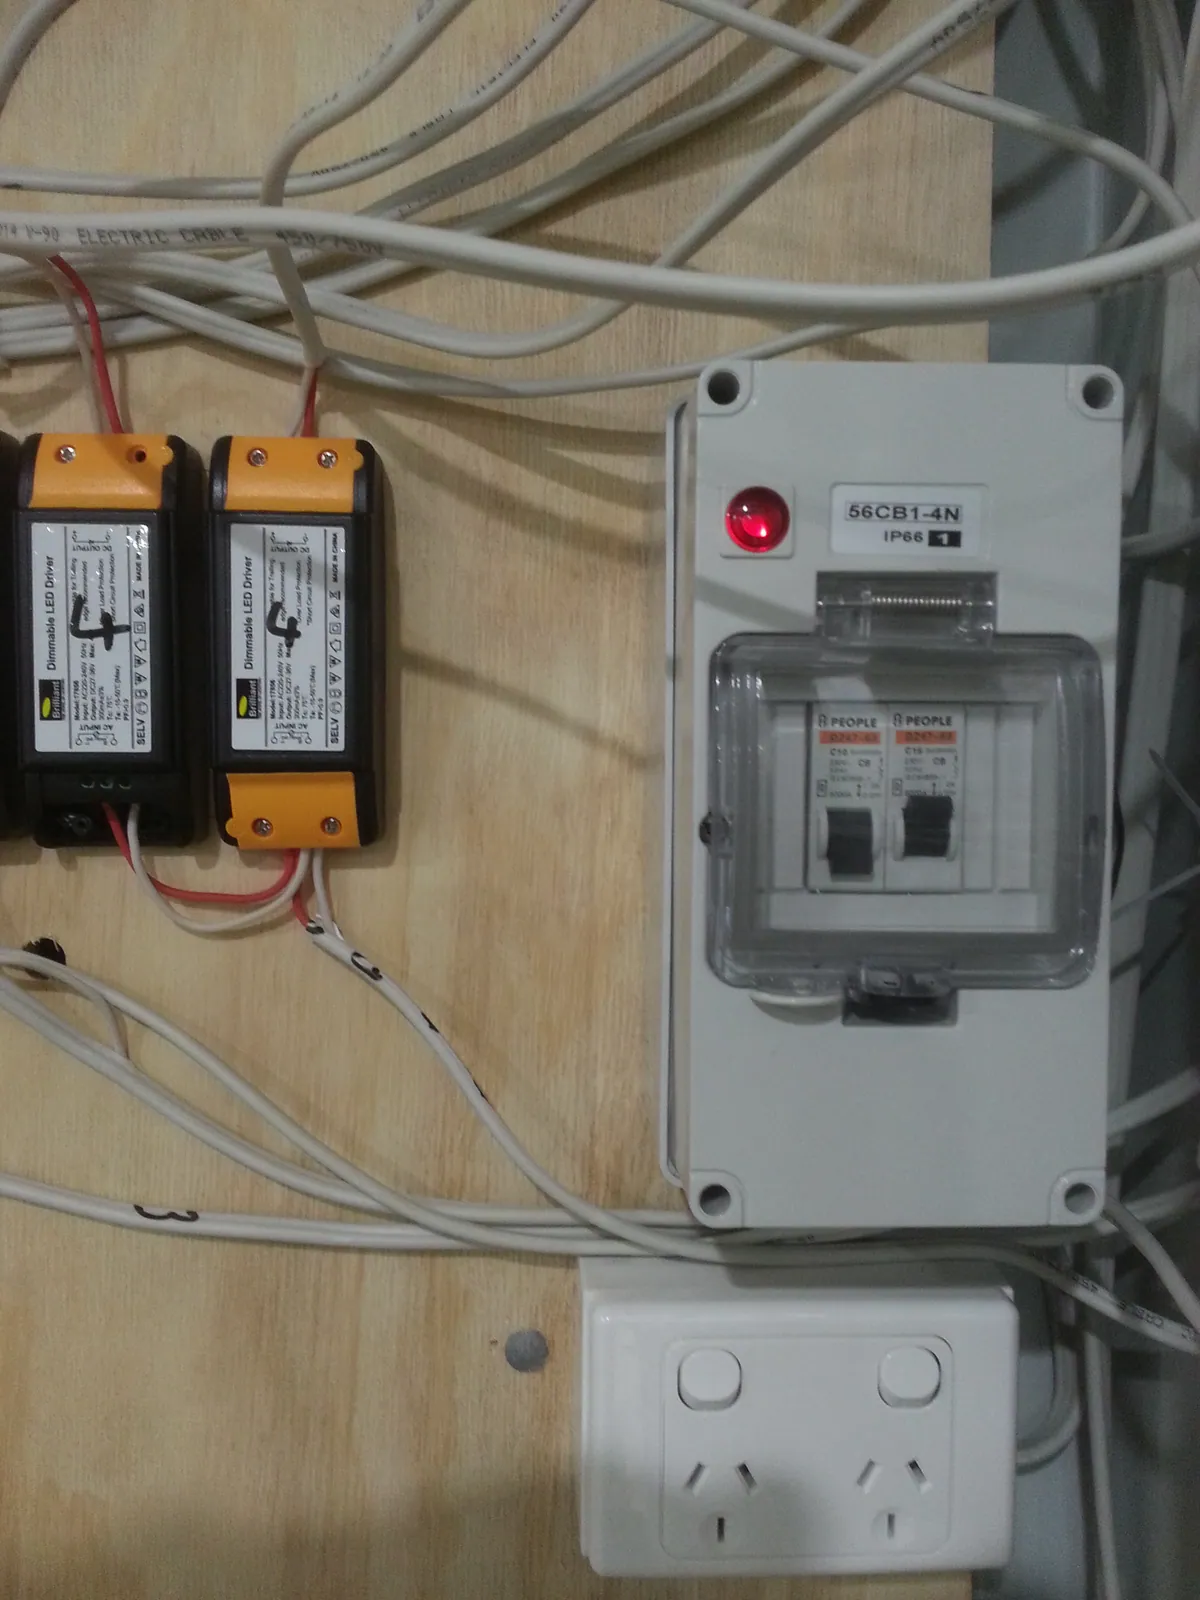
A closer view of the meter and nearby power outlets.
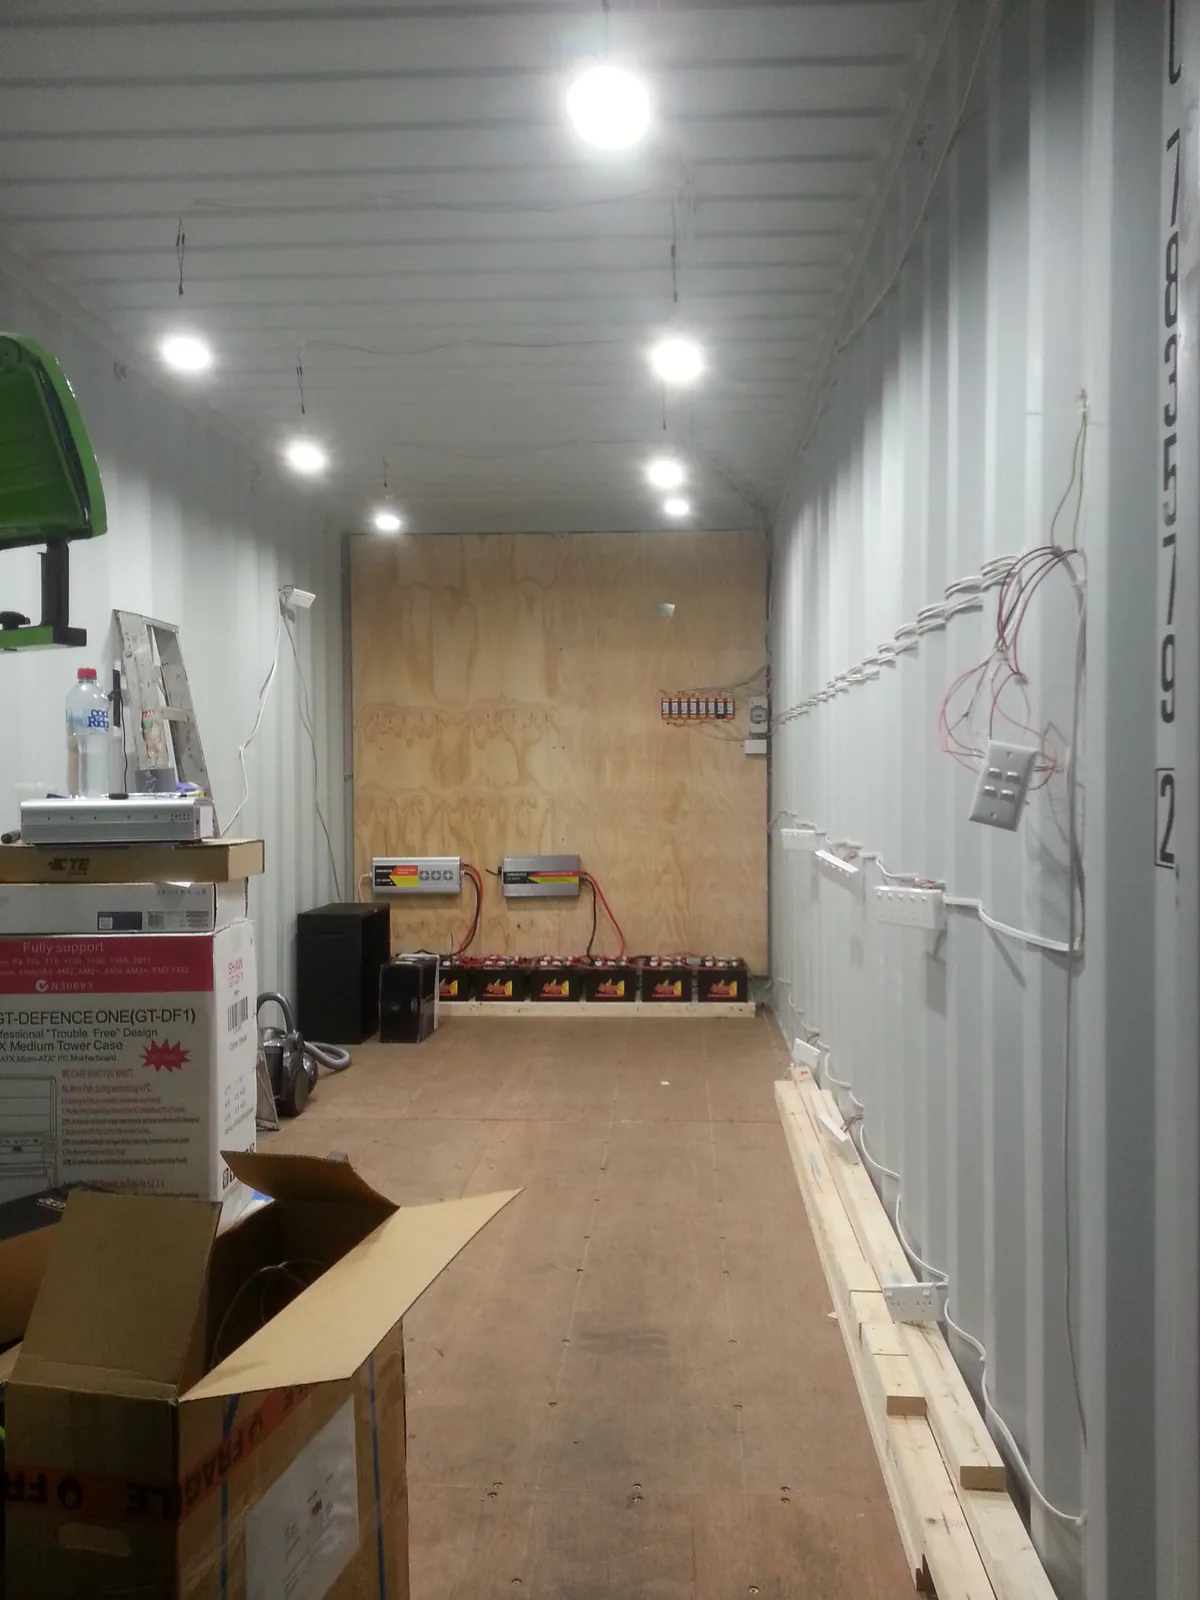
The lit interior with cables and outlet boxes in place.
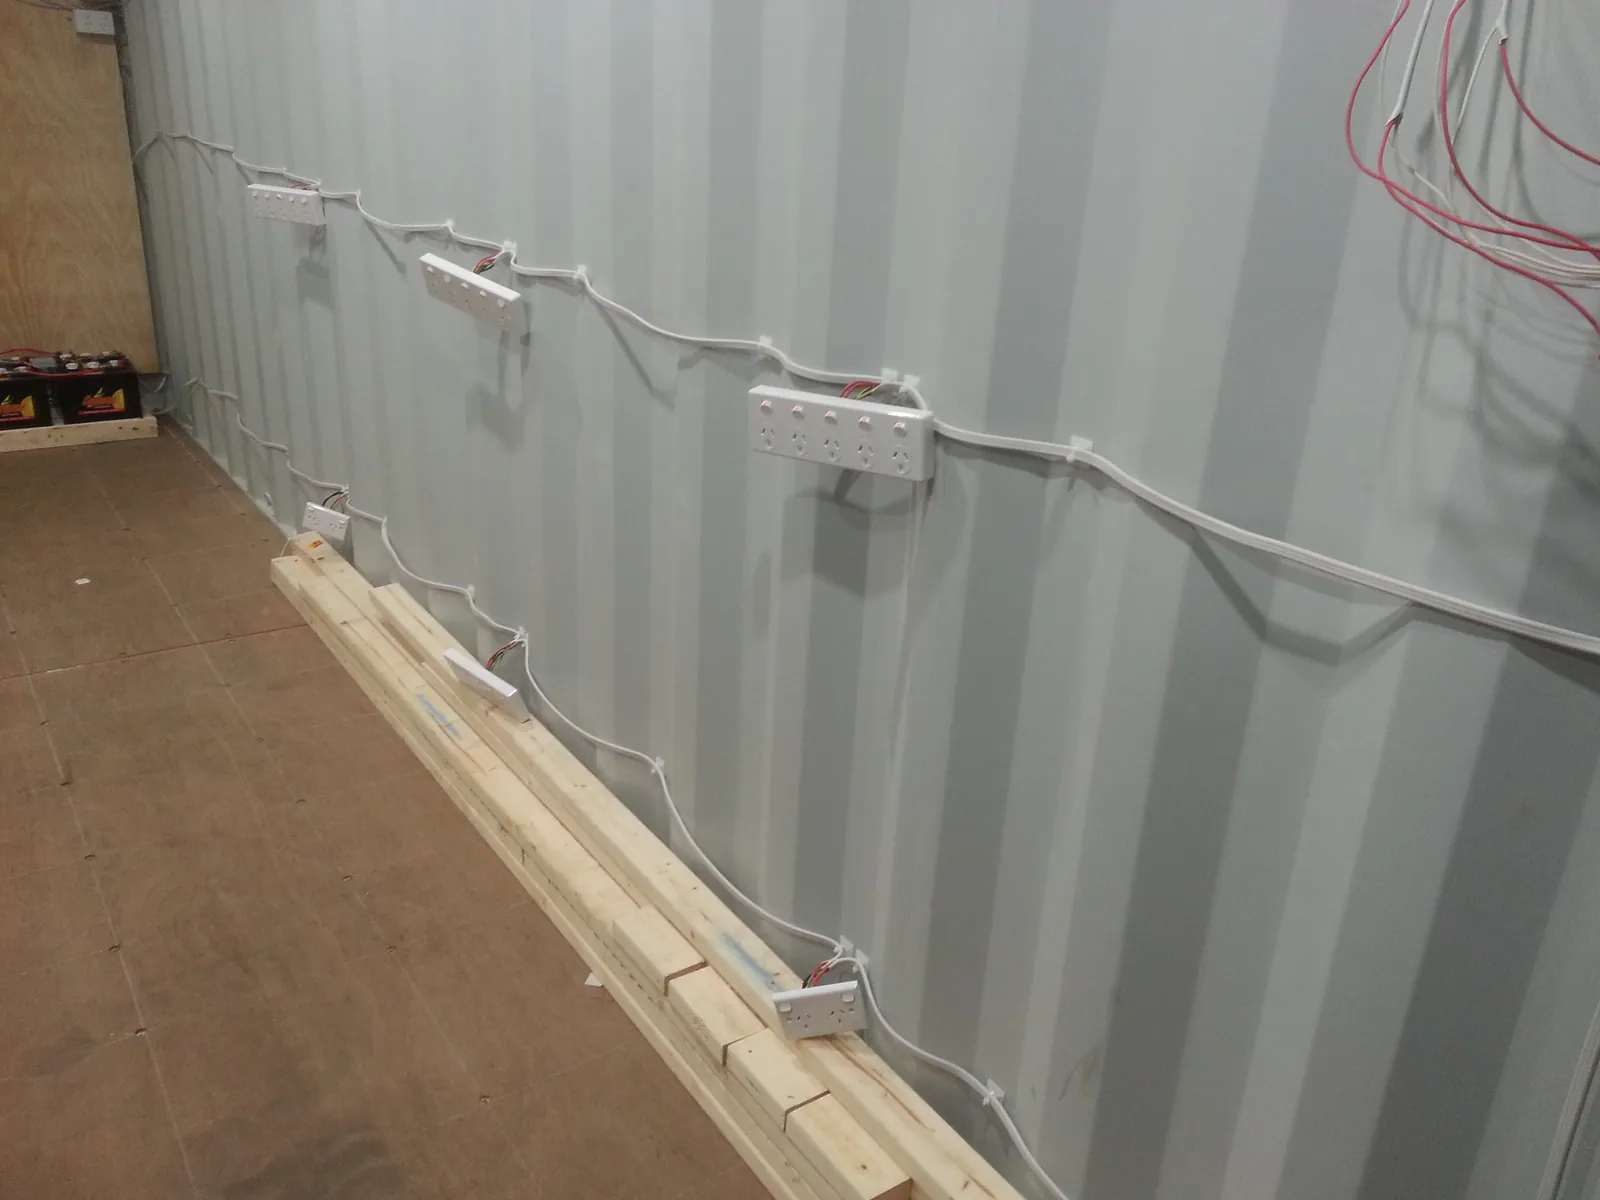
The row of outlet boxes along the container wall.
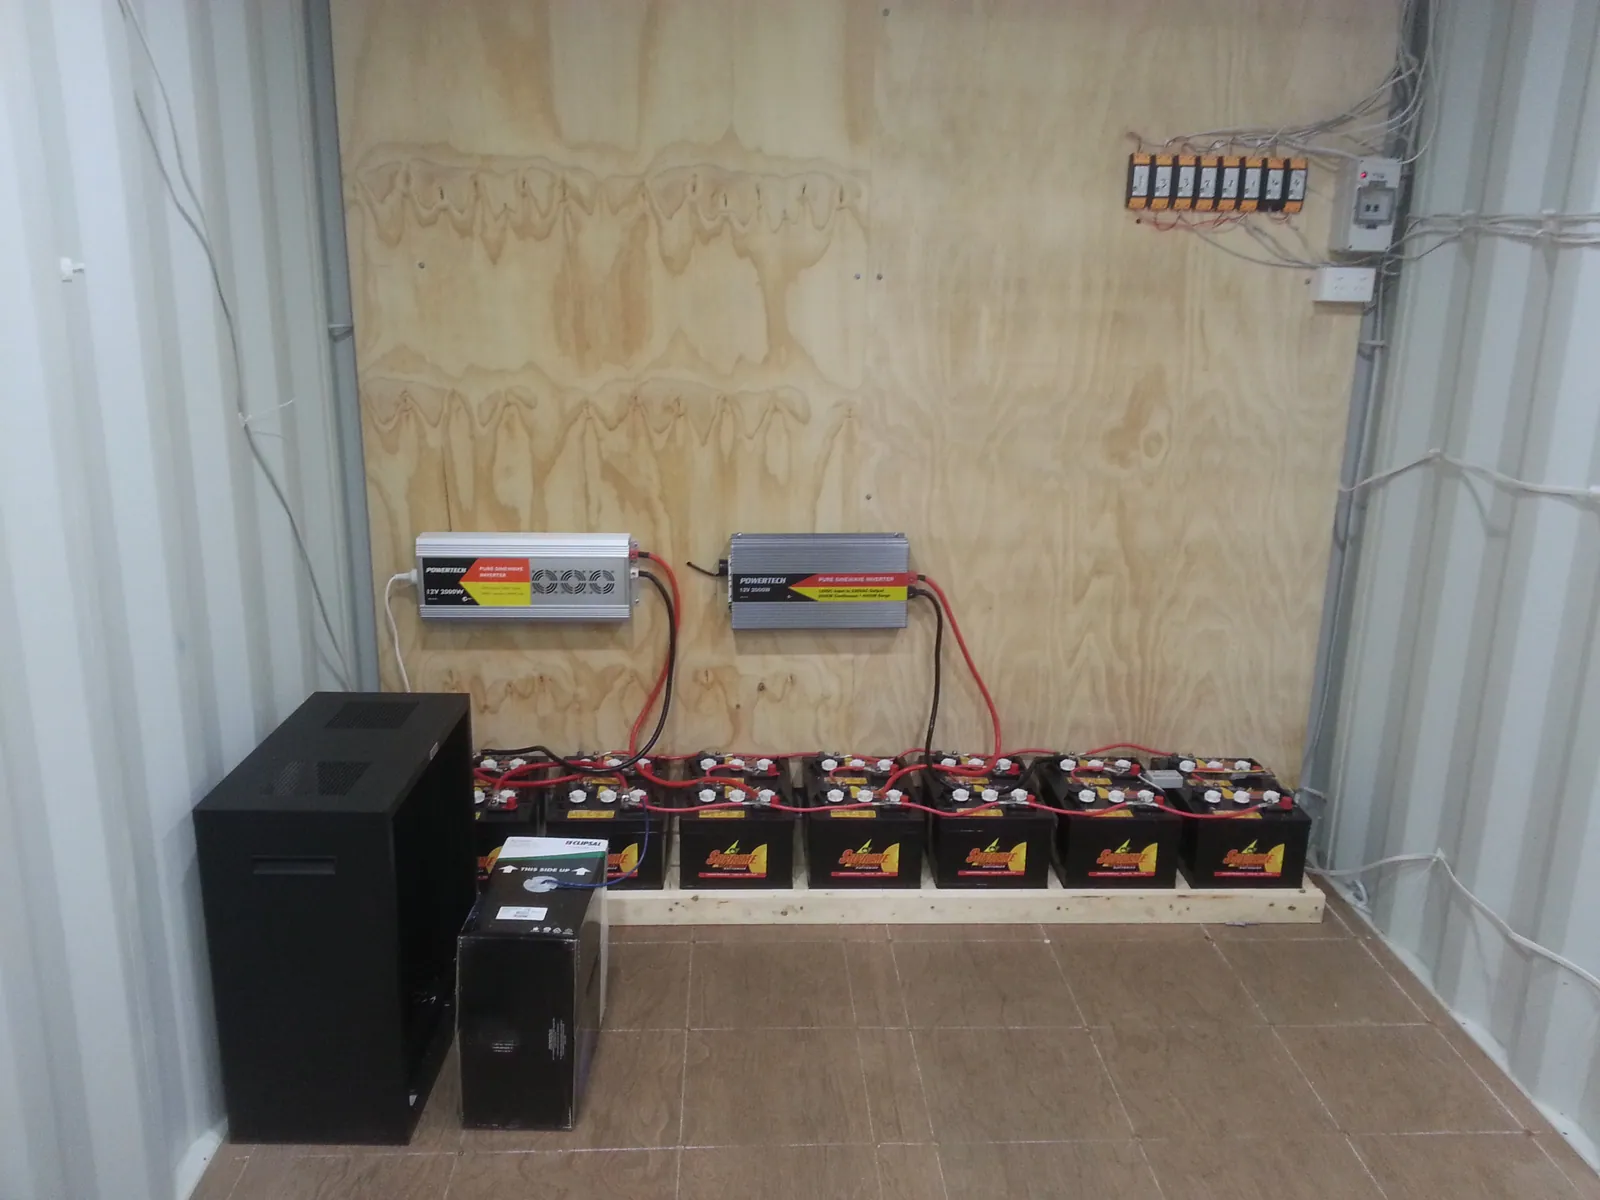
The rear equipment wall and batteries before the internal partition.
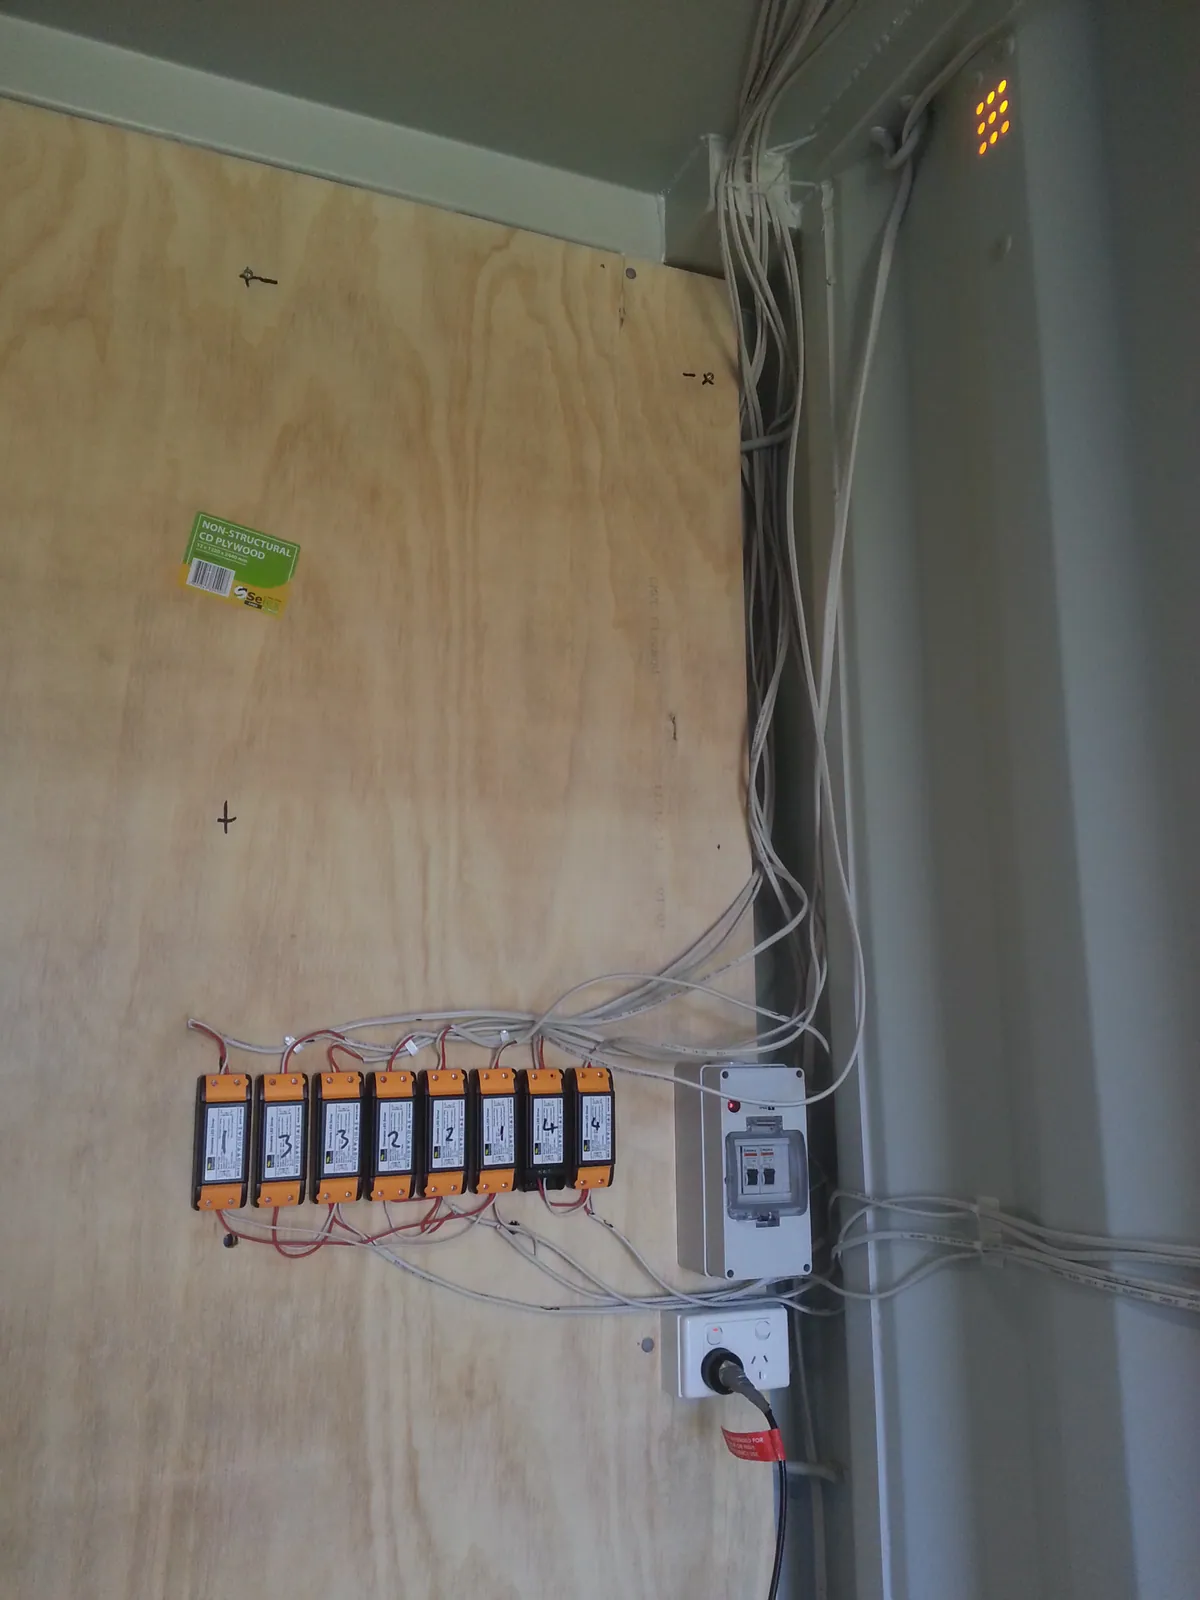
The numbered equipment mounted high on the plywood wall.
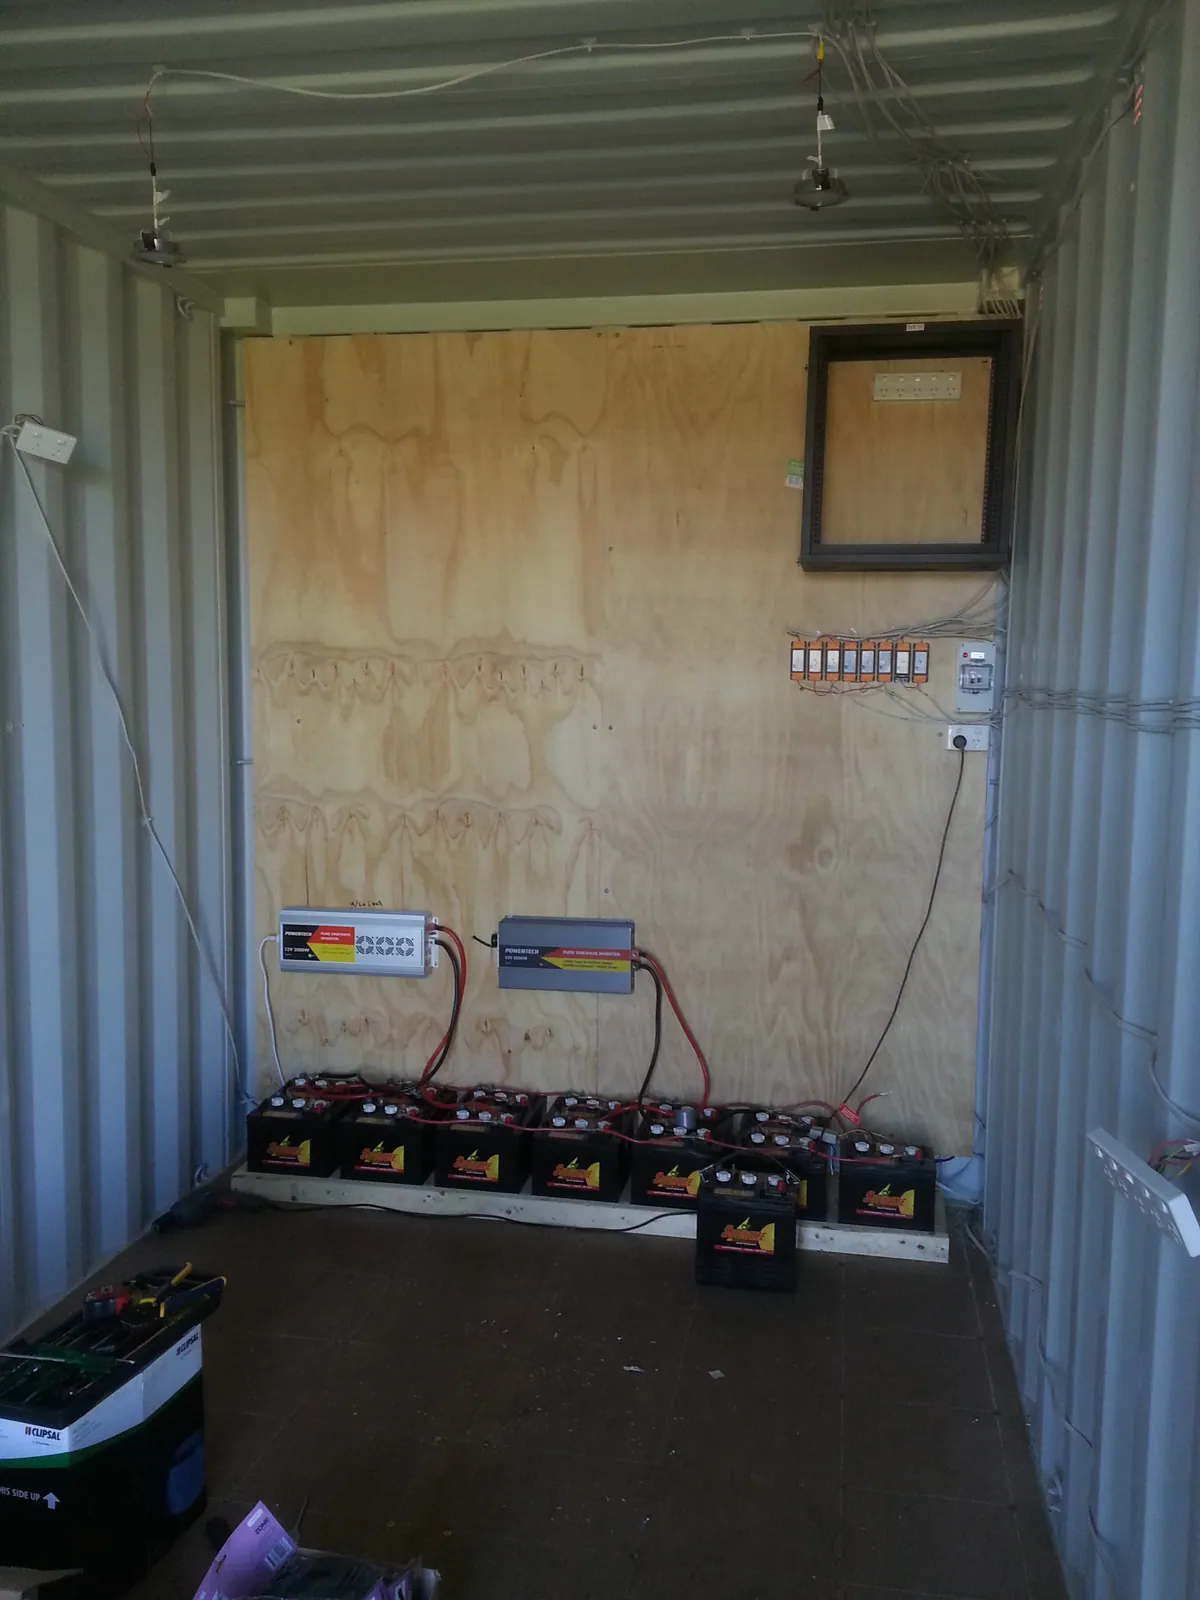
The wall cabinet positioned above the battery installation.
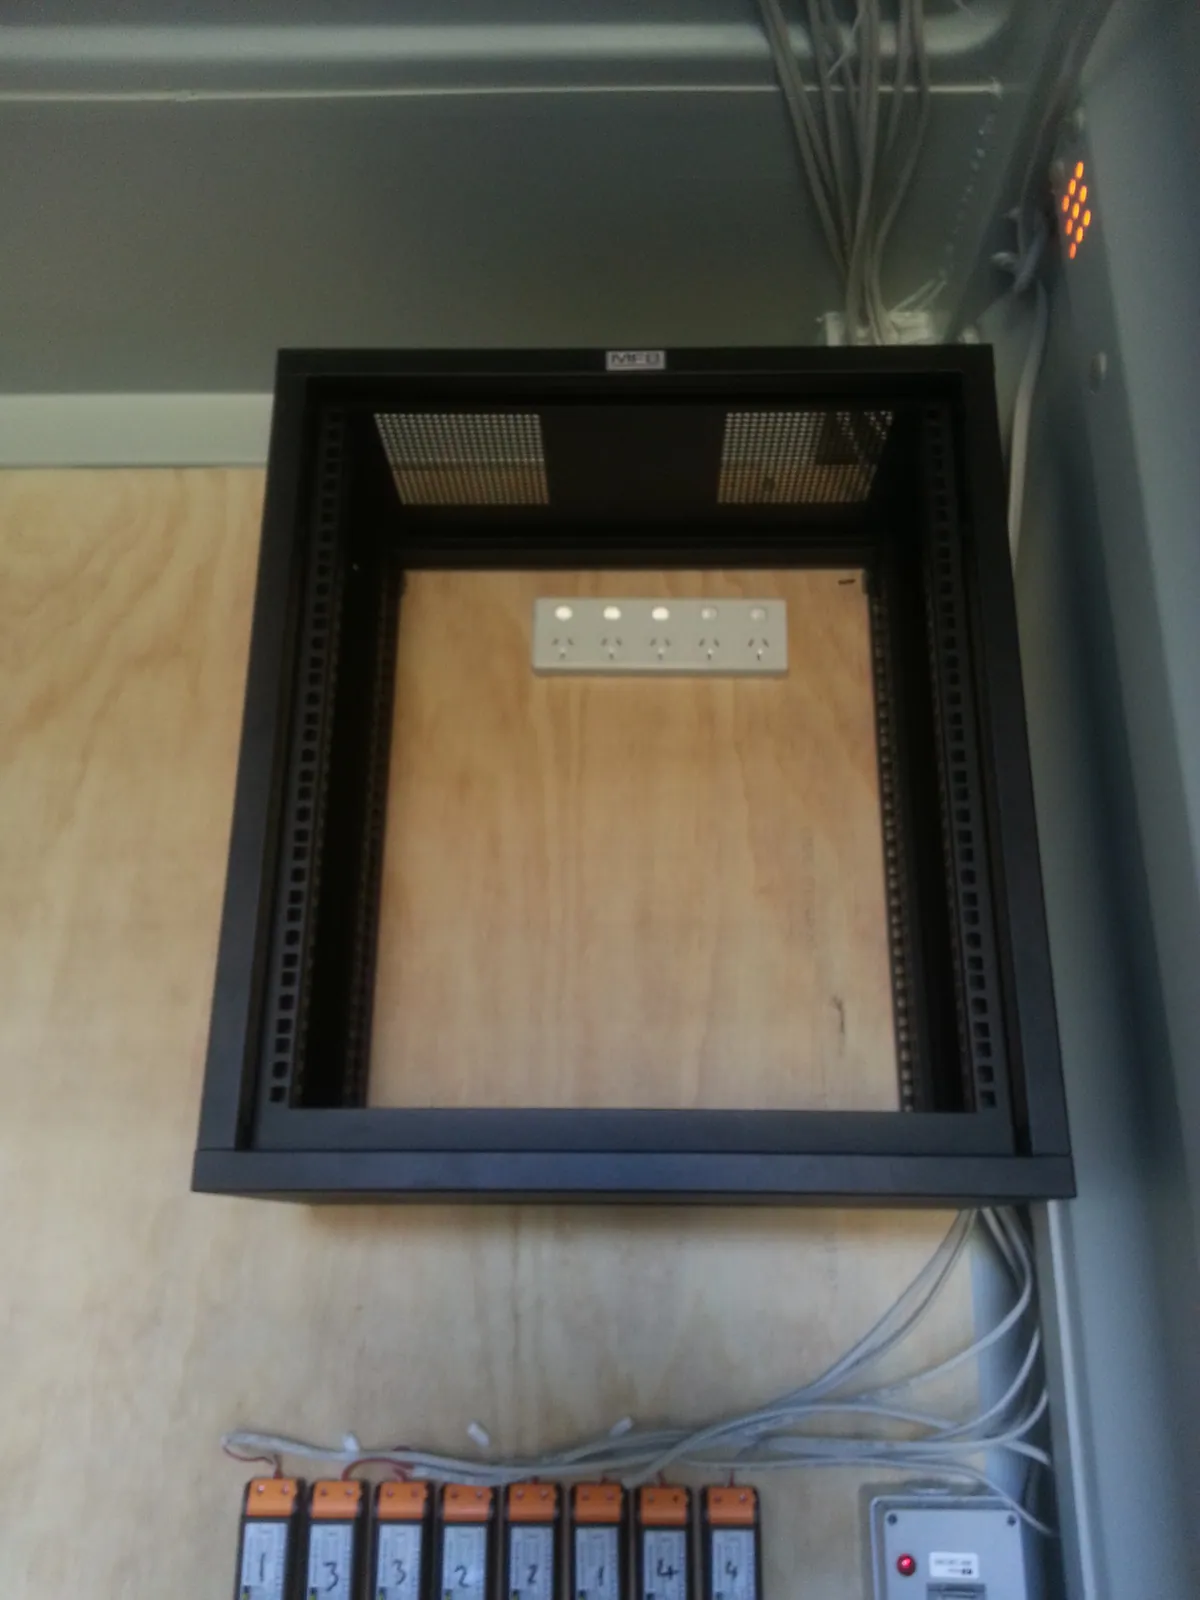
A closer view of the new wall cabinet.
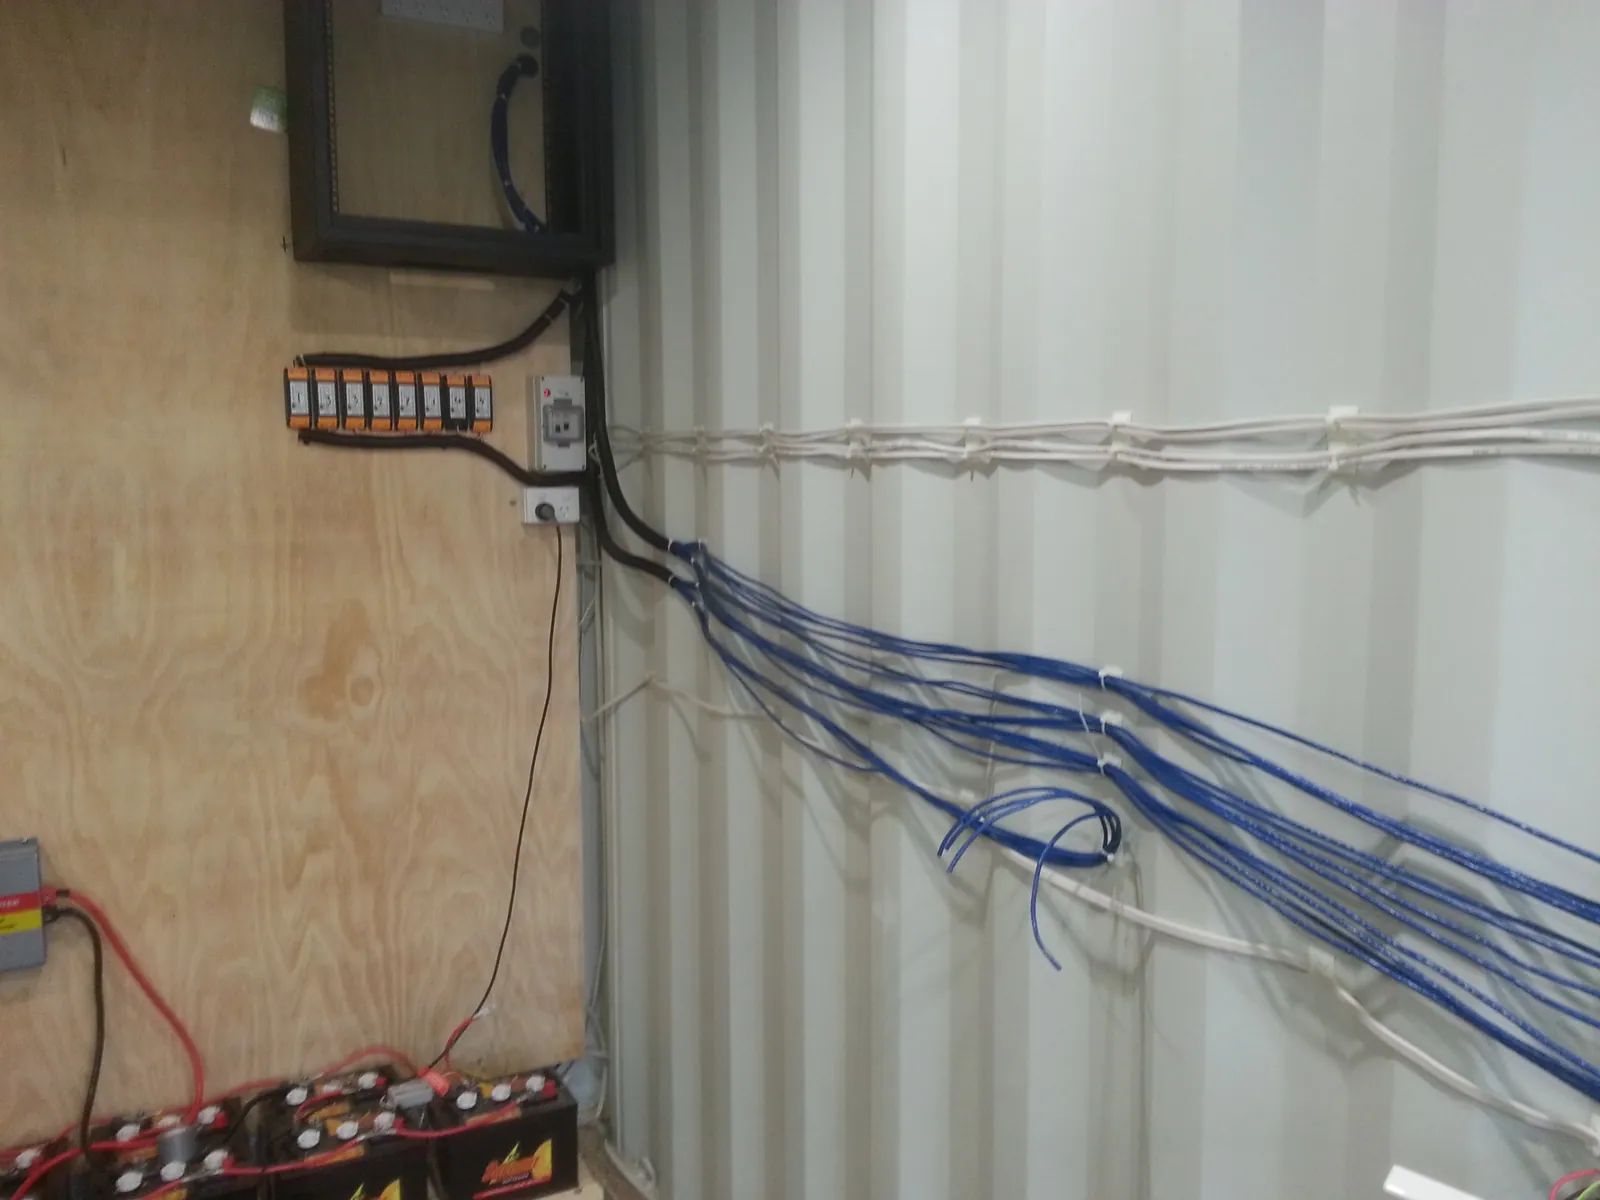
Blue data cables gathered beneath the wall cabinet.
03Building the internal service area
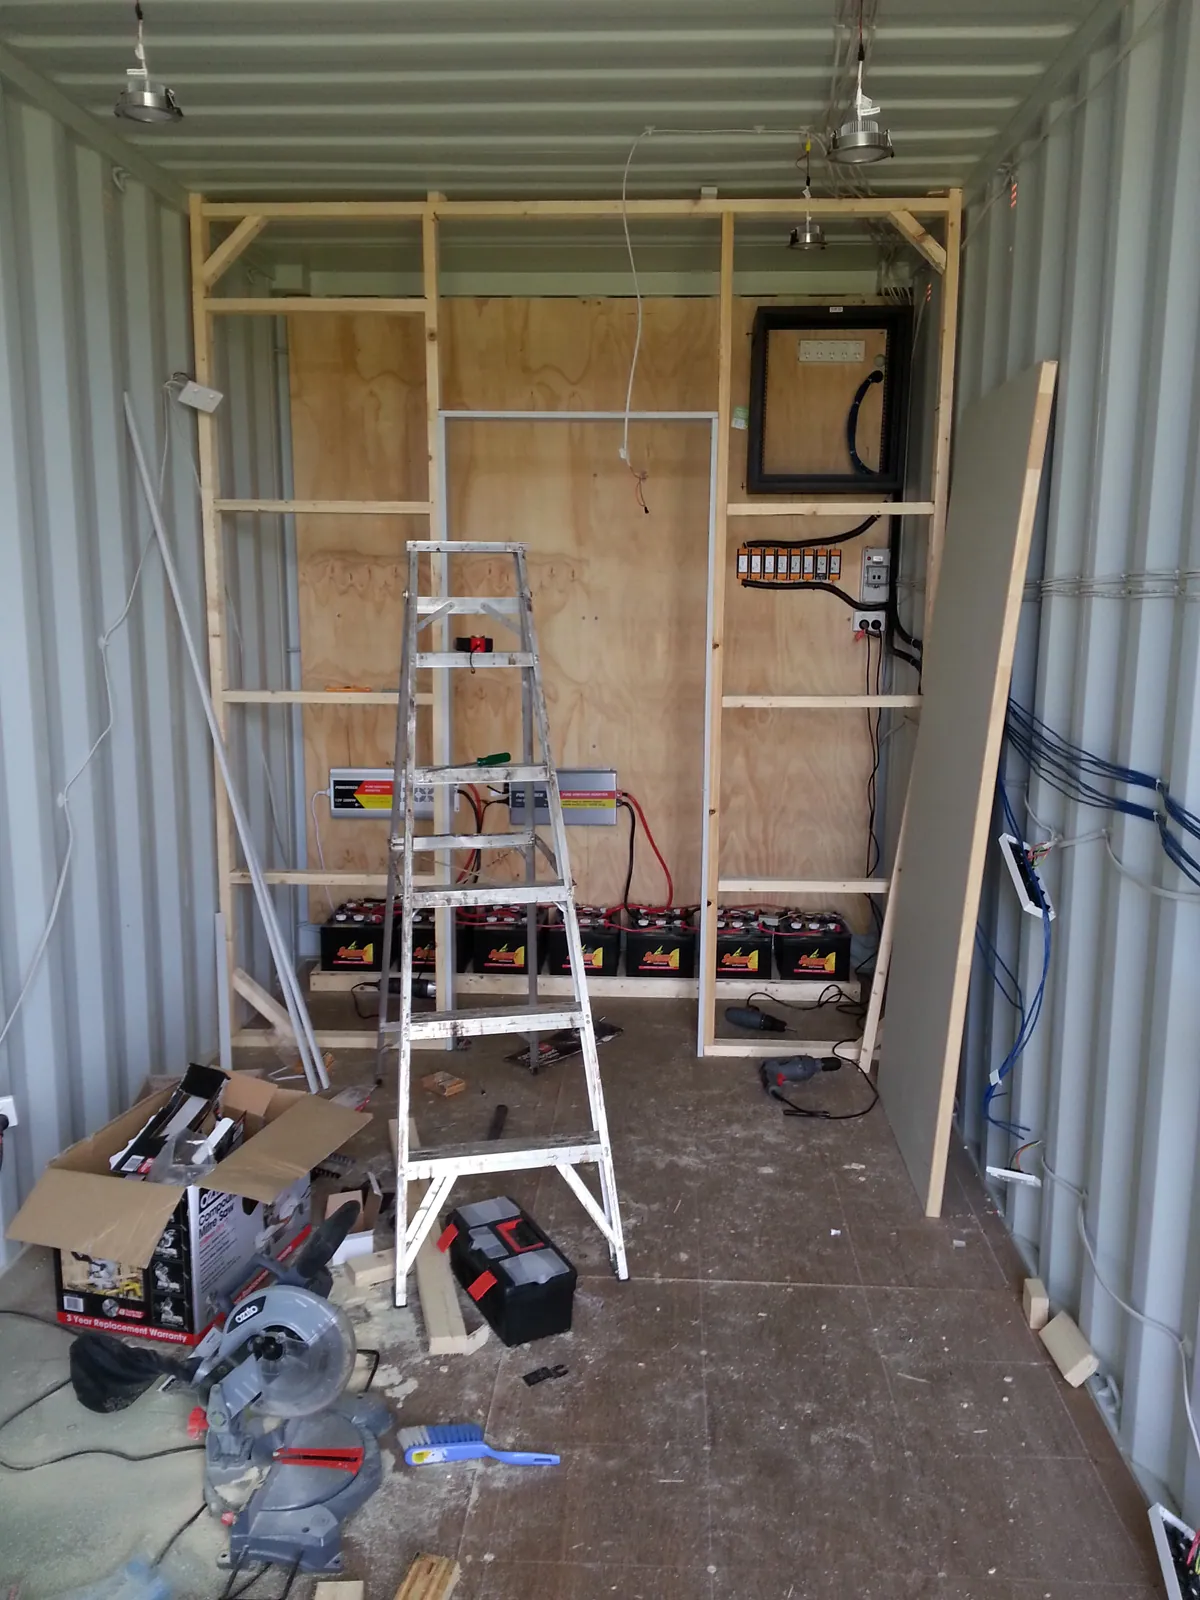
Timber framing begins for the internal partition.
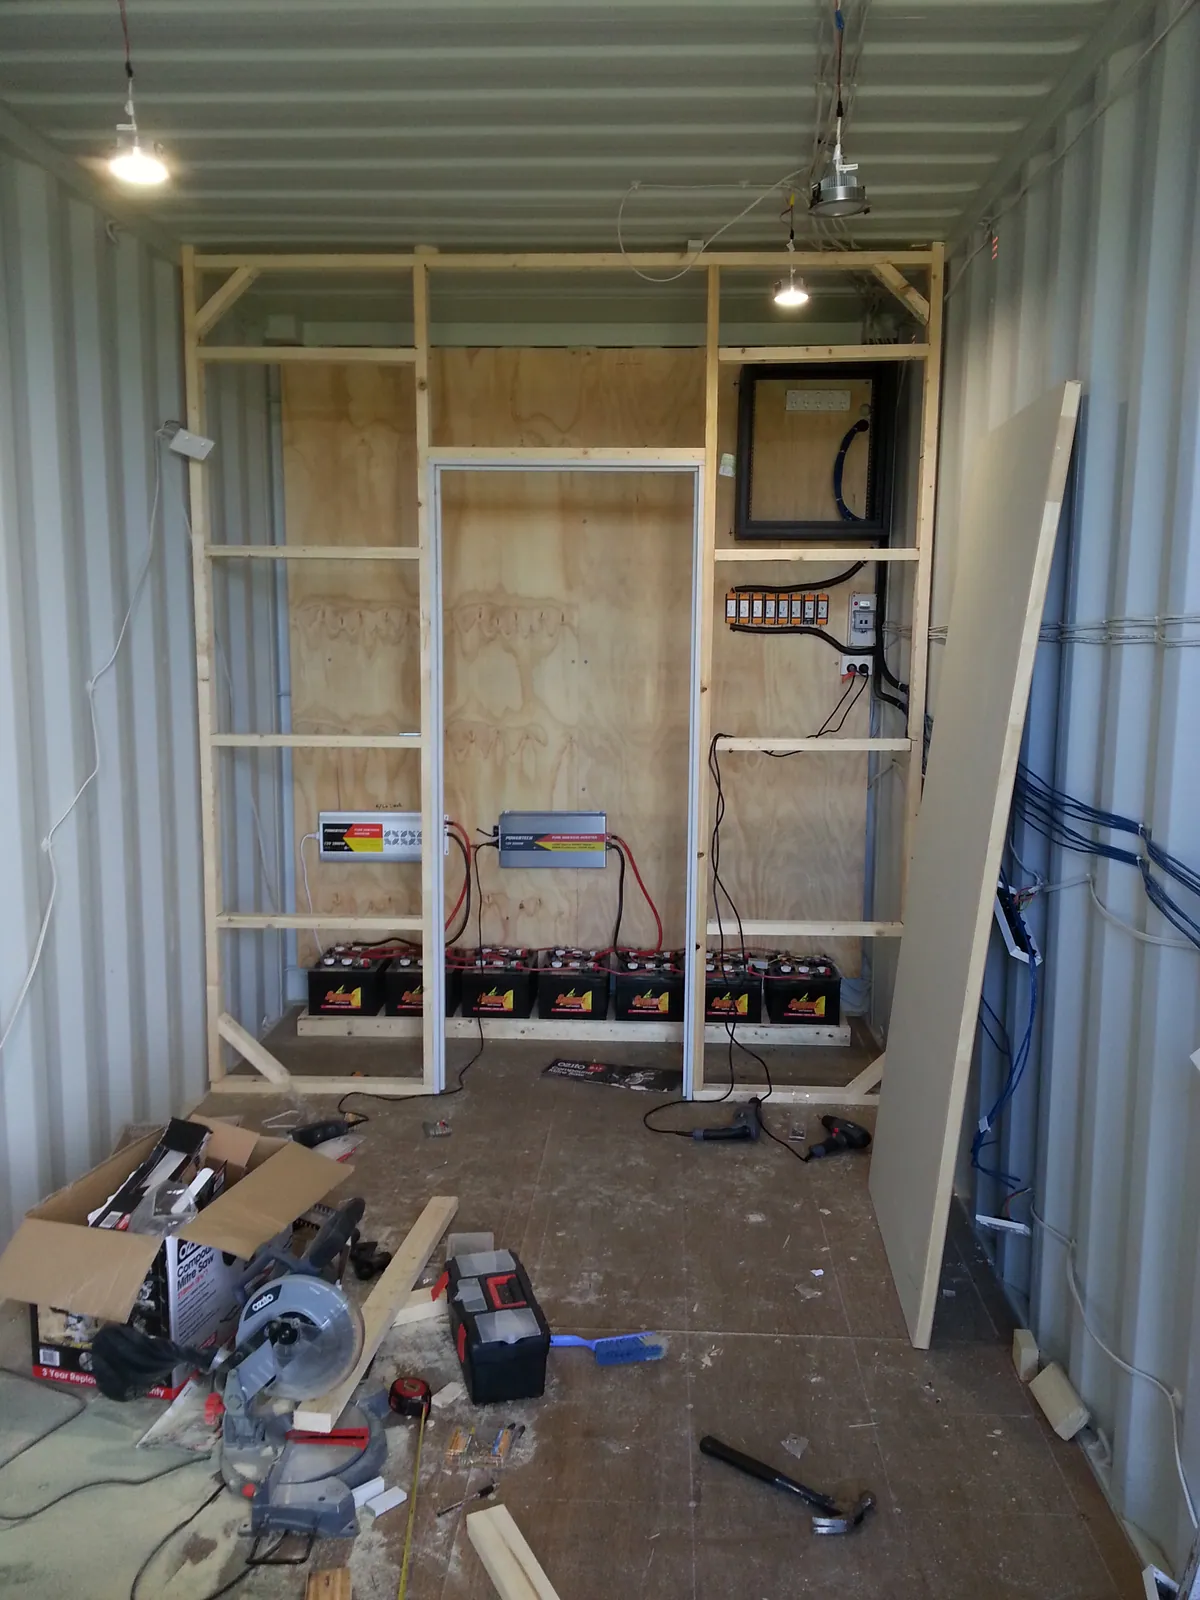
The framed partition and doorway take shape.
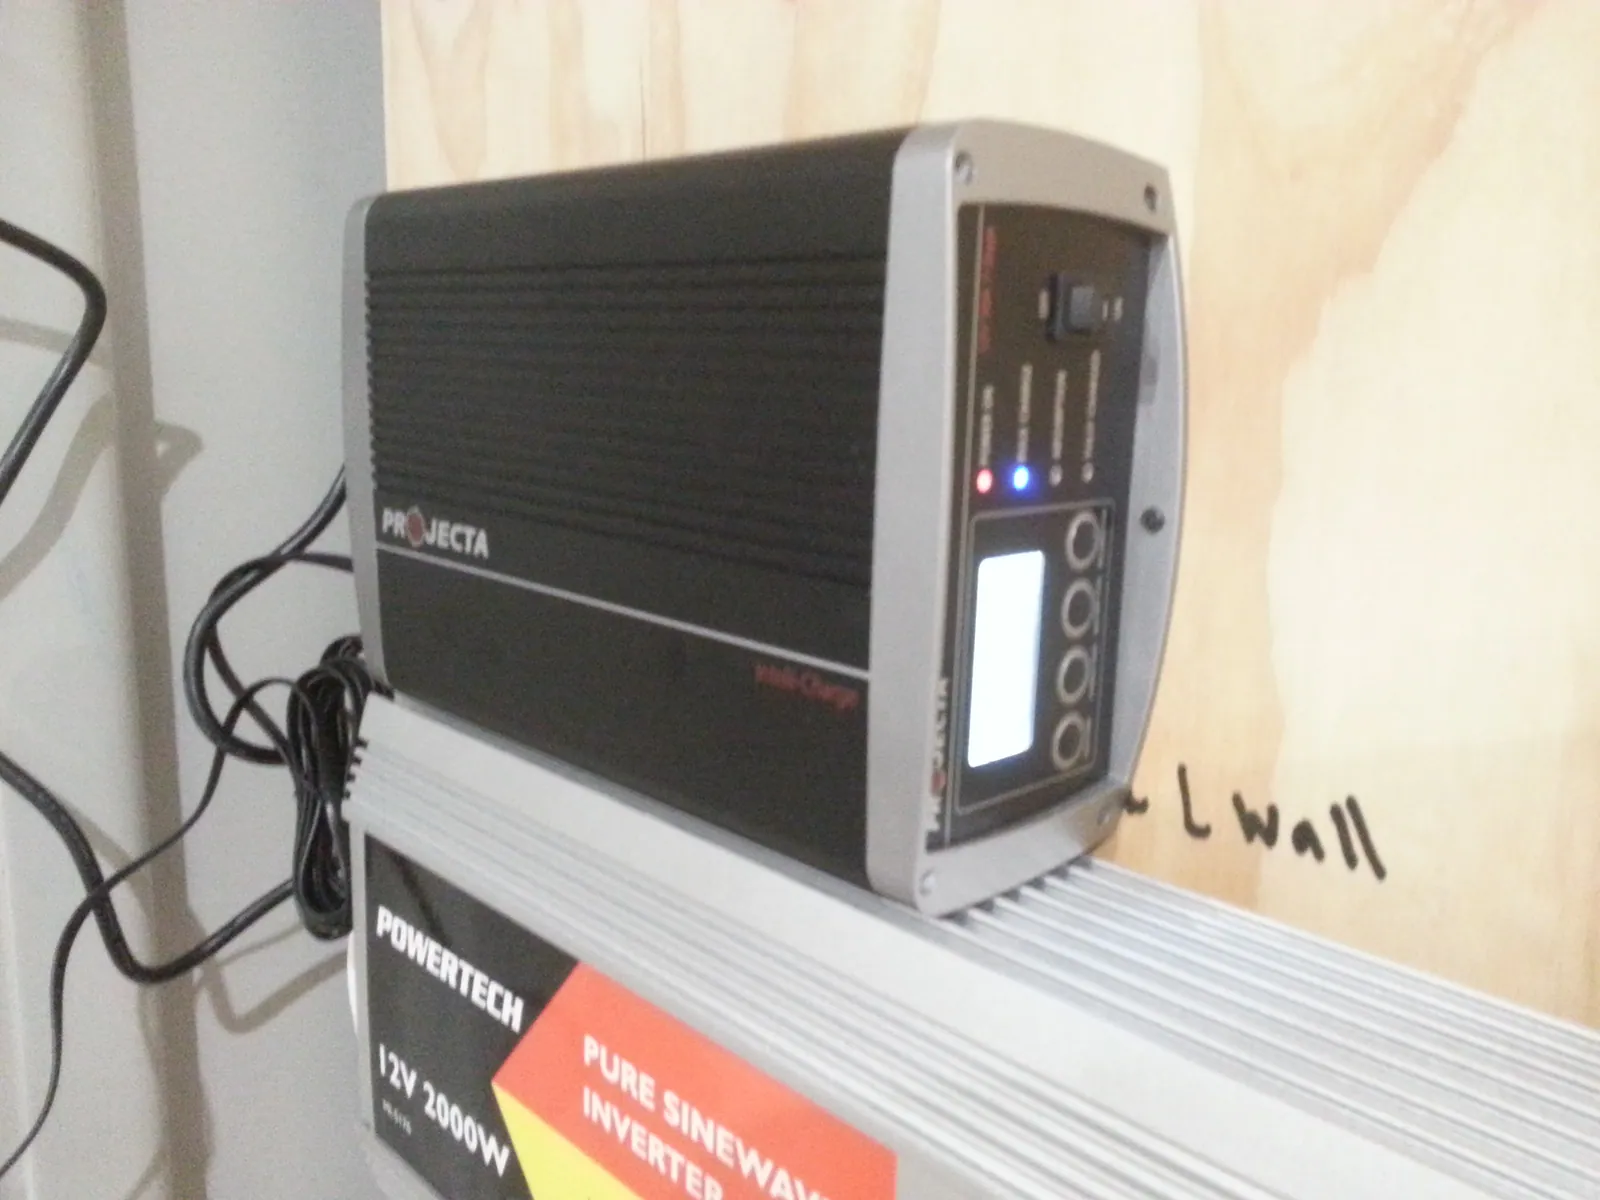
A computer mounted on the equipment wall.
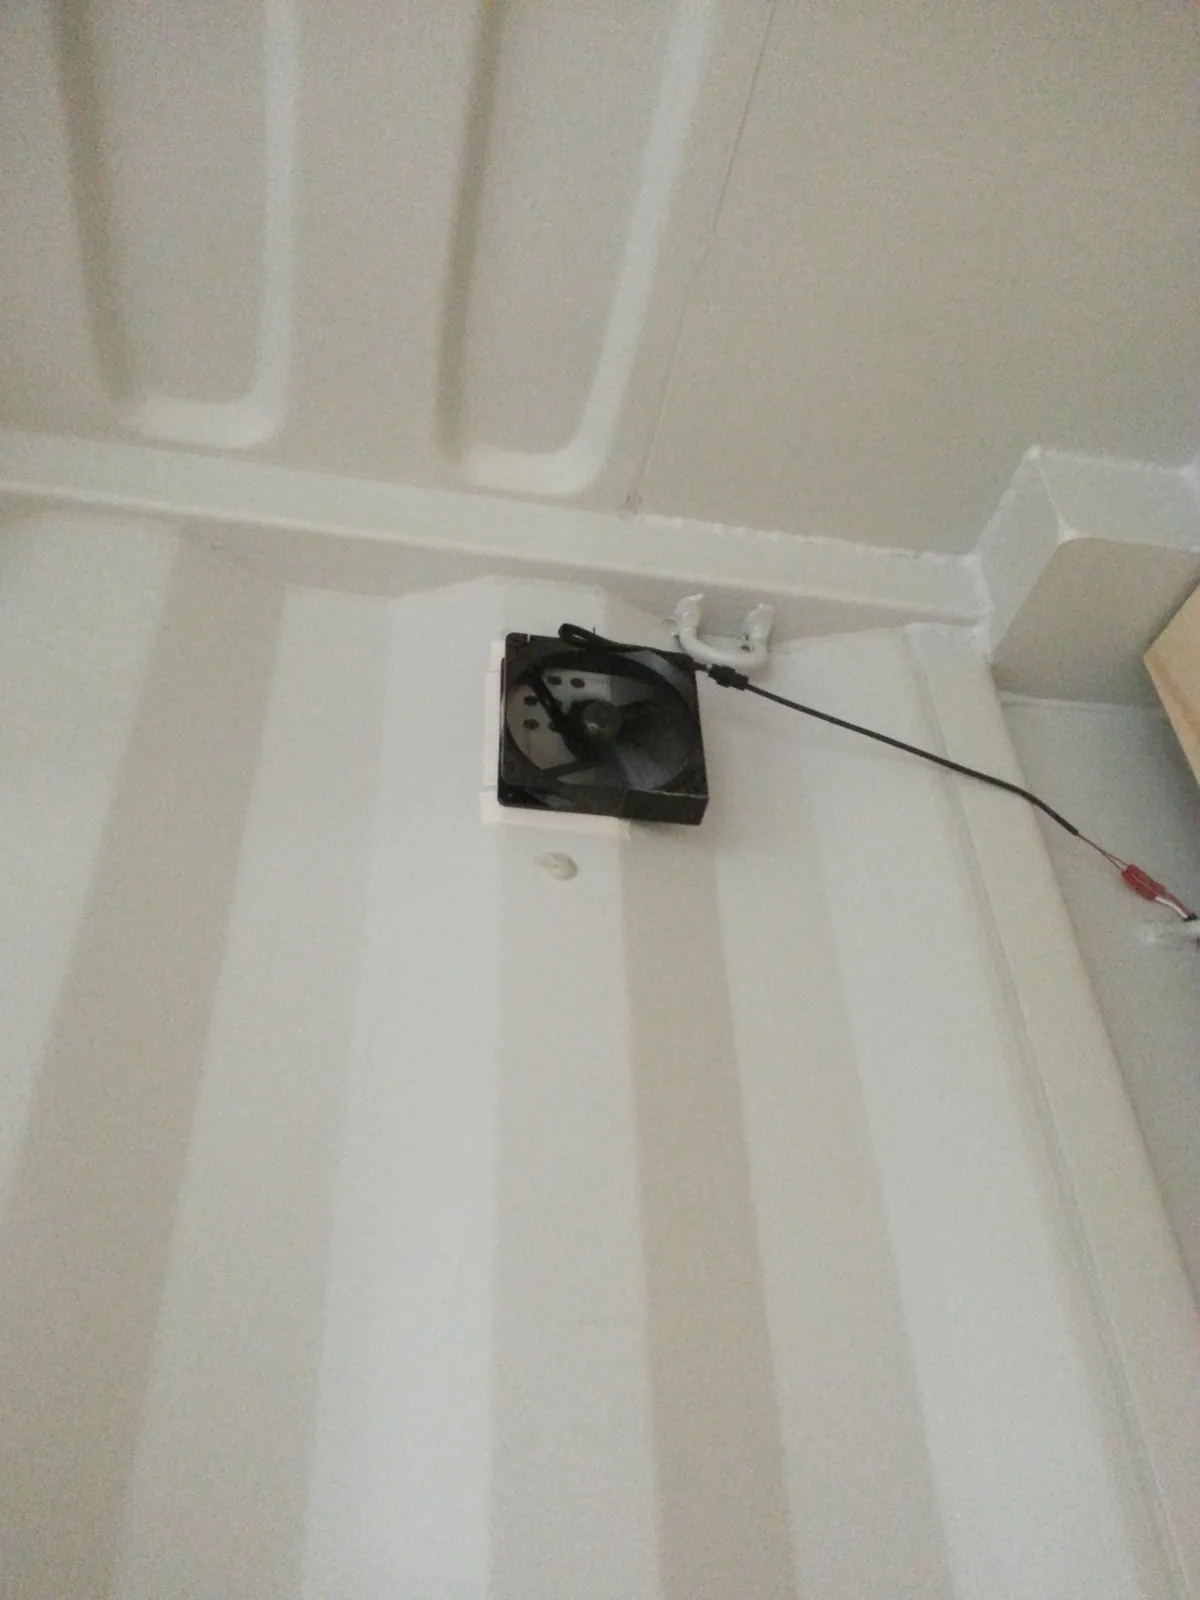
A small camera mounted near the ceiling.
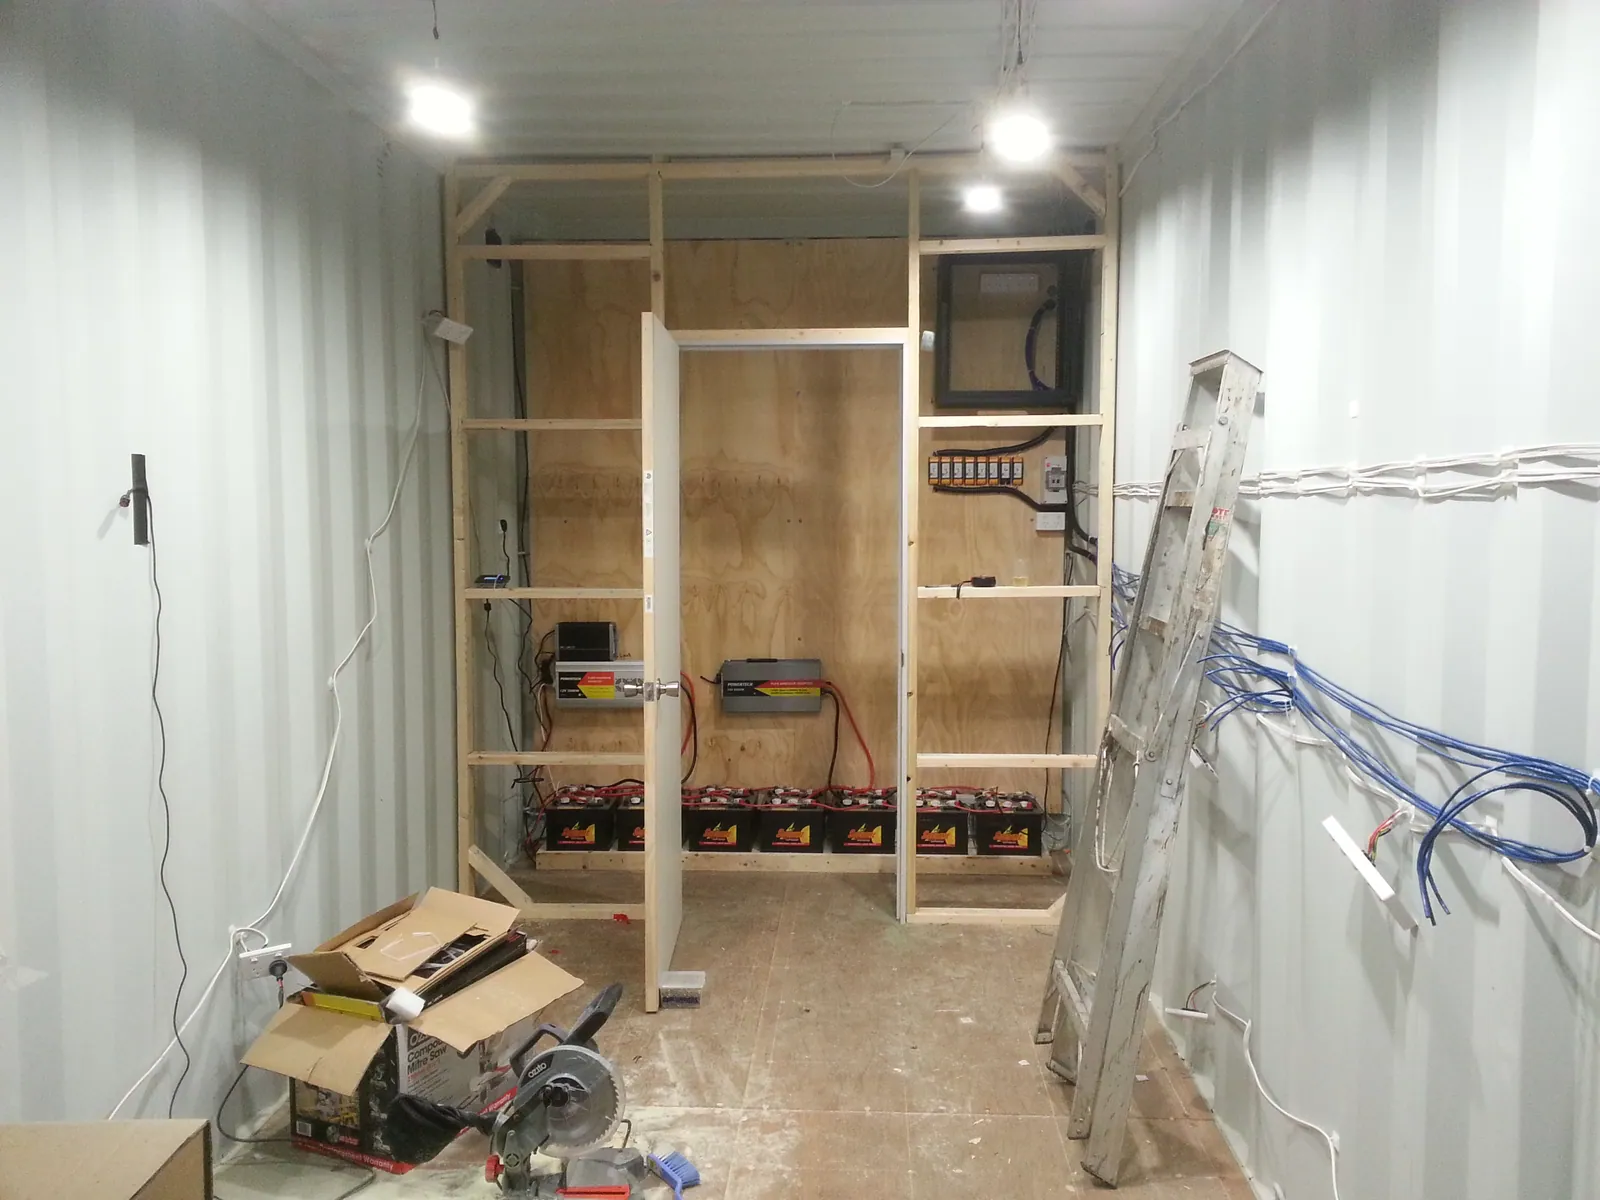
The framed service-area doorway with its door fitted.
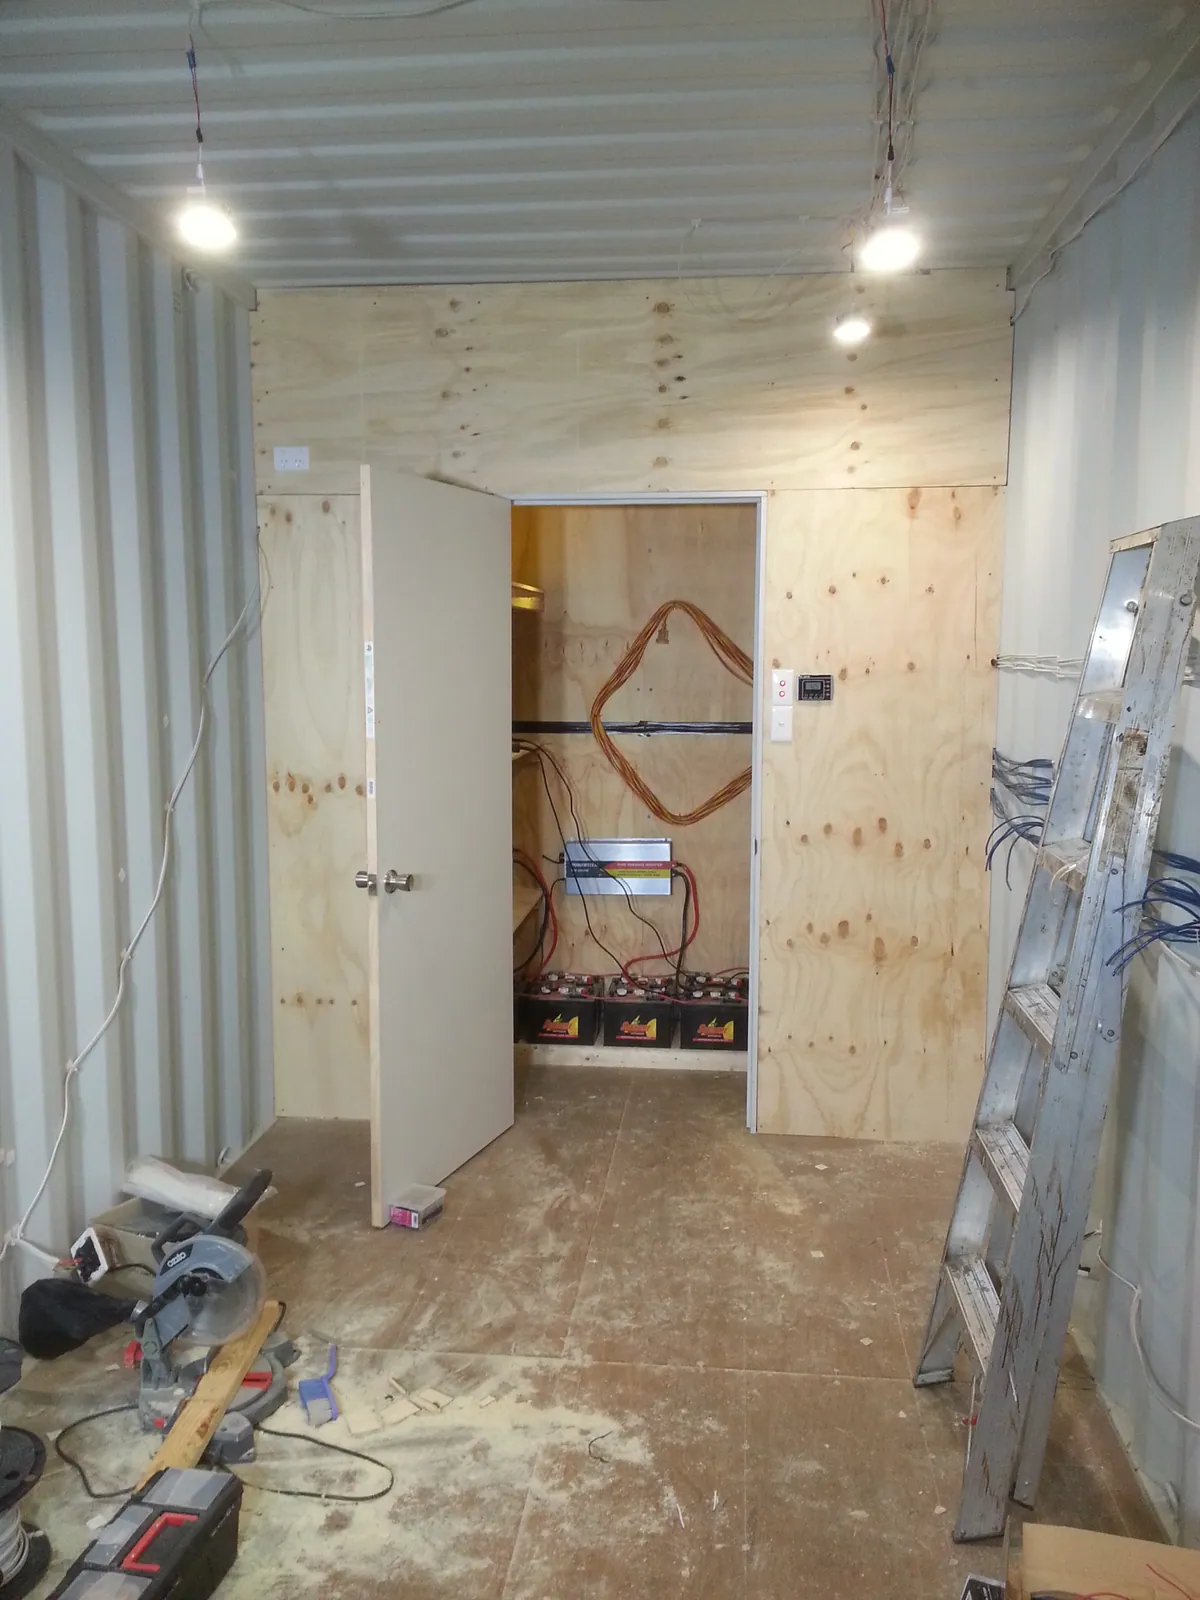
The partition lined in plywood, separating the service area.
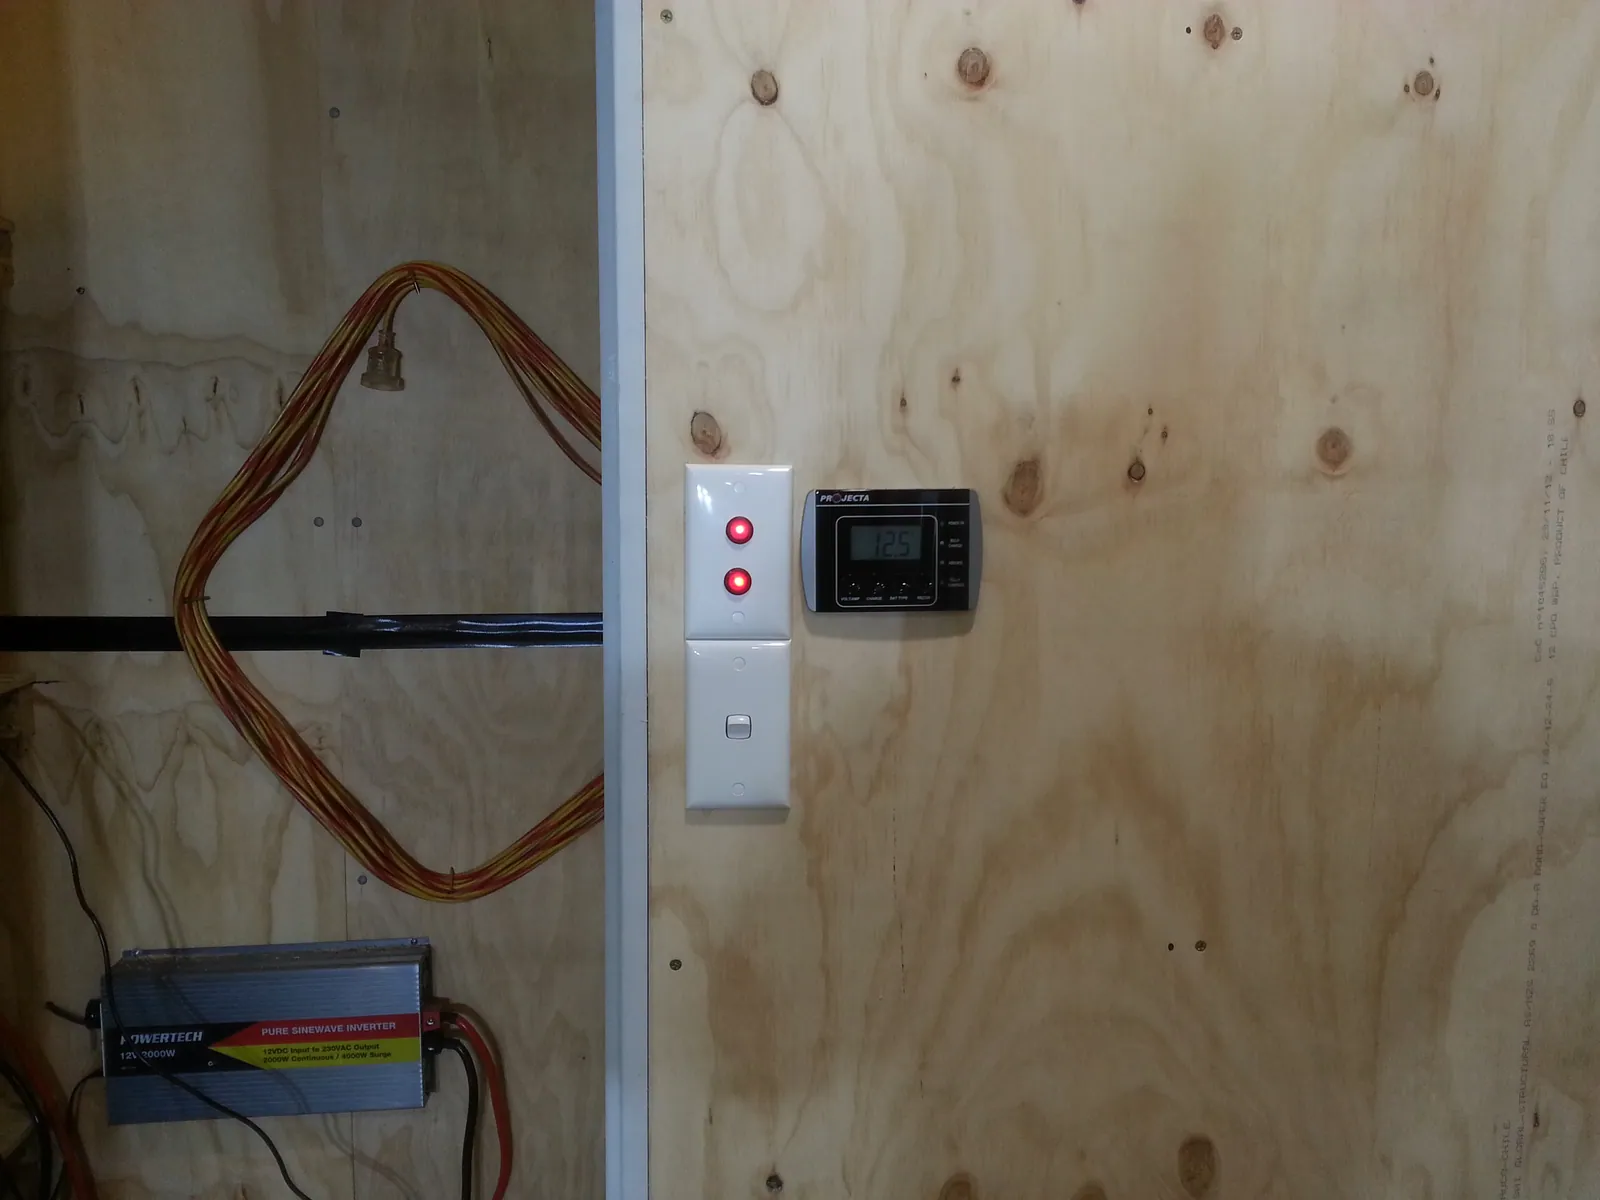
The control panel and switches beside the service-area door.
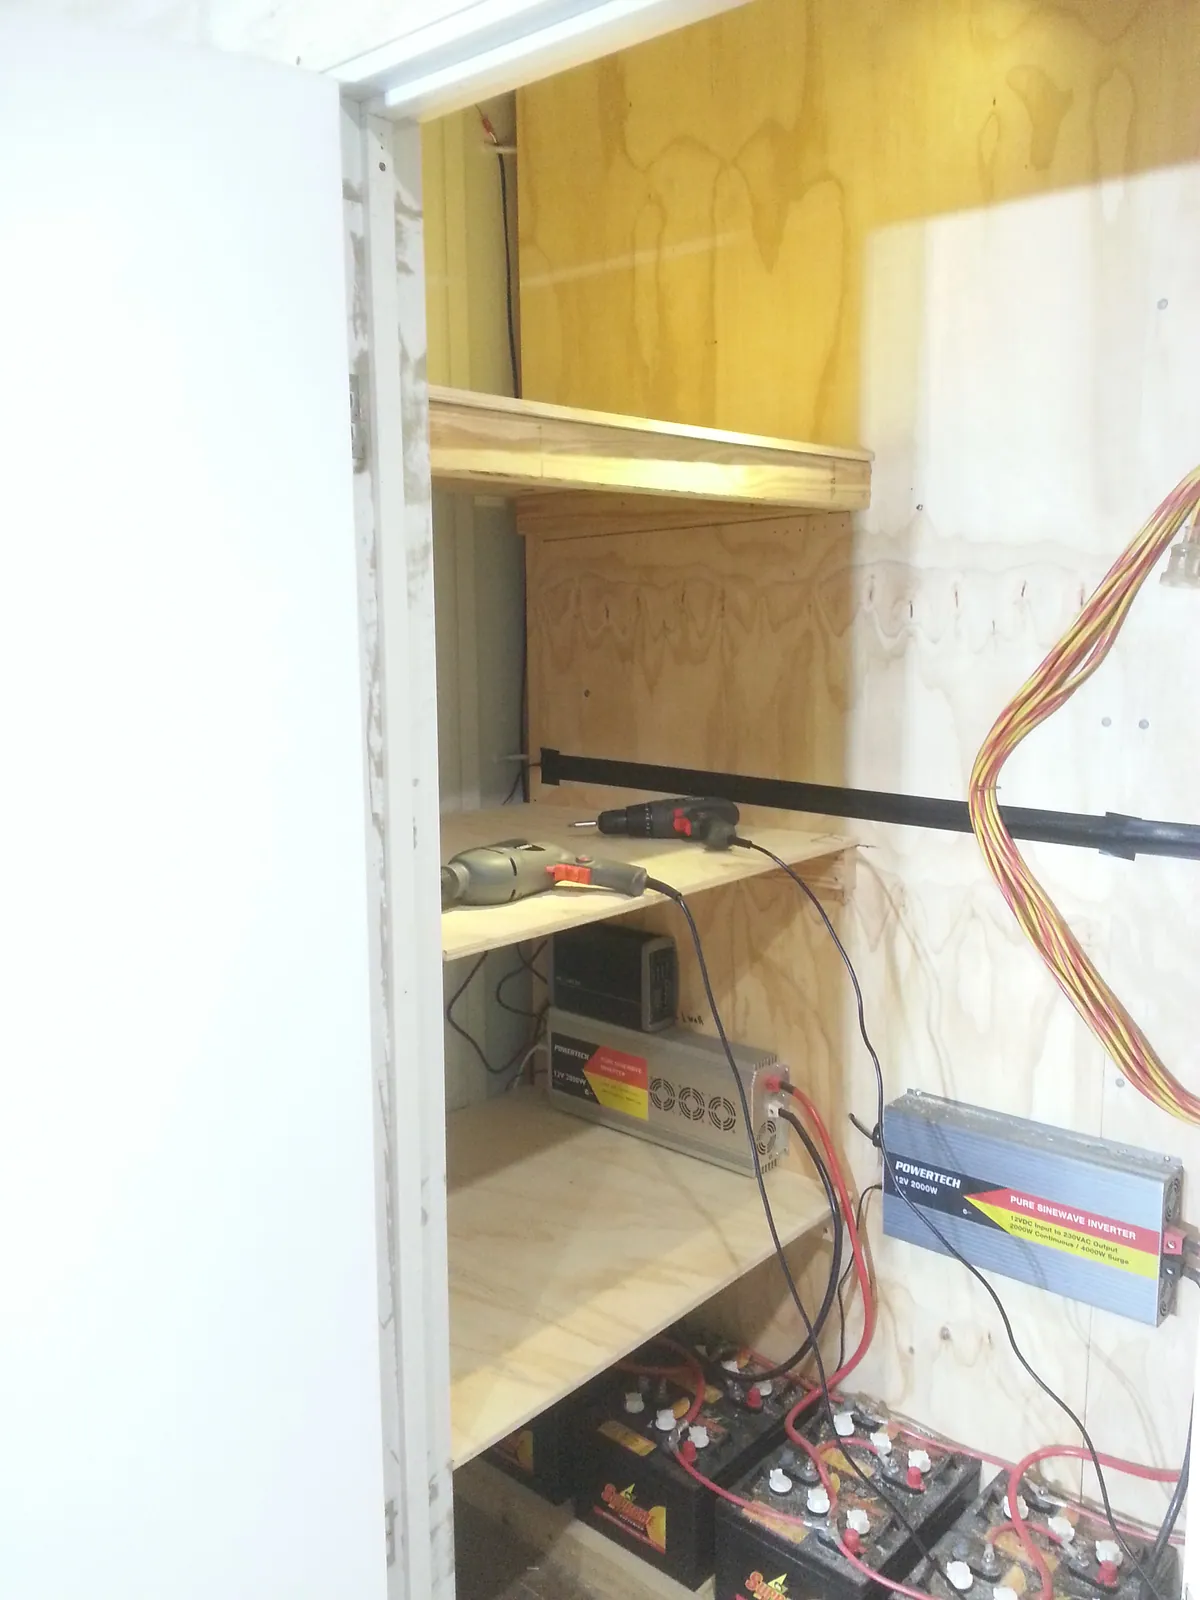
Shelving and power equipment inside the new service area.
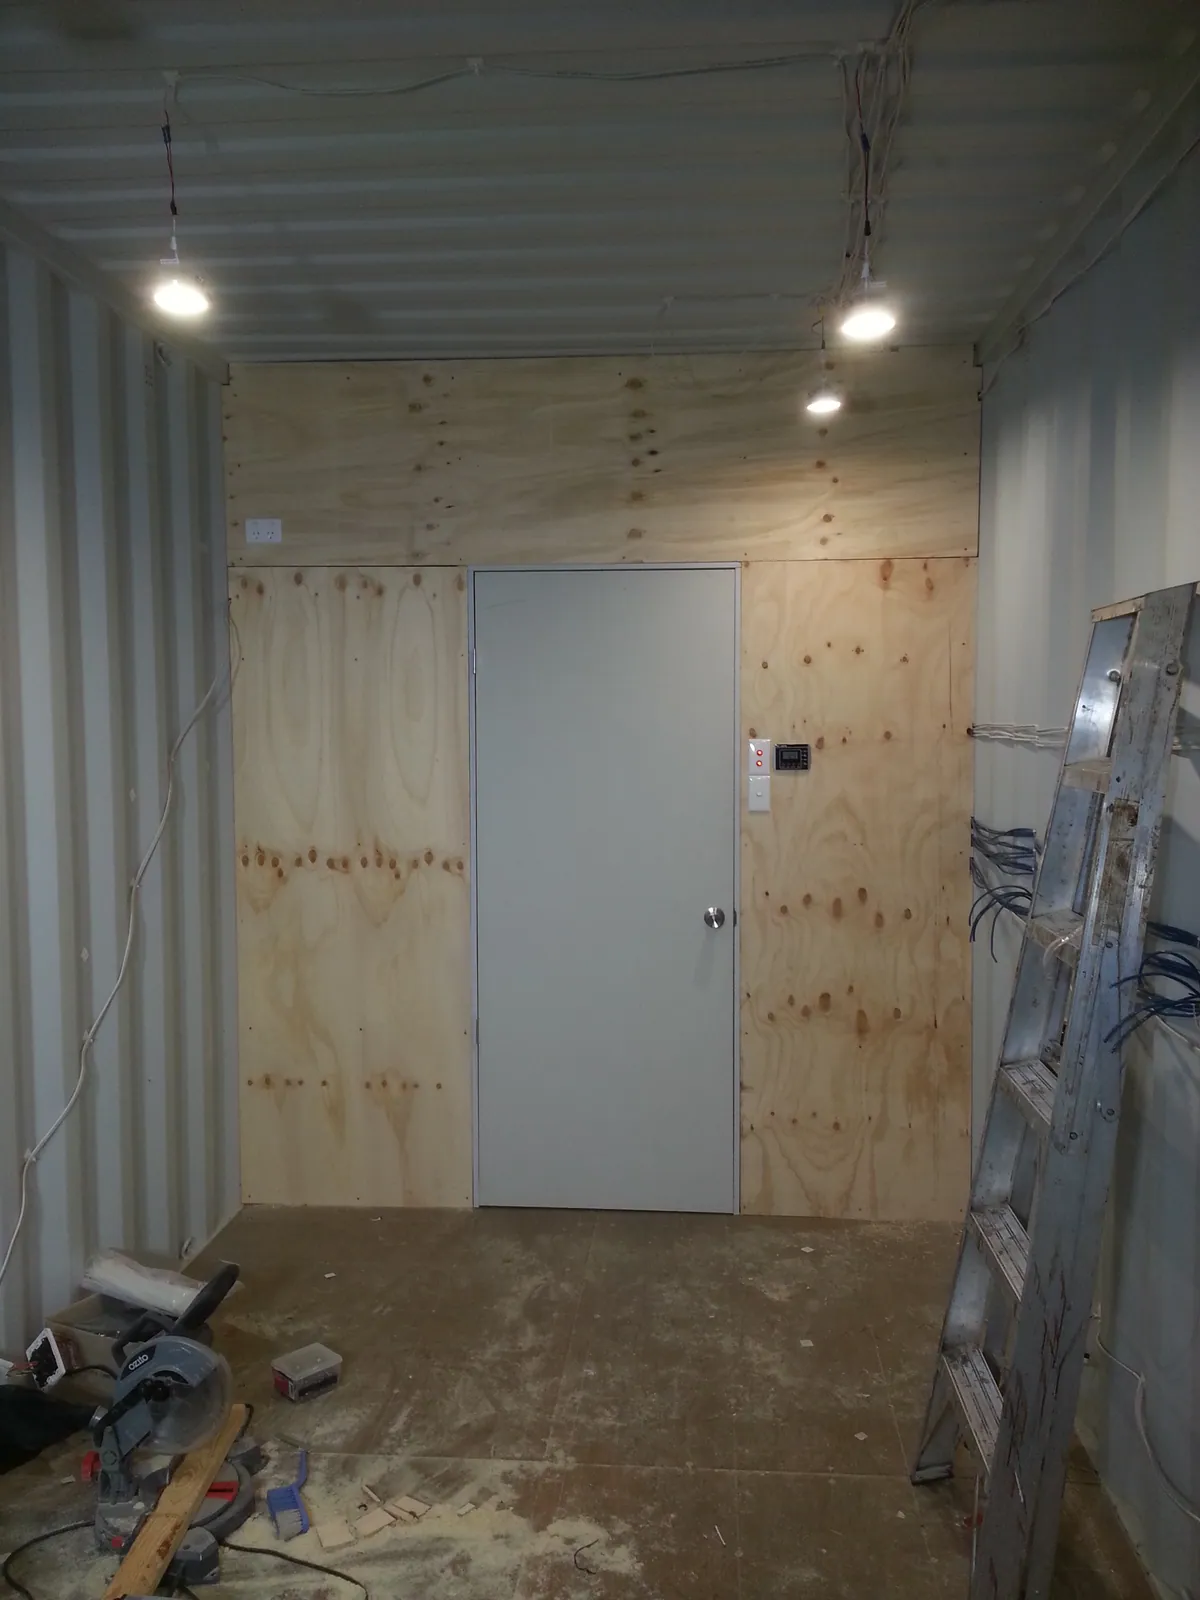
The lined partition with the service-area door closed.
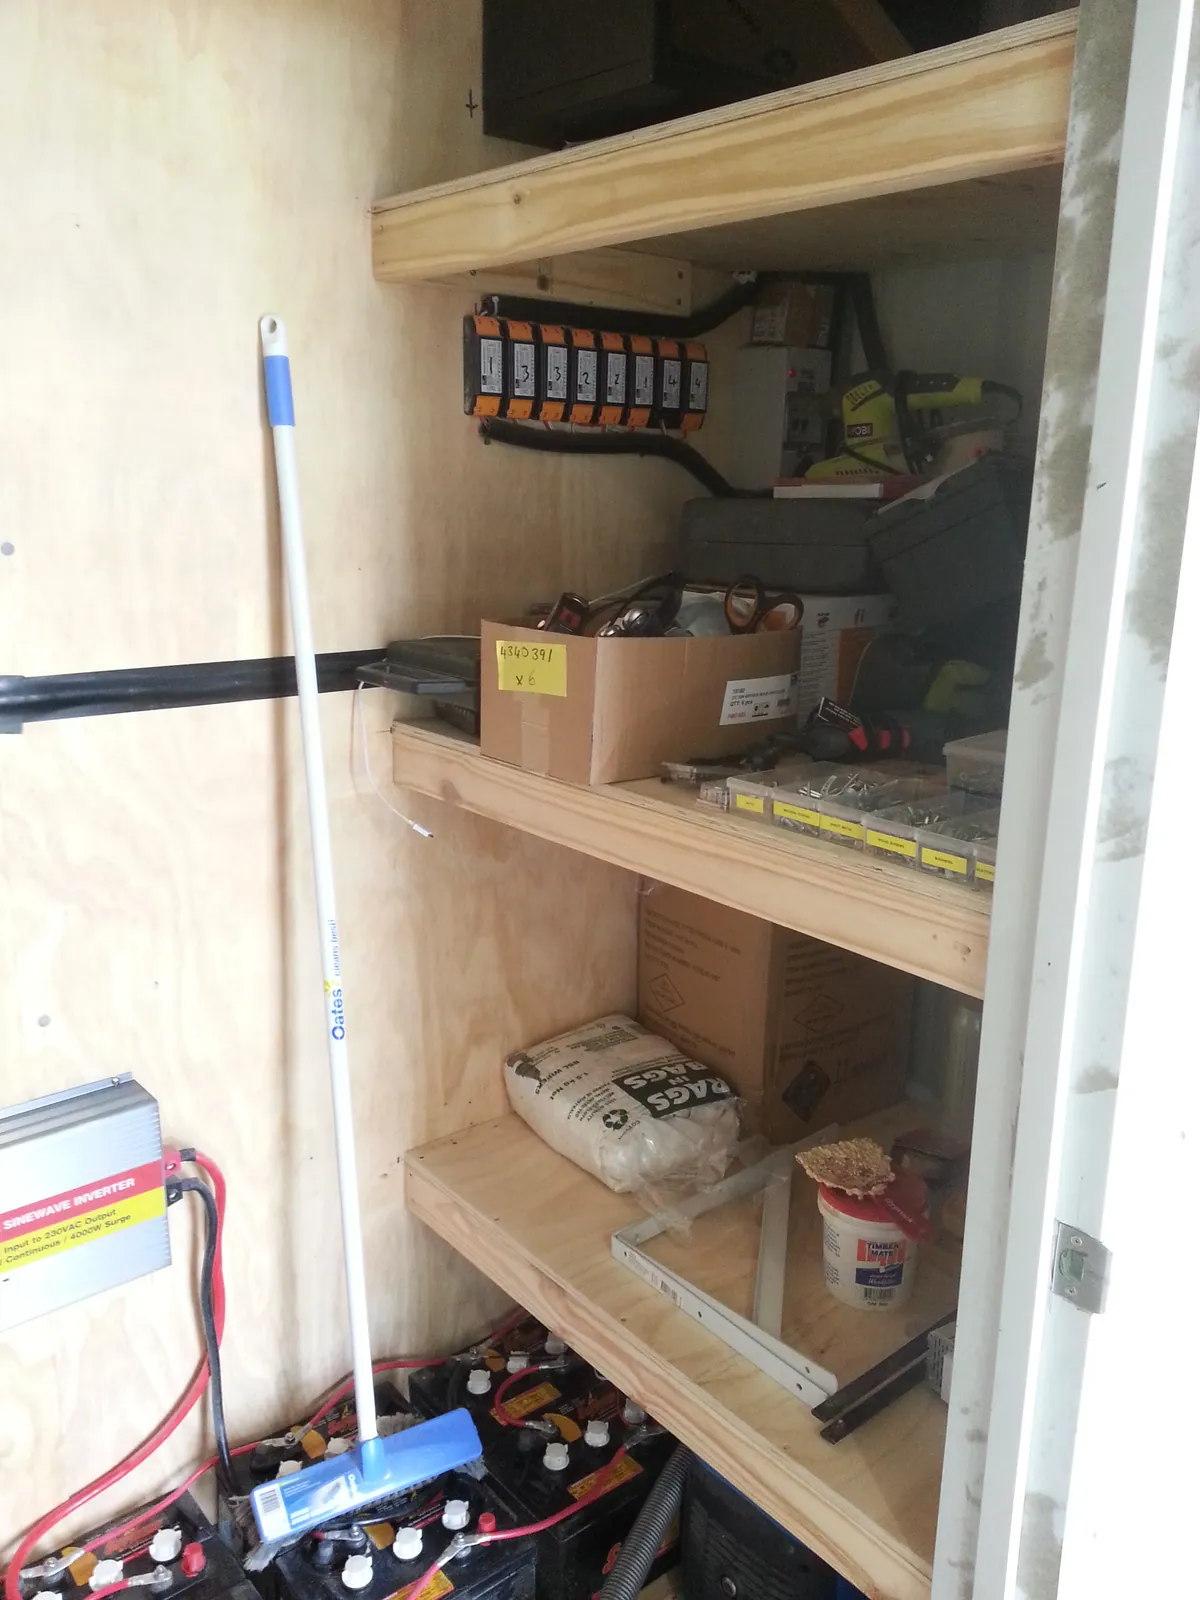
Shelving inside the service area later in May.
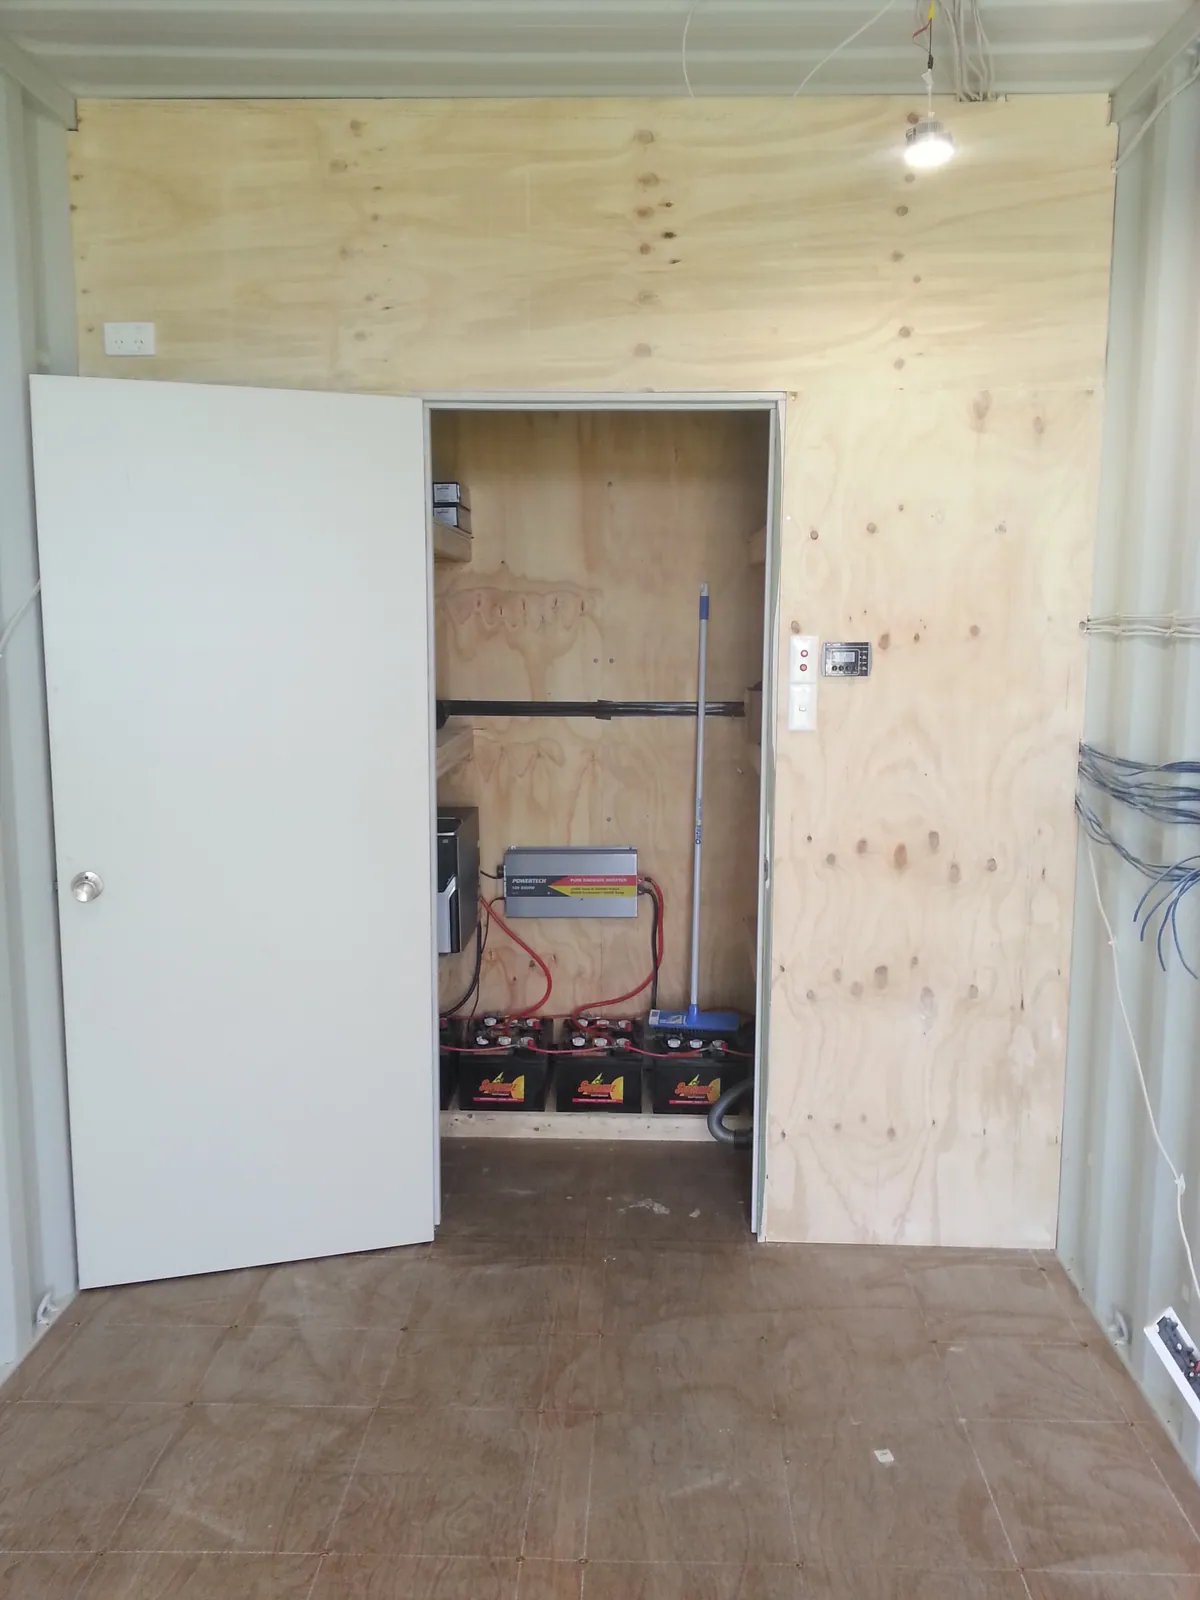
The service-area doorway before the main walls are lined.
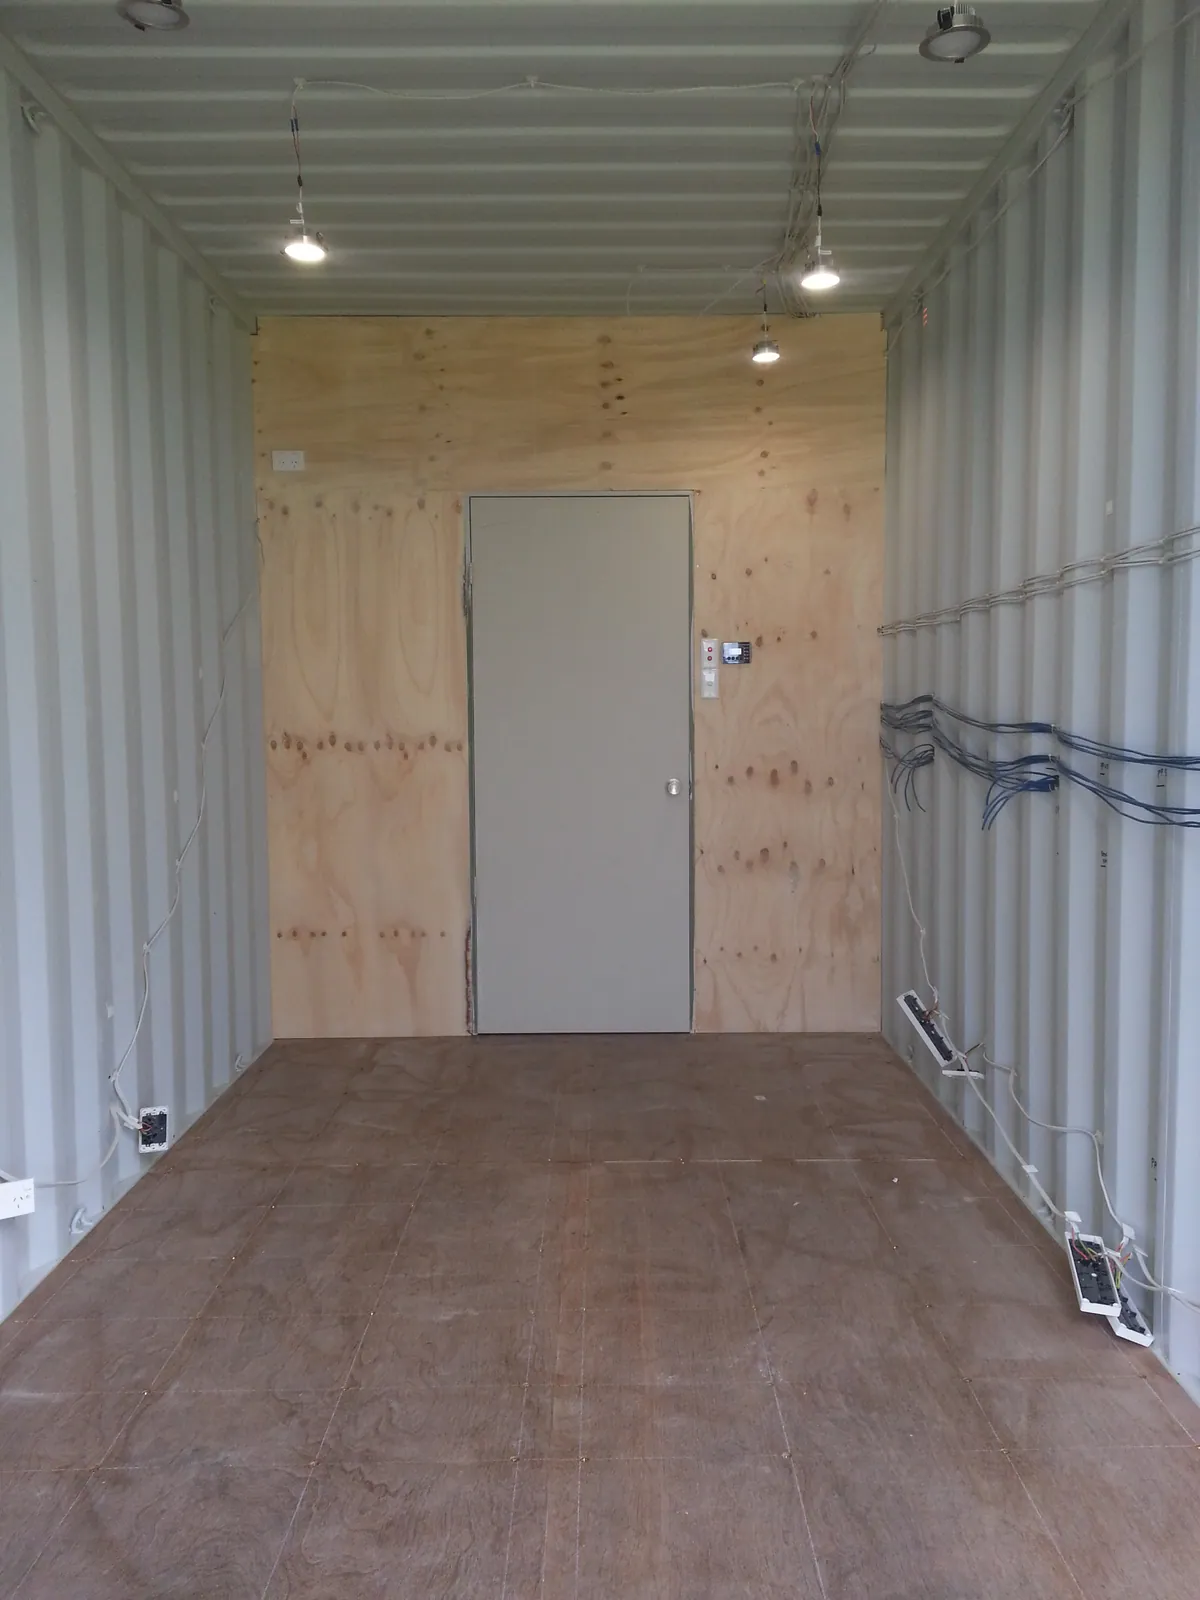
The cleared main interior, ready for the next stage.
04Wall and ceiling lining
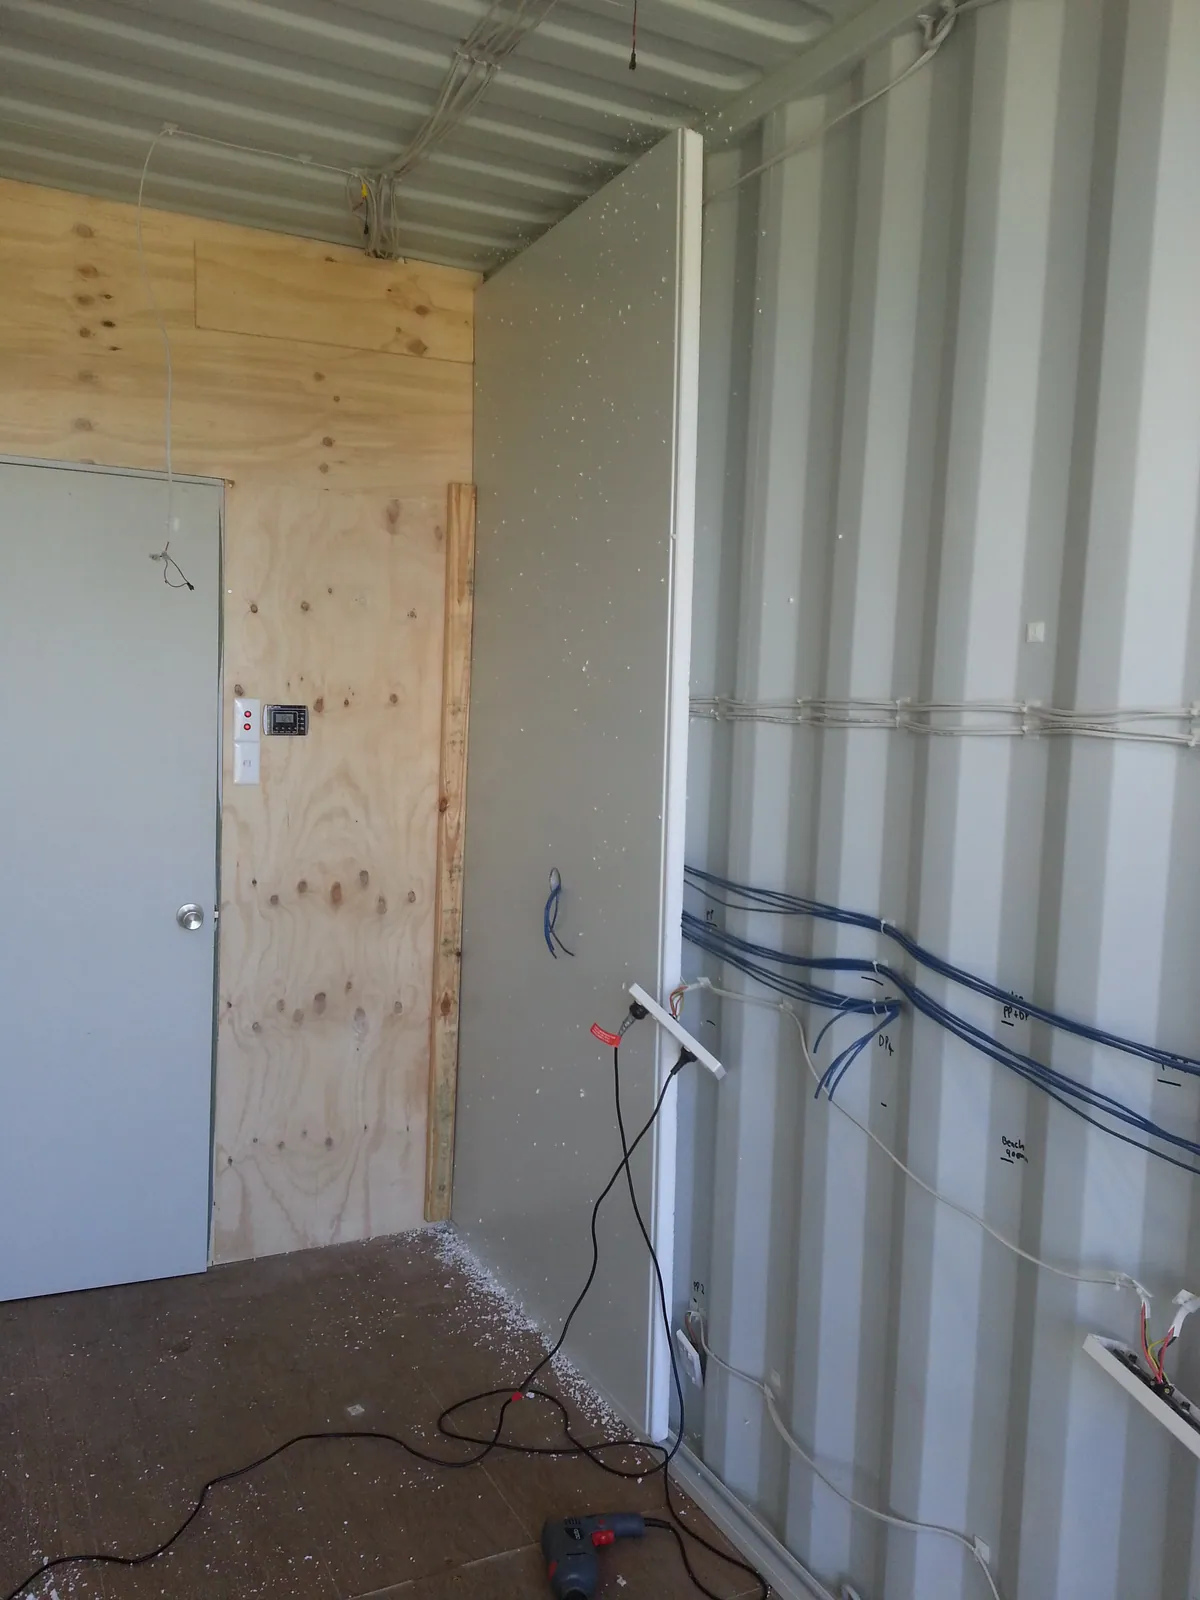
Wall lining starts beside the partition.
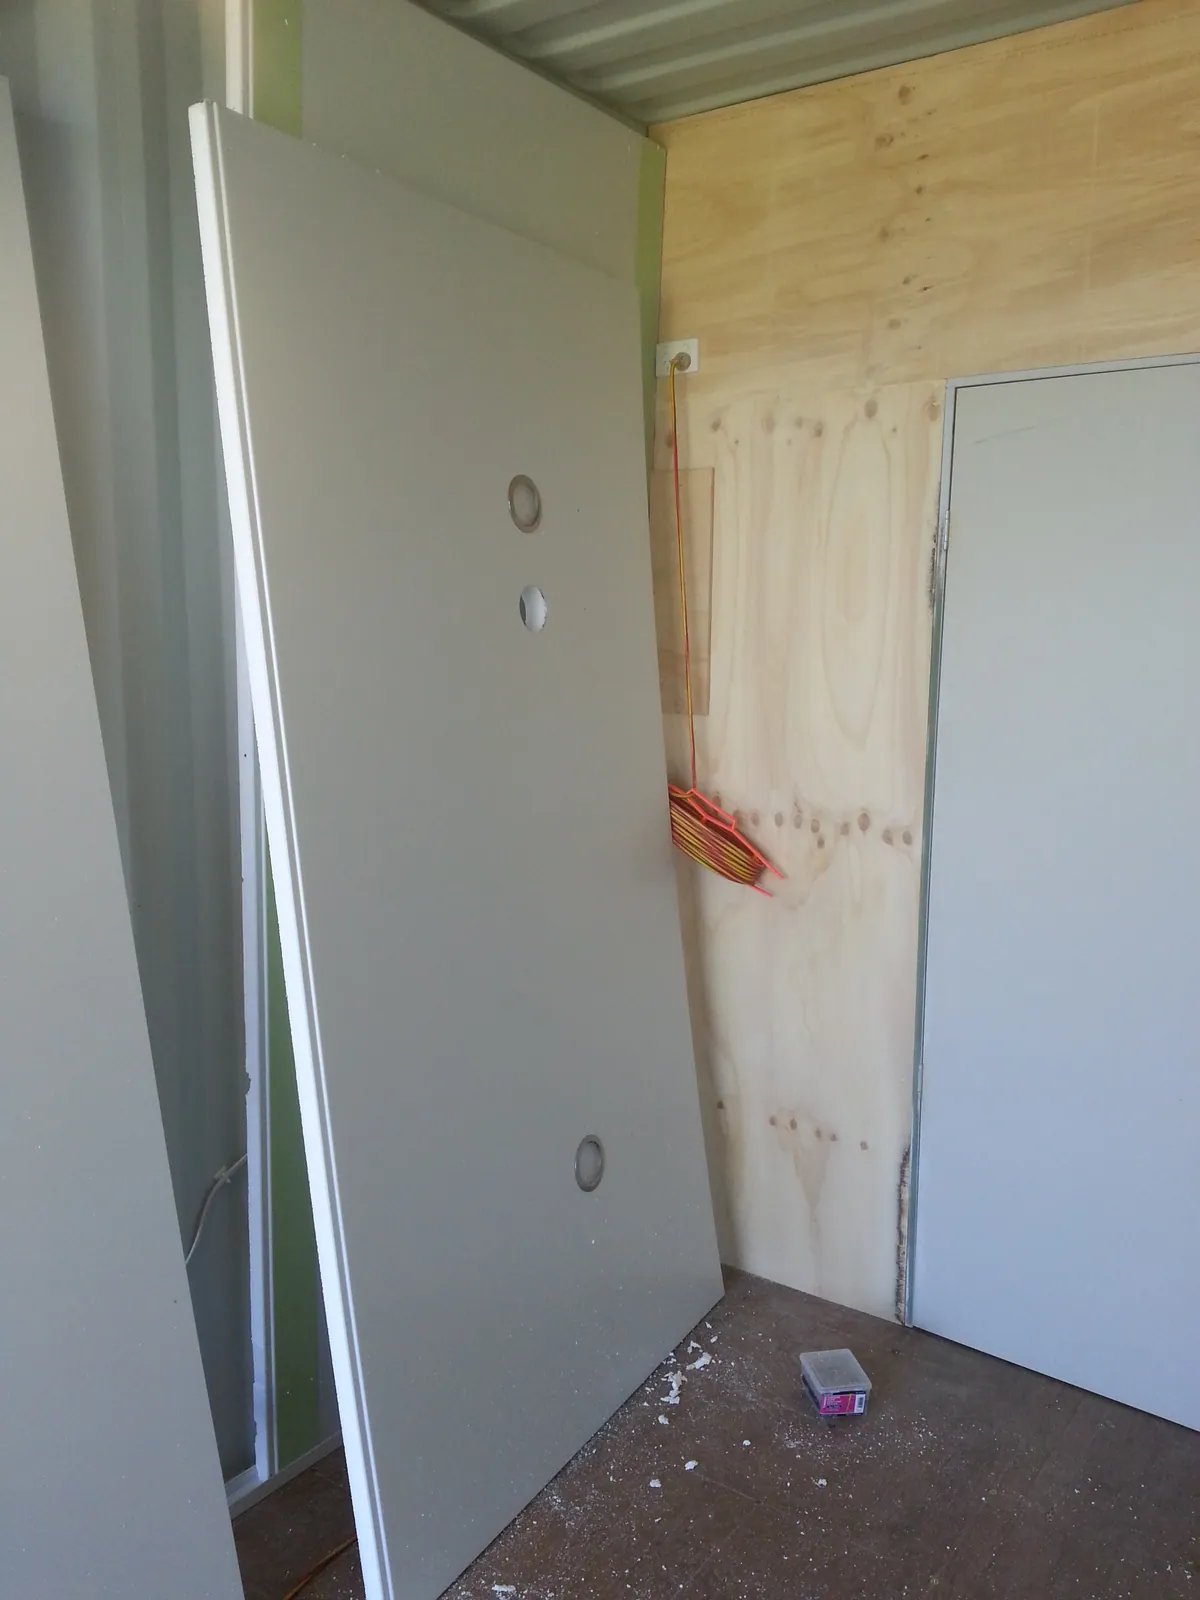
The door and partition from a closer angle.
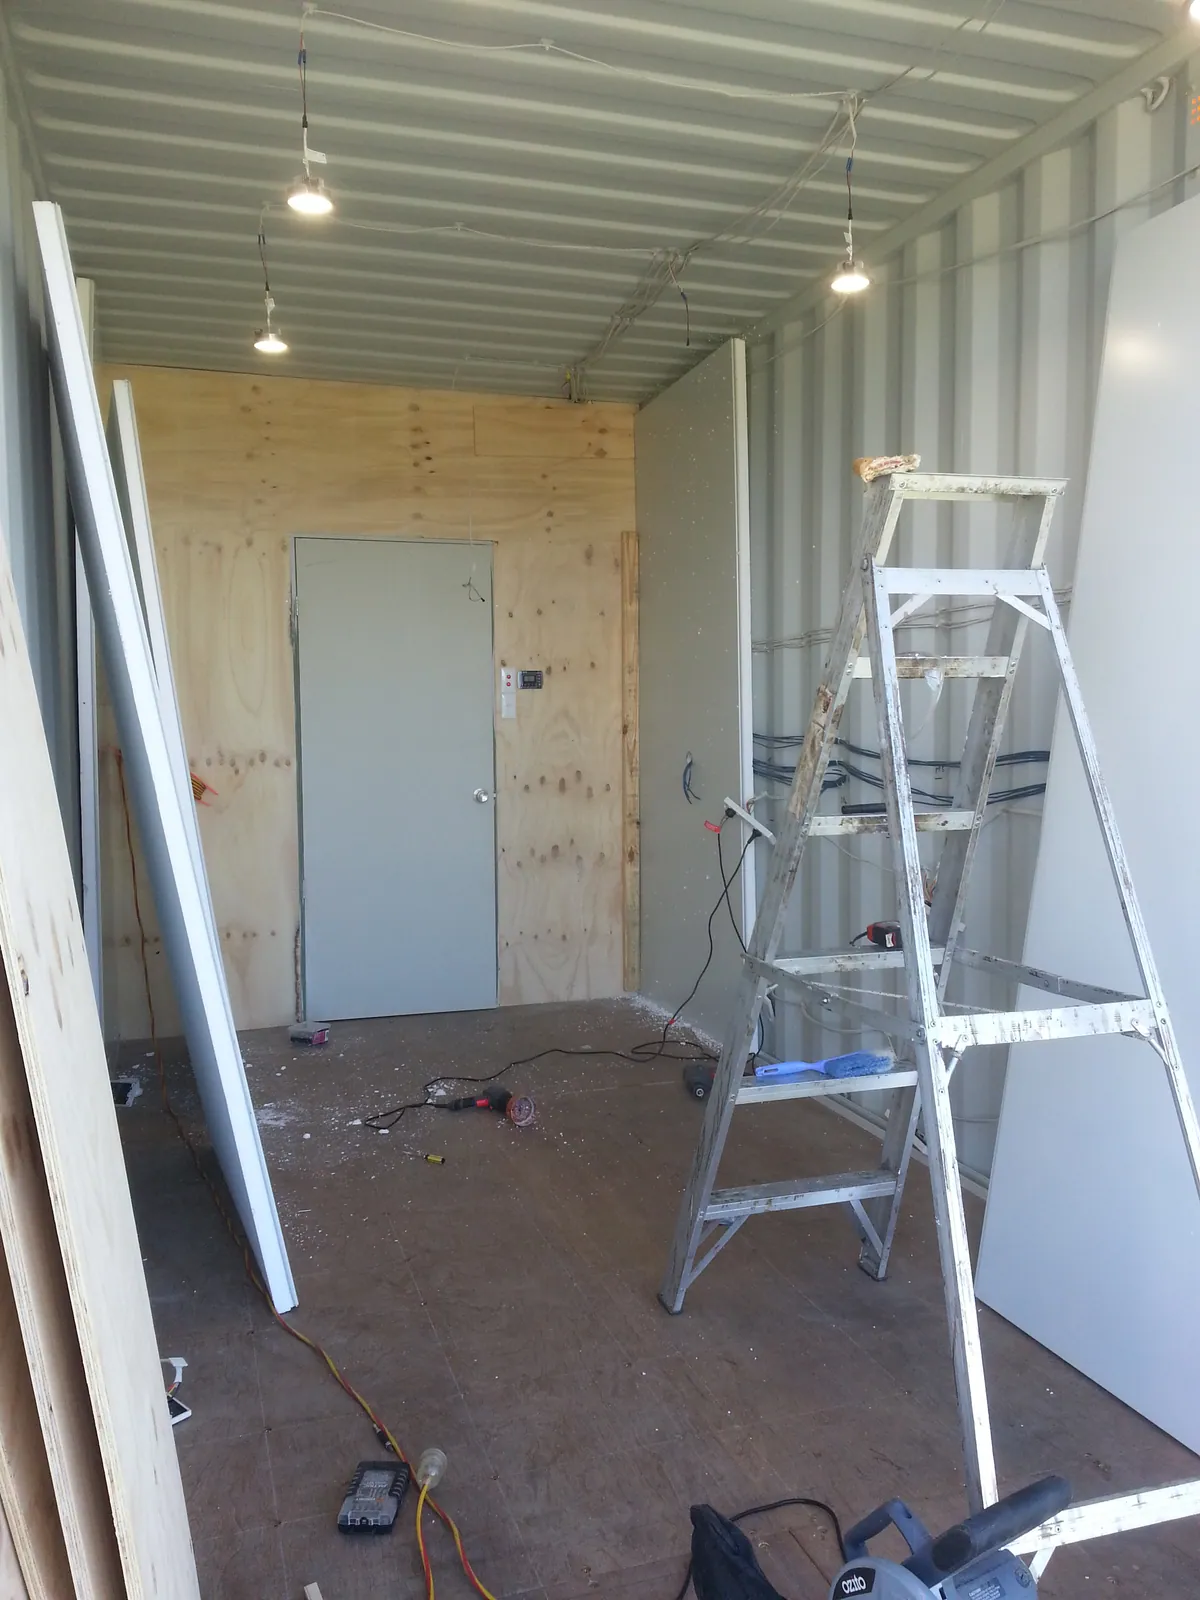
Lining sheets and a ladder set out for work on the interior.
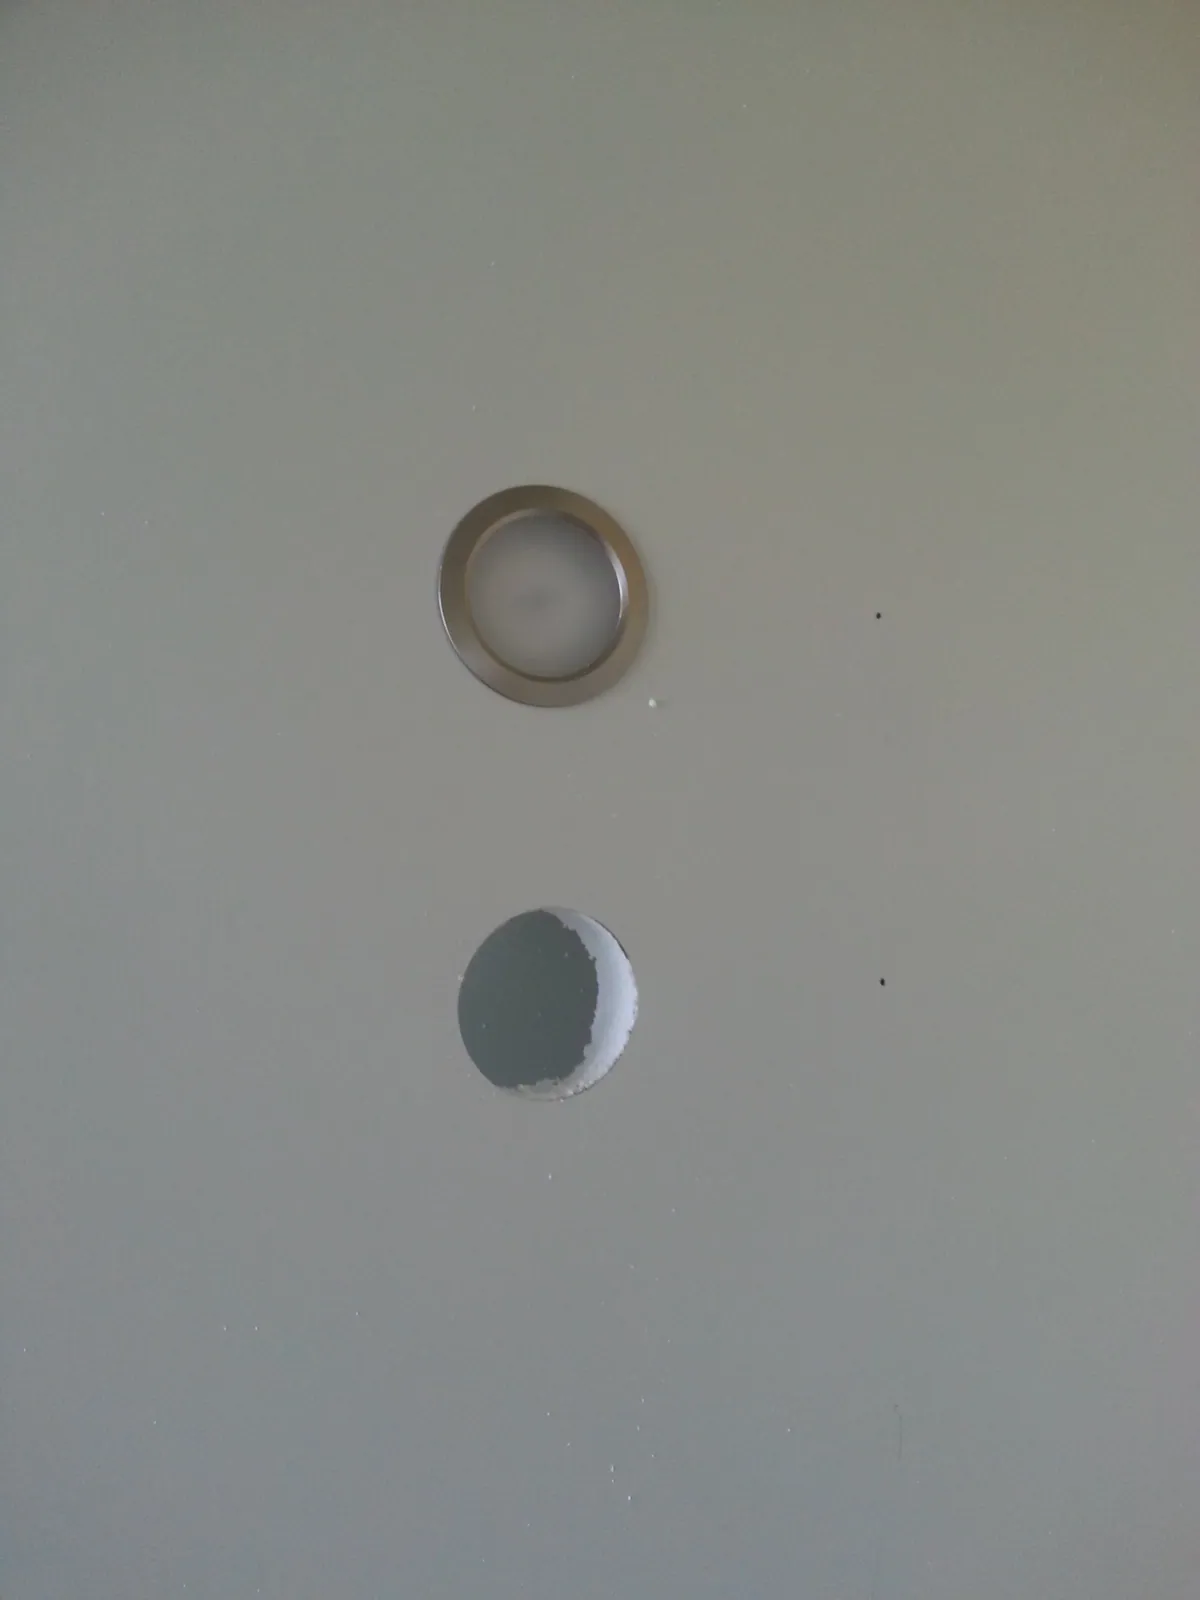
A detail of openings in a lining sheet.
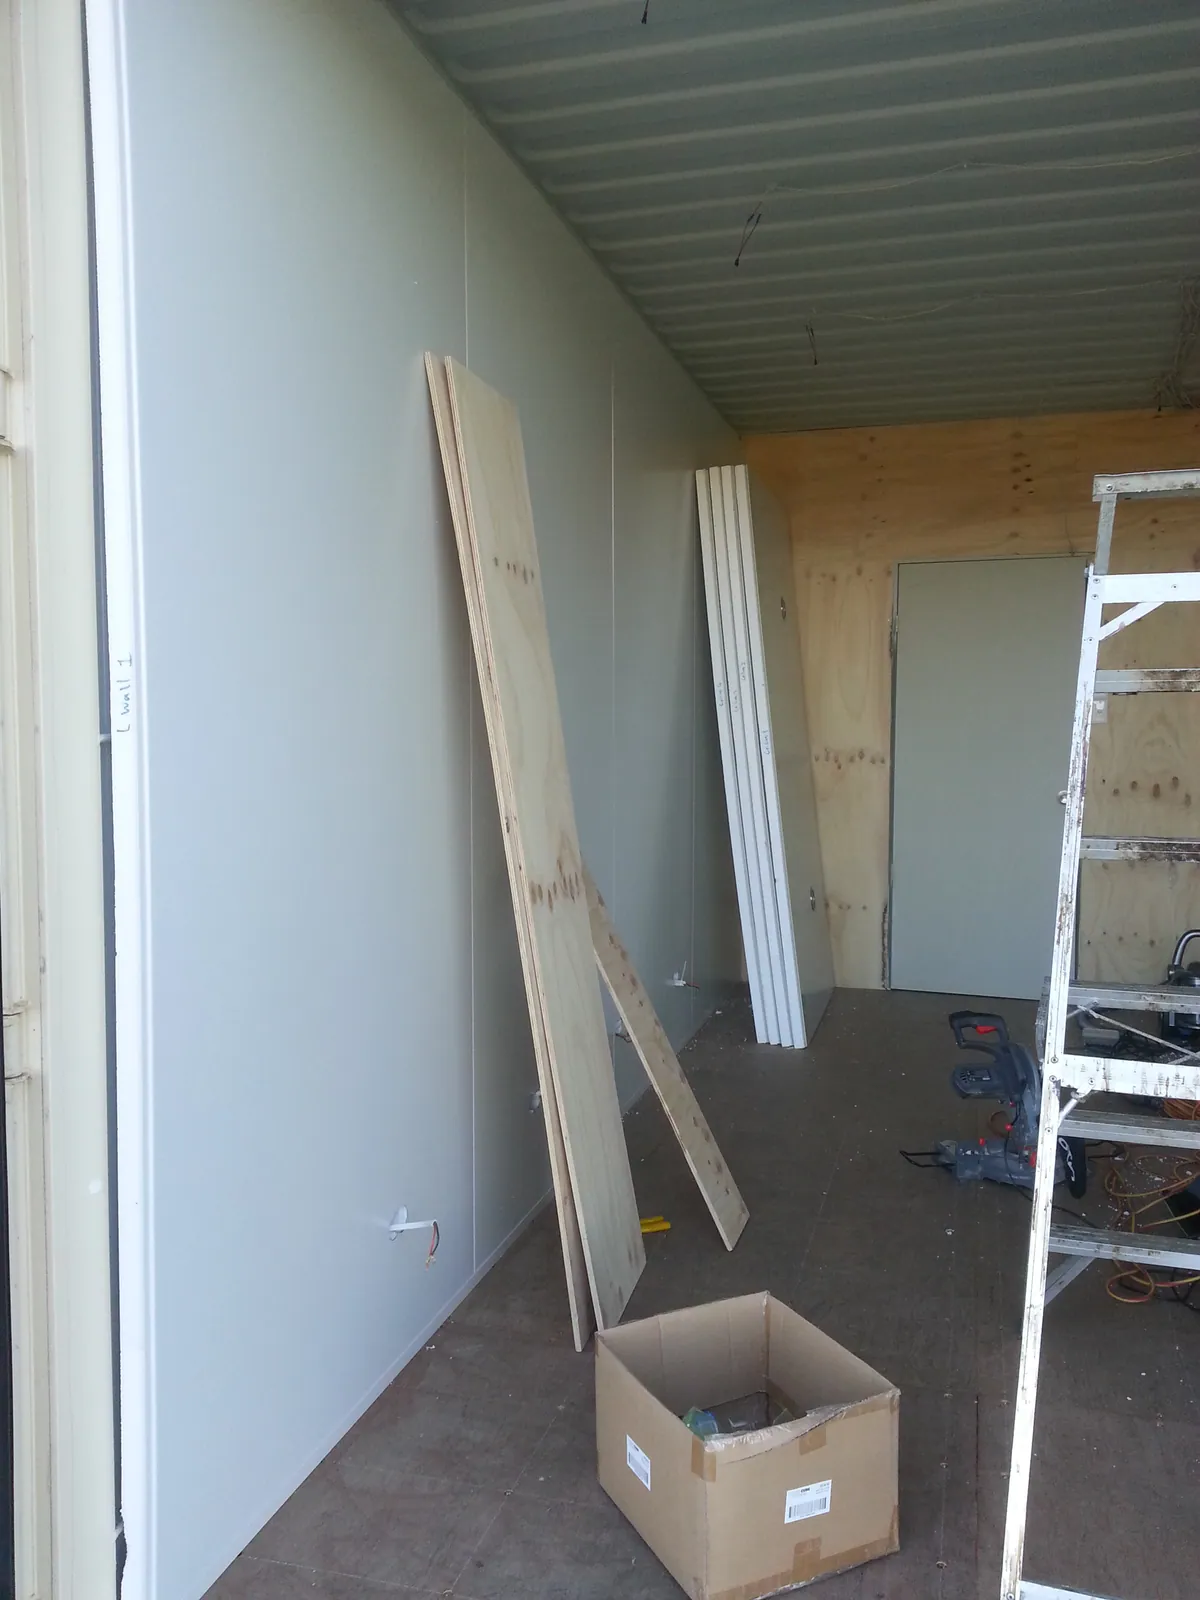
The first large wall lining panels in position.
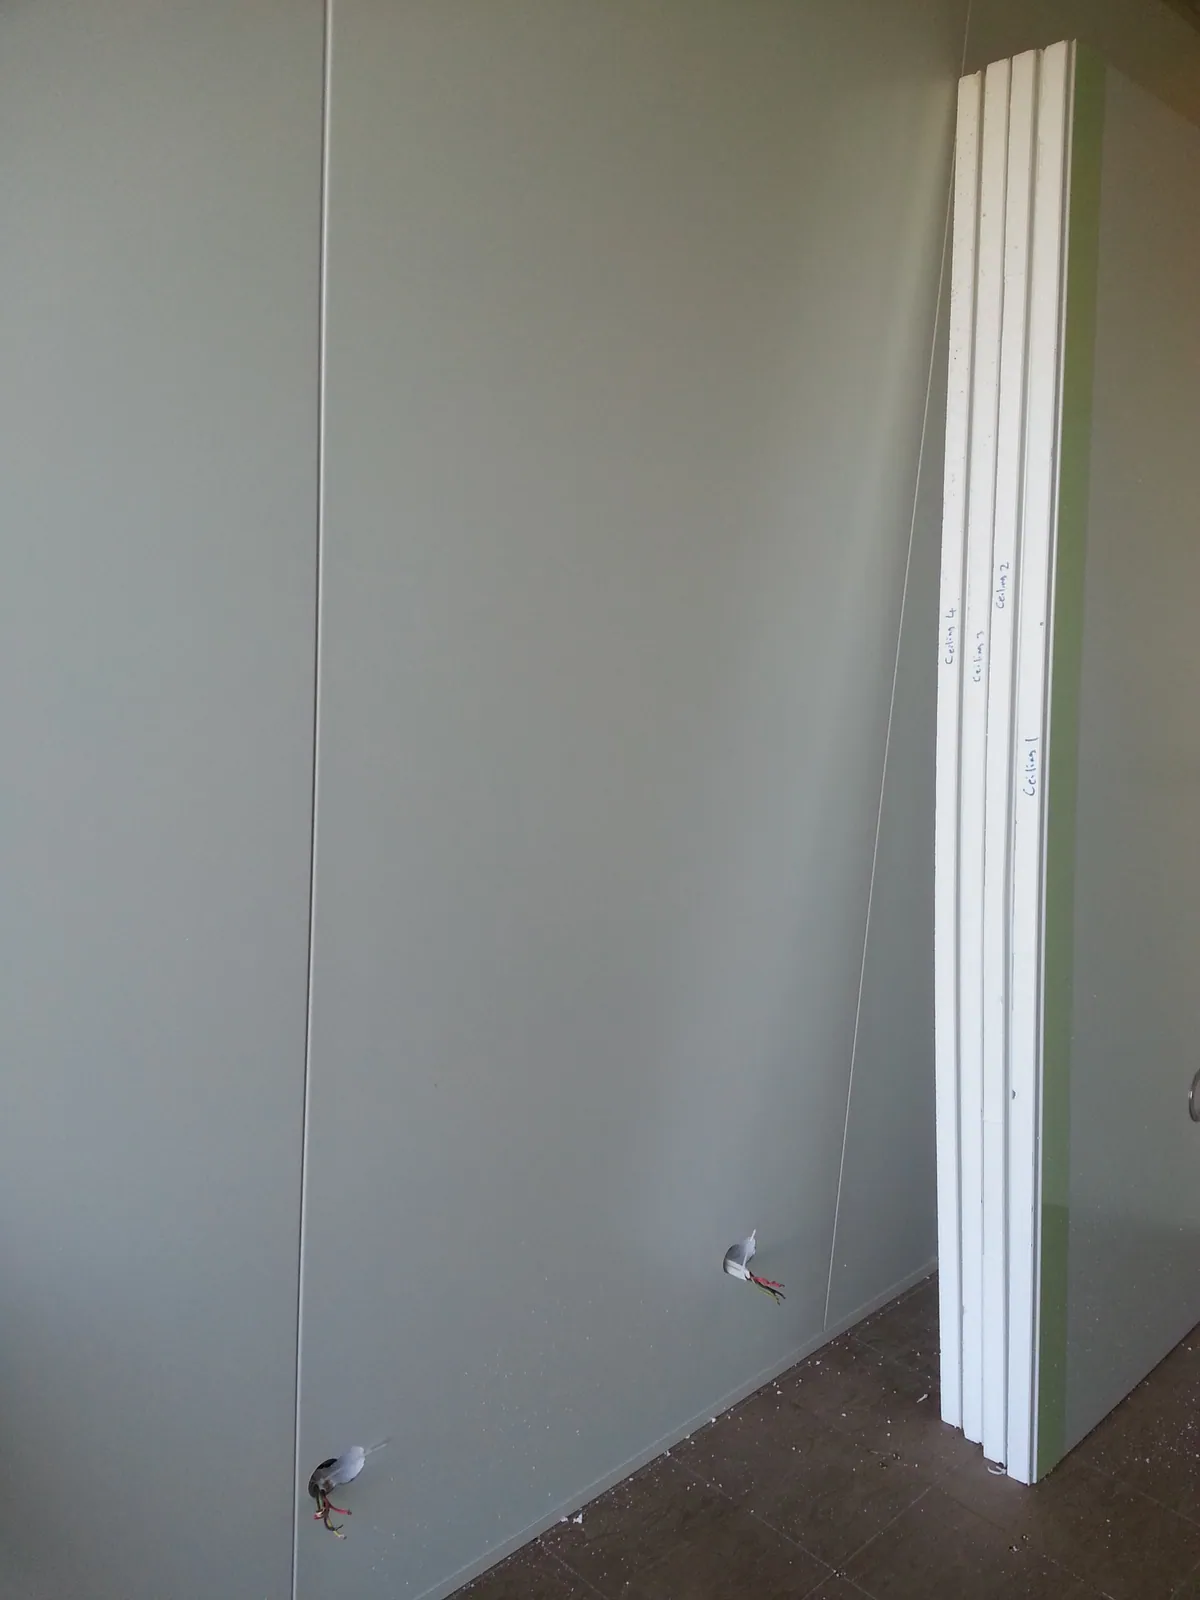
A wall panel fitted along one side of the container.
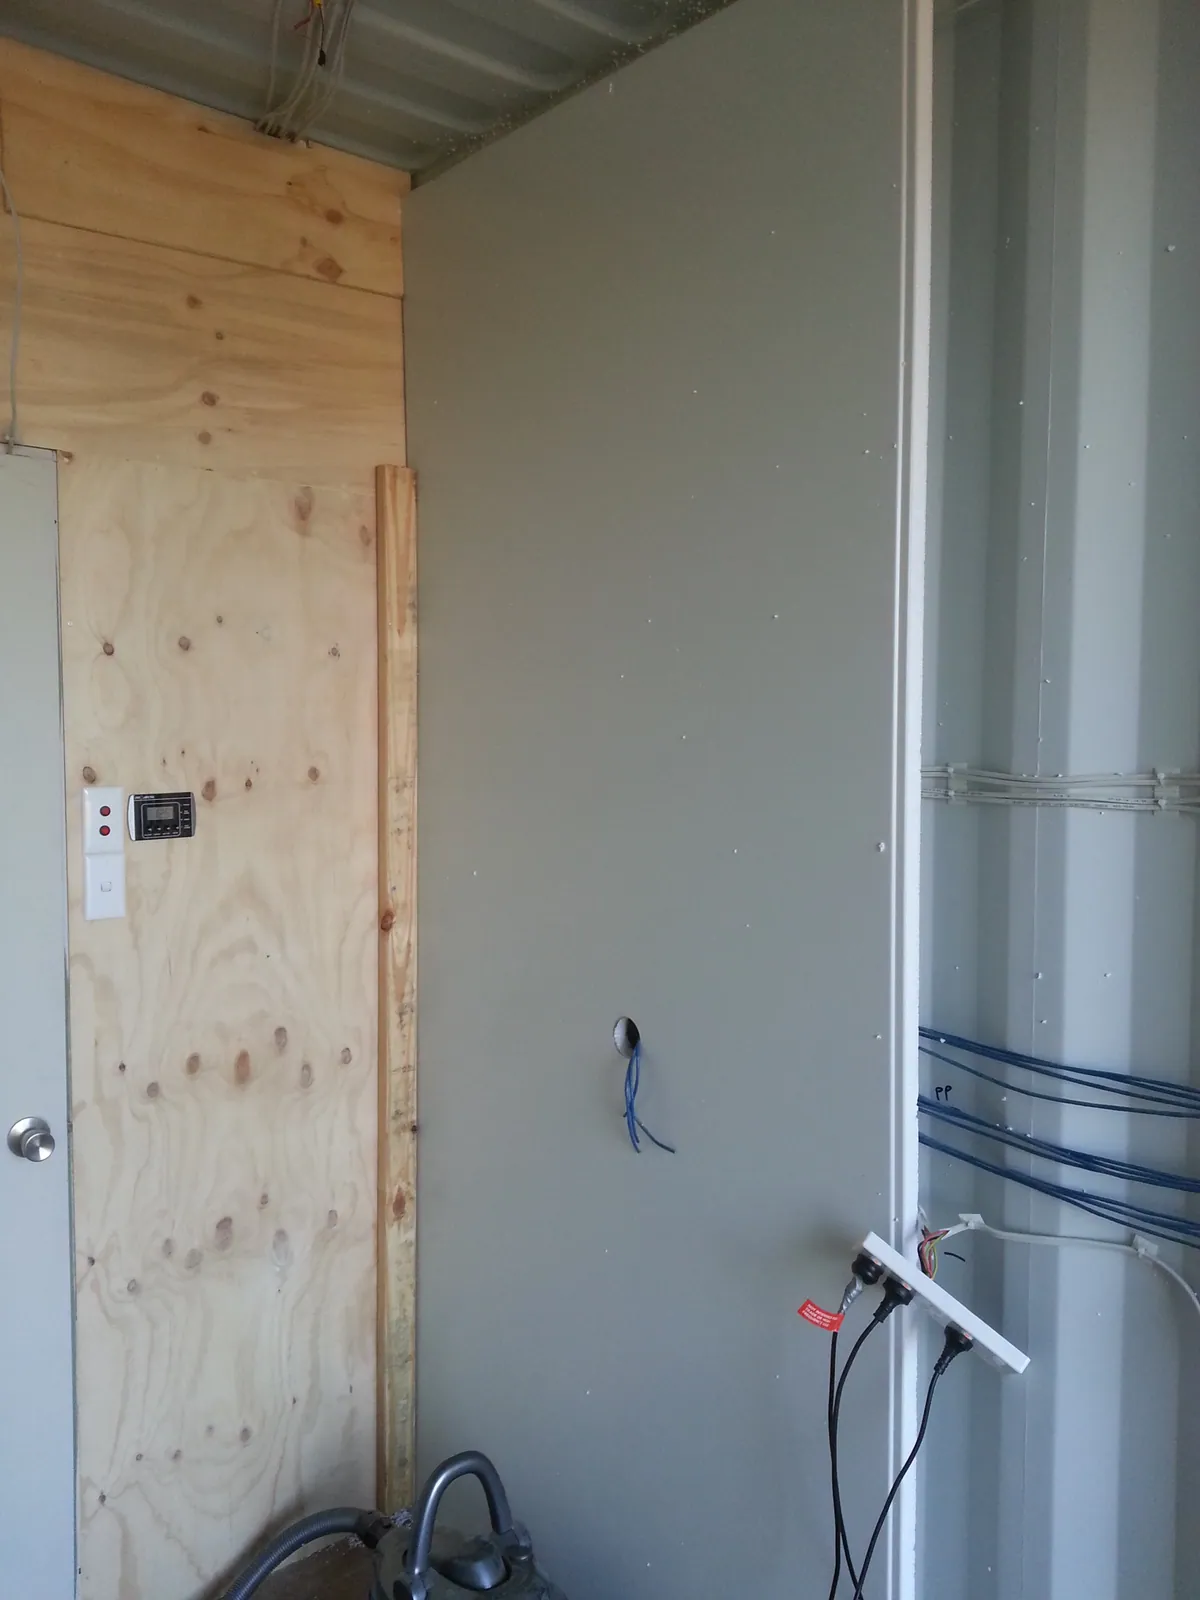
The partly lined wall meeting the rear partition.
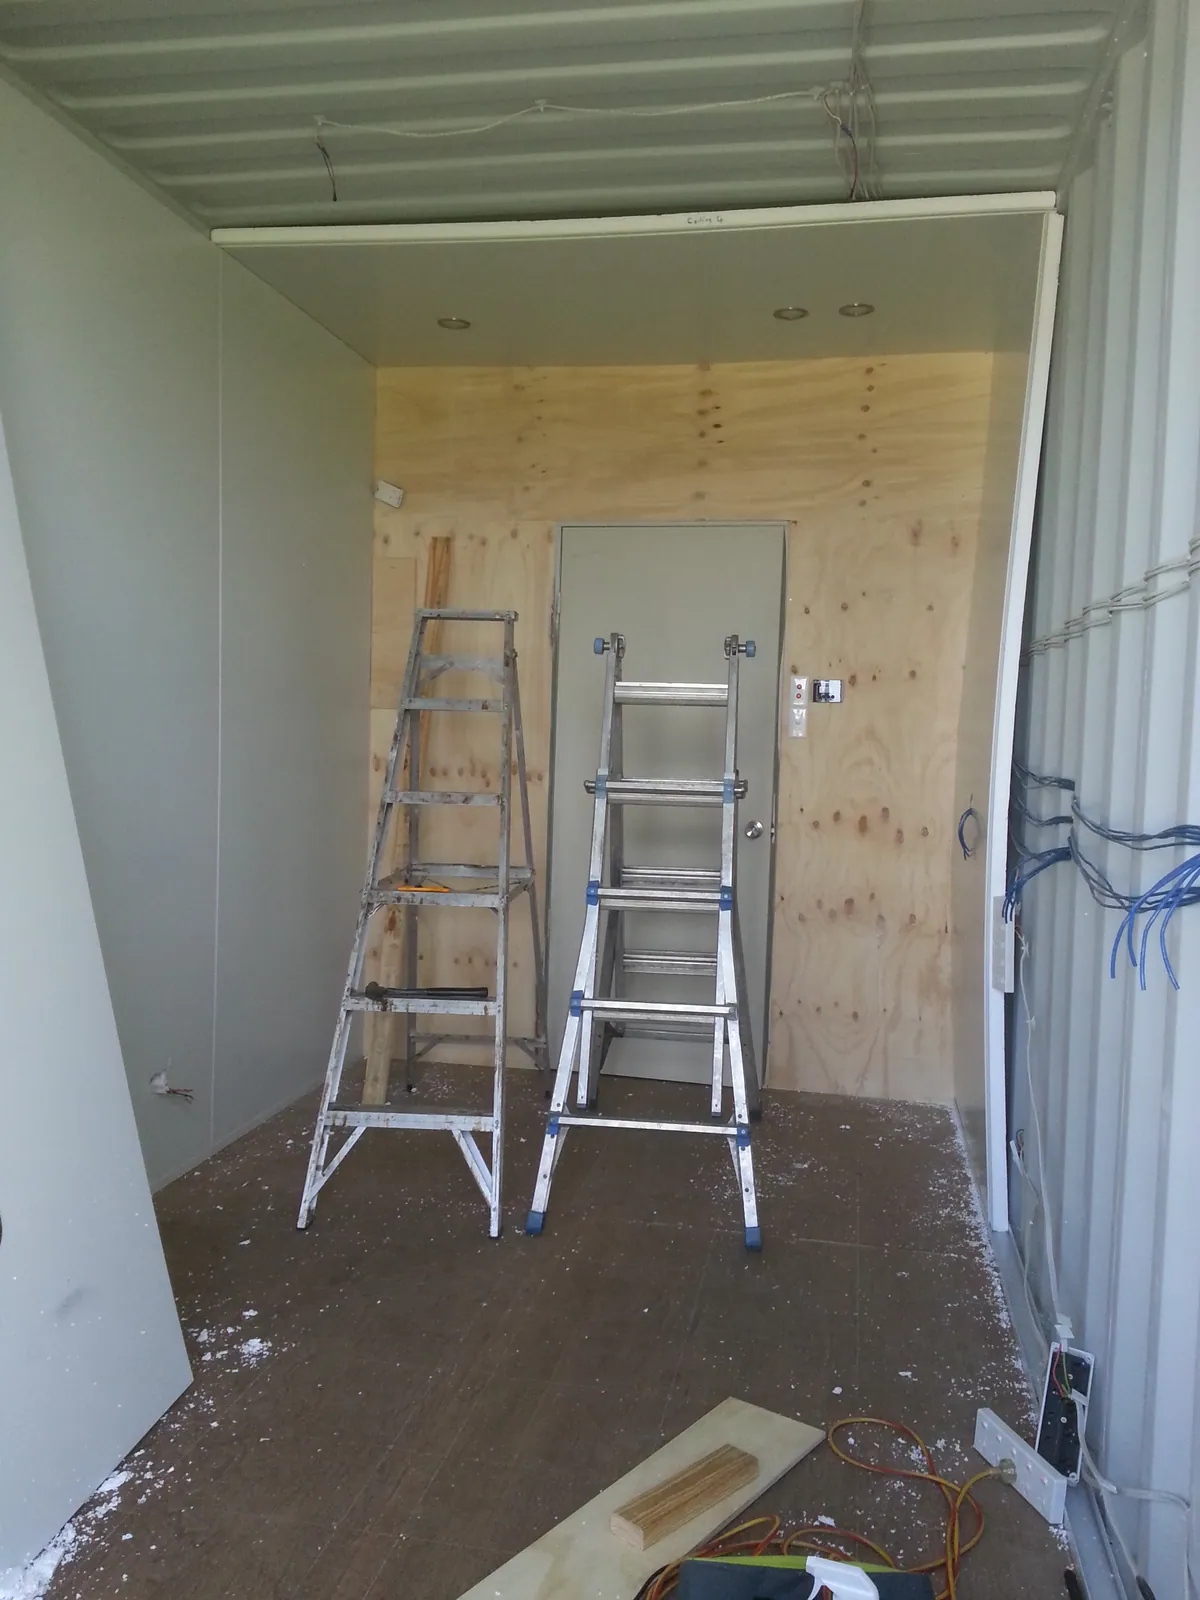
Wall lining progresses along both sides.
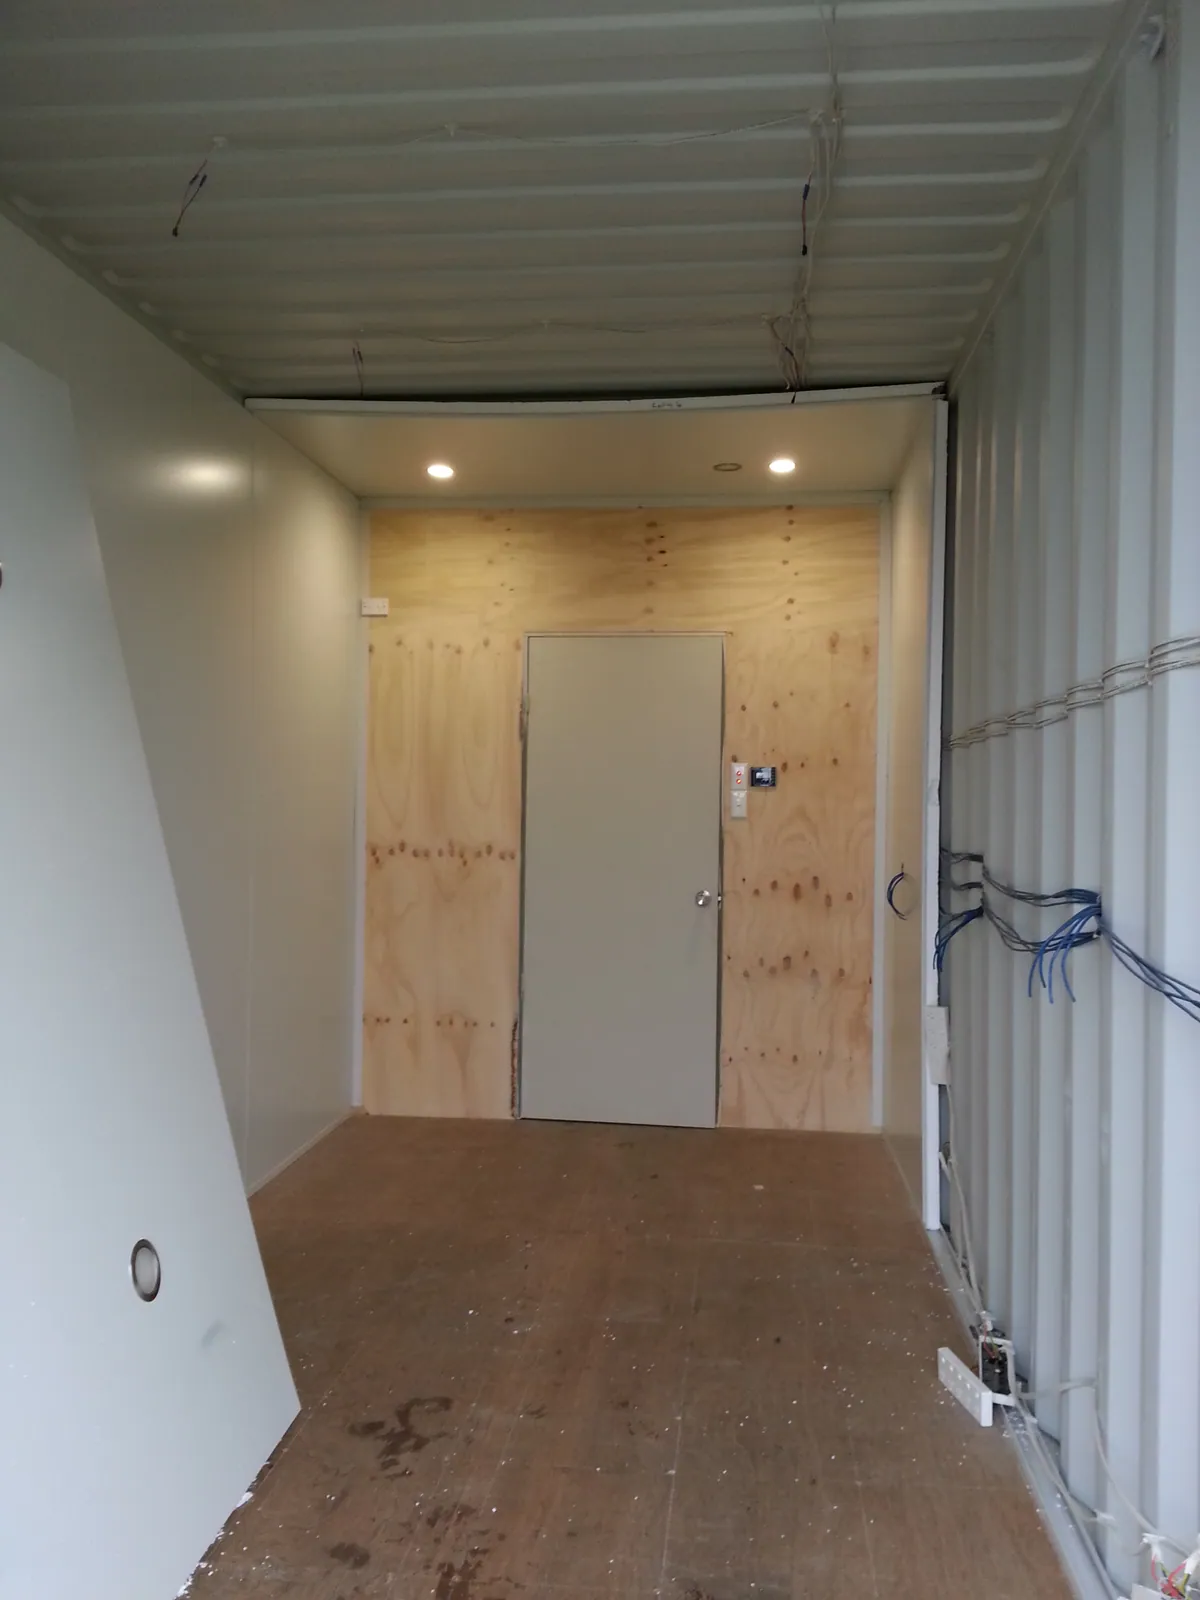
The main walls lined, with work continuing above.
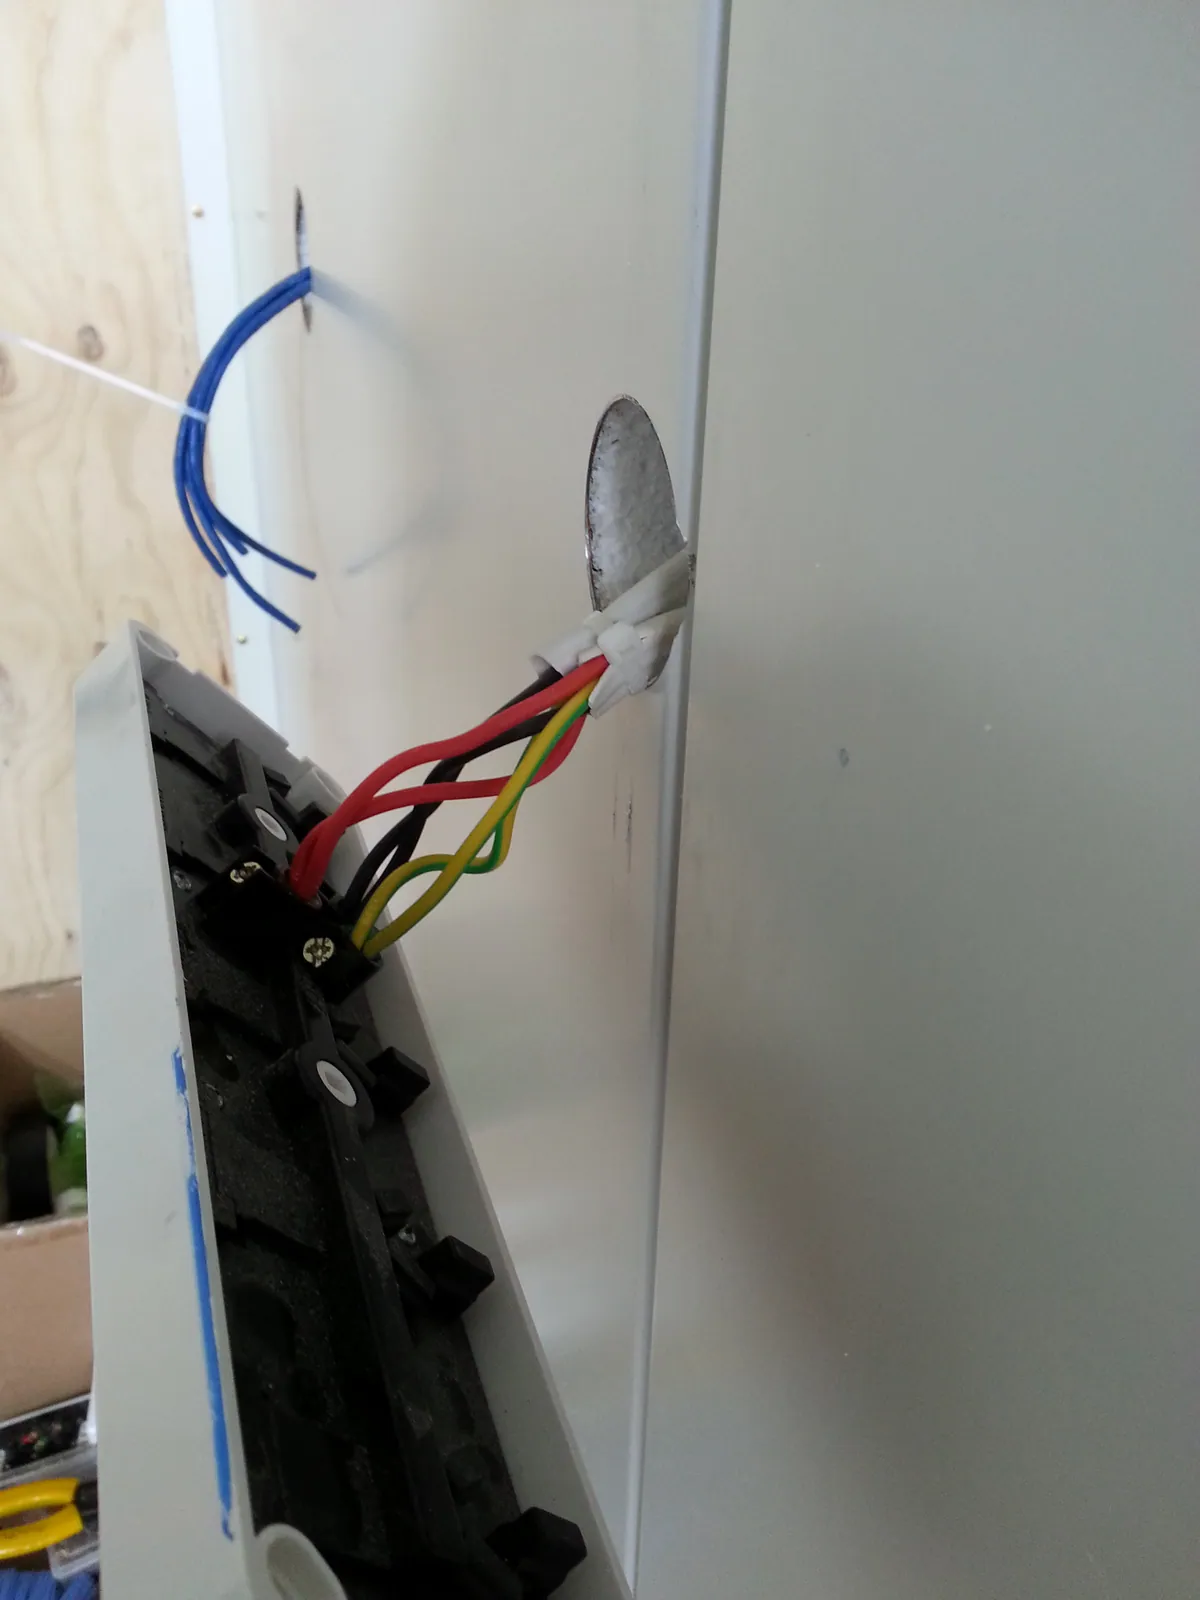
Wiring brought through the new wall lining.
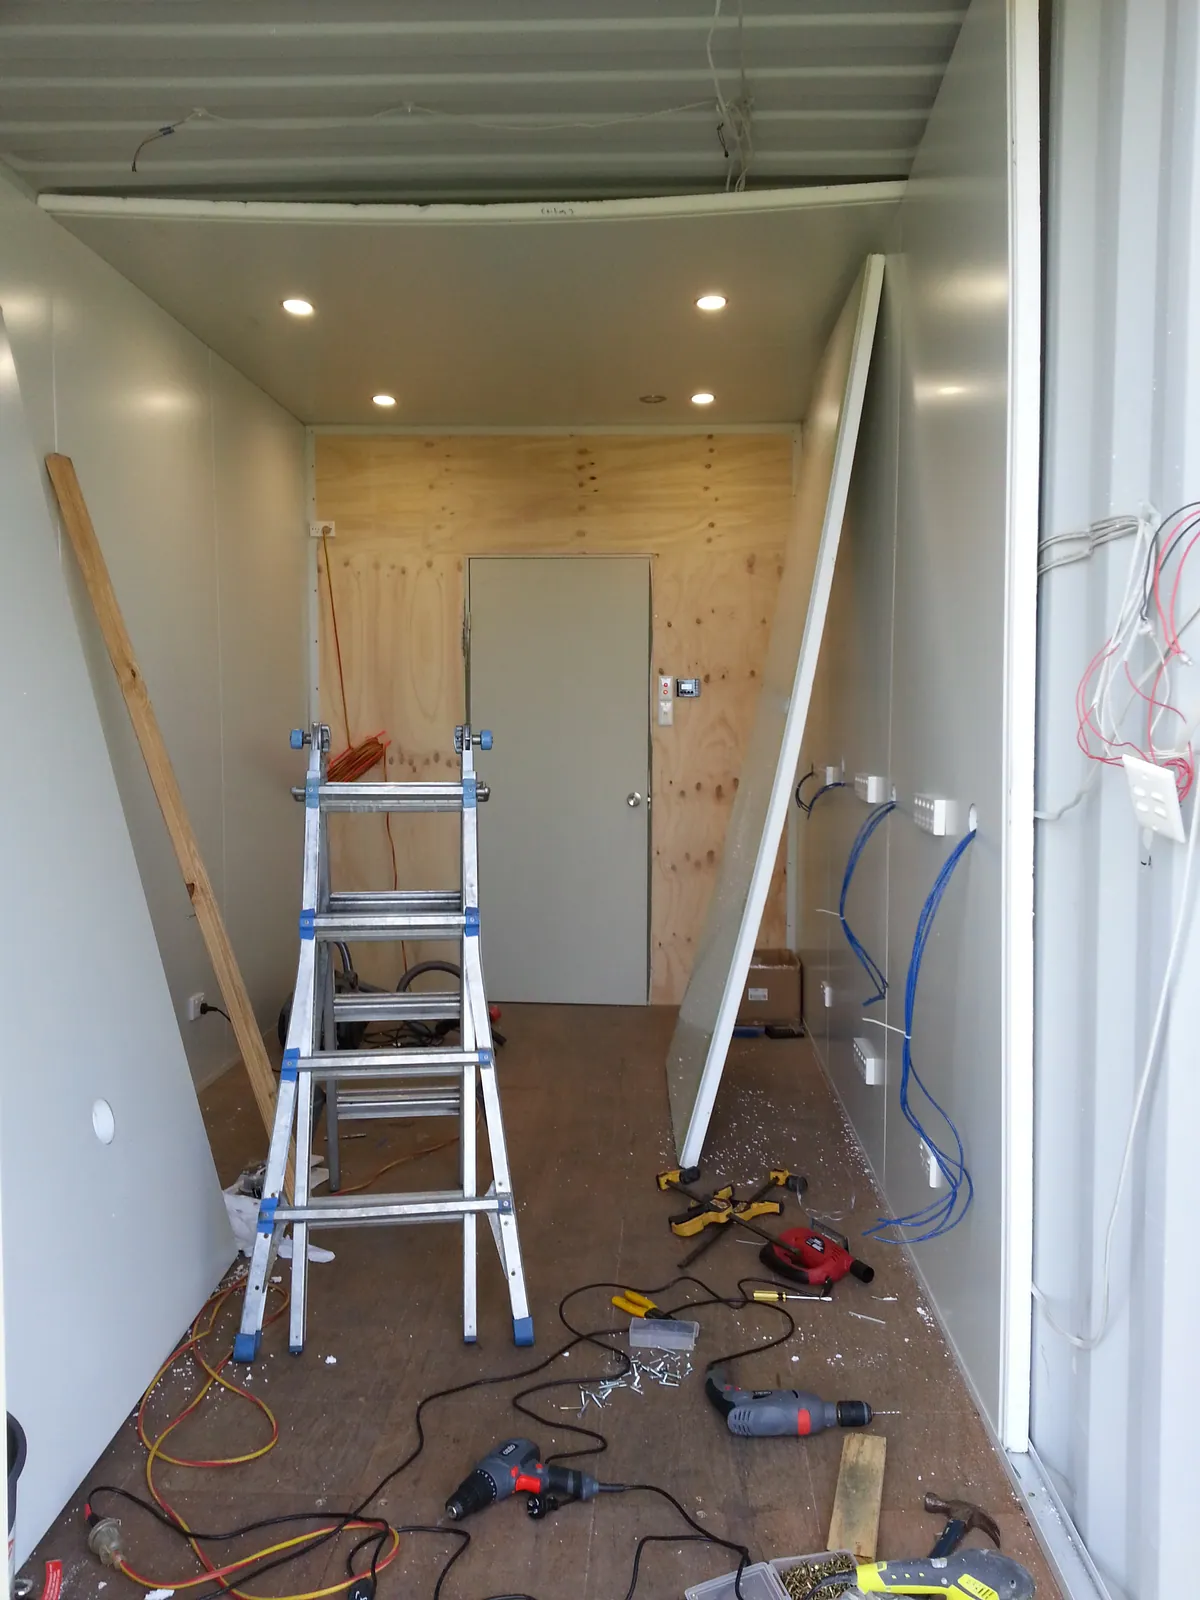
Working on the ceiling lining and recessed light positions.
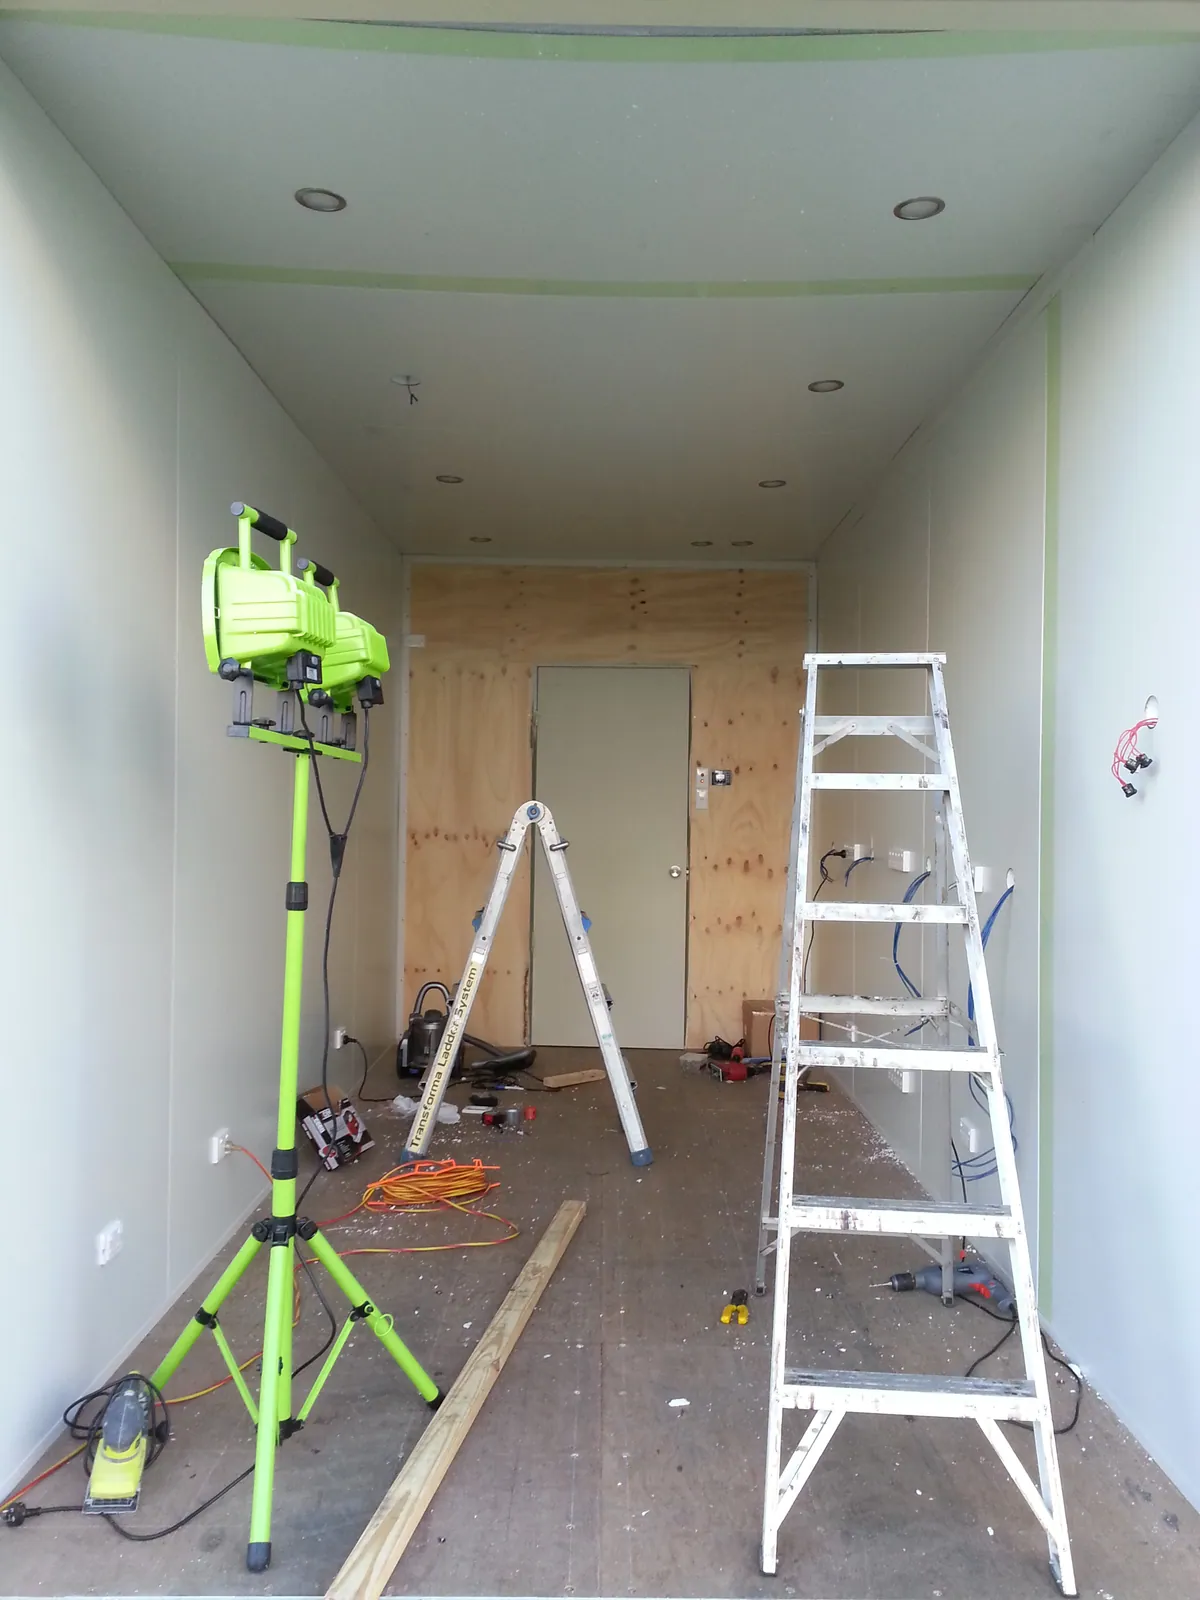
The ceiling lined, with work lights and ladders still in place.
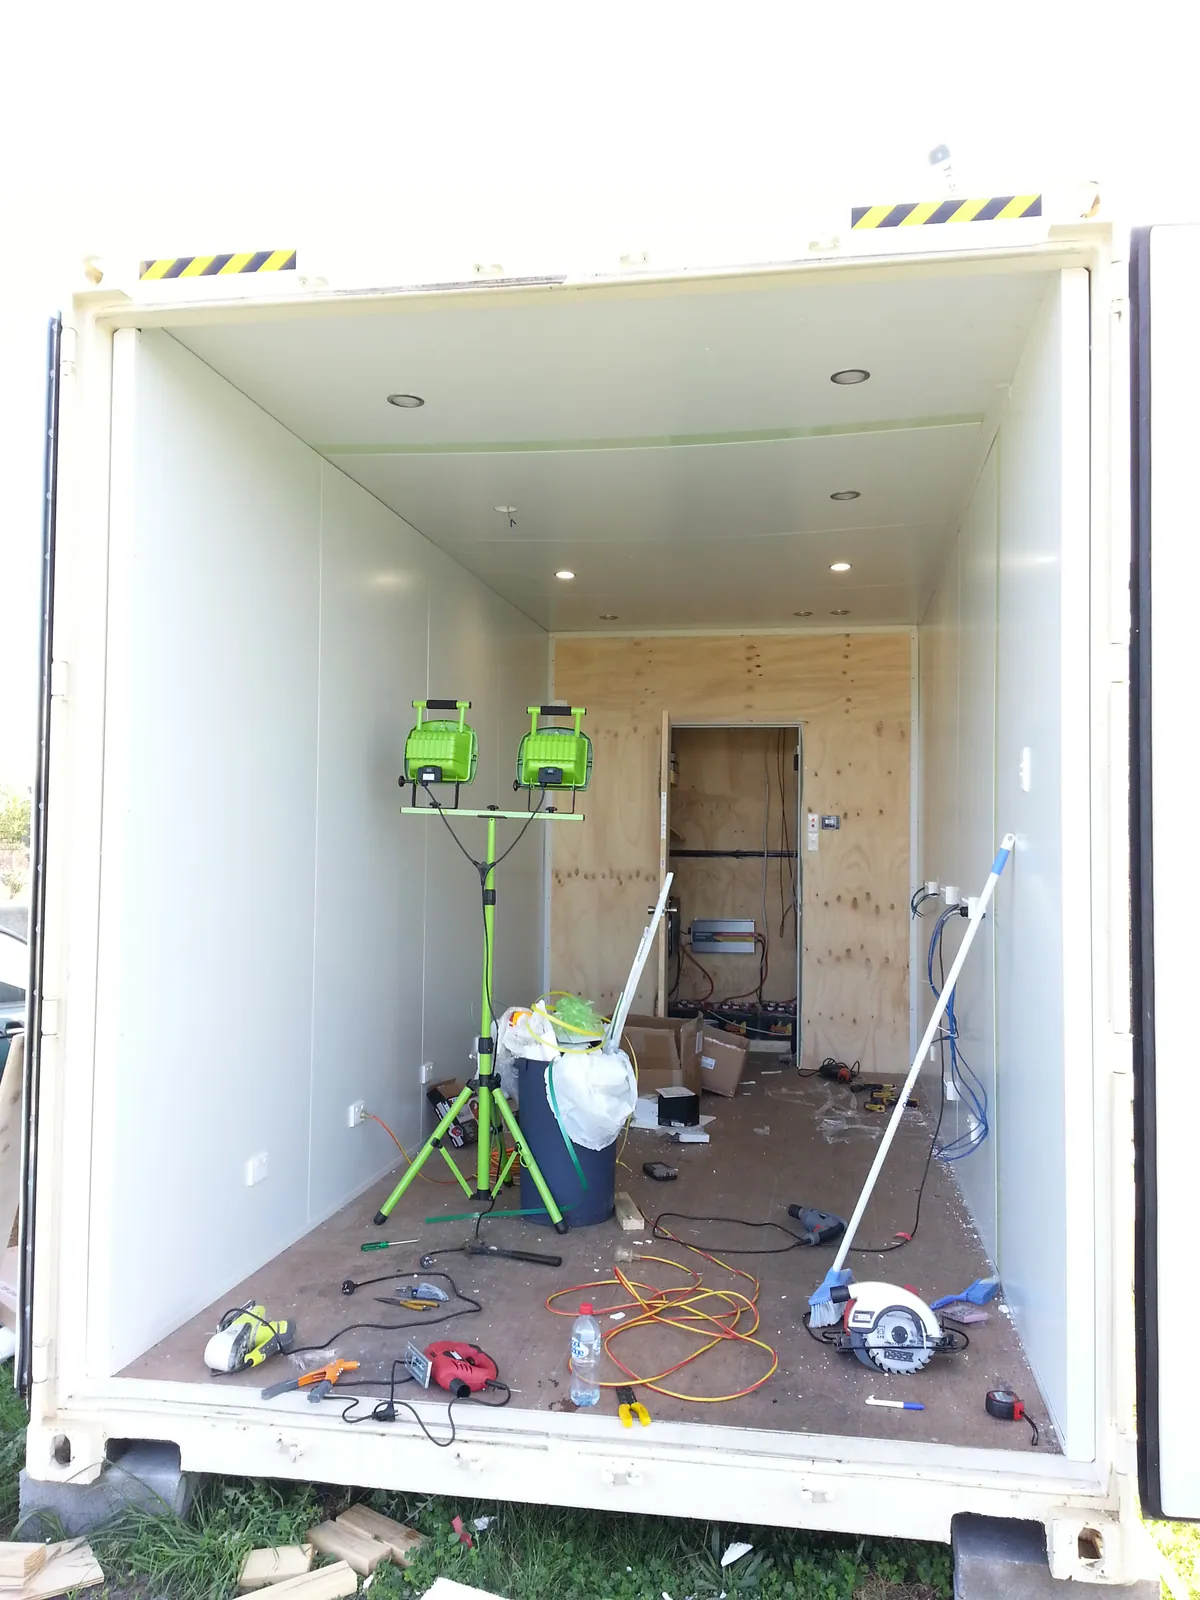
The lined workshop viewed through the open cargo doors.
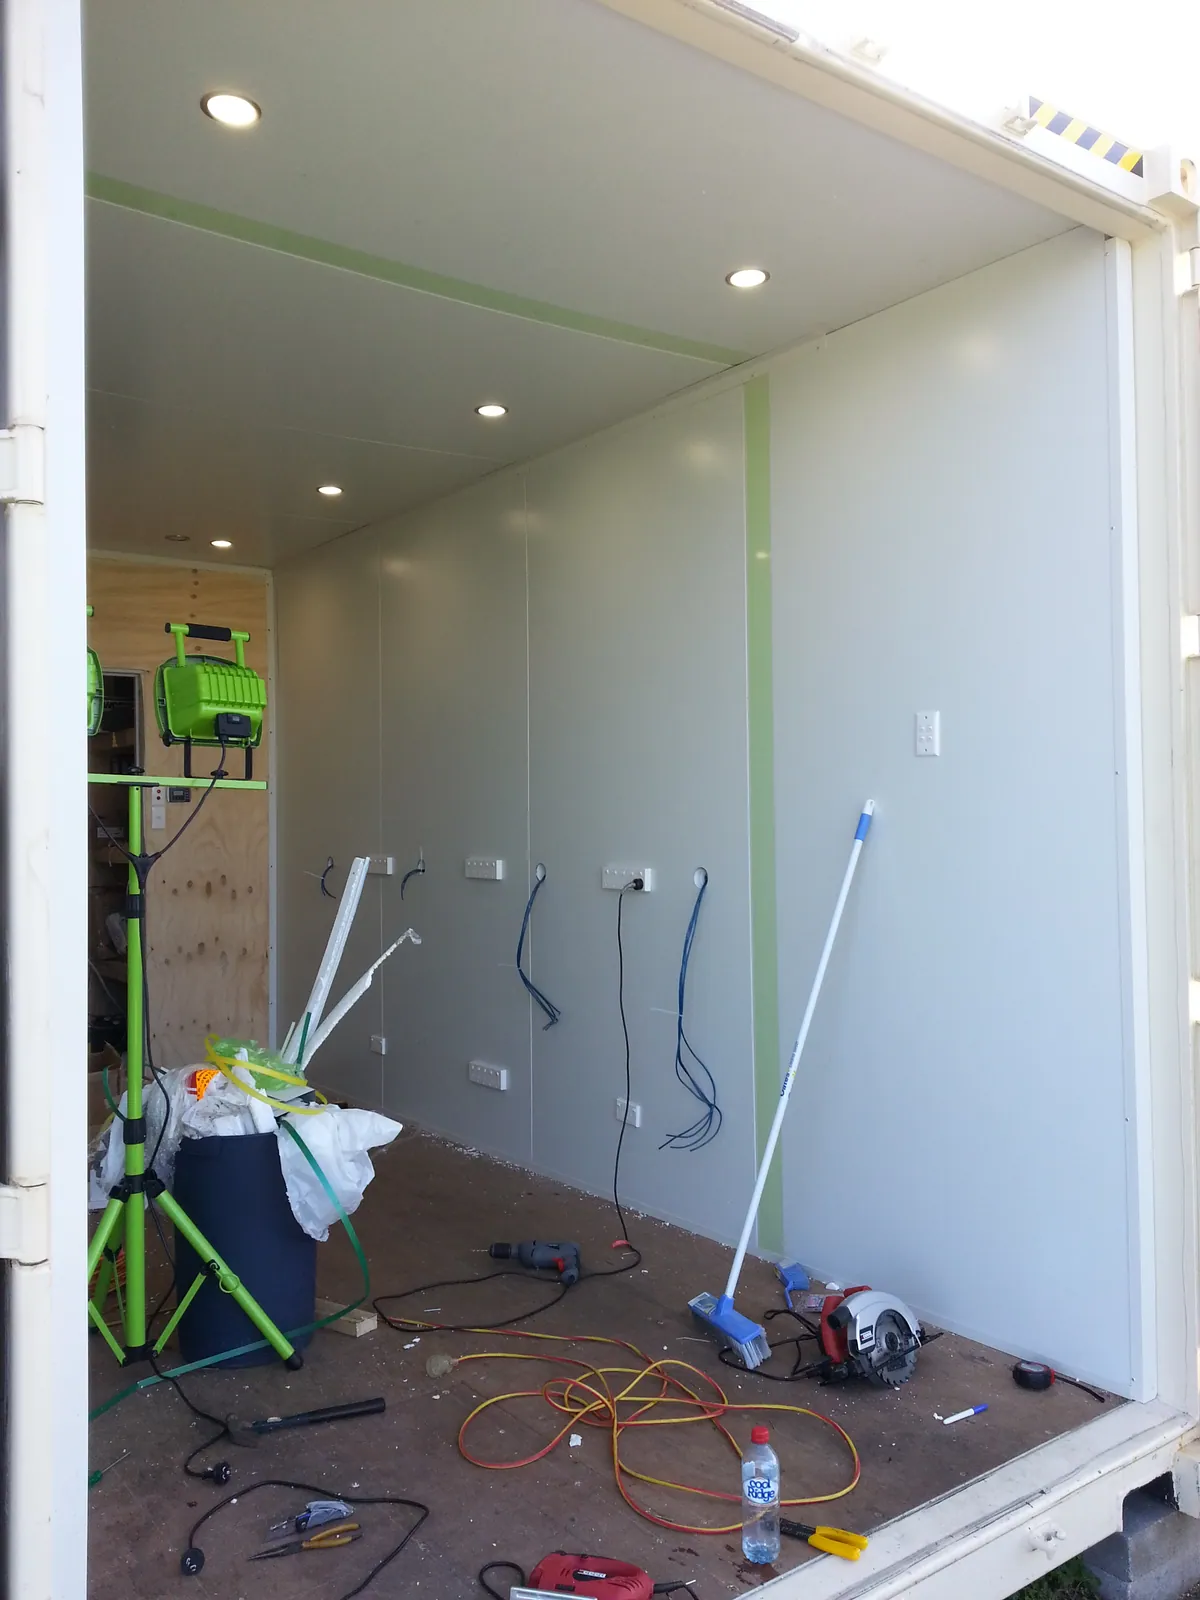
The wall outlets and unfinished interior at the start of June.
05Solar power and air conditioning
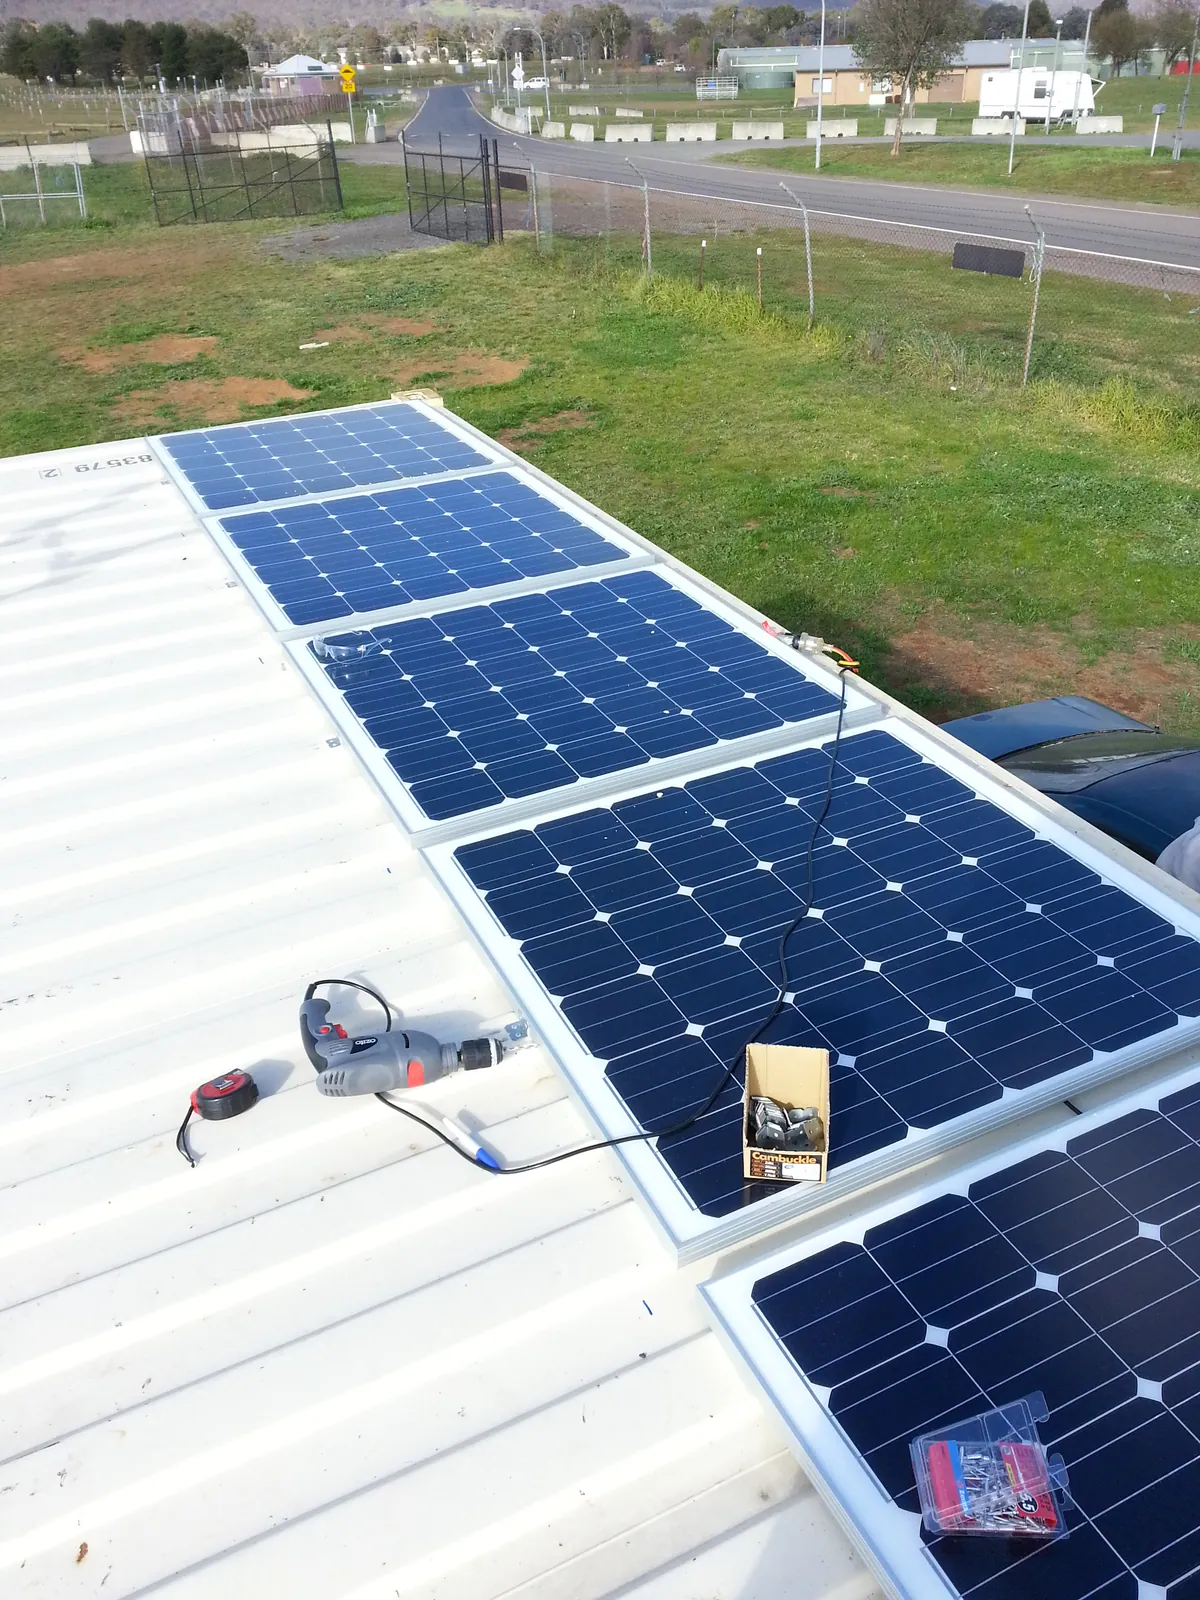
Solar panels being installed along the container roof.
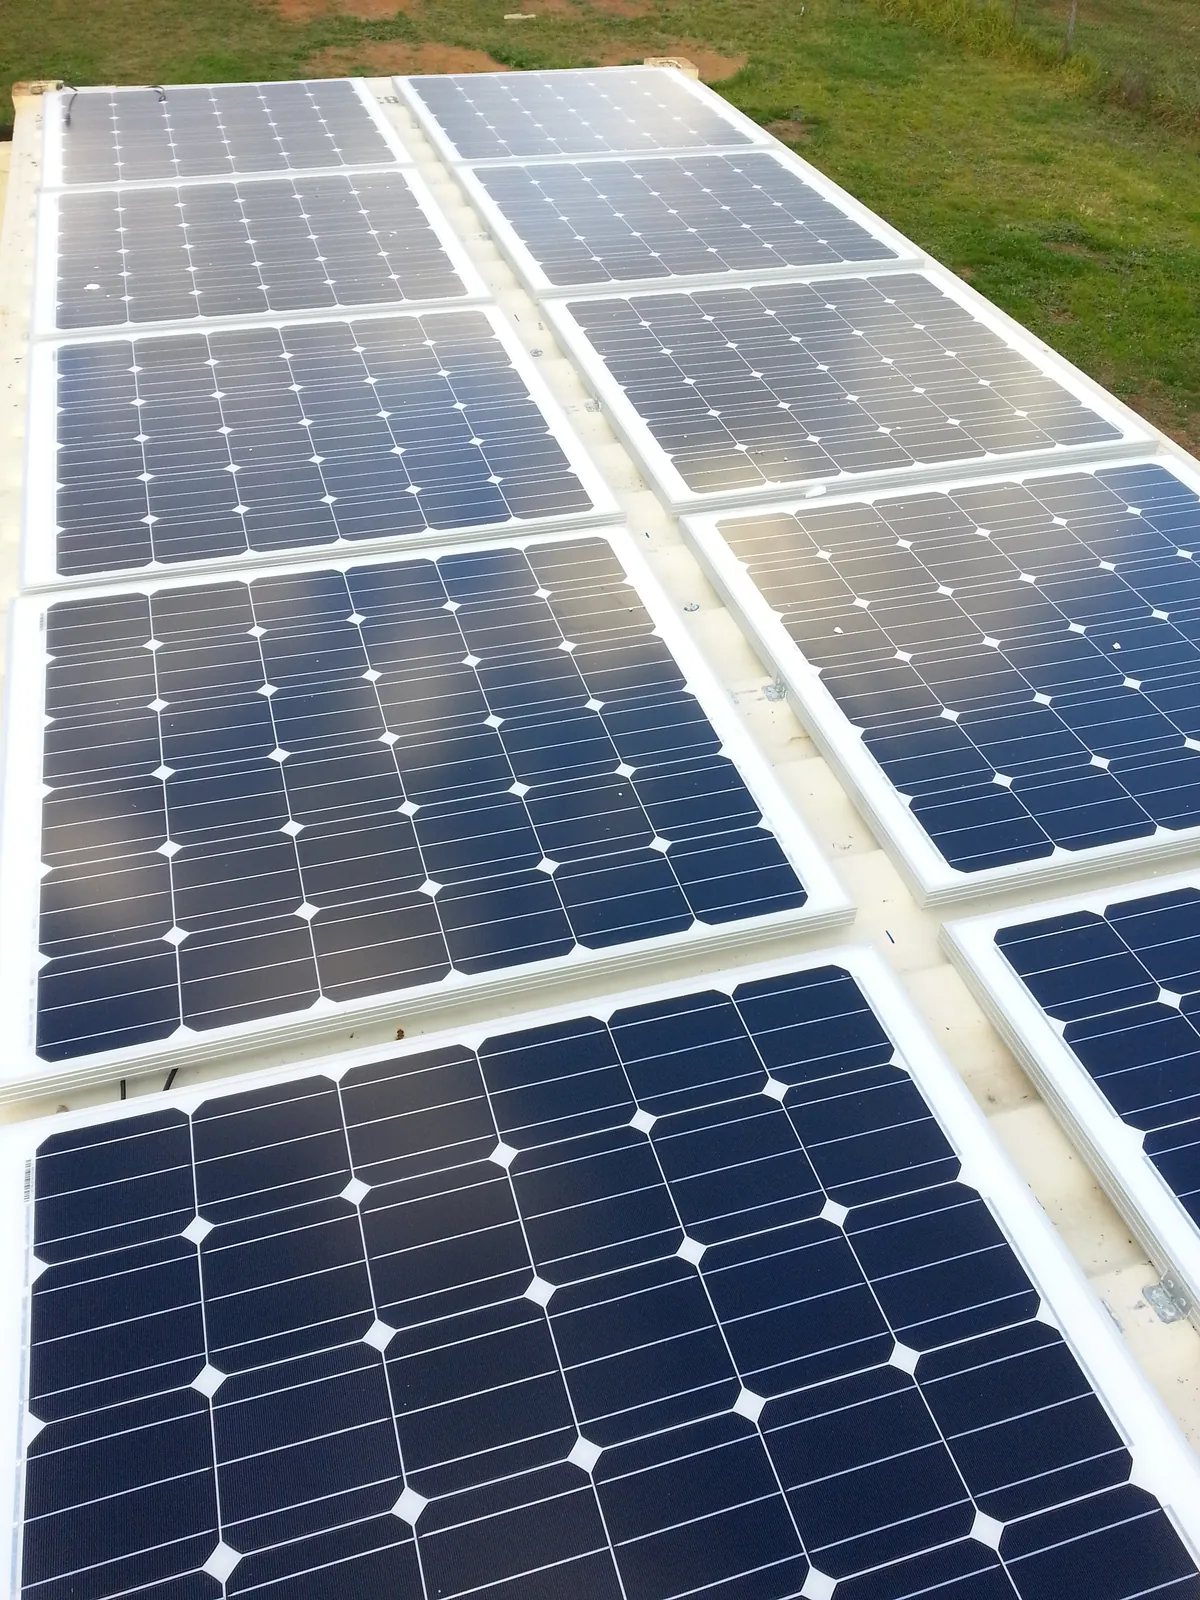
A wider view along the roof-mounted solar array.
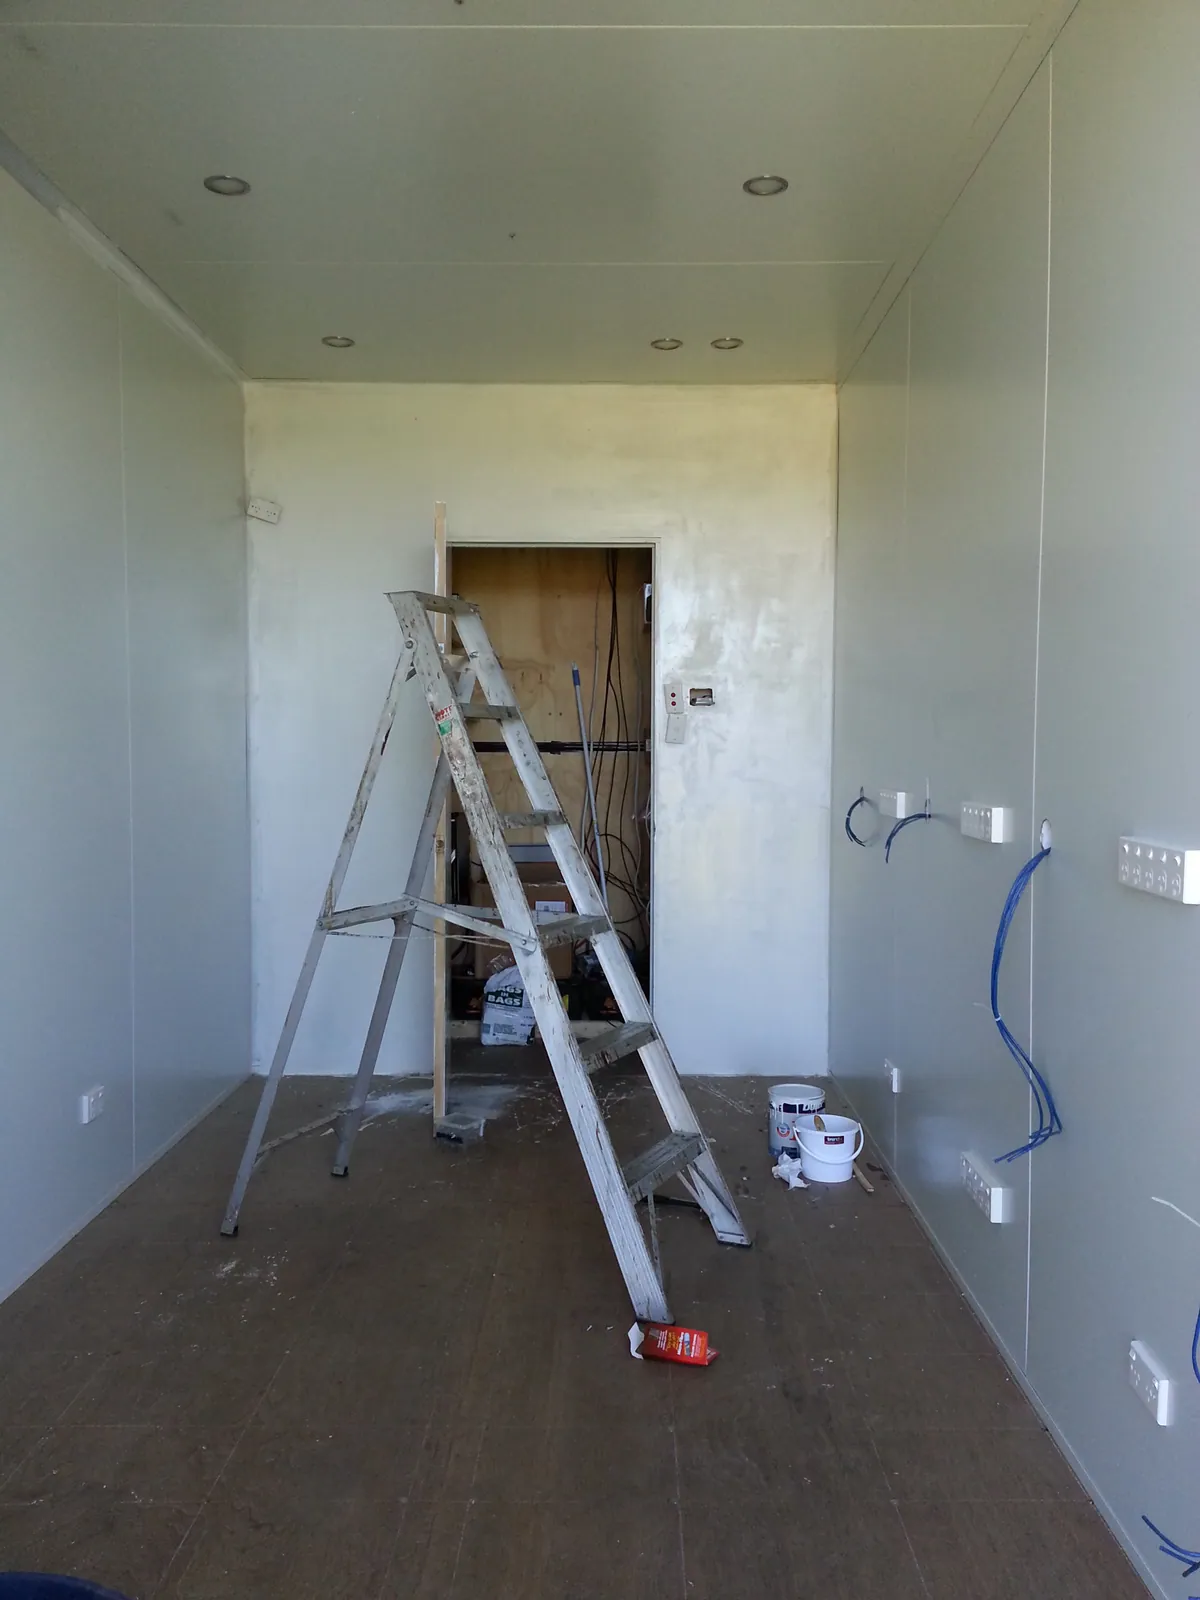
The interior after further wall and ceiling finishing.
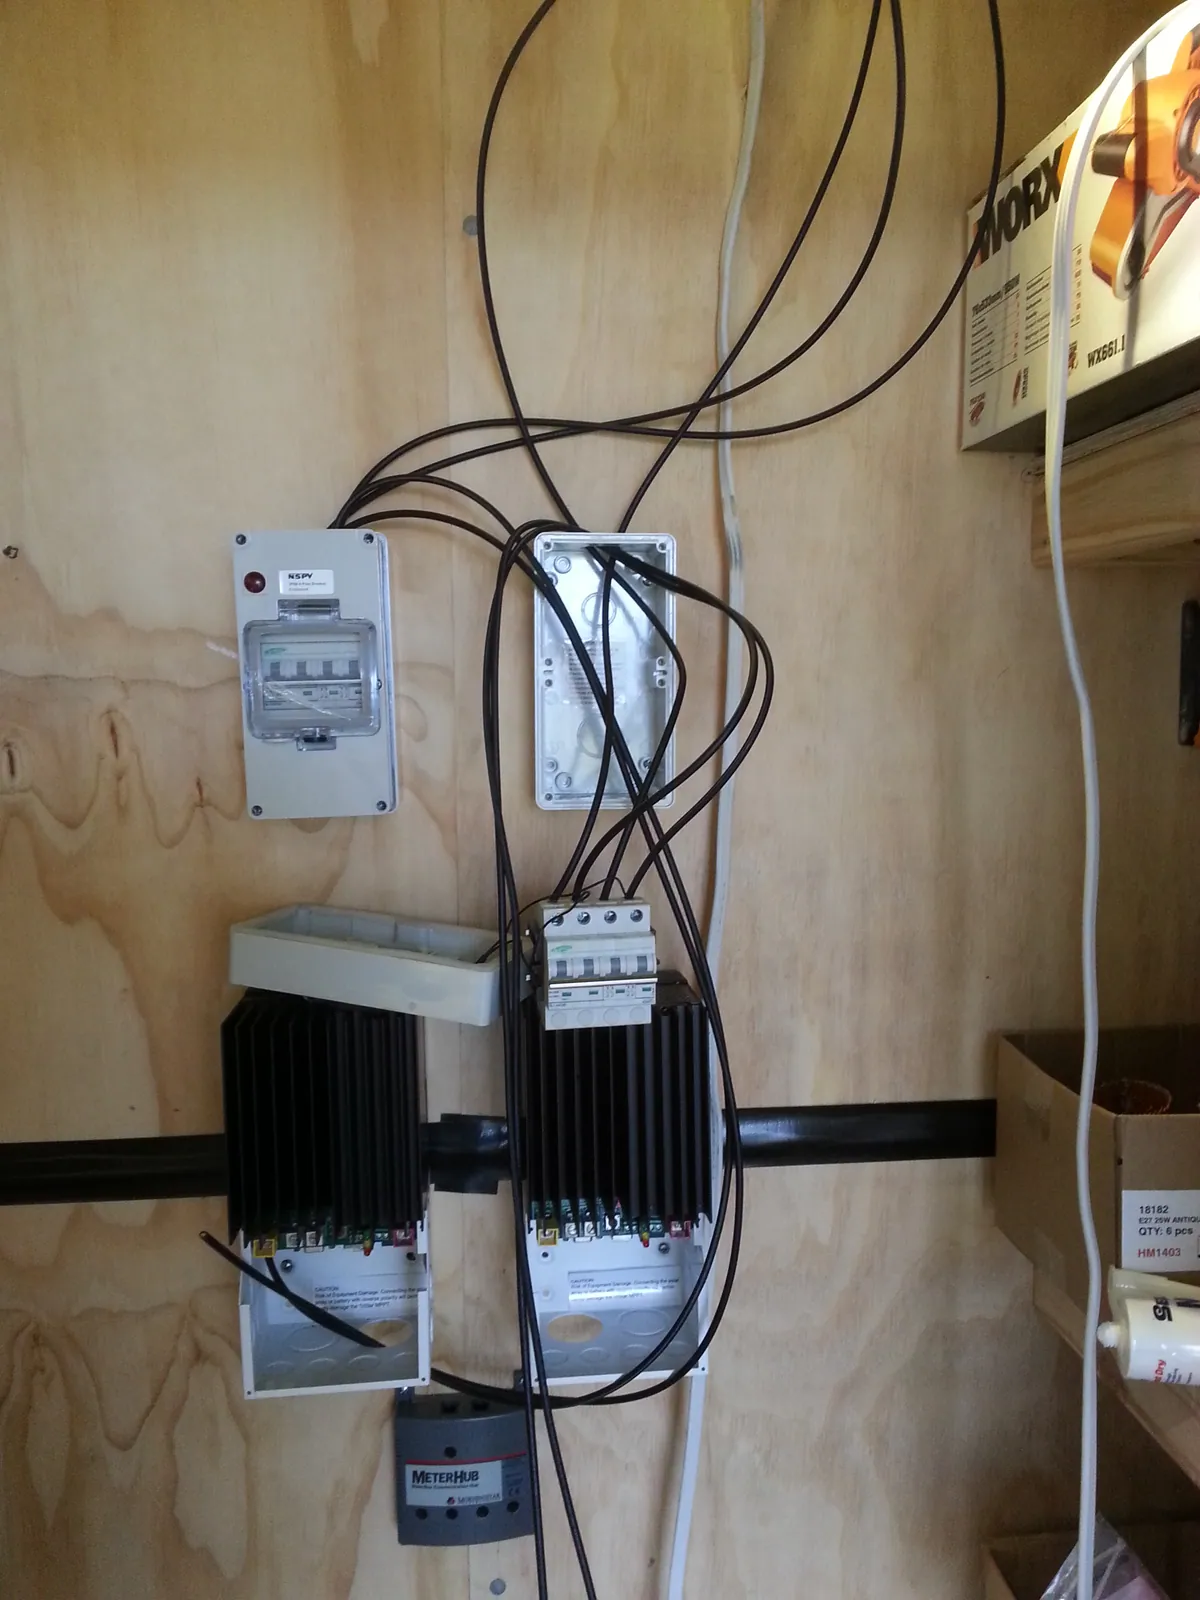
Power-control equipment and cabling mounted in the service area.
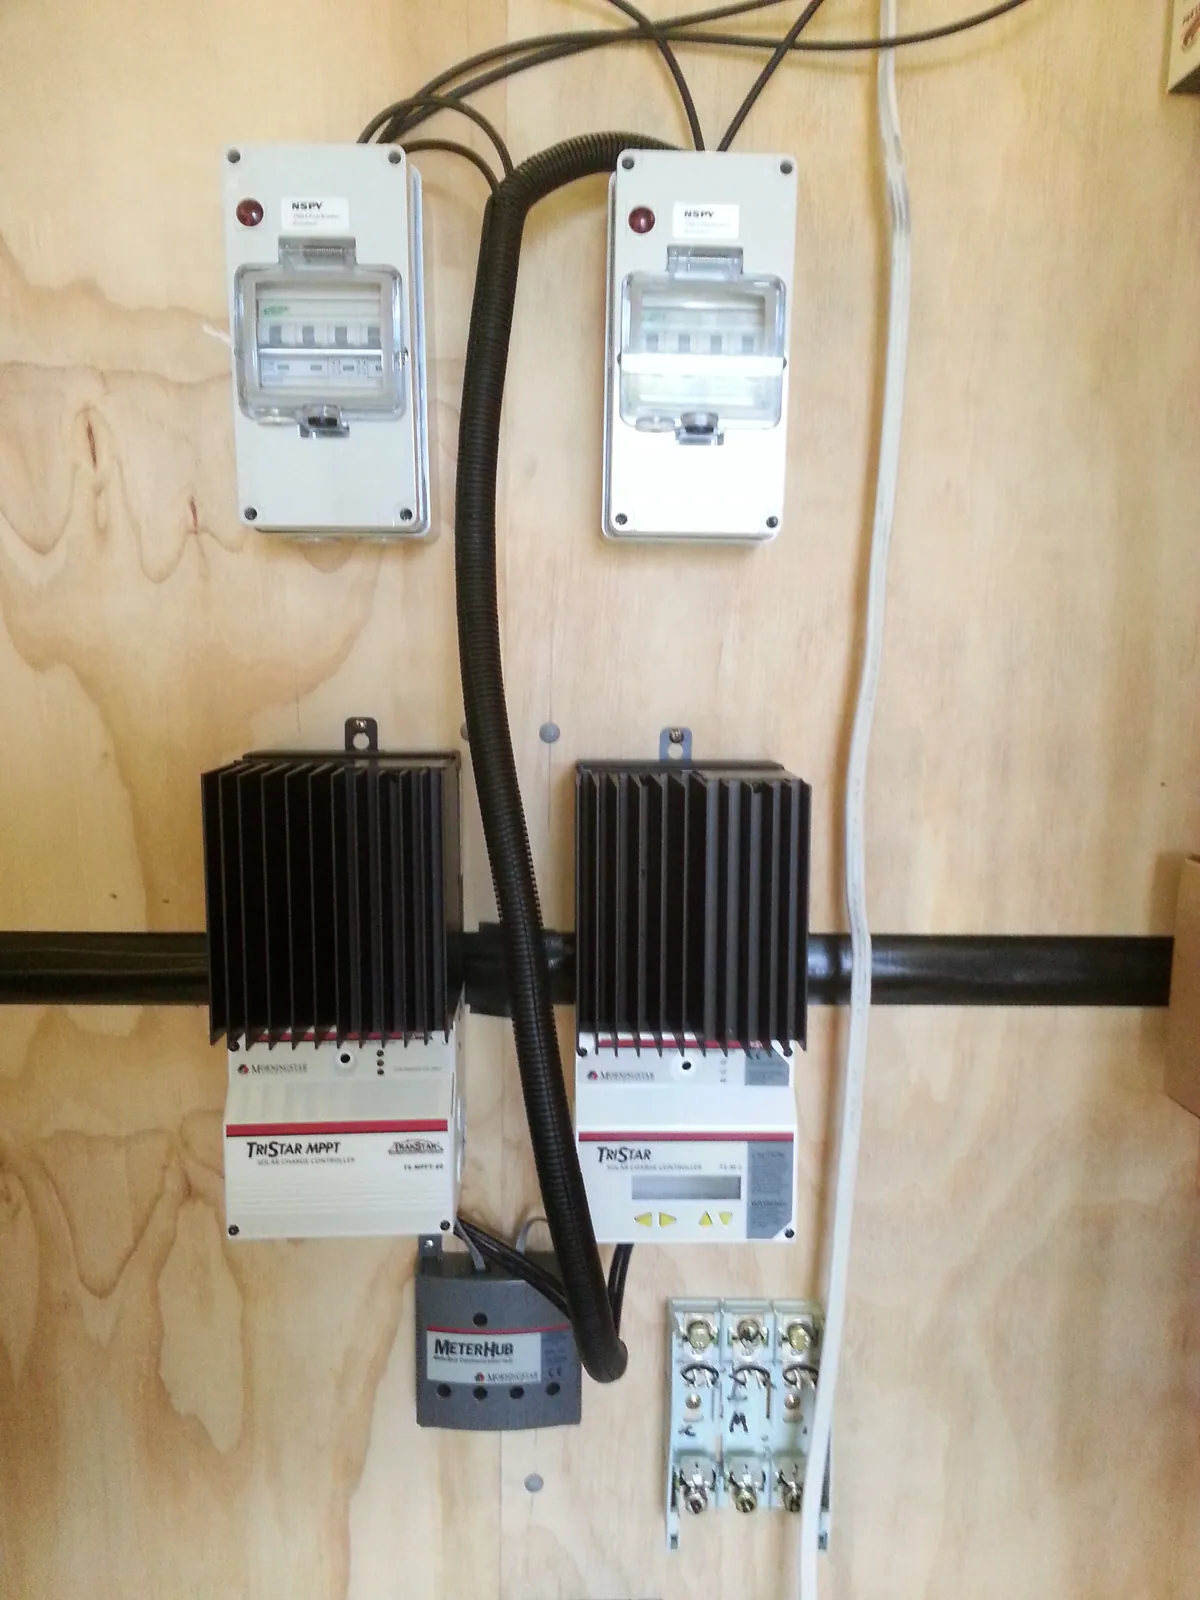
The power equipment after the cable runs have been arranged.
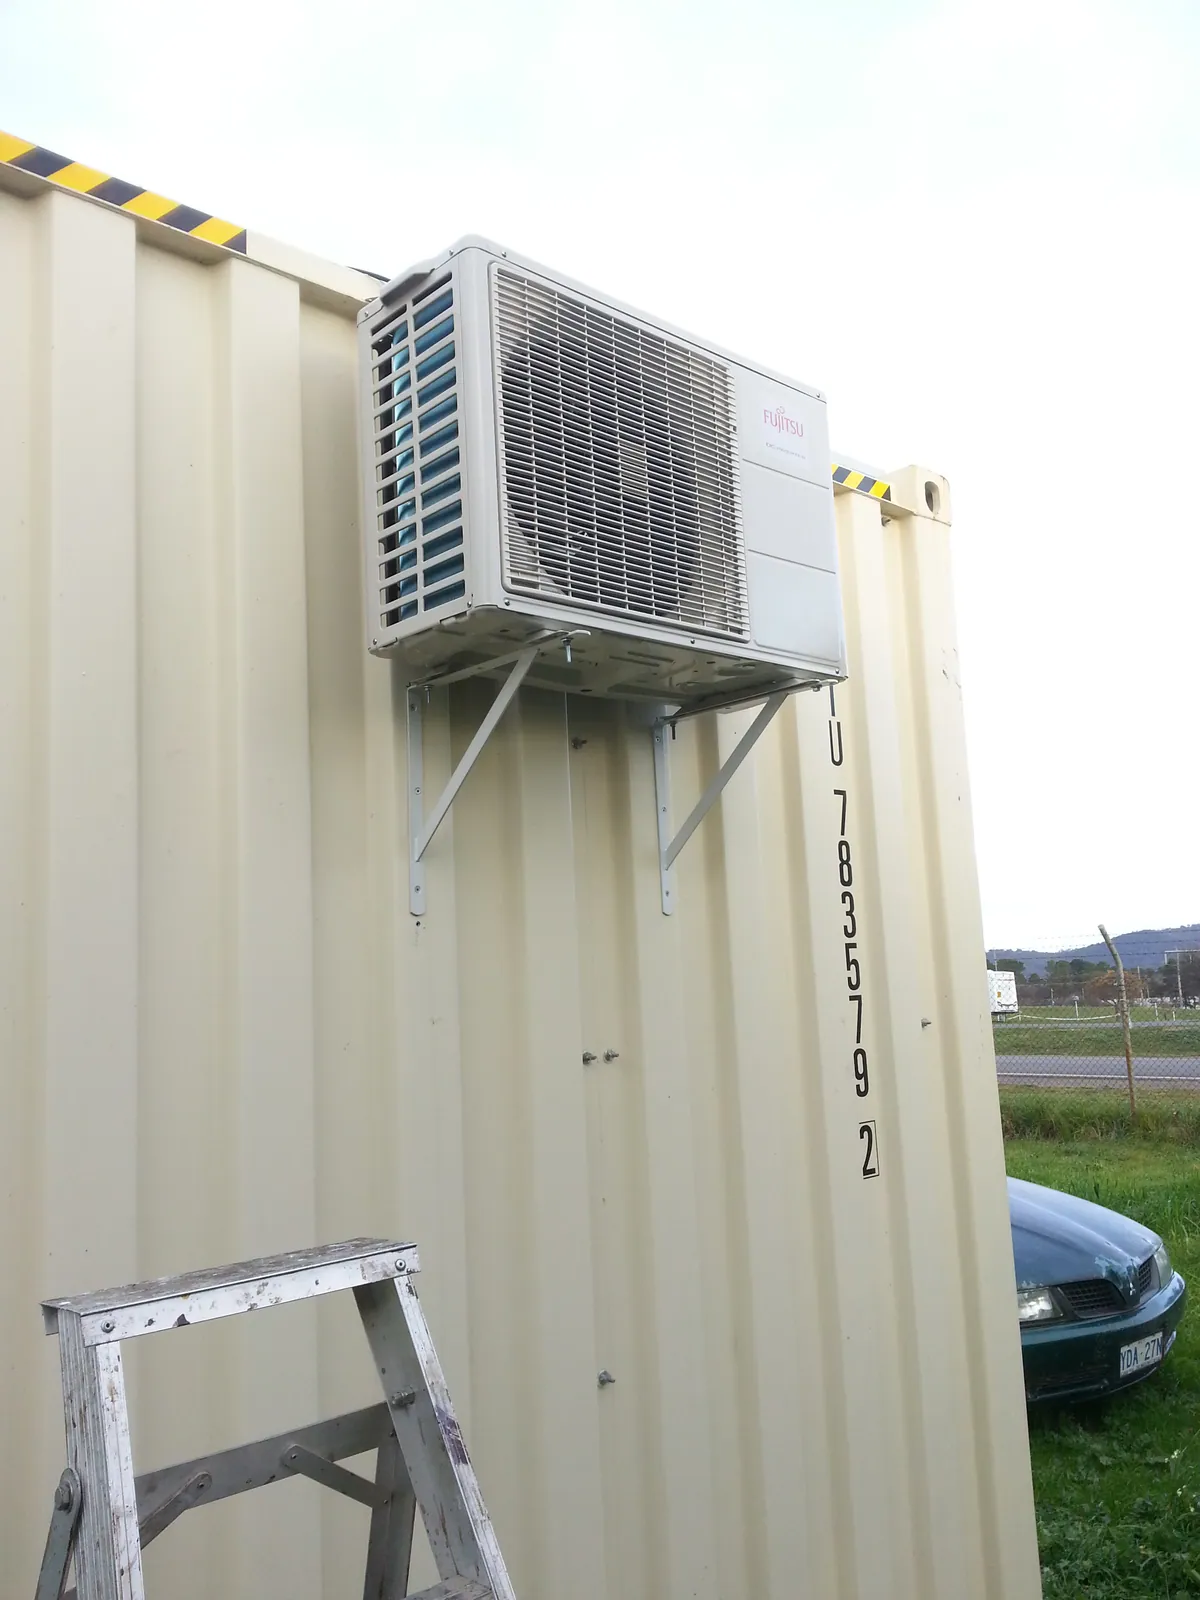
The air-conditioner outdoor unit mounted on the container.
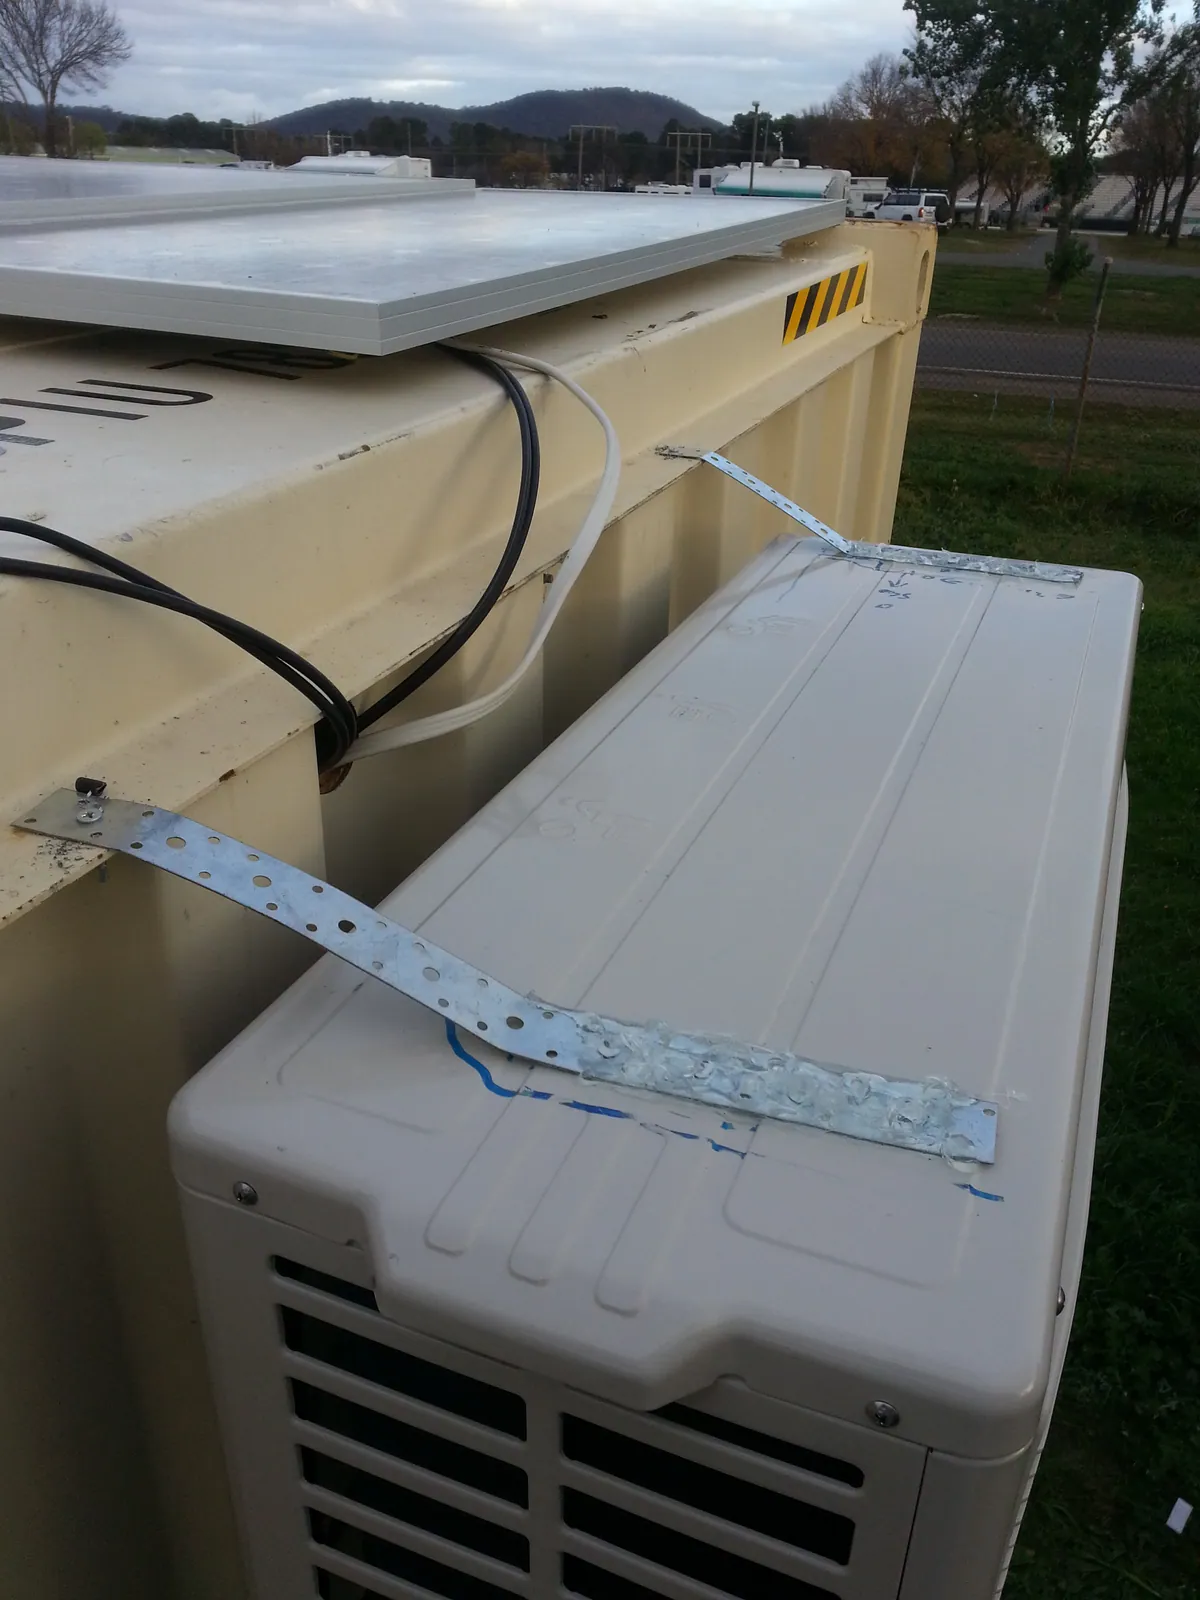
The outdoor unit and its pipework viewed from above.
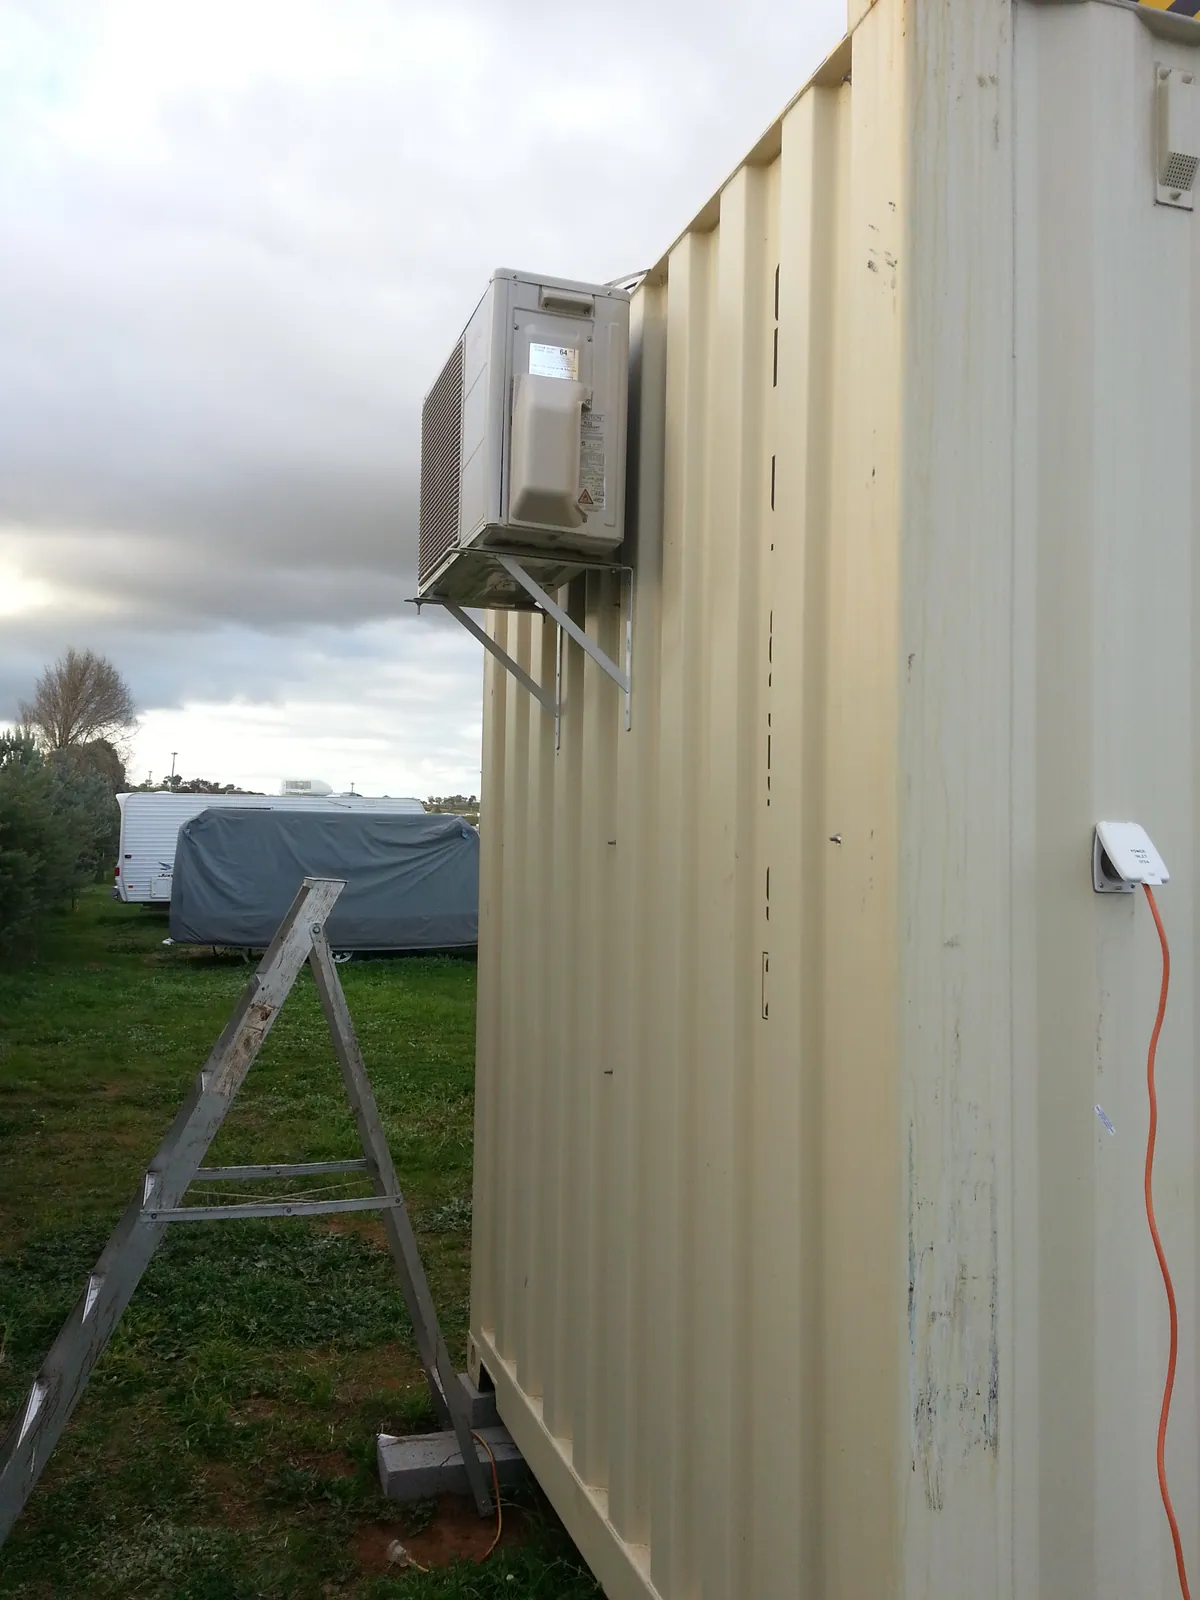
The mounted air-conditioning unit viewed along the container side.
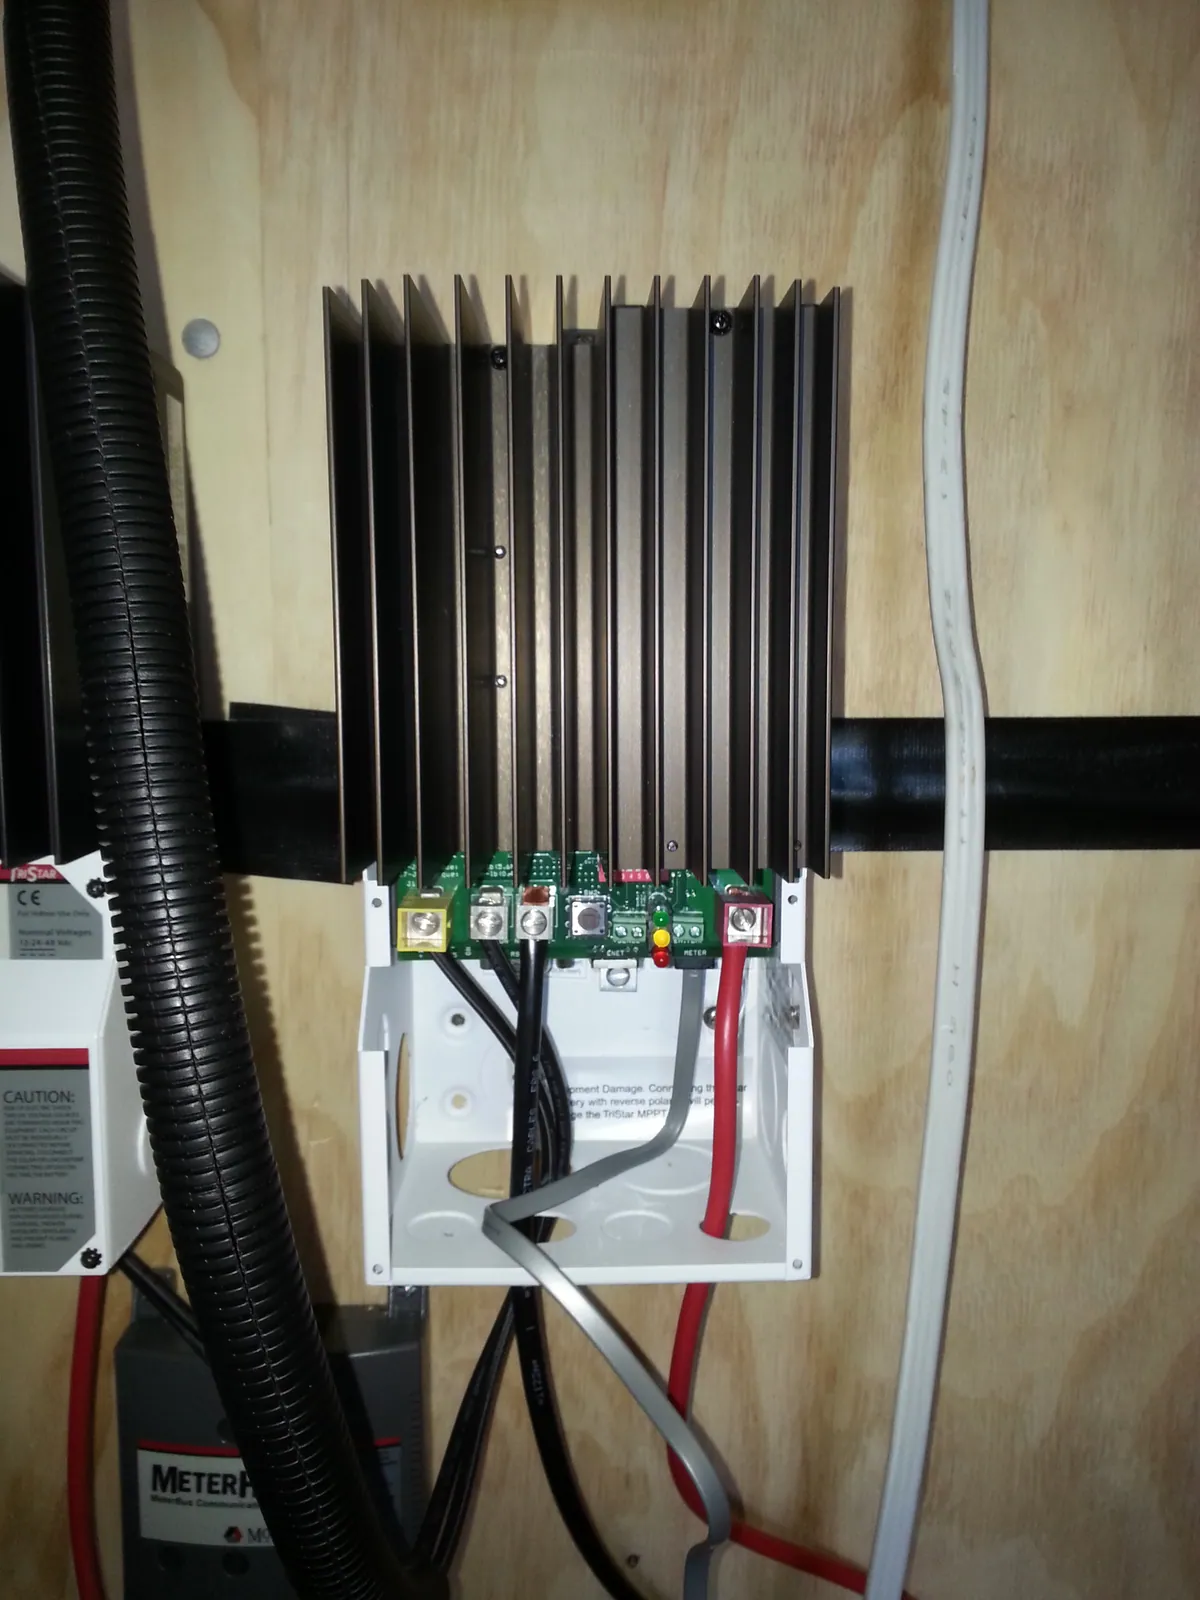
A closer view of the power controller and its connections.
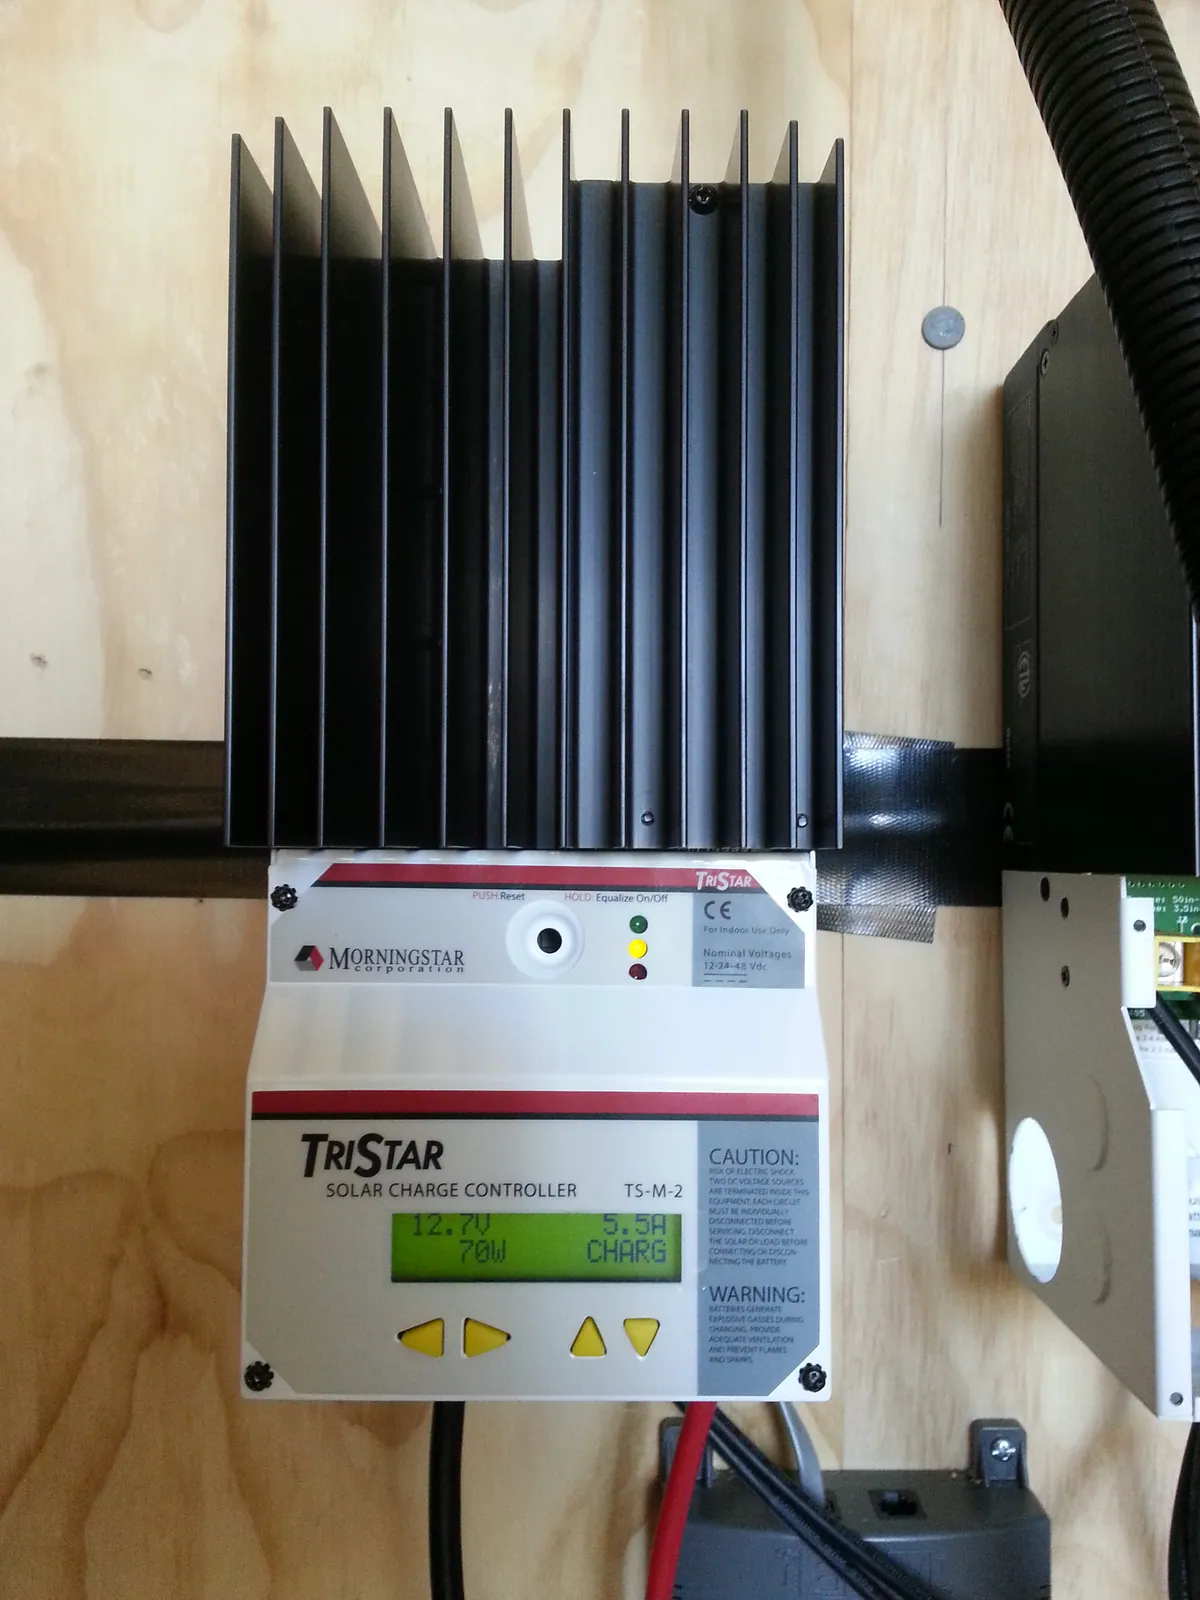
The controller with its lower cover fitted.
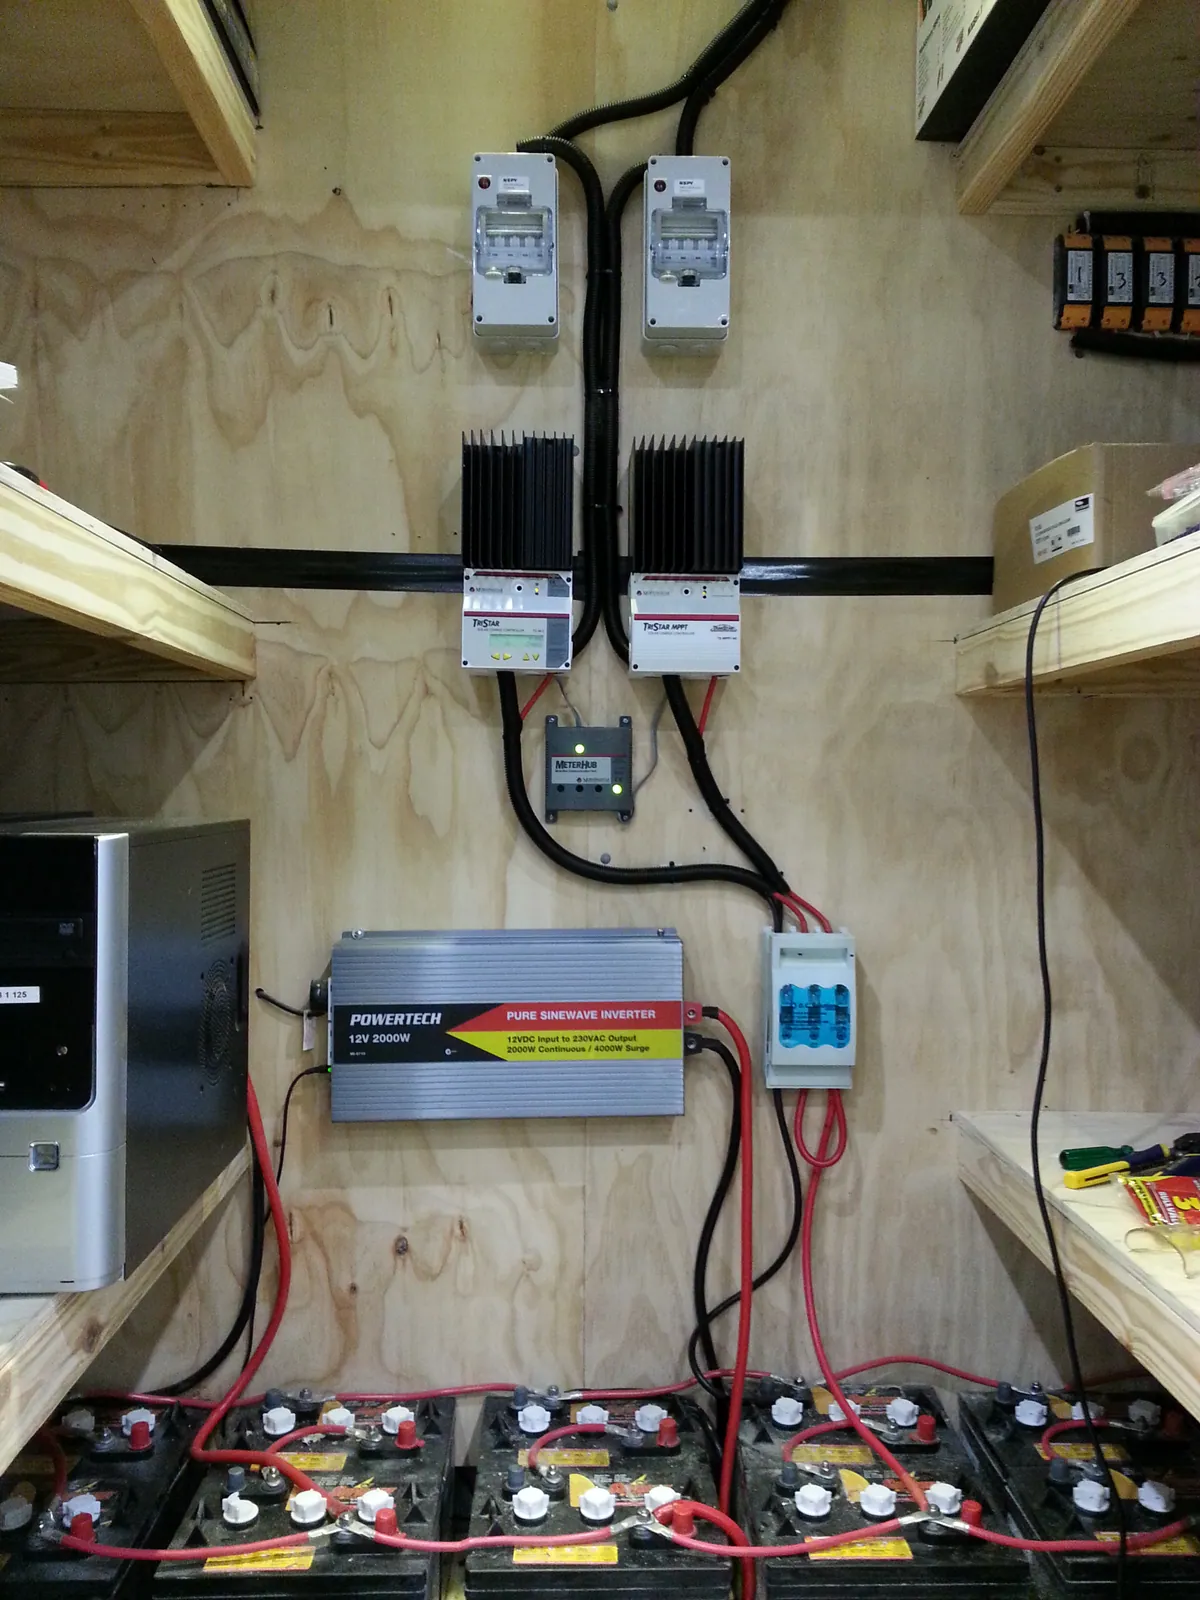
The battery bank, inverter and controllers together in the service area.
06Finishing electrical and network connections
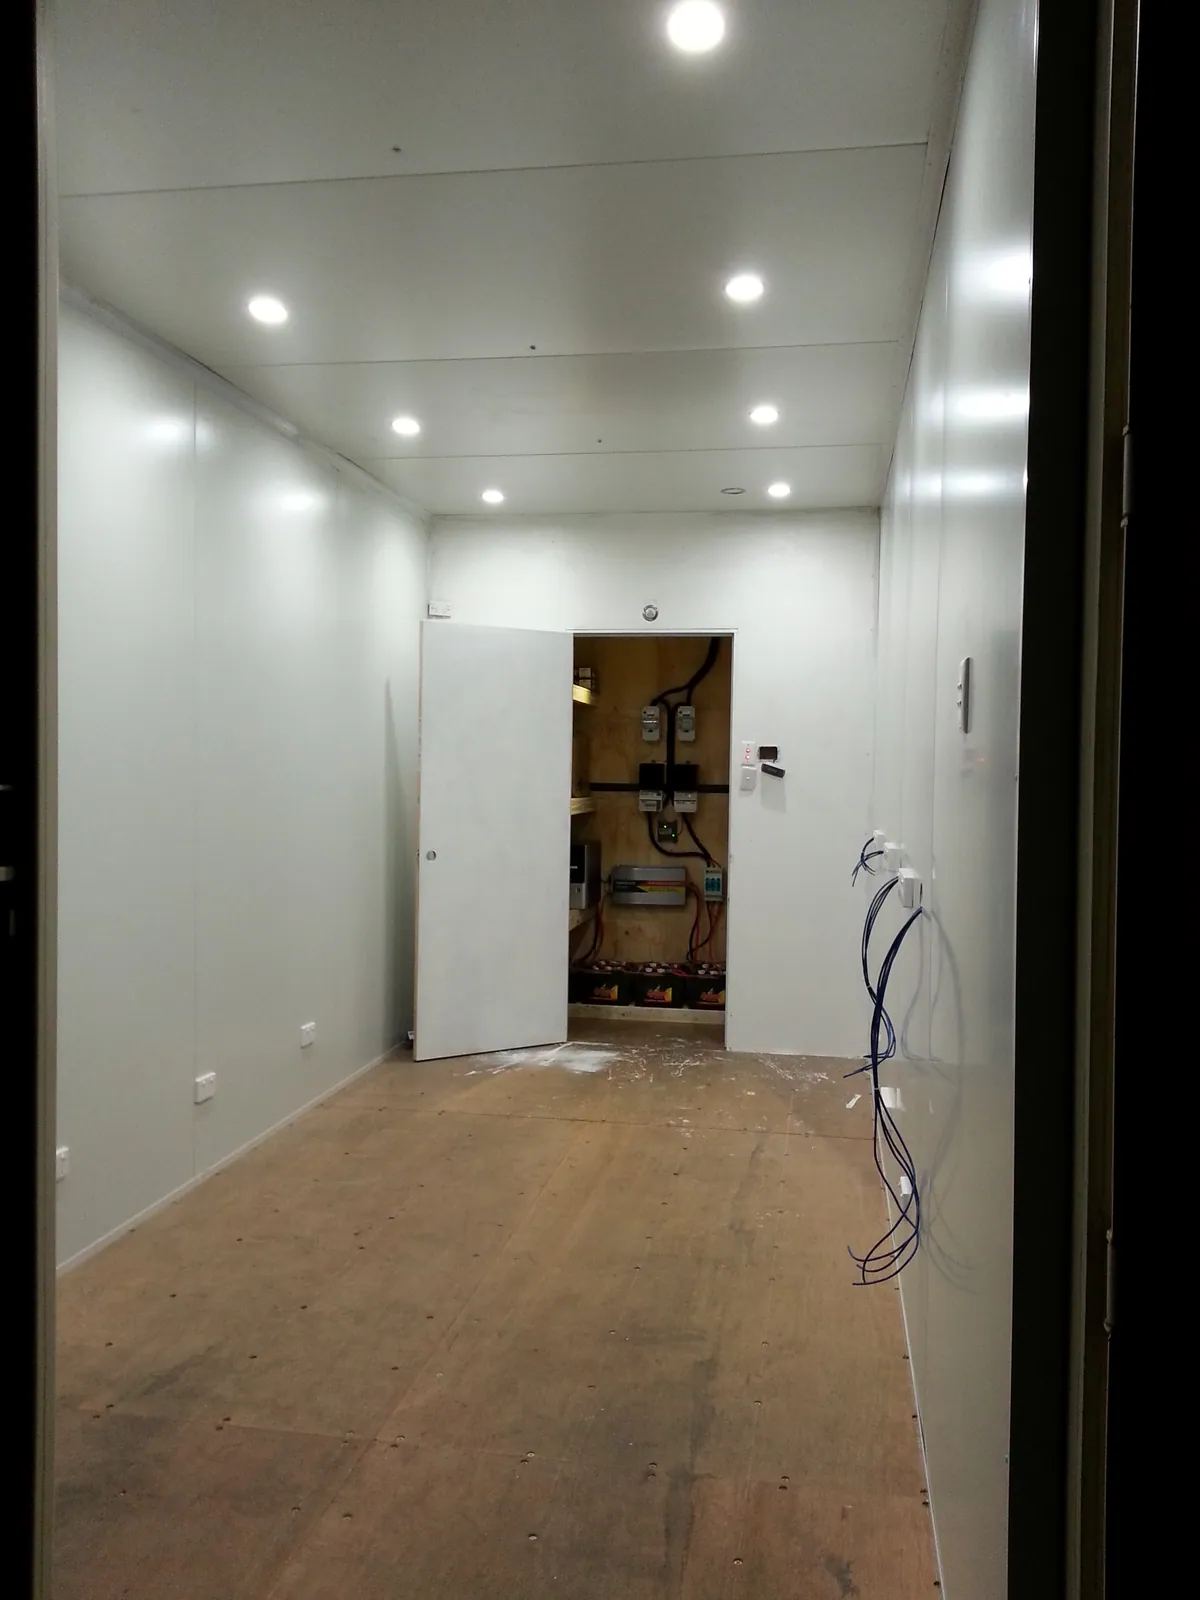
The fully lined main room with its ceiling lights operating.
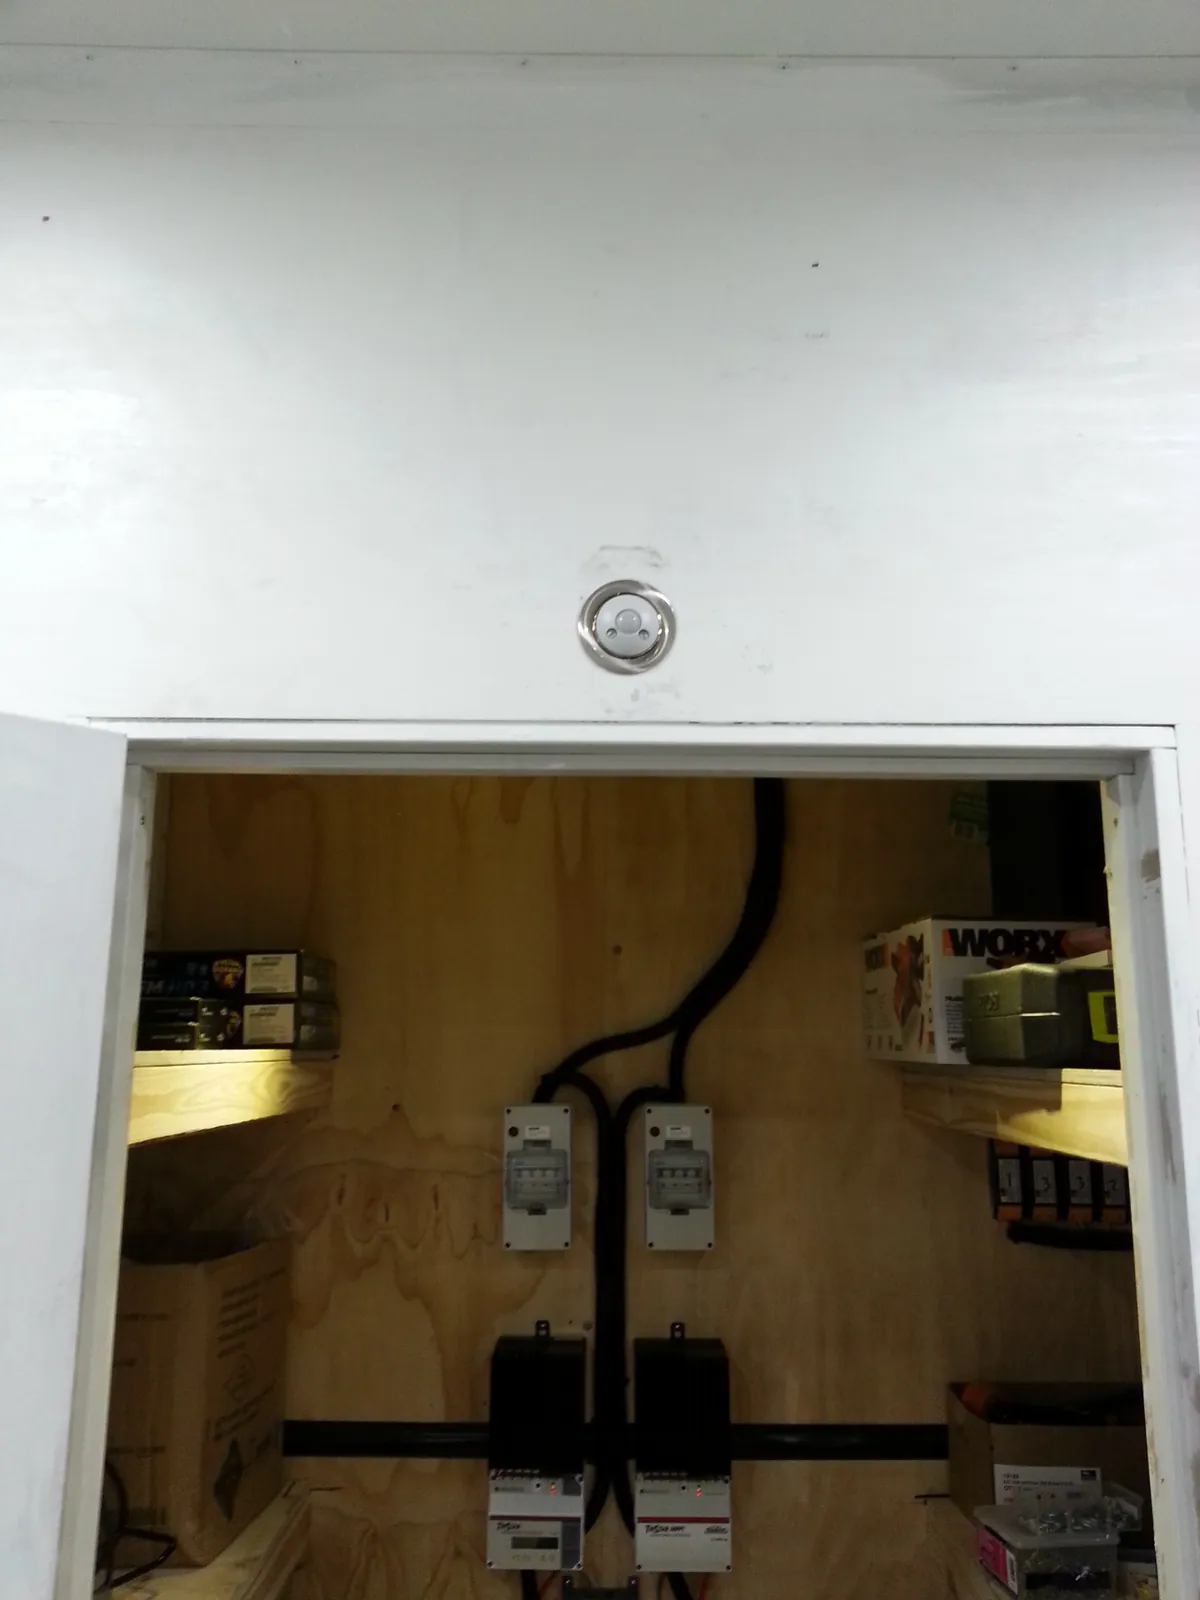
The service-area doorway and wall fittings.
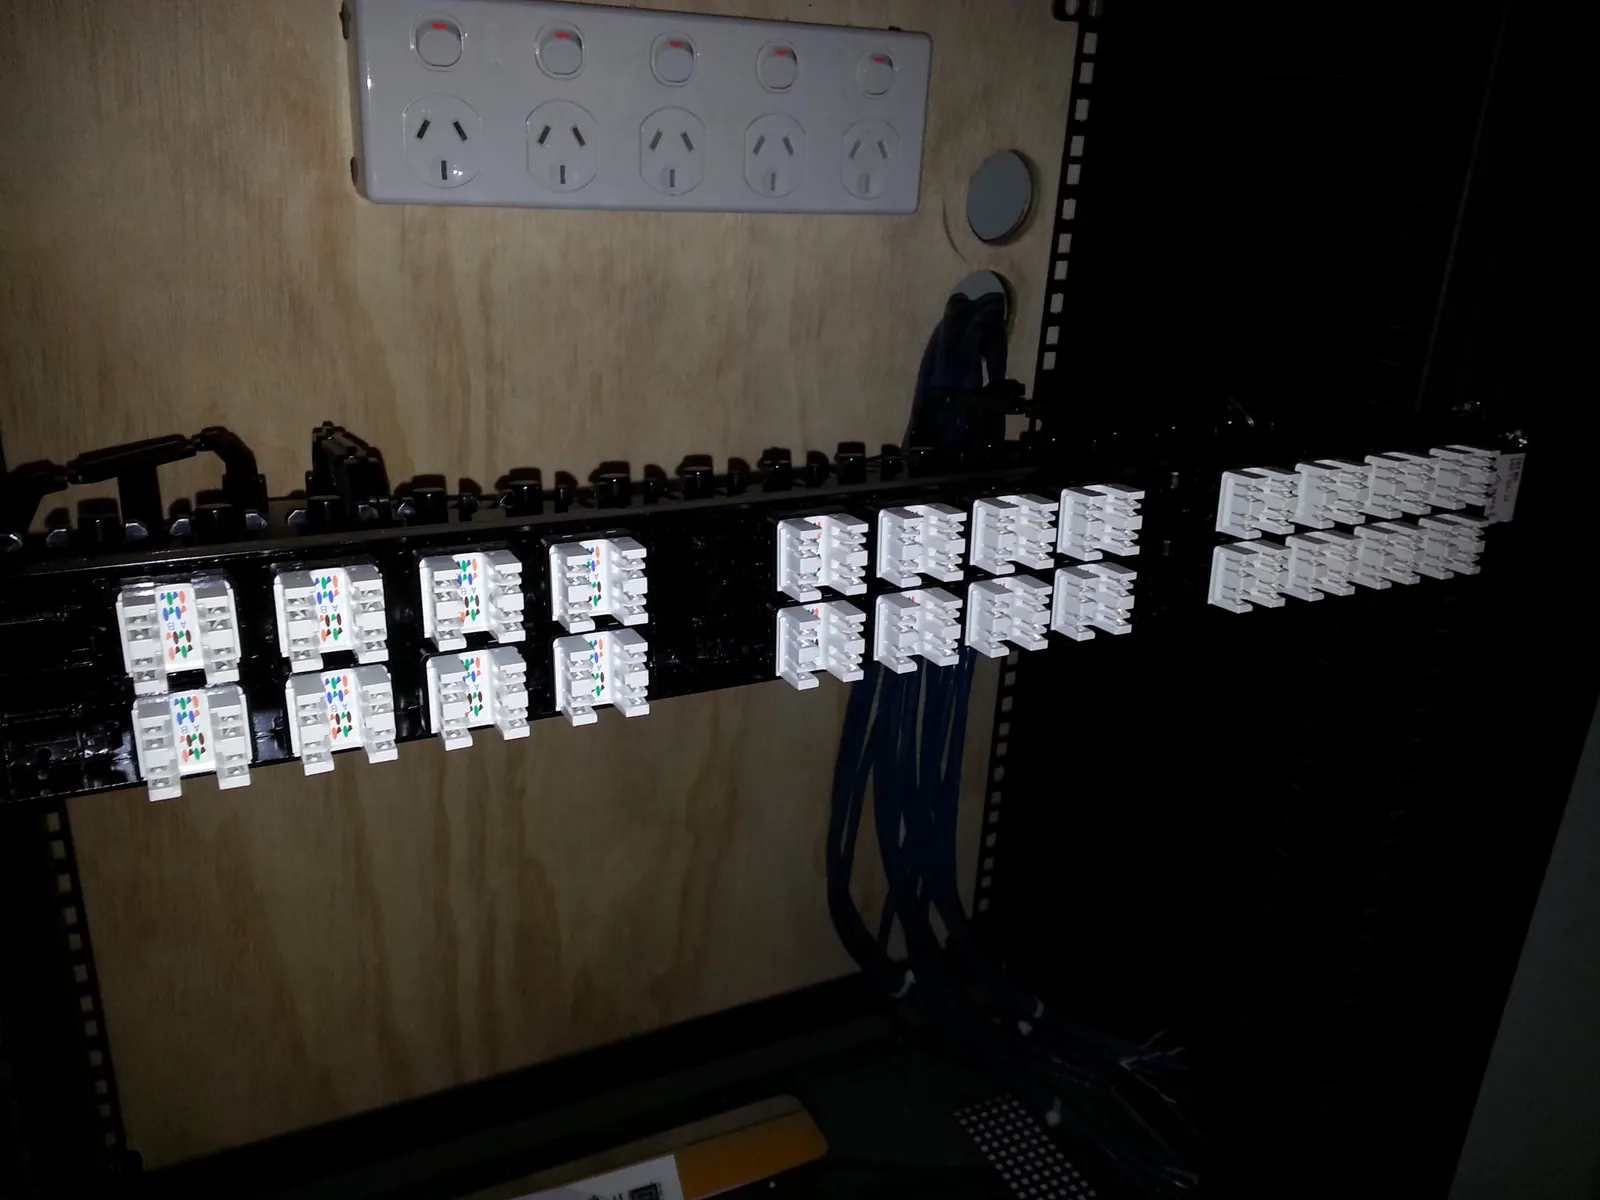
Network terminations being assembled on a mounting strip.
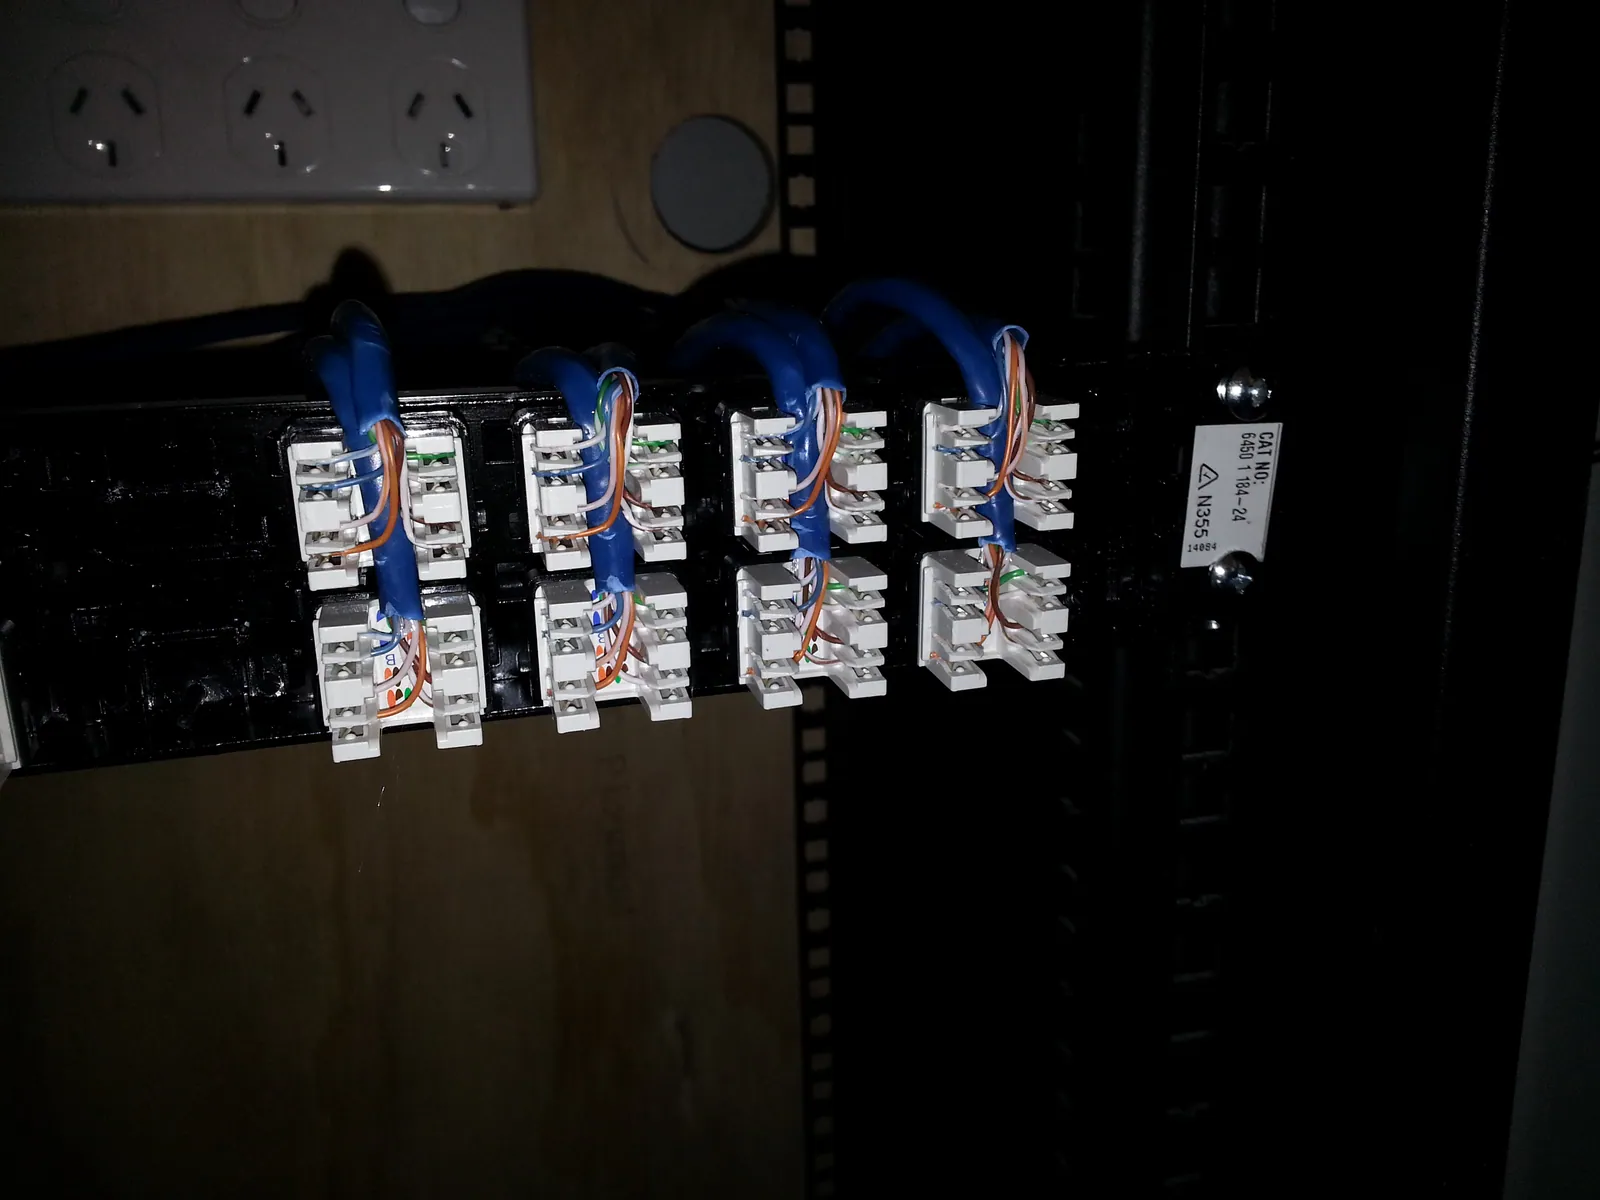
The network termination strip with additional connections fitted.
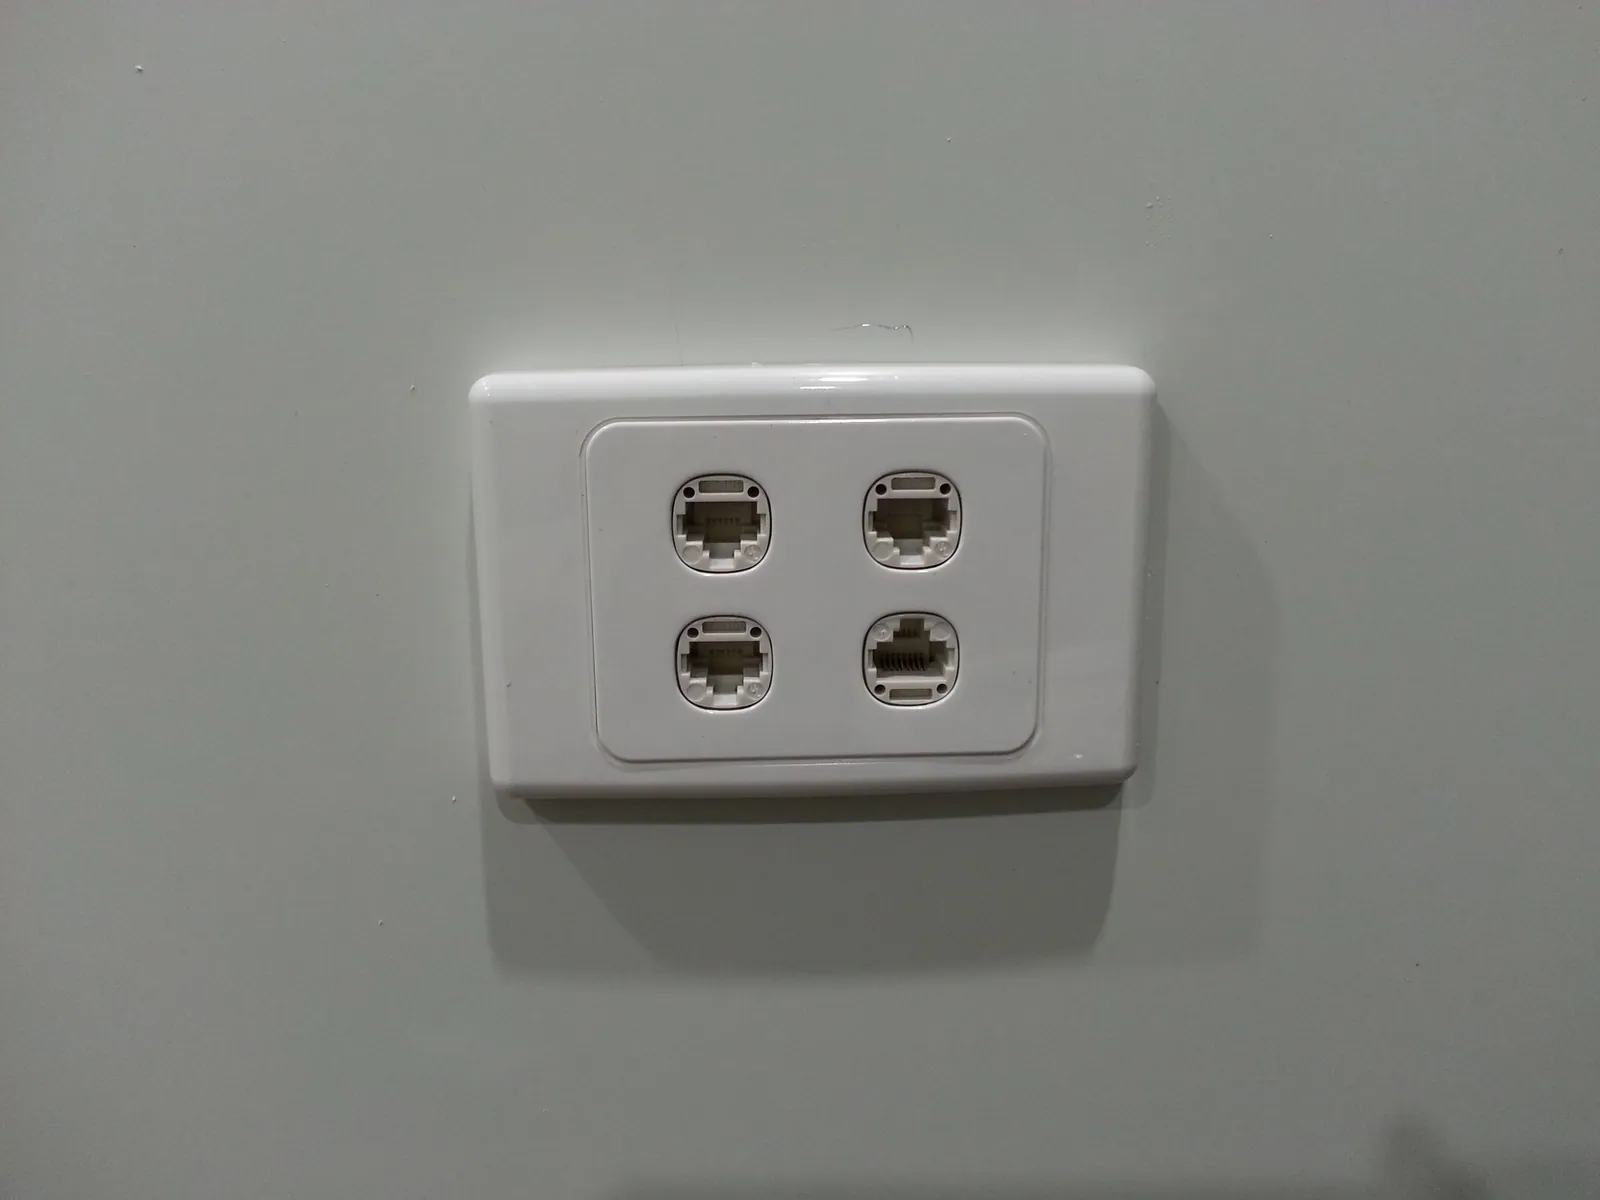
A four-port data outlet installed in the finished wall.
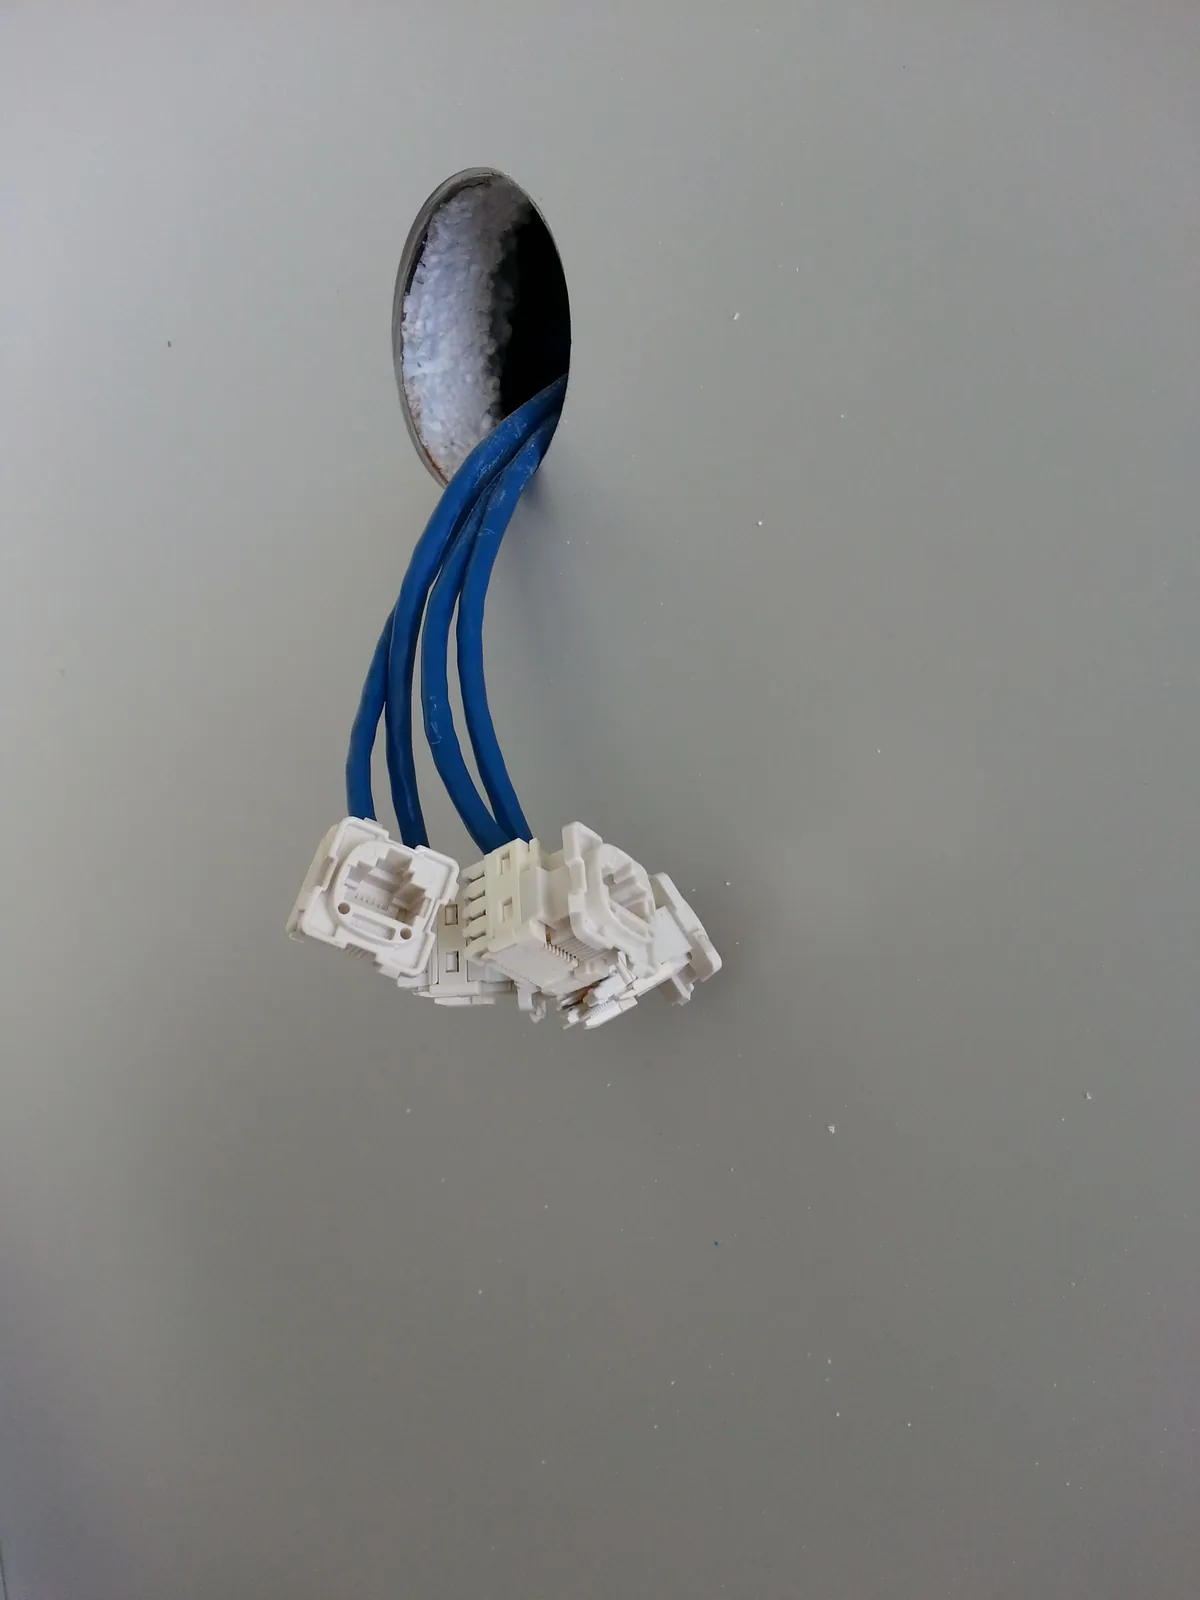
Data cables drawn through the wall before fitting the outlet.
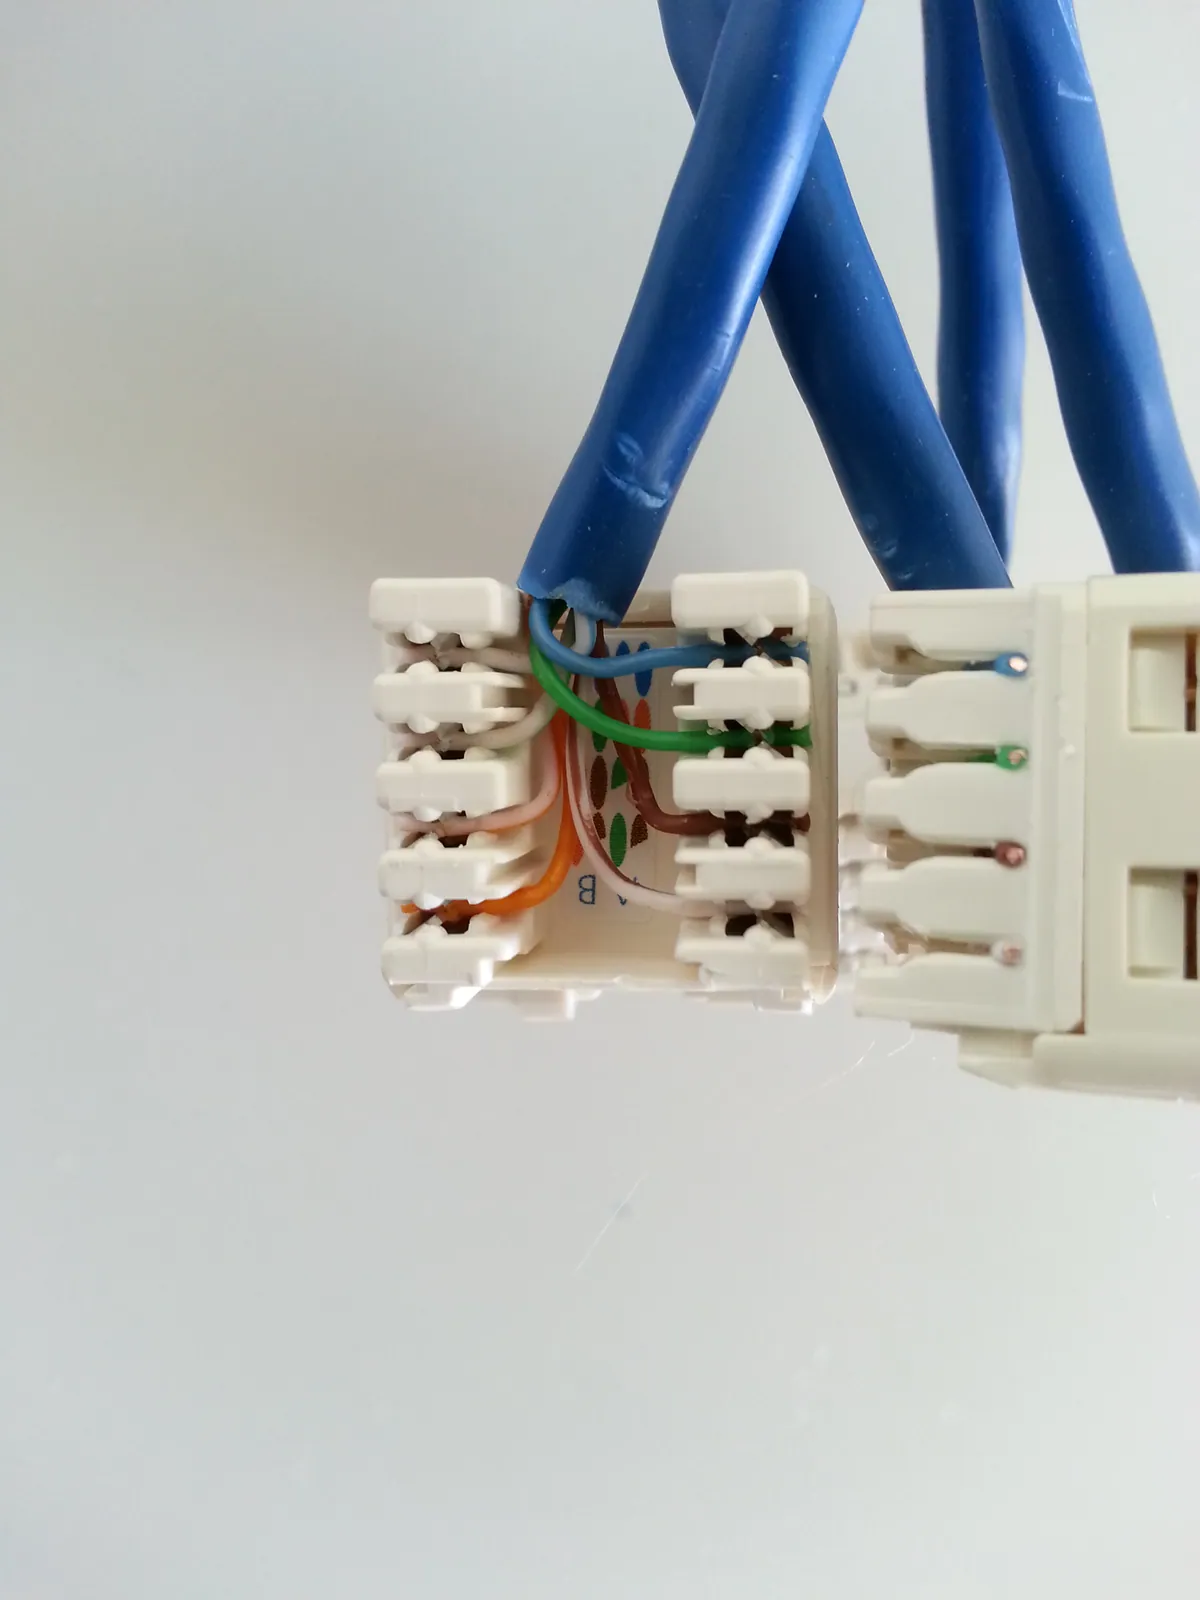
A close-up of one network connection during assembly.
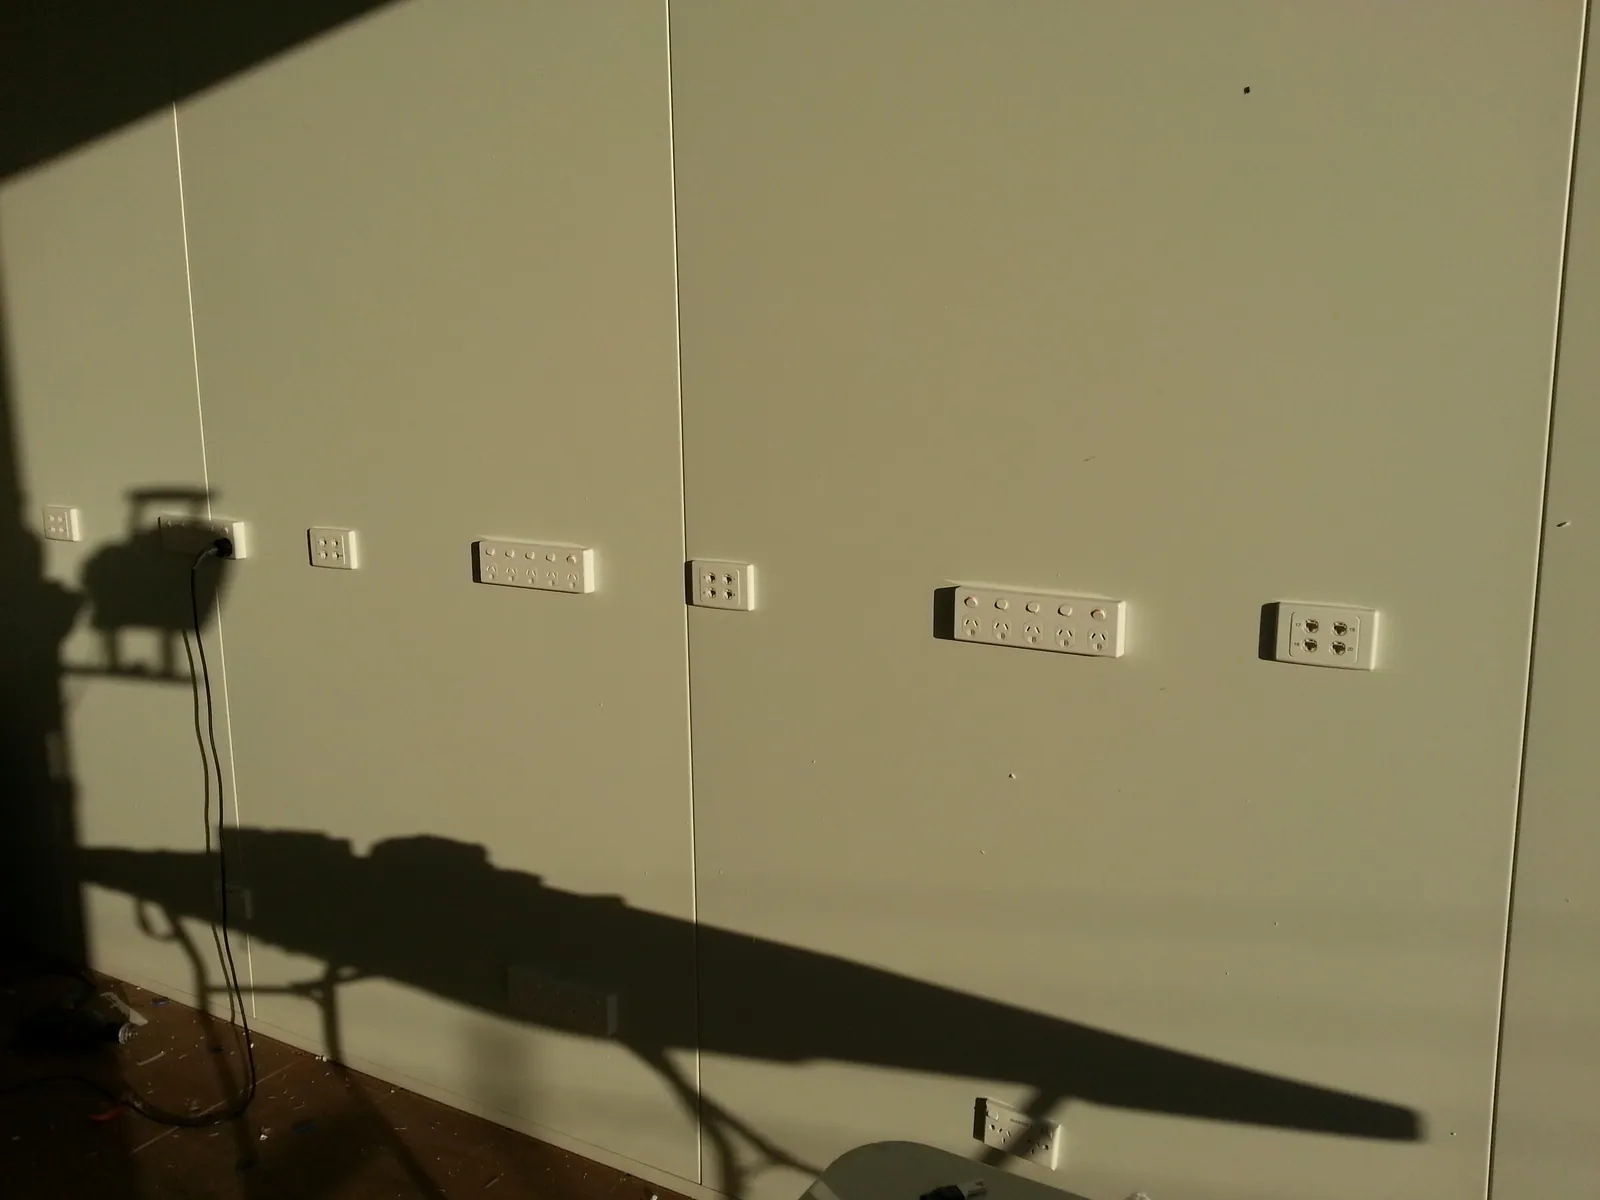
The row of power and data outlets along the workshop wall.
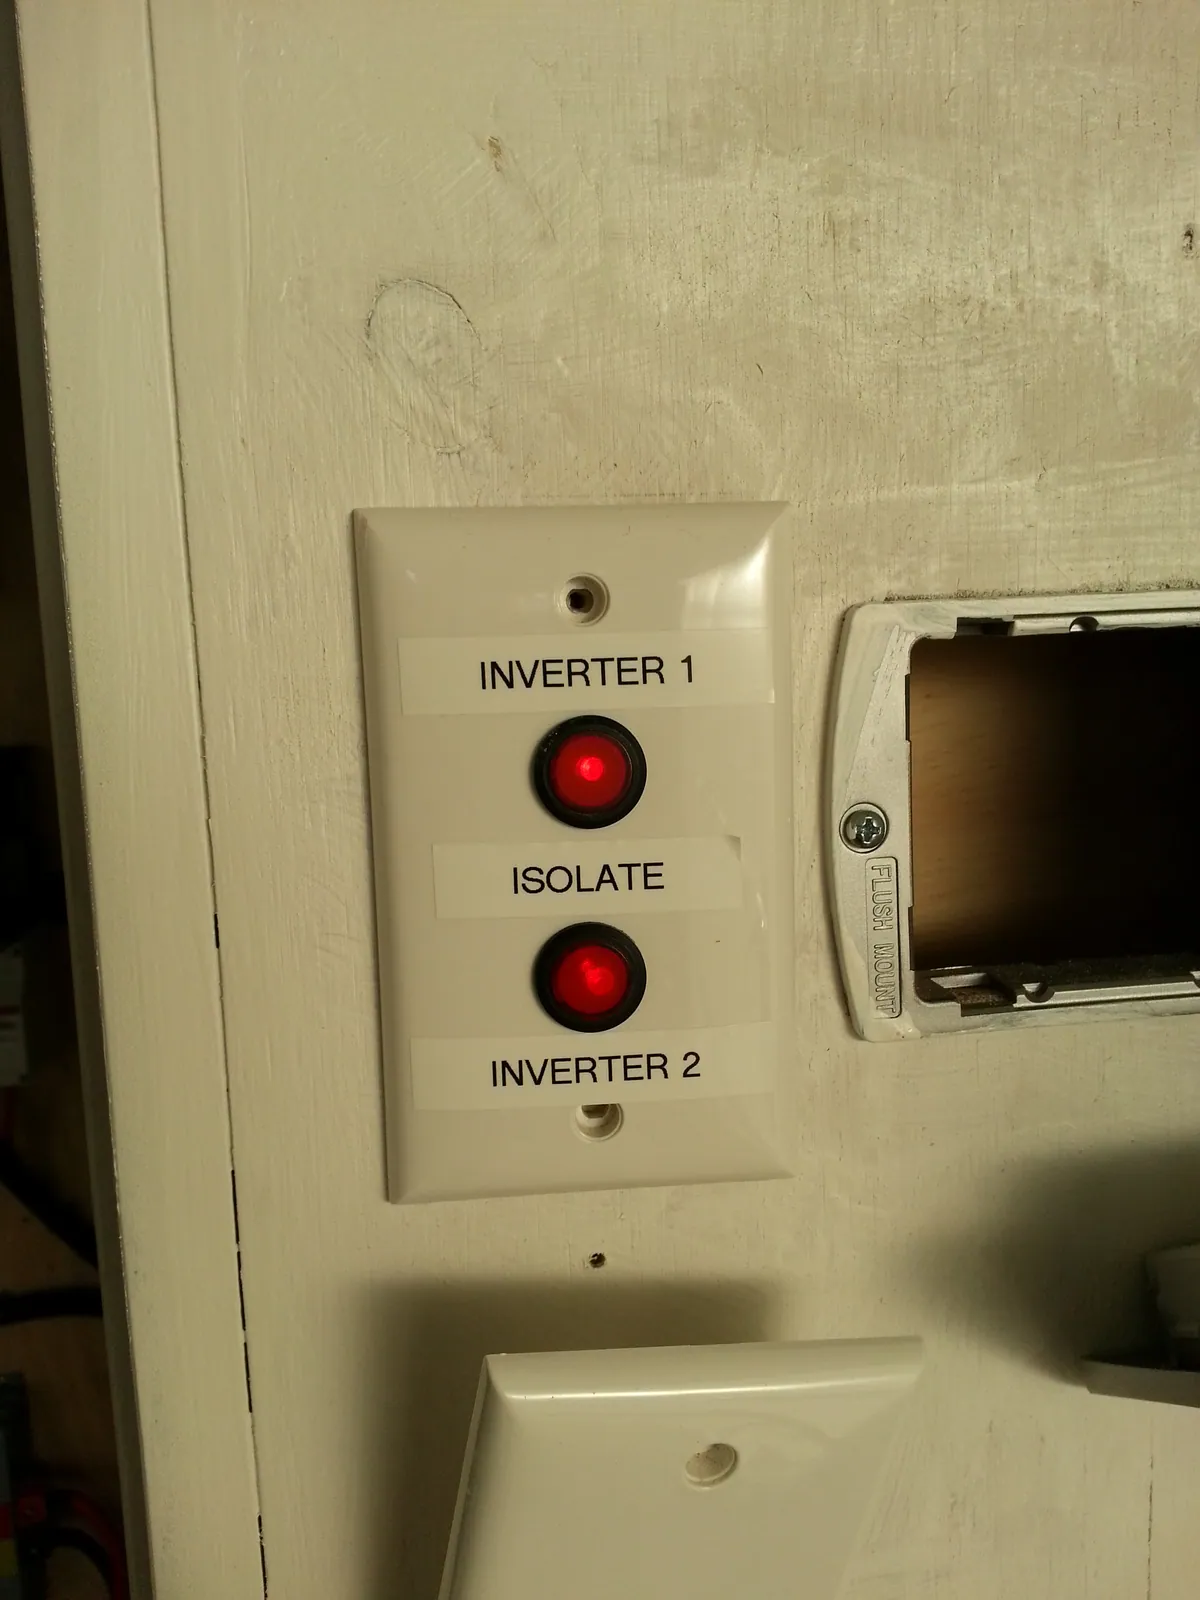
A labelled pair of switches beside the power outlets.
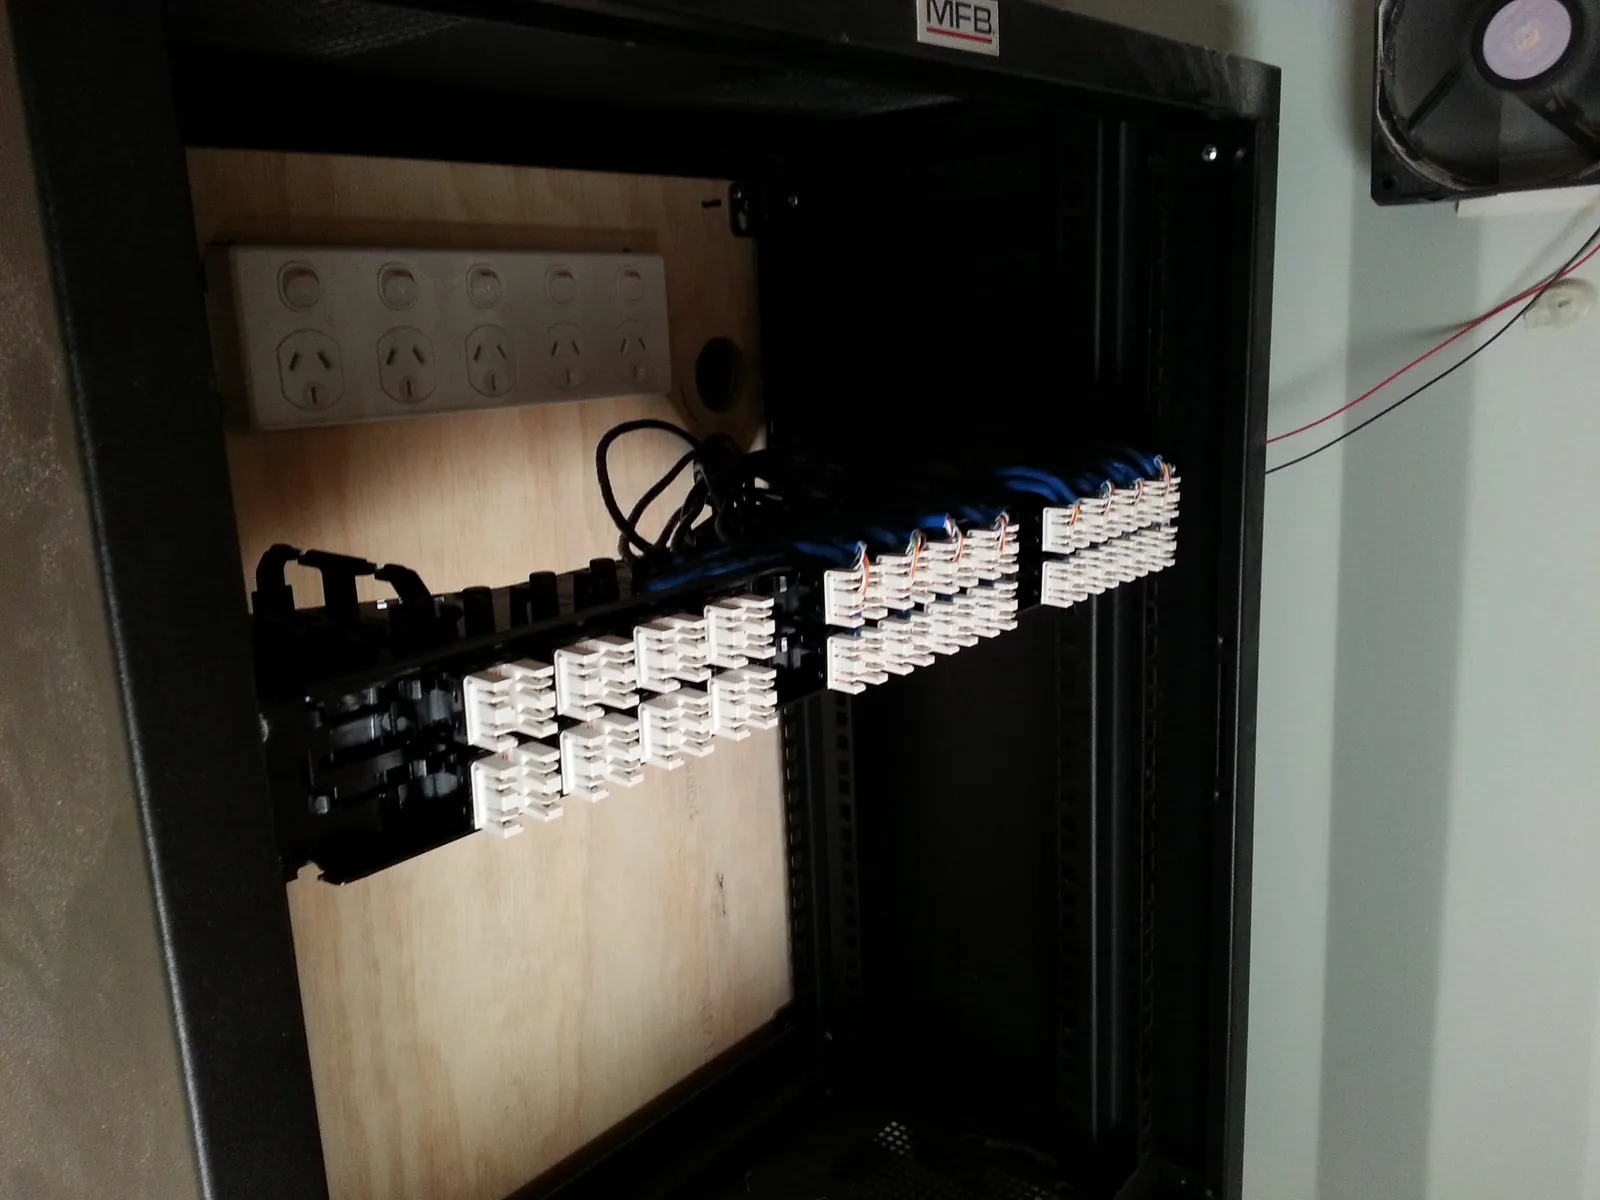
A wider view of the network terminations inside the service area.
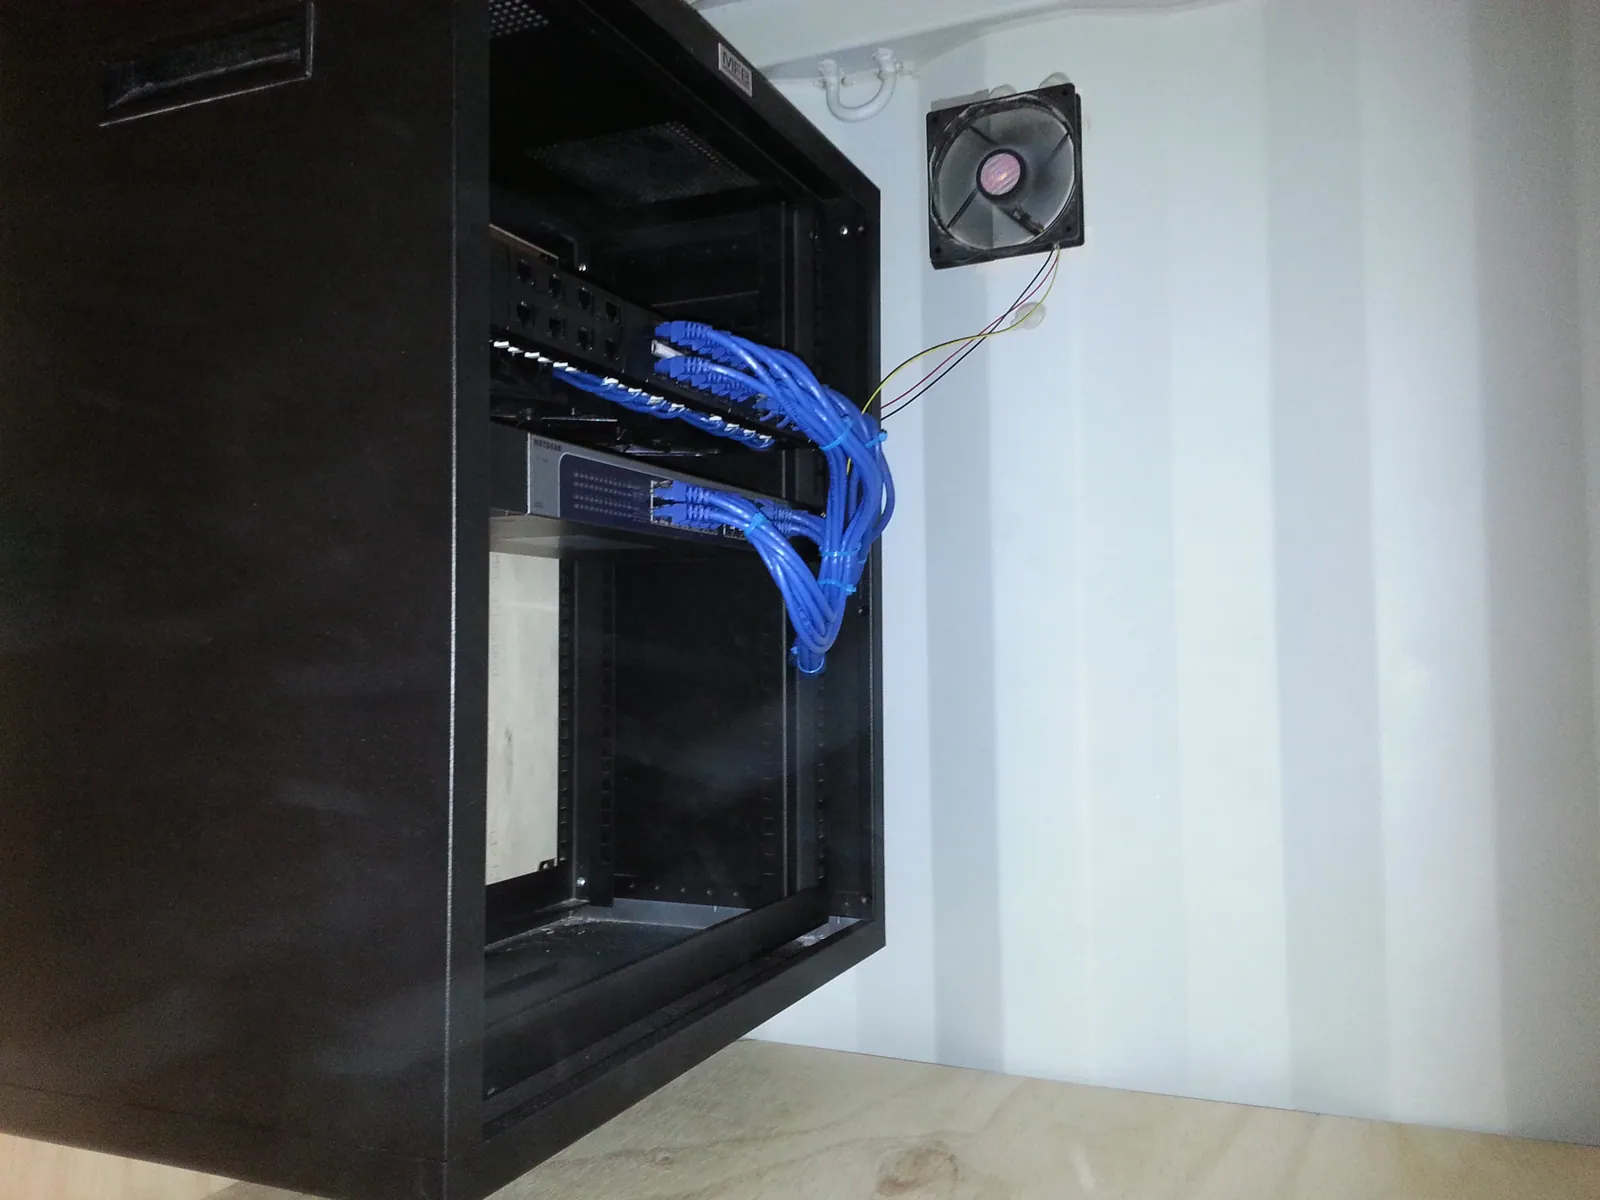
Data cables connected in the wall cabinet.
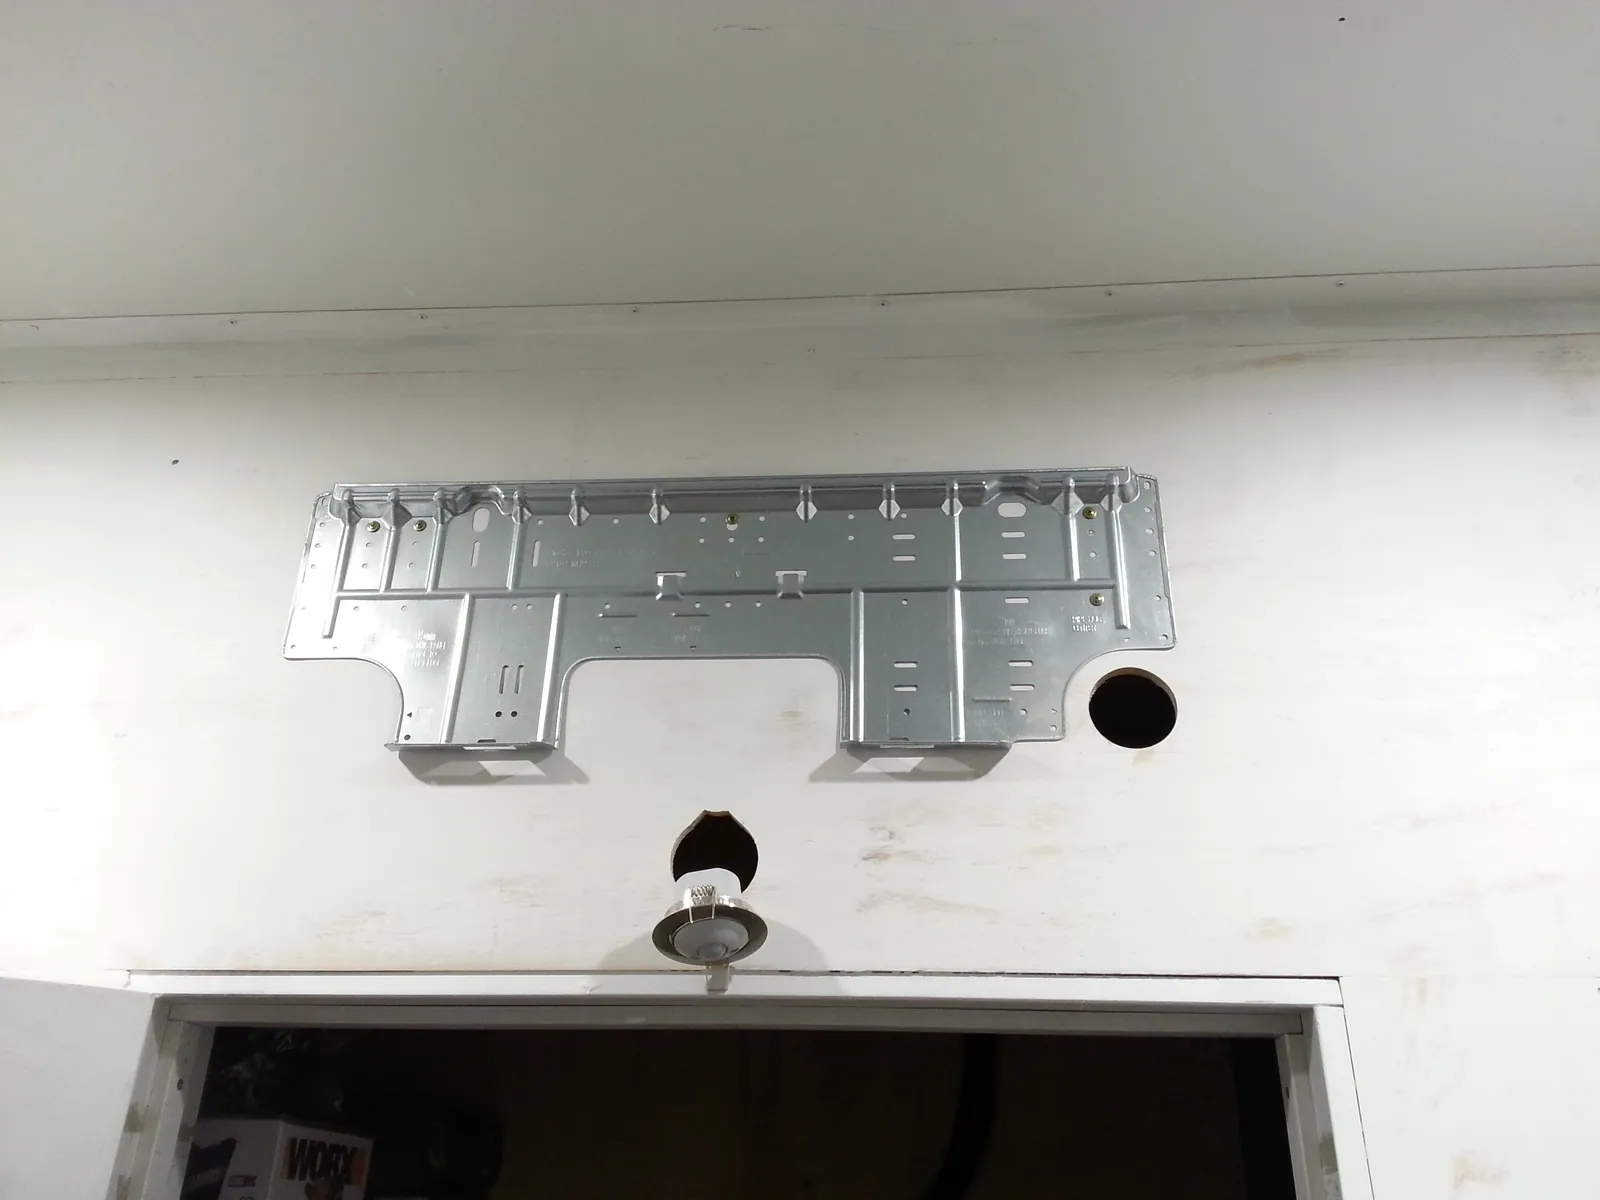
The mounting bracket and wall opening for the indoor air conditioner.
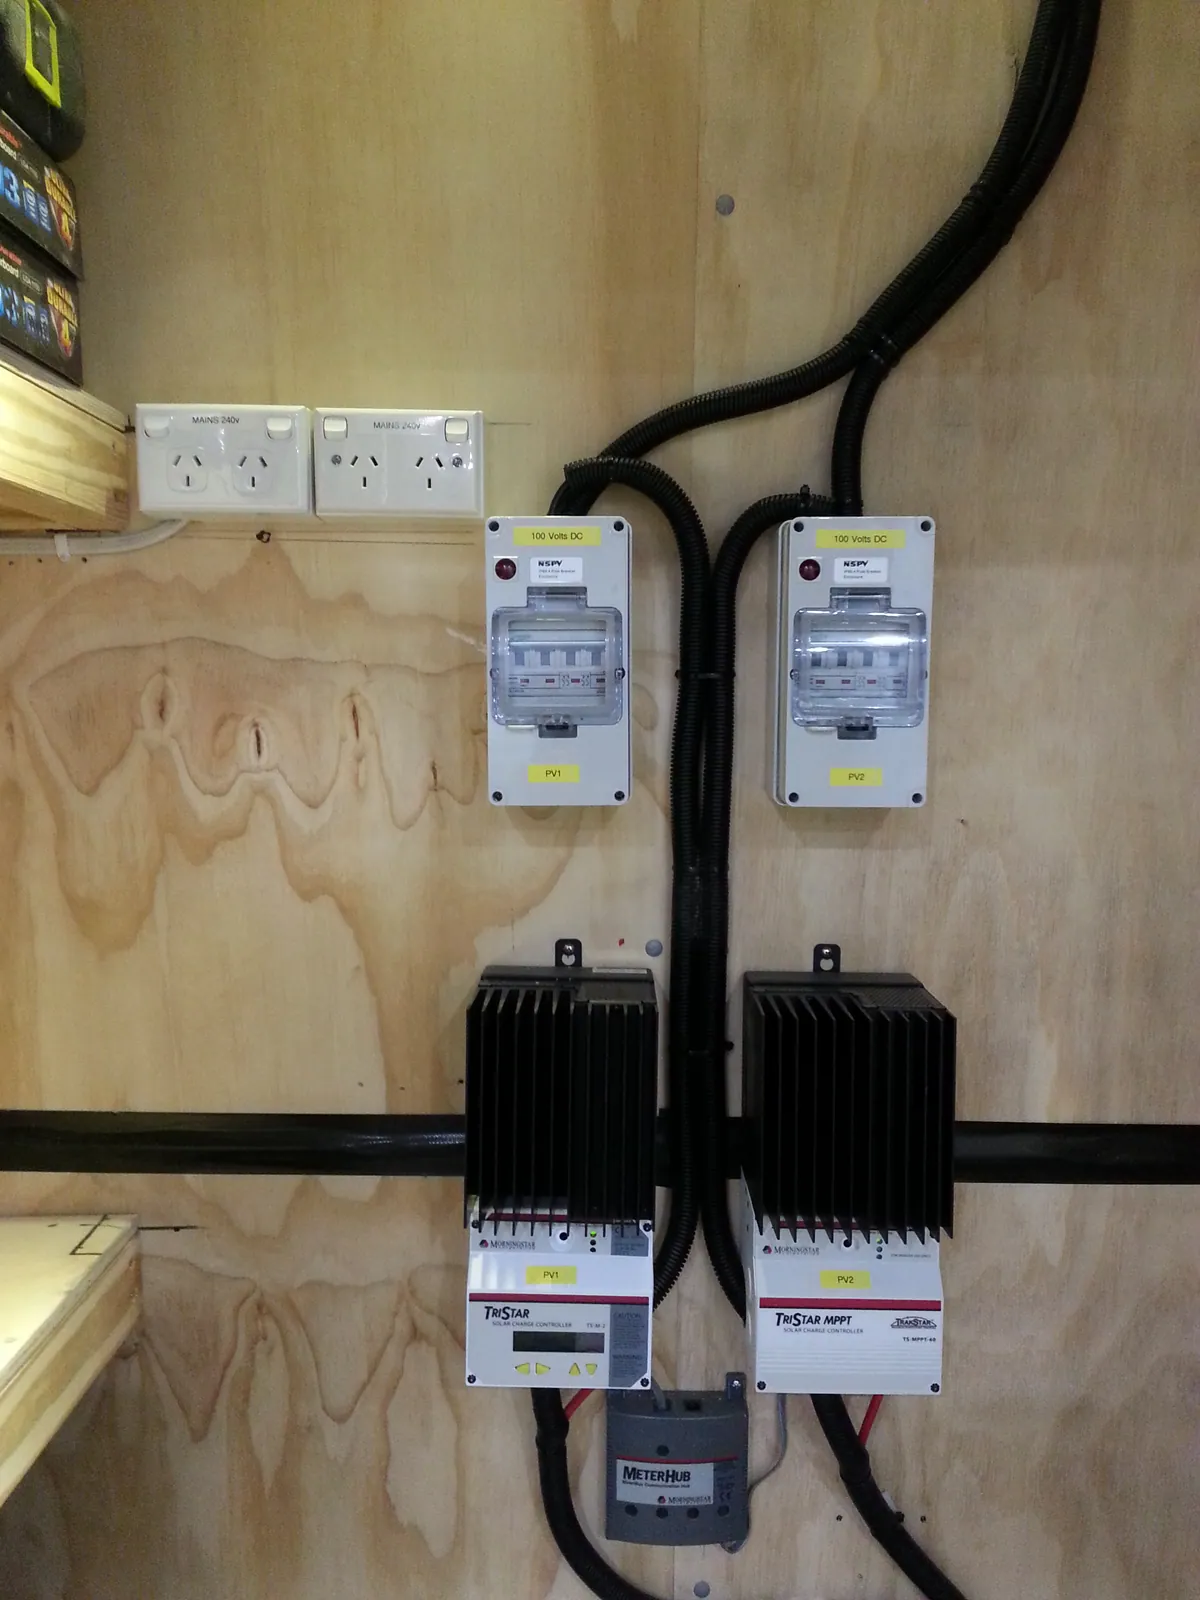
The power meters and controllers in the service area.
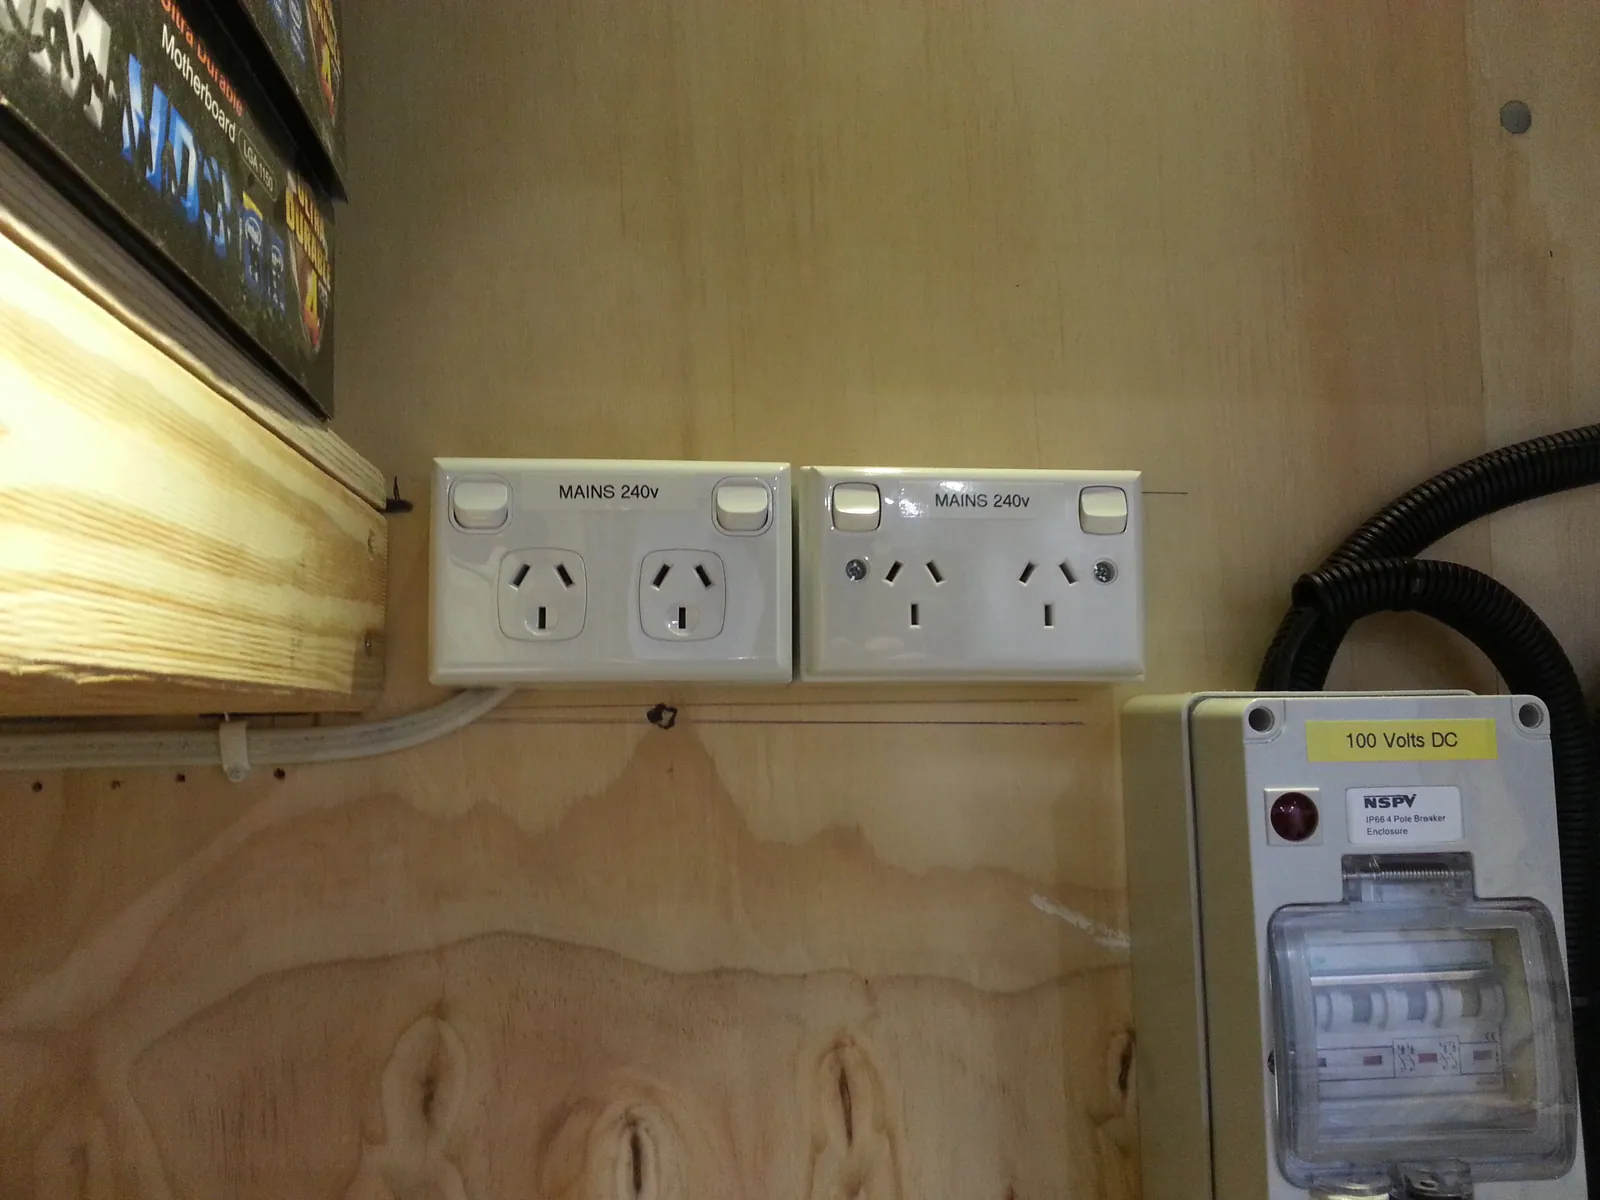
Additional power outlets fitted above the meters.
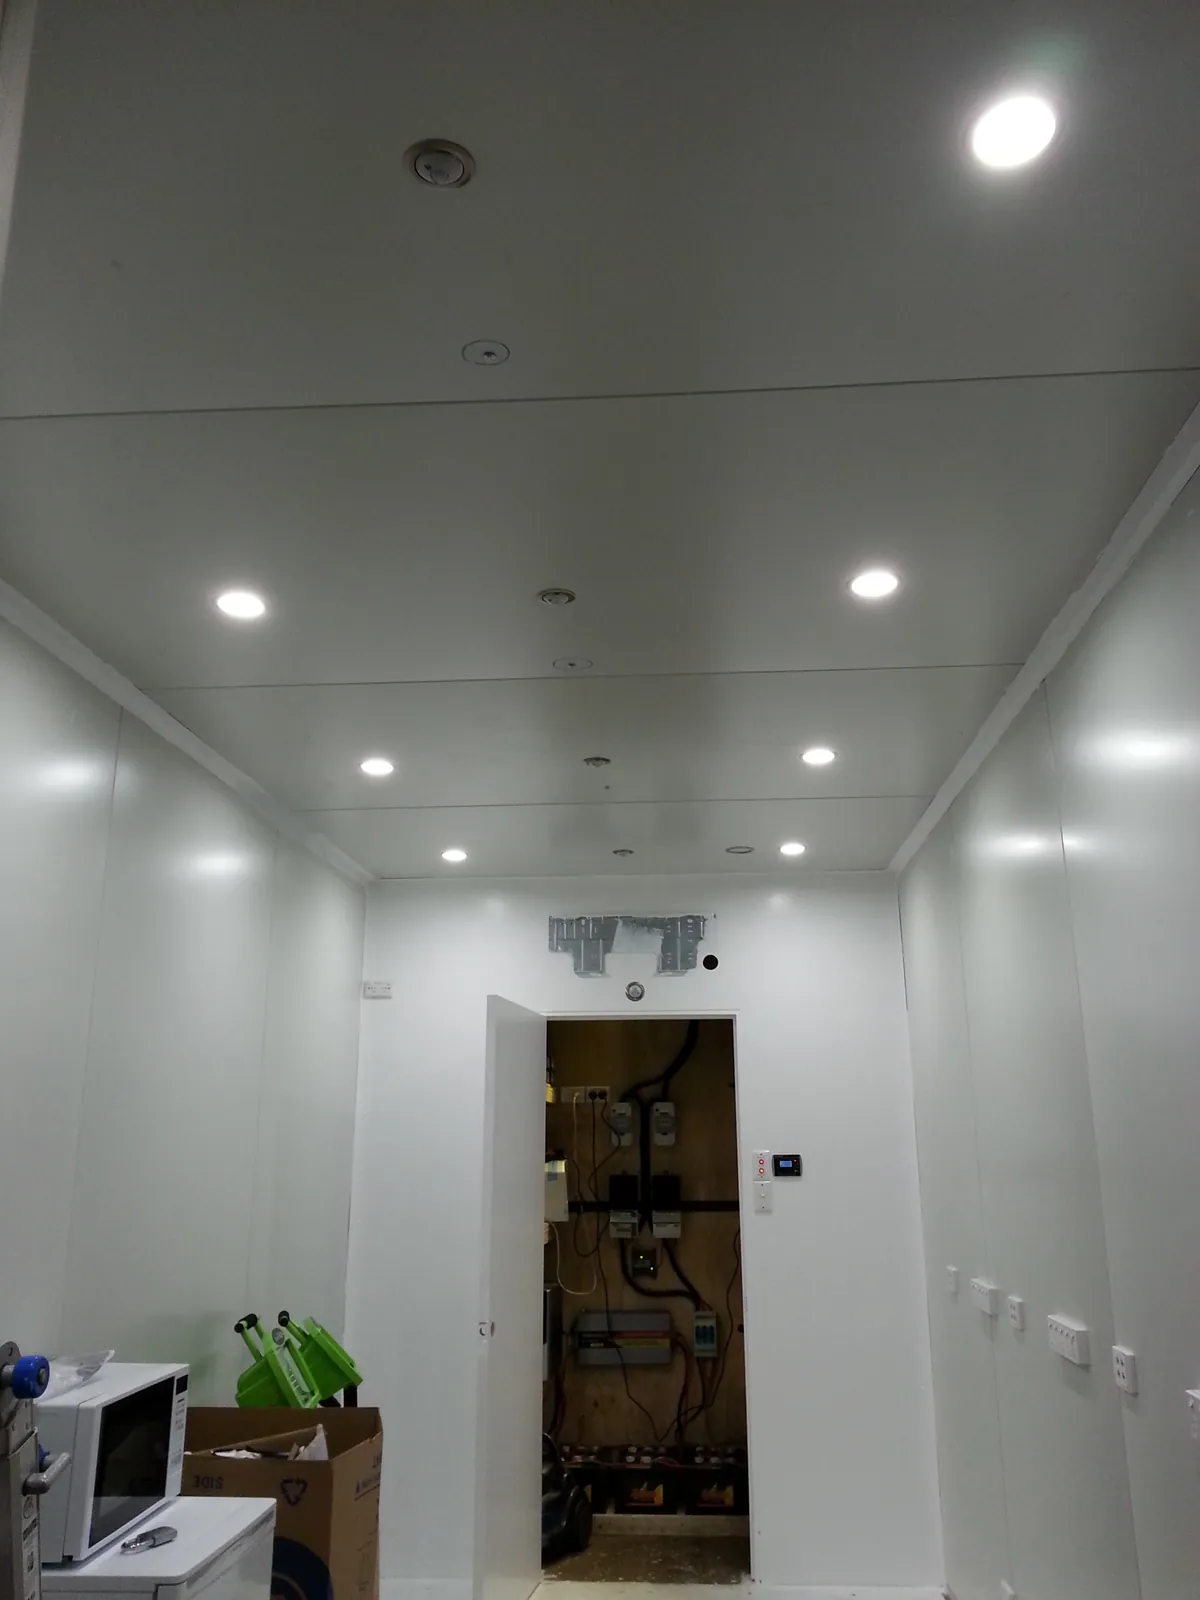
The completed ceiling and lights before the indoor air conditioner is fitted.
07Floor, climate control and battery expansion
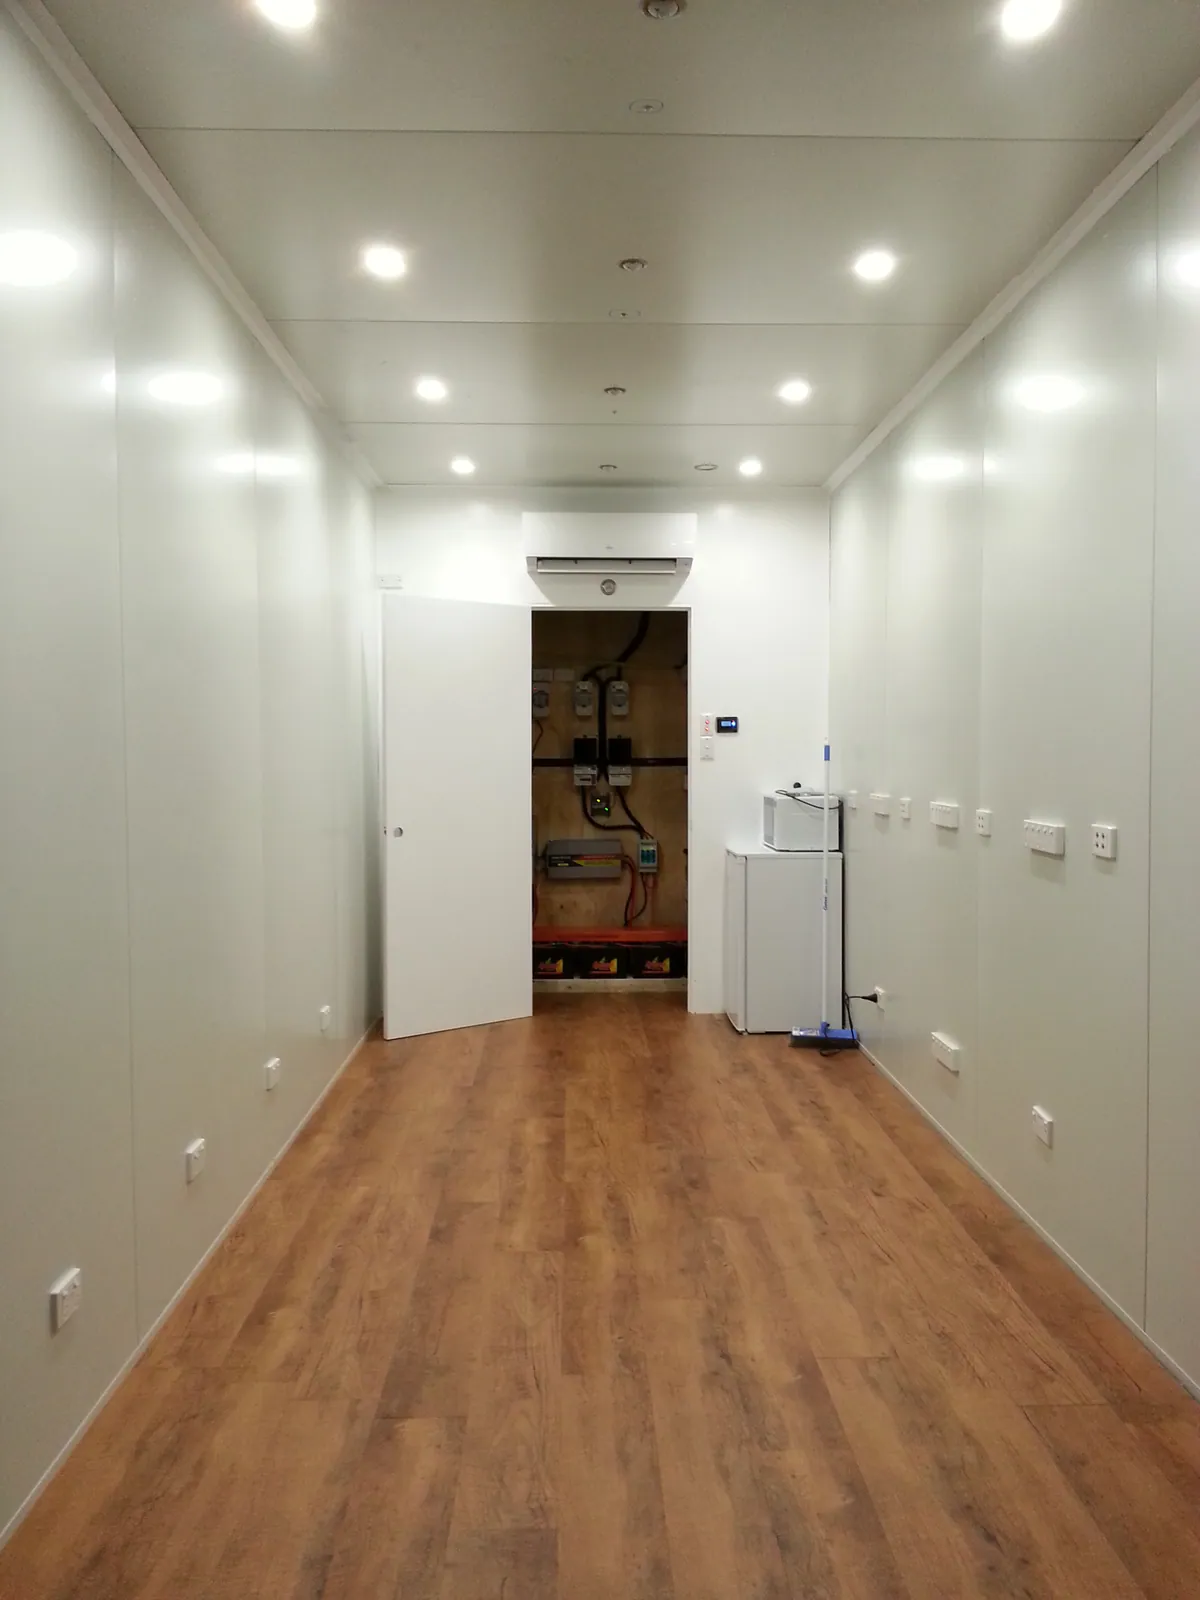
The new floor installed in the lined workshop.
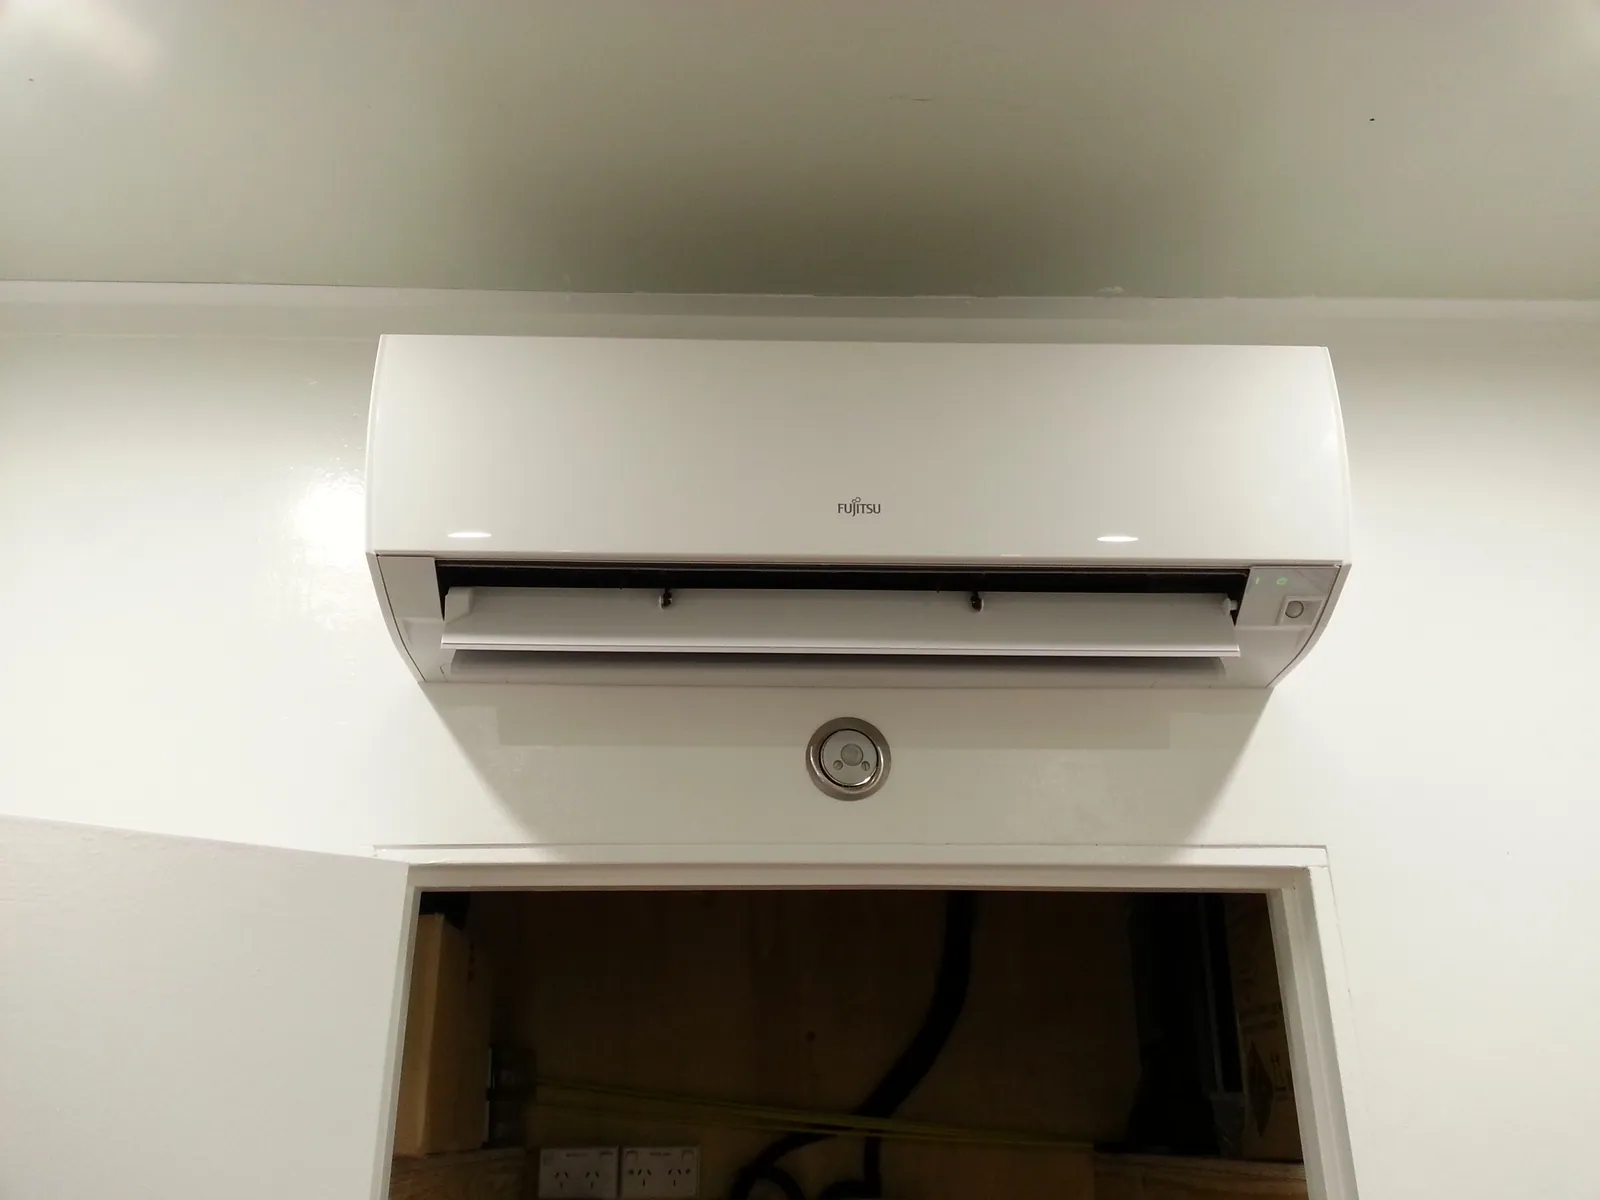
The indoor air-conditioning unit fitted above the service-area door.
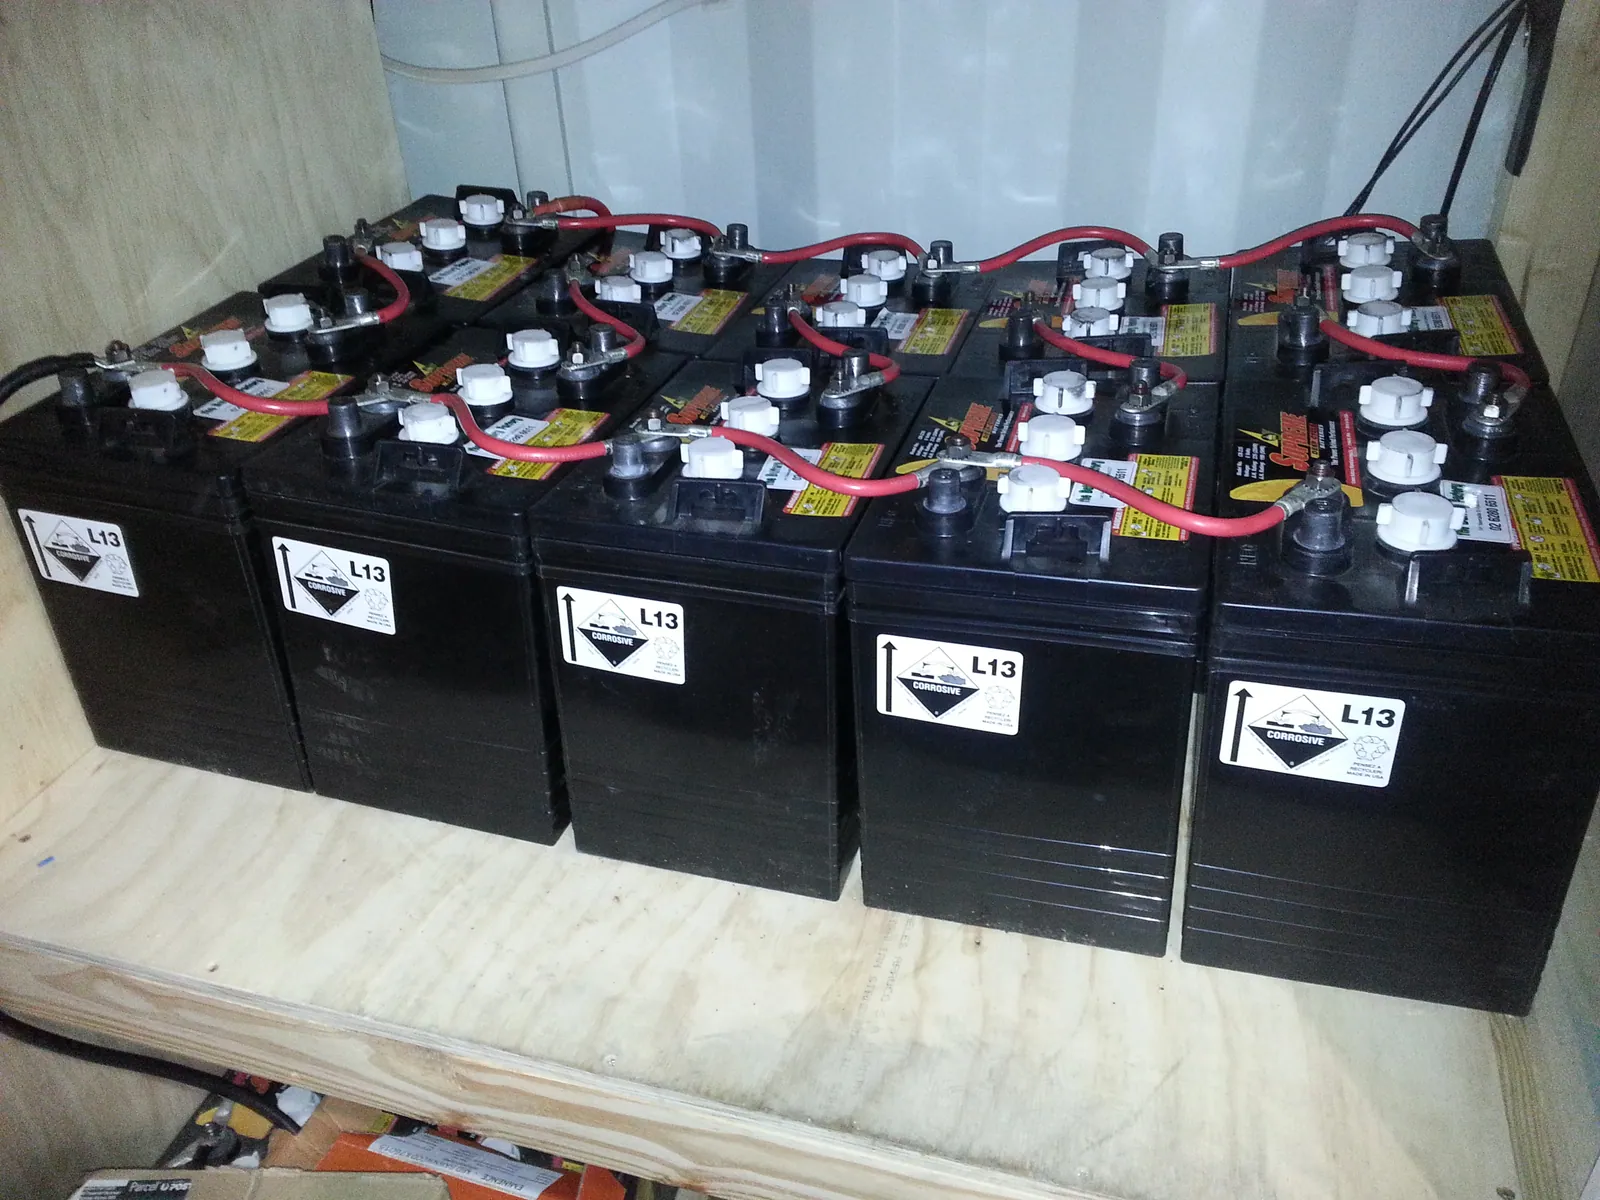
A larger battery bank photographed in September.
08Tall storage cabinets
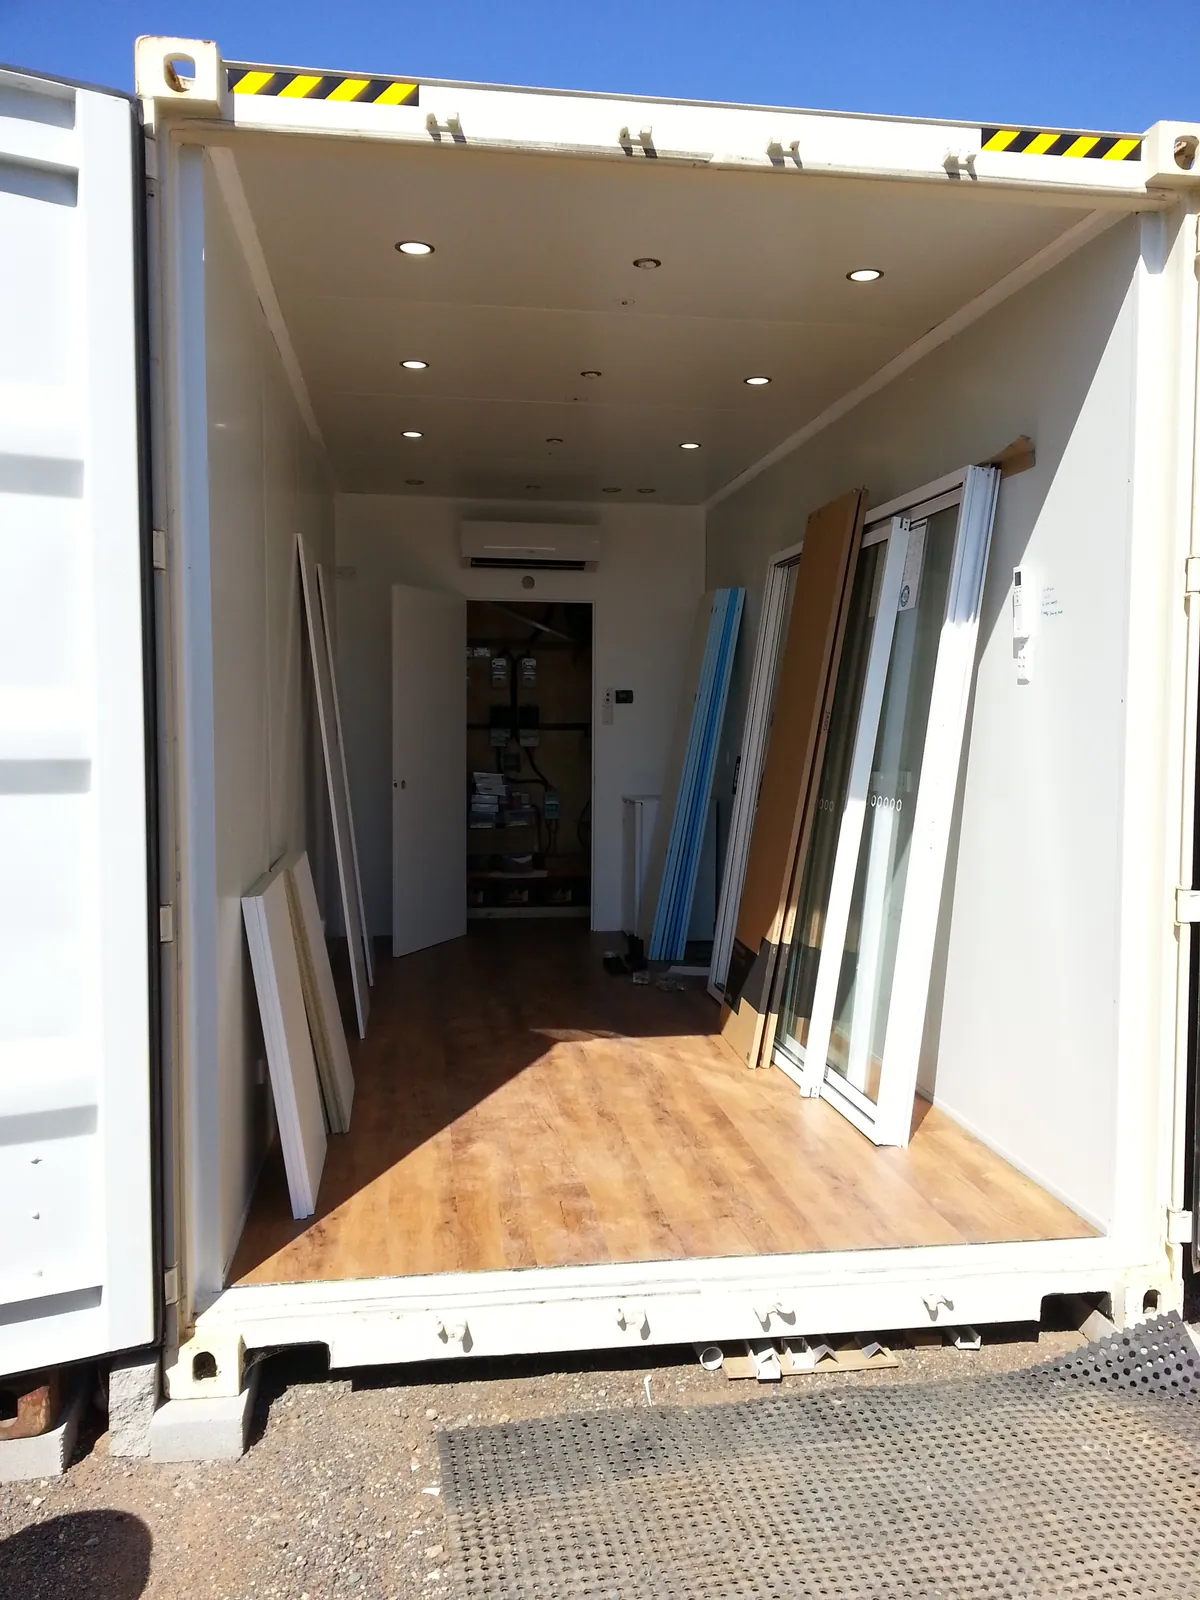
The lined and floored container ready for the main cabinetry.
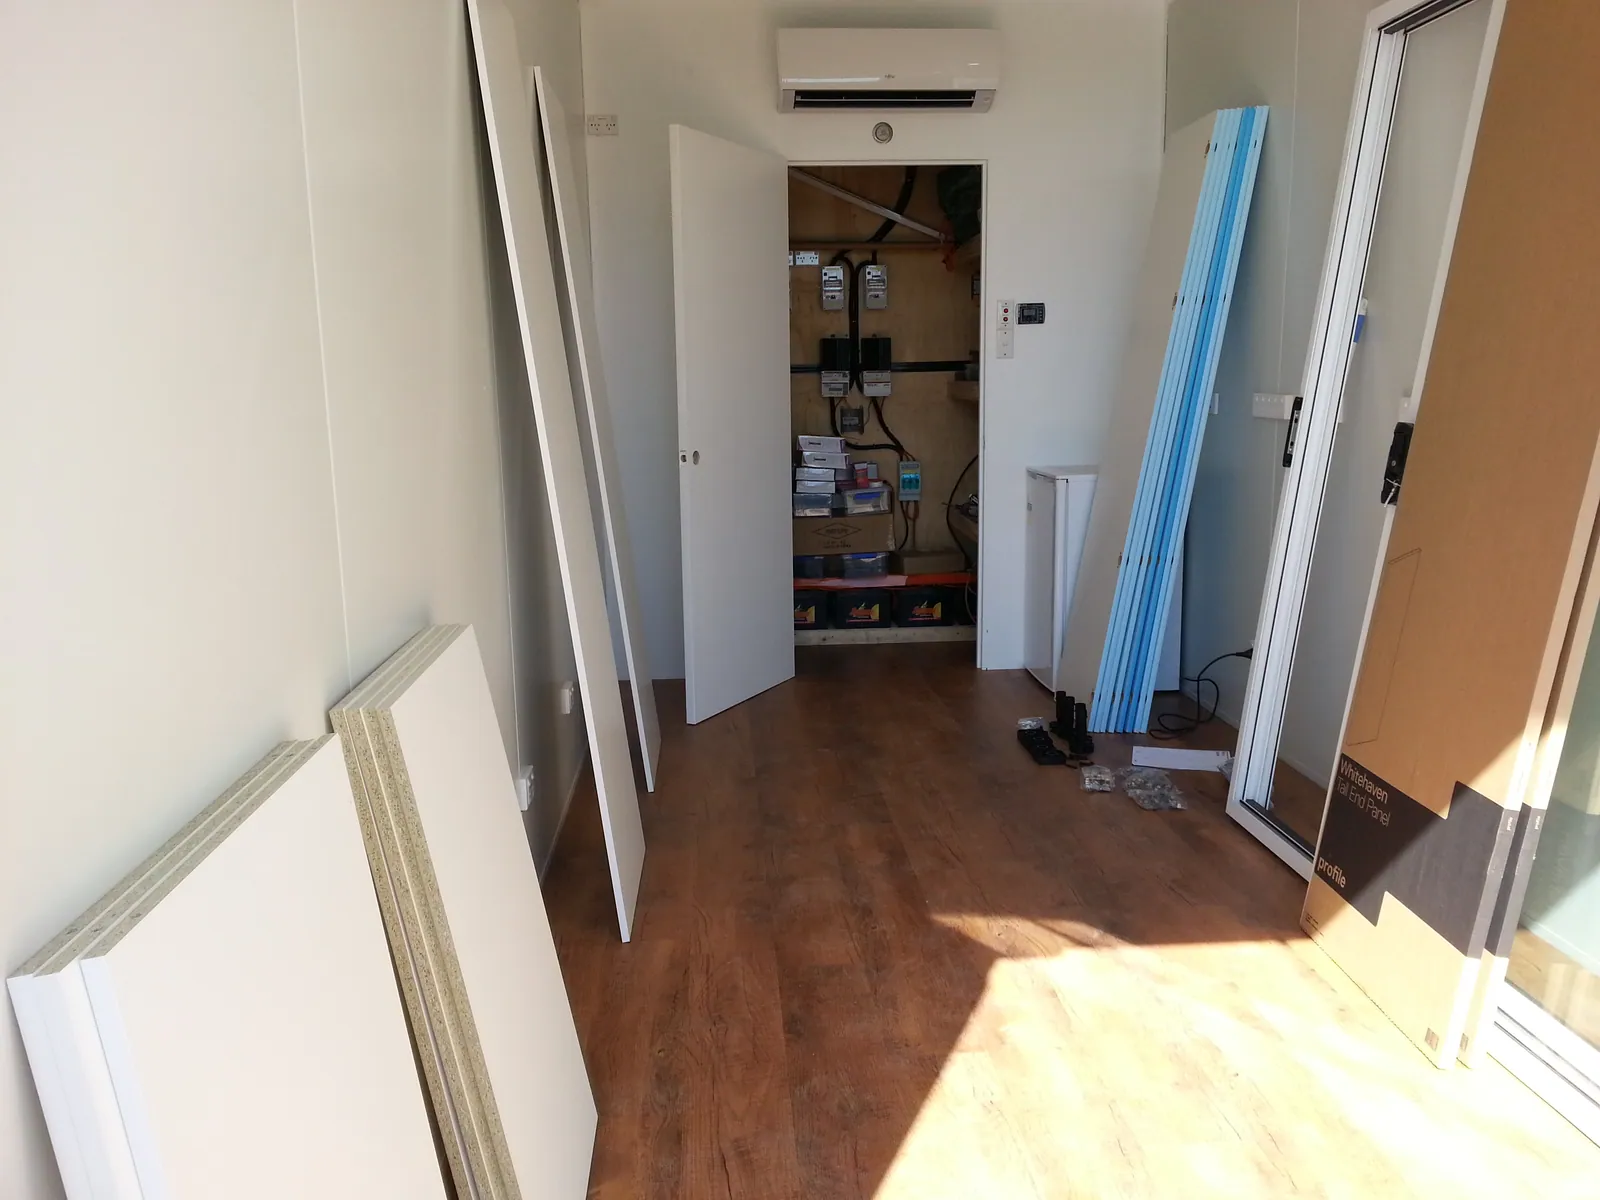
Cabinet panels and door components brought into the room.
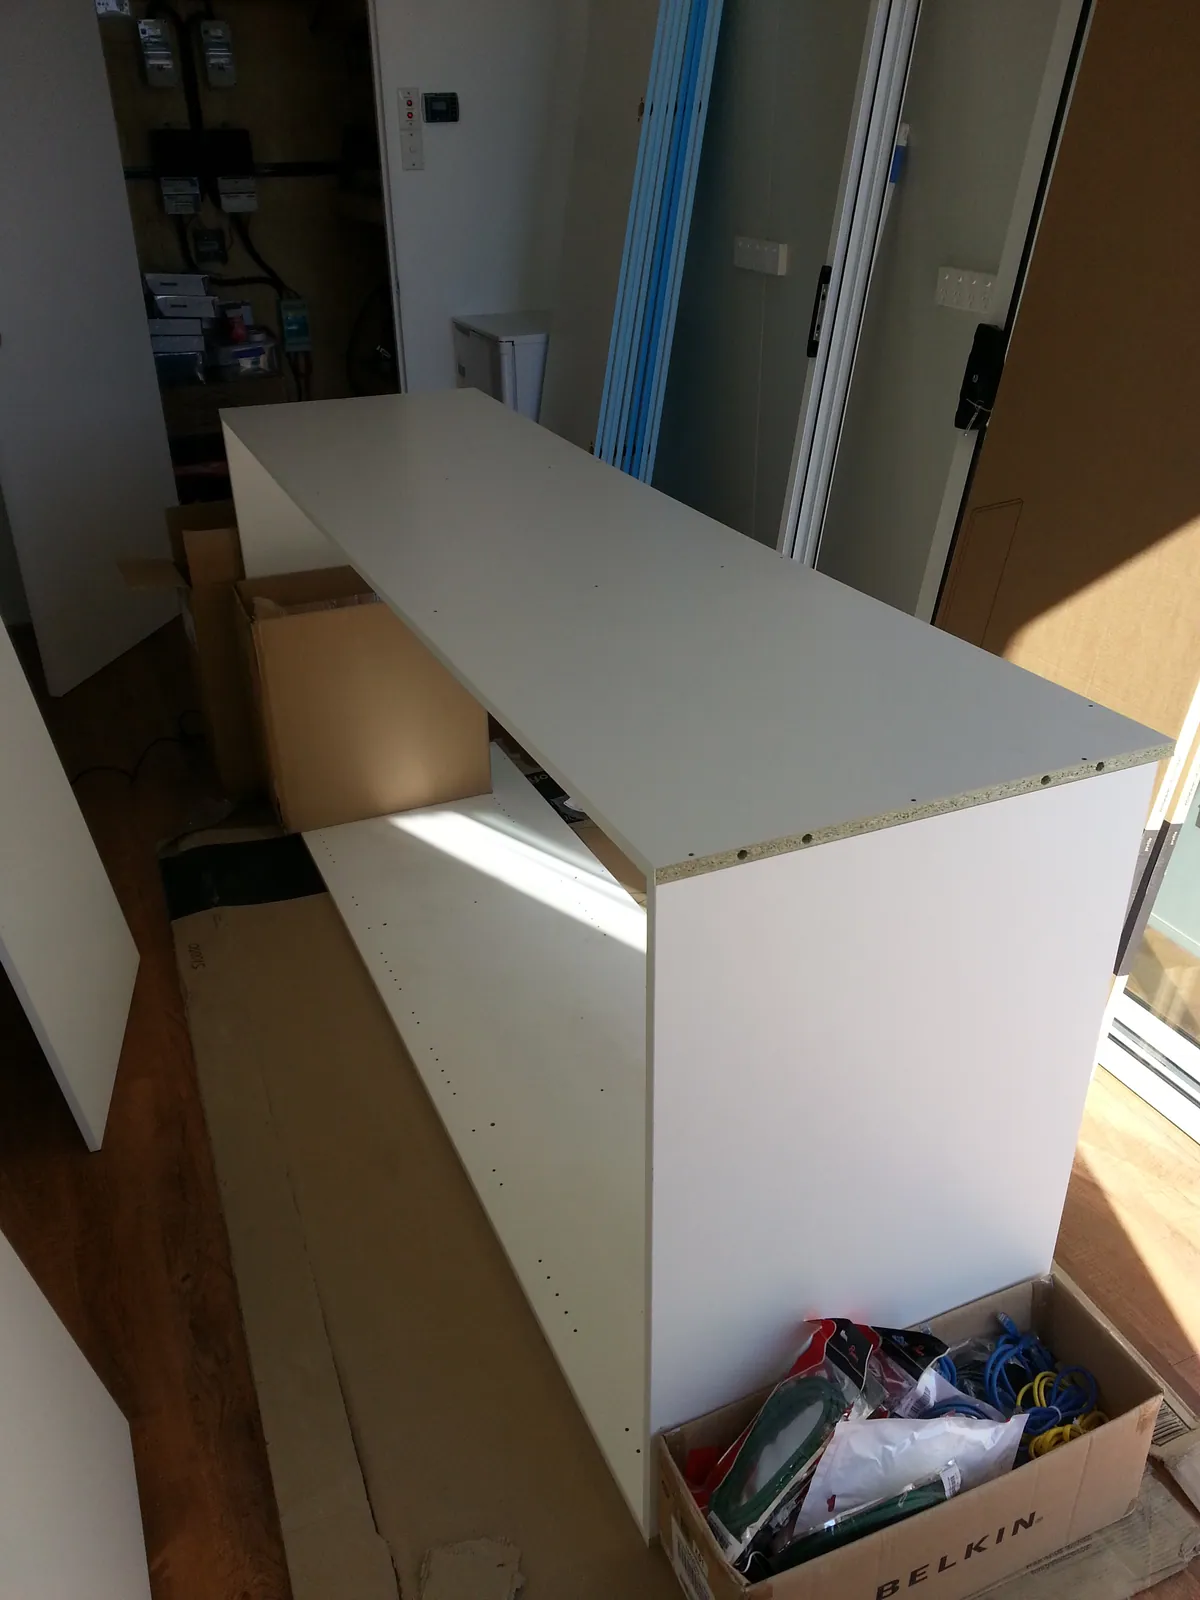
The first tall cabinet being assembled.
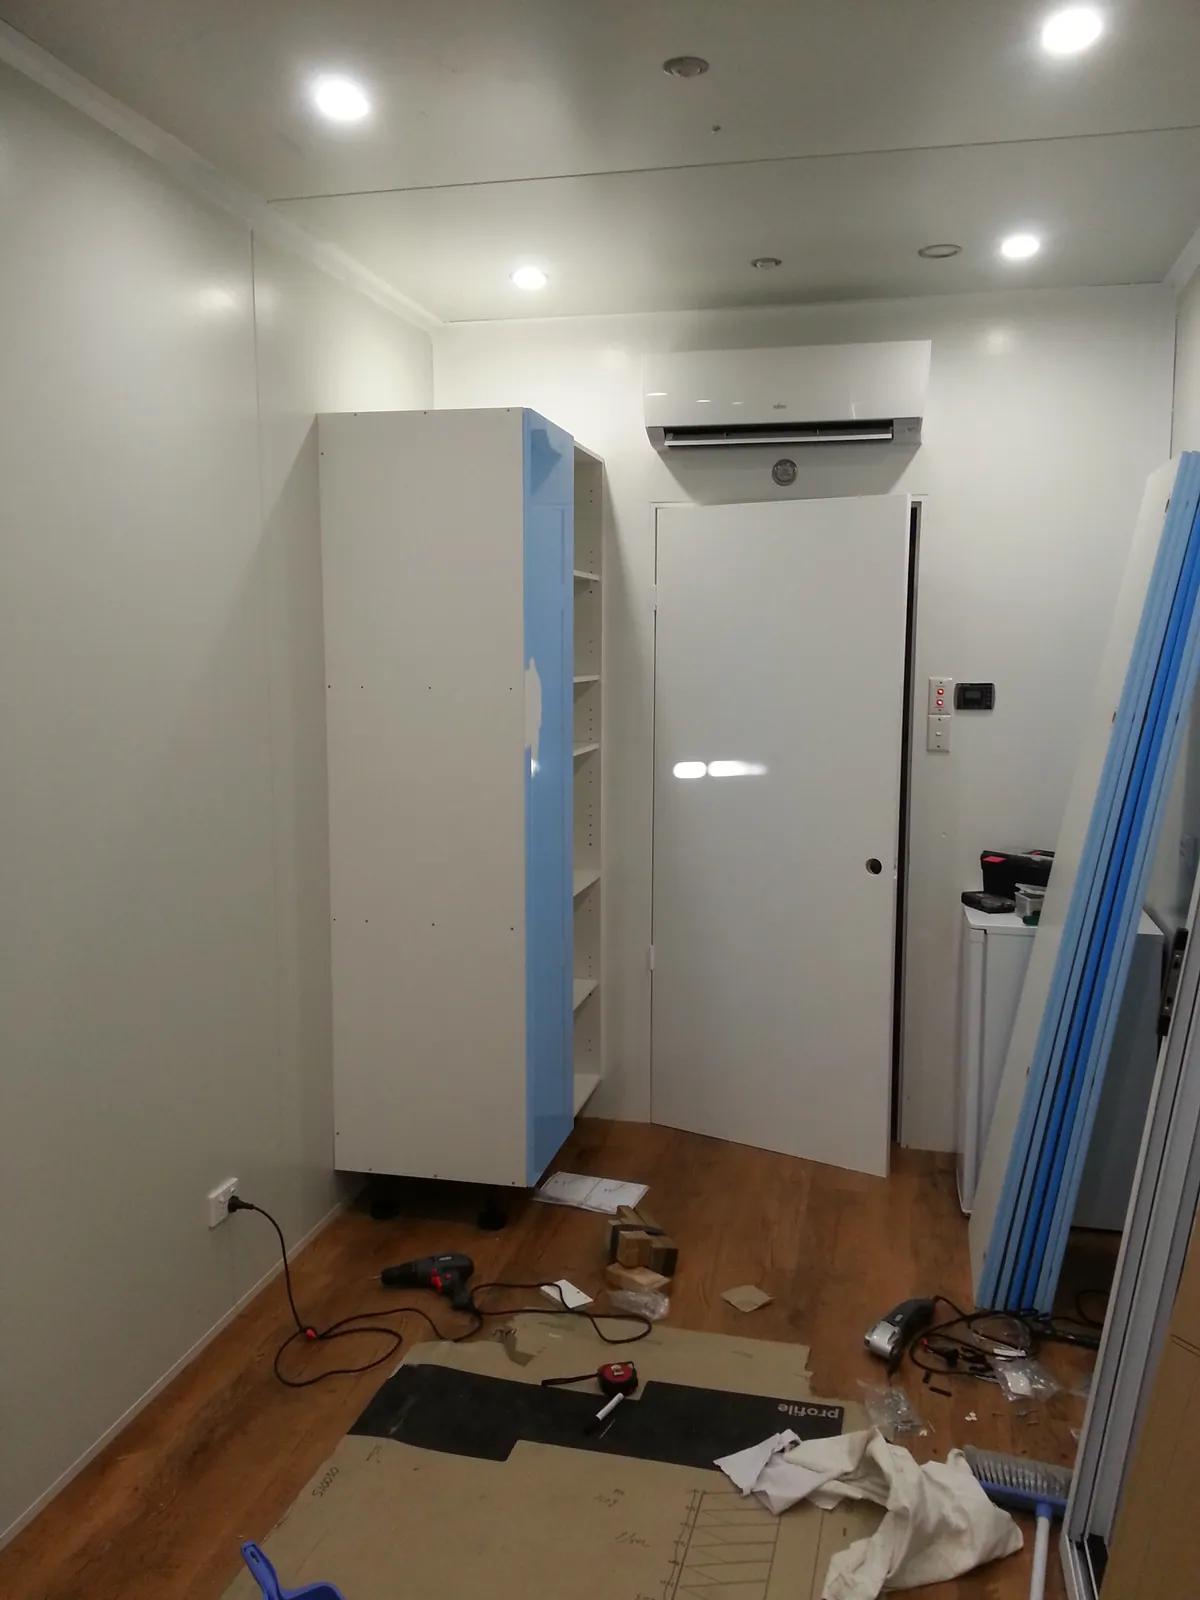
The first tall cabinet positioned against the wall.
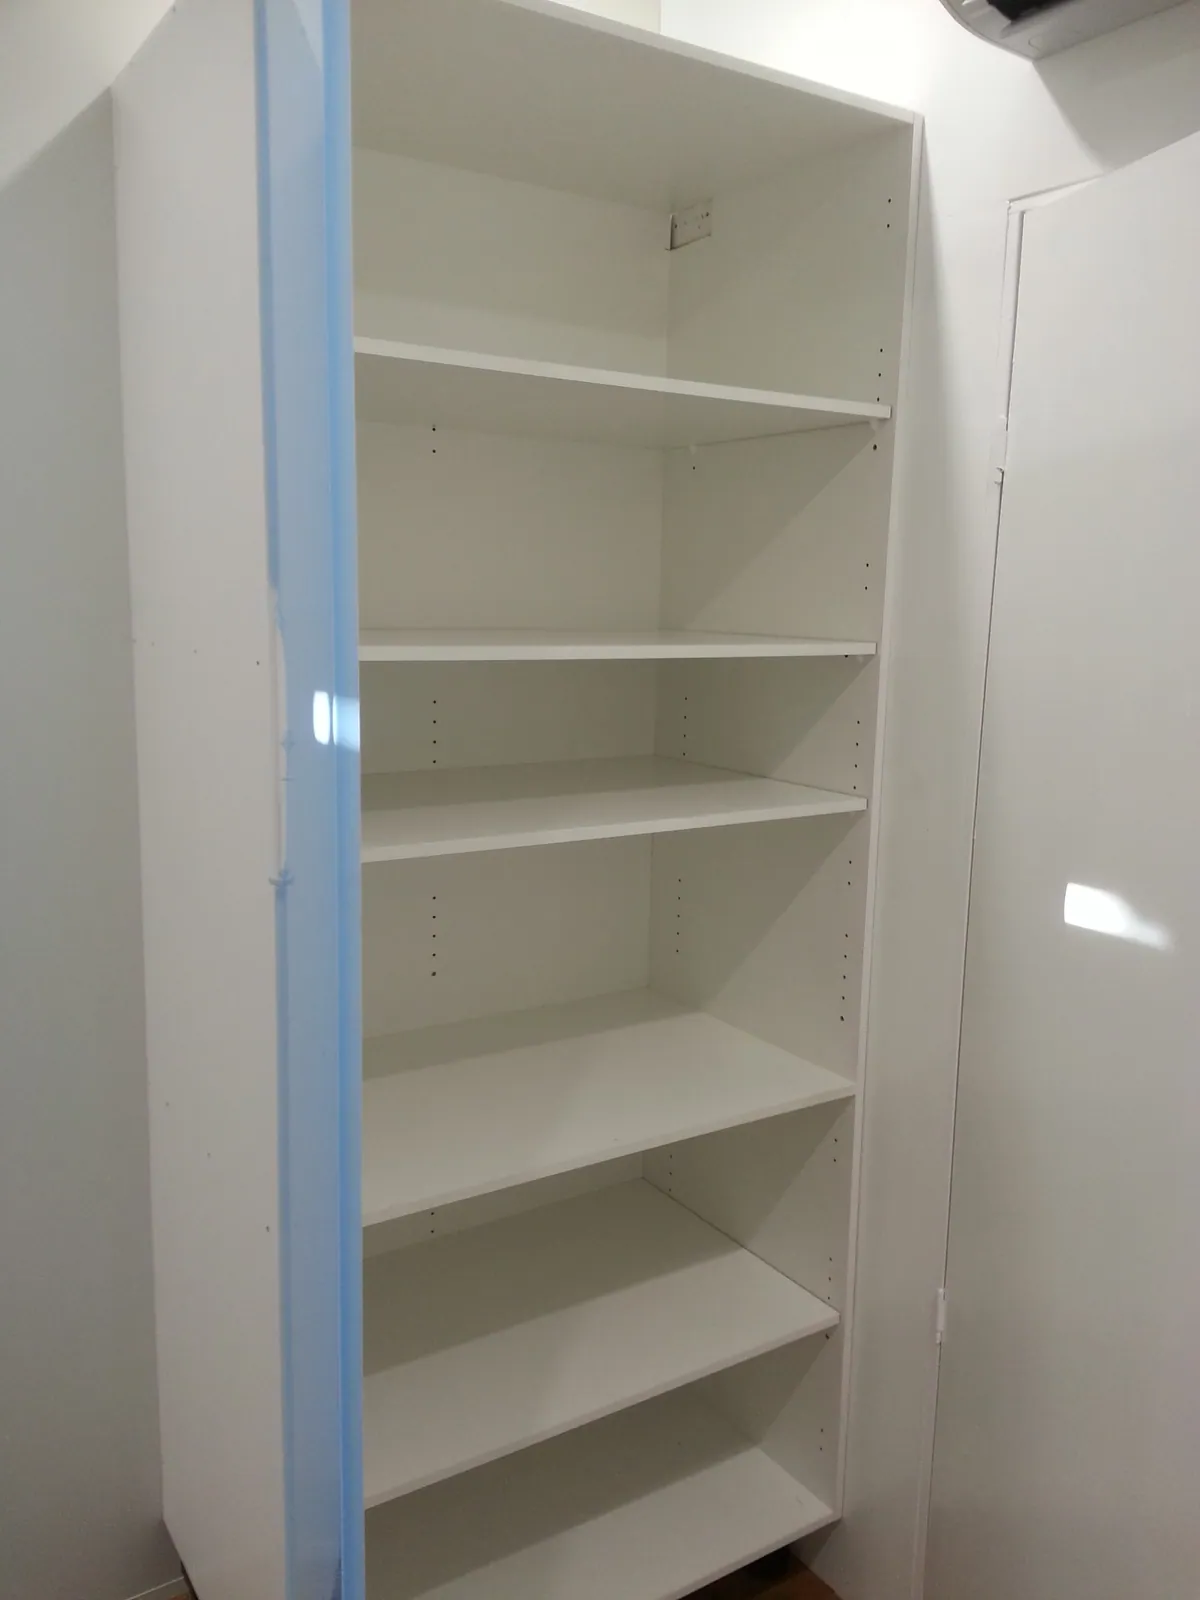
Shelving installed inside the tall cabinet.
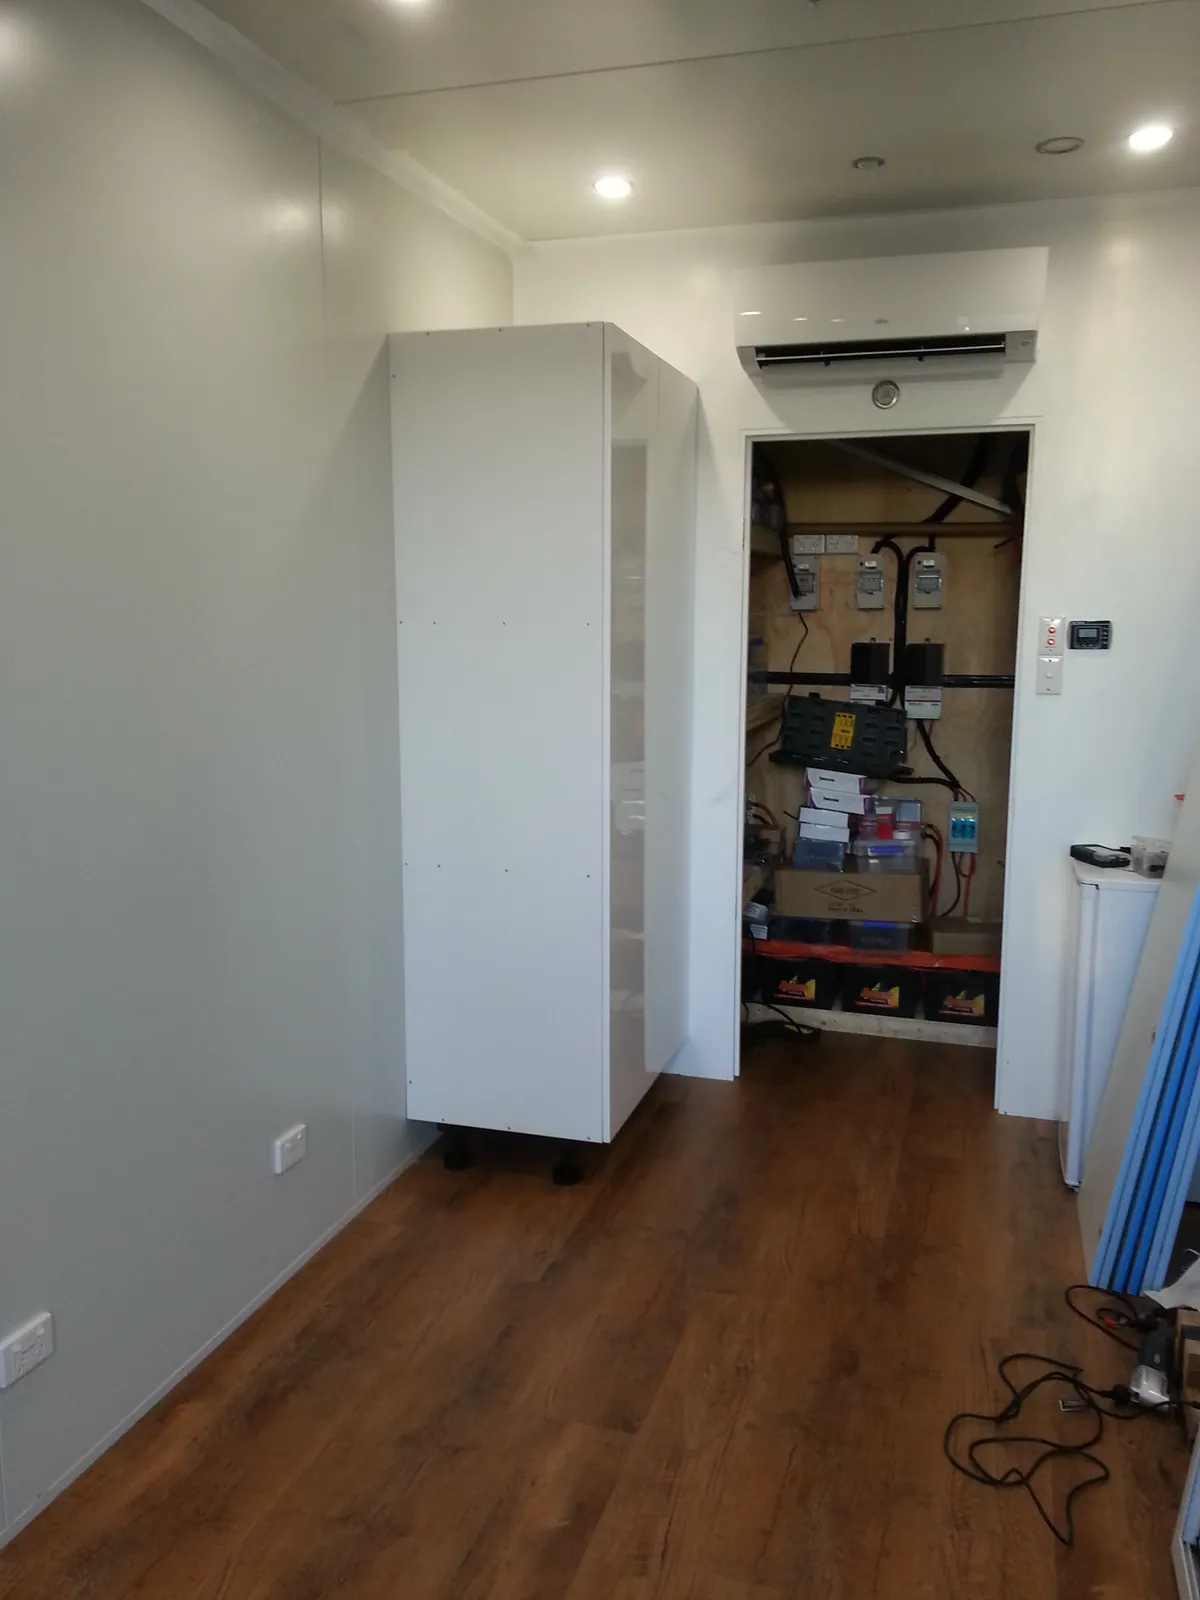
The first tall cabinet with its doors fitted.
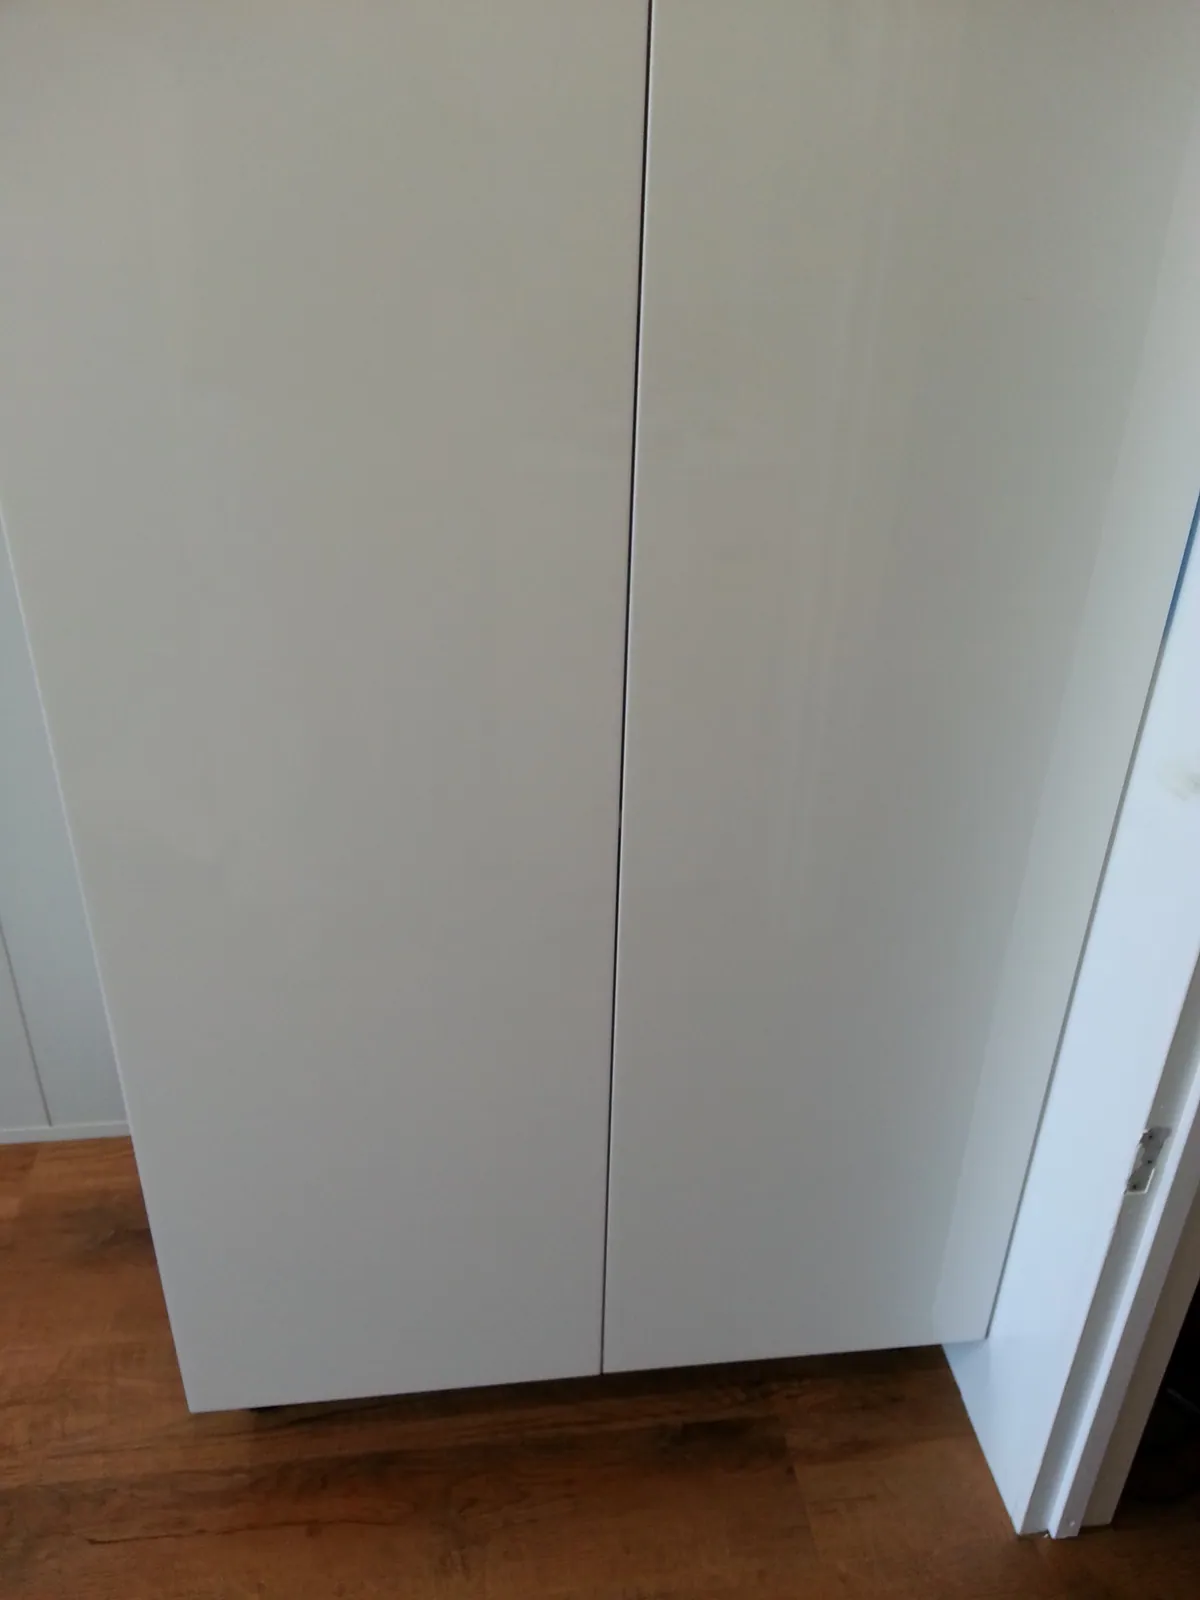
The finished lower section of the tall cabinet.
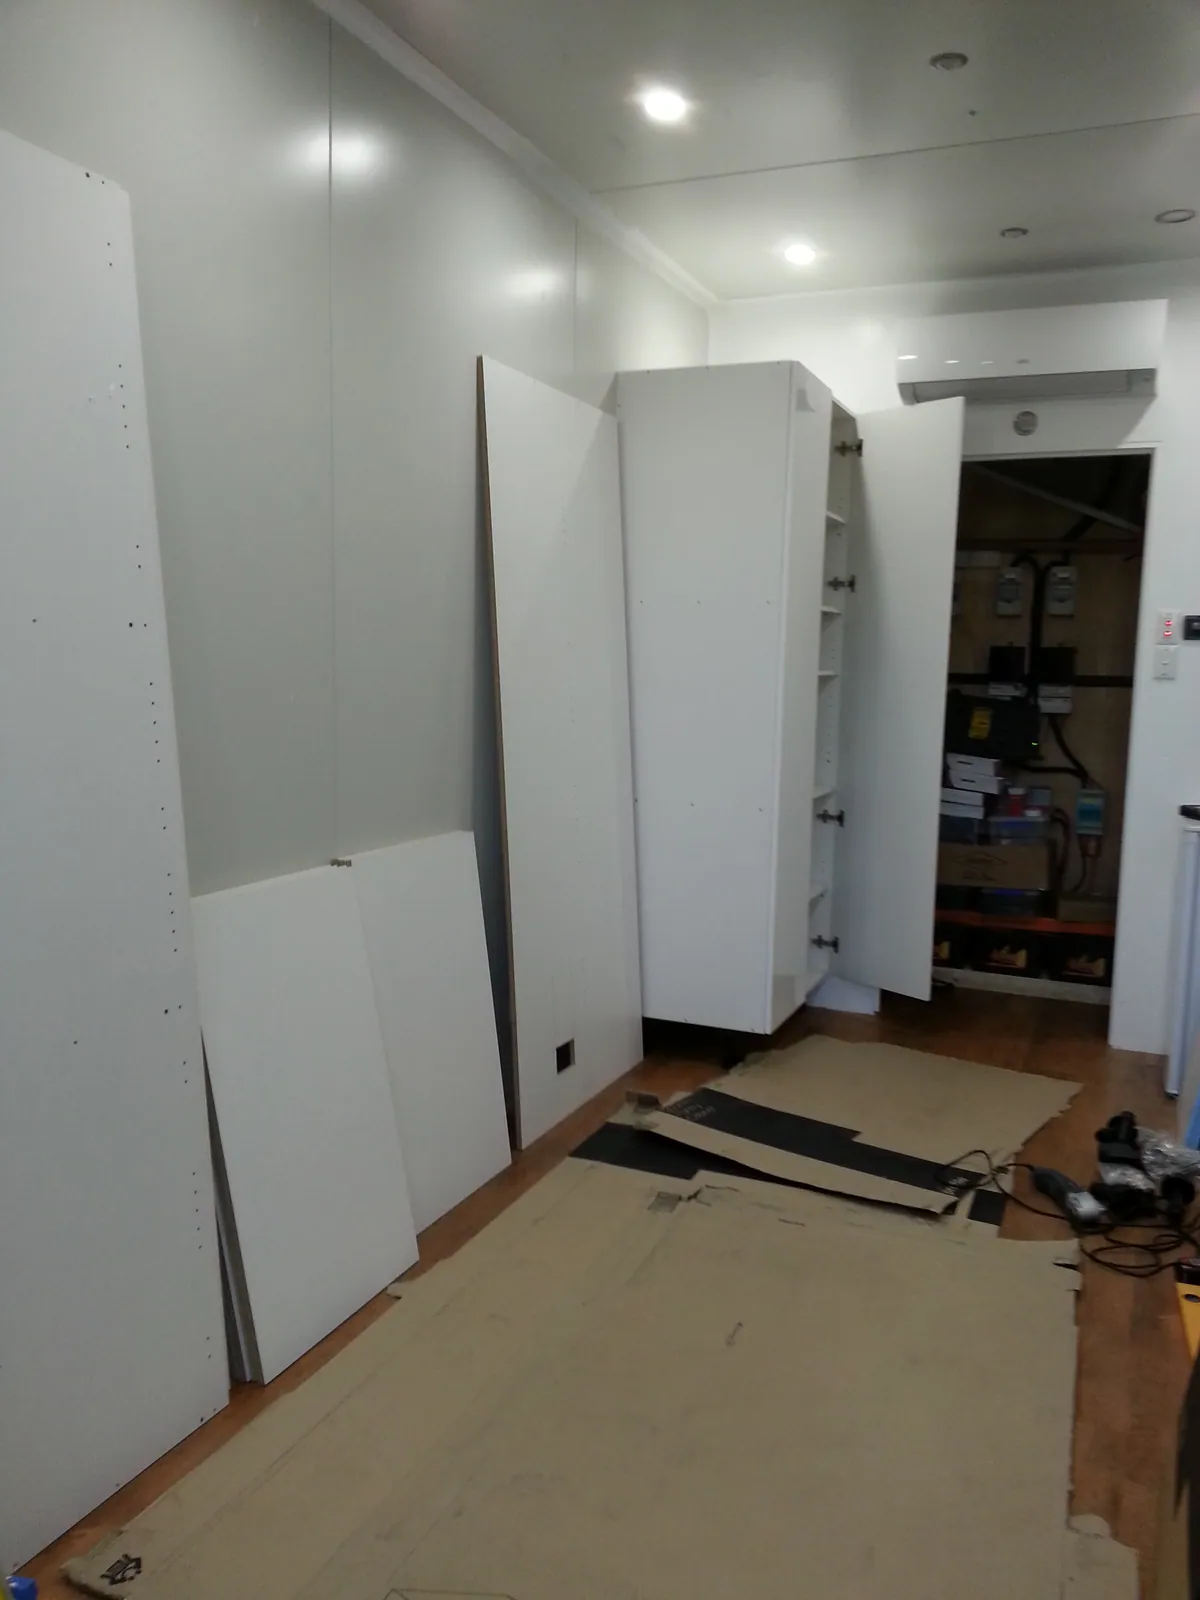
More tall storage cabinetry added along the wall.
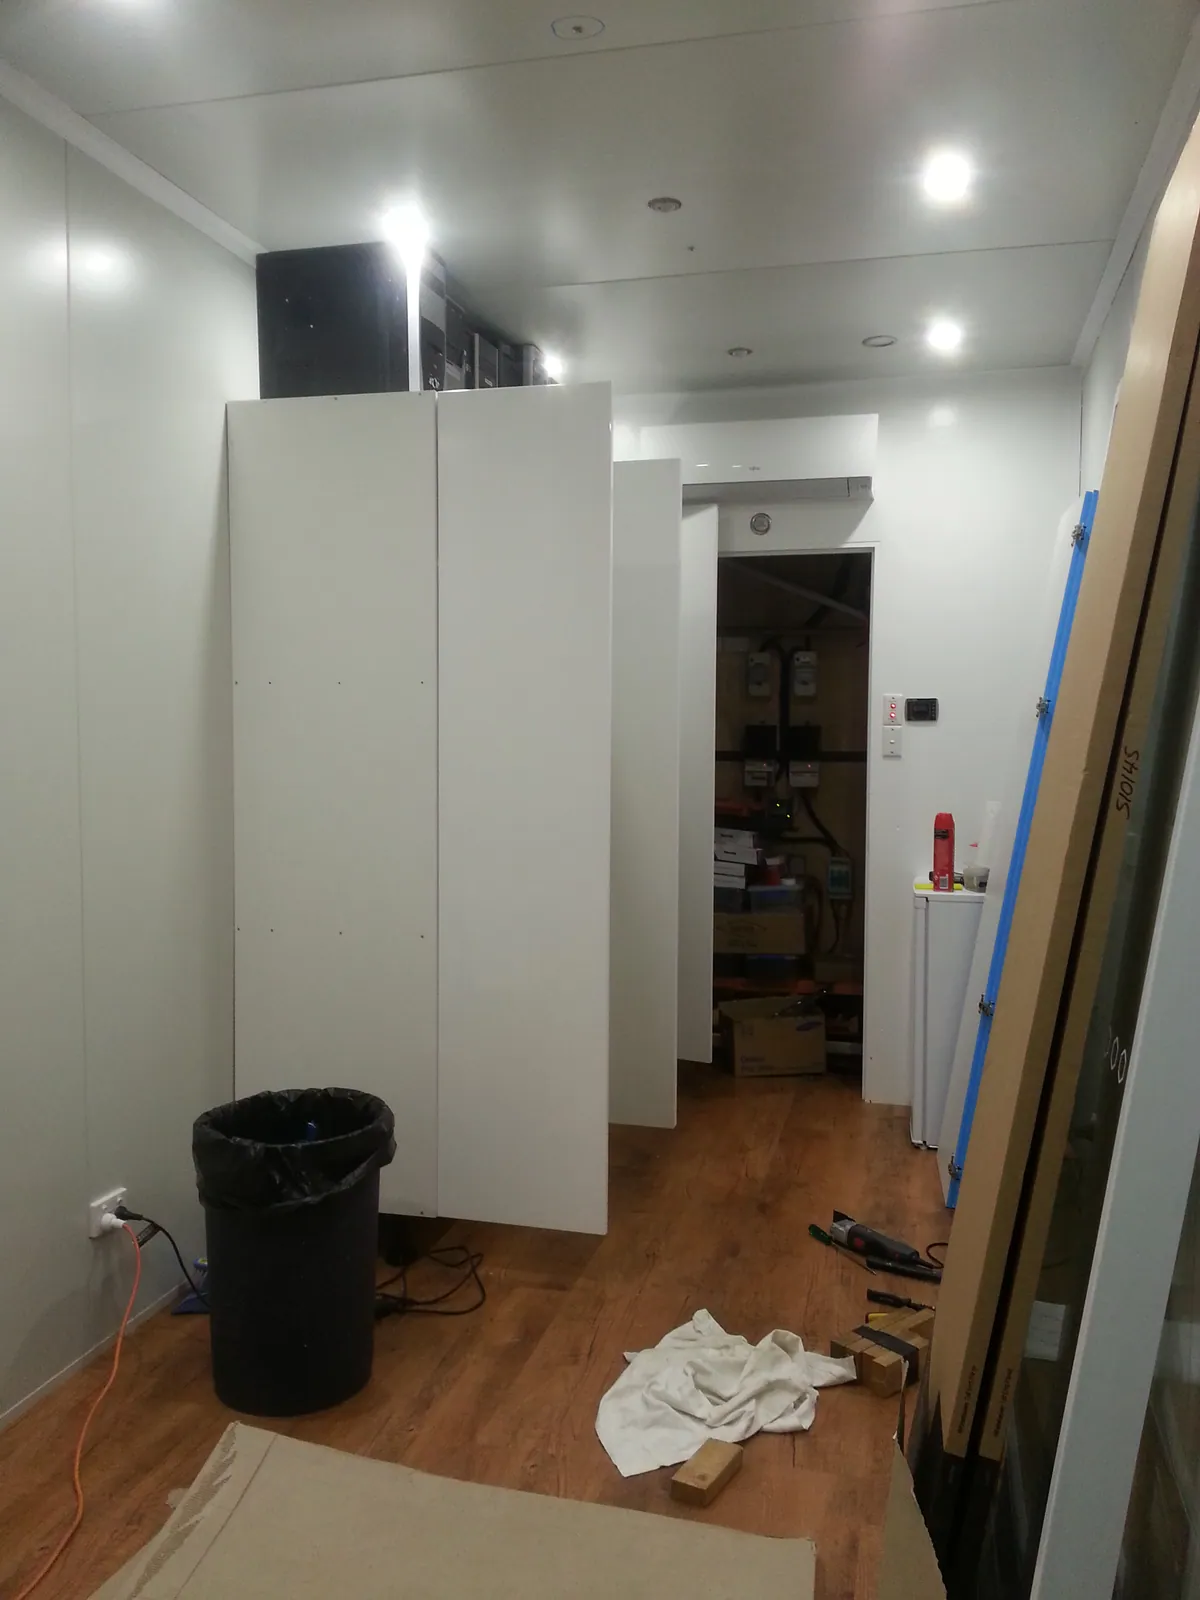
The full-height storage units by the end of the day.
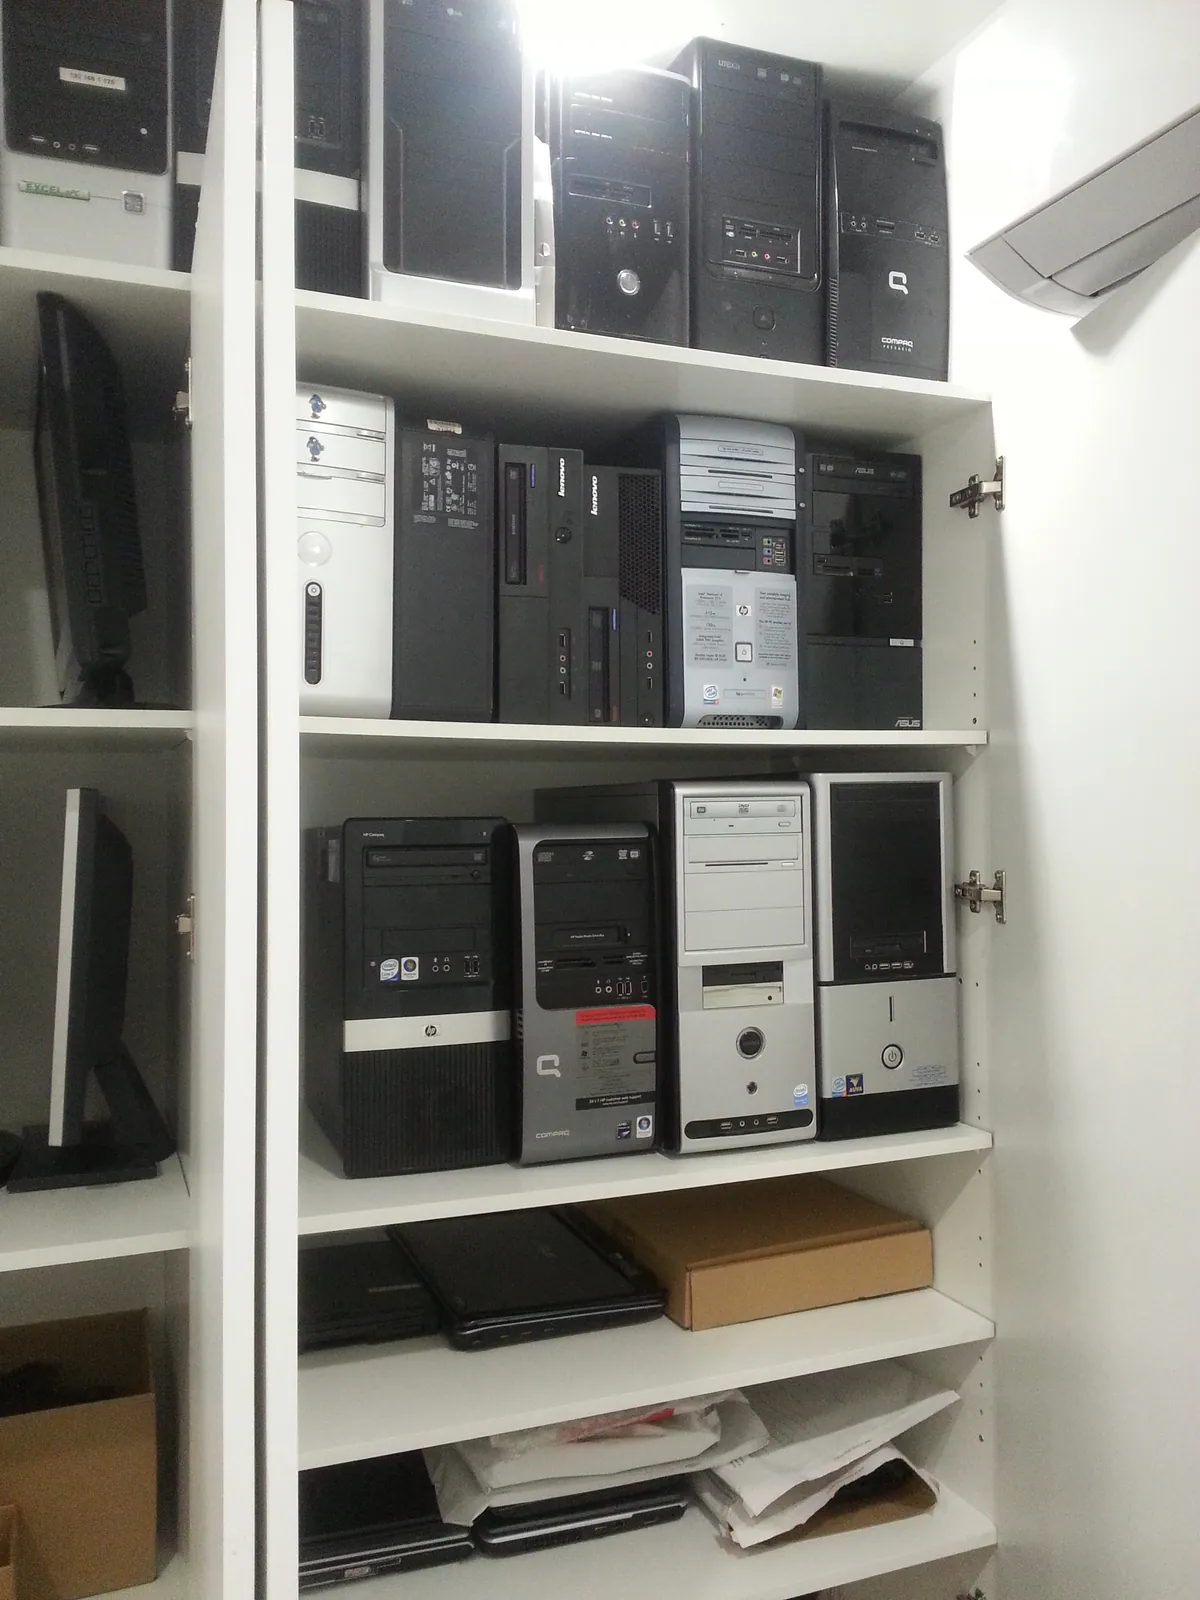
Computers placed on the new storage shelves.
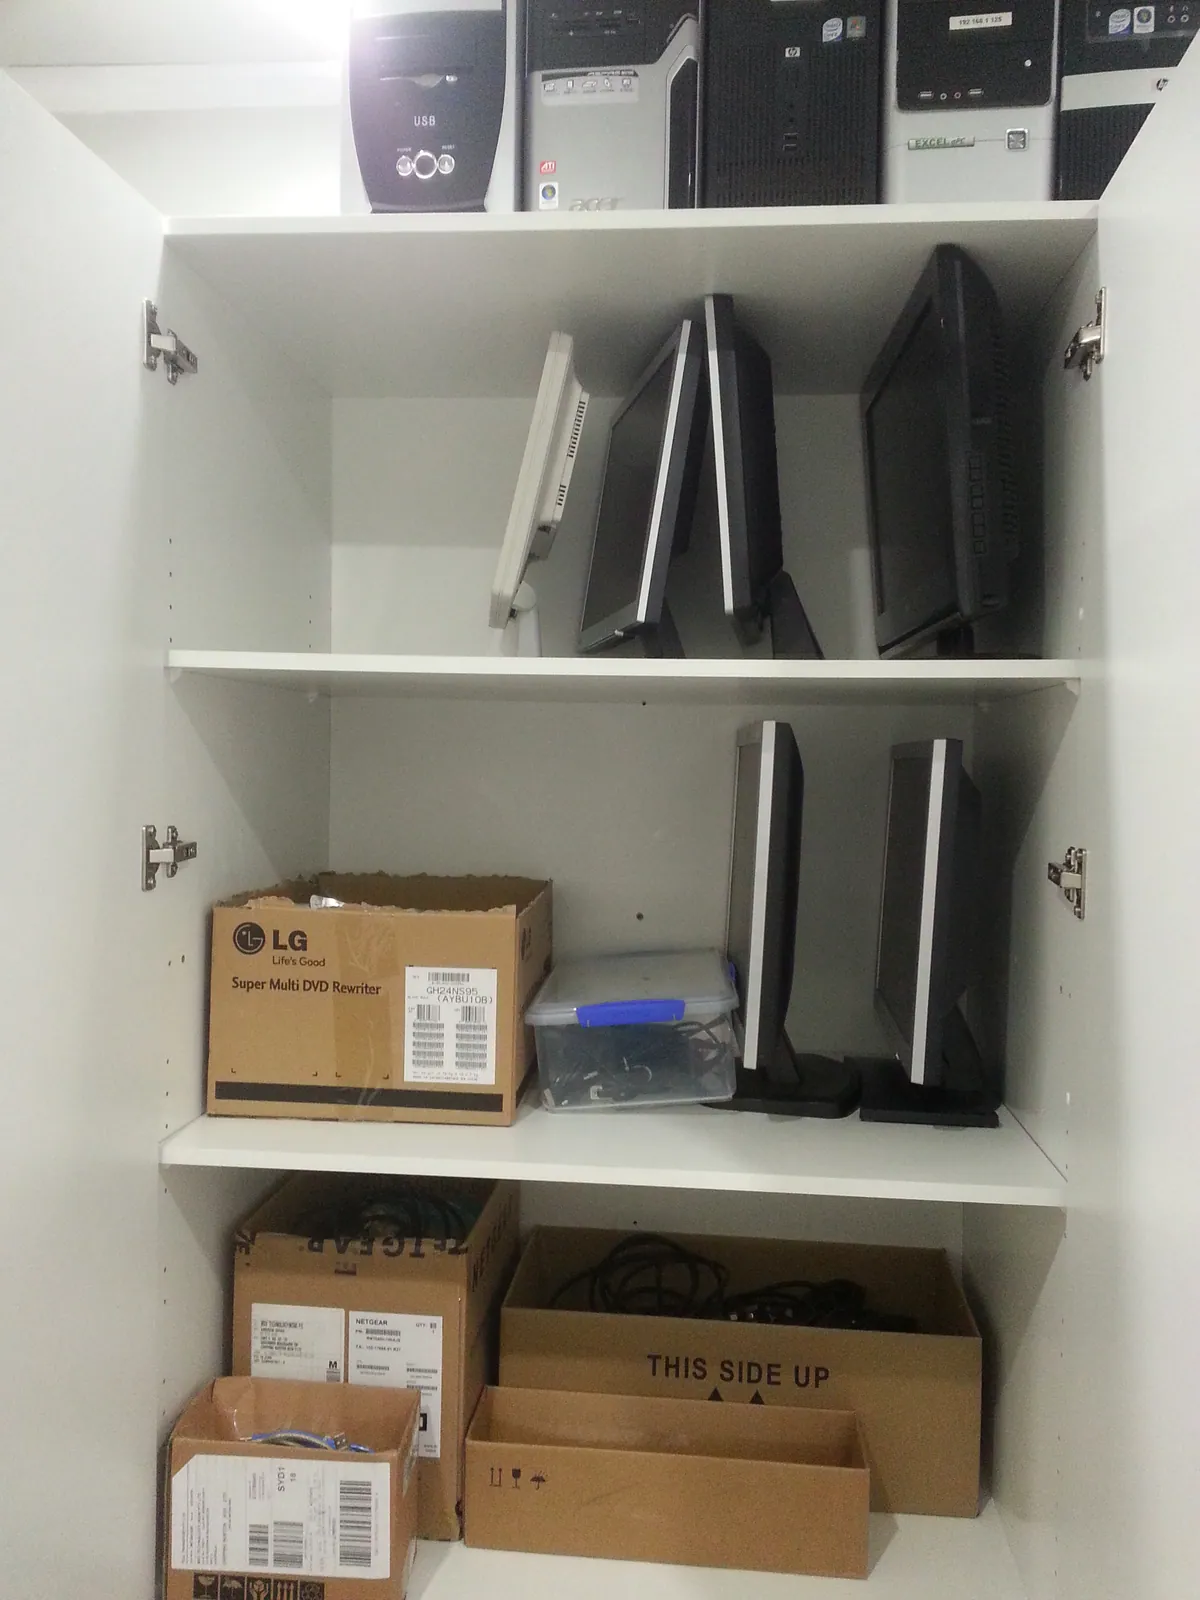
Additional shelving used for parts and equipment.
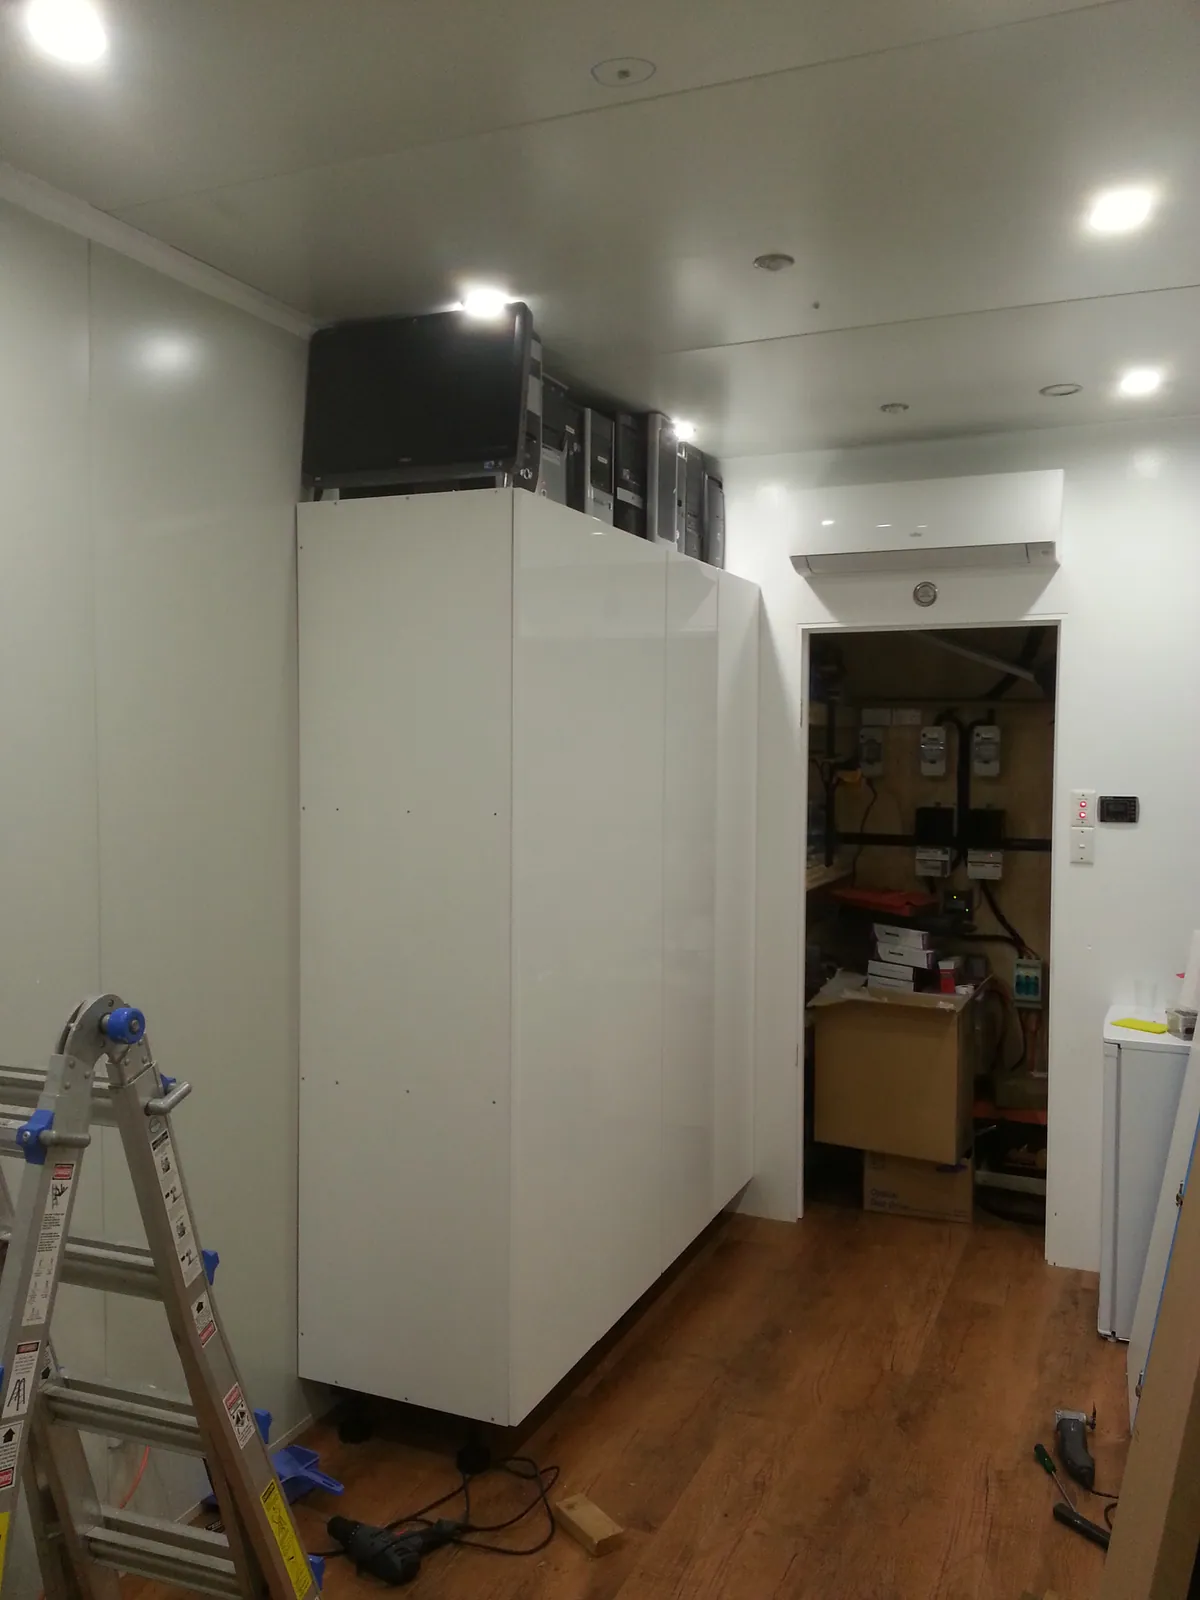
The storage wall with computers above the cupboards.
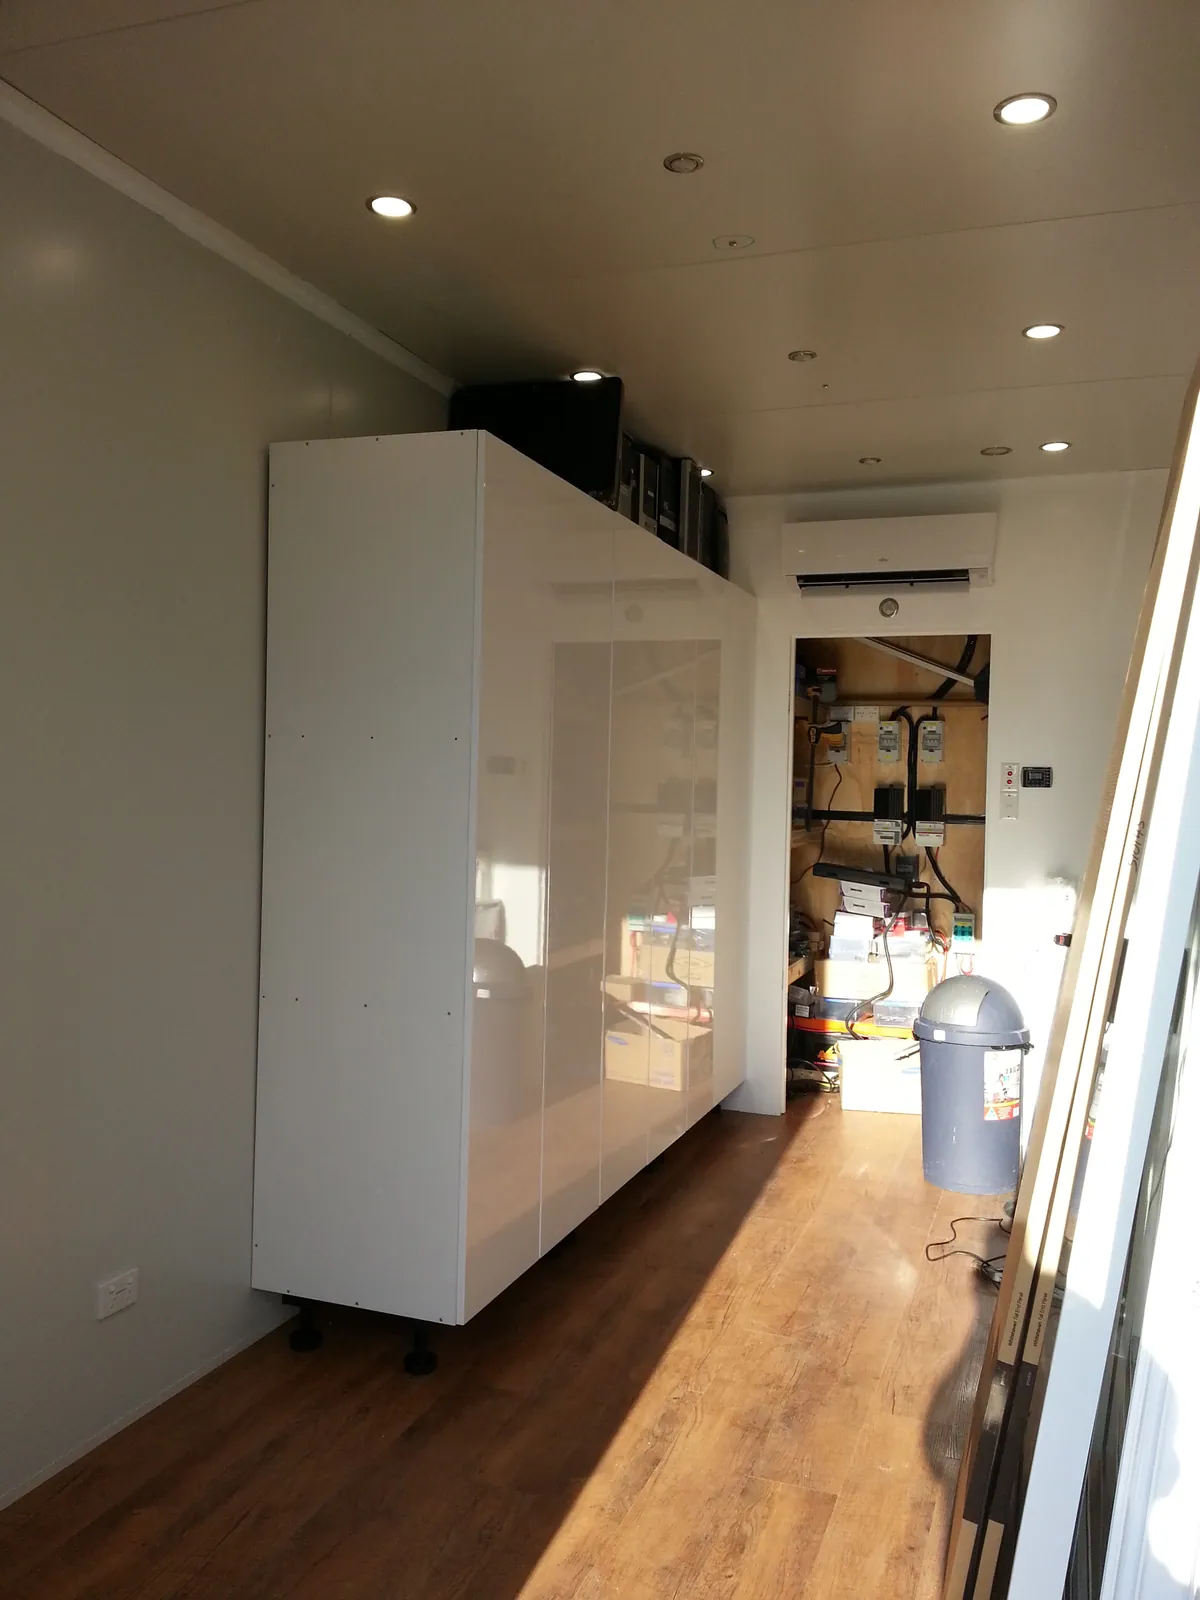
The tall cupboards viewed in daylight.
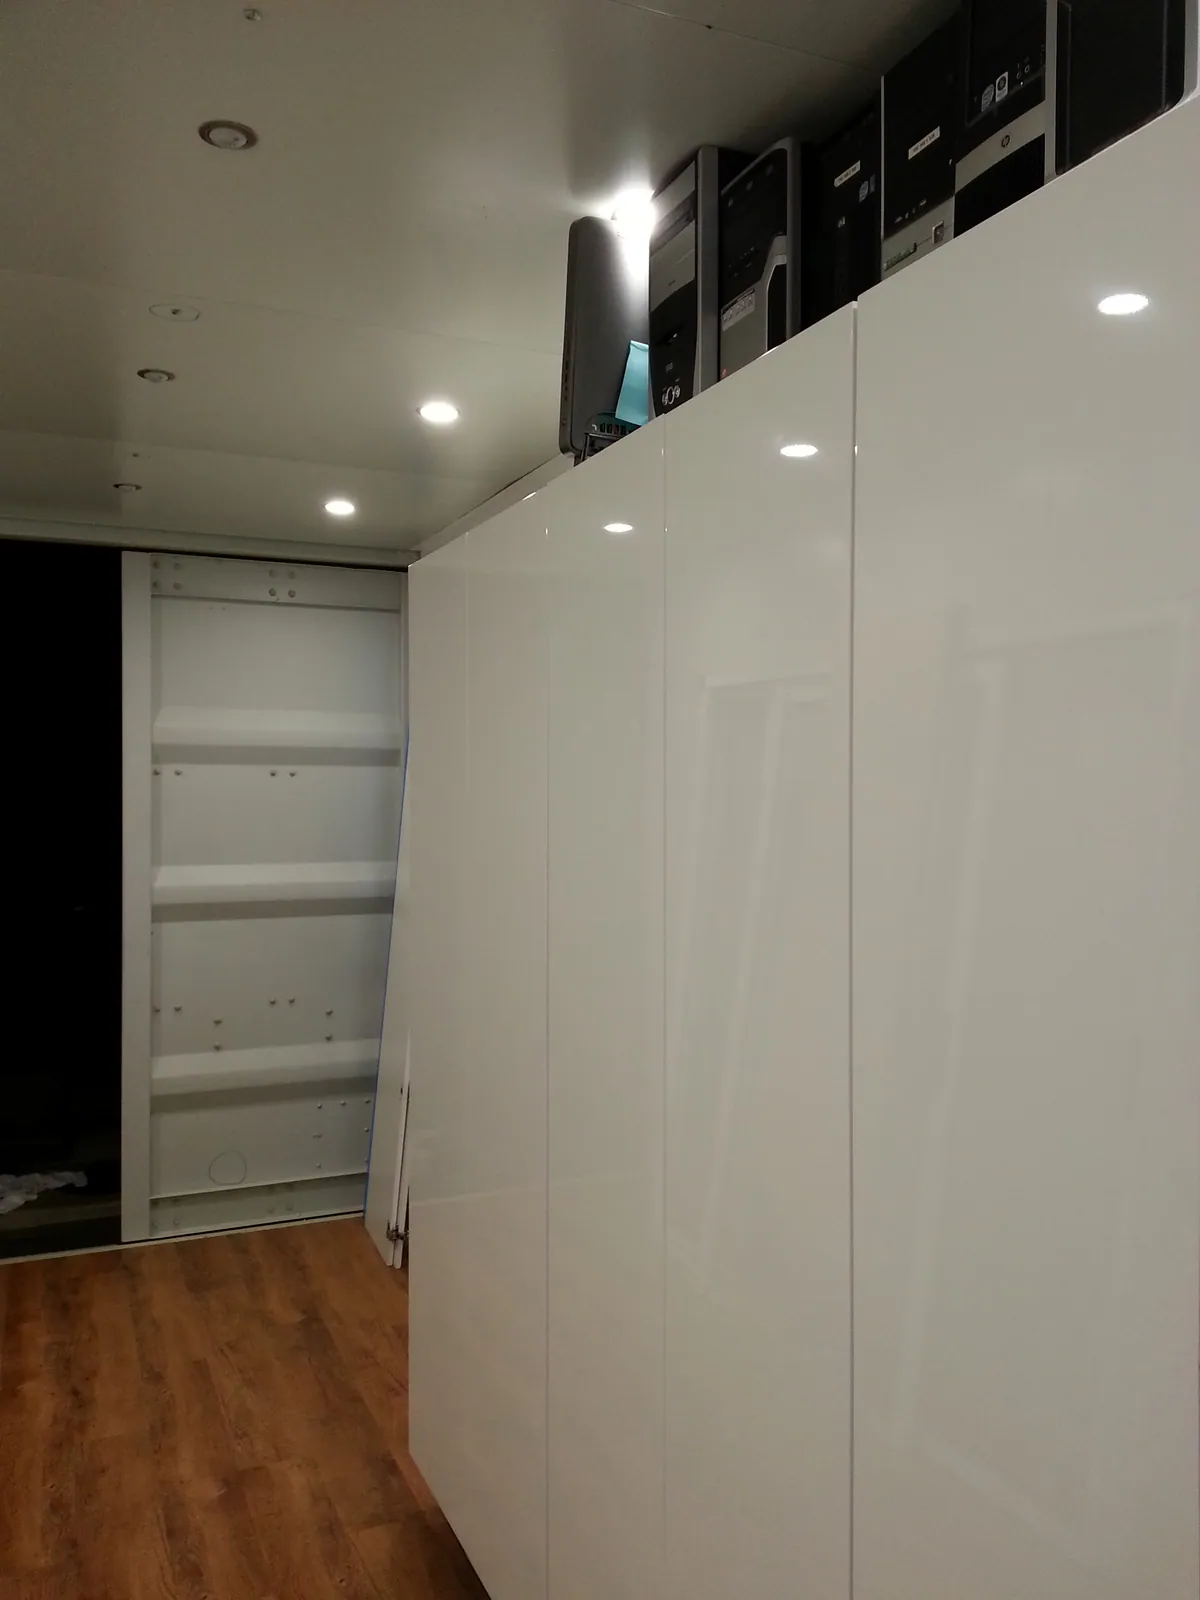
The long bank of finished storage cupboards.
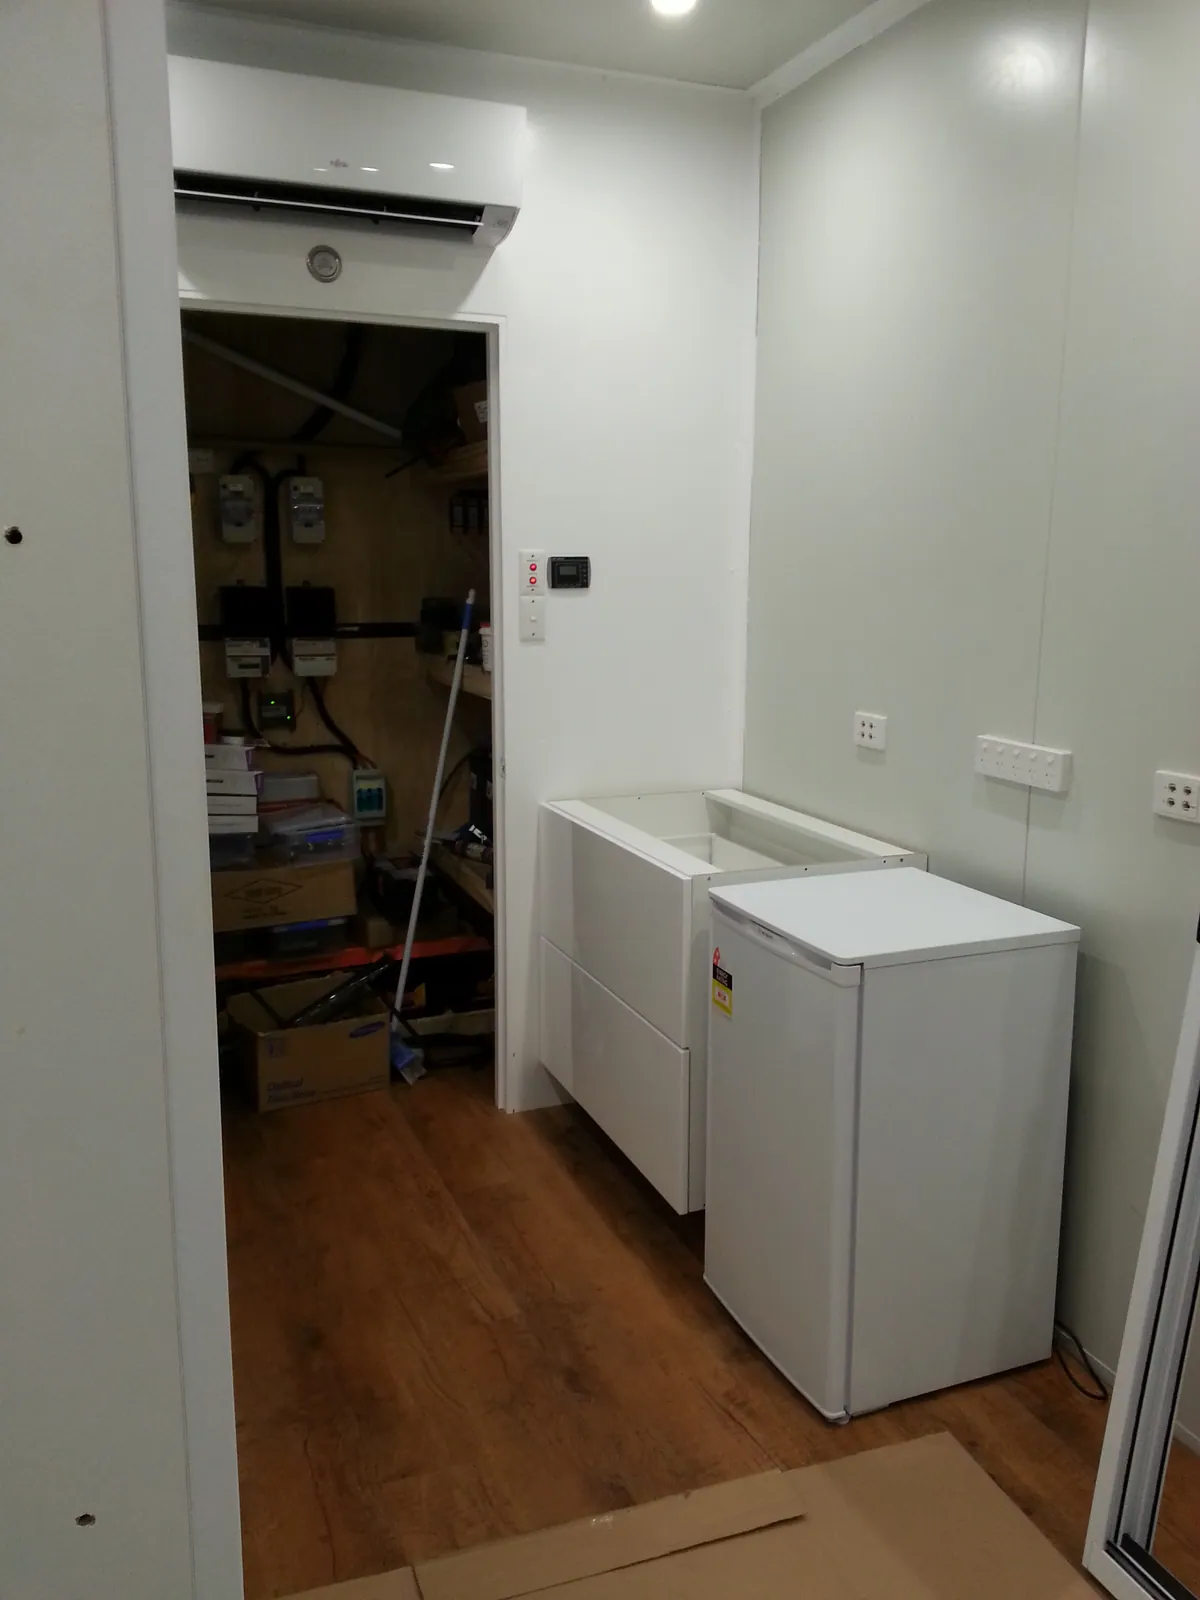
Base cabinets introduced on the opposite side.
09Sliding entrance and base cabinets
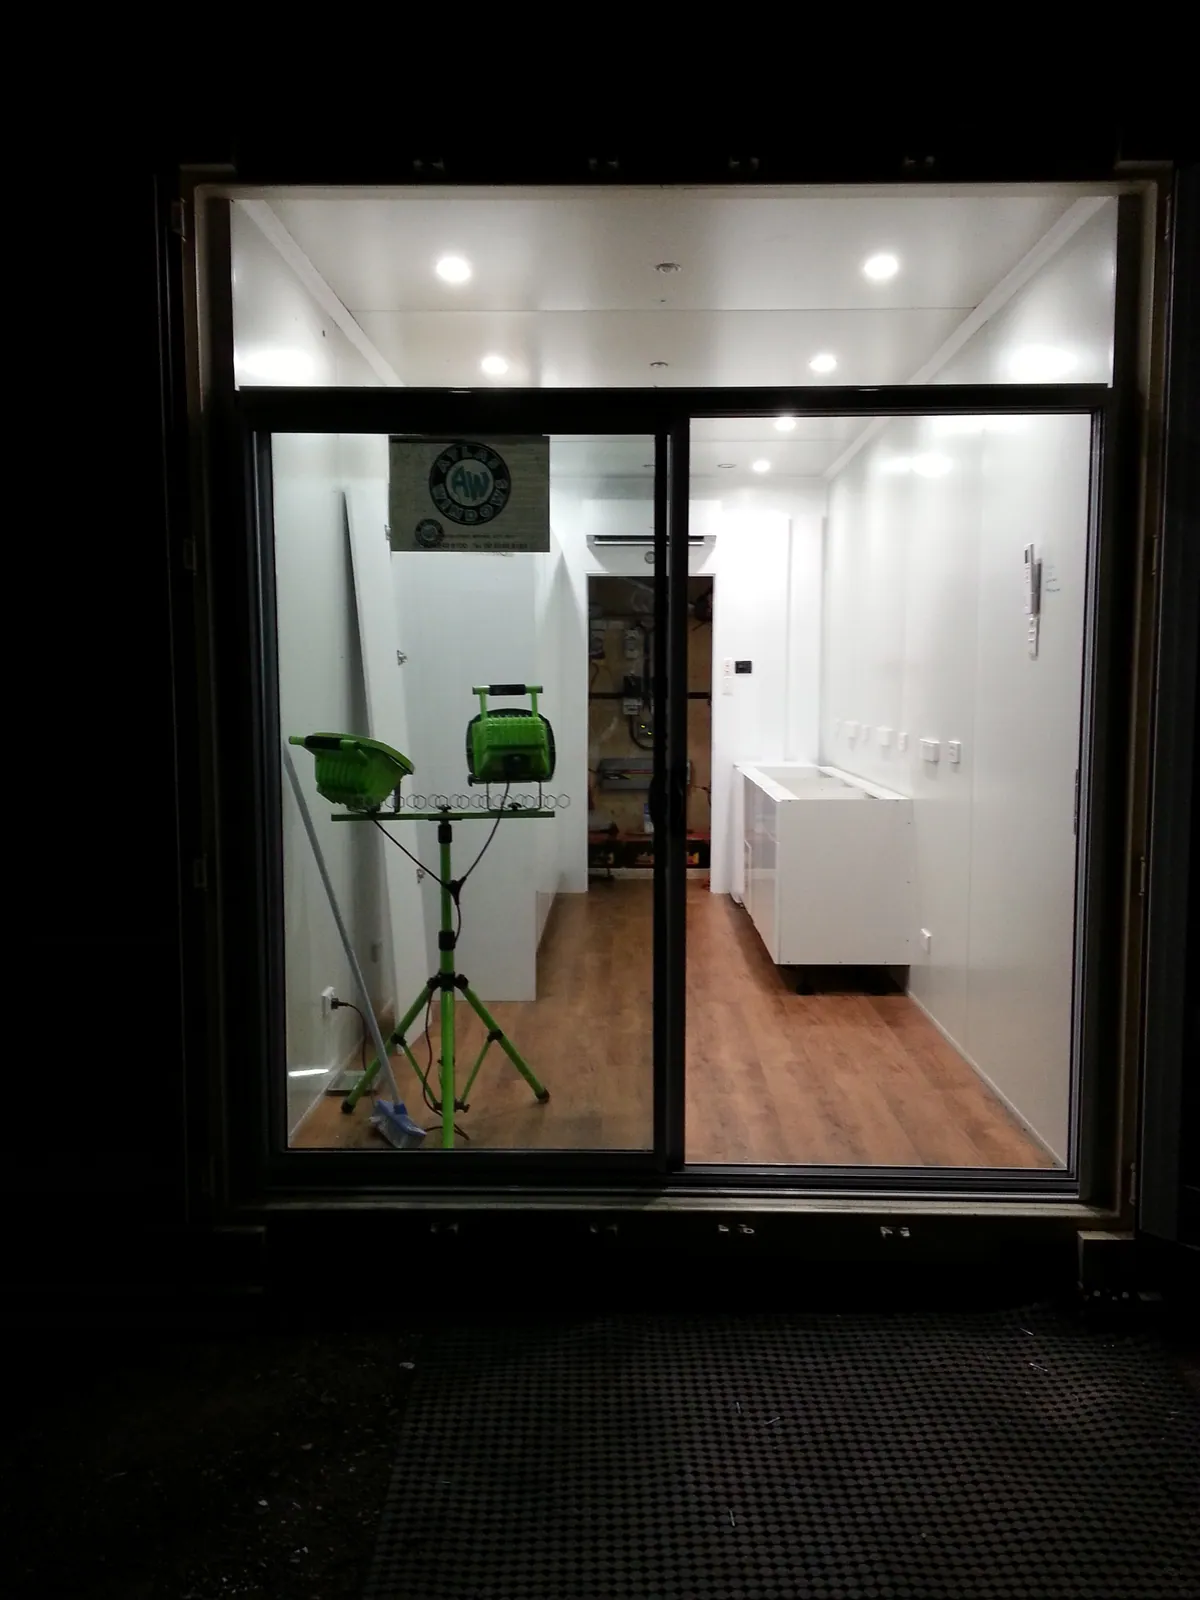
The new glazed entrance viewed from outside at night.
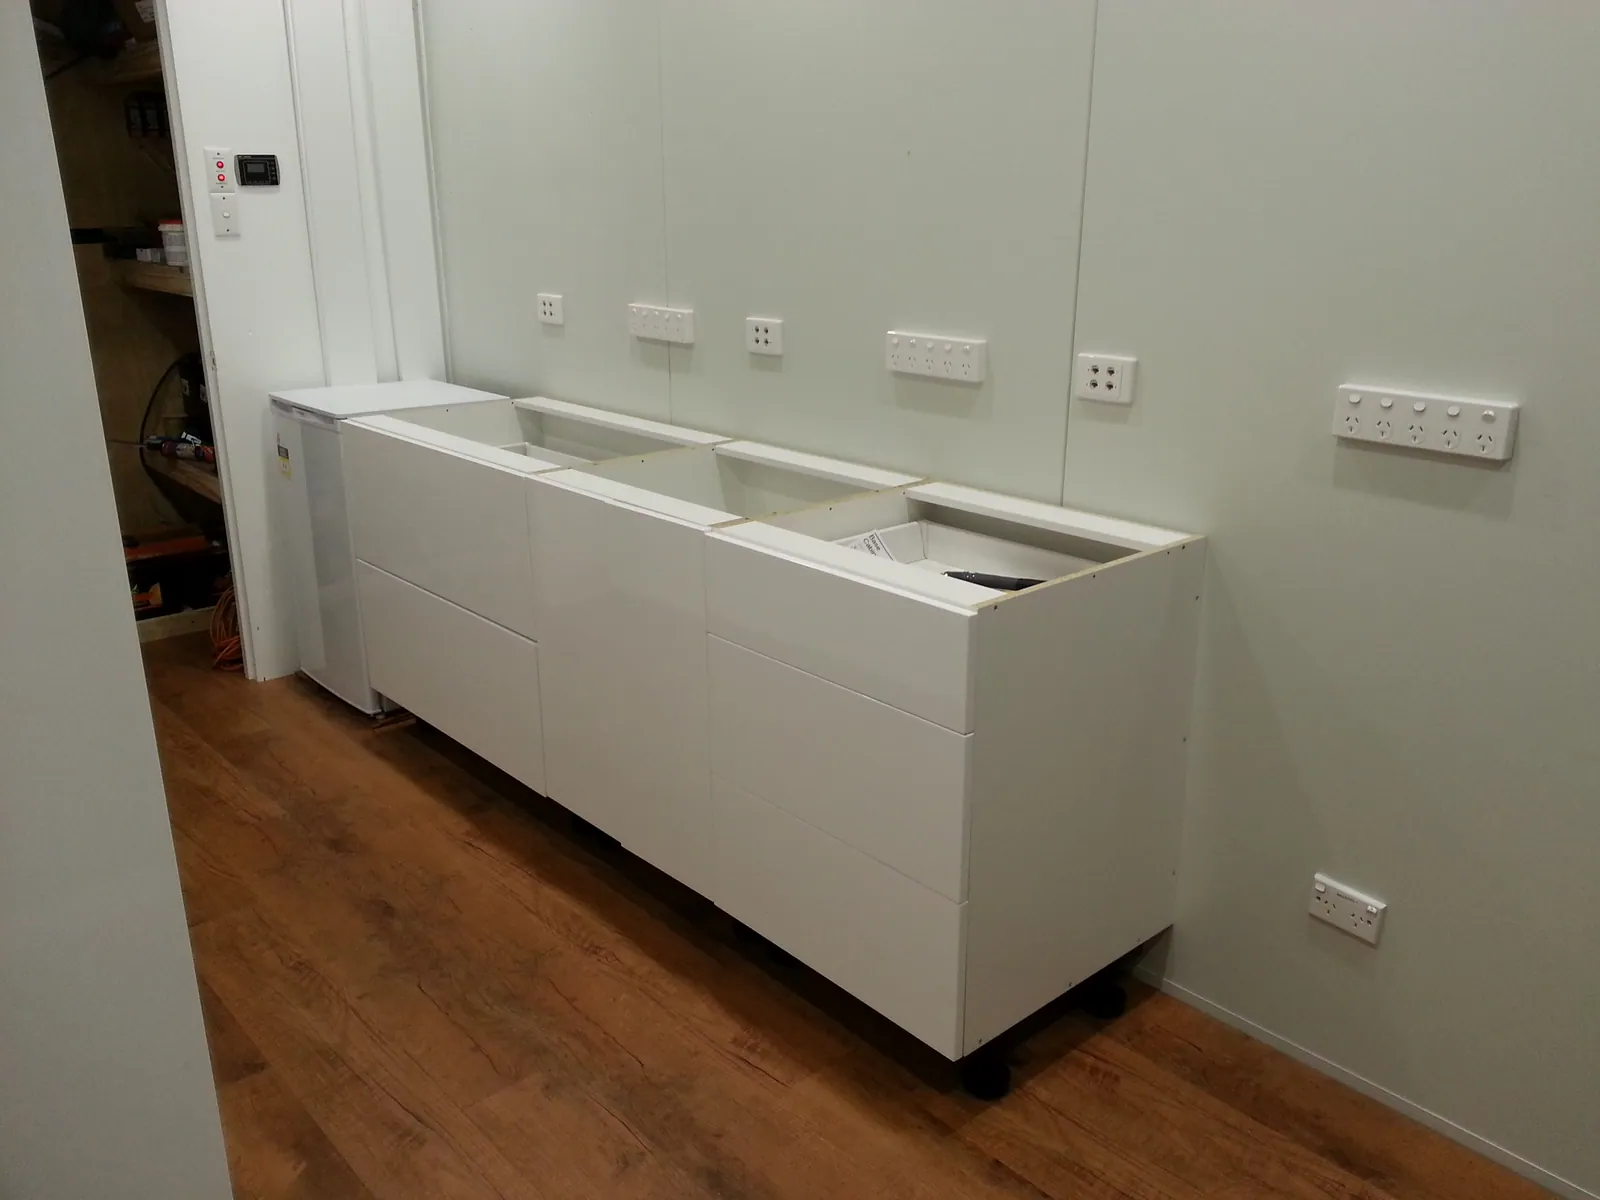
Base cabinet frames positioned below the wall outlets.
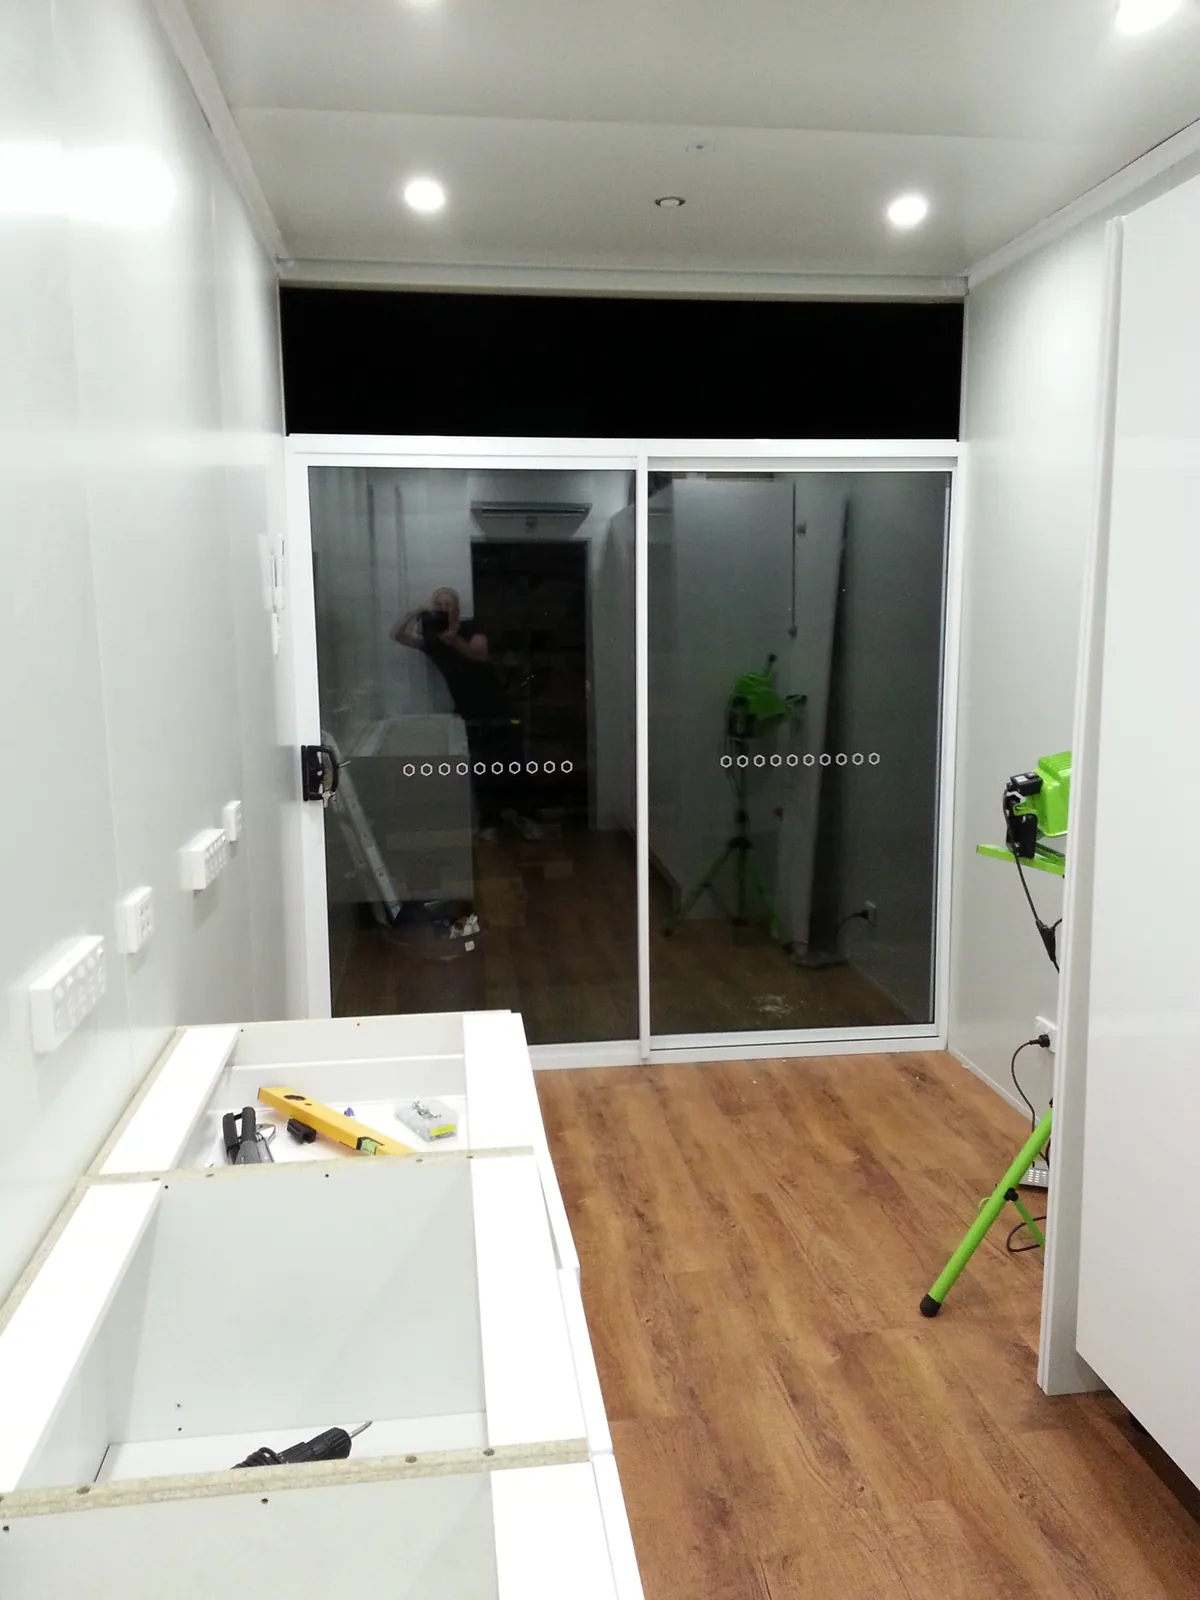
The sliding glass entrance viewed from inside.
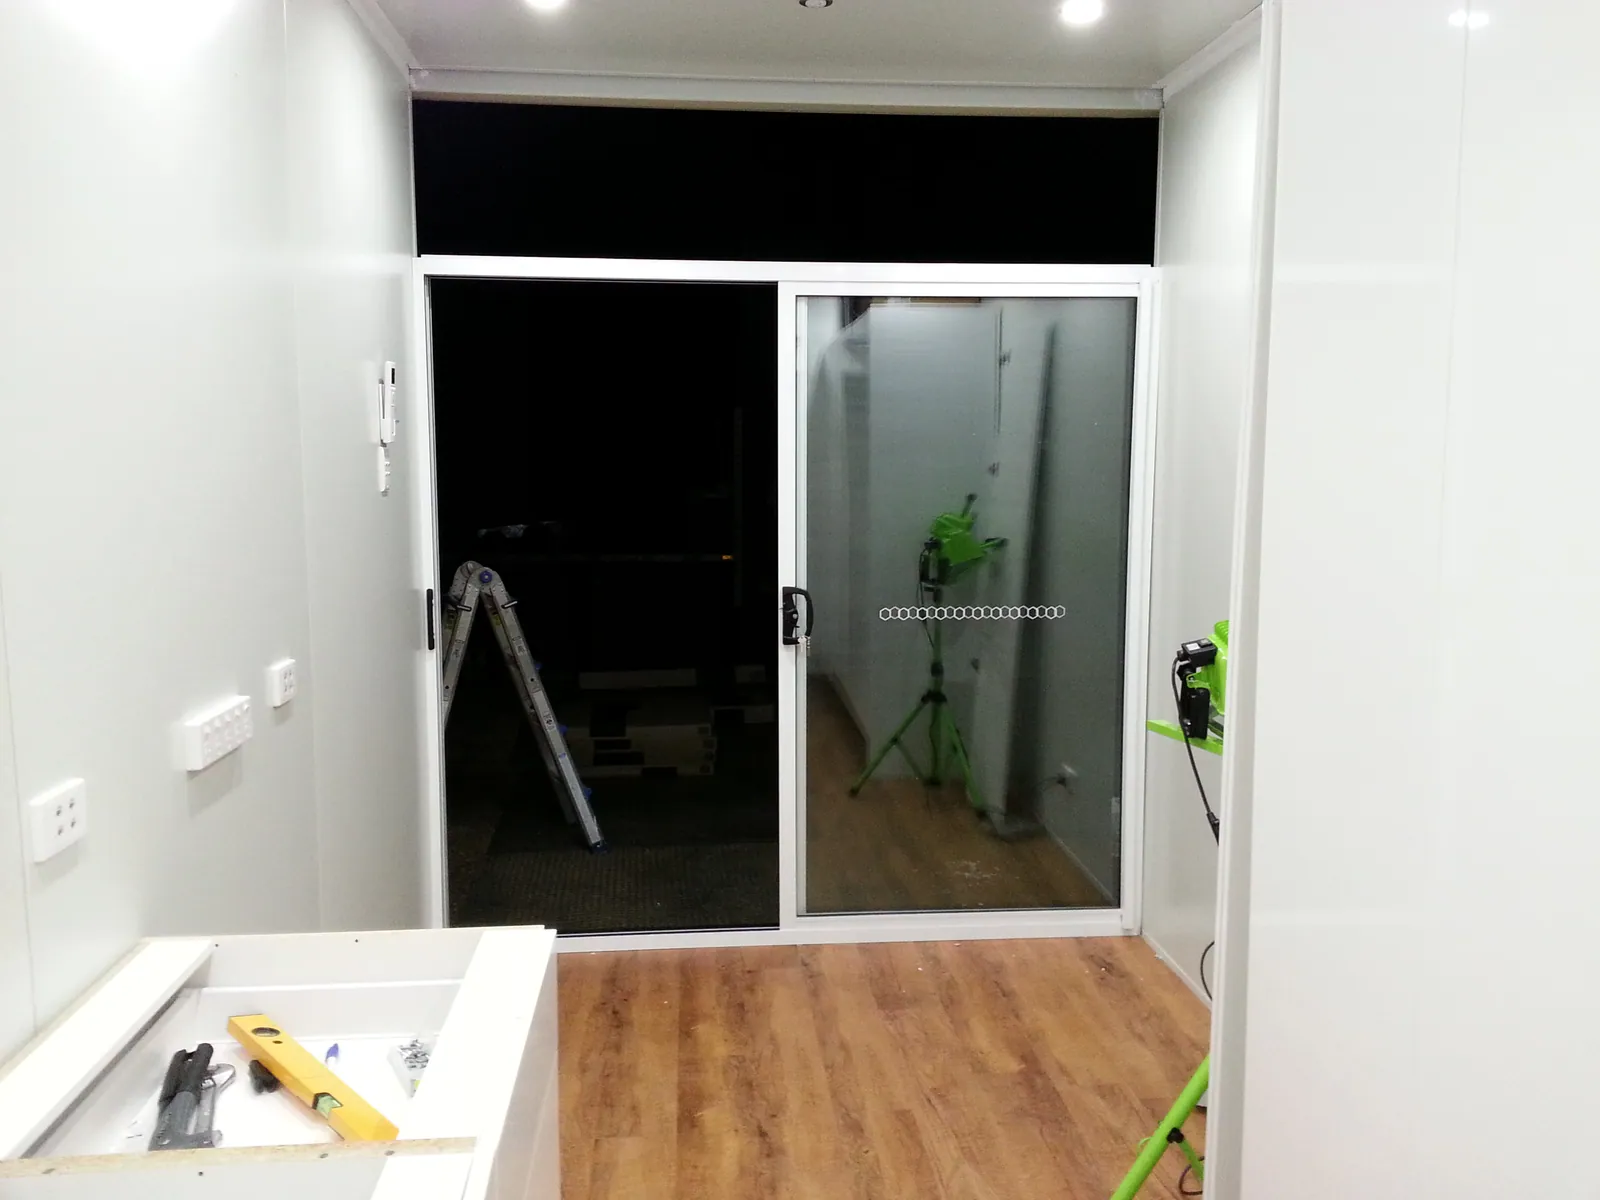
A wider interior view of the new sliding entrance.
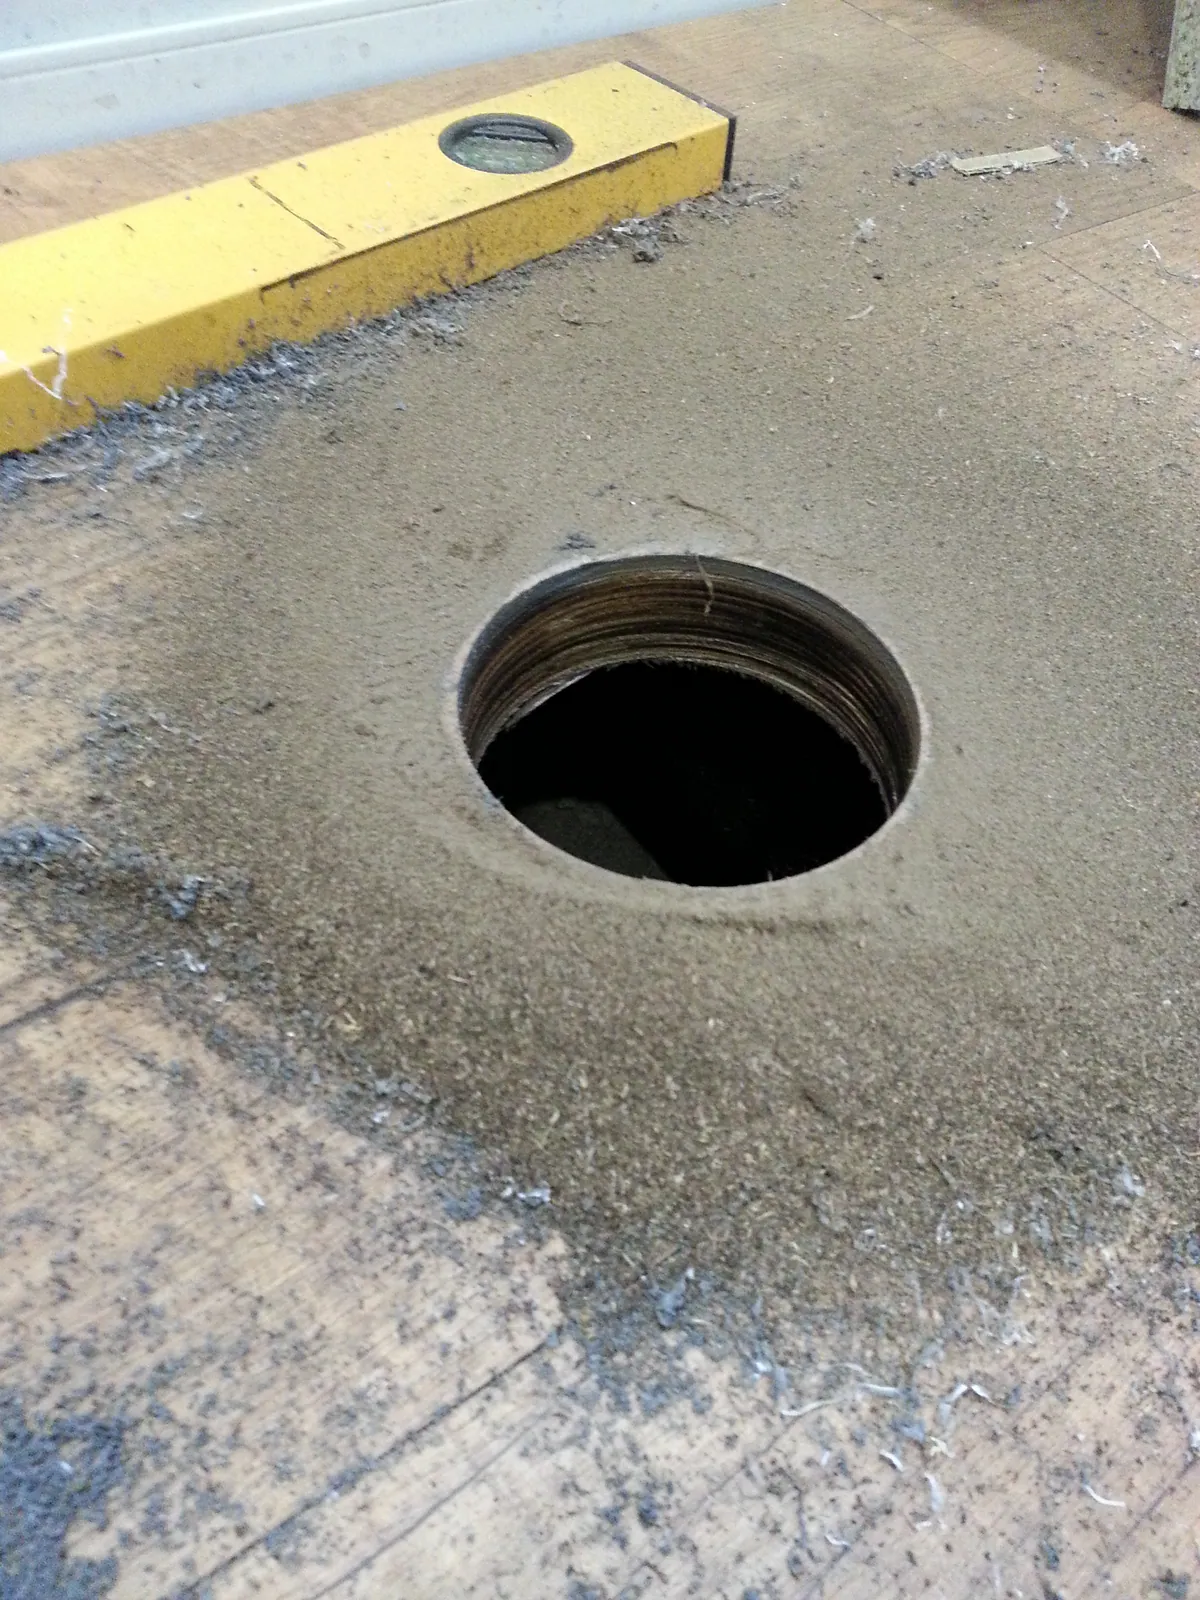
A circular opening prepared through a cabinet panel.
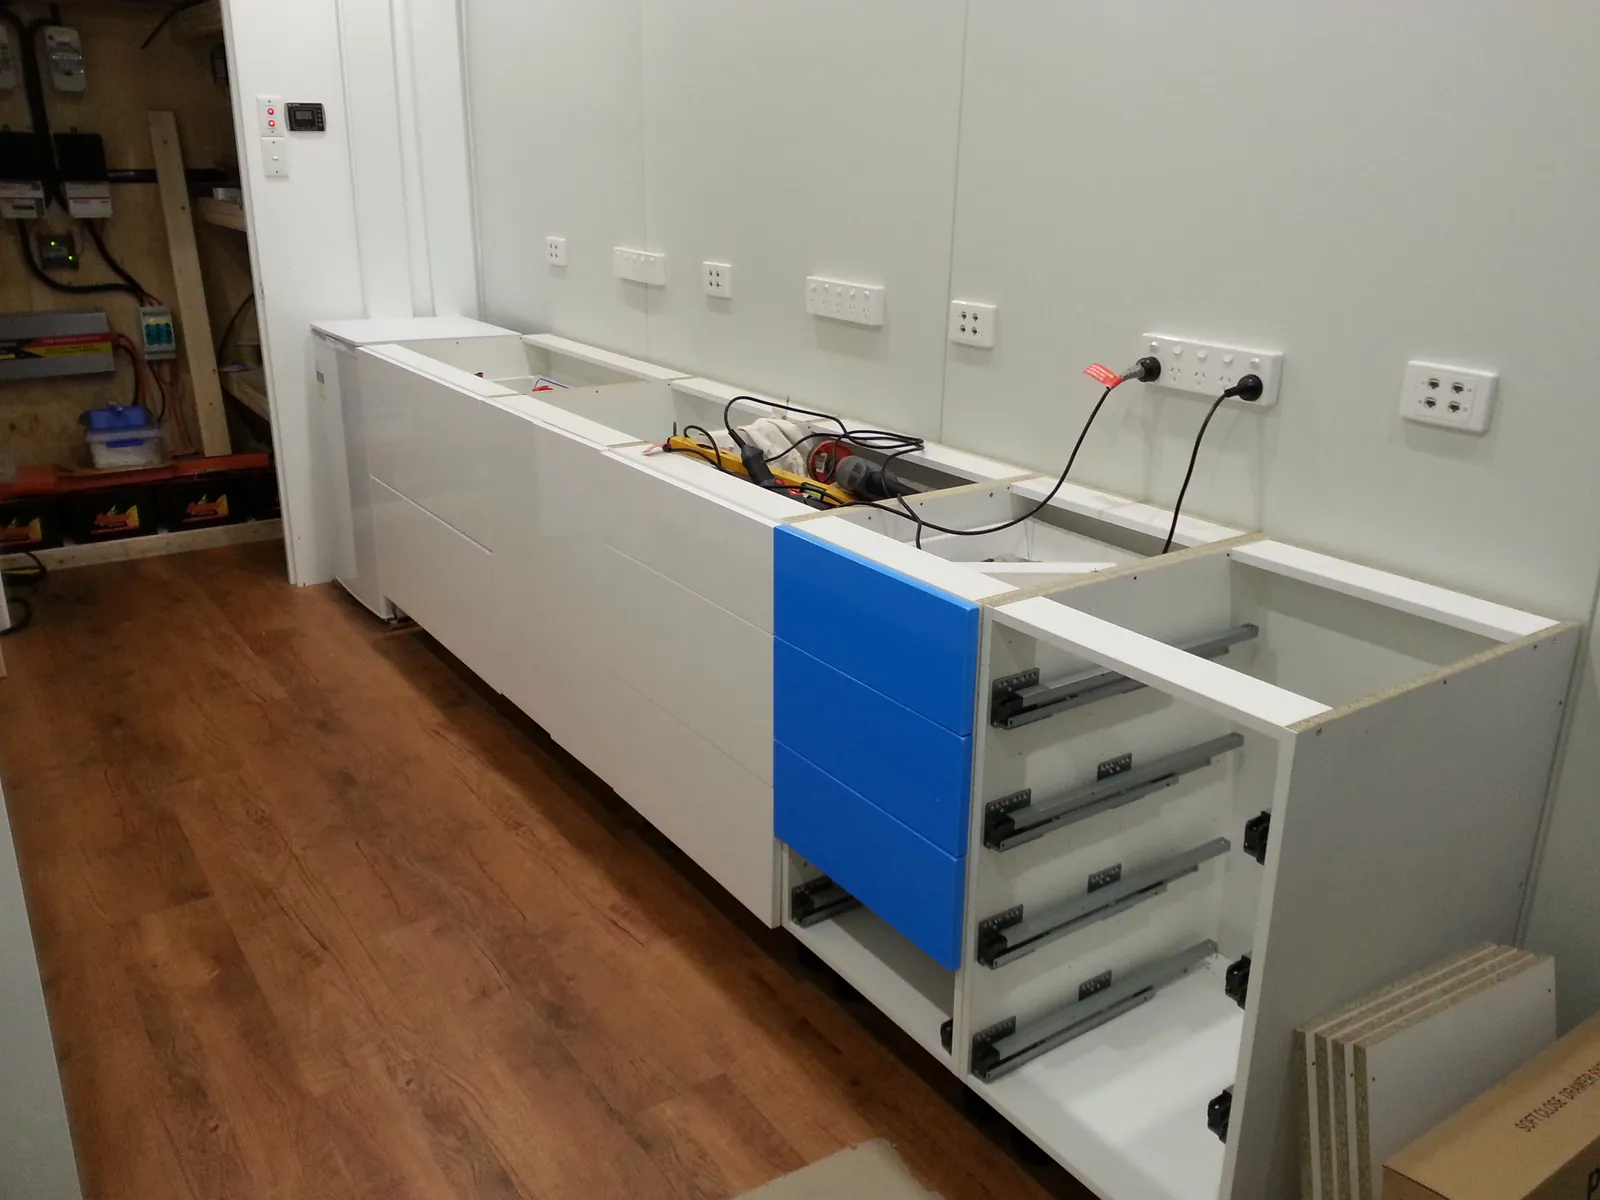
Drawers and cabinet fronts being fitted below the future workbench.
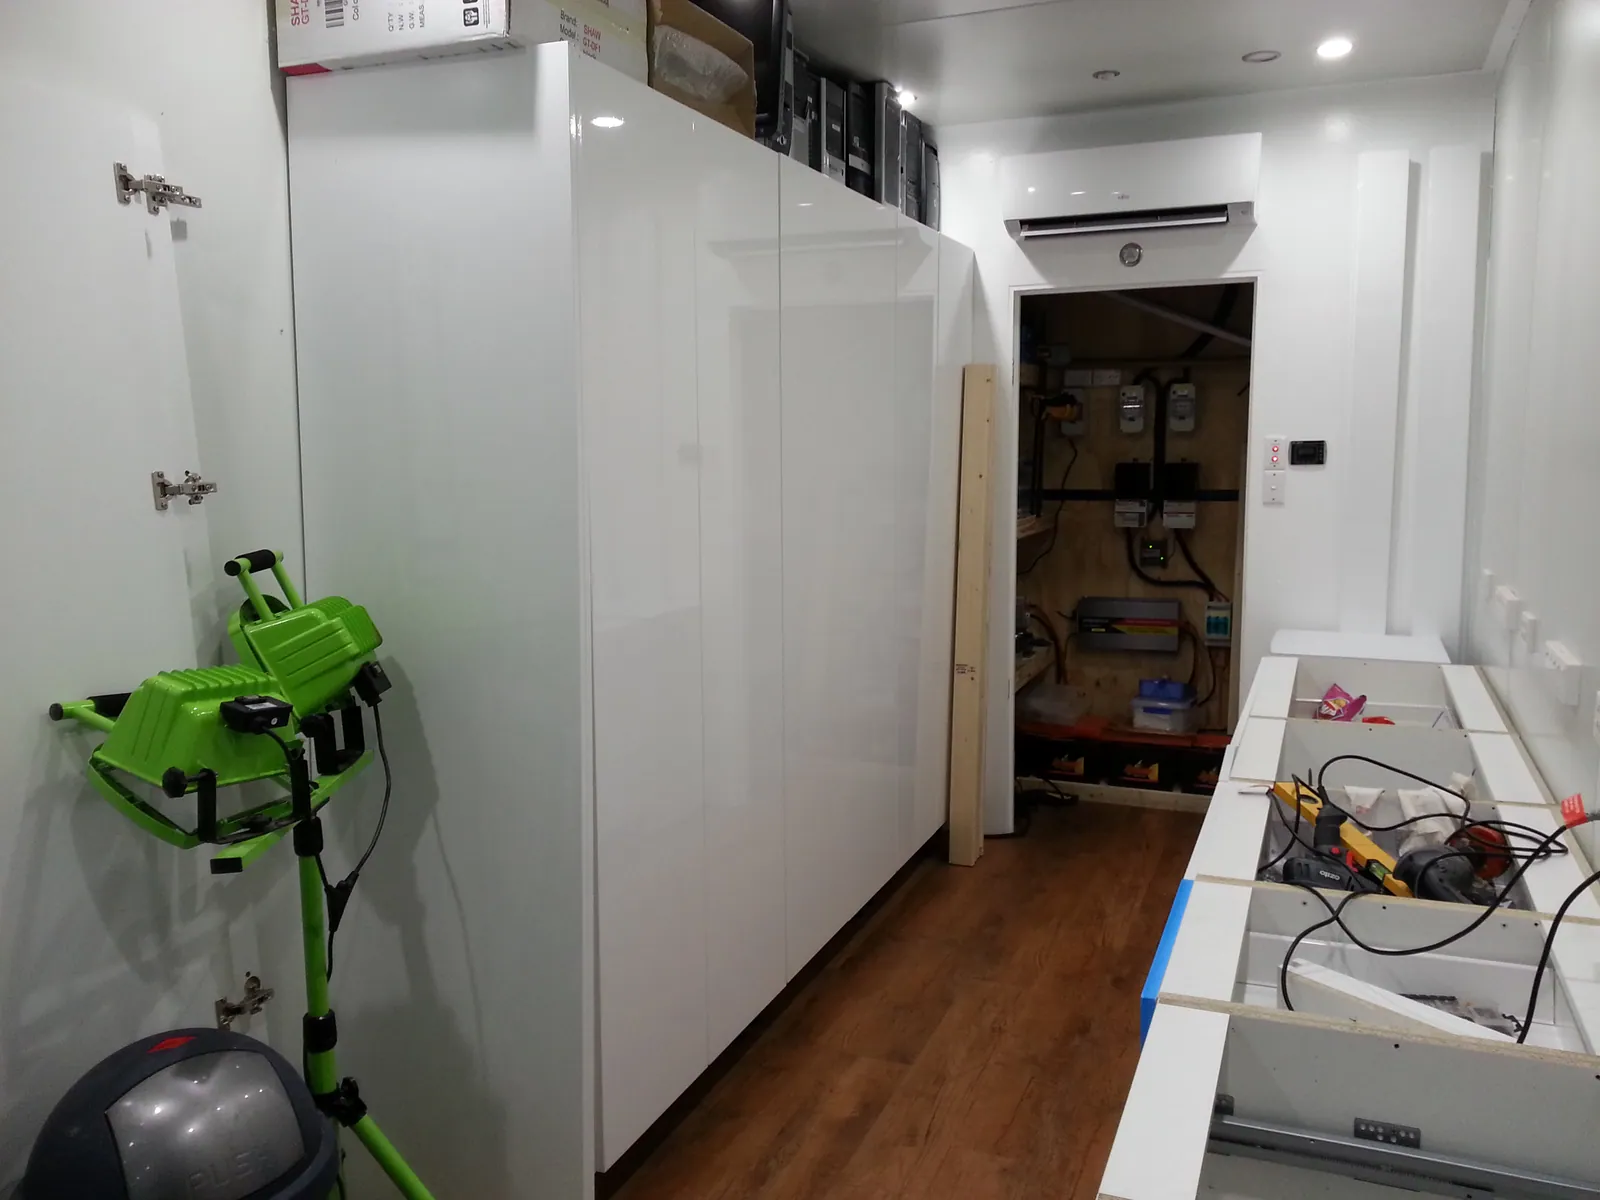
Storage and bench cabinetry now facing one another.
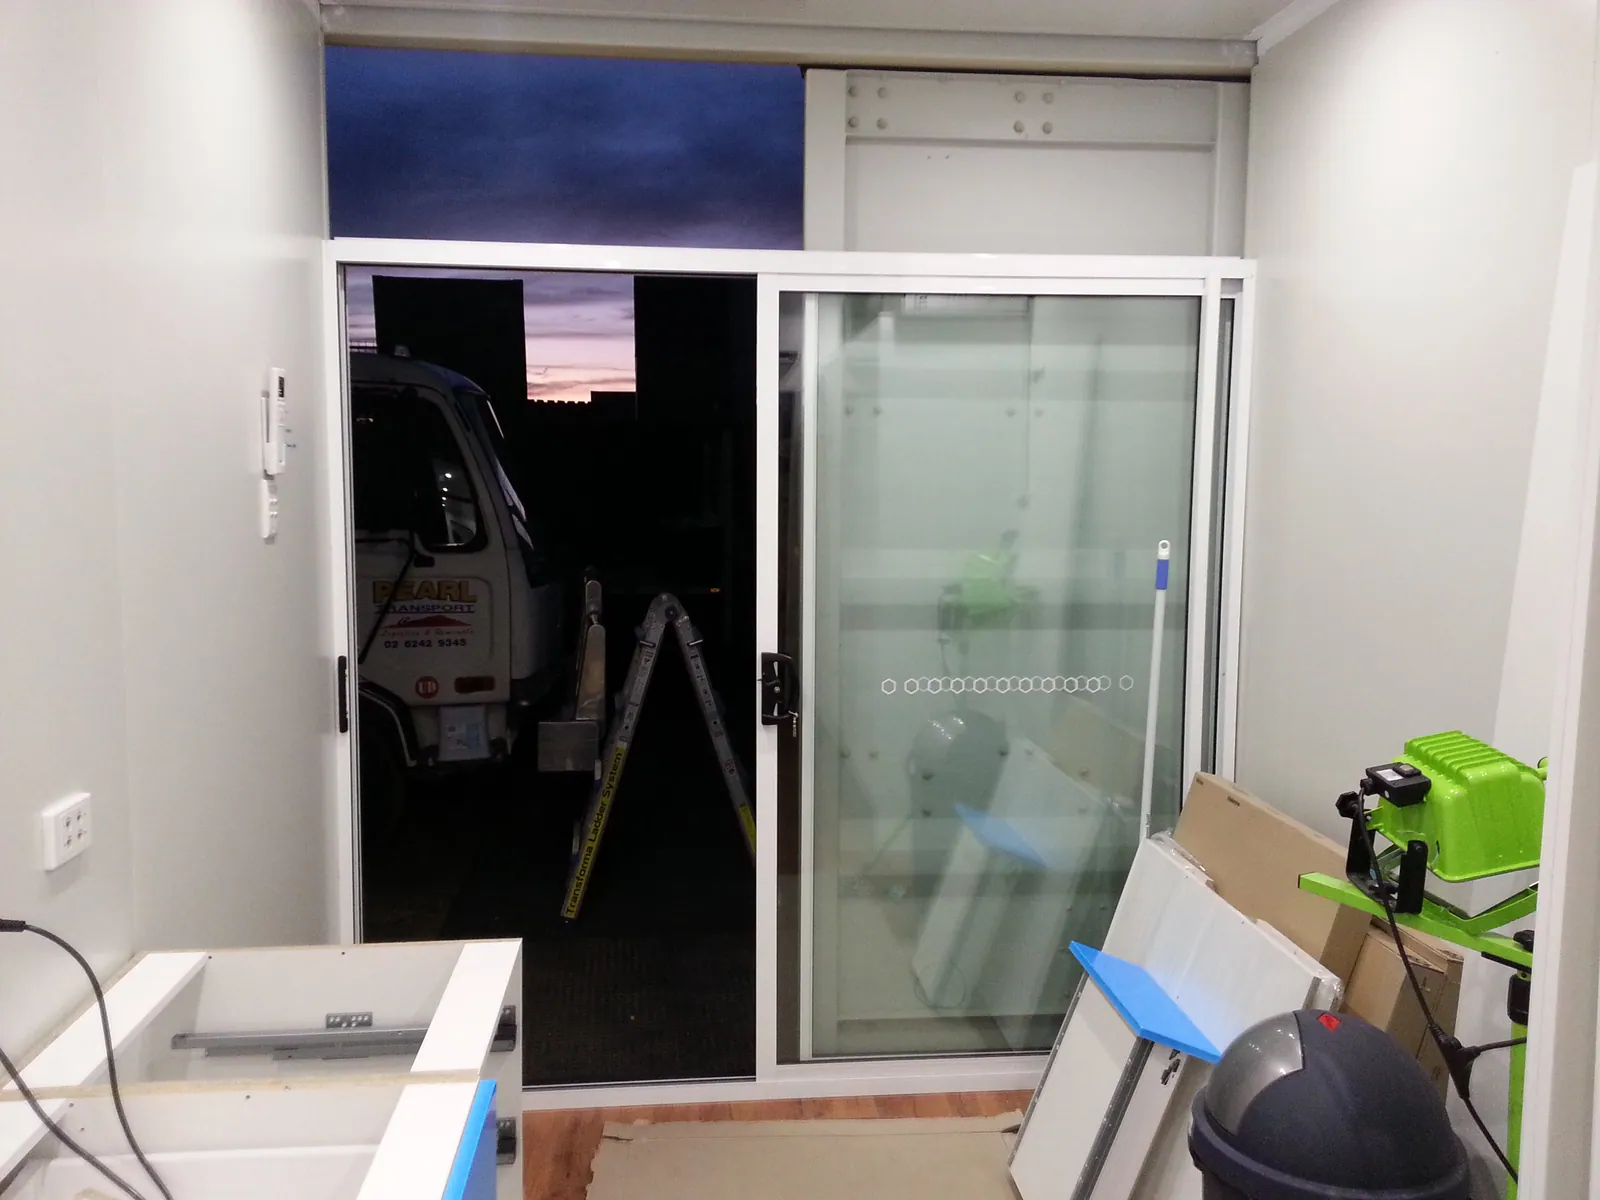
The new entrance open at dusk.
10Preparing the workbench wall
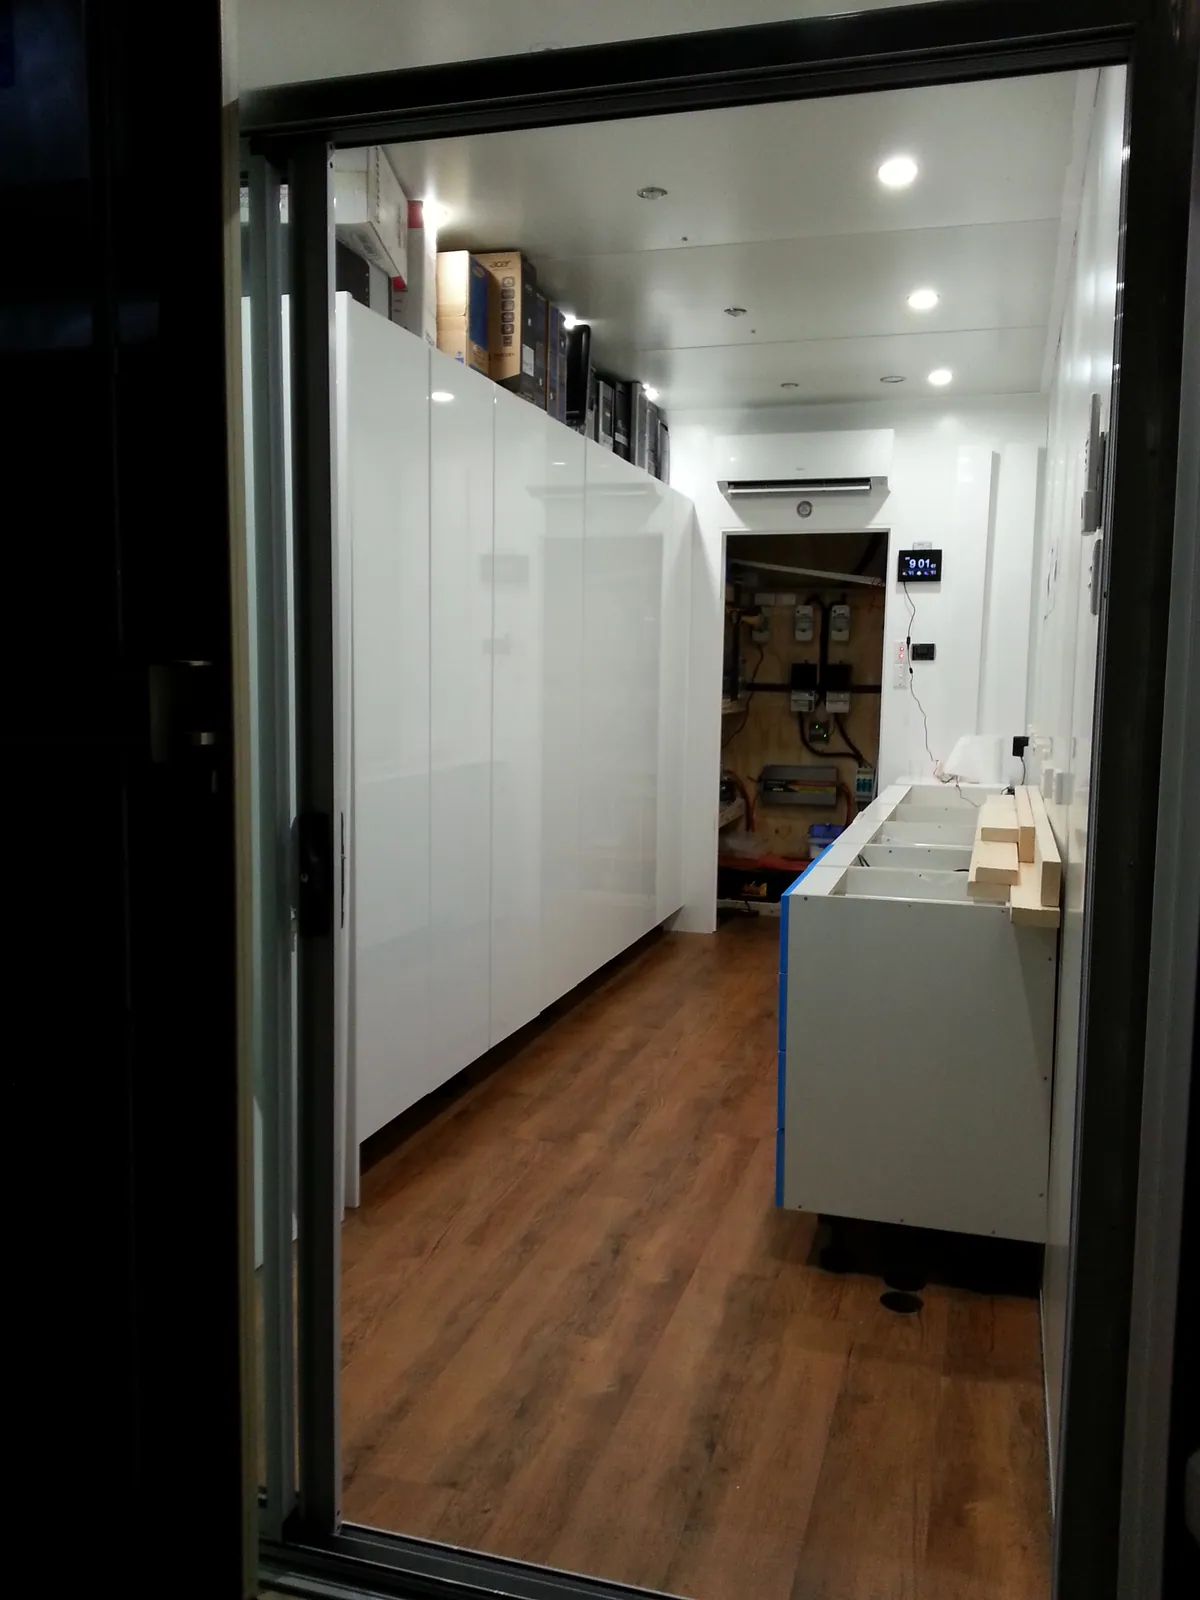
The workshop seen through its entrance in November.
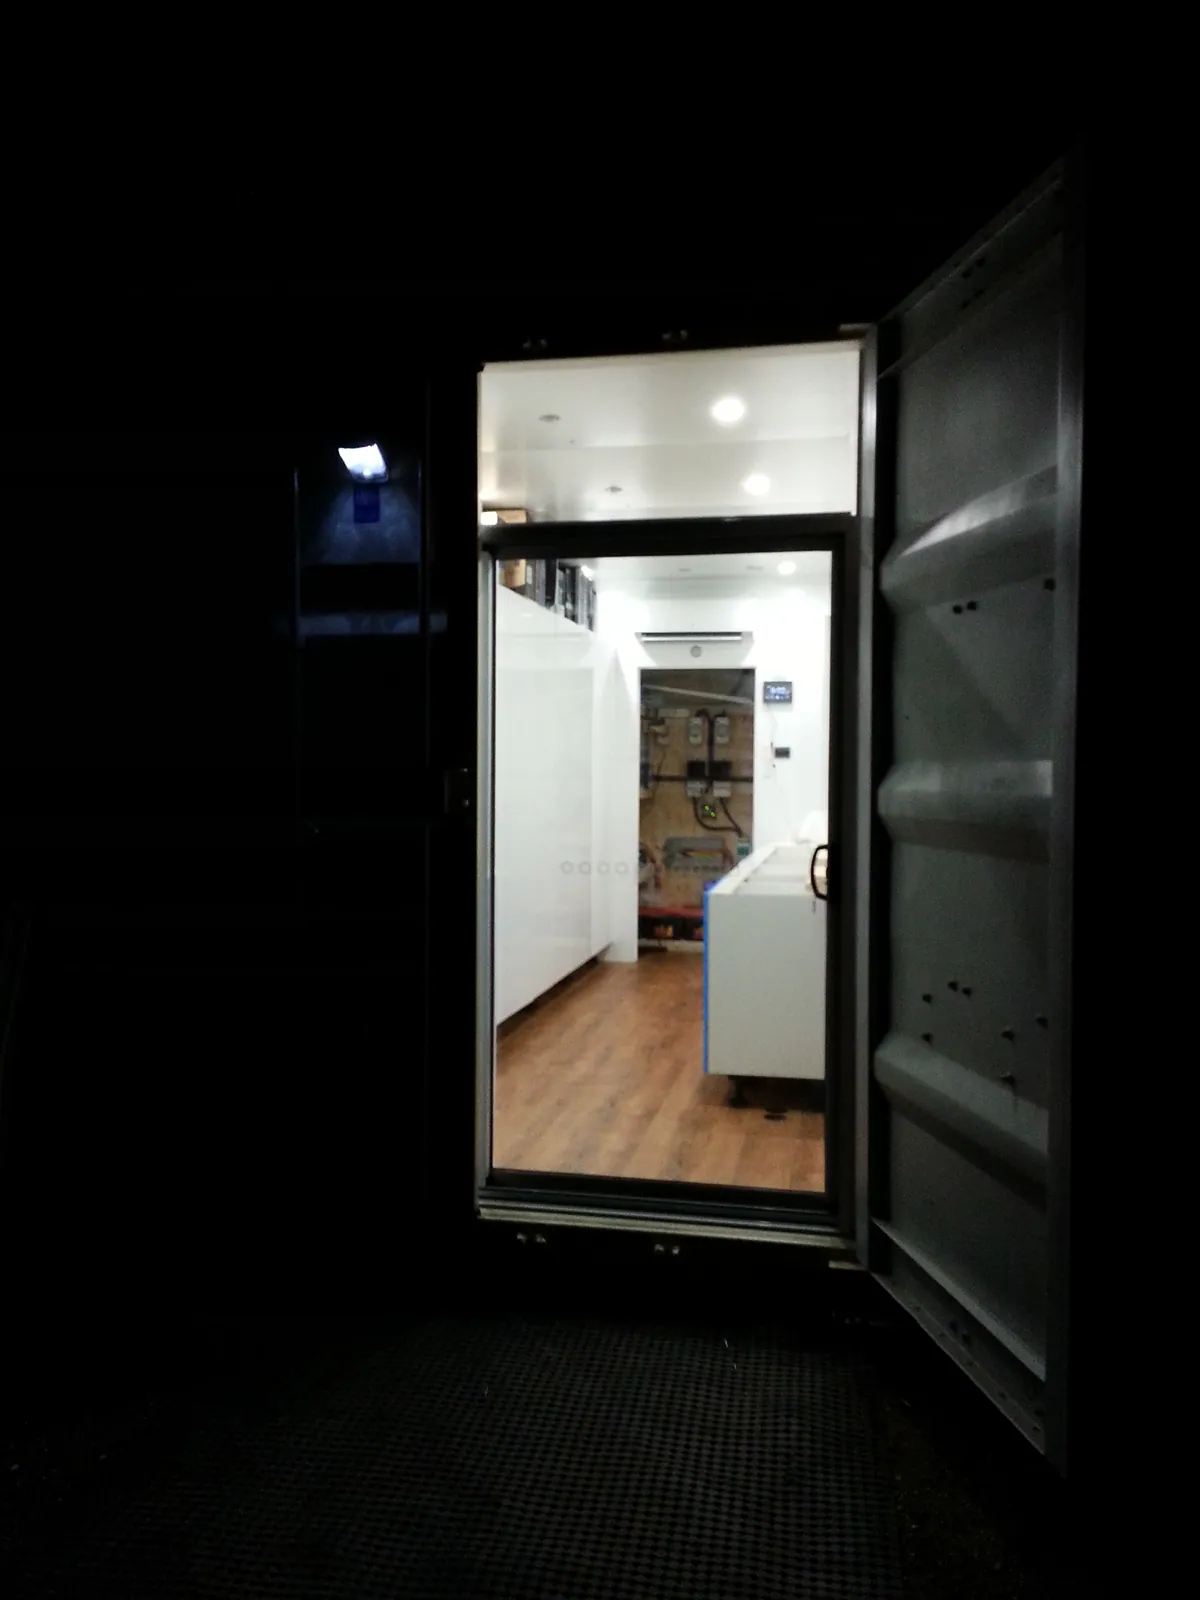
The lit workshop inside the open container at night.
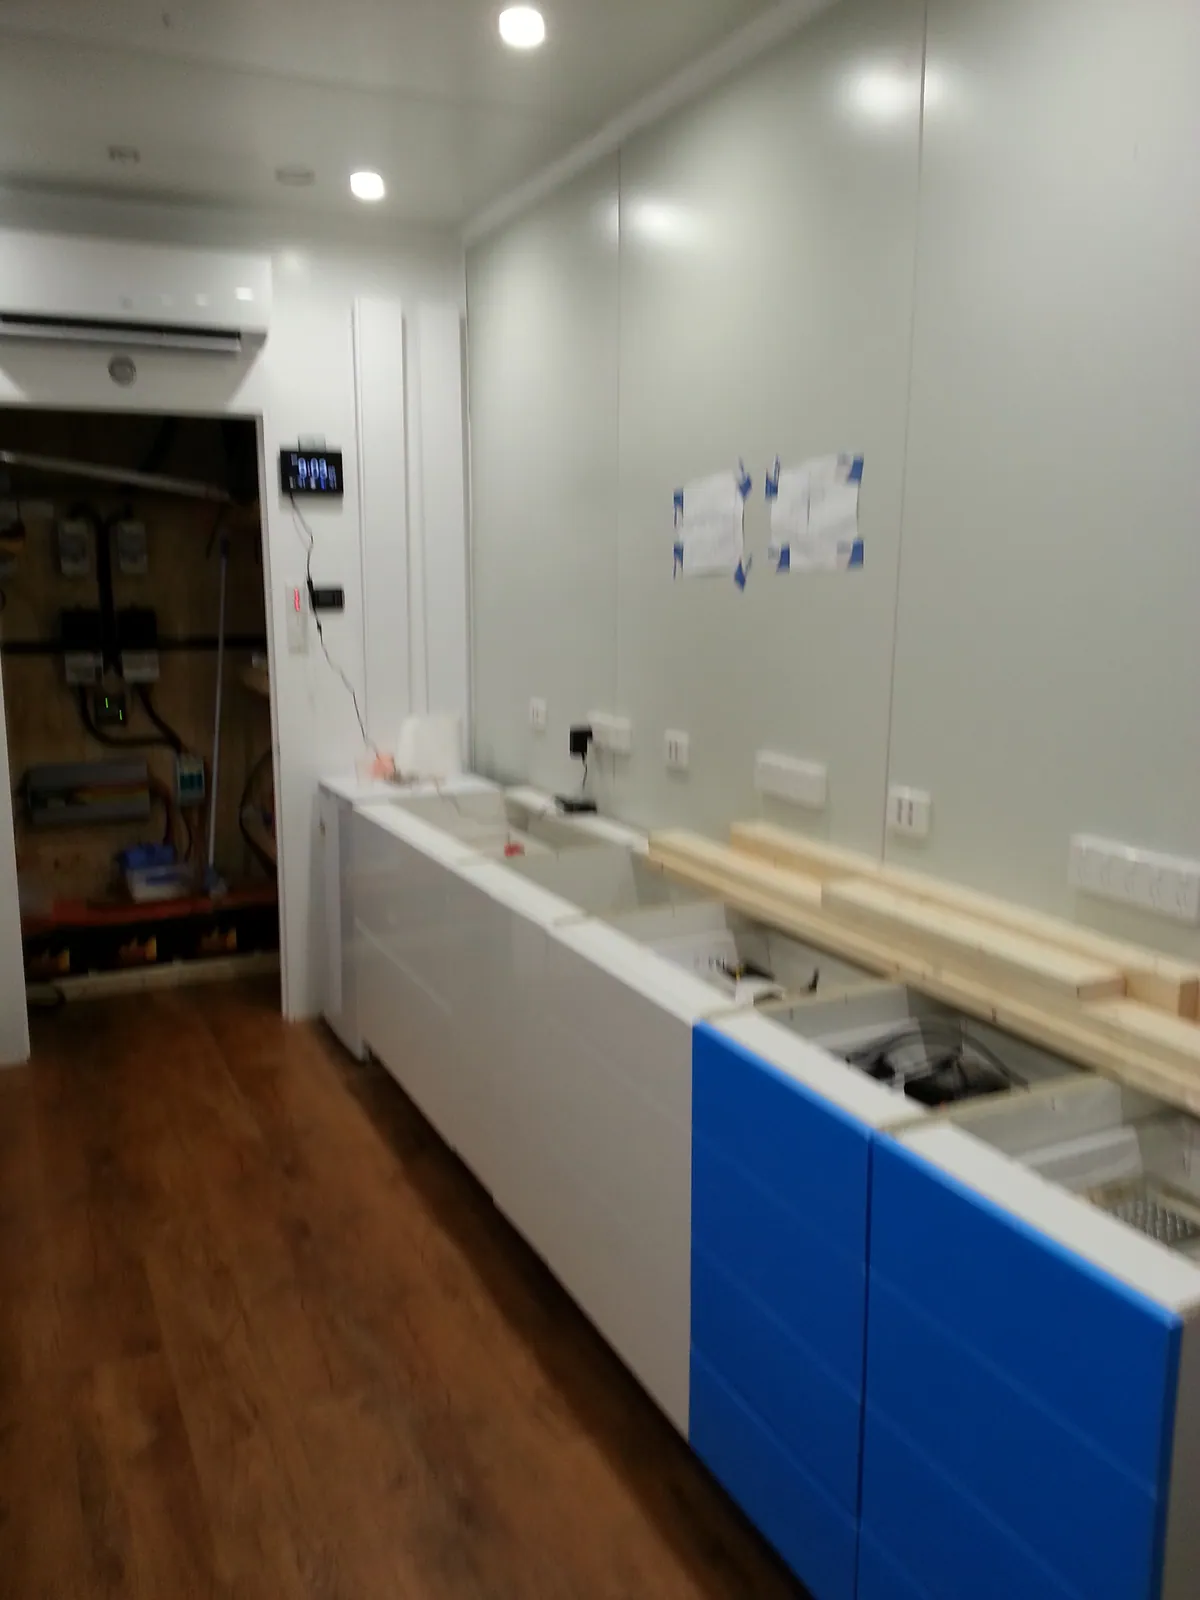
Base units awaiting the benchtop and upper cupboards.
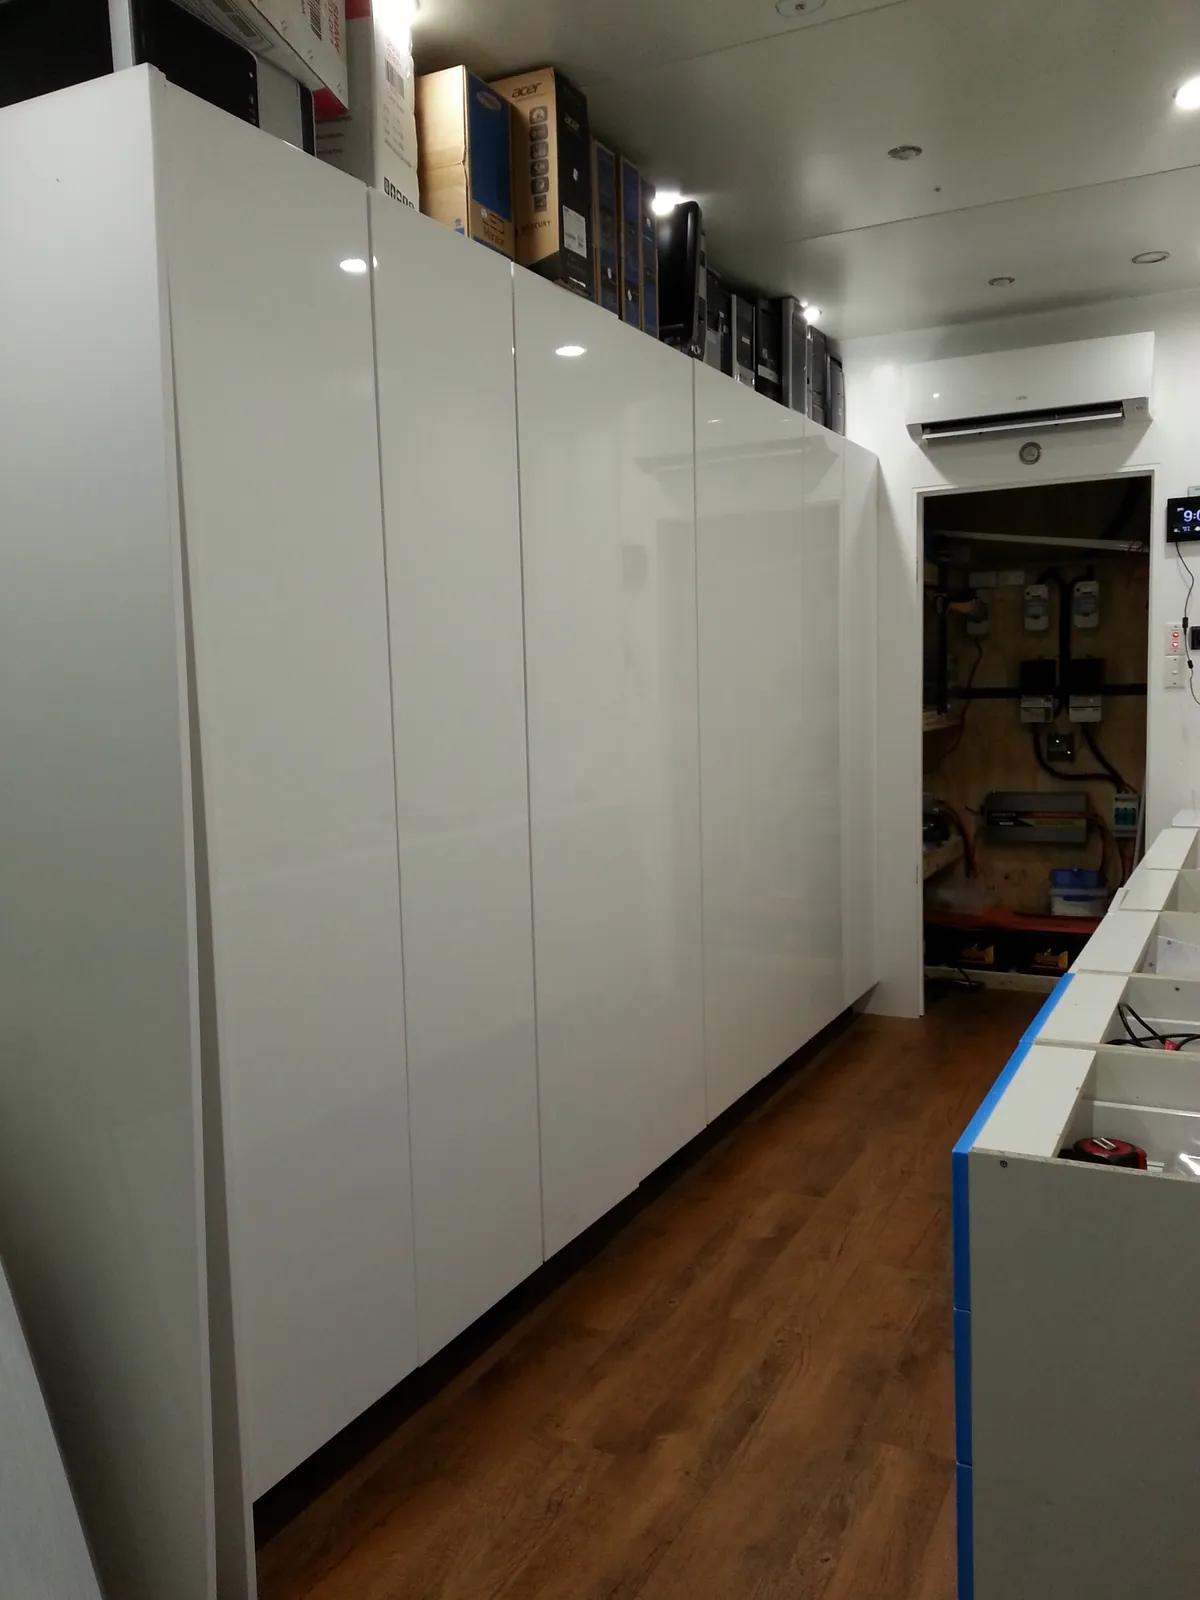
The completed wall of storage cupboards.
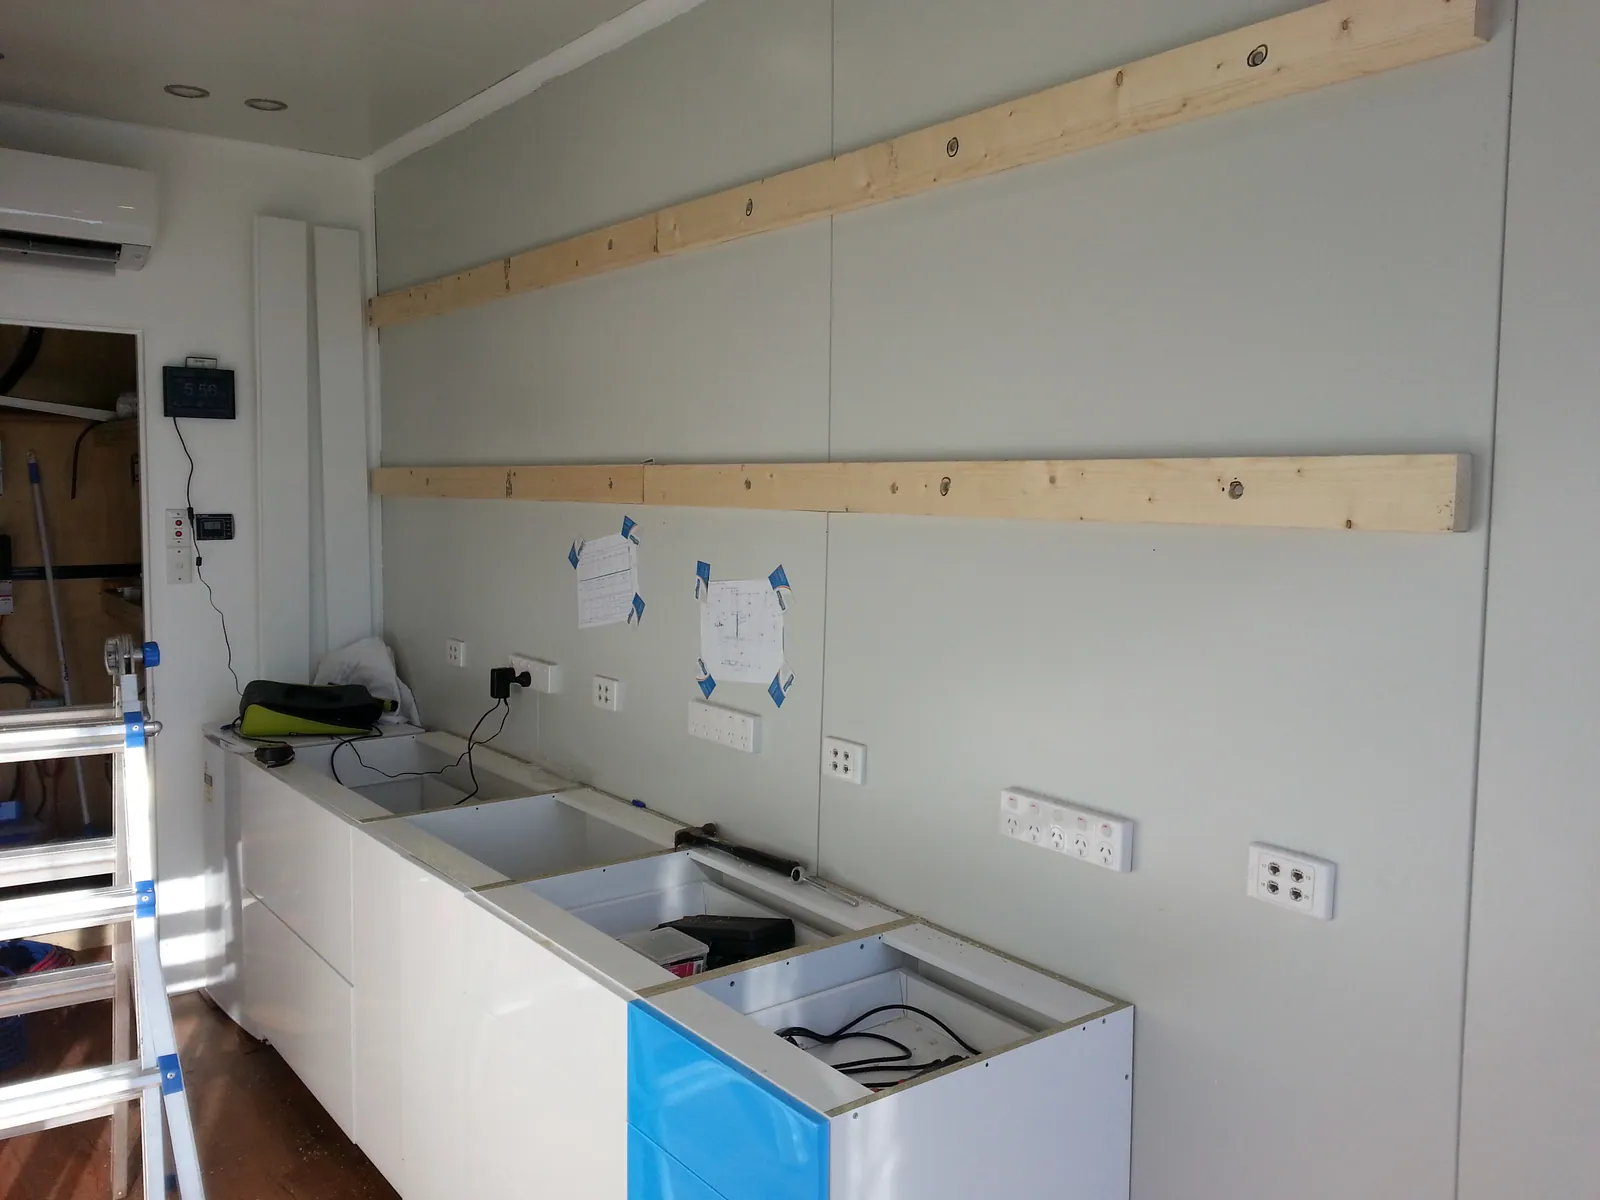
Wall battens fixed for the upper cabinets.
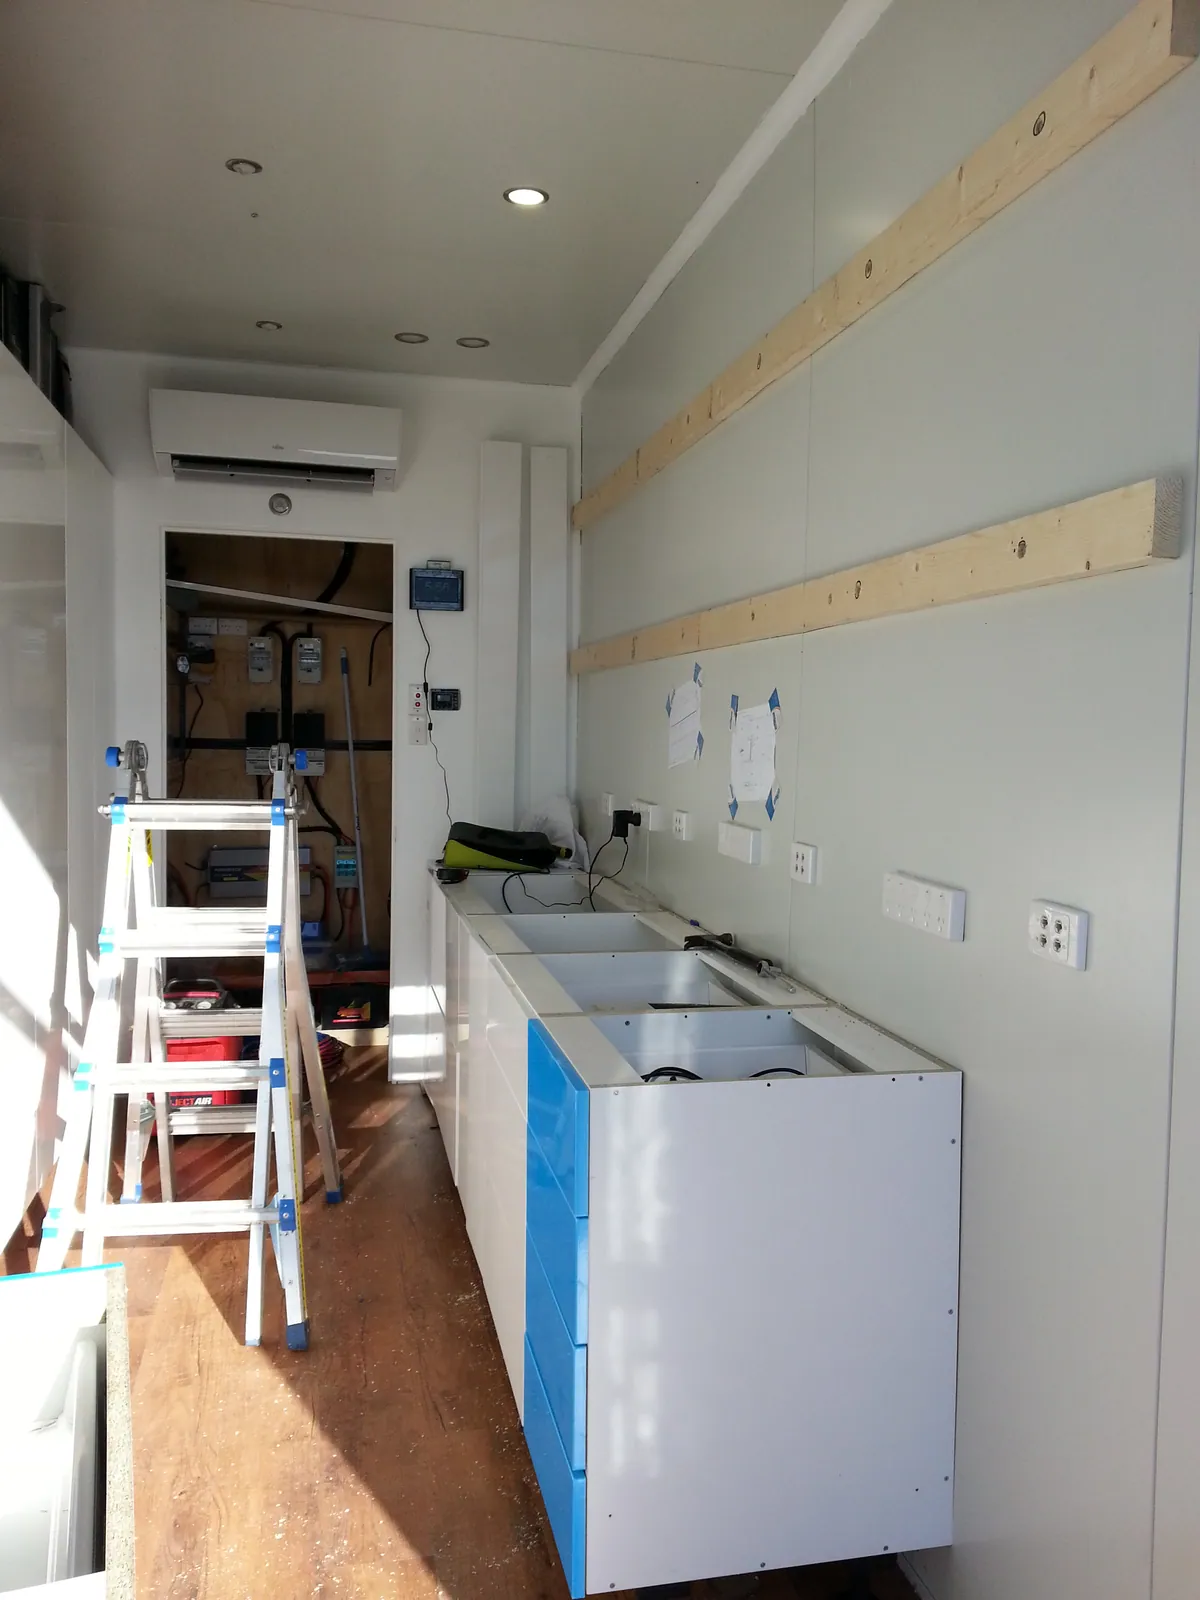
The benchtop side prepared for the next cabinet installation.
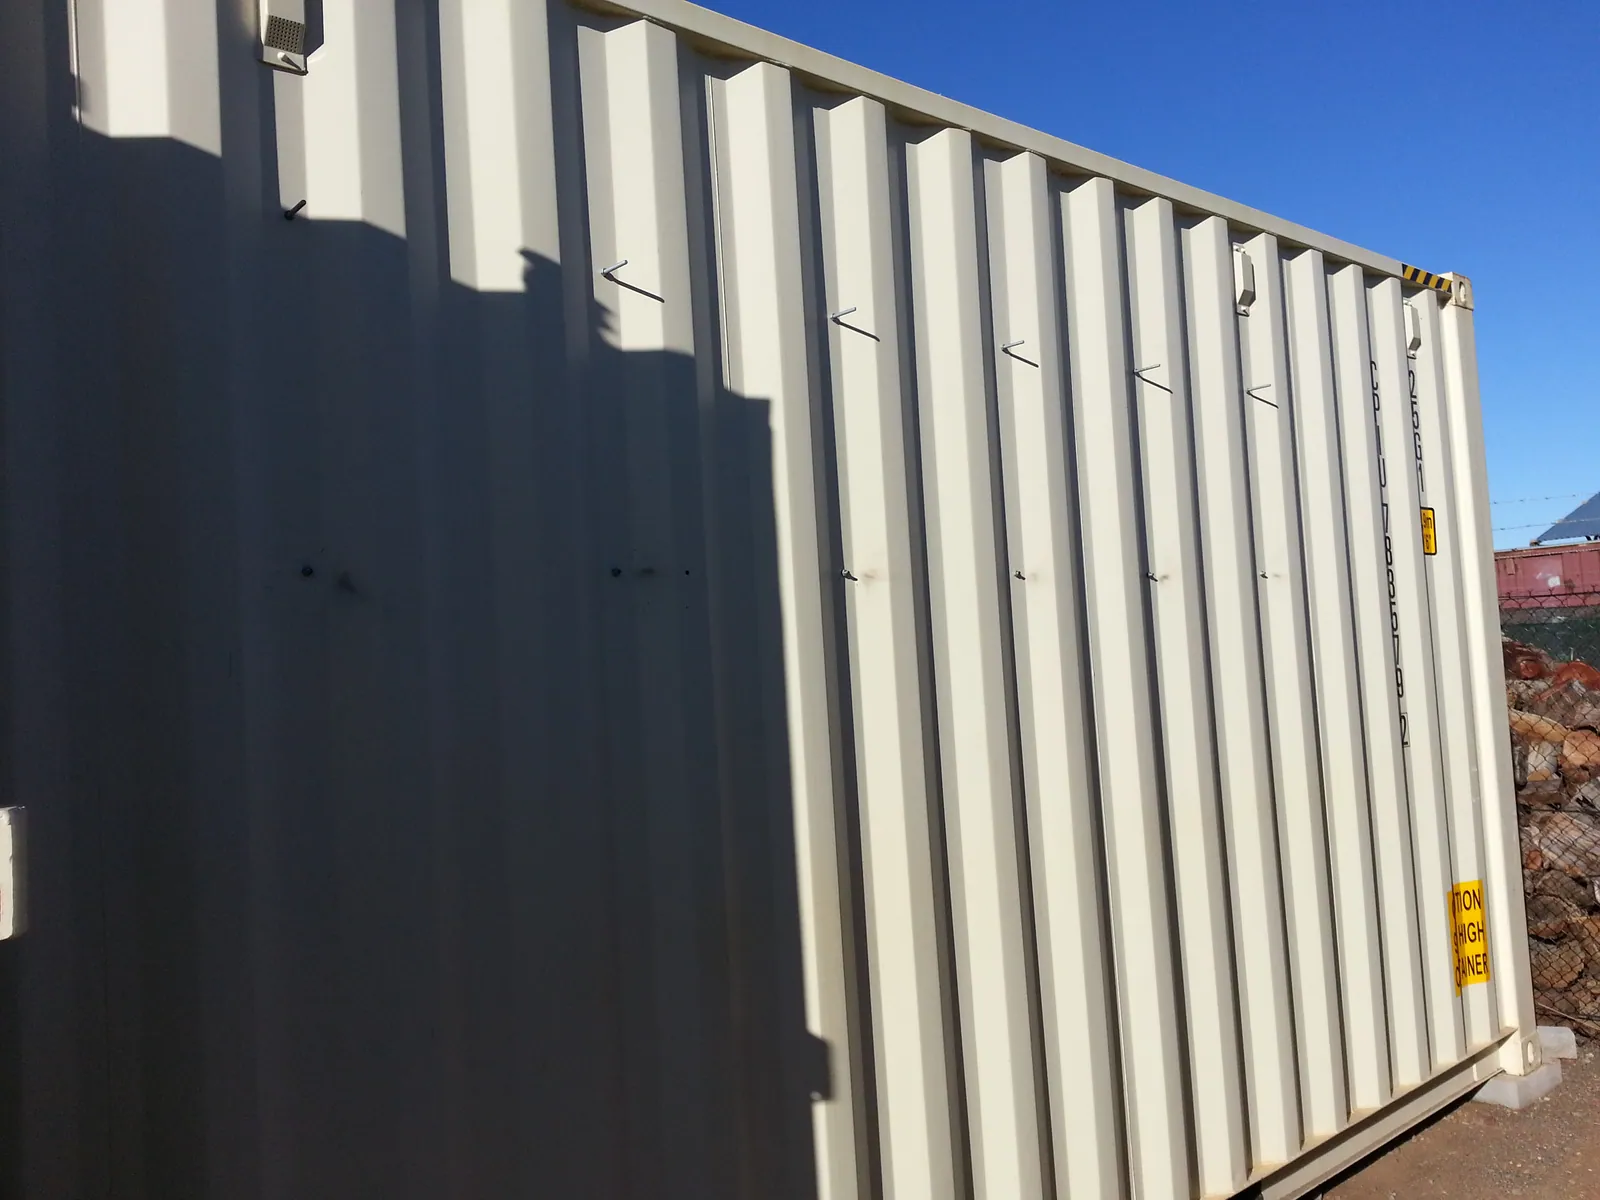
The container exterior during the November fitout.
11Parts storage and timber benchtop
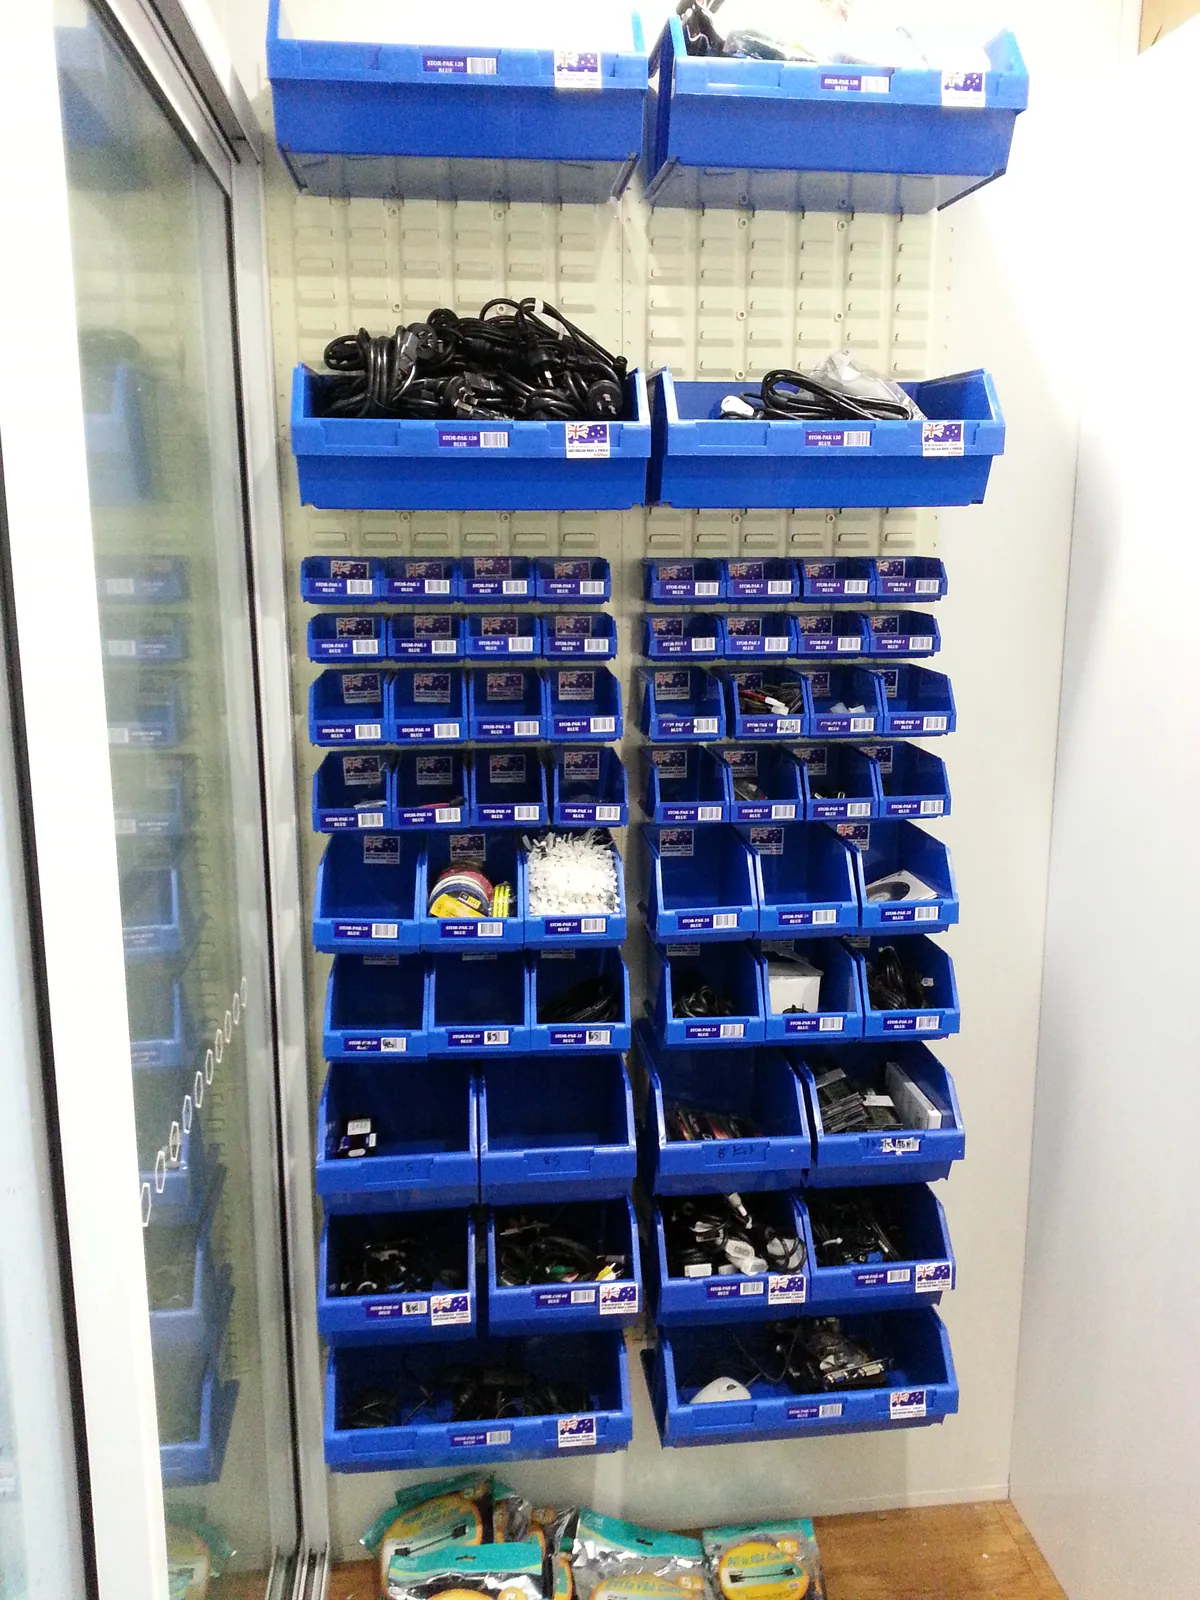
Small-parts bins added near the entrance.
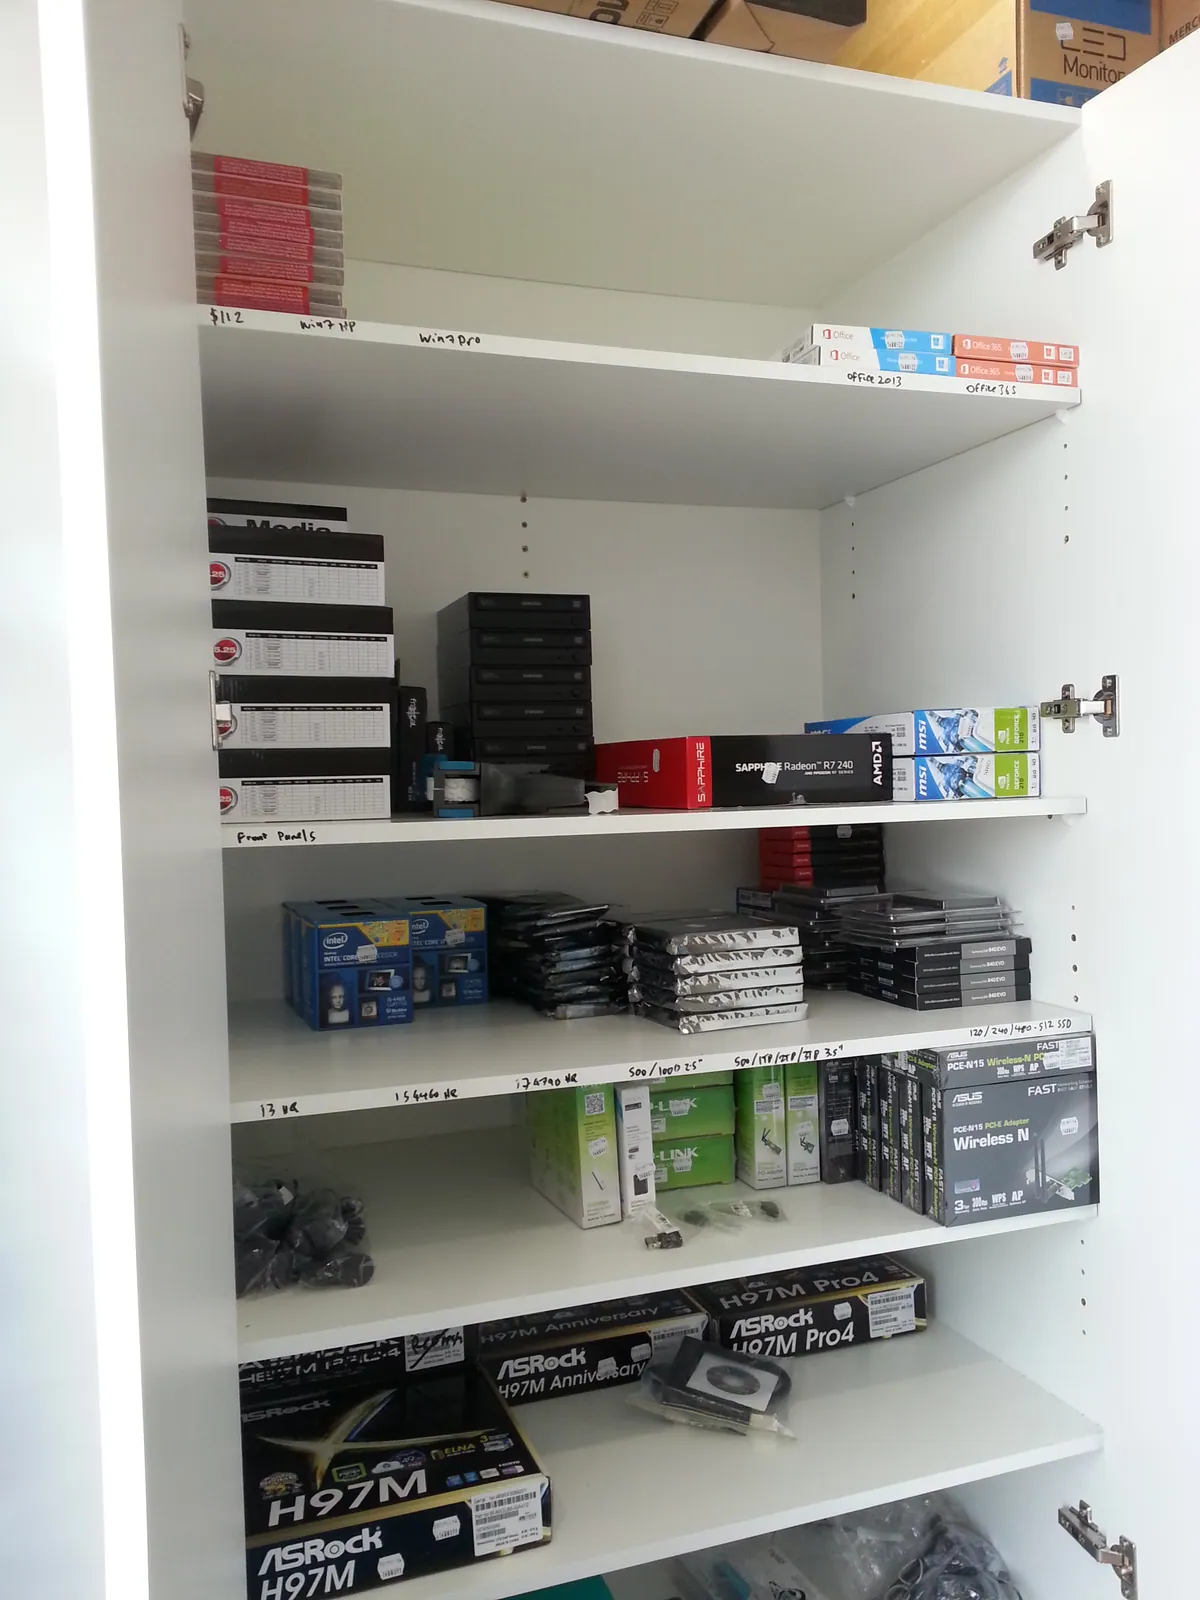
Computer parts organised on the cabinet shelves.
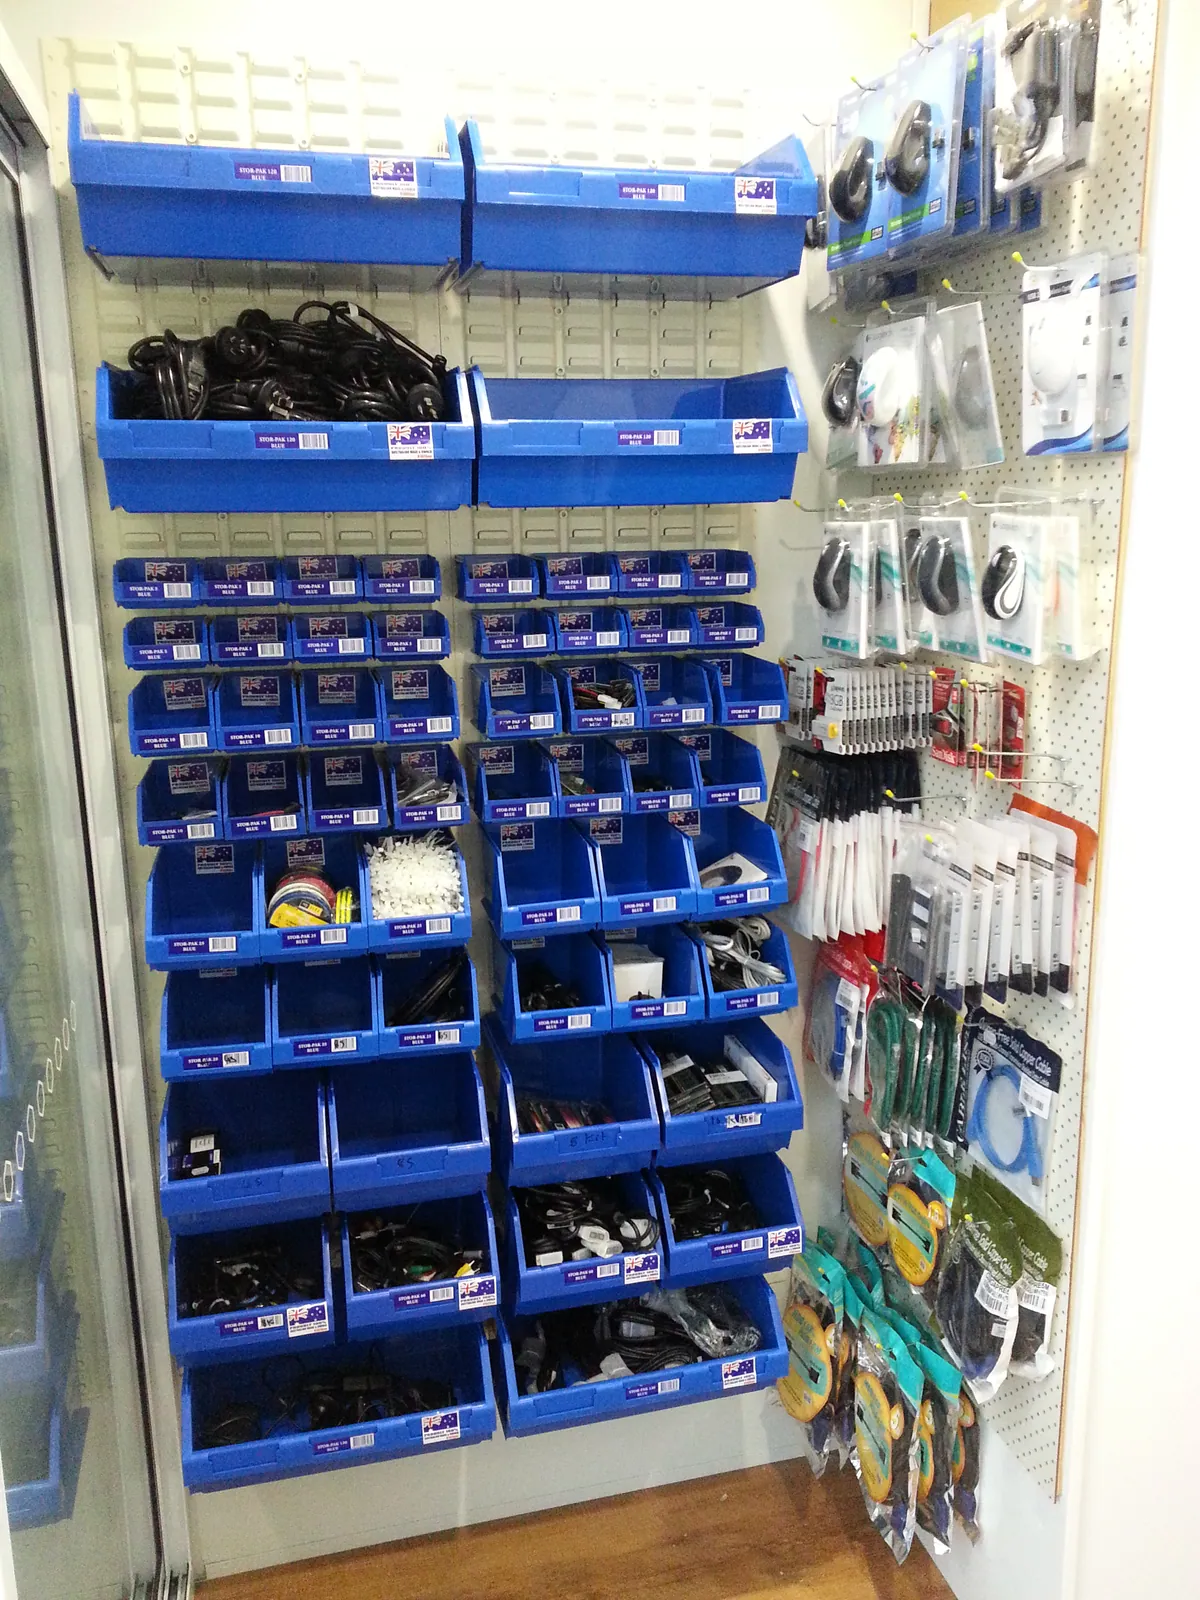
The parts bins and accessory display assembled together.
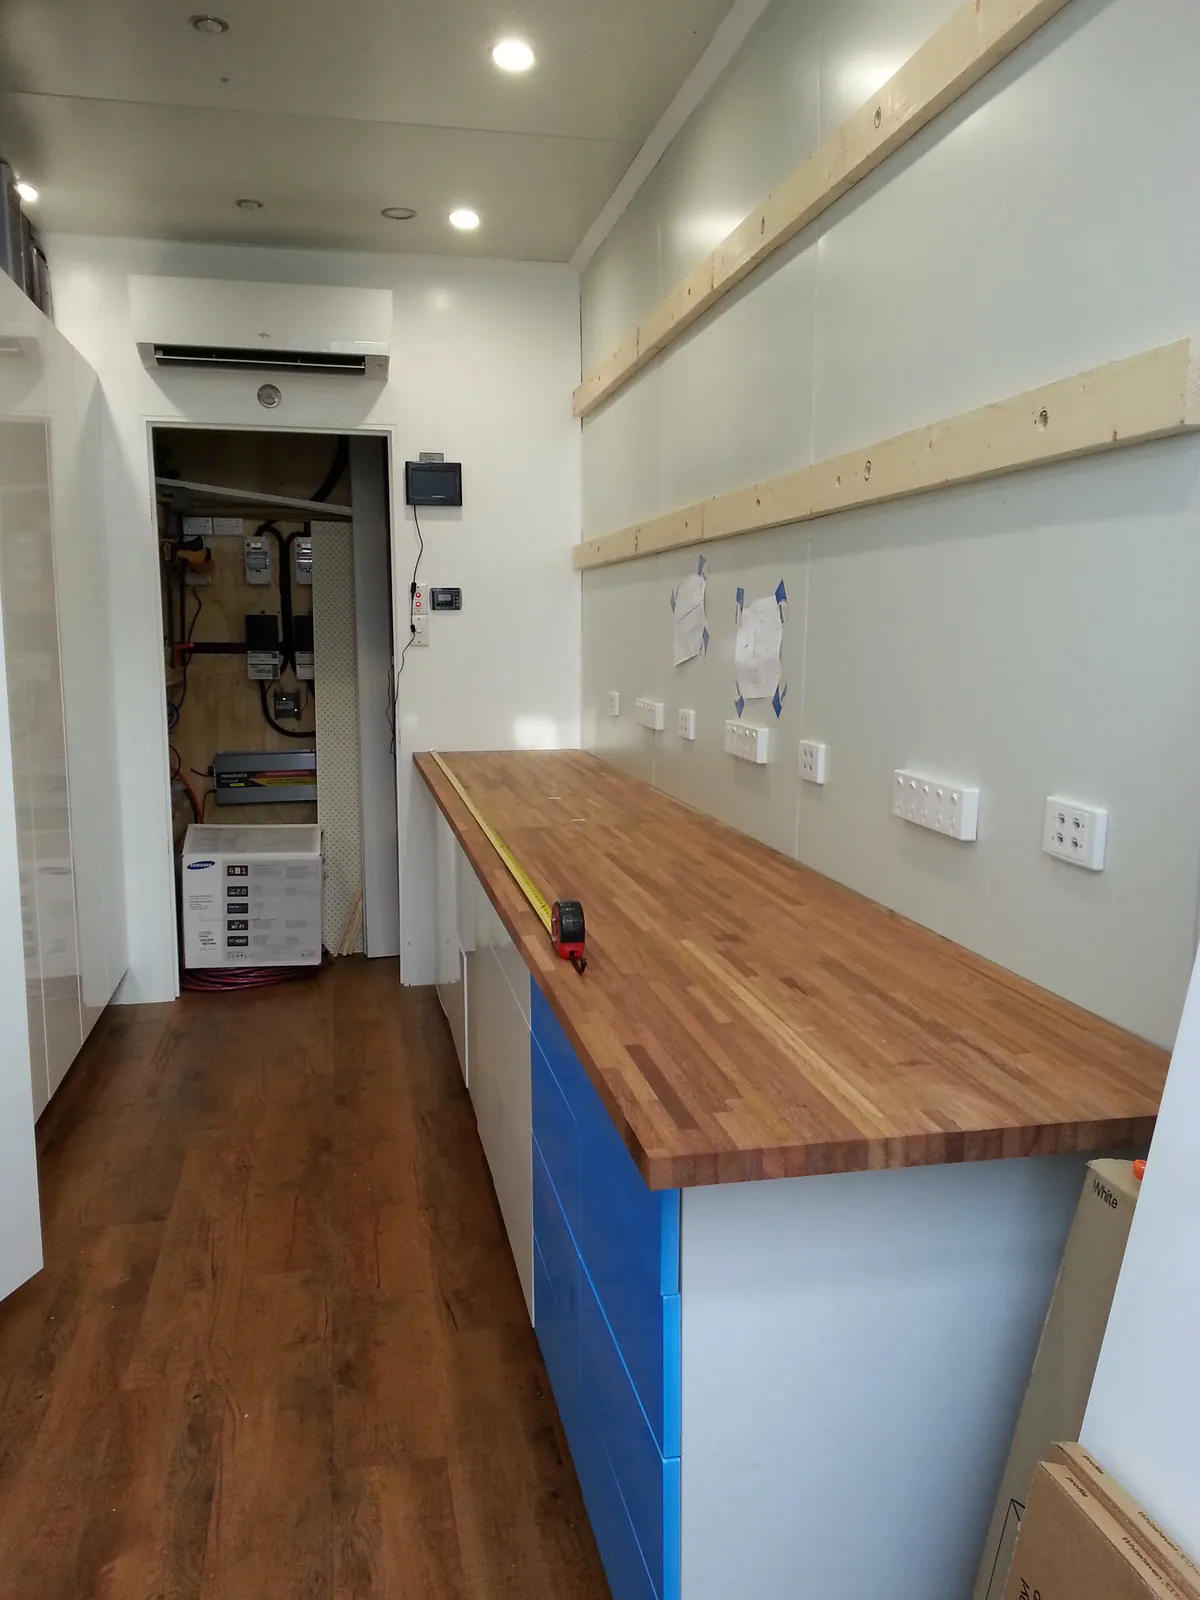
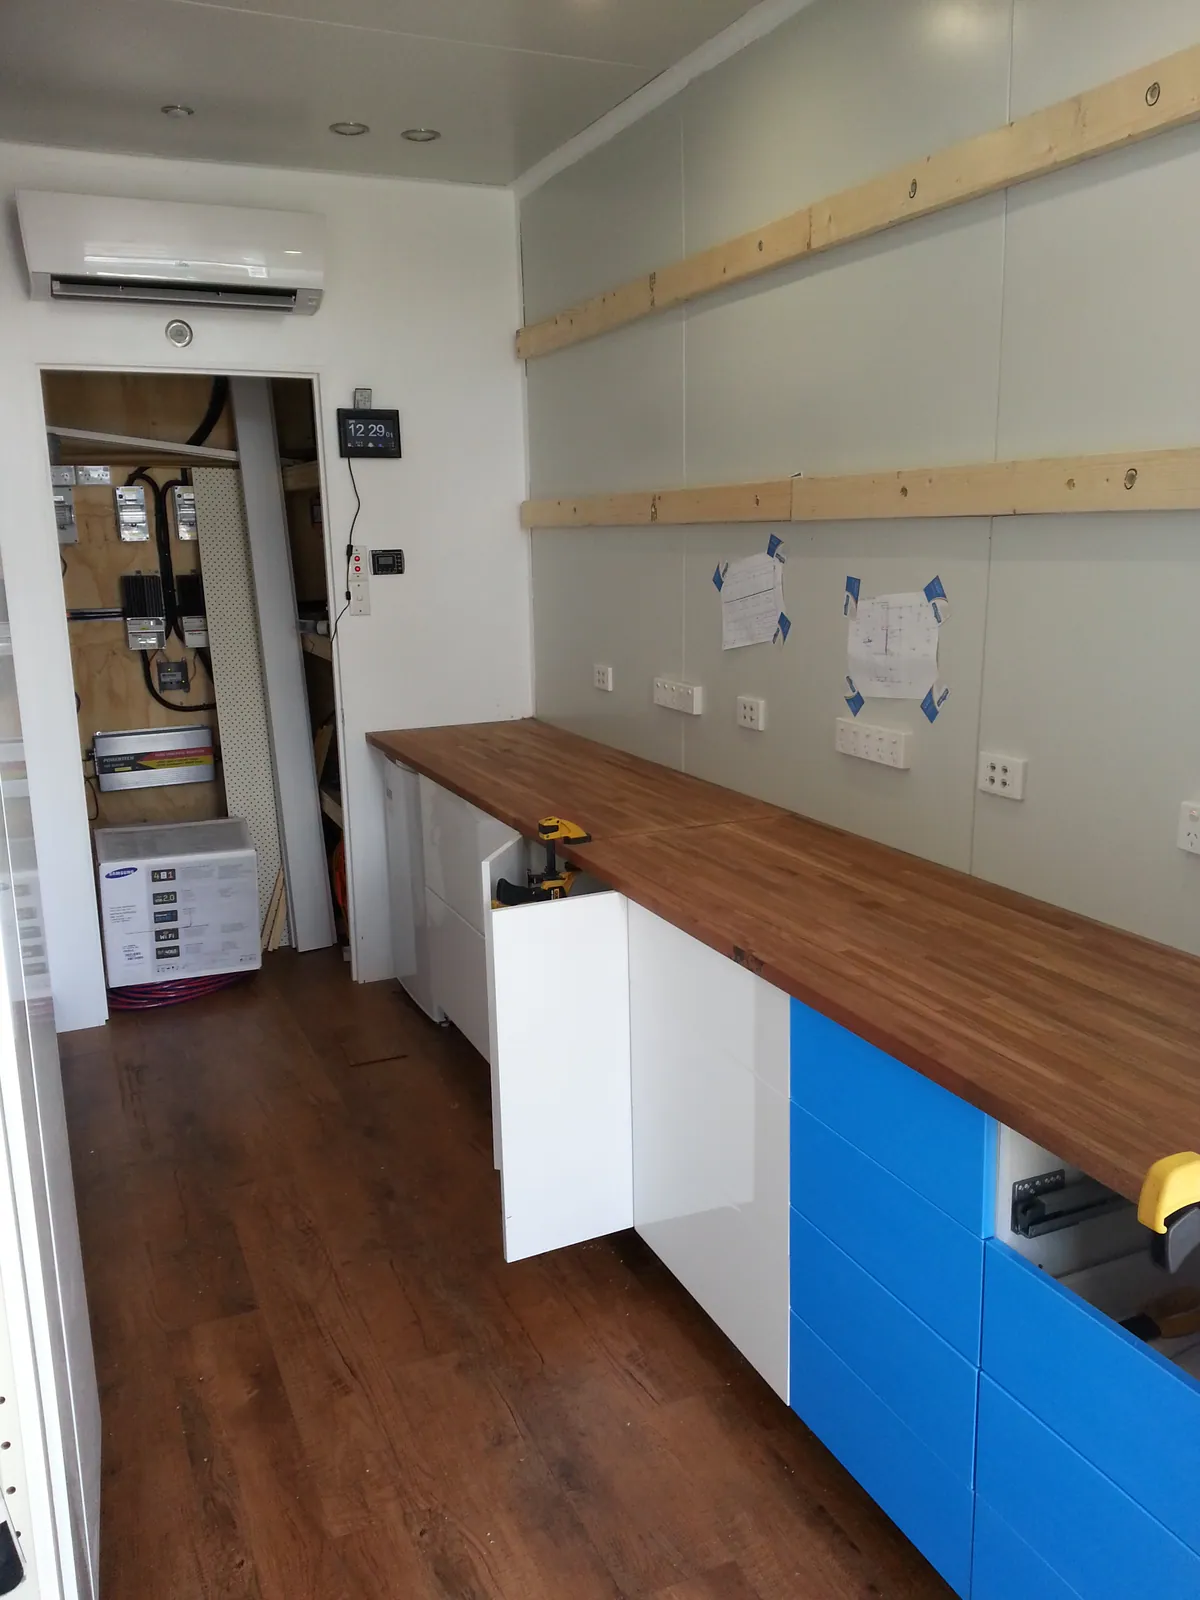
The timber benchtop fitted above the base cabinets.
The new workbench viewed in daylight.
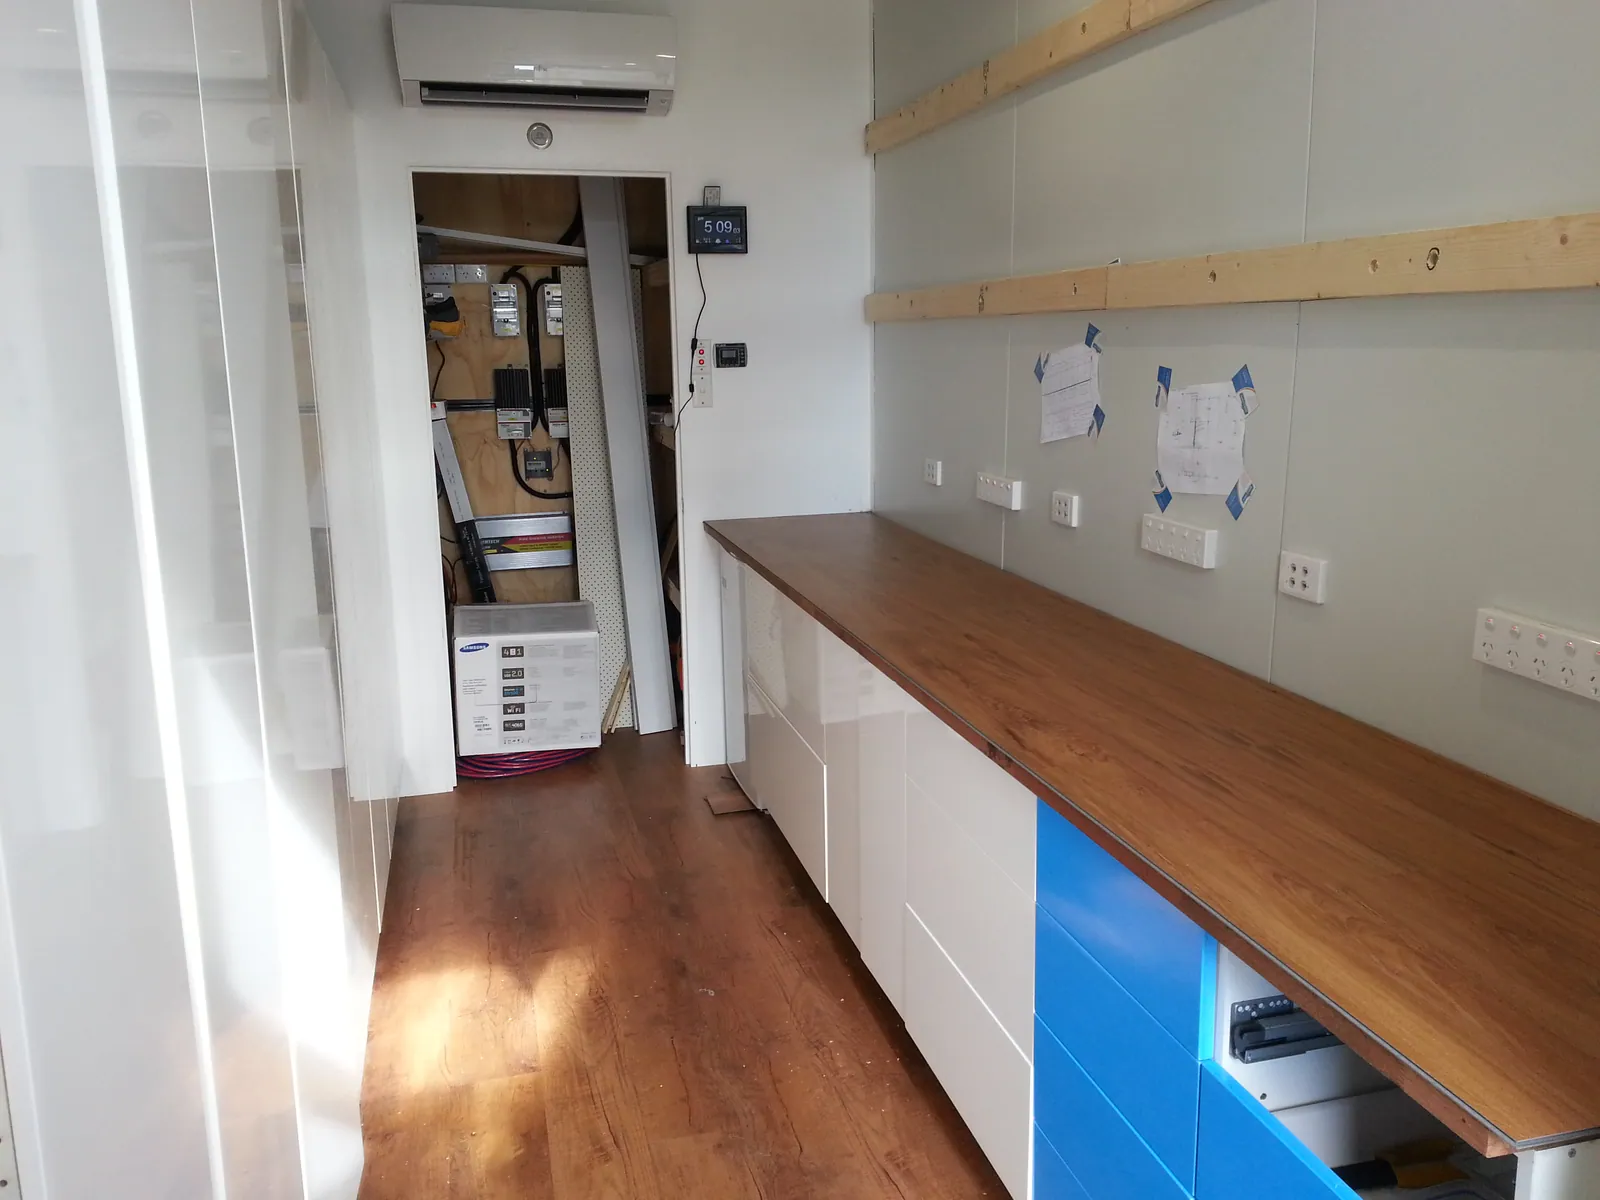
The long bench with parts storage at the entrance.
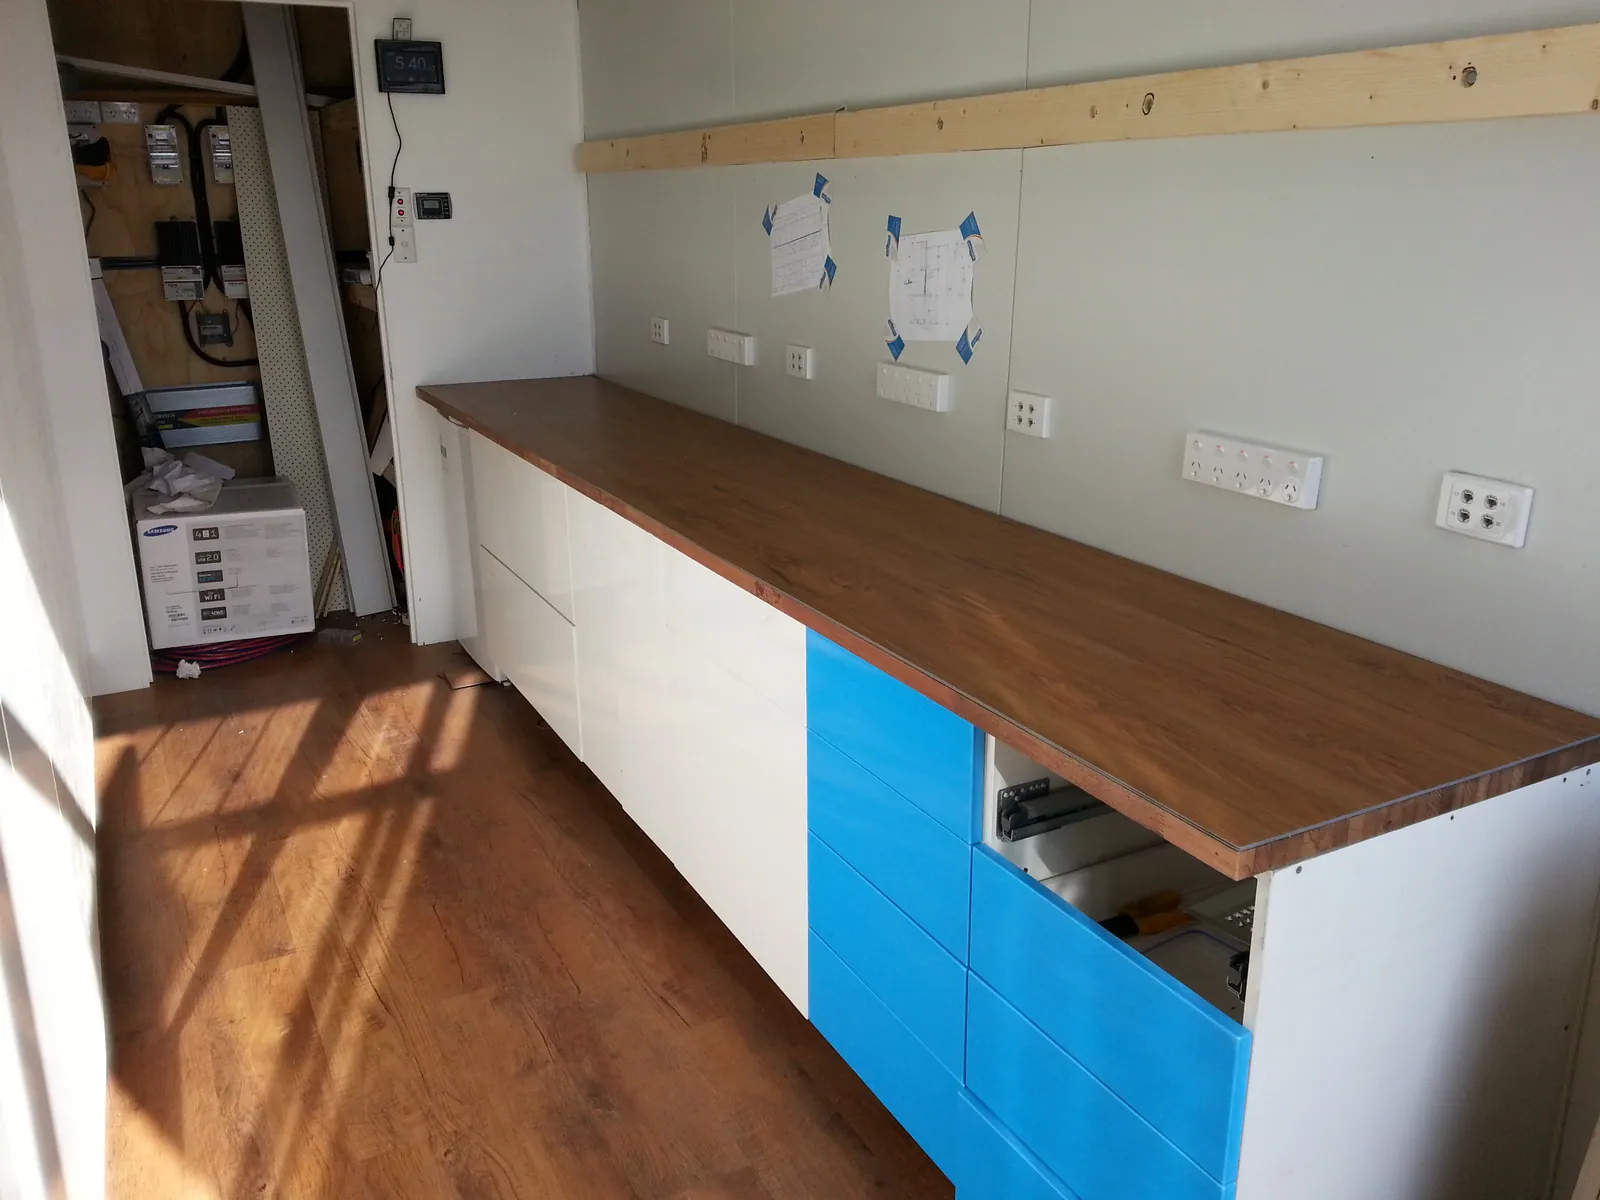
A closer view of the fitted timber benchtop and drawers.
12Upper cupboards and final cabinet fronts
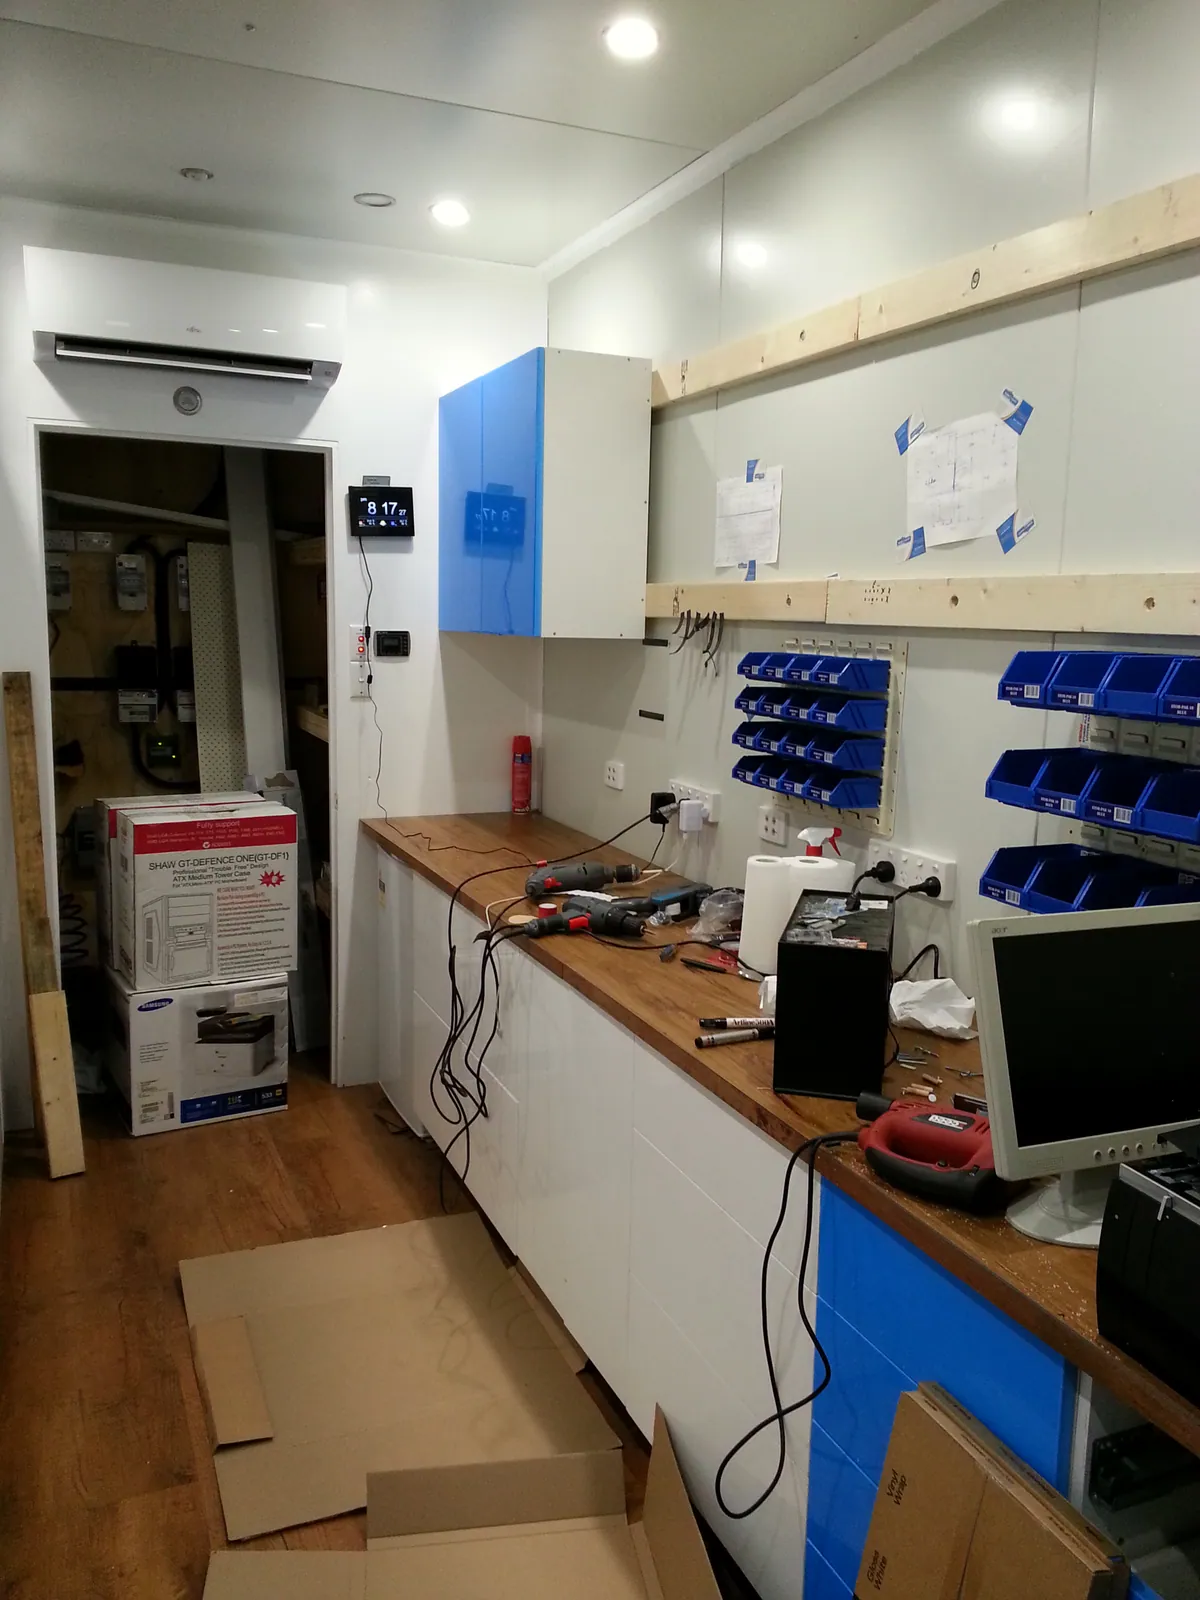
The first upper cabinets installed above the repair bench.
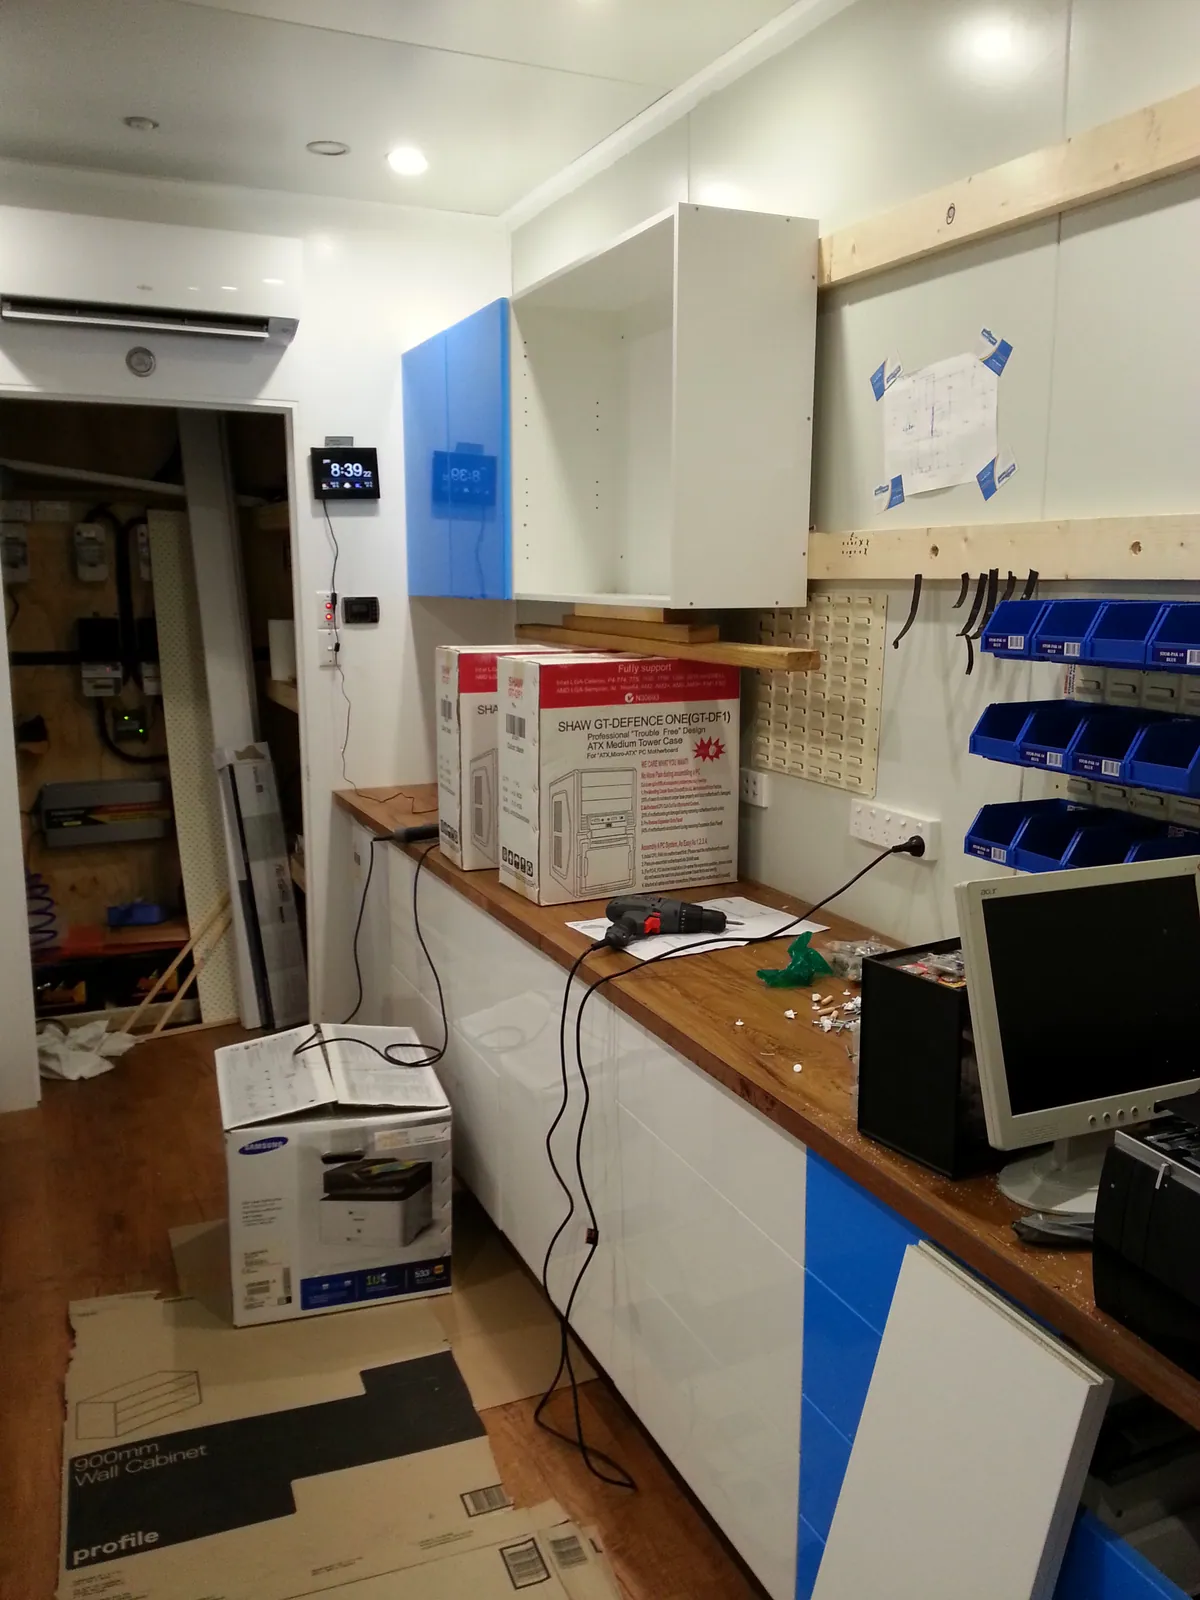
Further upper cabinets added along the wall.
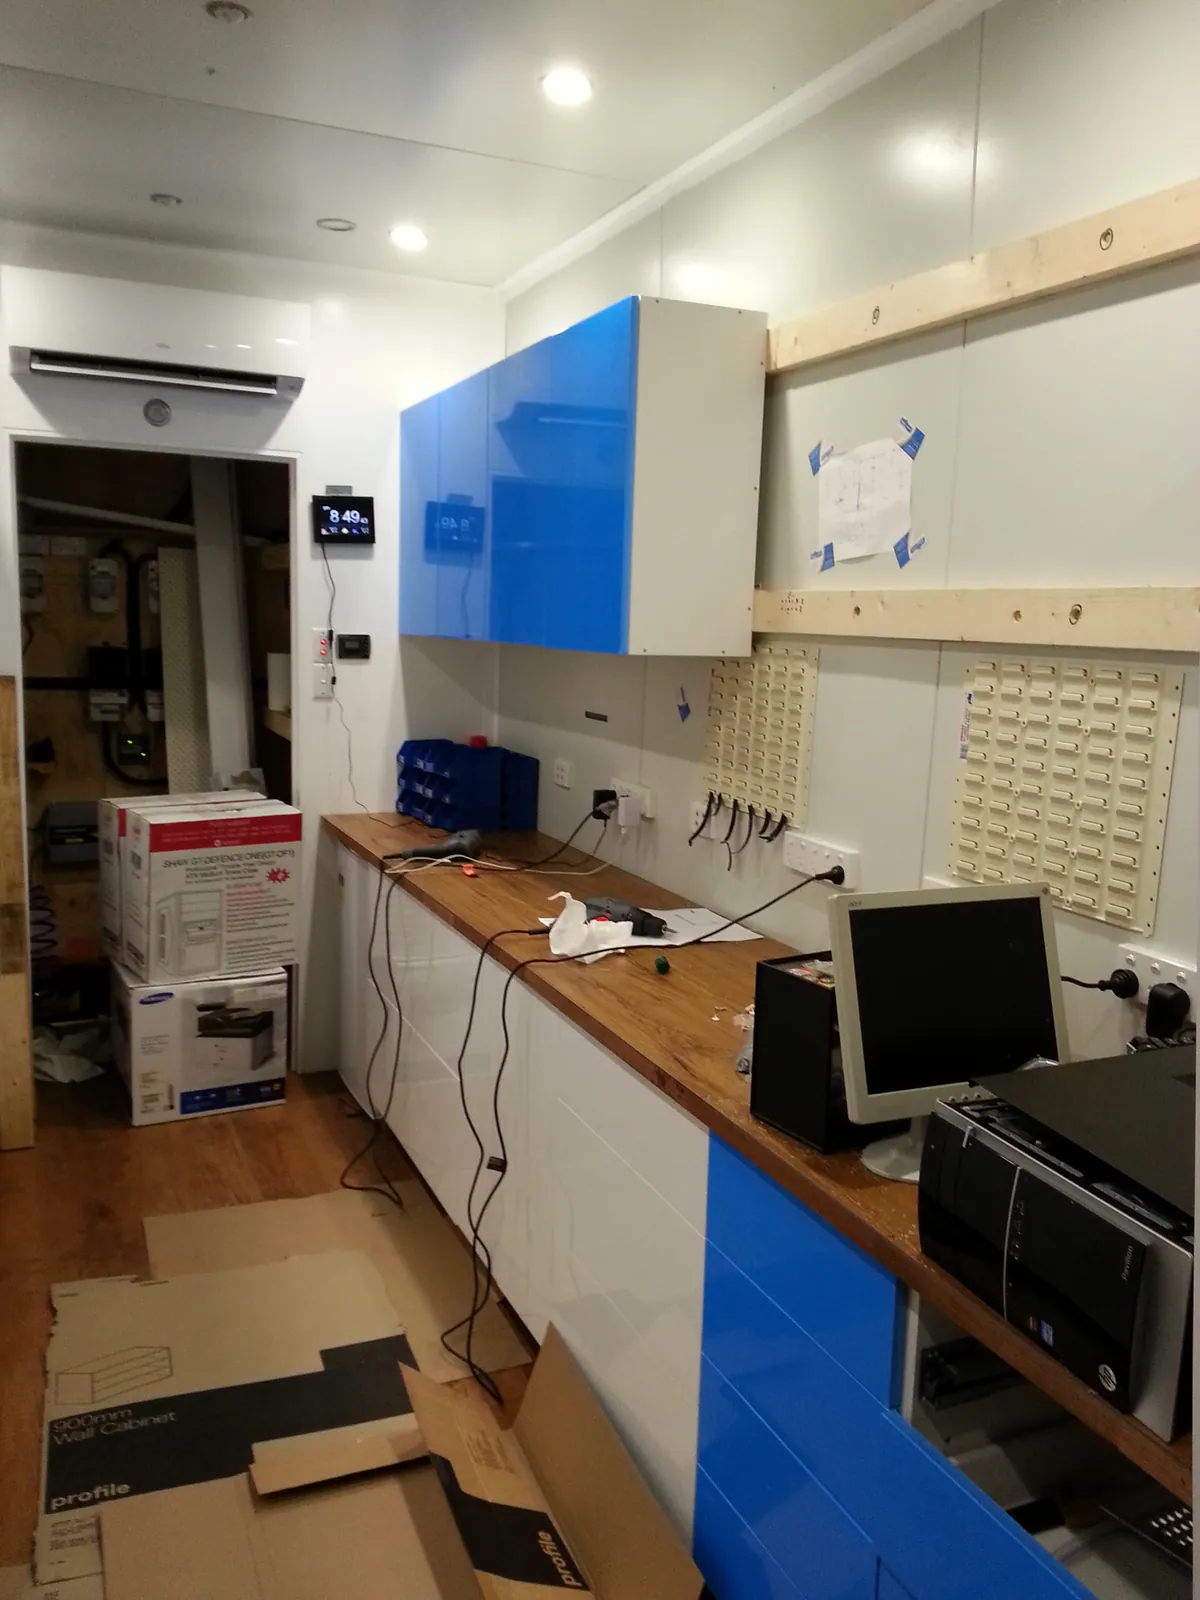
The upper cabinet installation advancing over the bench.
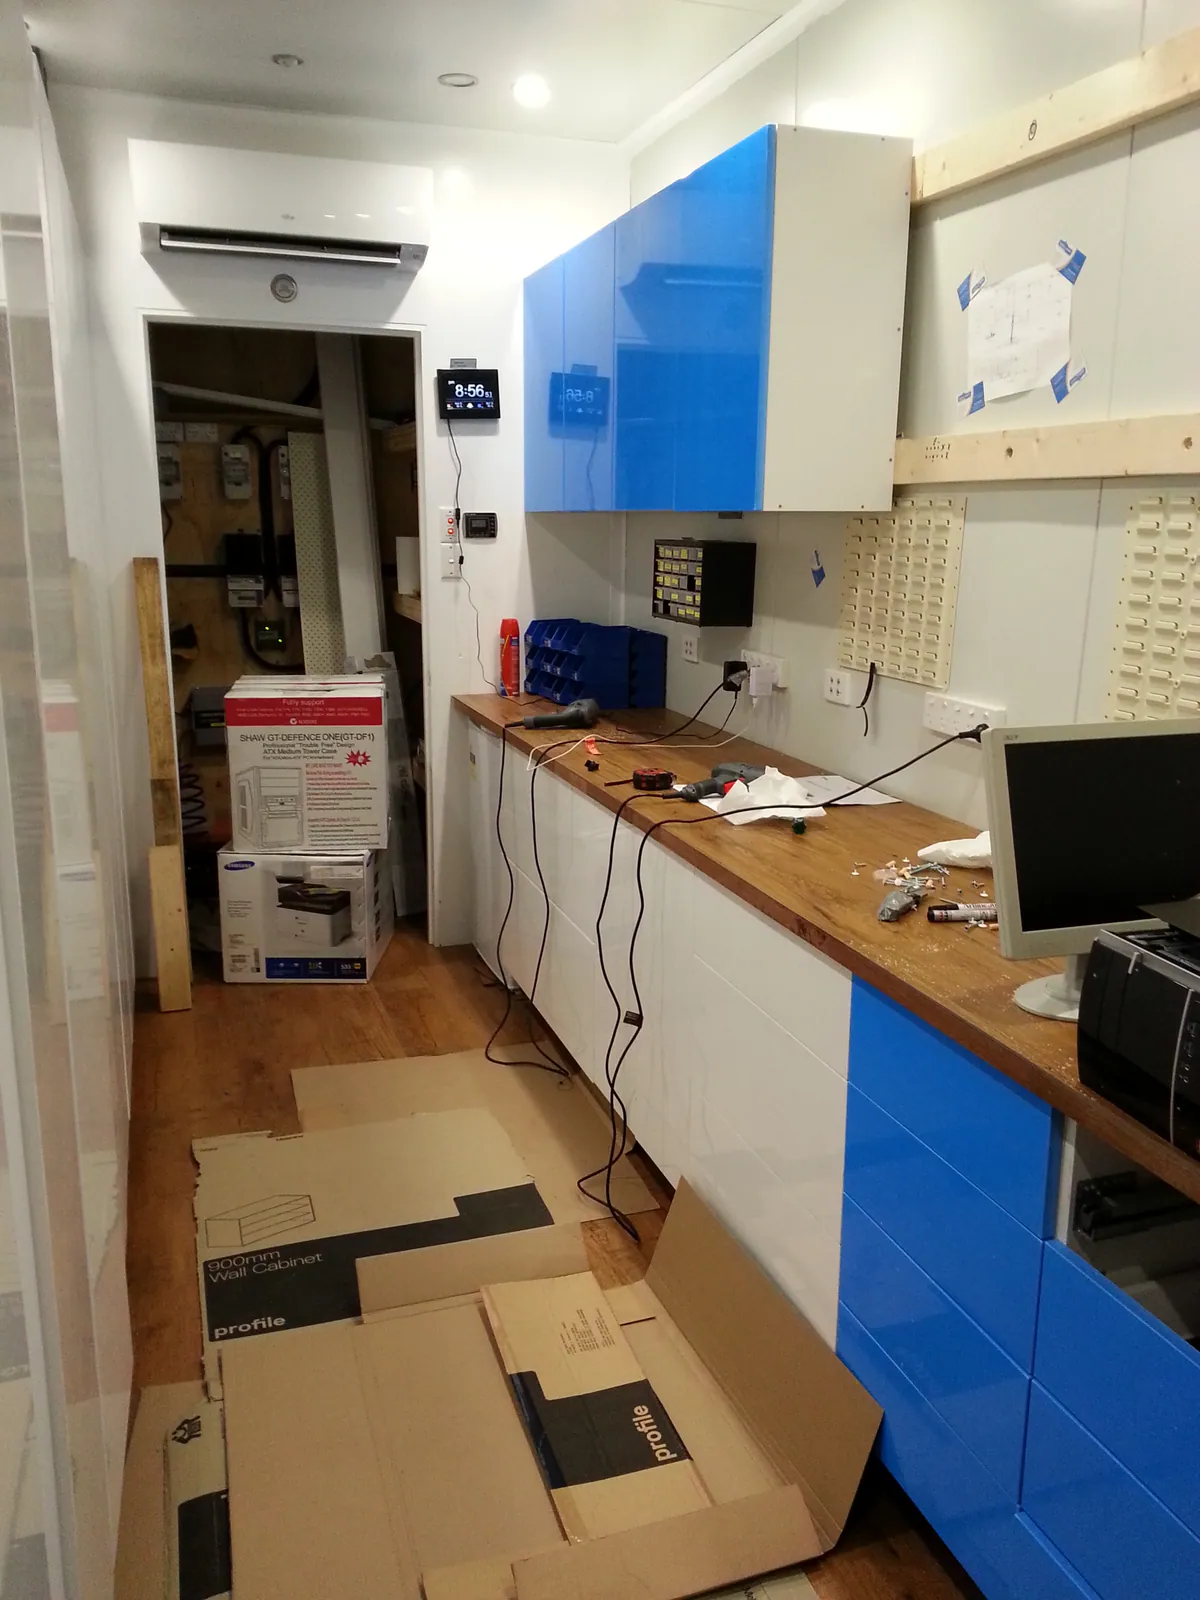
Drawers and cupboard fittings being completed.
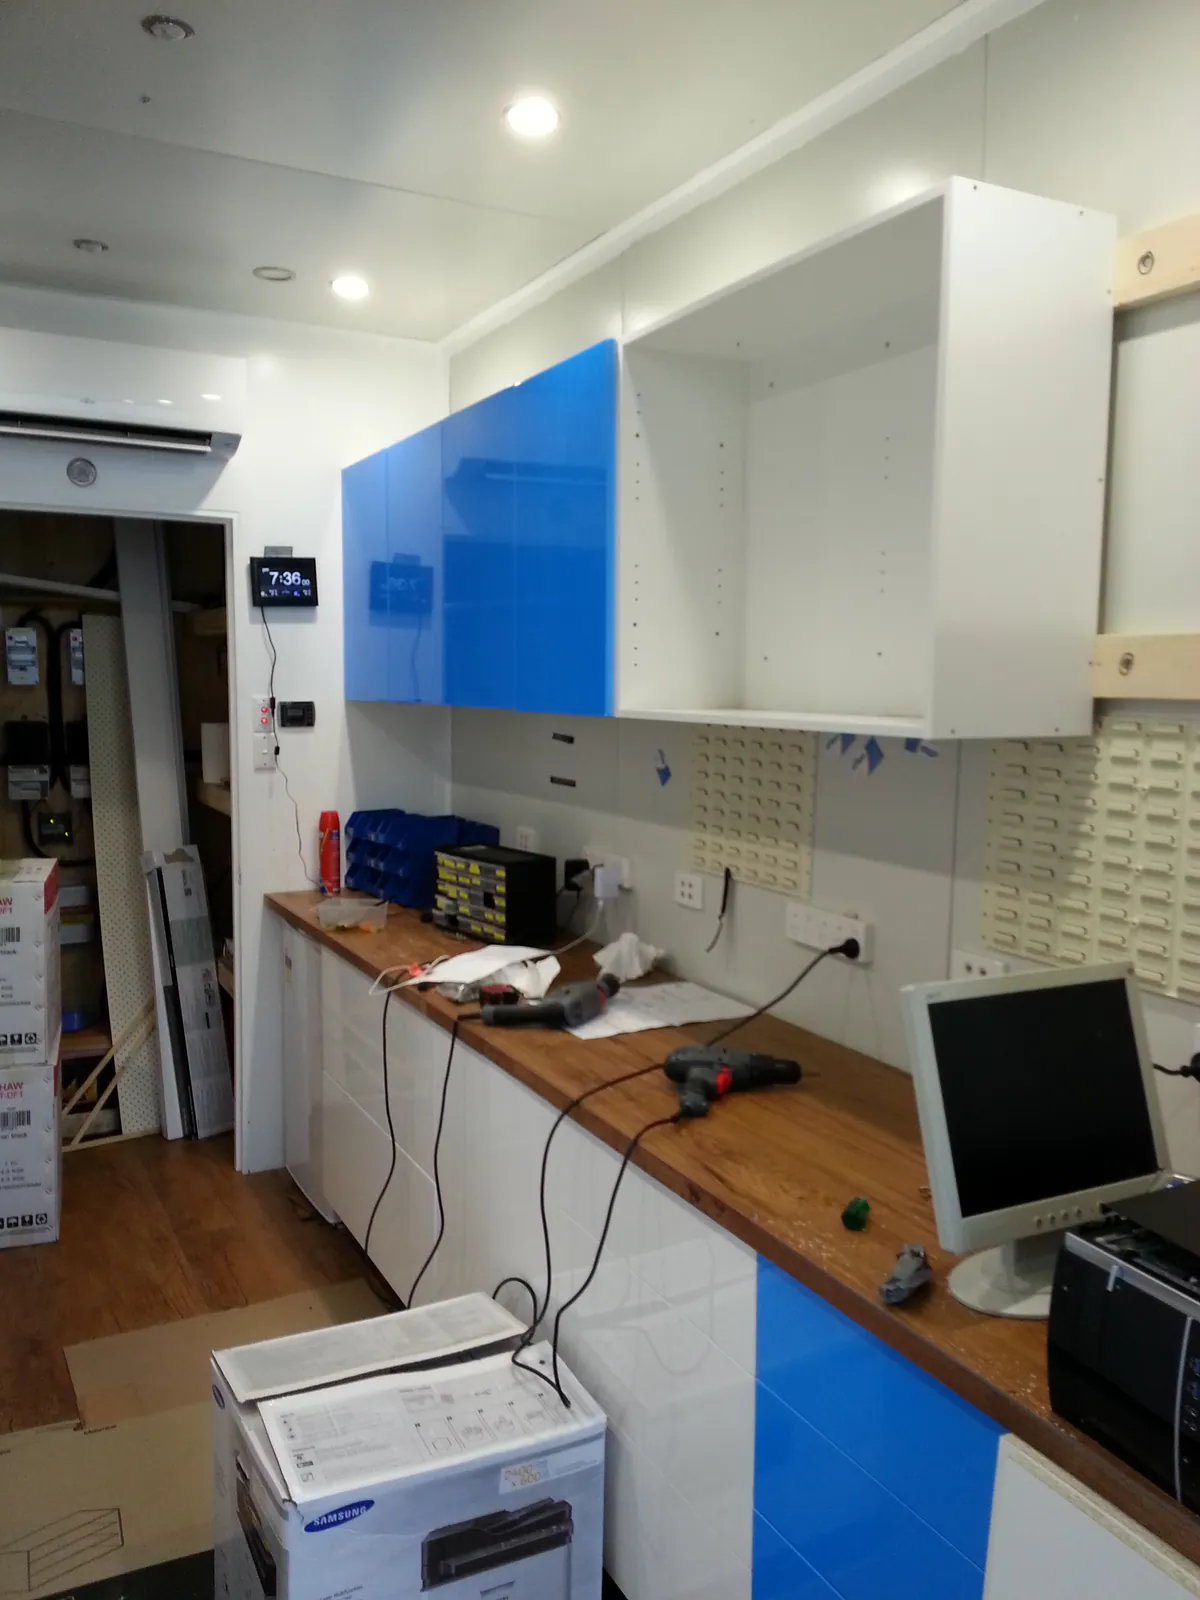
Upper cupboards installed with protective film still on the fronts.
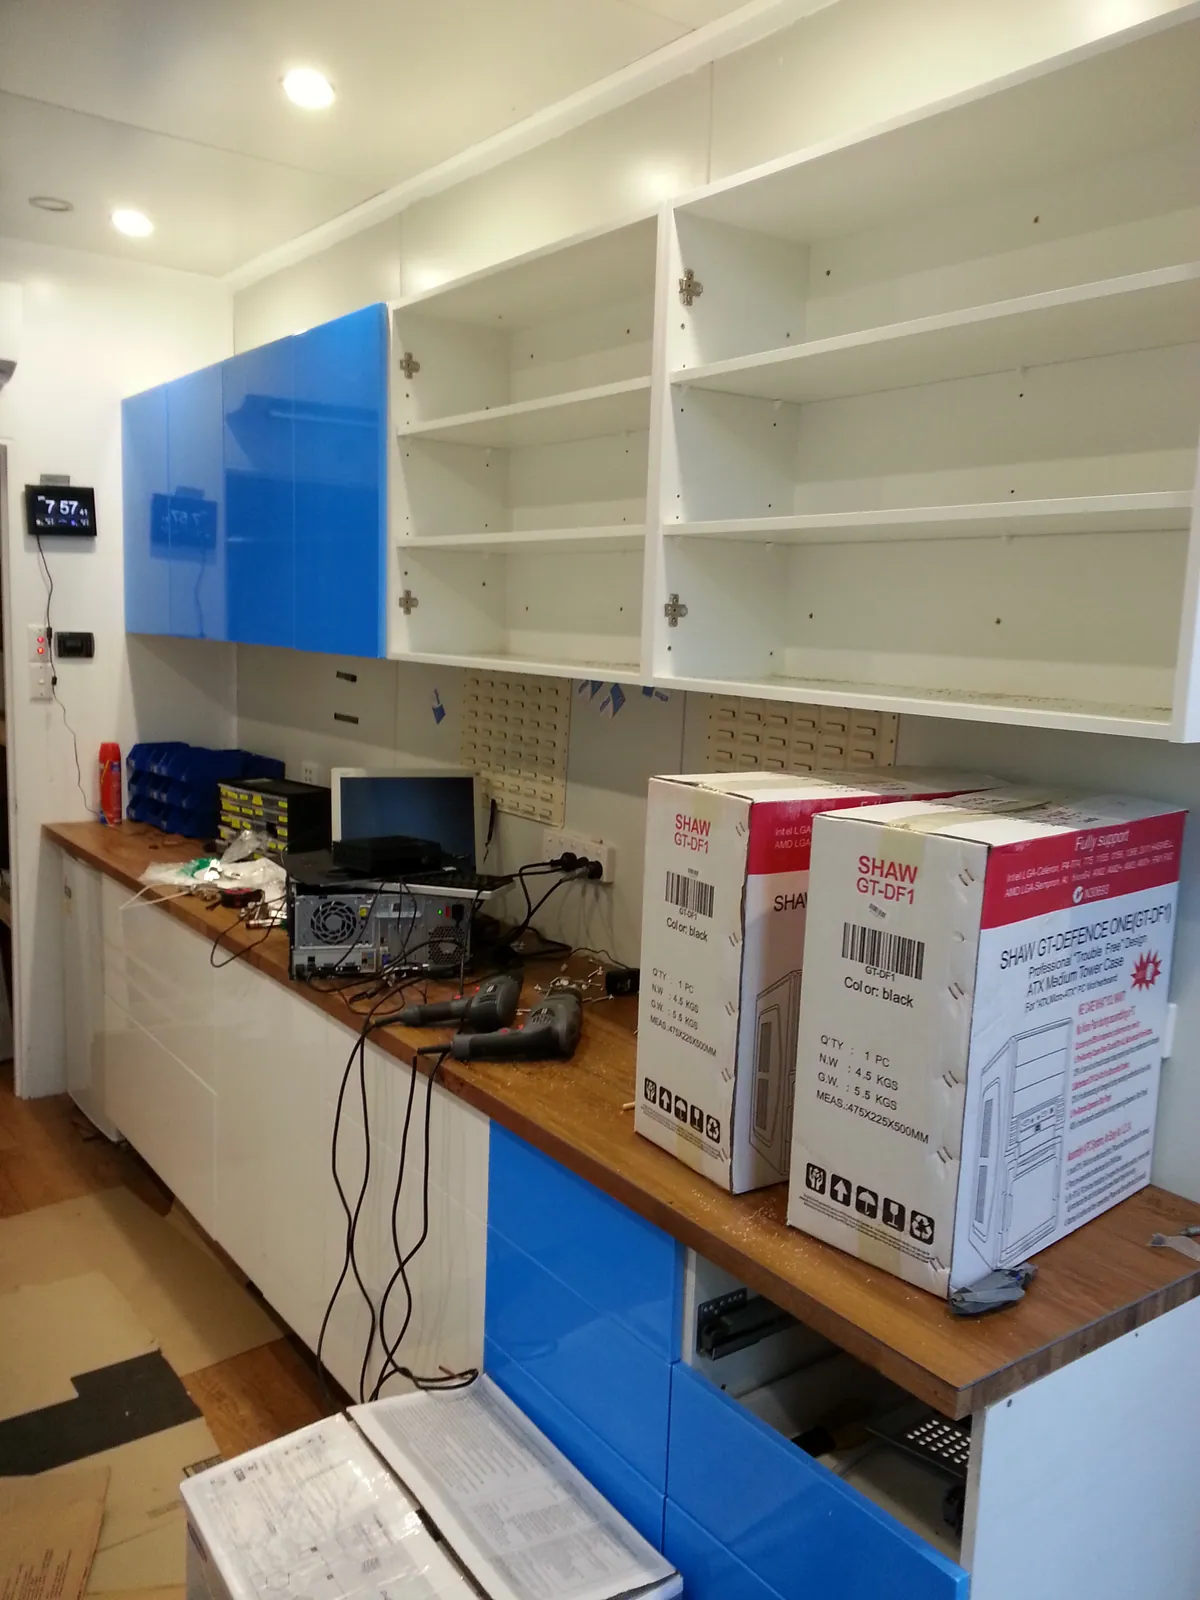
The upper shelving and cupboard interiors before all doors are fitted.
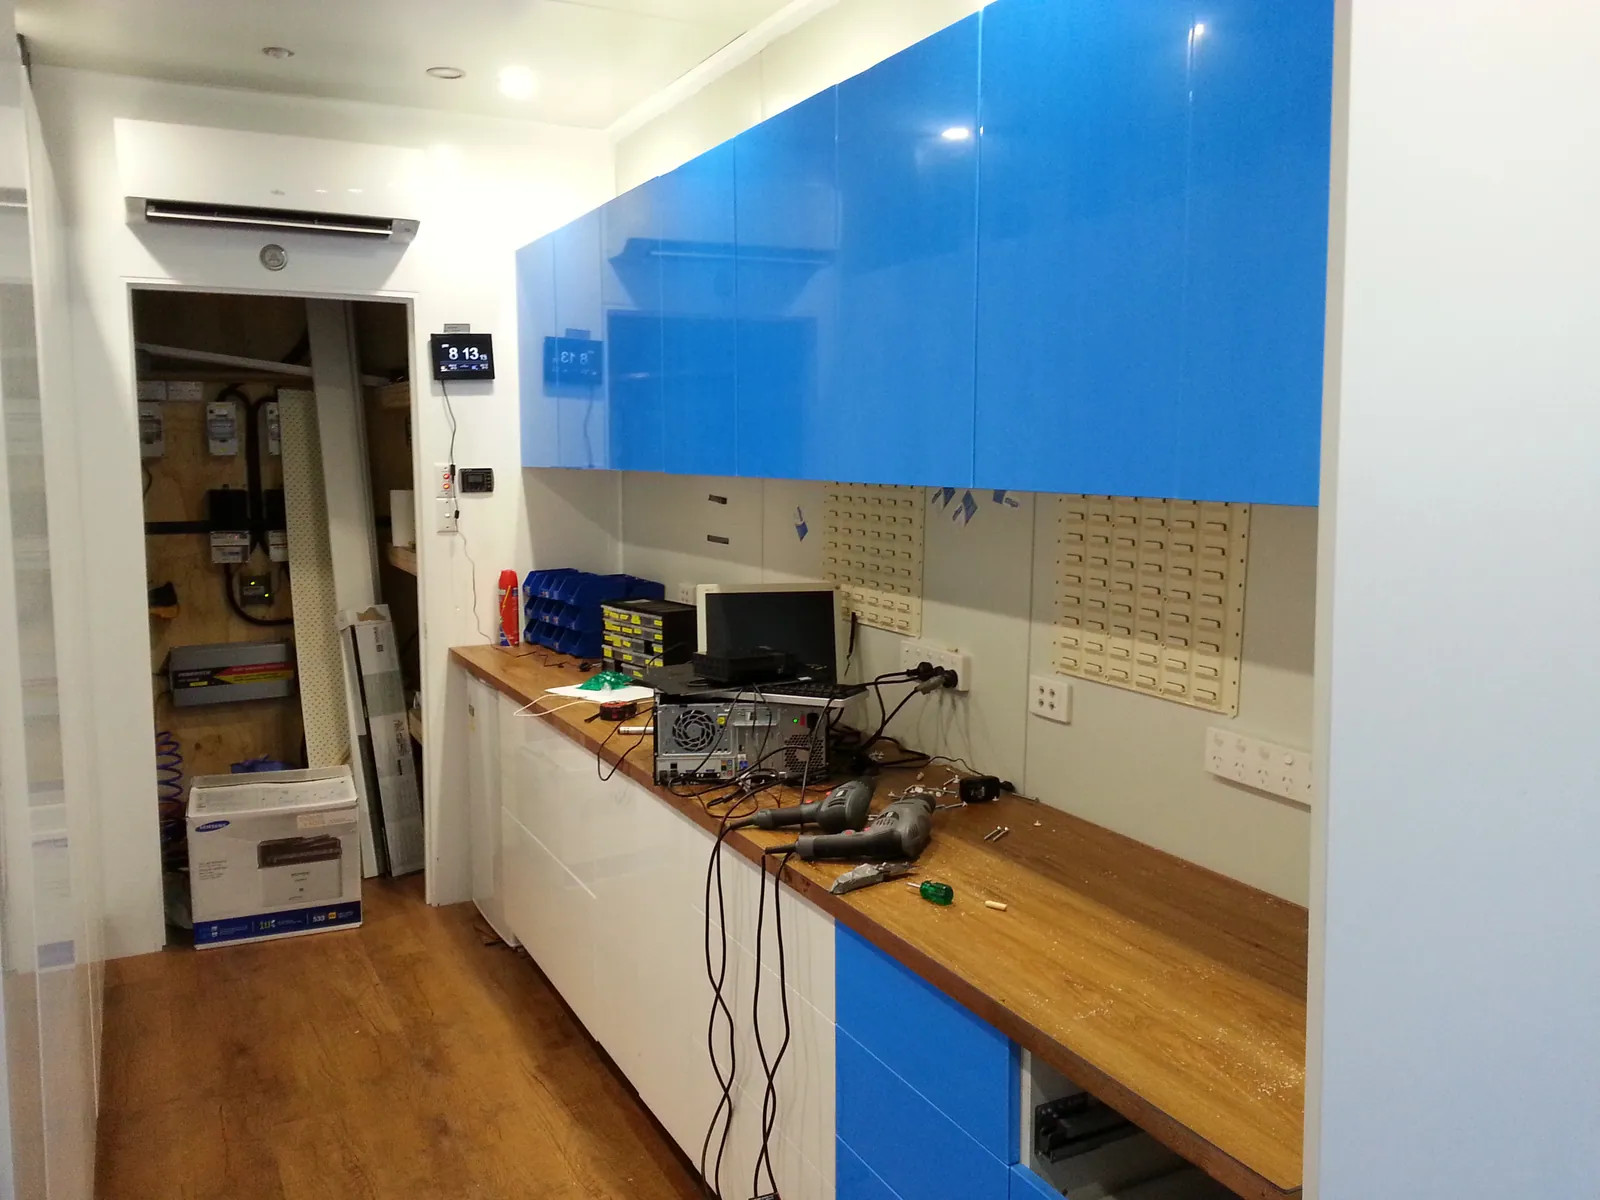
The upper cupboard fronts fitted along the repair bench.
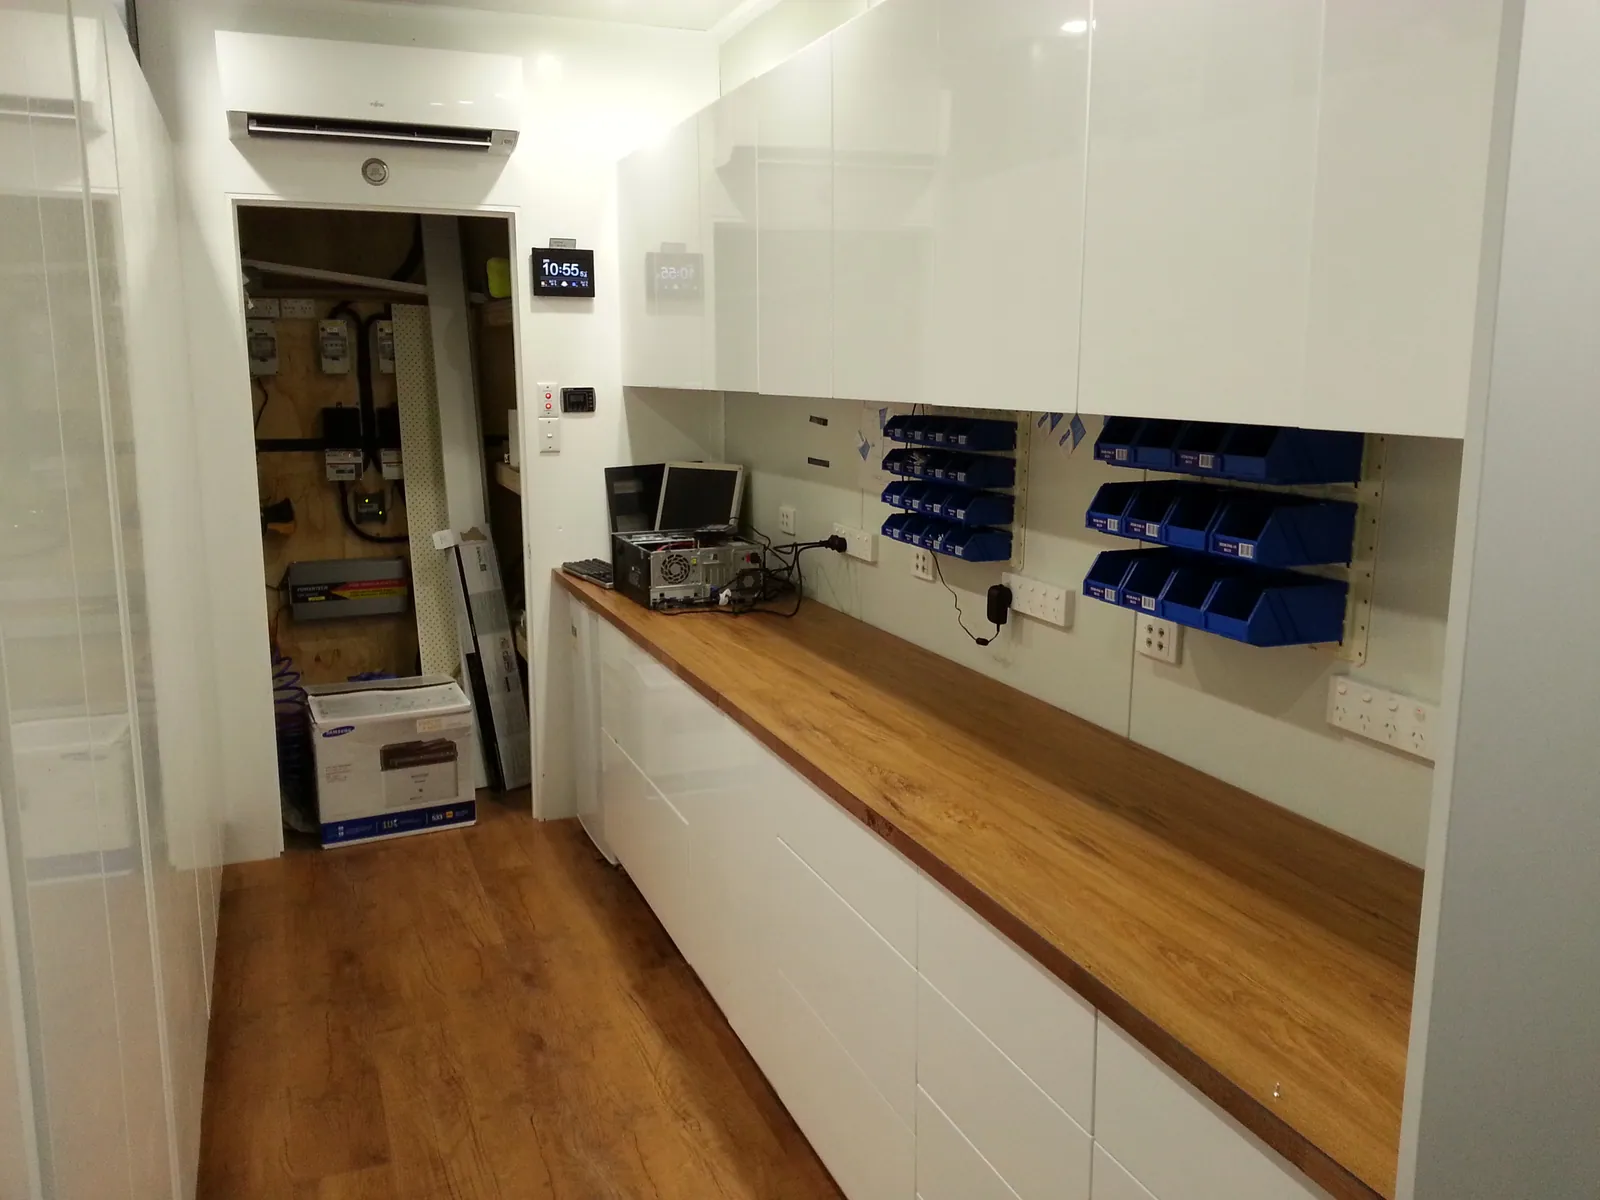
Protective film removed to reveal the finished white cupboards.
13Equipped workshop and final battery installation
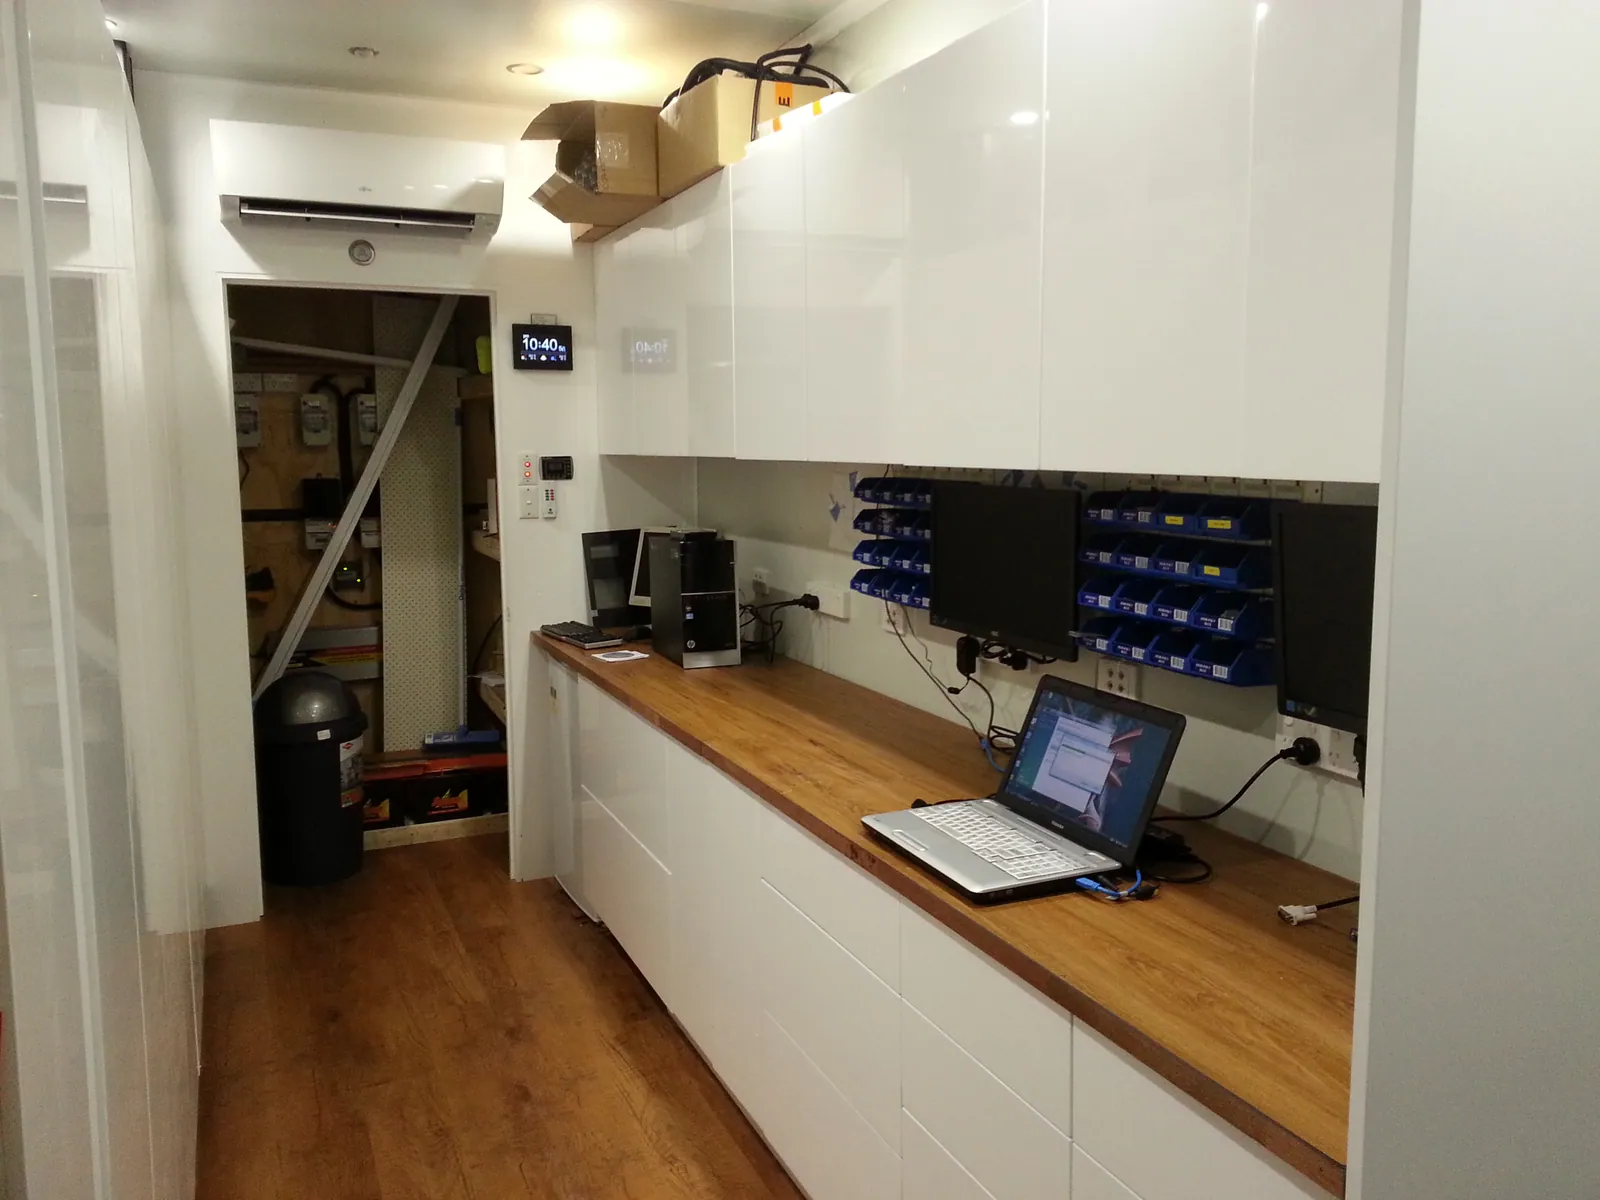
The fitted workshop with a computer on the new repair bench.
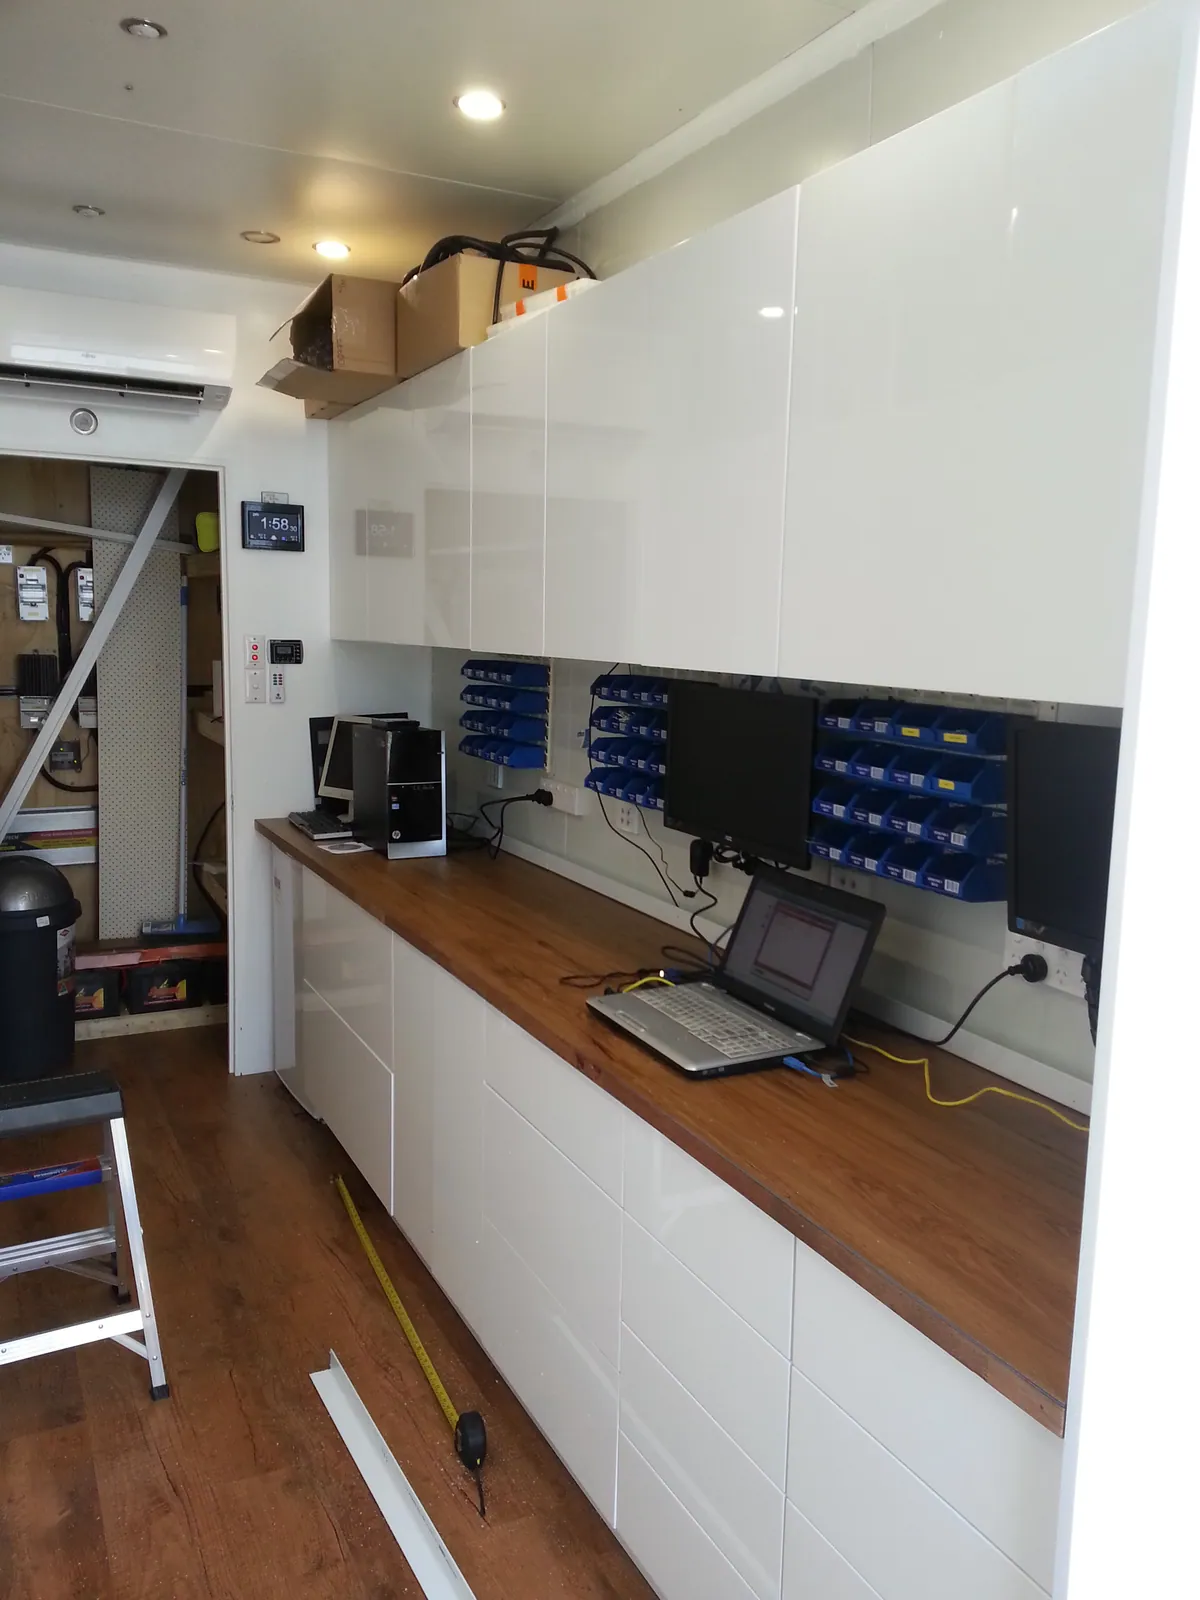
The completed cabinetry and repair bench photographed the next day.
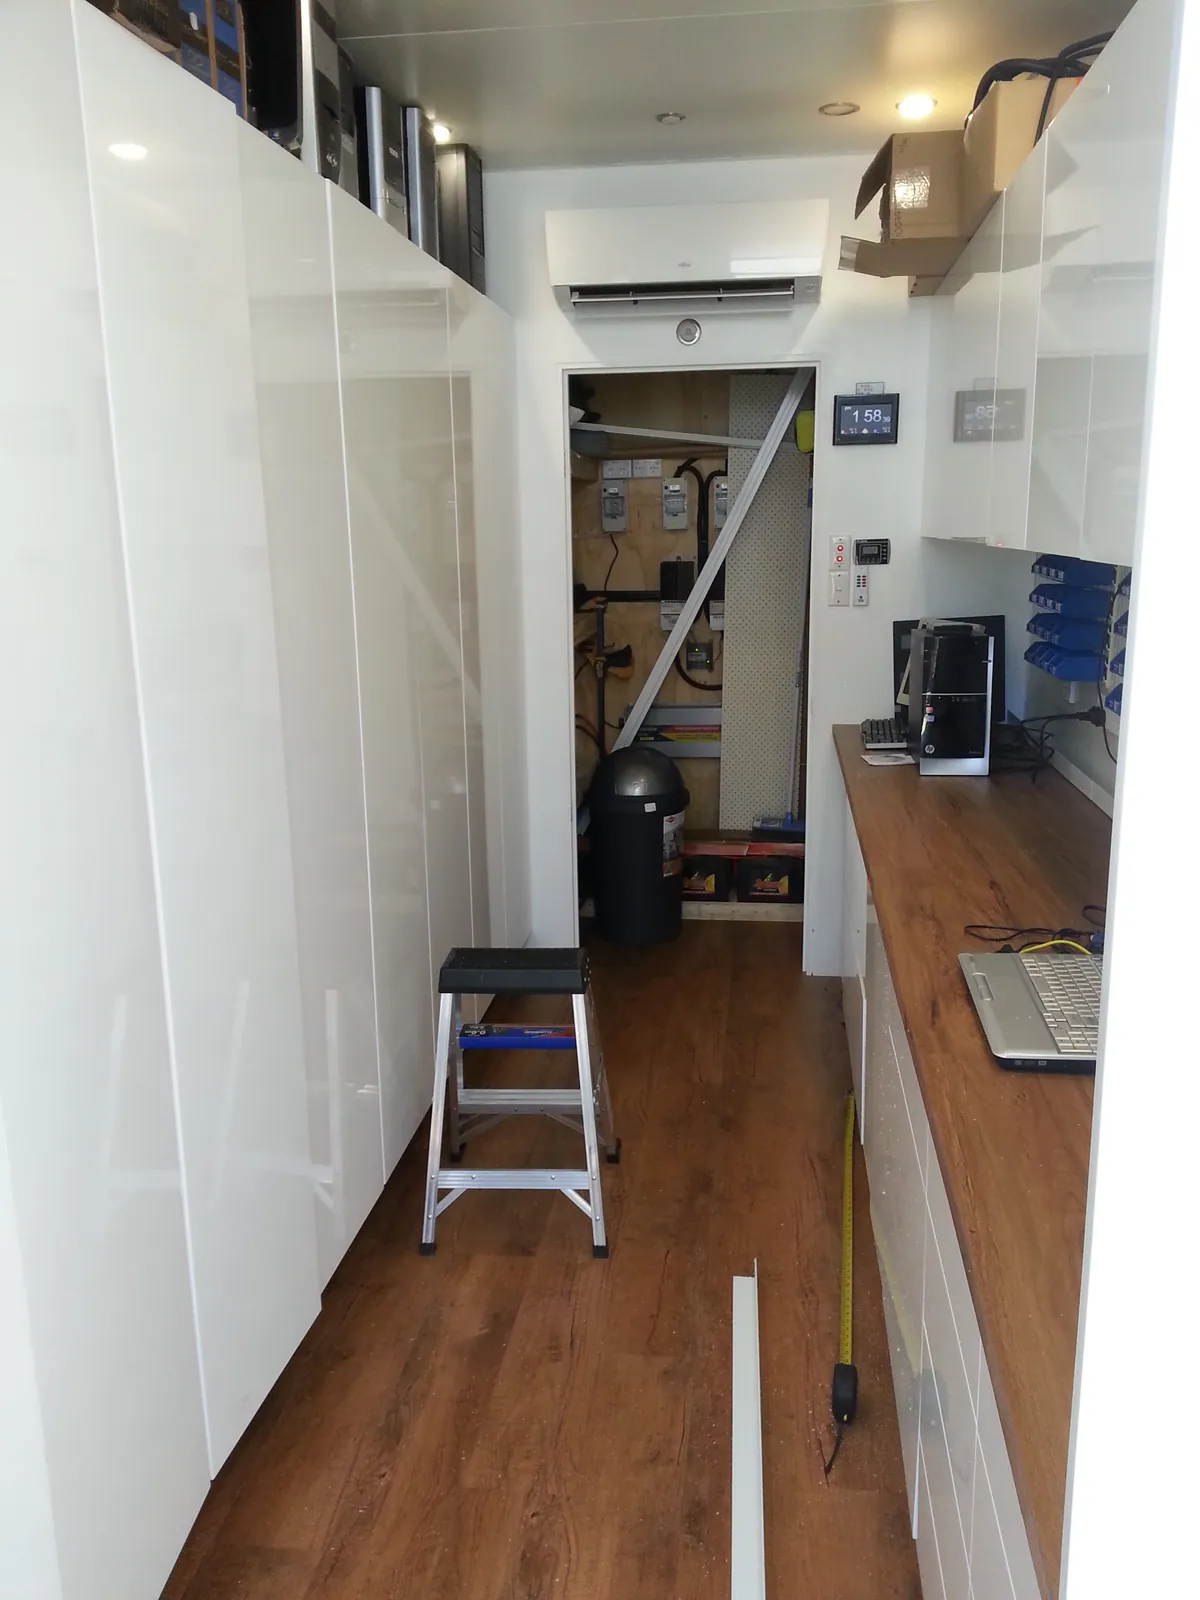
The clear aisle between storage cupboards and the repair bench.
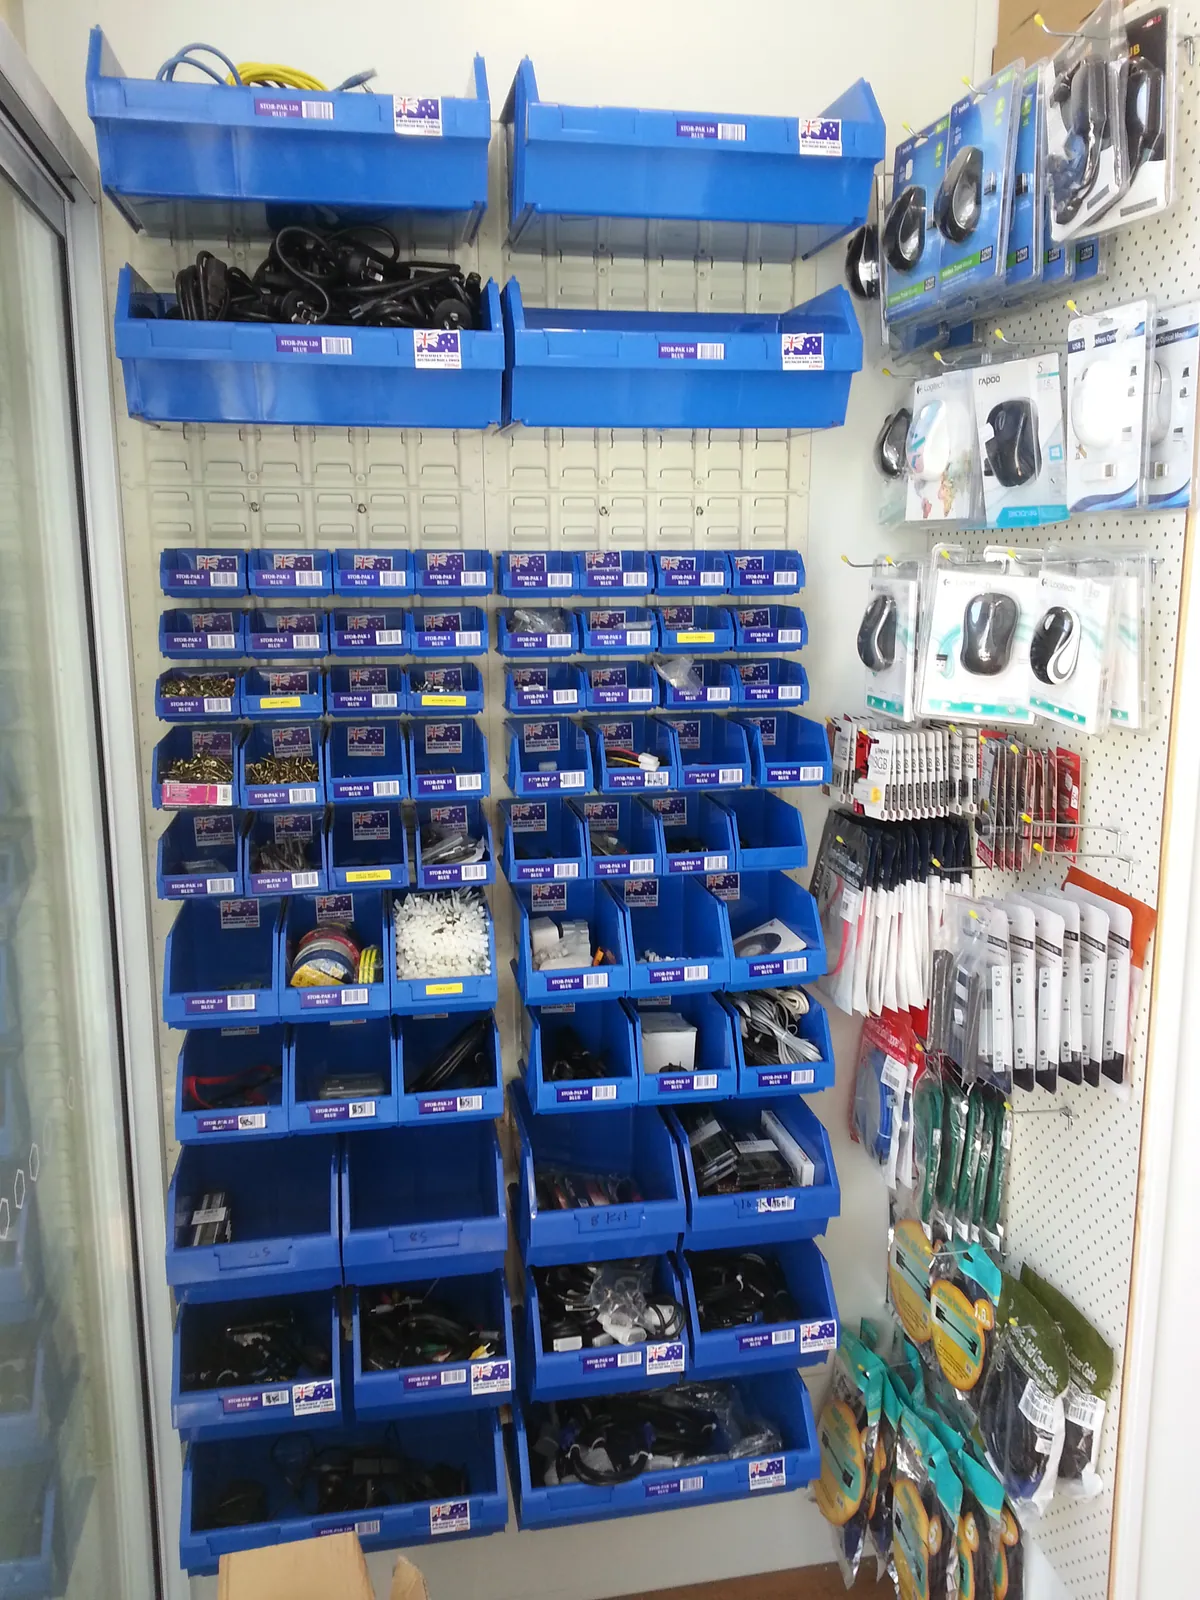
The small-parts bins and accessory display at the entrance.
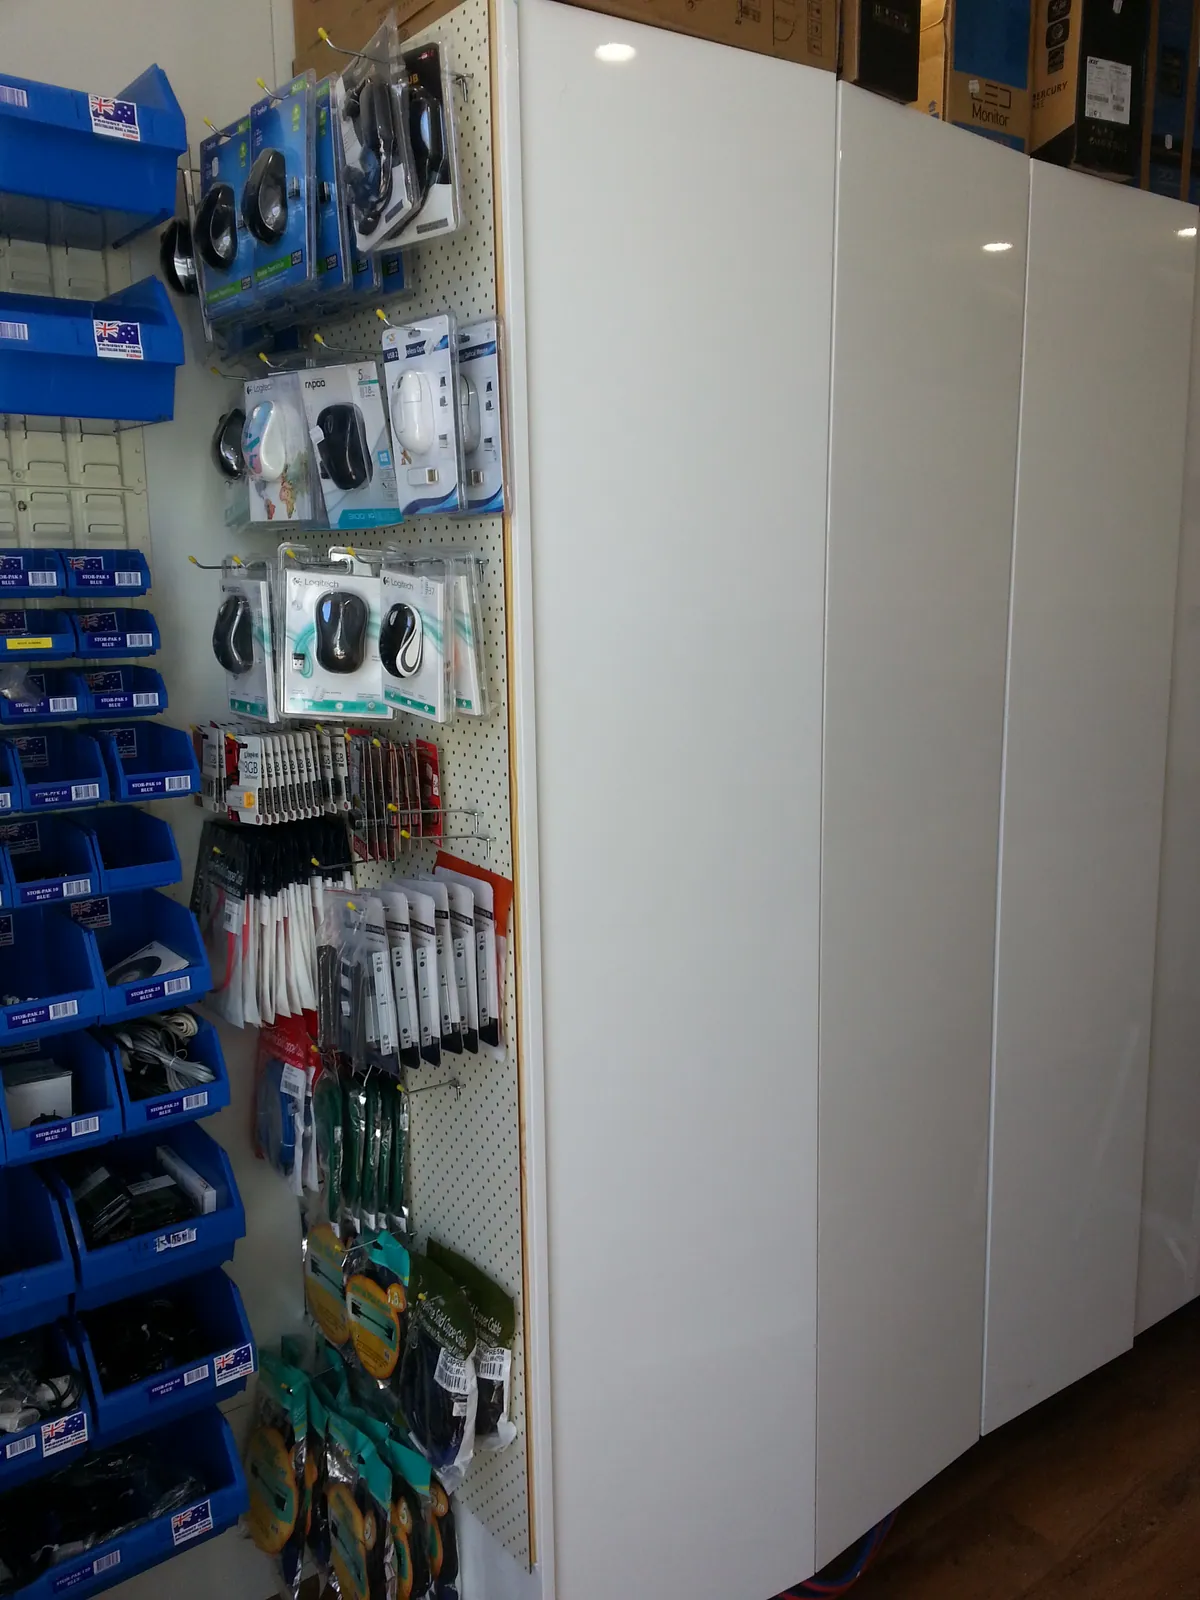
The entrance storage area and cupboards from another angle.
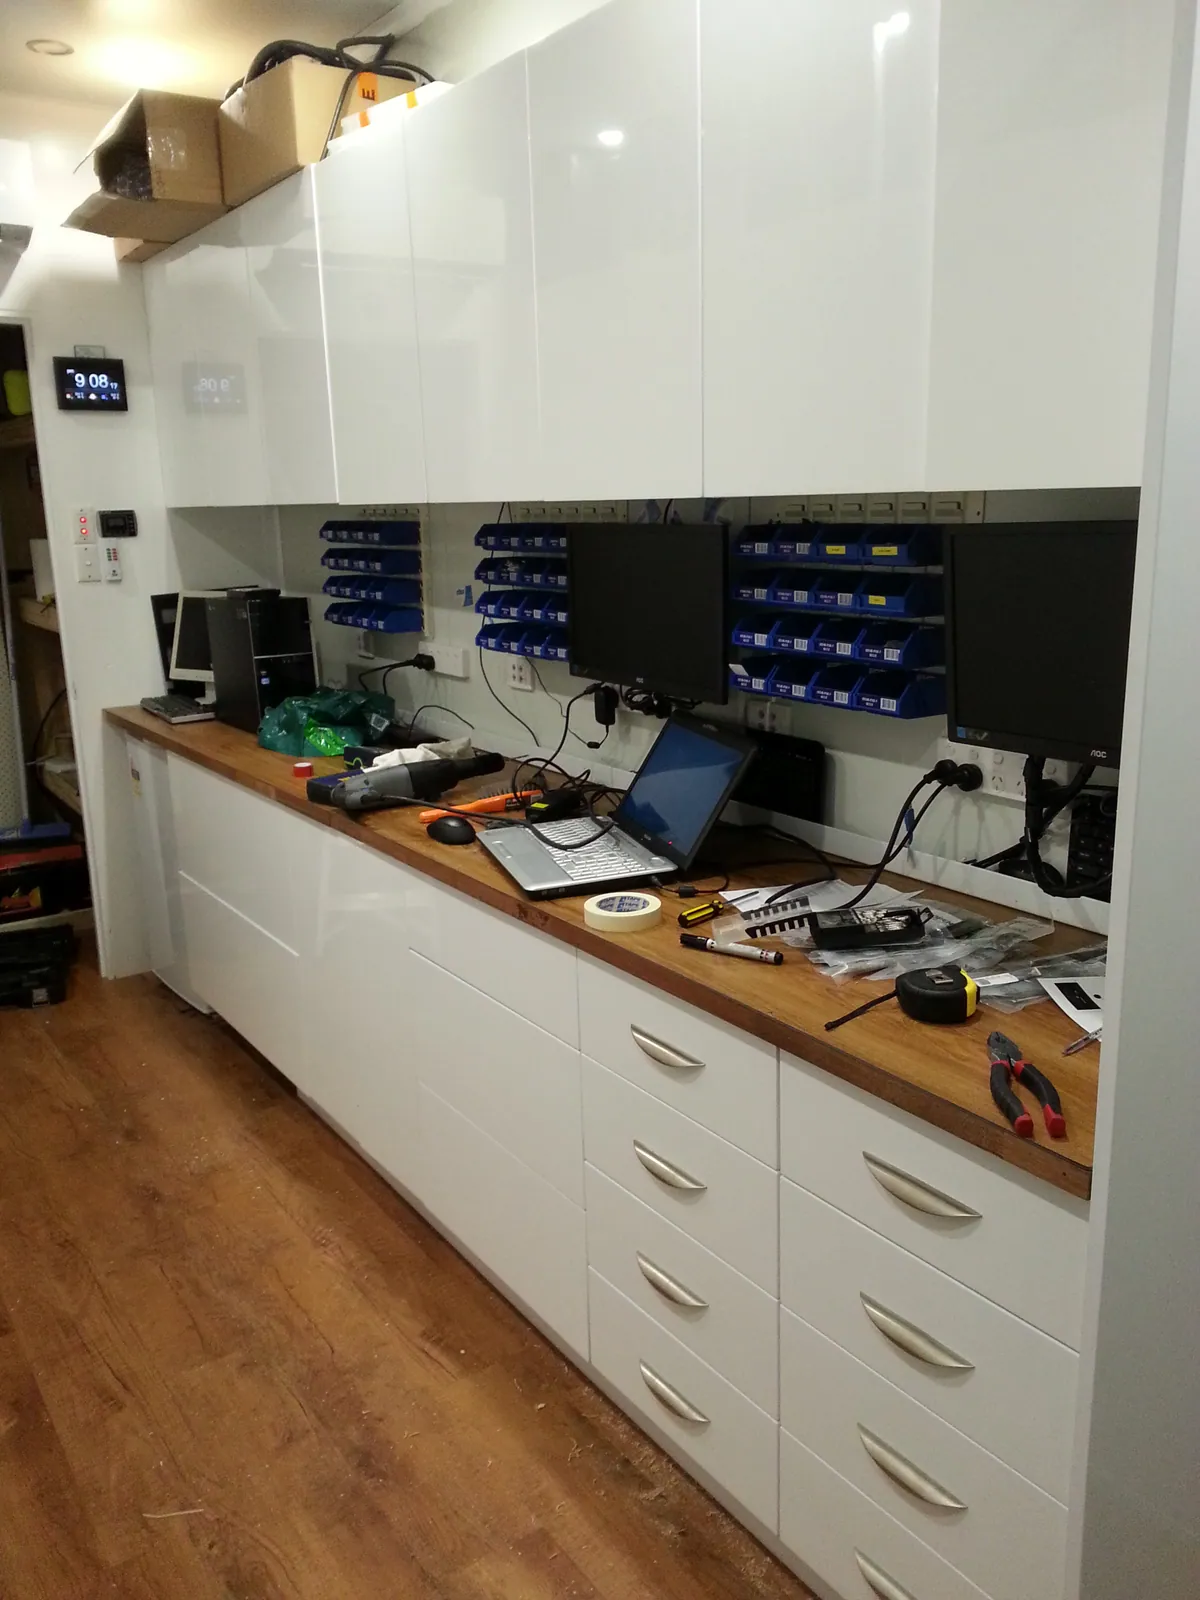
Computers and tools in use on the newly fitted bench.
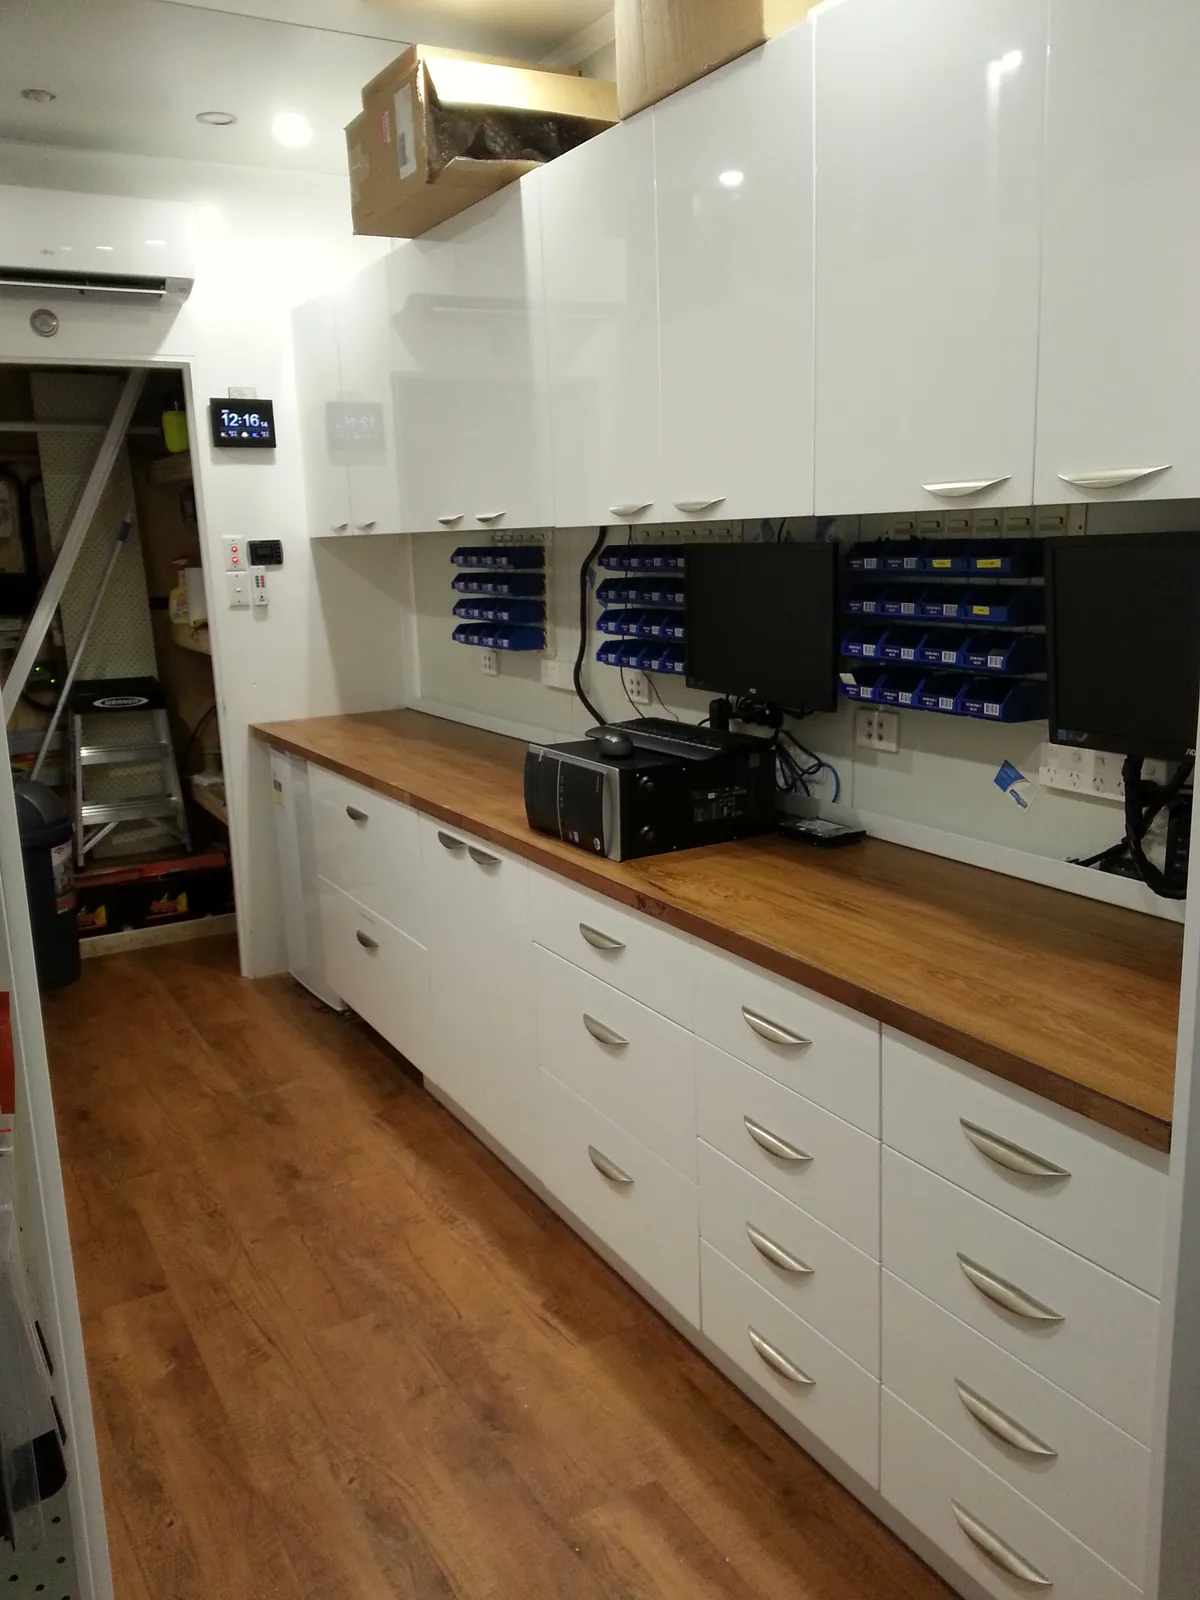
The equipped repair bench after the late-night work.
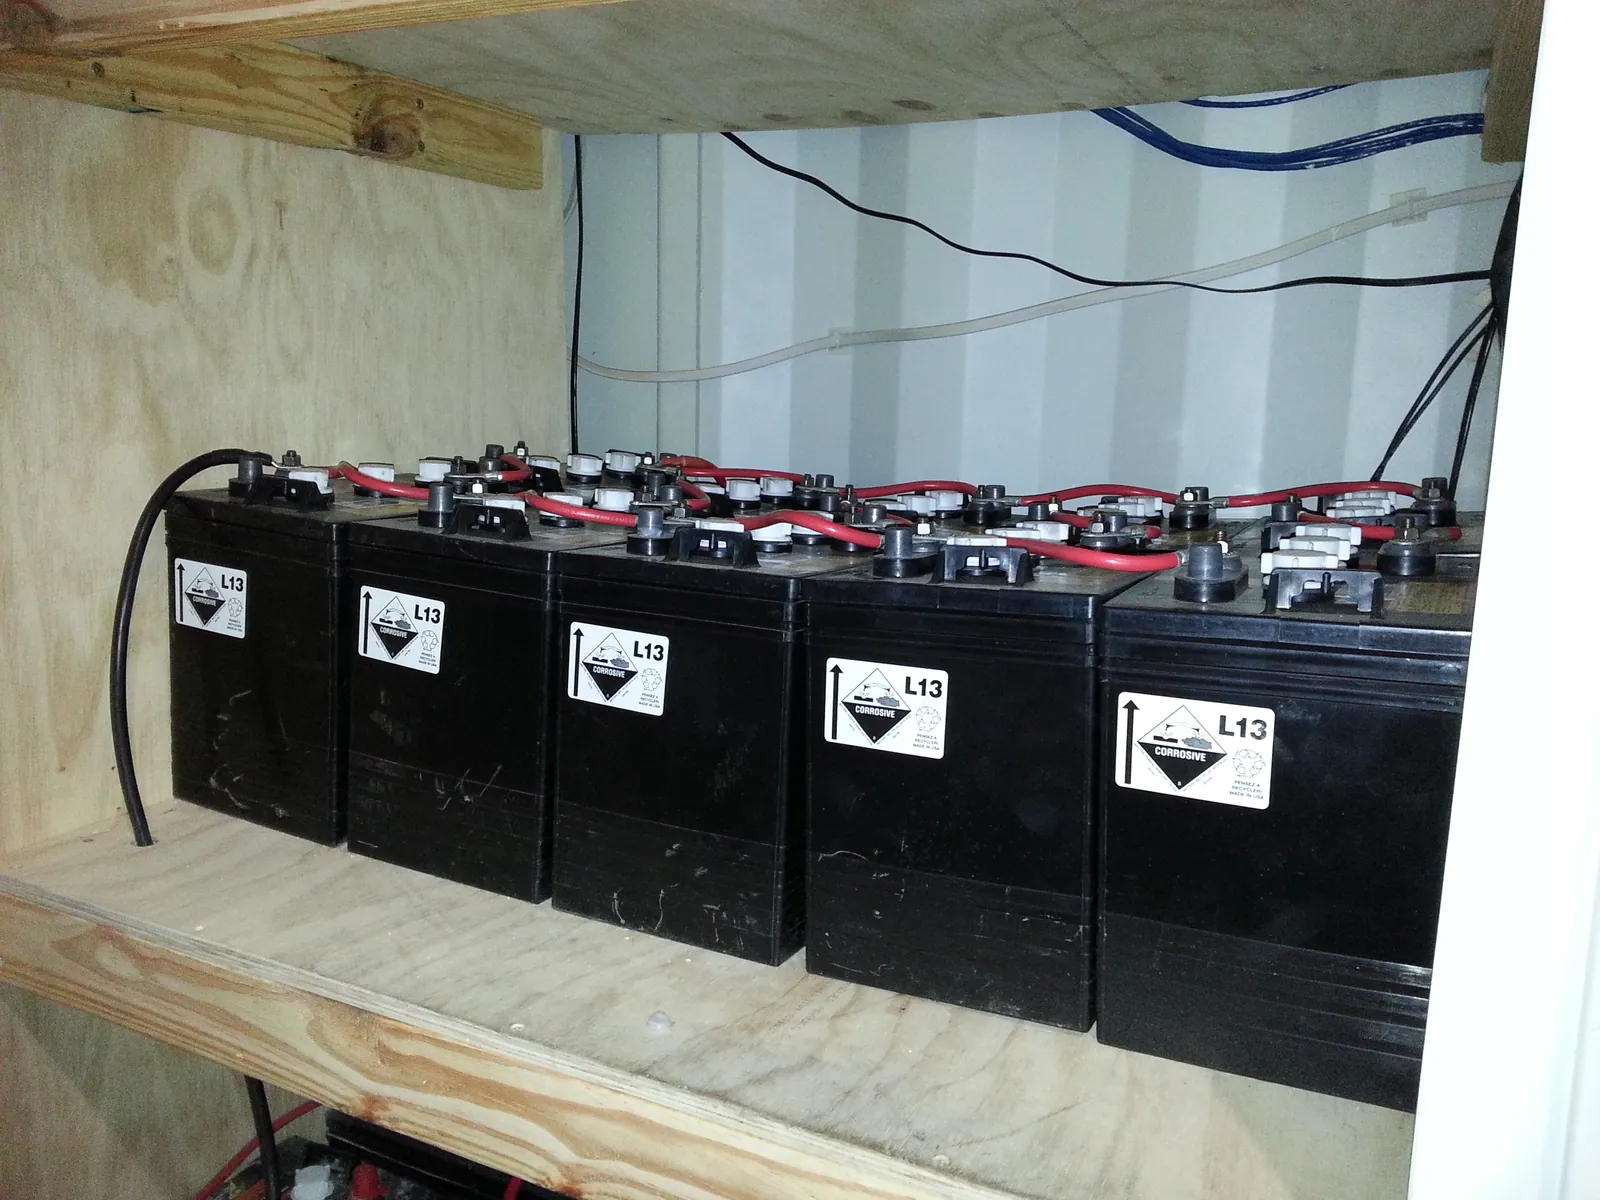
The later battery bank on its timber shelf in the service area.
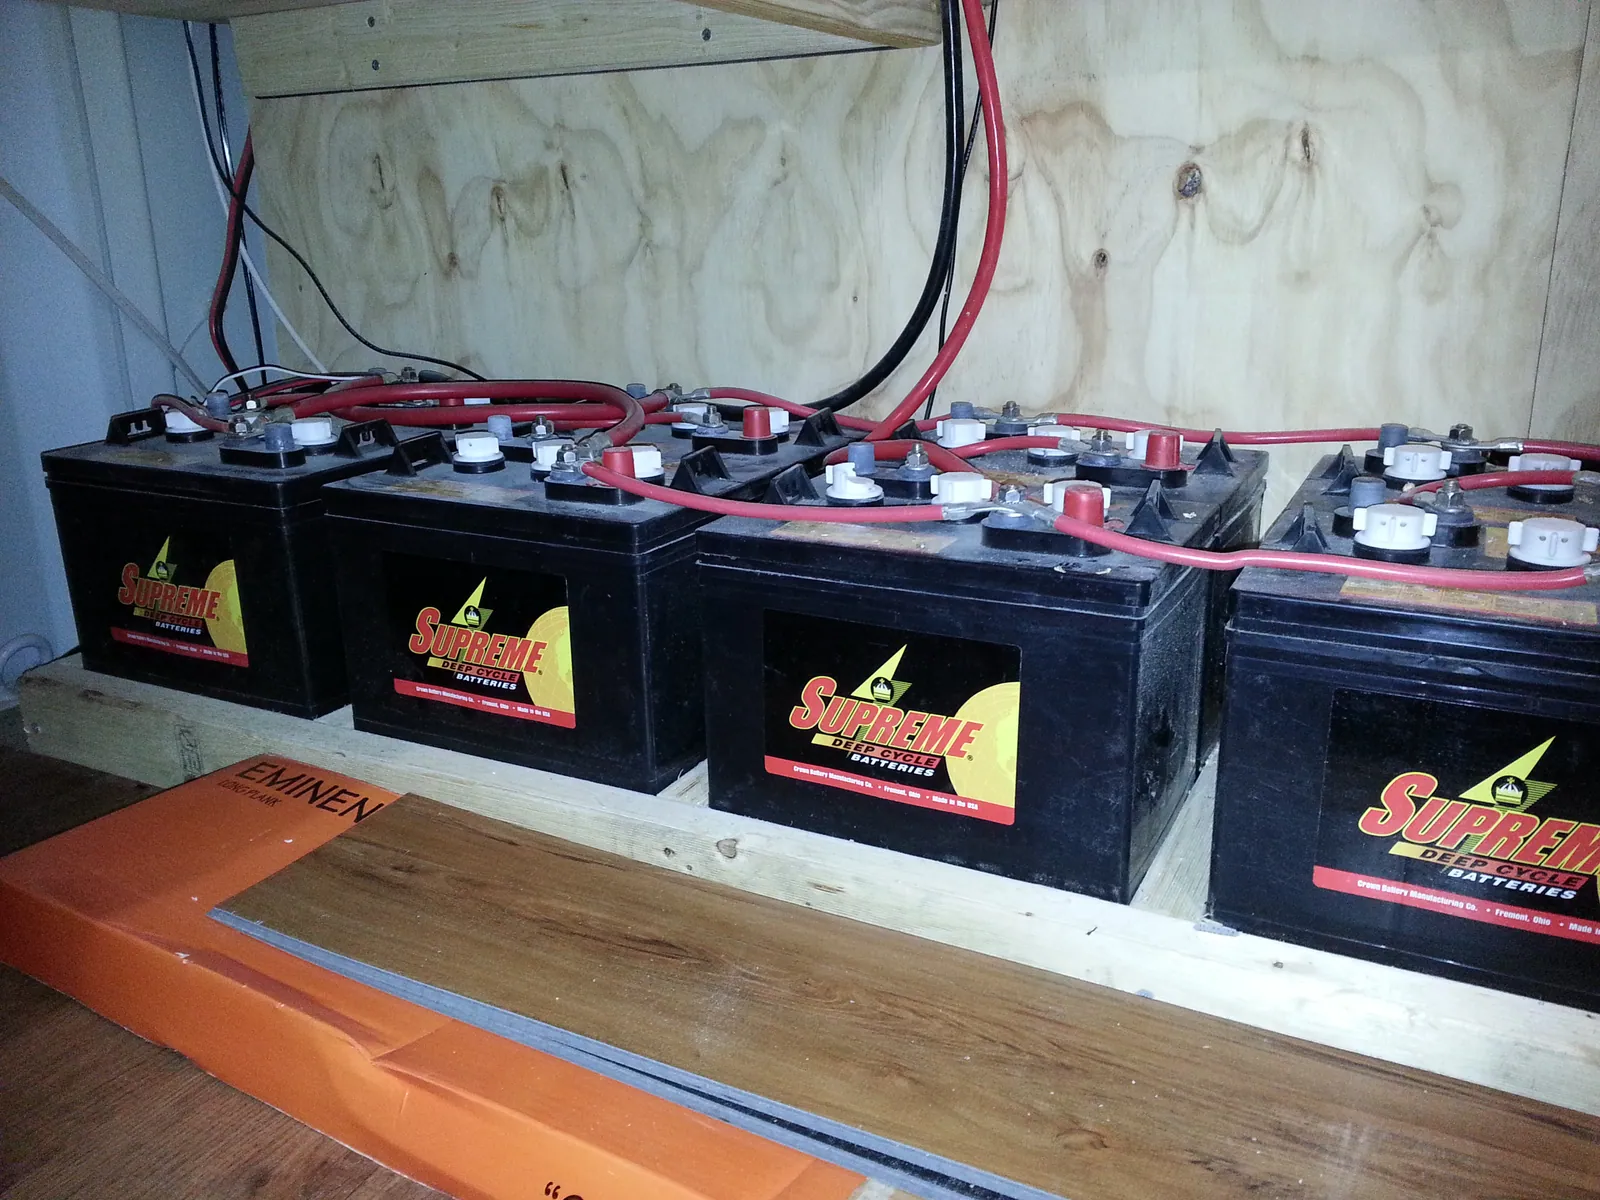
Another section of the battery installation.
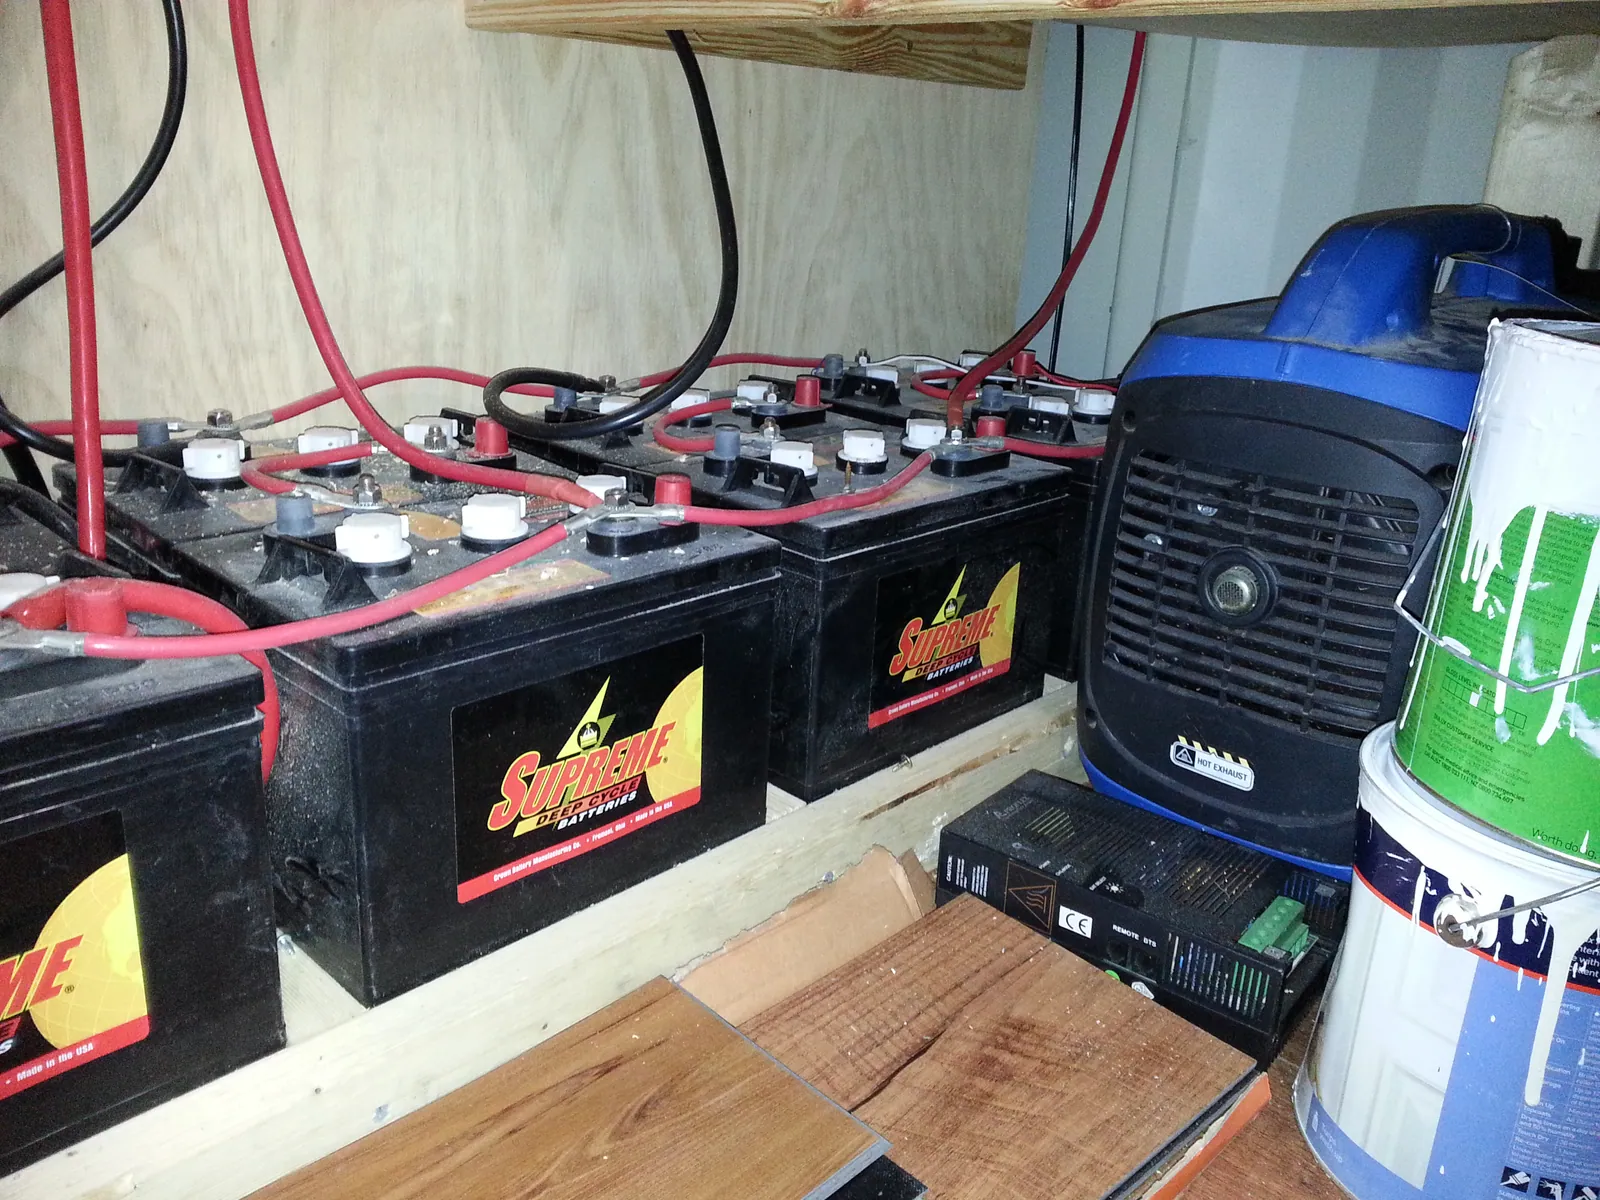
The battery connections and equipment at the side of the service area.
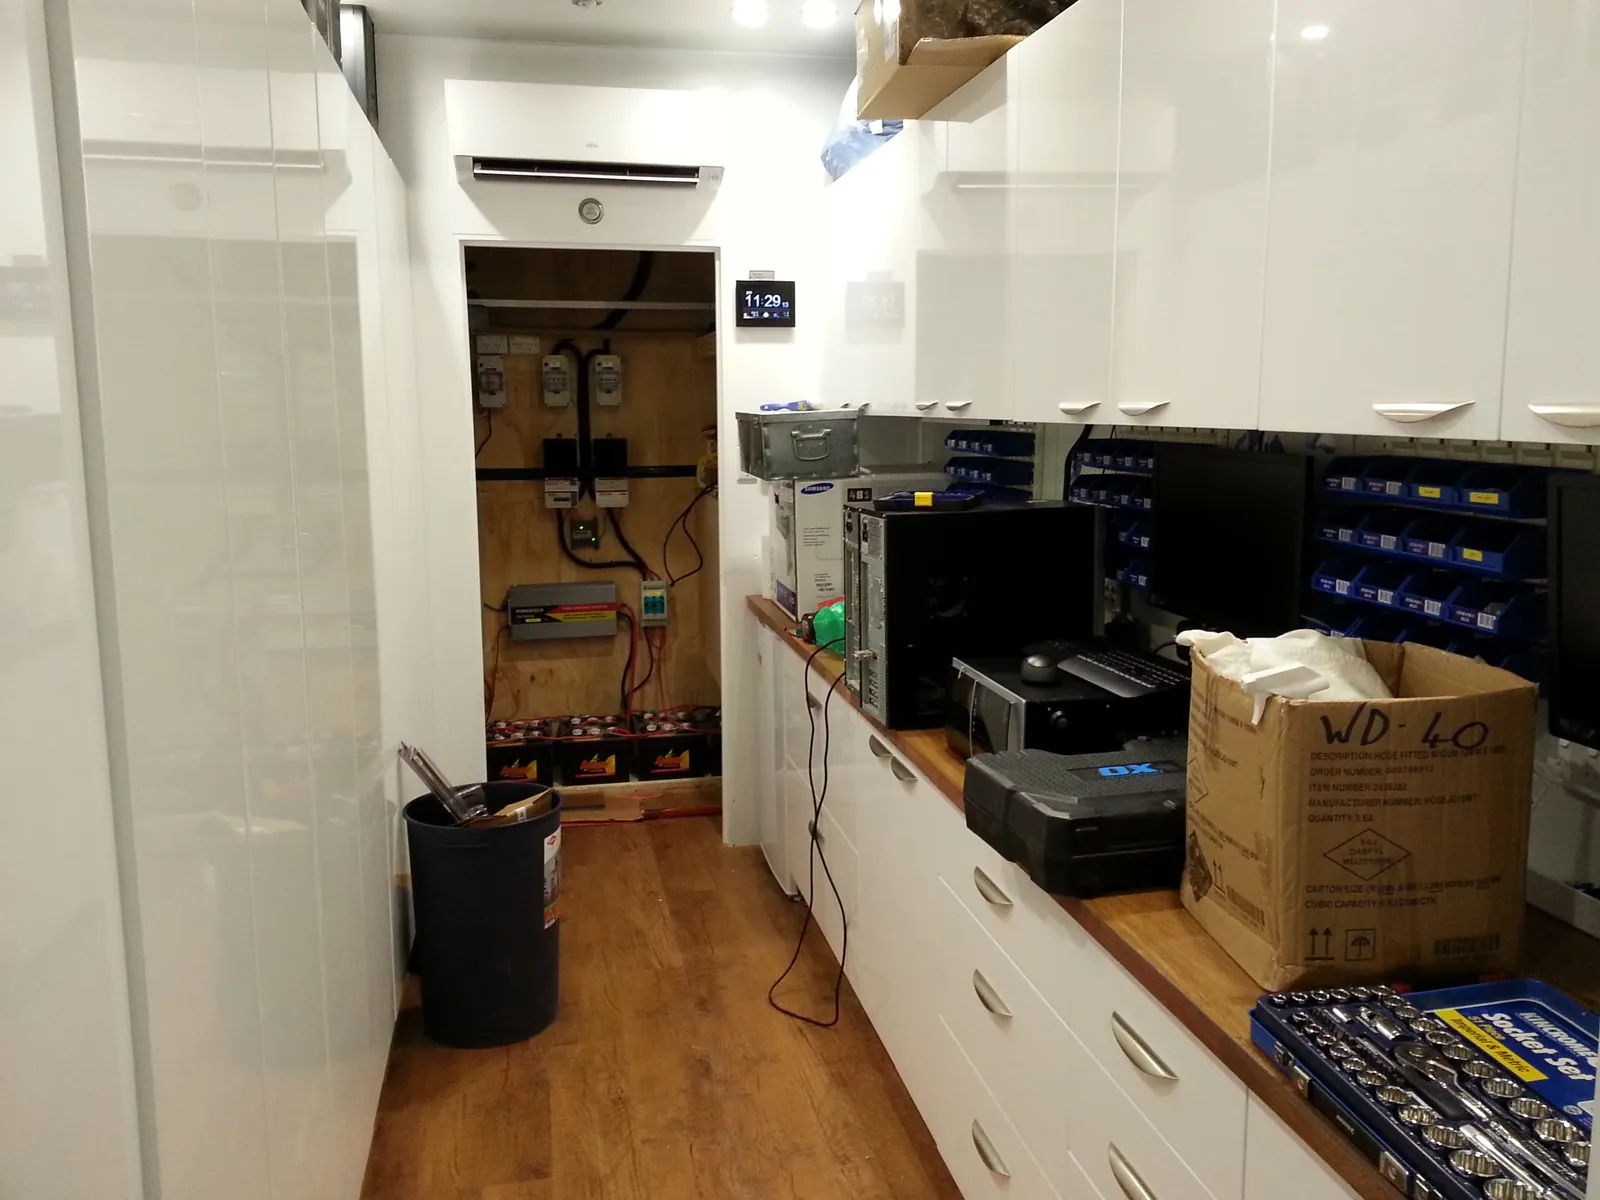
The fitted room with the service-area door open.
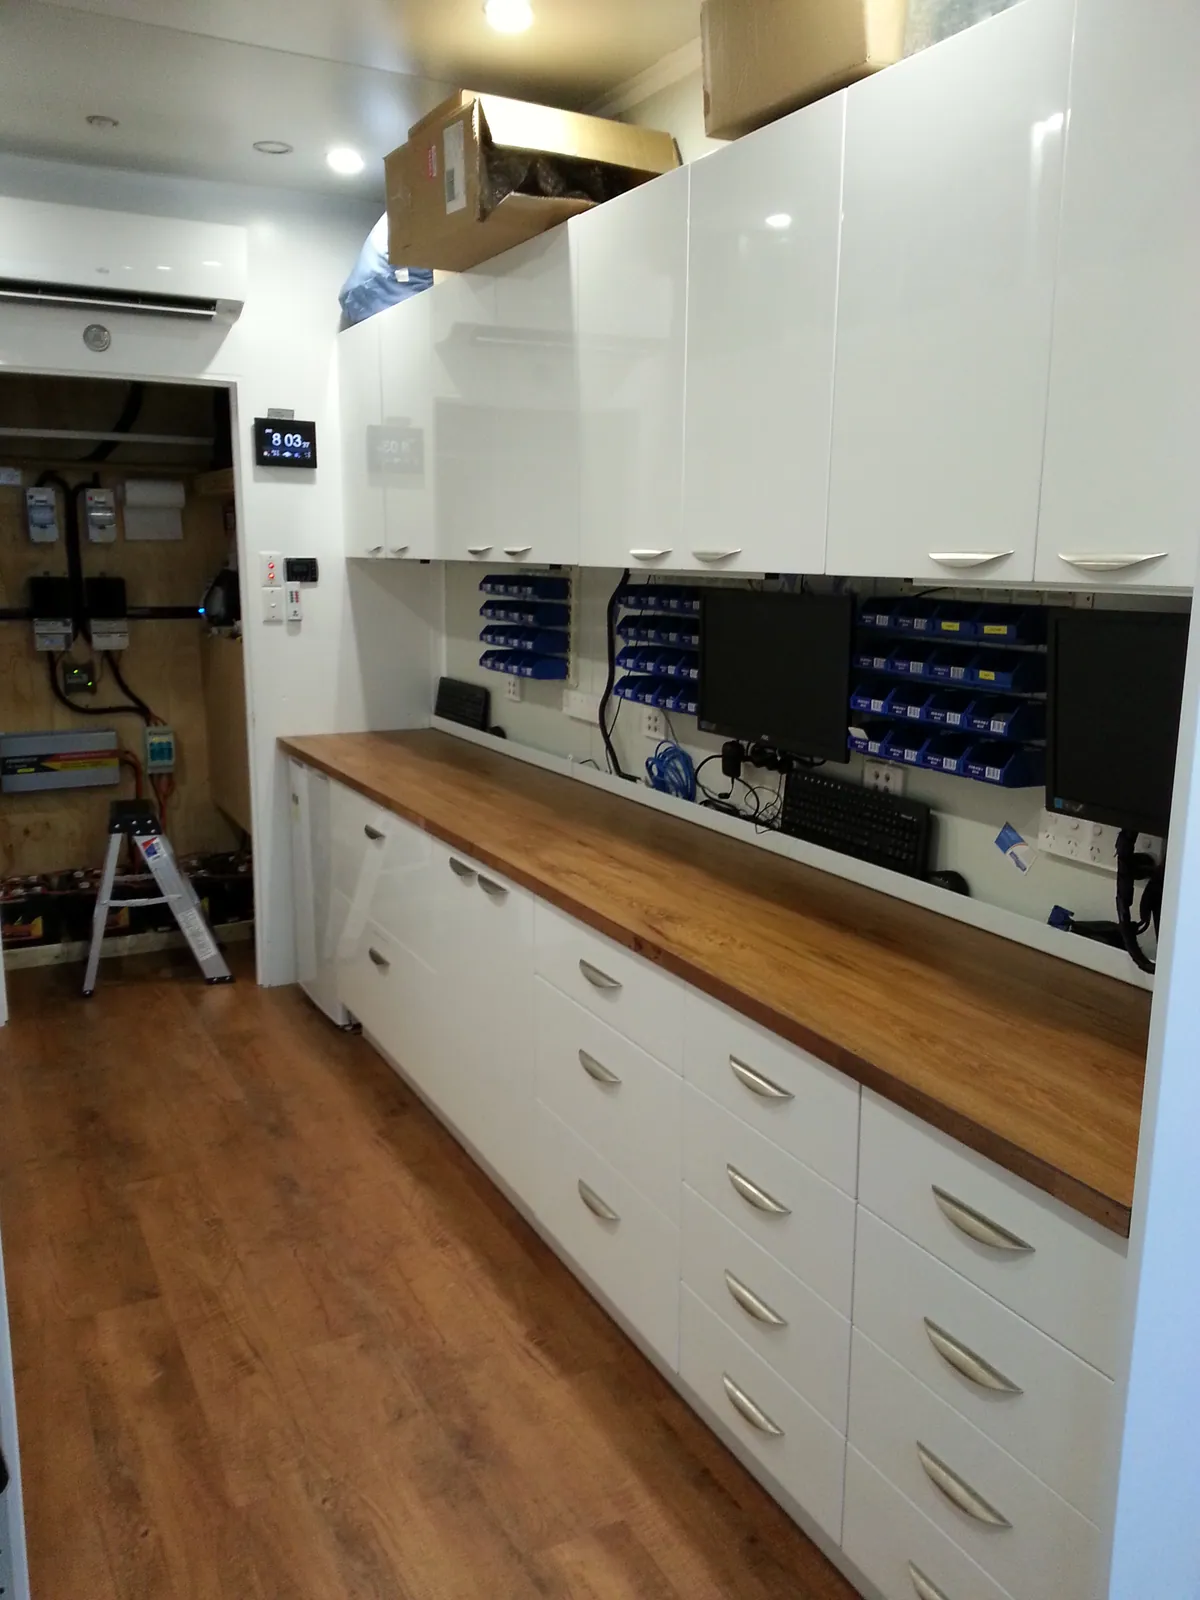
The finished bench and organised parts storage in December.
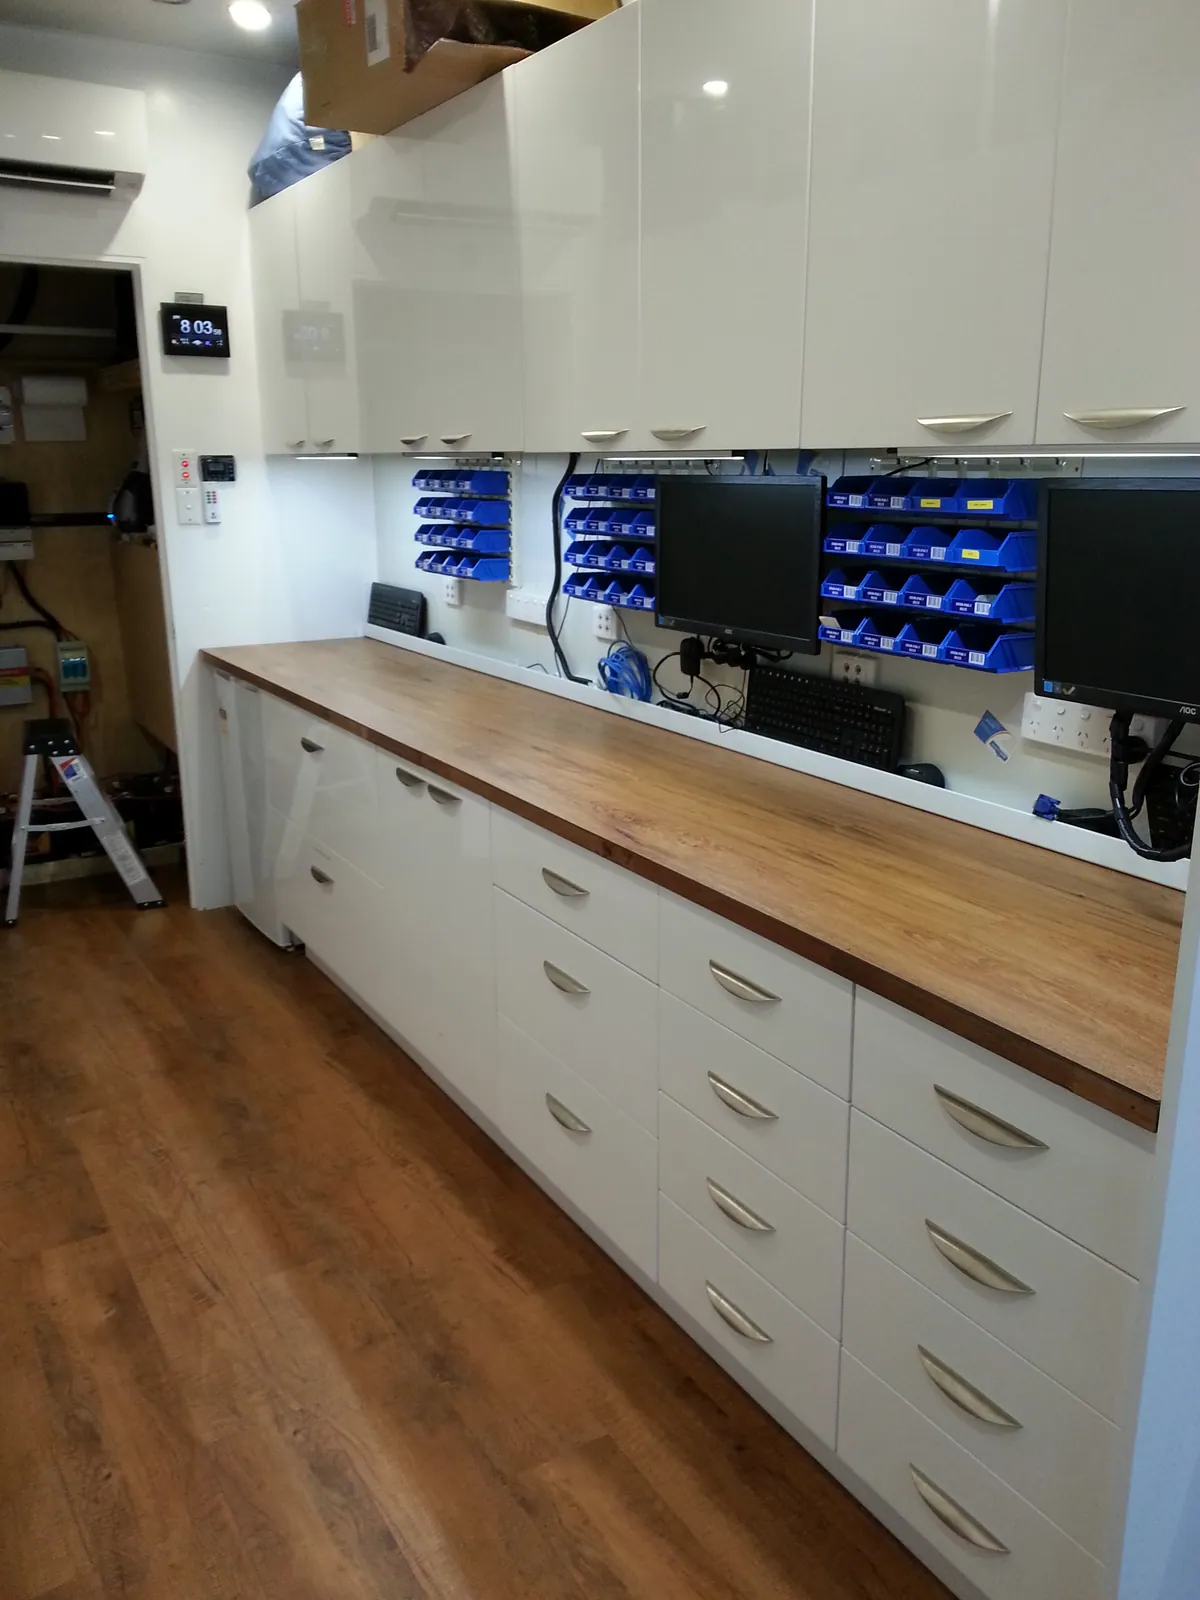
The finished first workshop, from storage cupboards to repair stations.