
The build diaries · 2019 · Greenway ACT
Building our Tuggeranong shop
From the empty Greenway premises to the Crawfords shop and workshop: the detailed 2019 fit-out in photographed stages.
160 photographs · From the first steps to the finished space
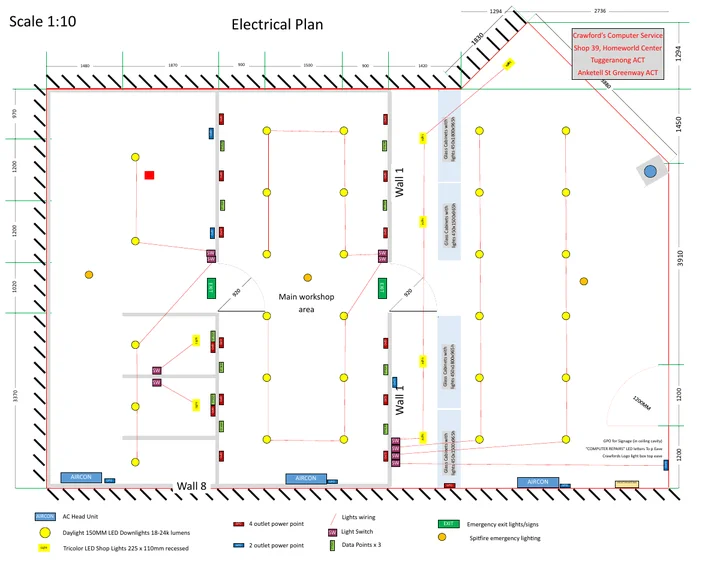
Drawn by David in Publisher
From the plans to the photographs.
The drawings record the layout, framing, wiring, air-conditioning and drainage notes that went into the build. A later UPS plan shows how the space kept evolving.
Follow the photographs in date order, or choose a stage. Select a photo to enlarge it and move through the sequence.
01Empty premises, June and July
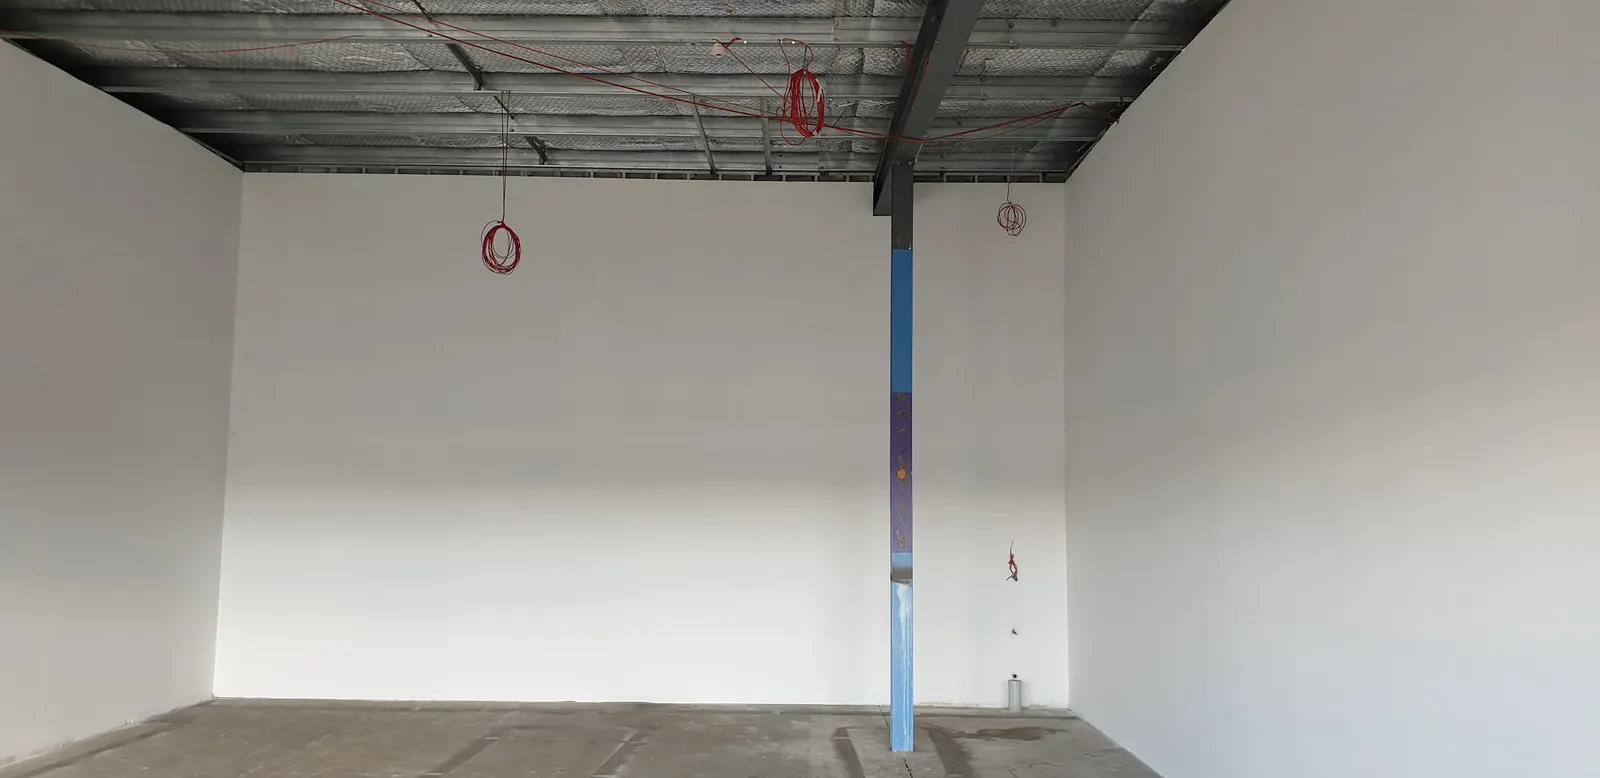
The empty premises, with the roof structure exposed and the blue shopfront frame in place.
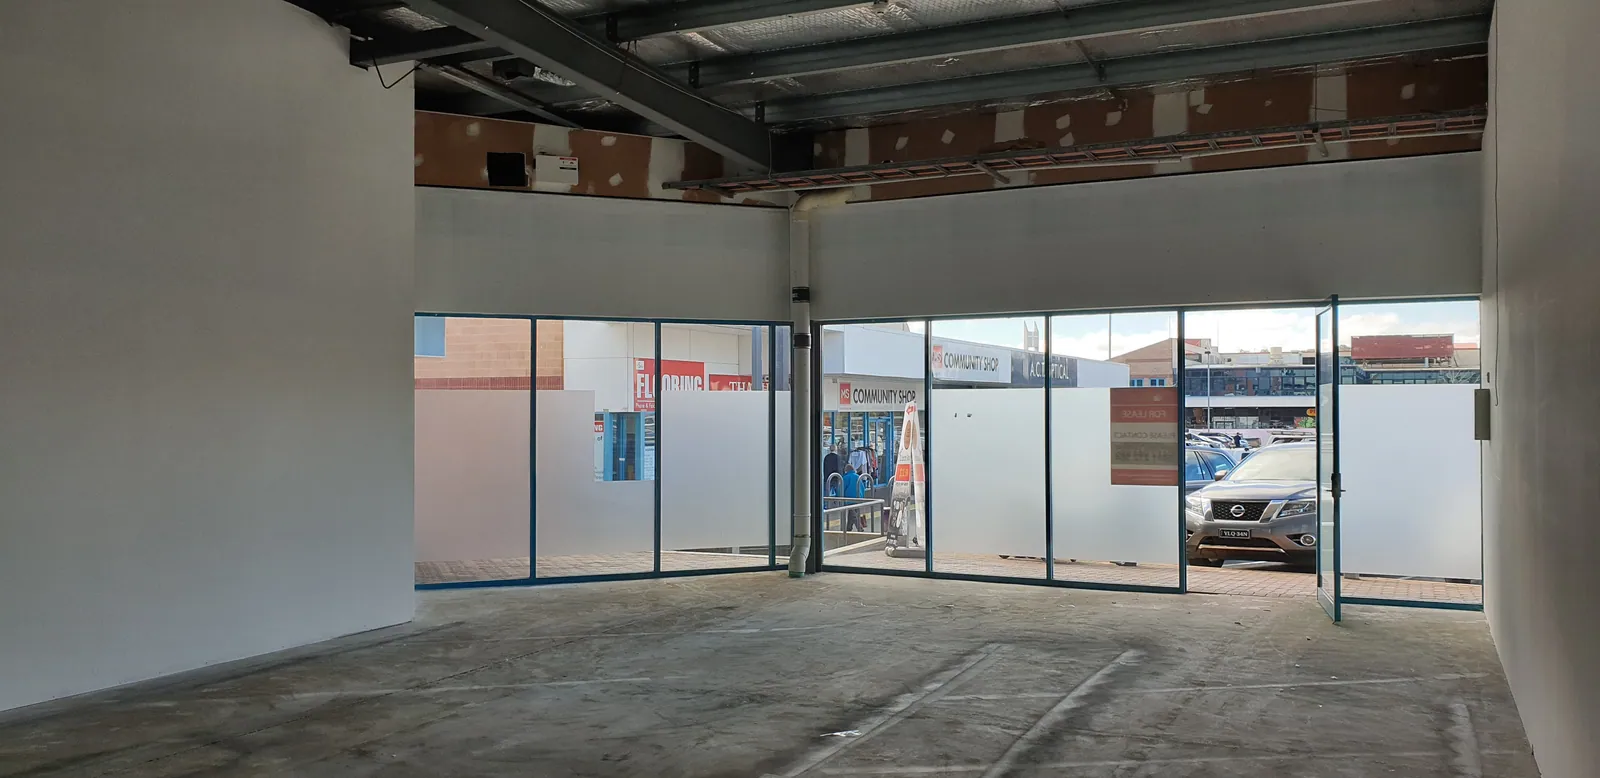
Looking towards the front windows before the fit-out.
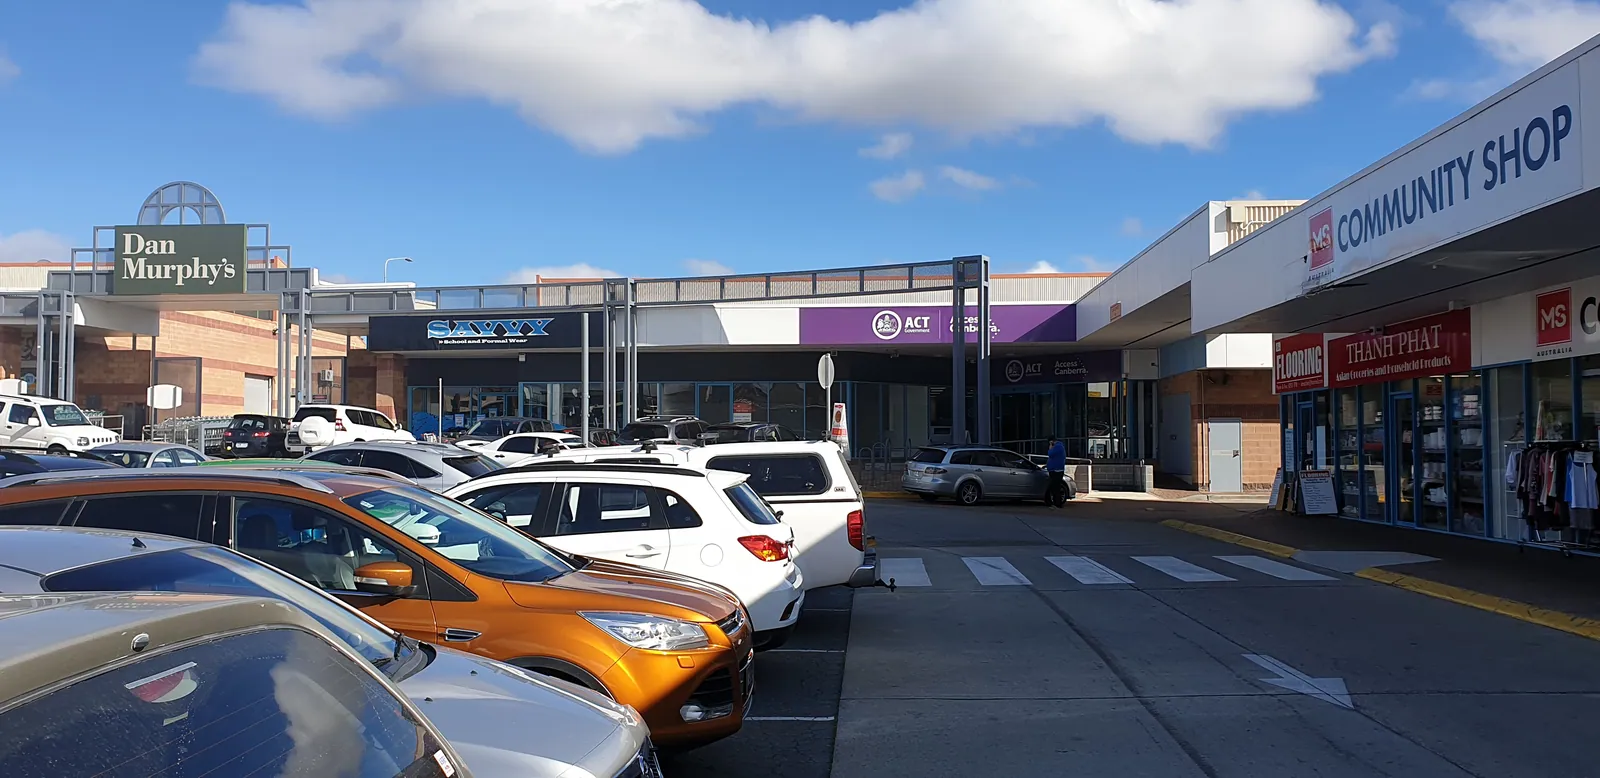
The surrounding Homeworld precinct before the new shop was fitted out.
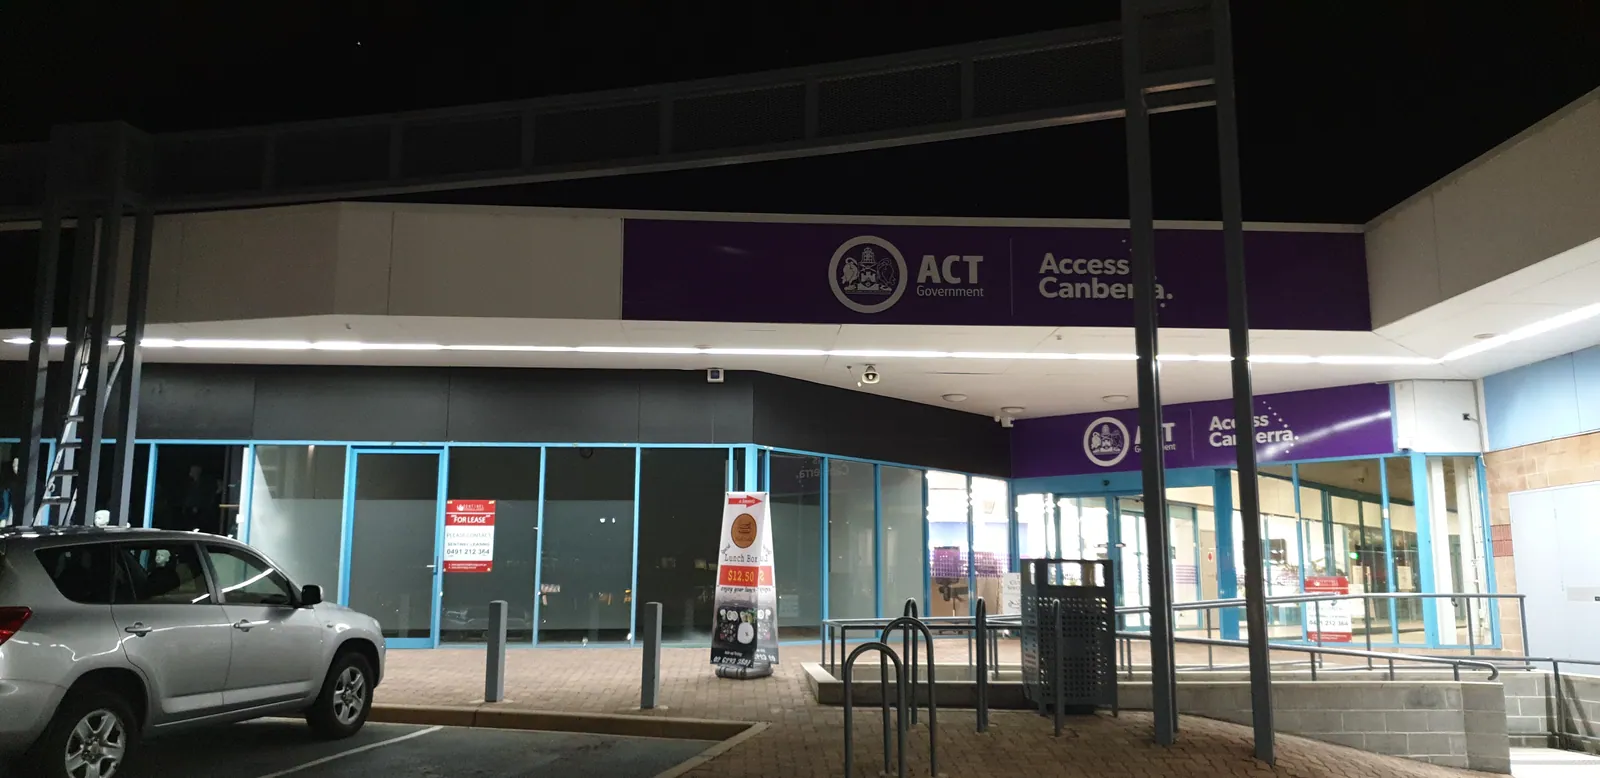
The vacant shopfront in July, before the November construction sequence.
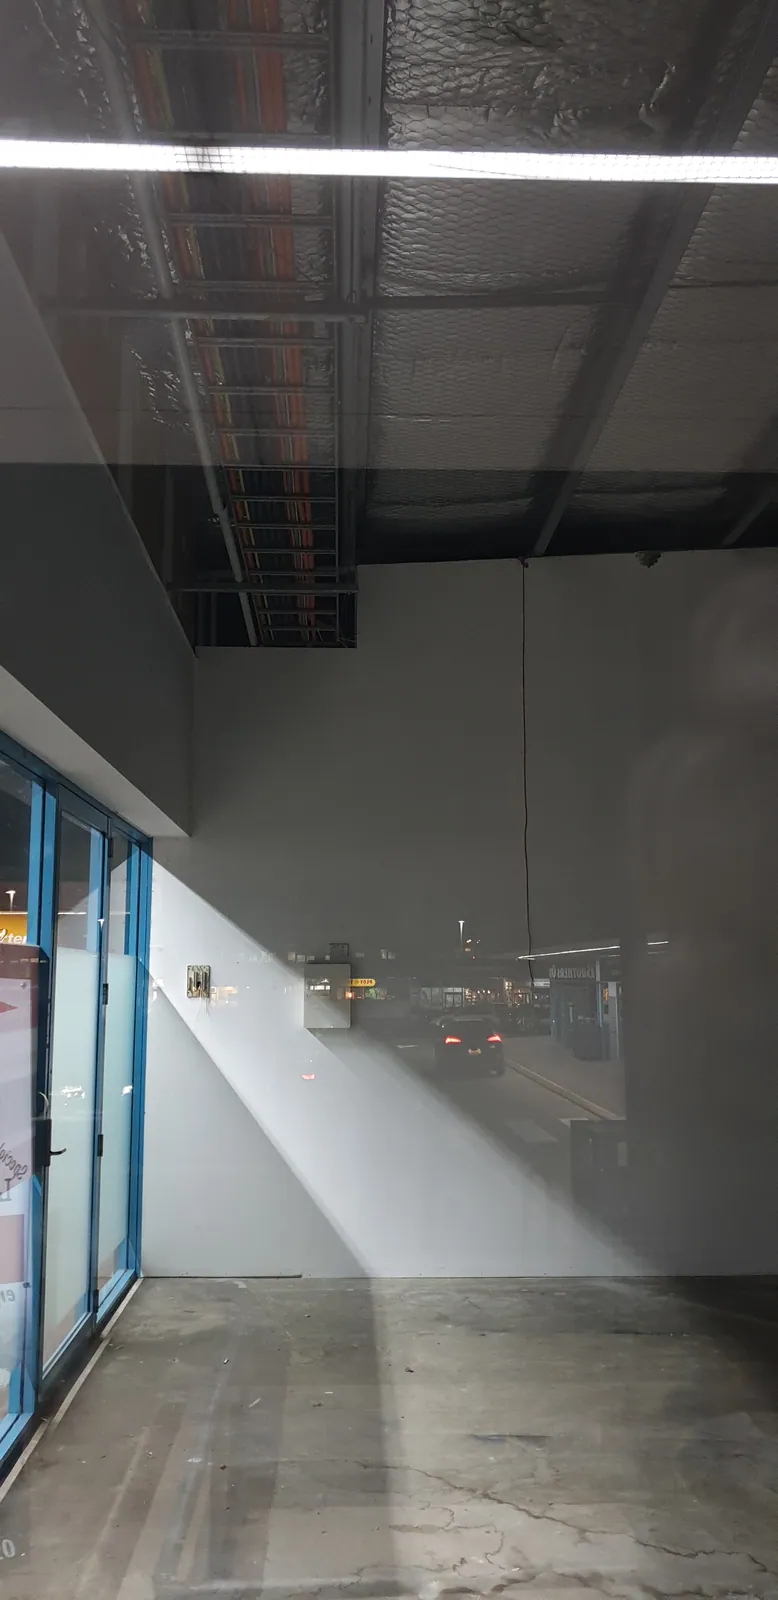
Looking through the front glazing into the empty unit.
02Preparing the premises
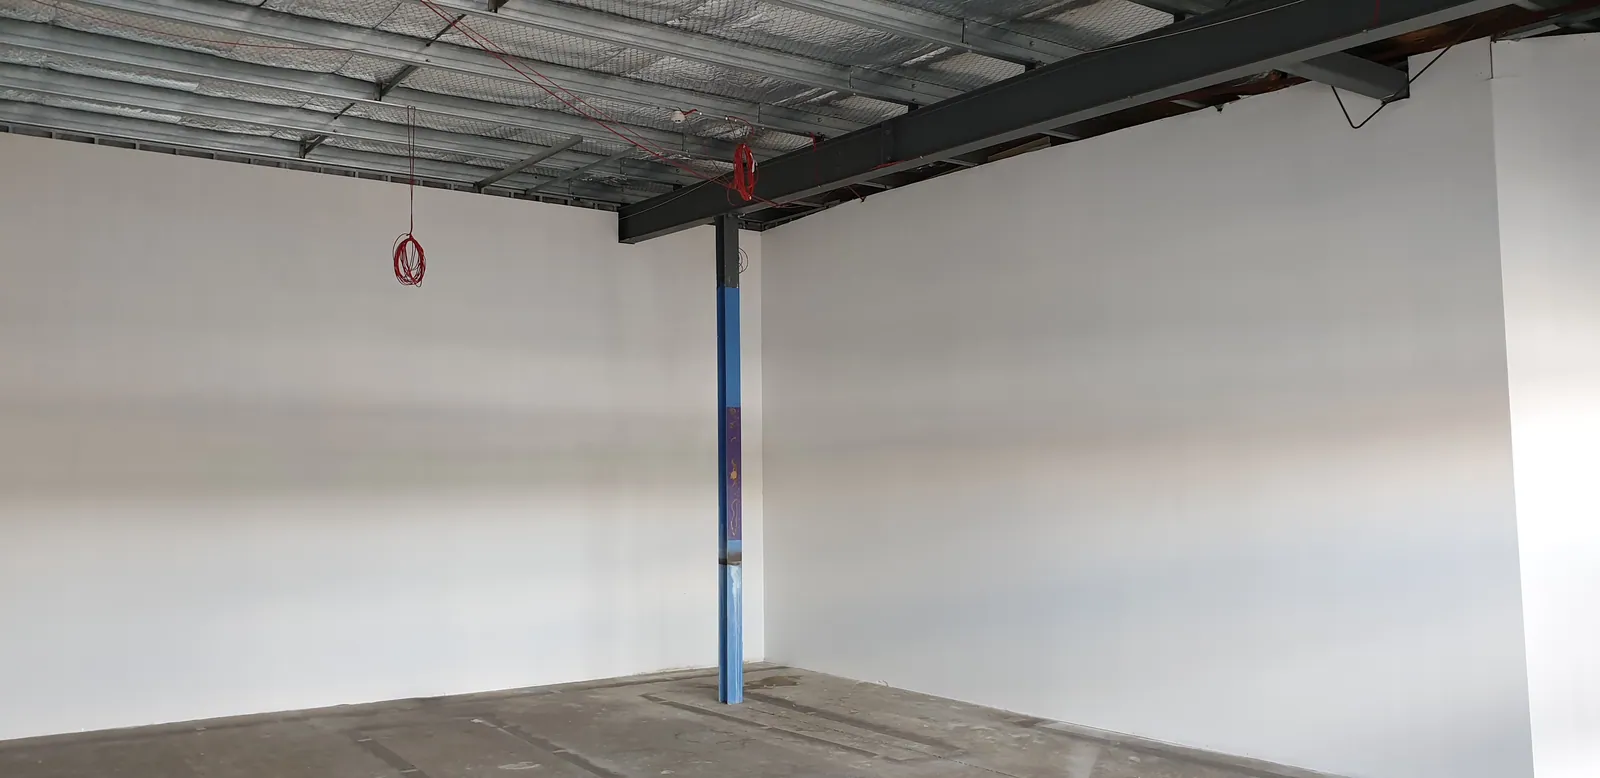
The empty interior at the start of the November fit-out.
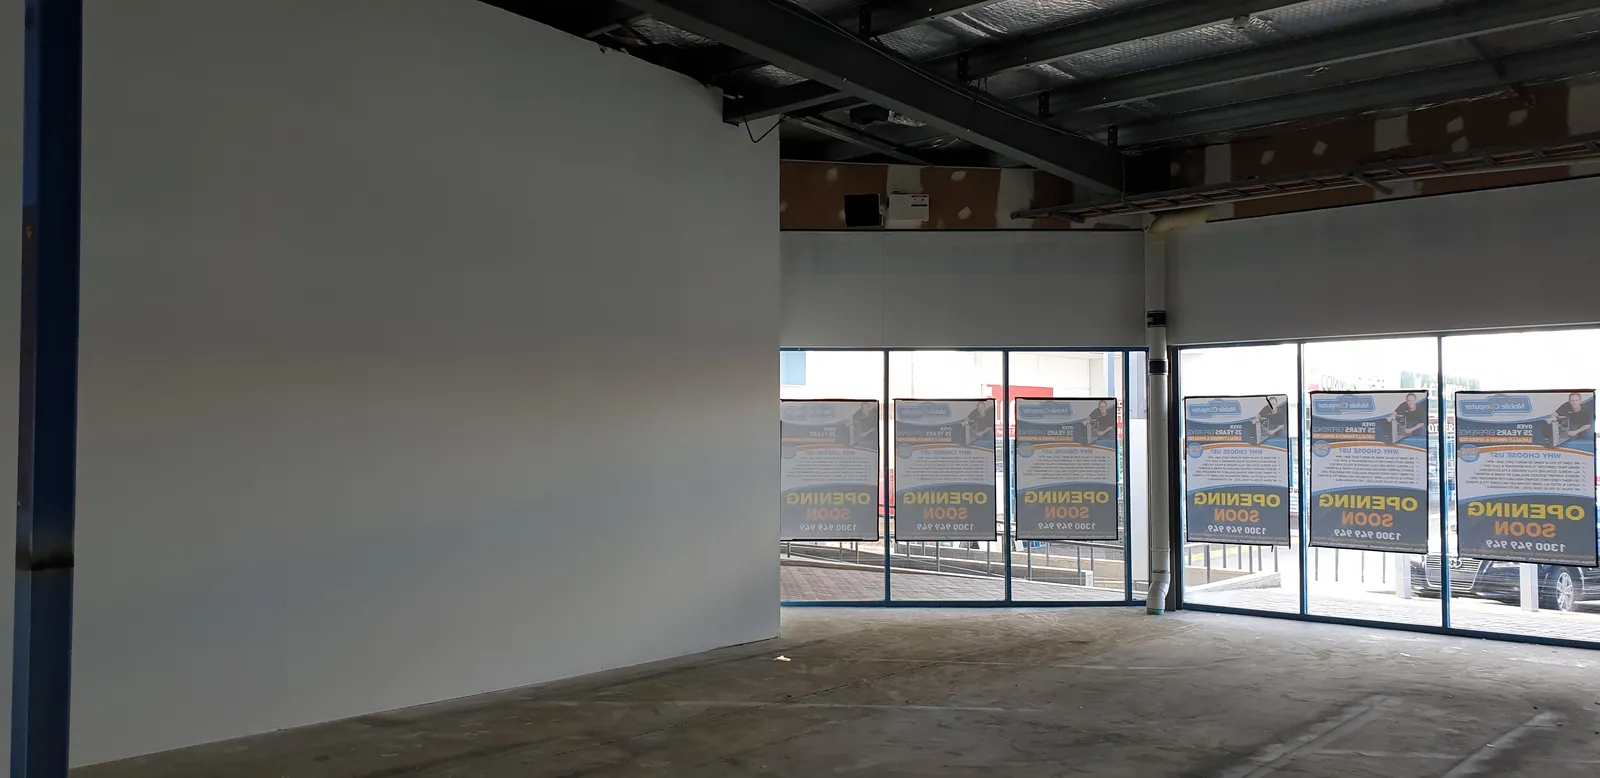
Looking towards the shopfront across the clear floor.
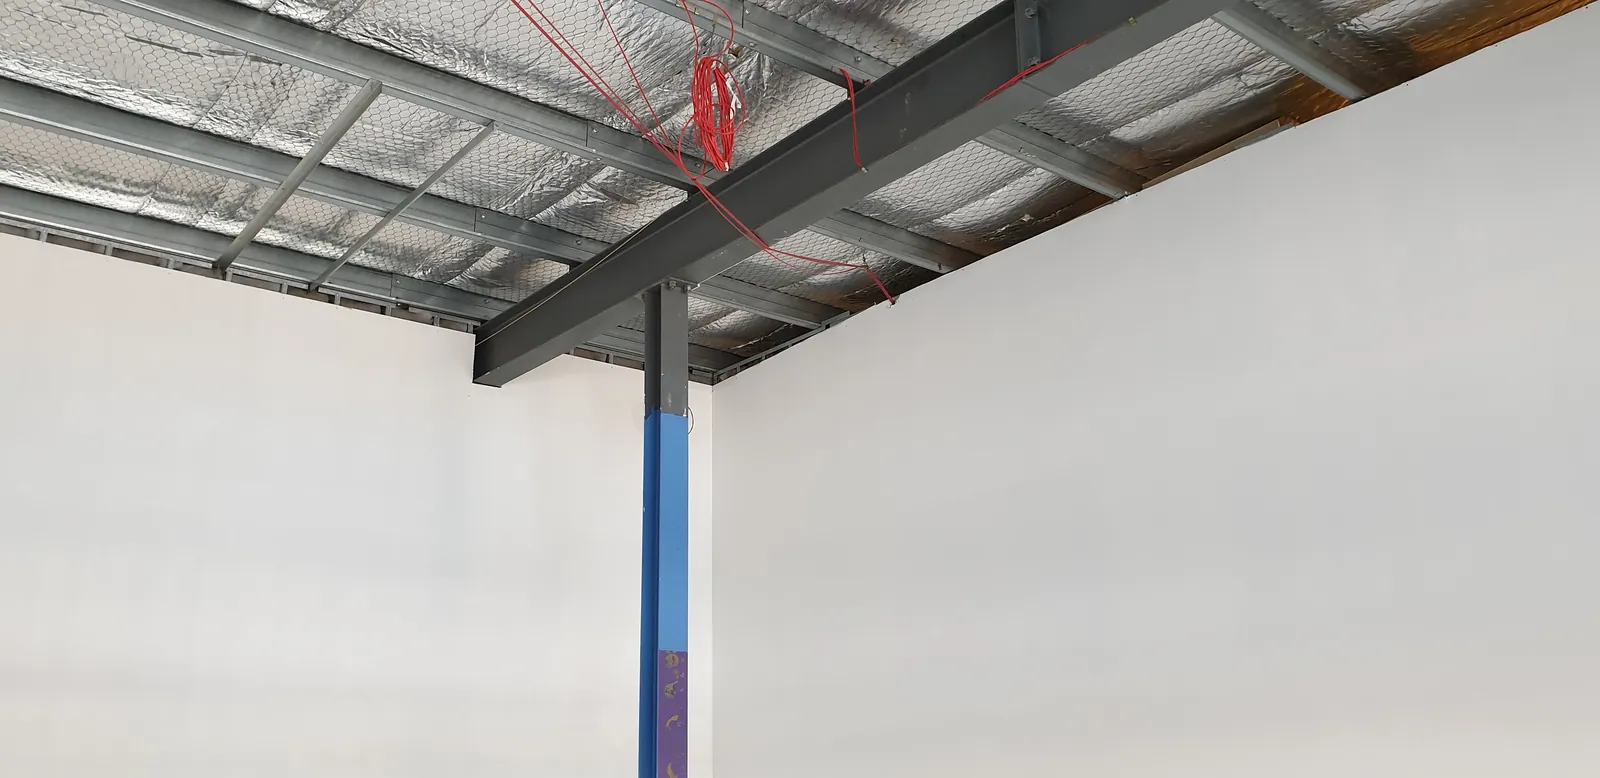
The existing roof structure above the blue front column.
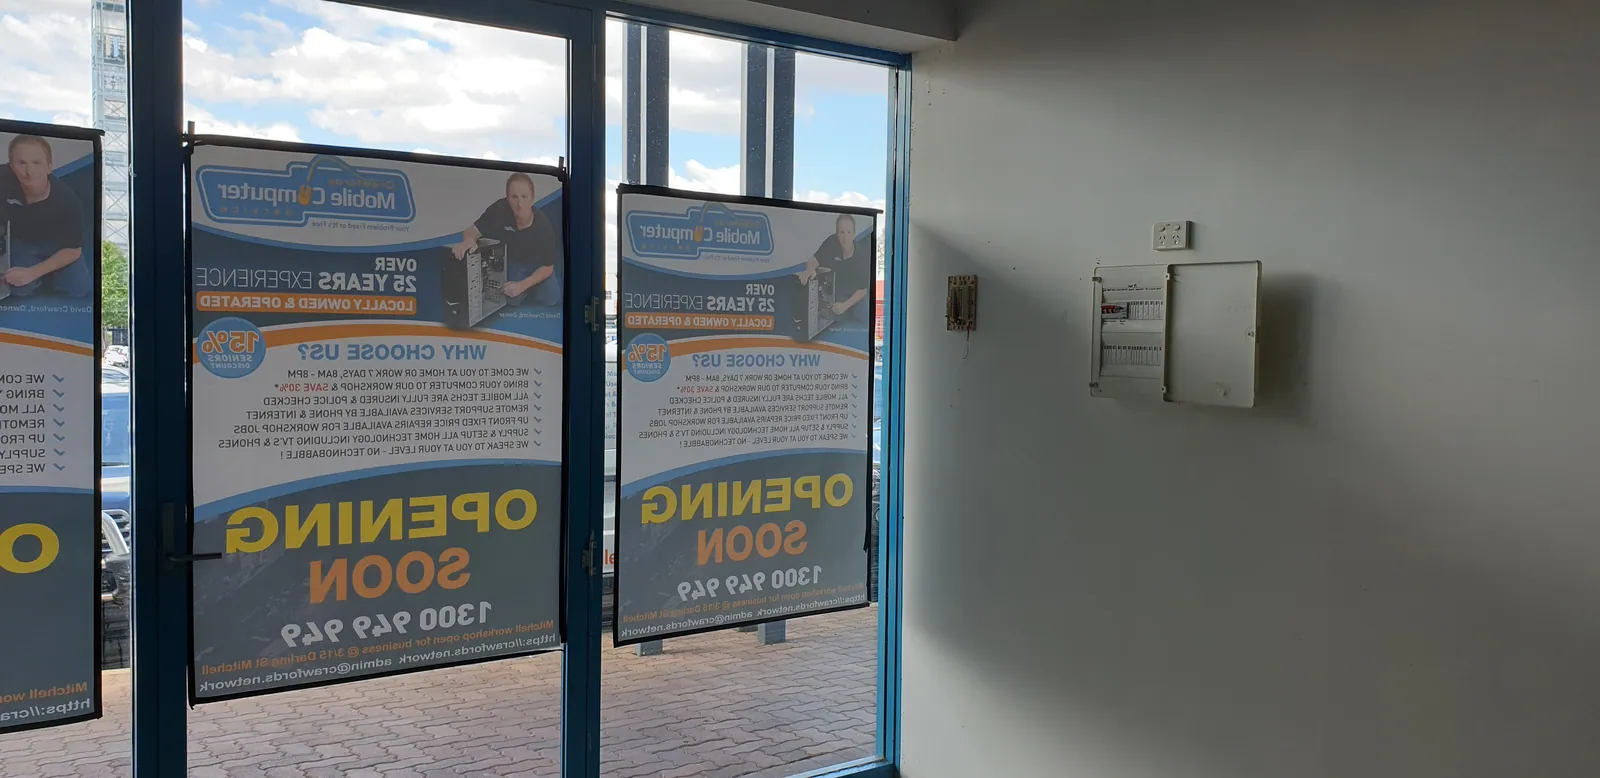
Opening Soon notices displayed on the front windows.
03Ceiling grid and wall framing
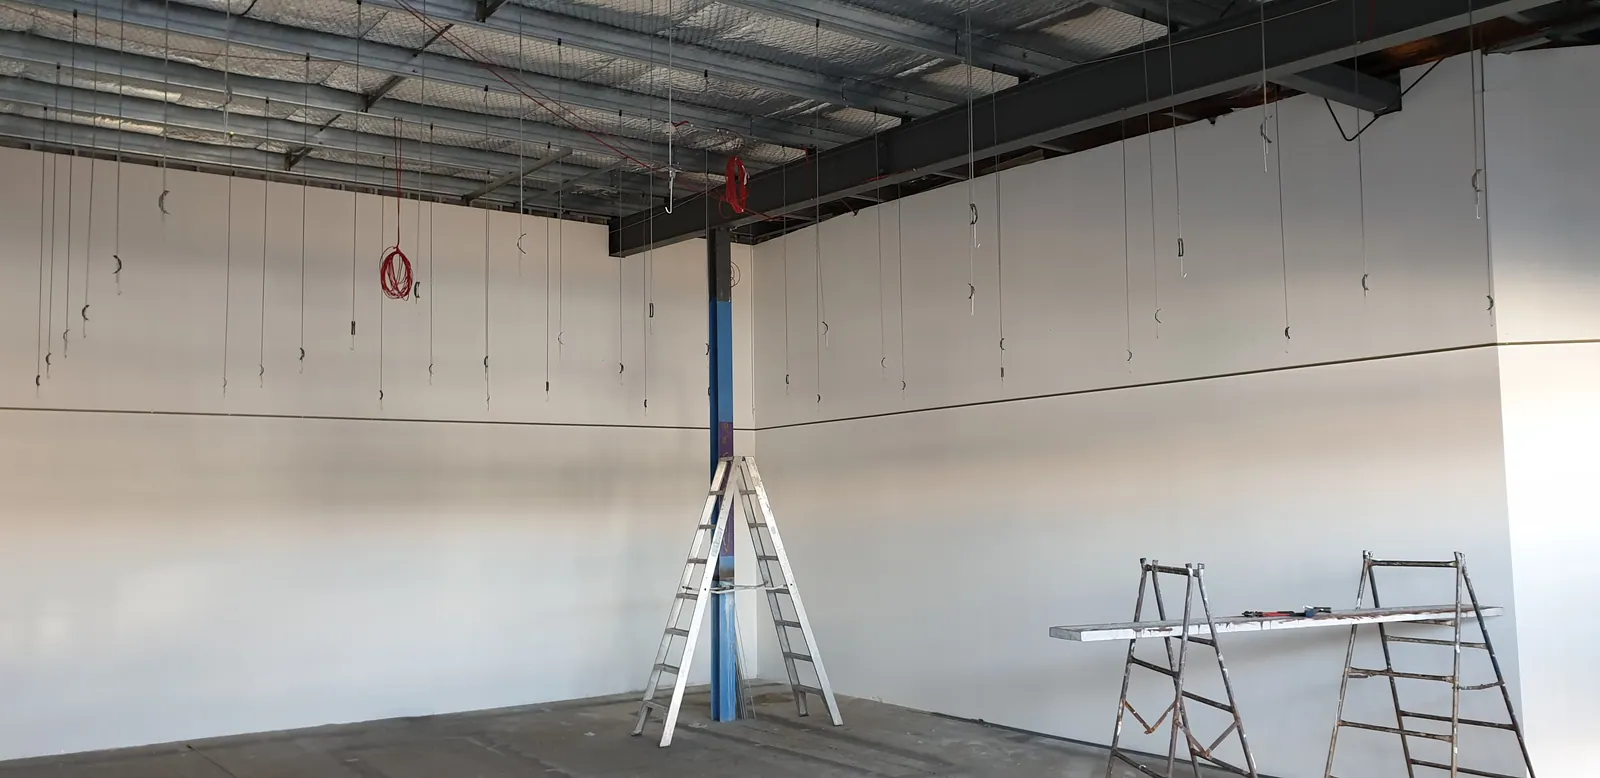
Ladders and tools brought in to begin work on the interior.
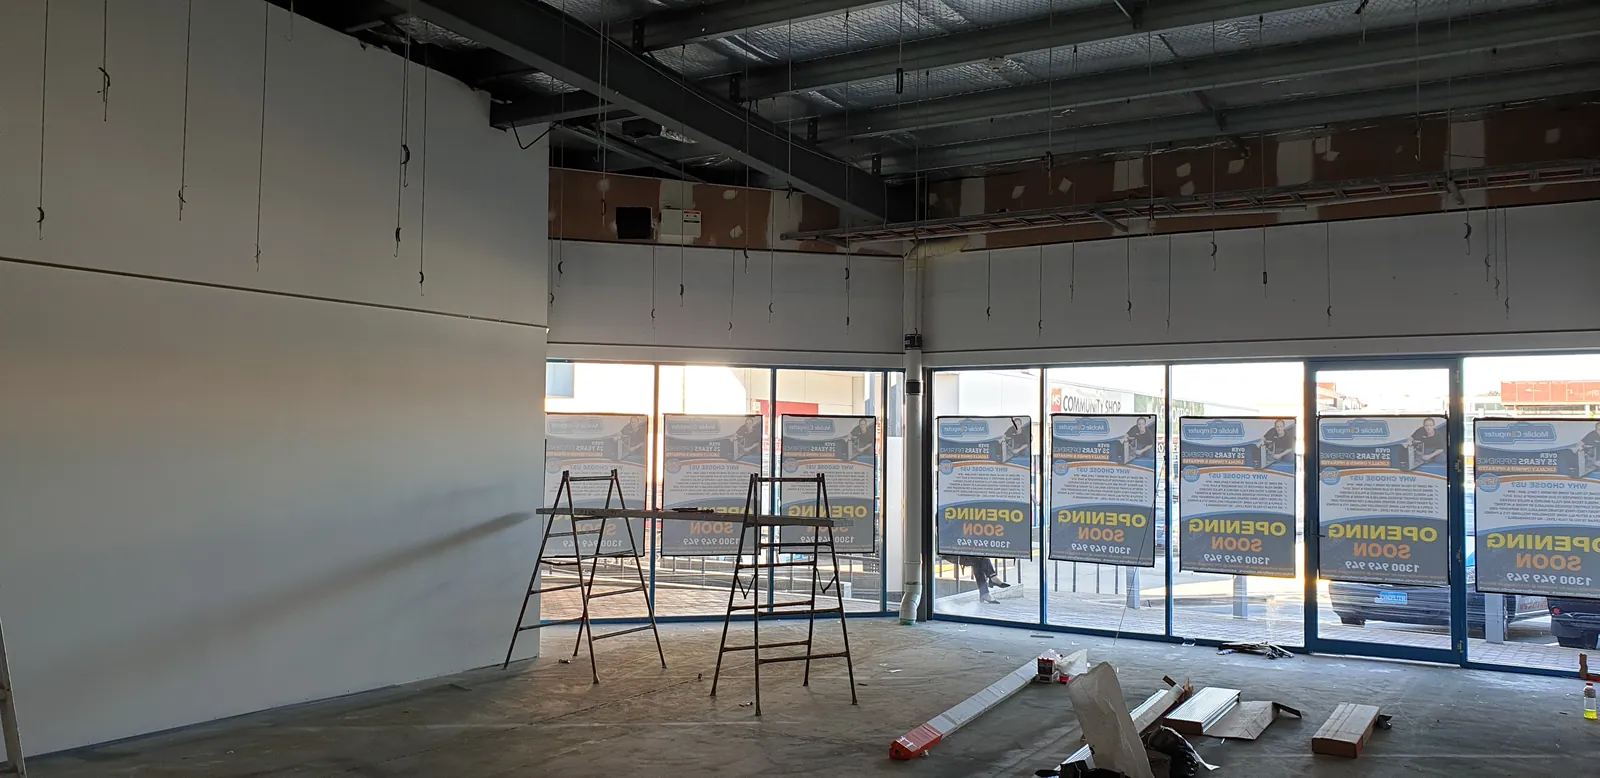
Materials set out across the floor before the partitions are built.
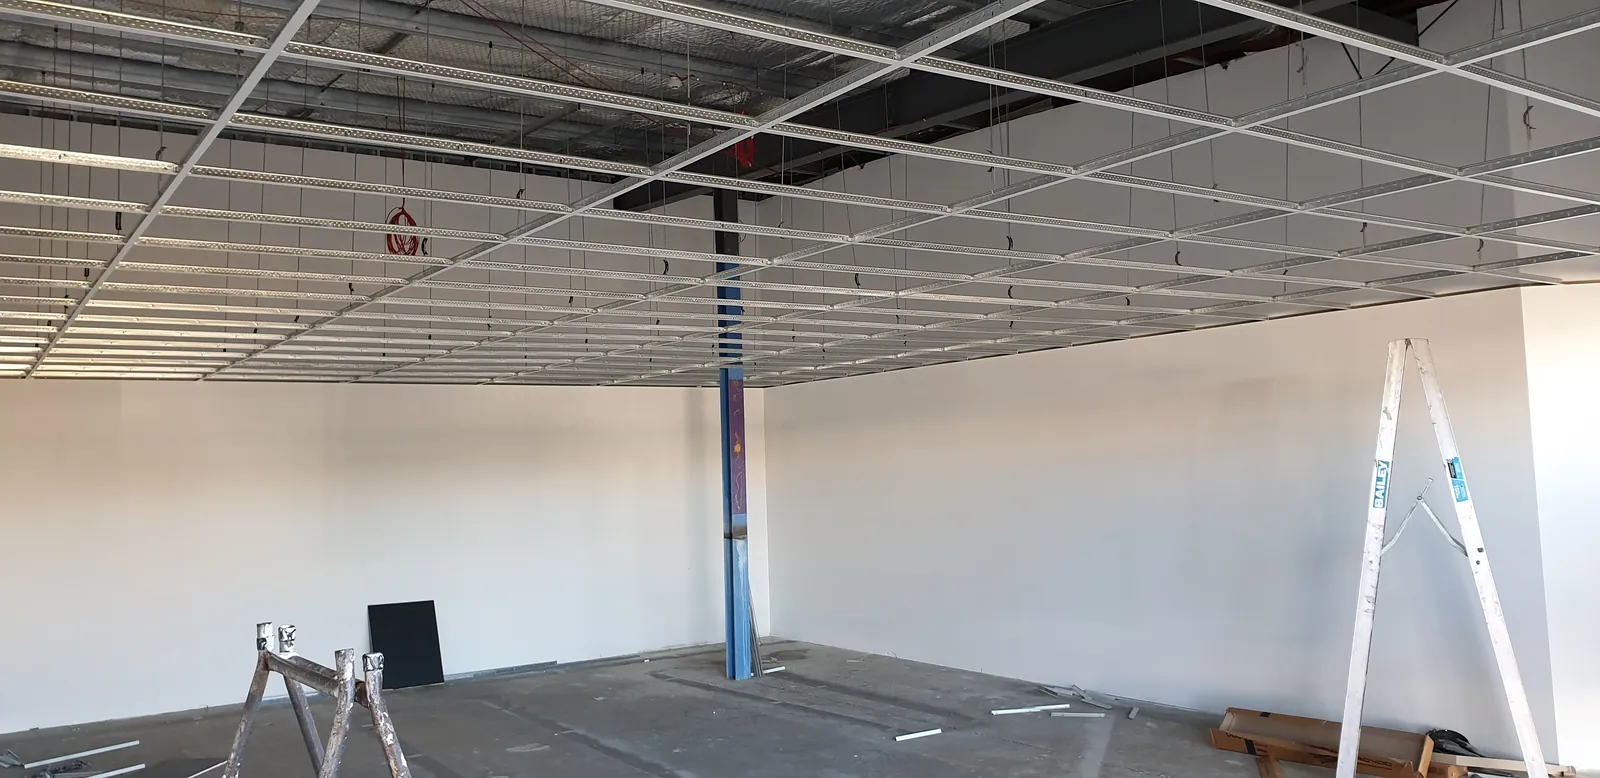
The first suspended-ceiling grid installed at the back.
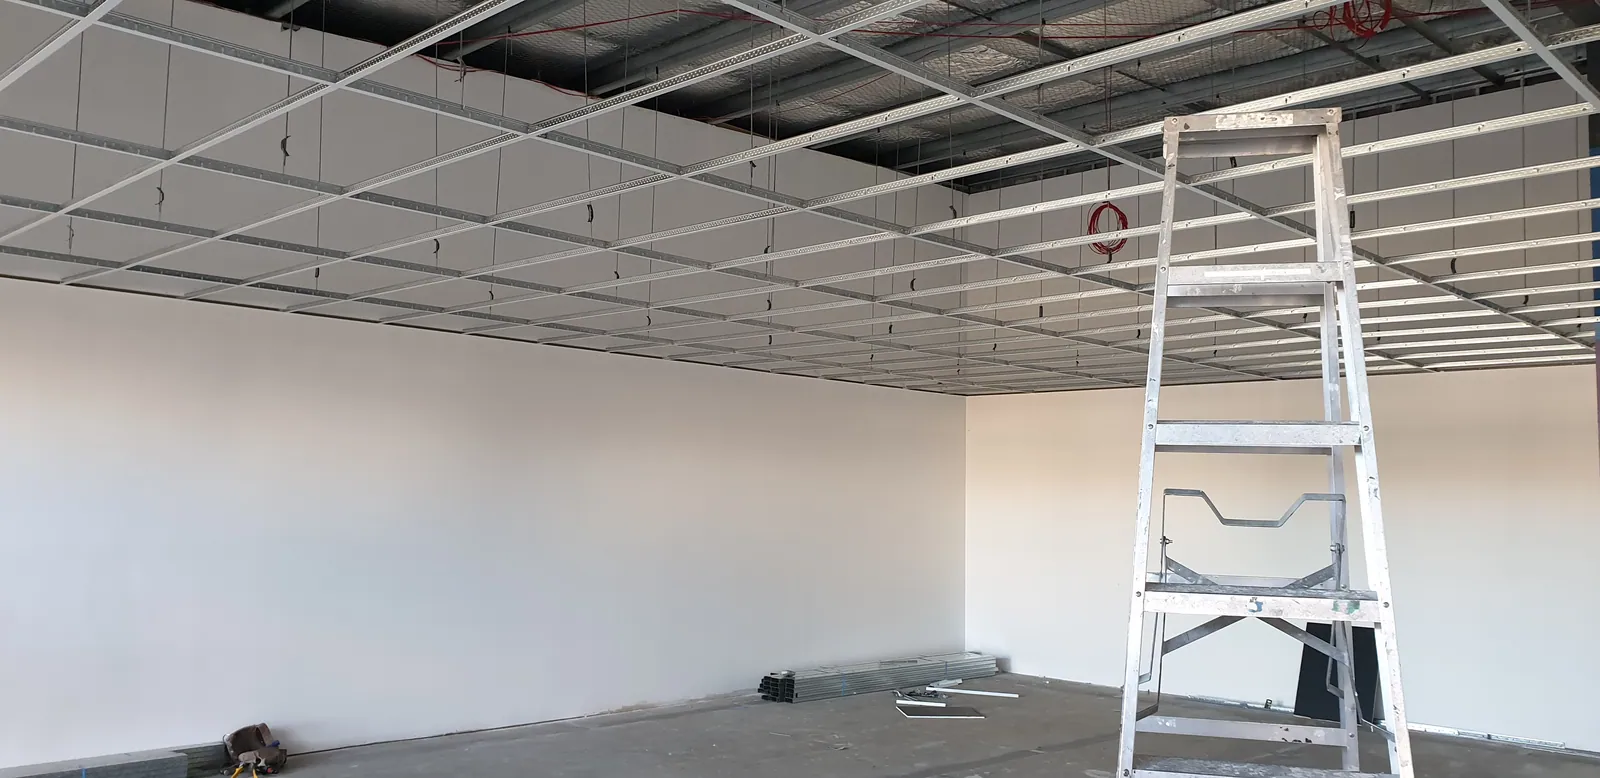
Ceiling-grid work progresses above the ladders.
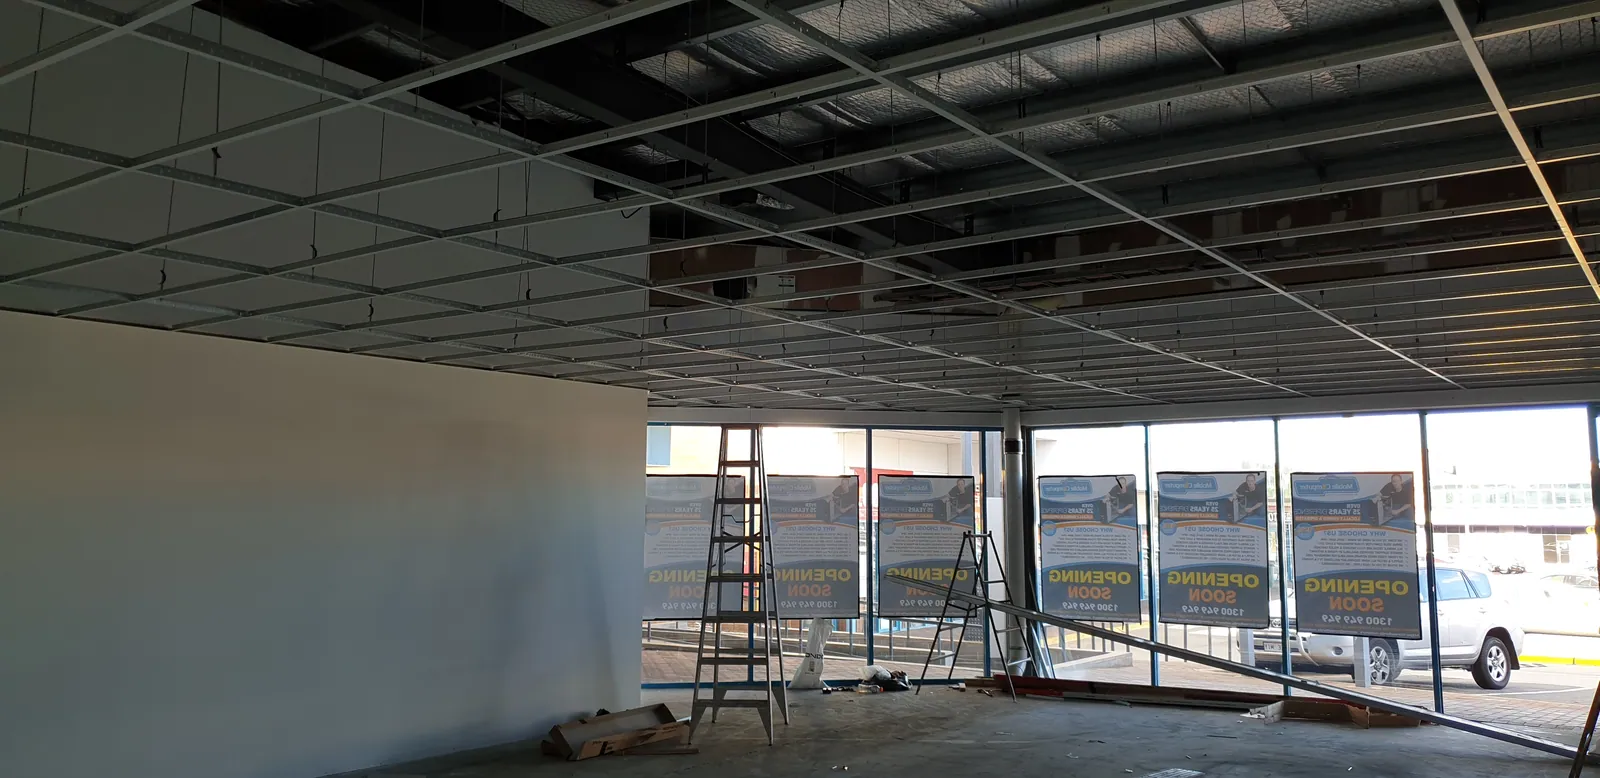
The ceiling grid extending towards the front windows.
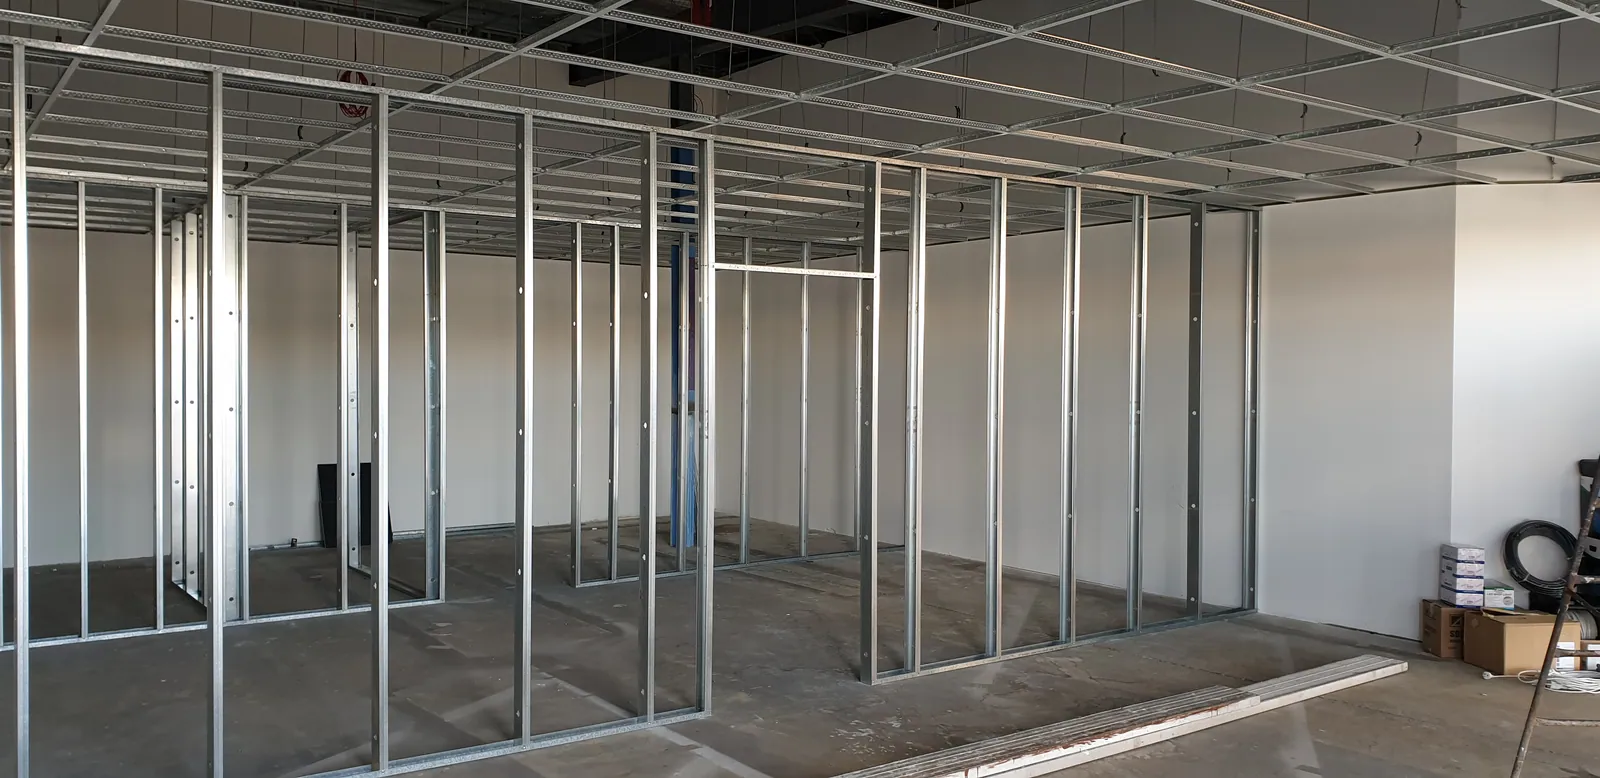
Metal wall framing divides the former open space into rooms.
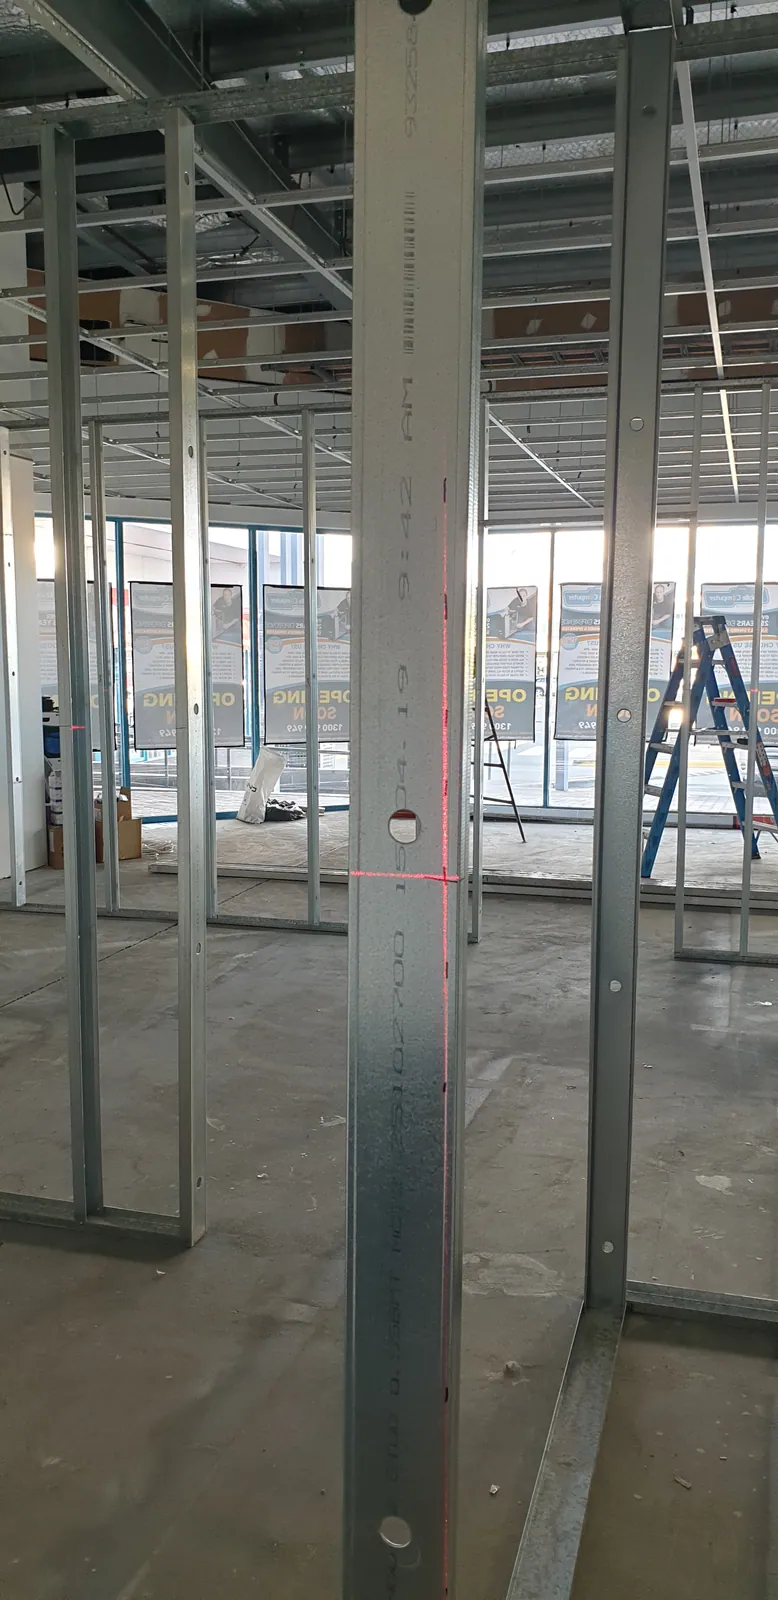
The new partition frames viewed along the internal passage.
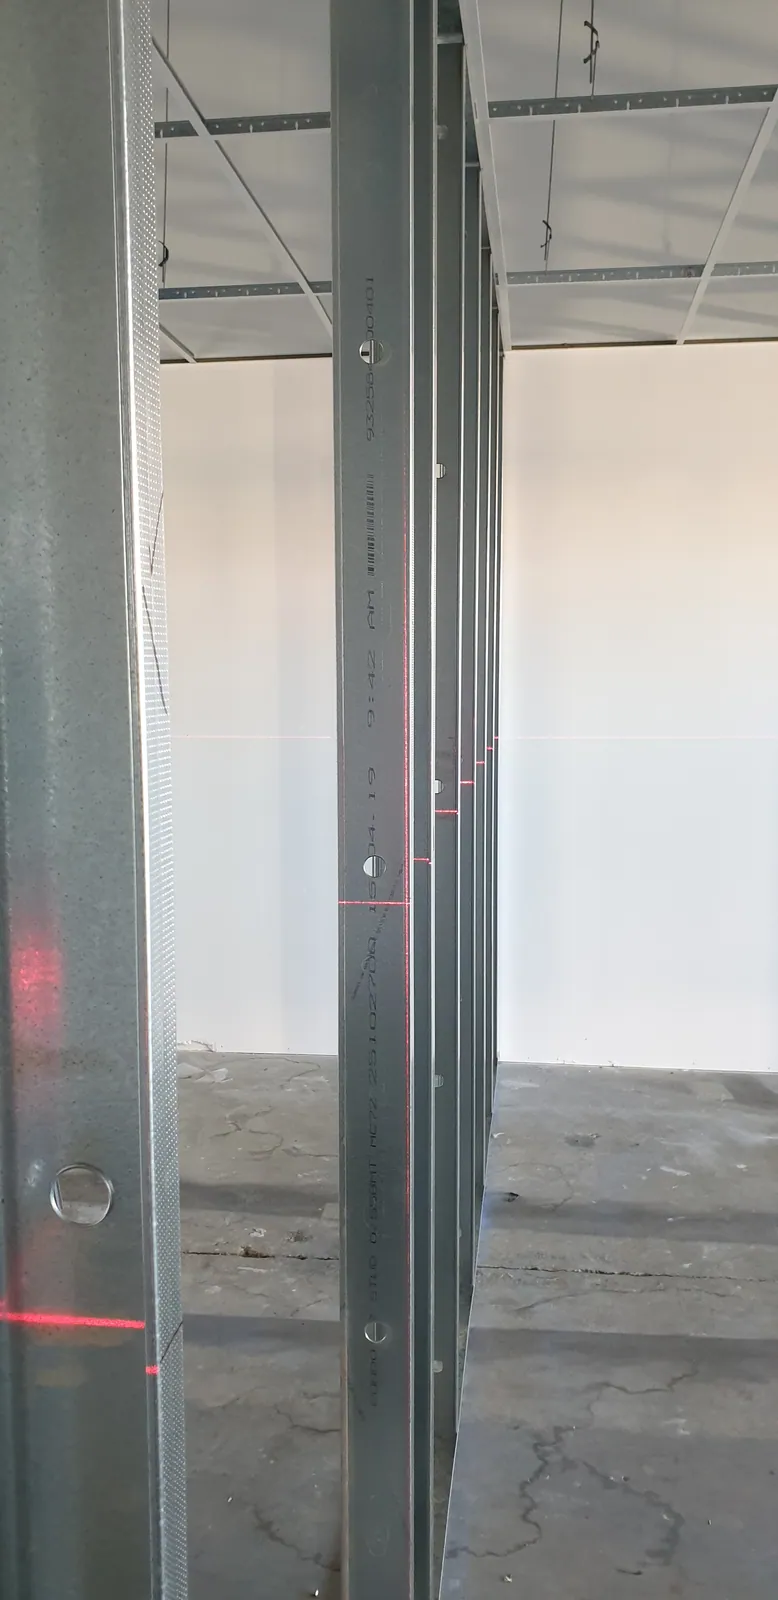
A doorway taking shape in the metal framing.
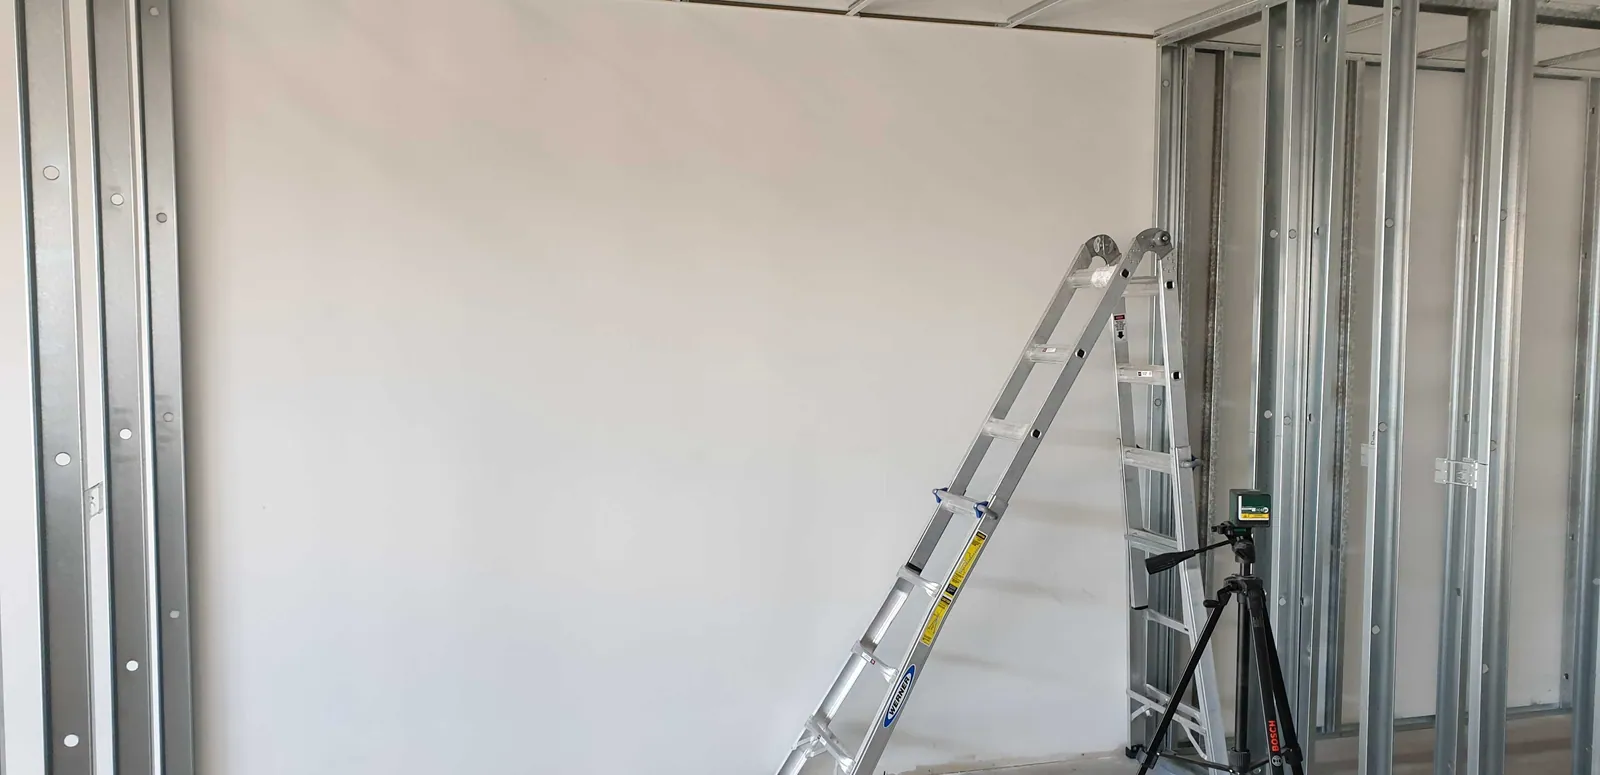
Further partition framing around the ladders and work area.
04Services and initial insulation
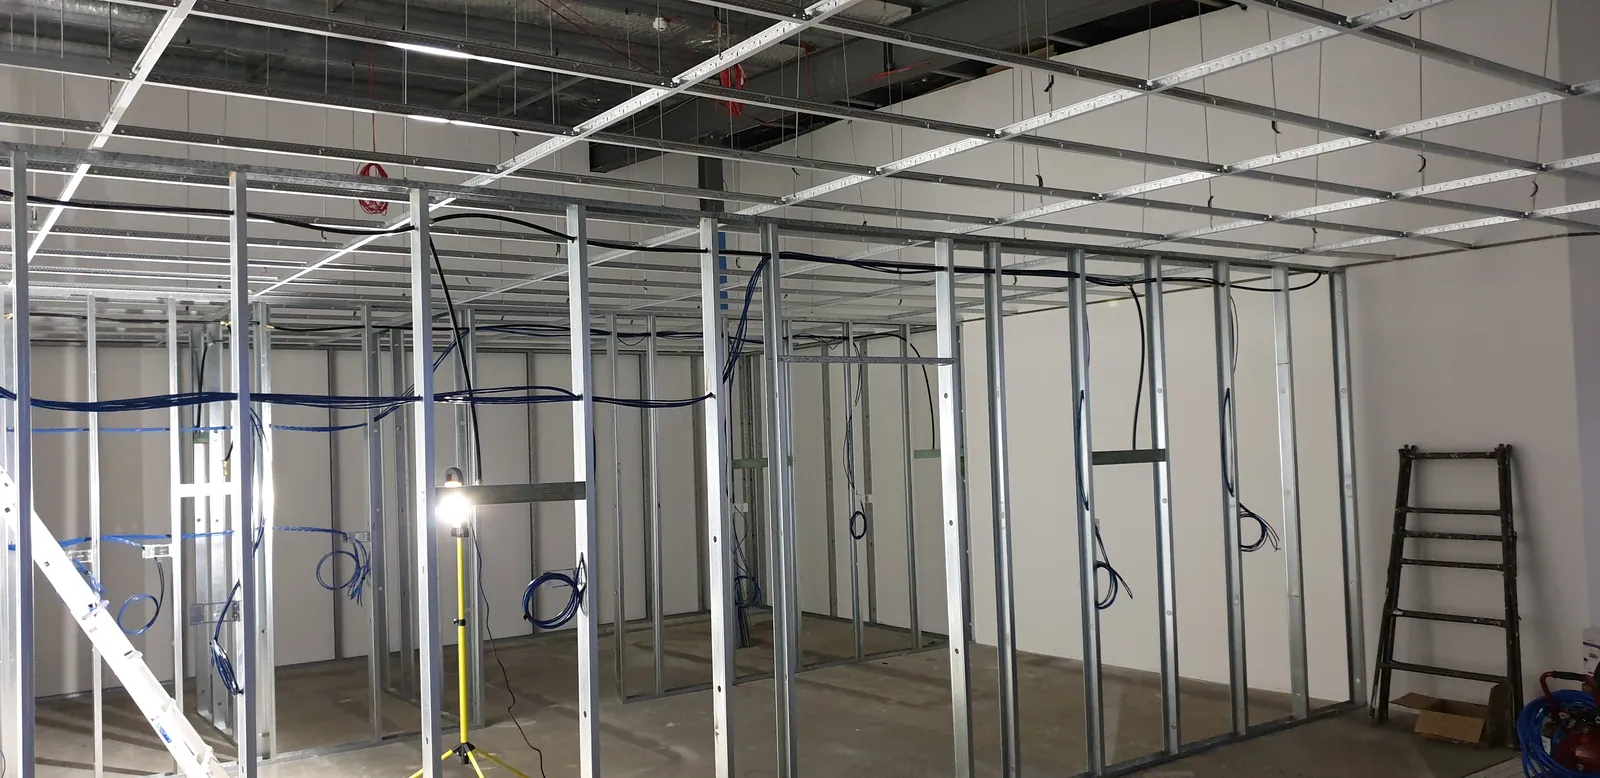
The framed rooms and cabling during an evening of construction.
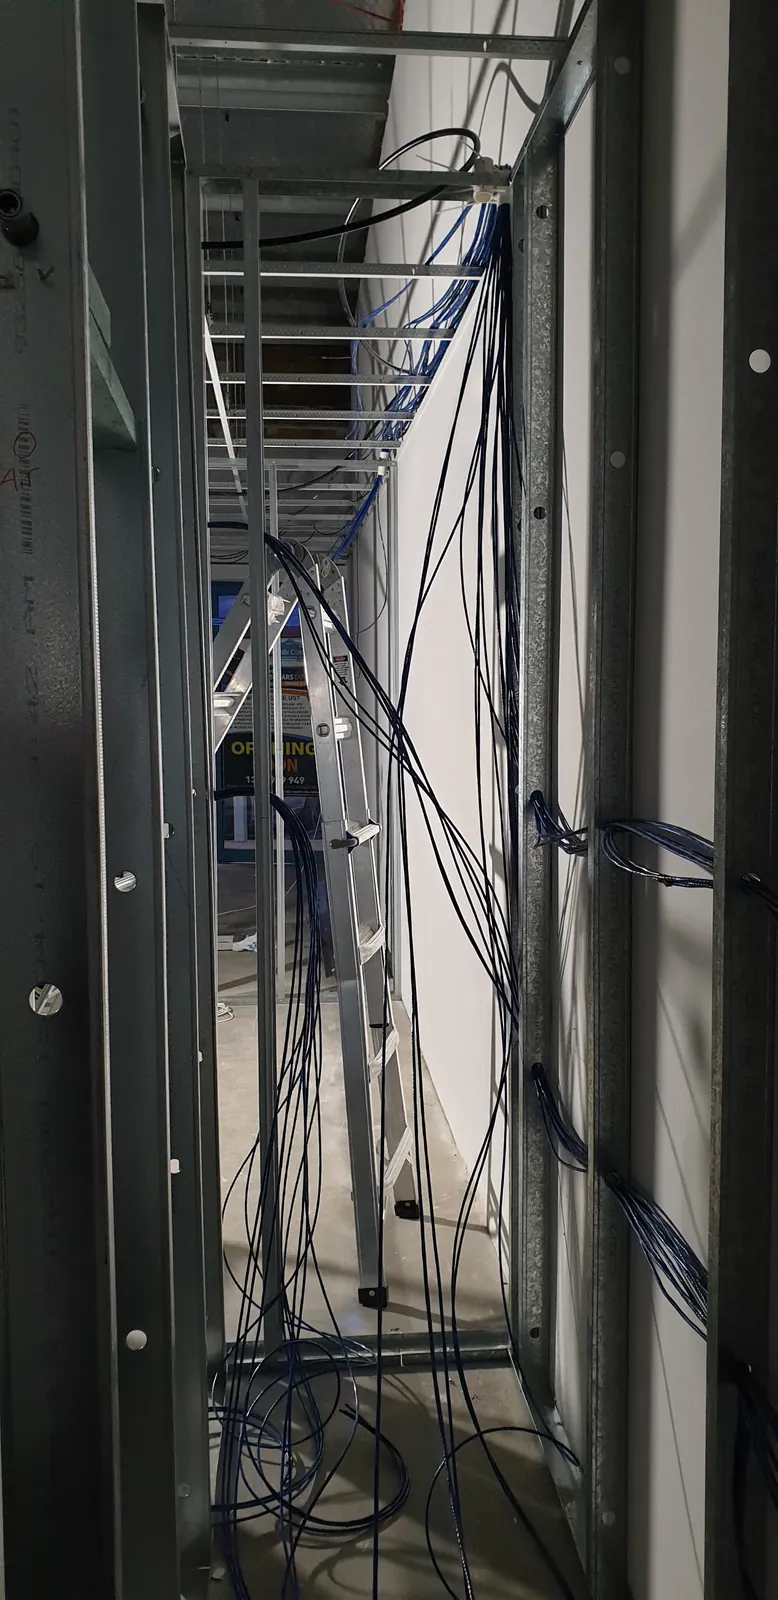
Cables gathered within the new wall framing.
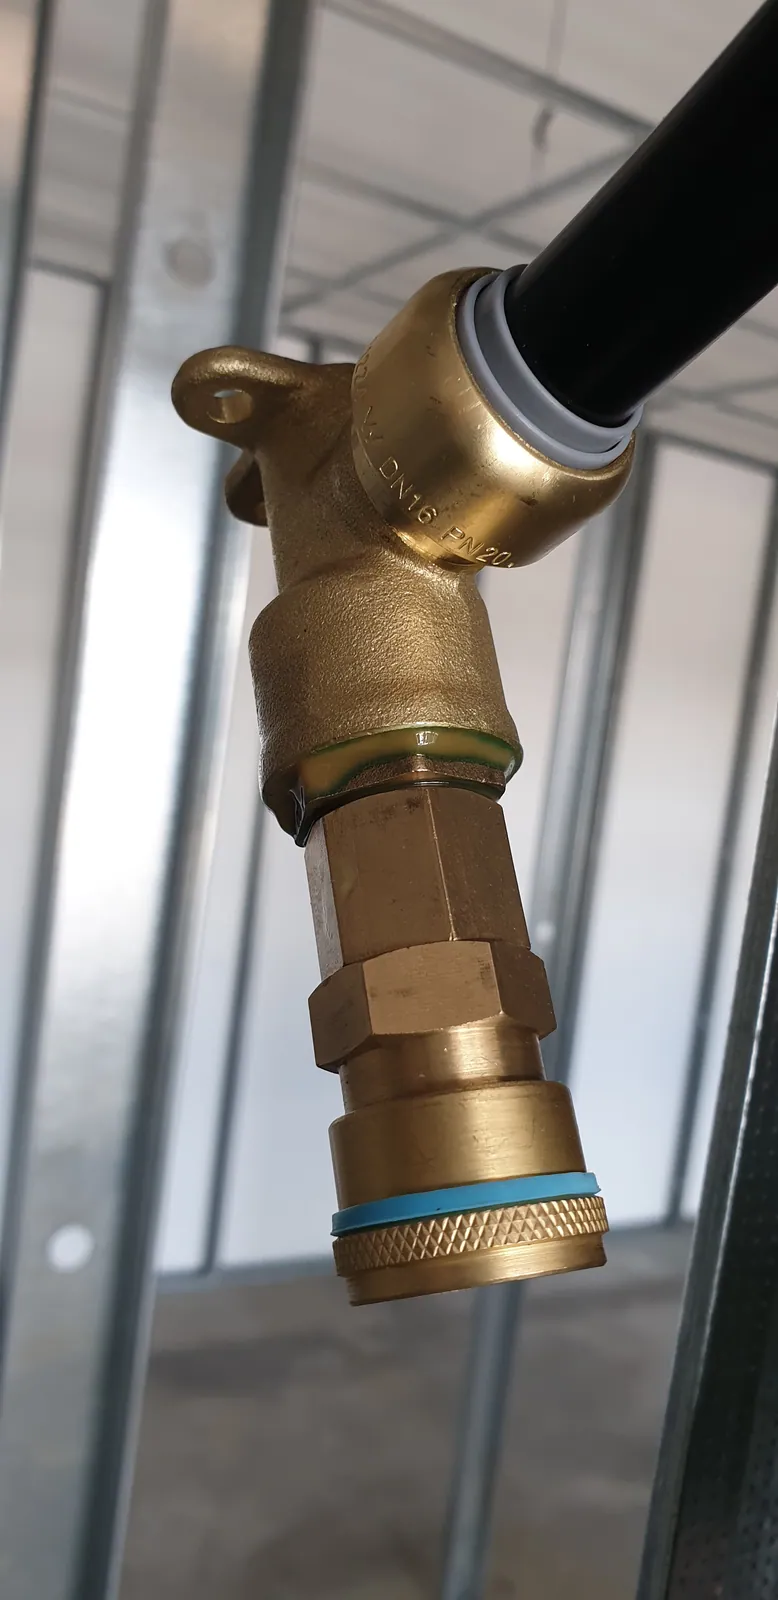
A close view of the compressed-air fittings being prepared.
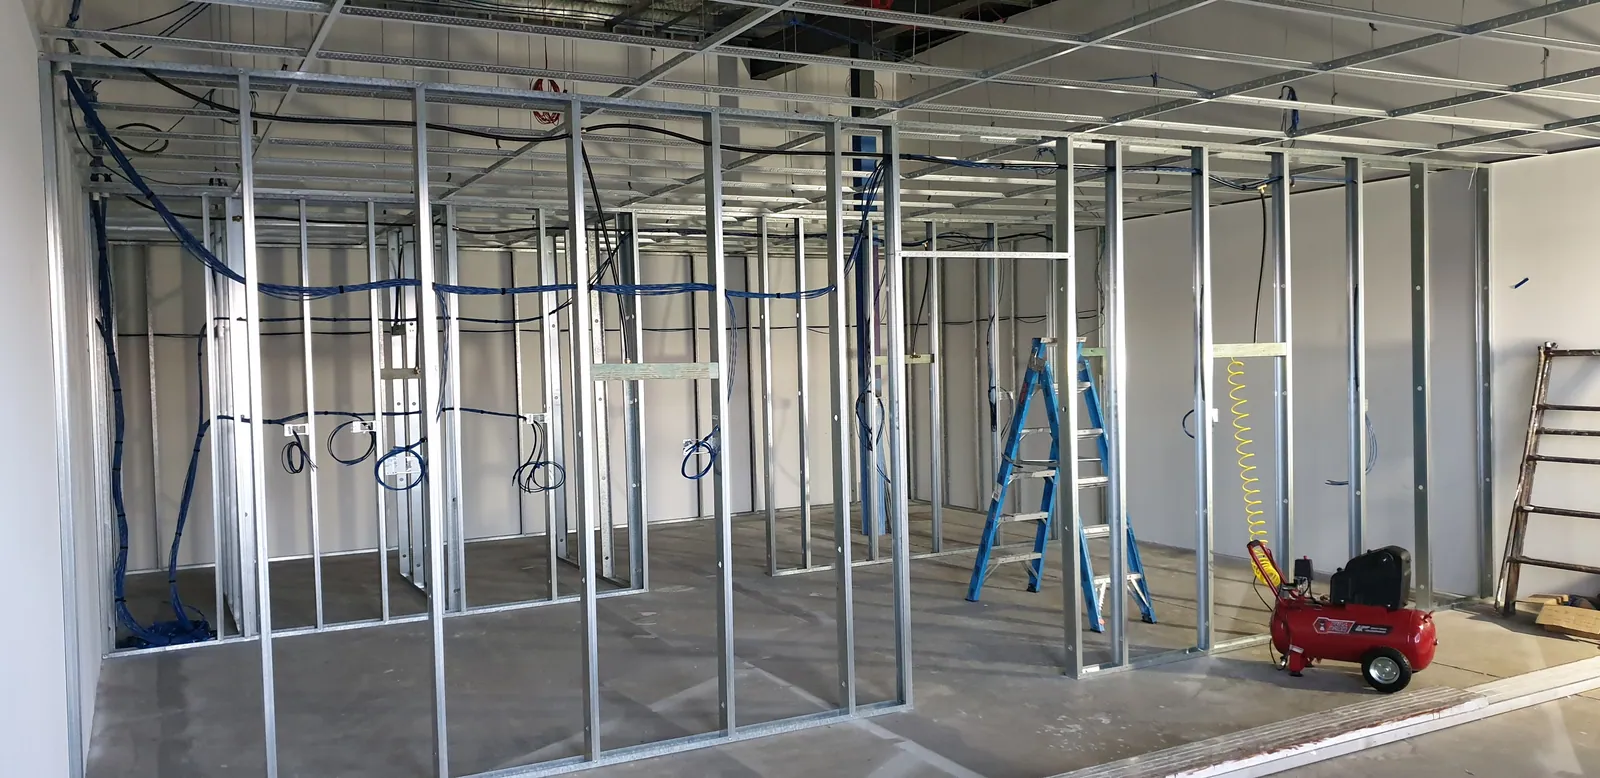
The compressor and tools inside the framed workshop.
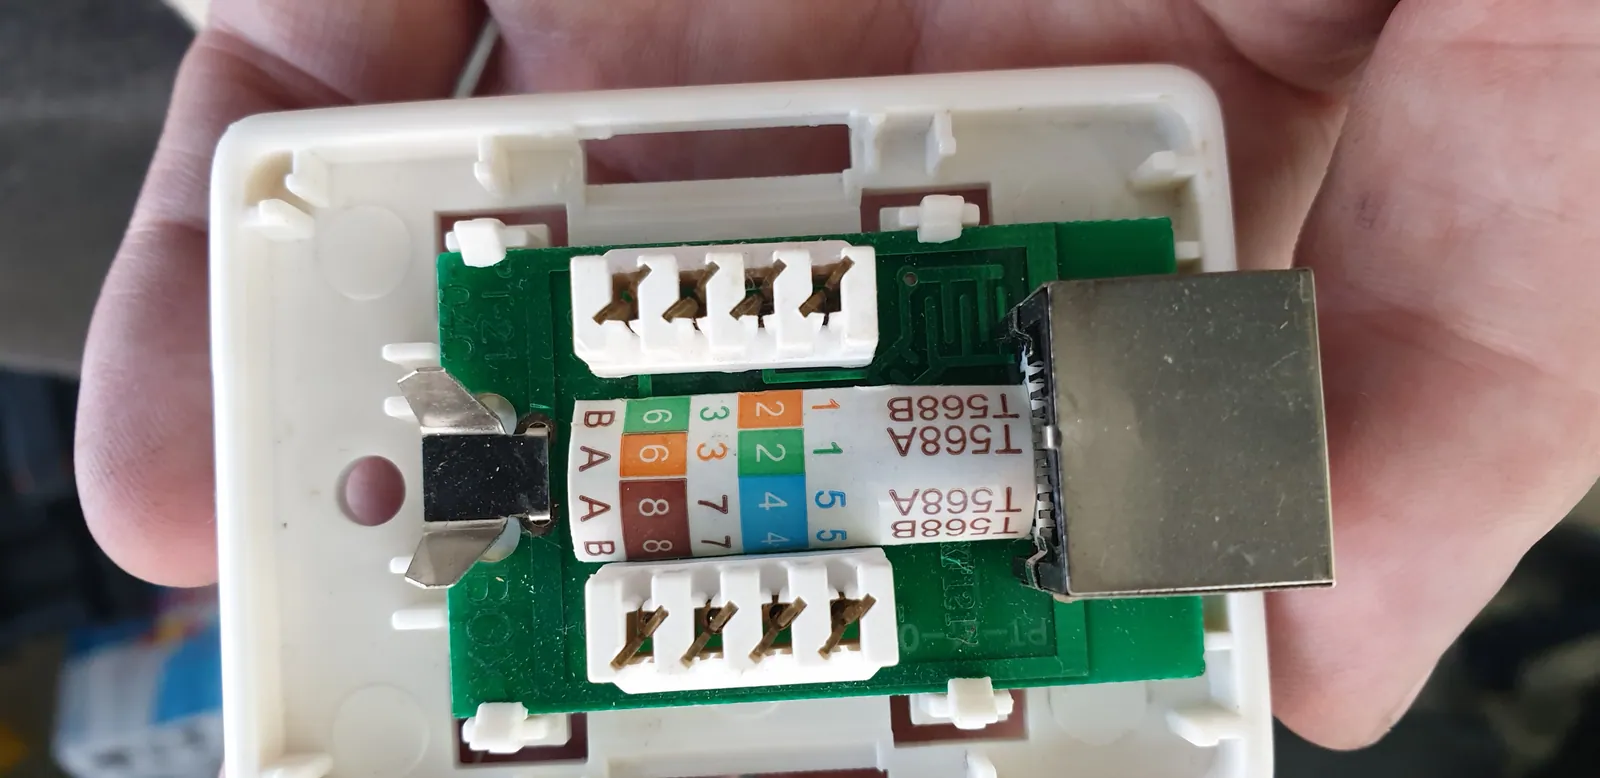
A data connection prepared for the new work areas.
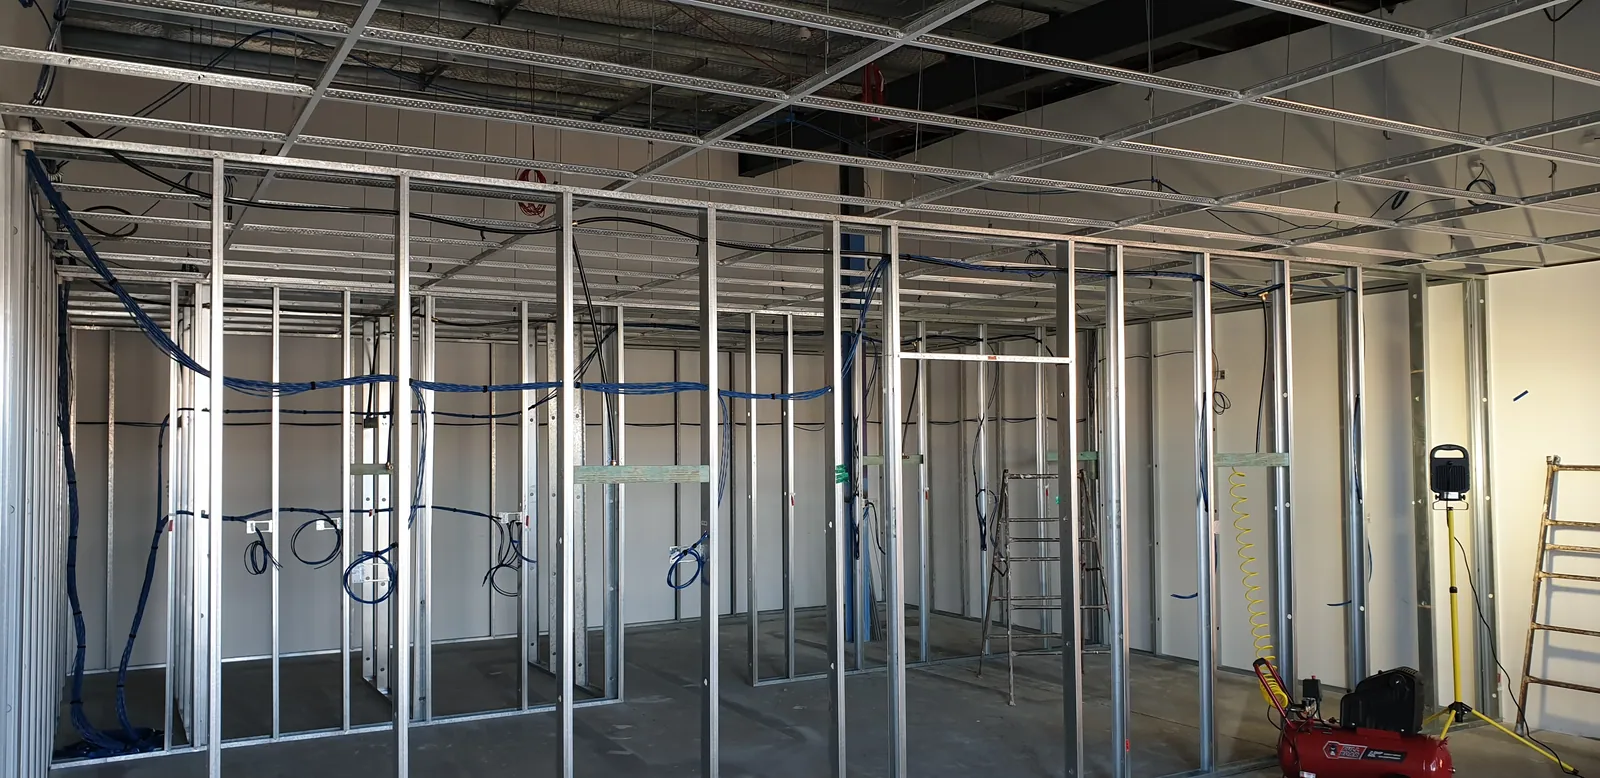
The framework and service runs viewed across the workshop.
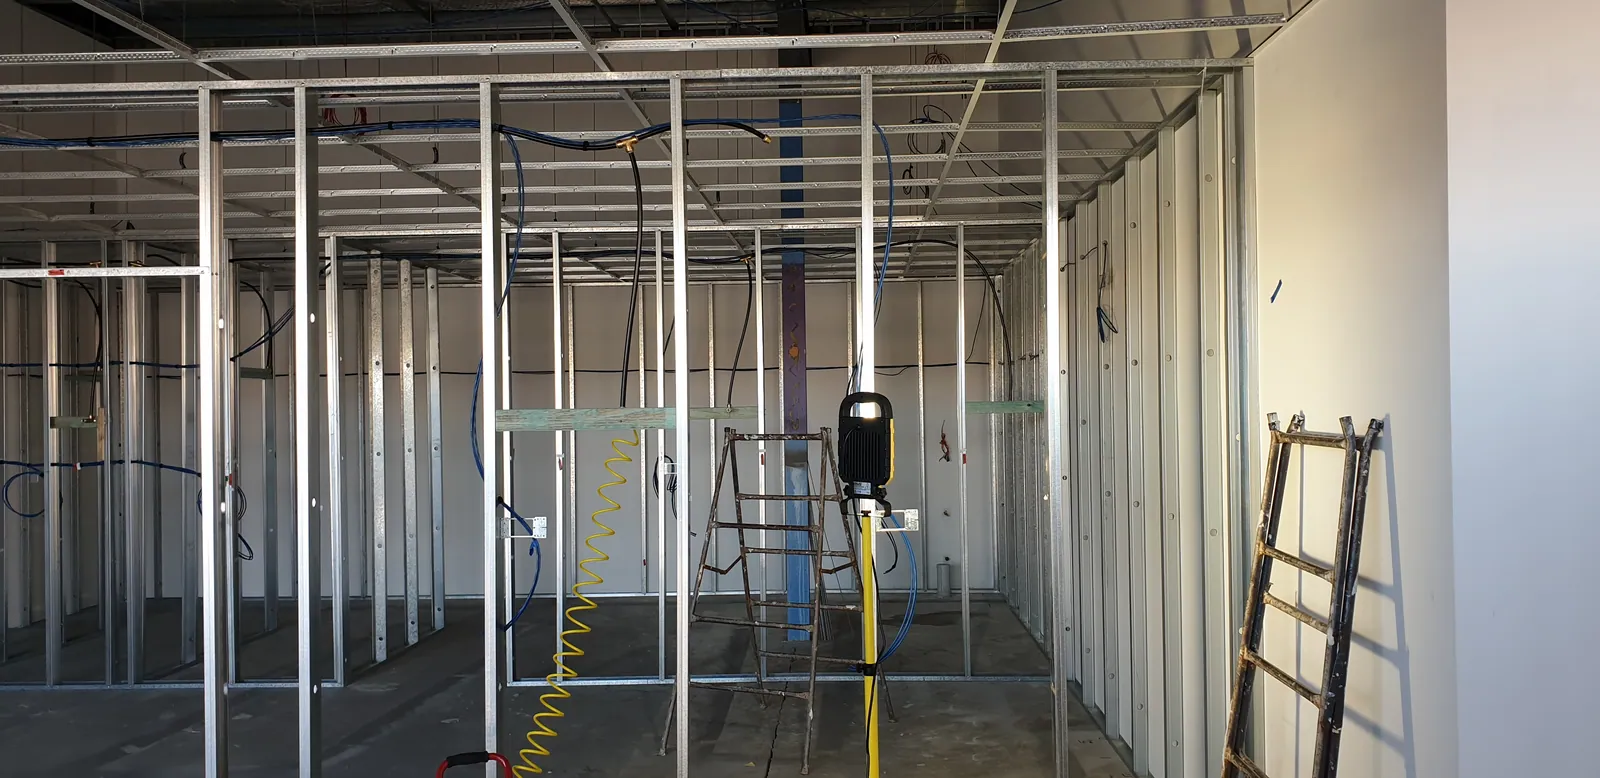
The framed passage and door openings between the rooms.
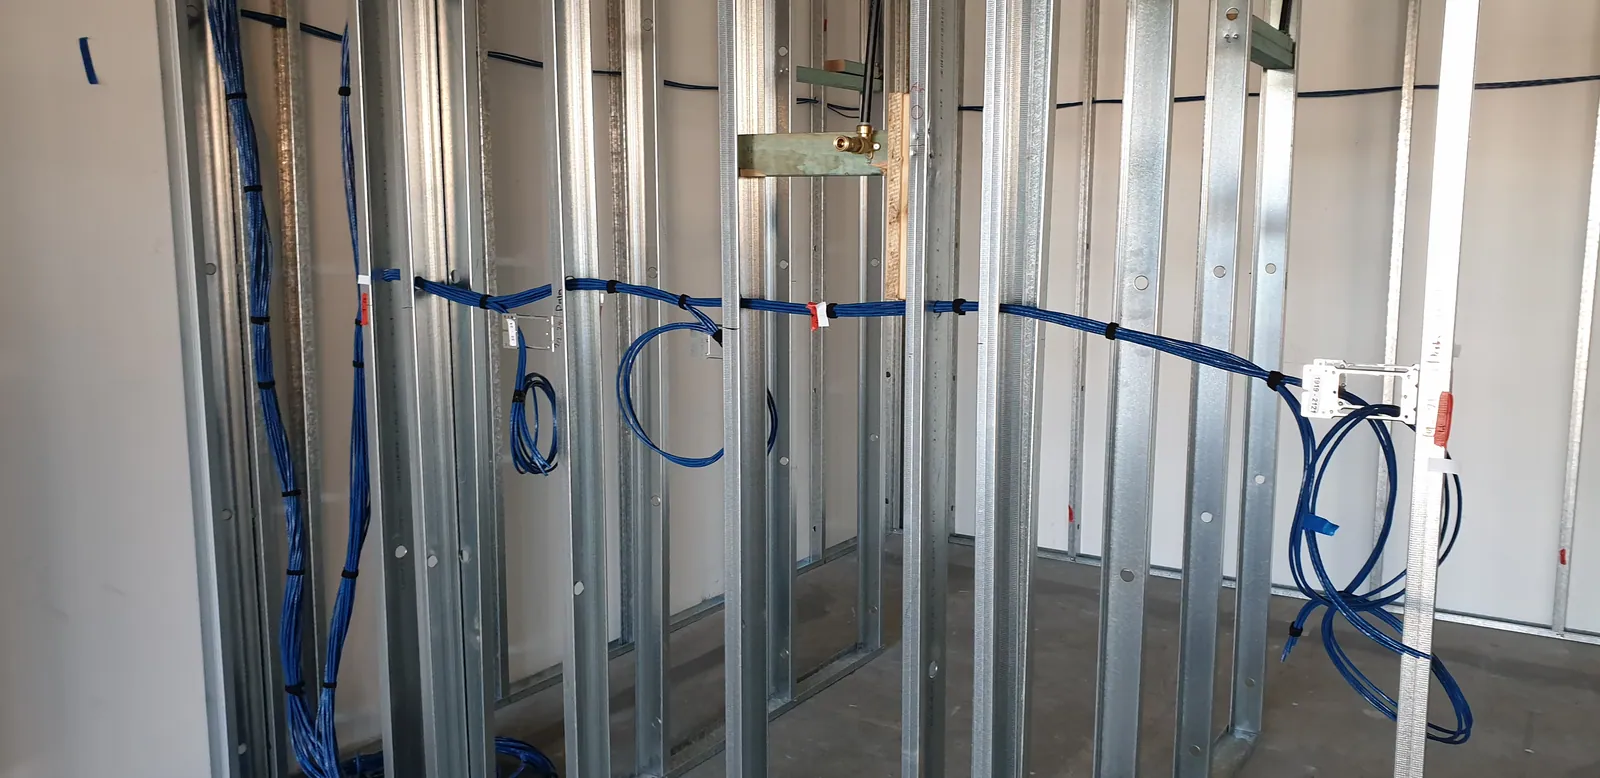
Services routed through the wall framing before lining.
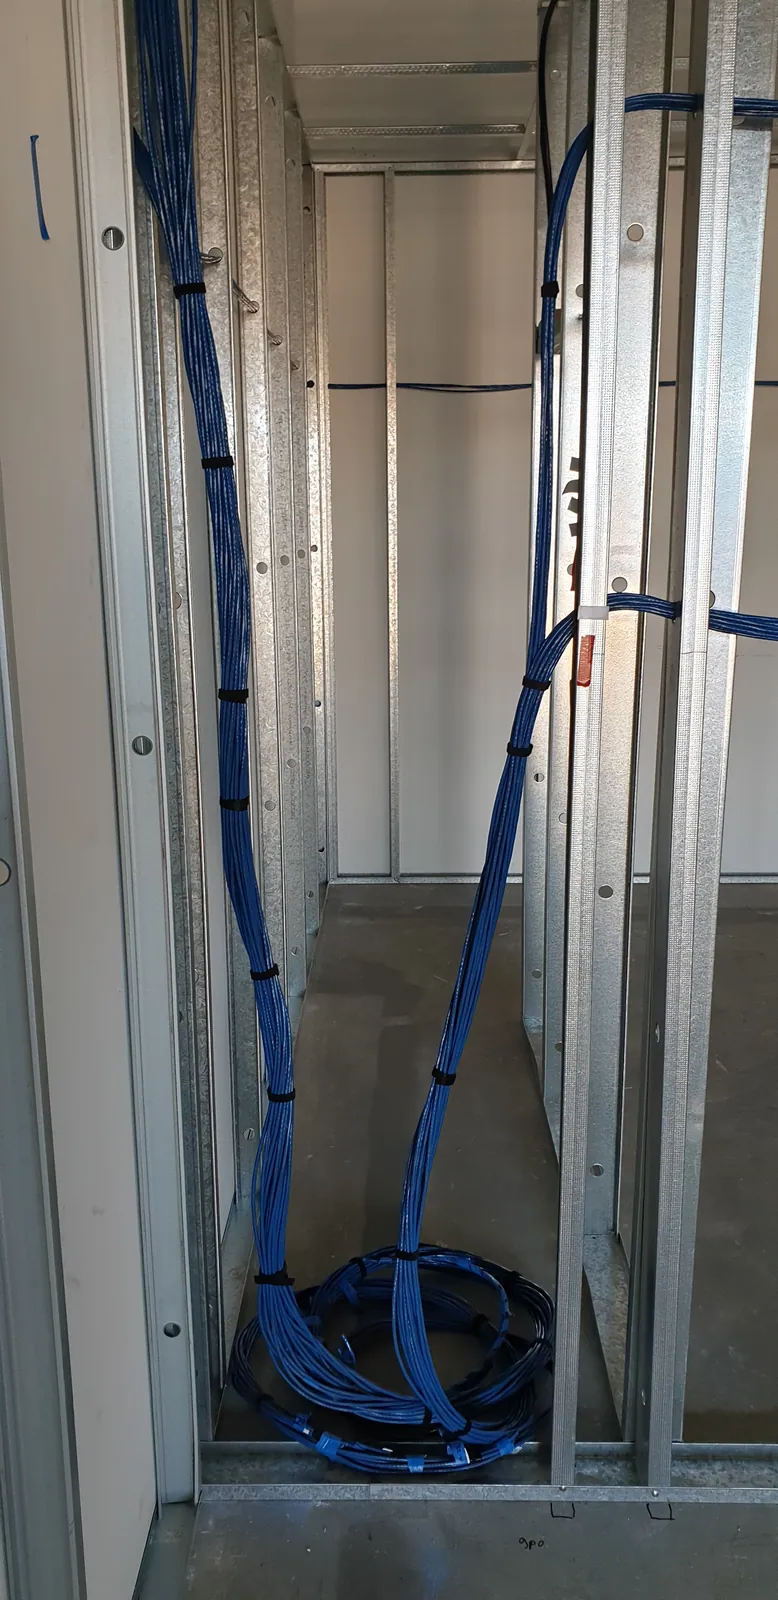
Blue service lines running through the new partitions.
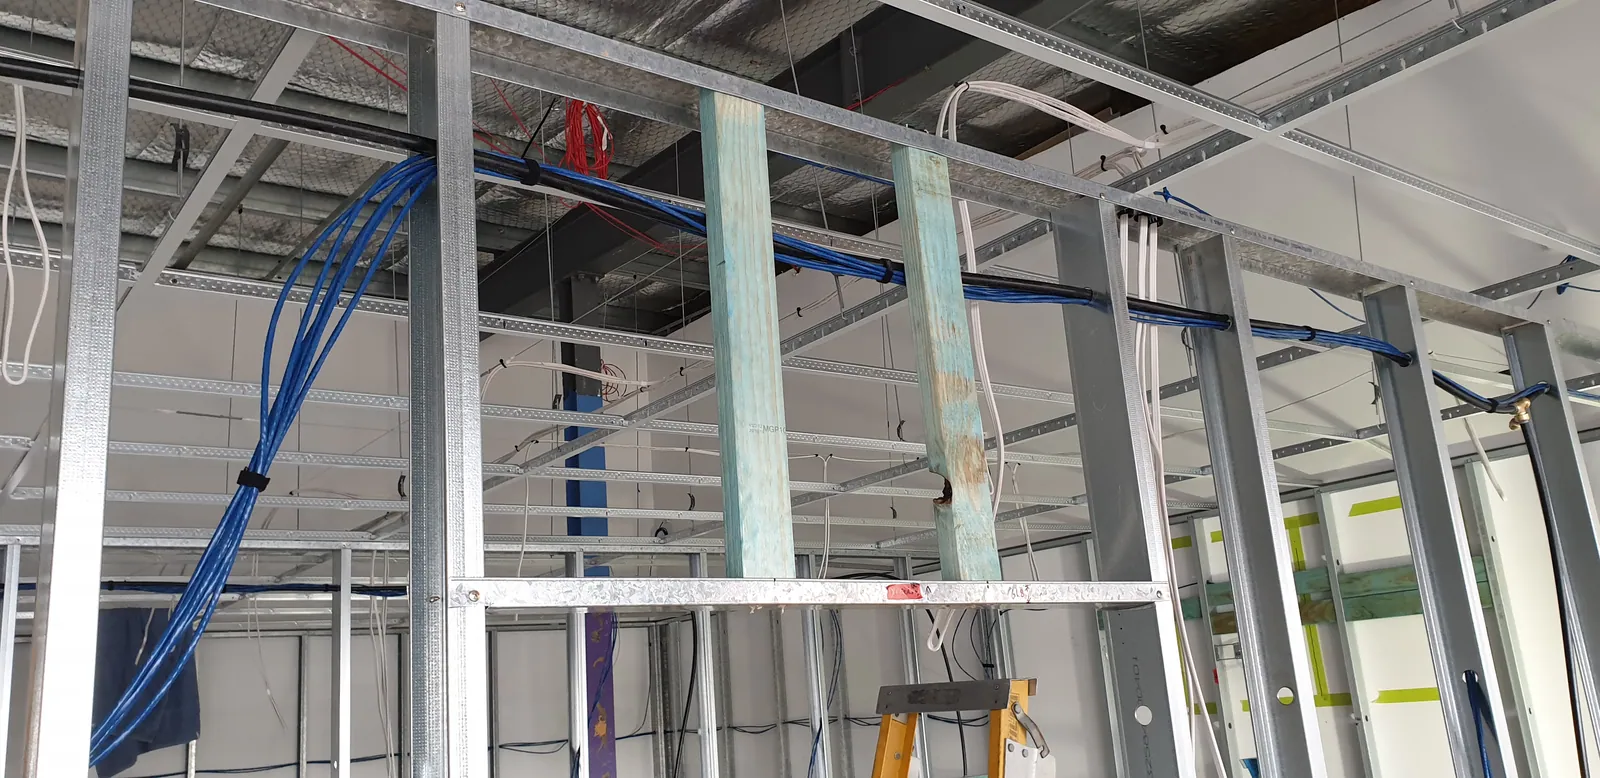
Cables brought down from above into the wall cavity.
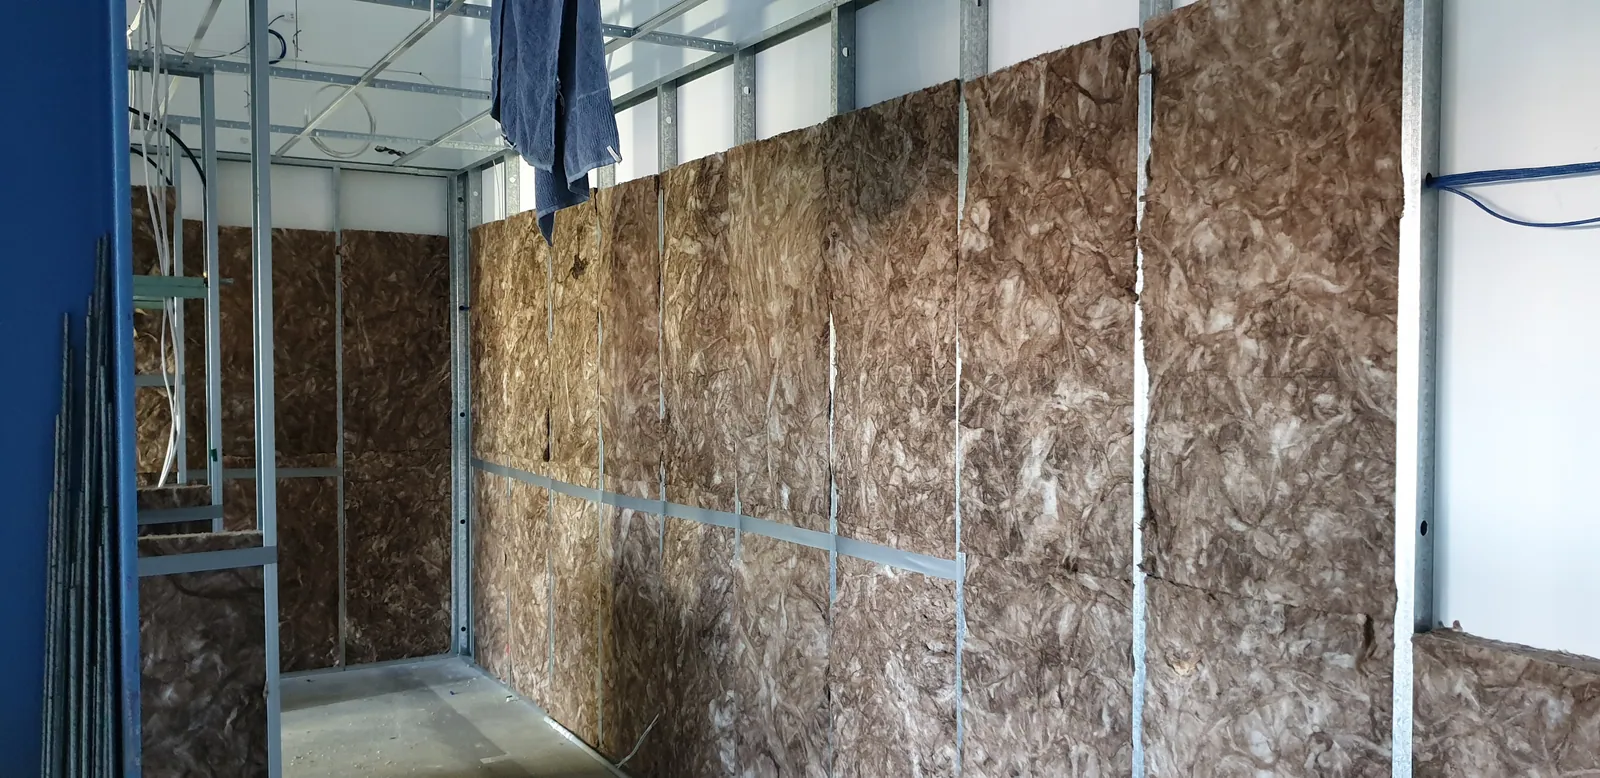
Insulation being fitted between the wall studs.
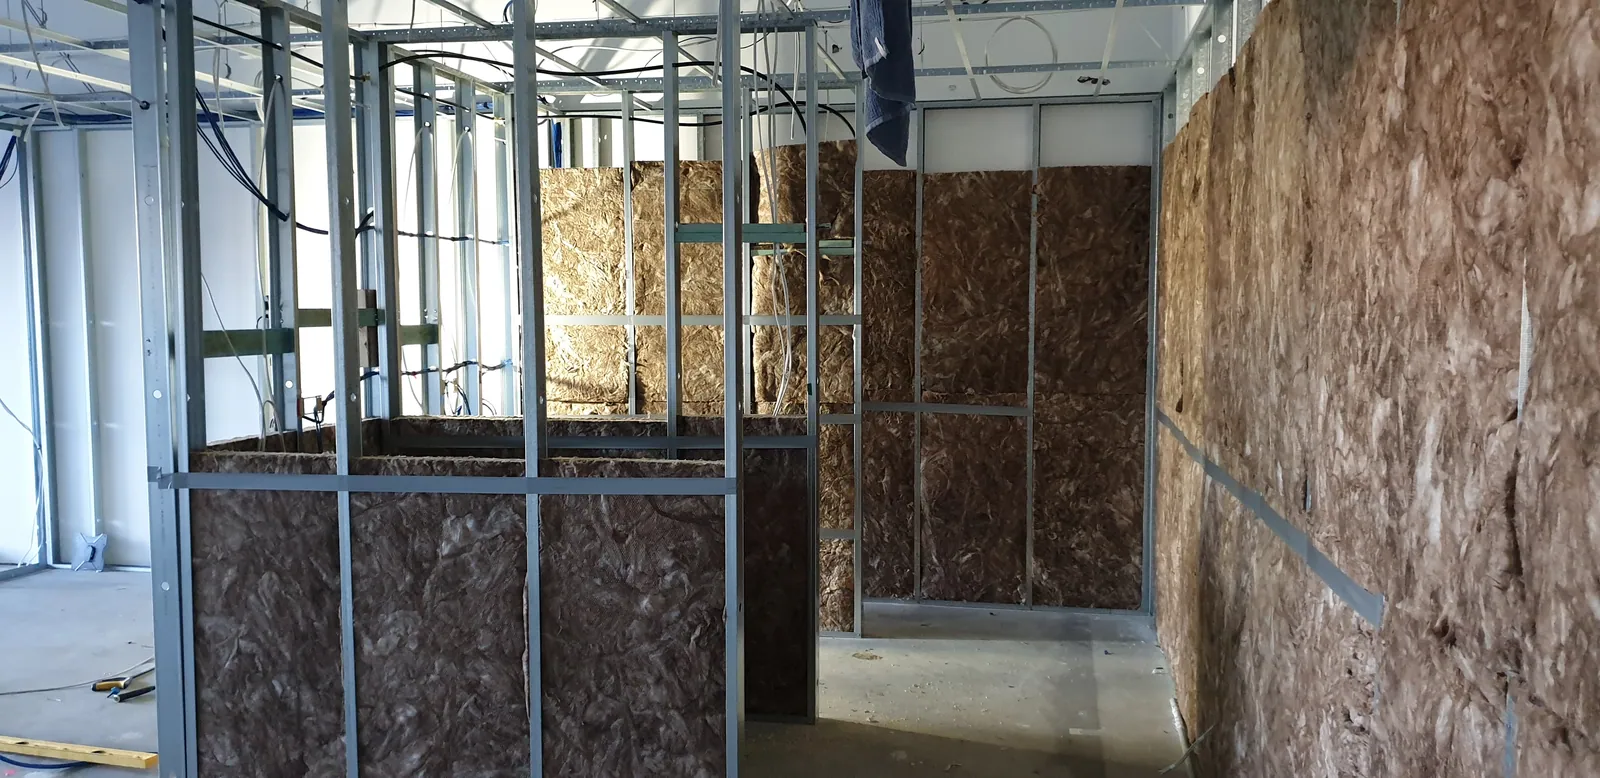
Insulation added around a corner of the new rooms.
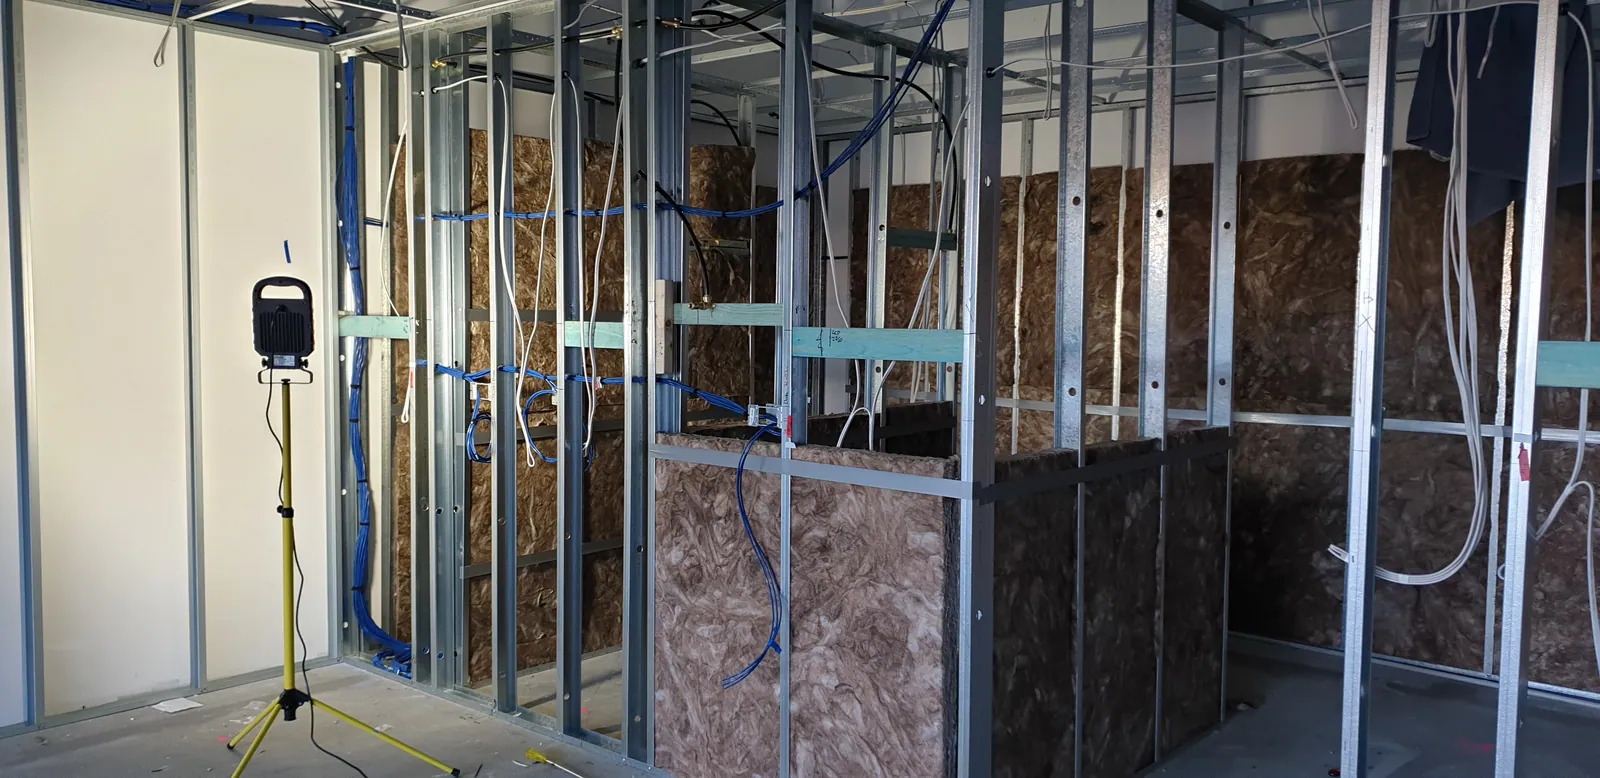
The partly insulated partitions and the remaining open framework.
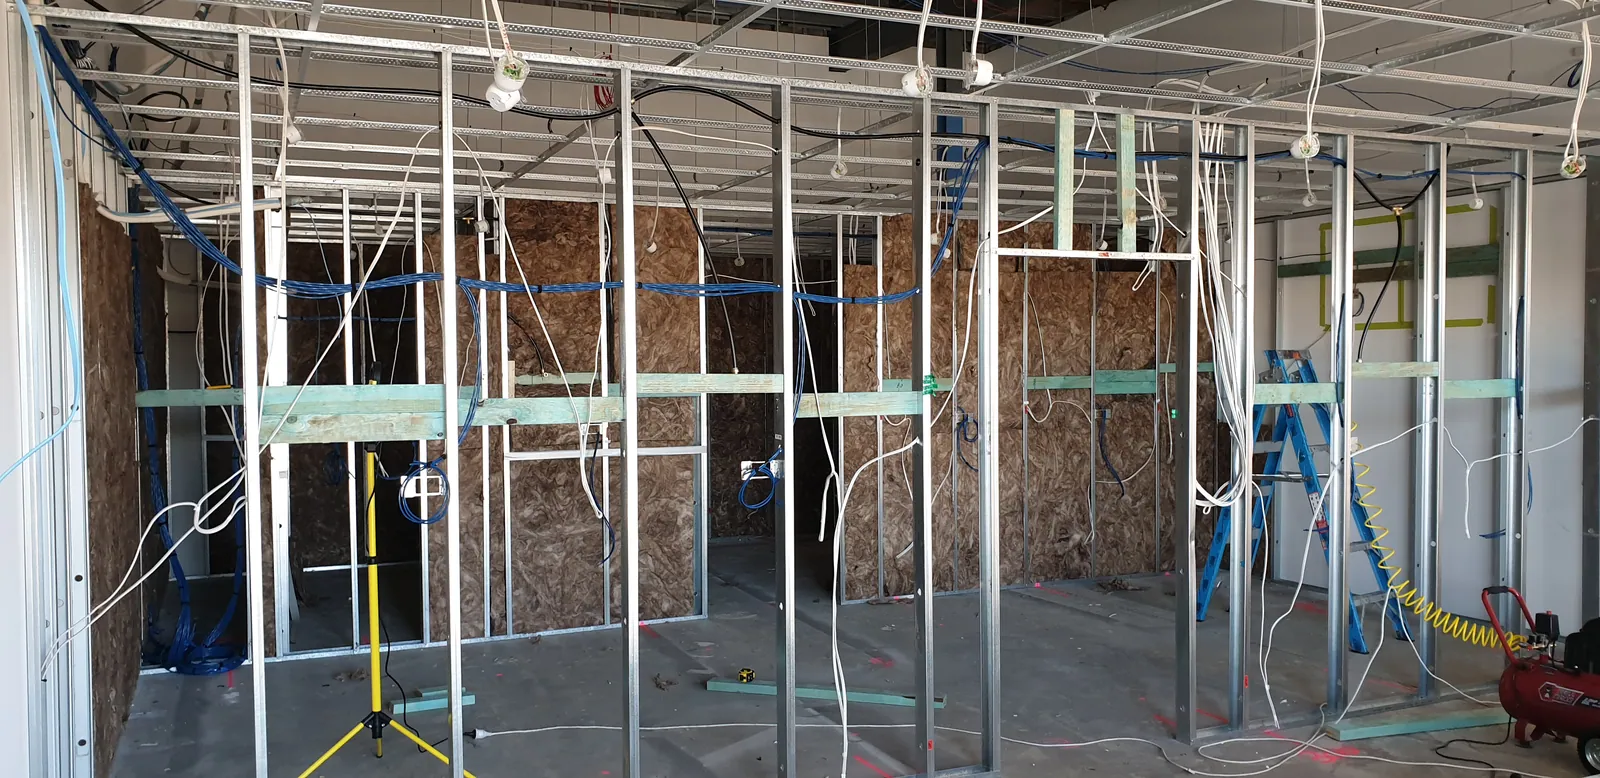
The insulation work progressing across the framed rooms.
05Insulation and Opening Soon frontage
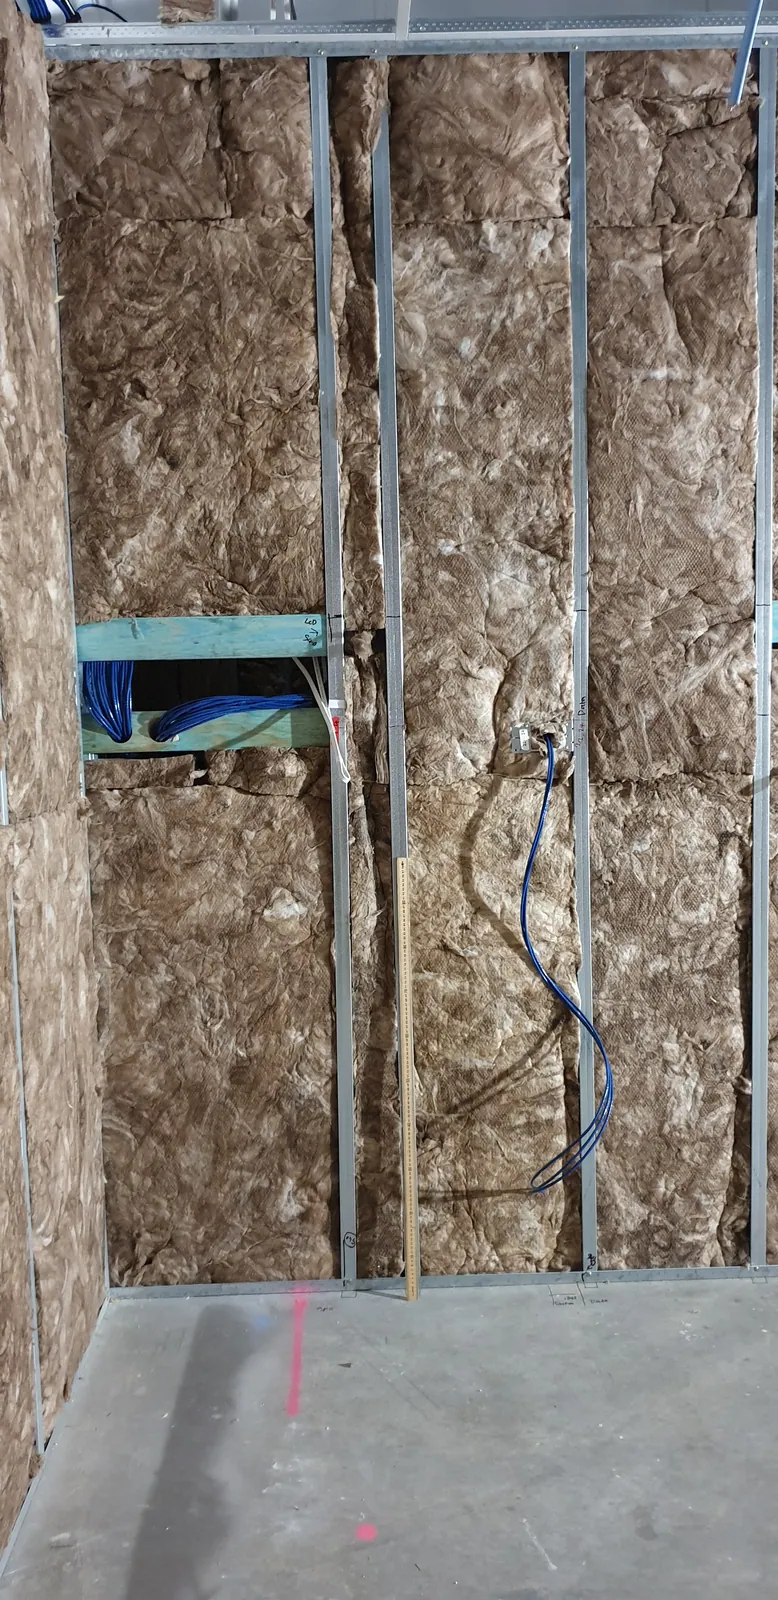
A closer view of insulation within the vertical wall framing.
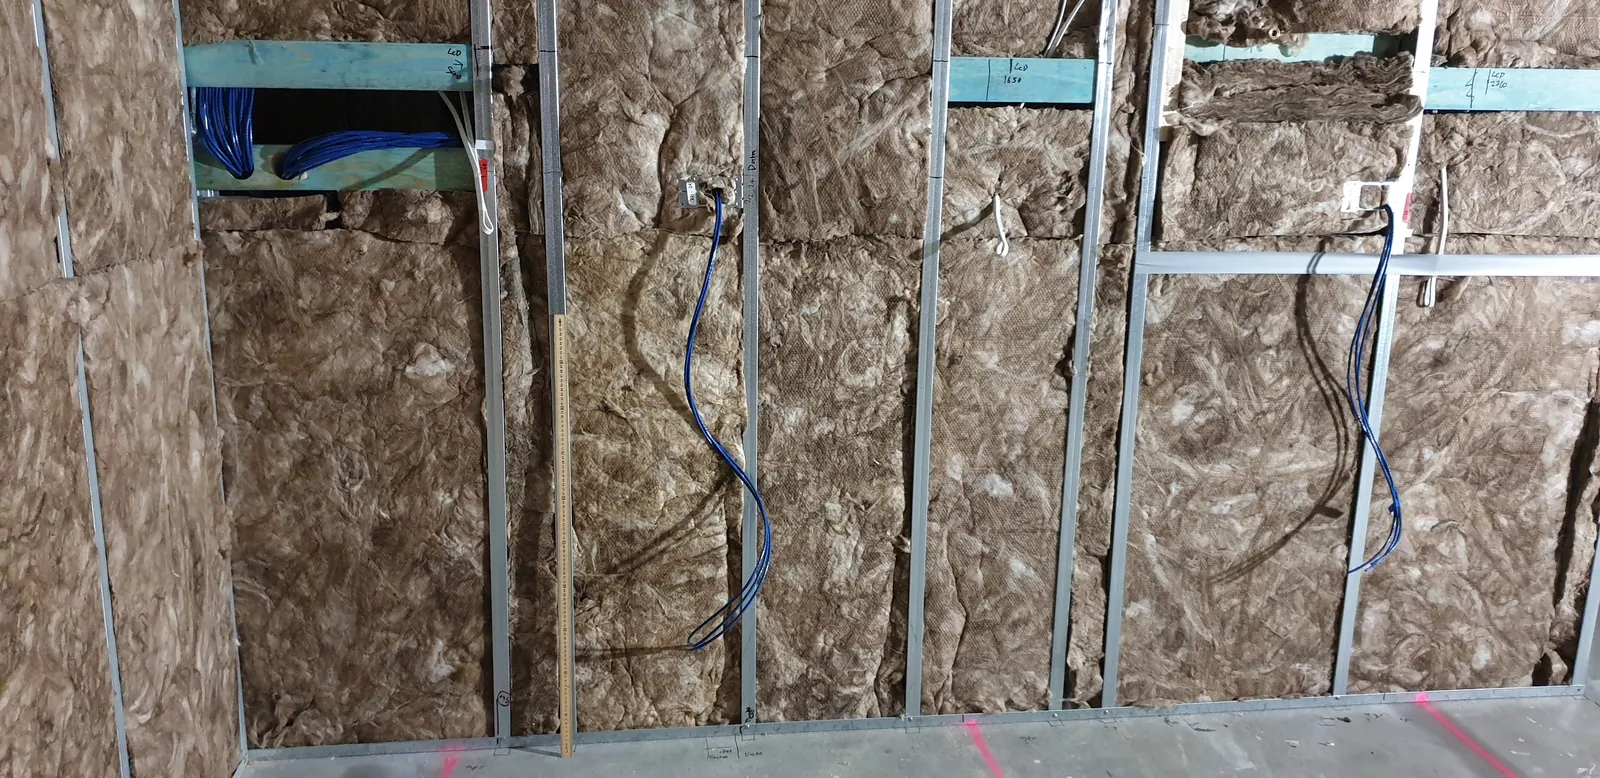
Insulation and service runs before the wall lining covers them.
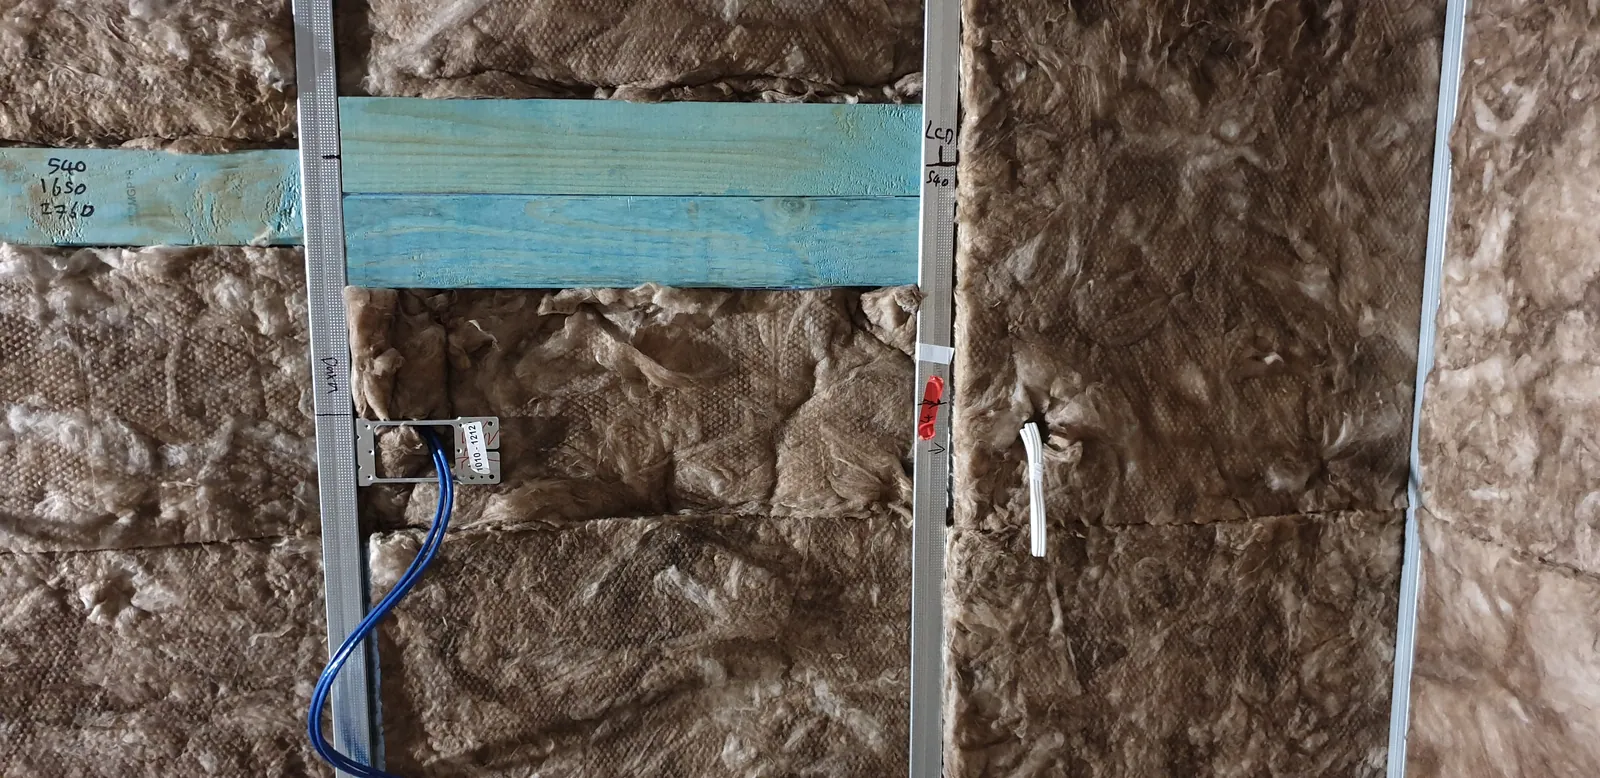
A service connection within the open partition.
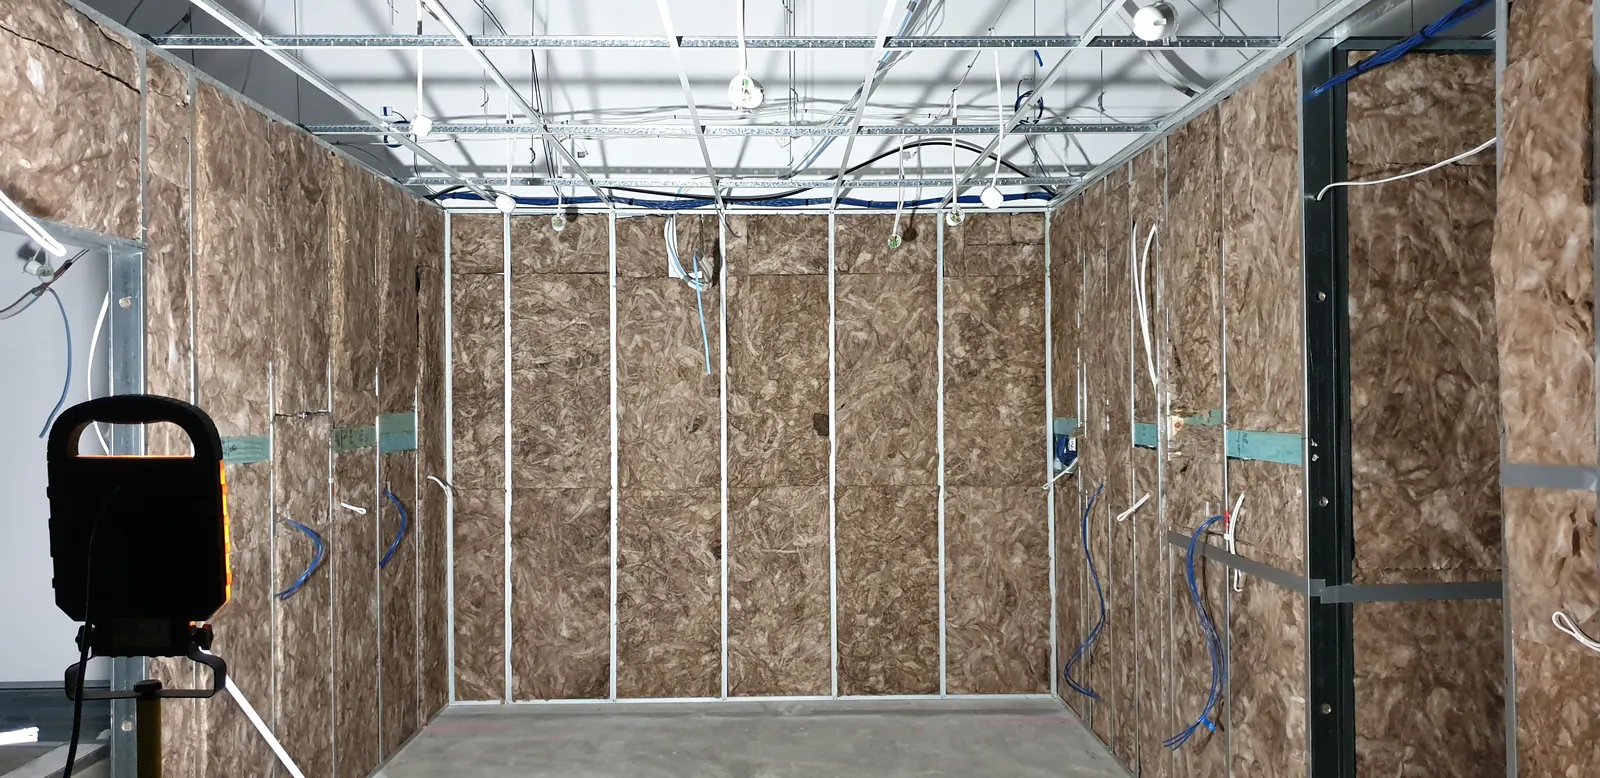
The workshop walls filled with insulation before plasterboard.
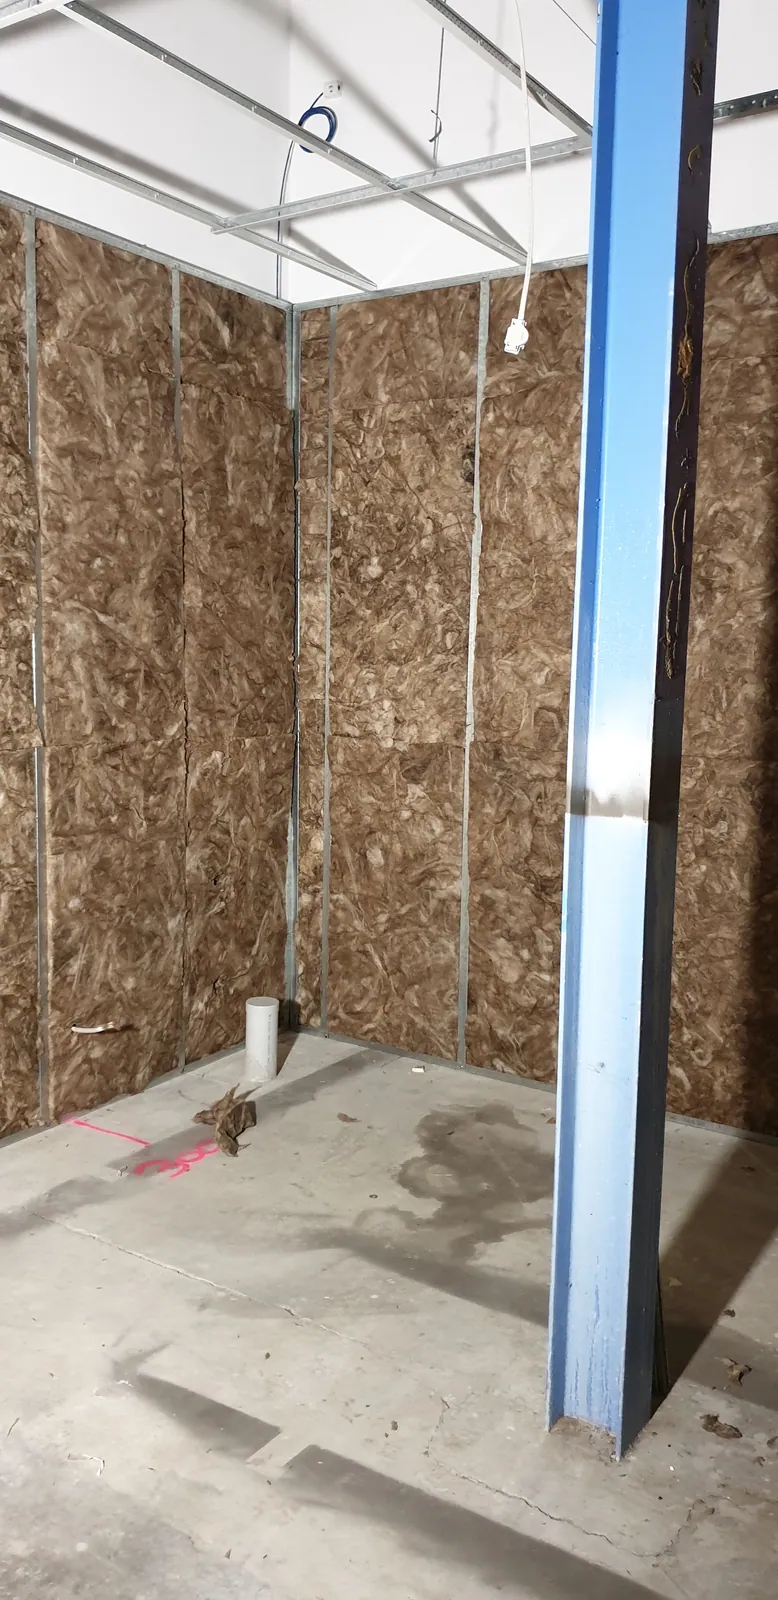
The framed doorway between the insulated rooms.
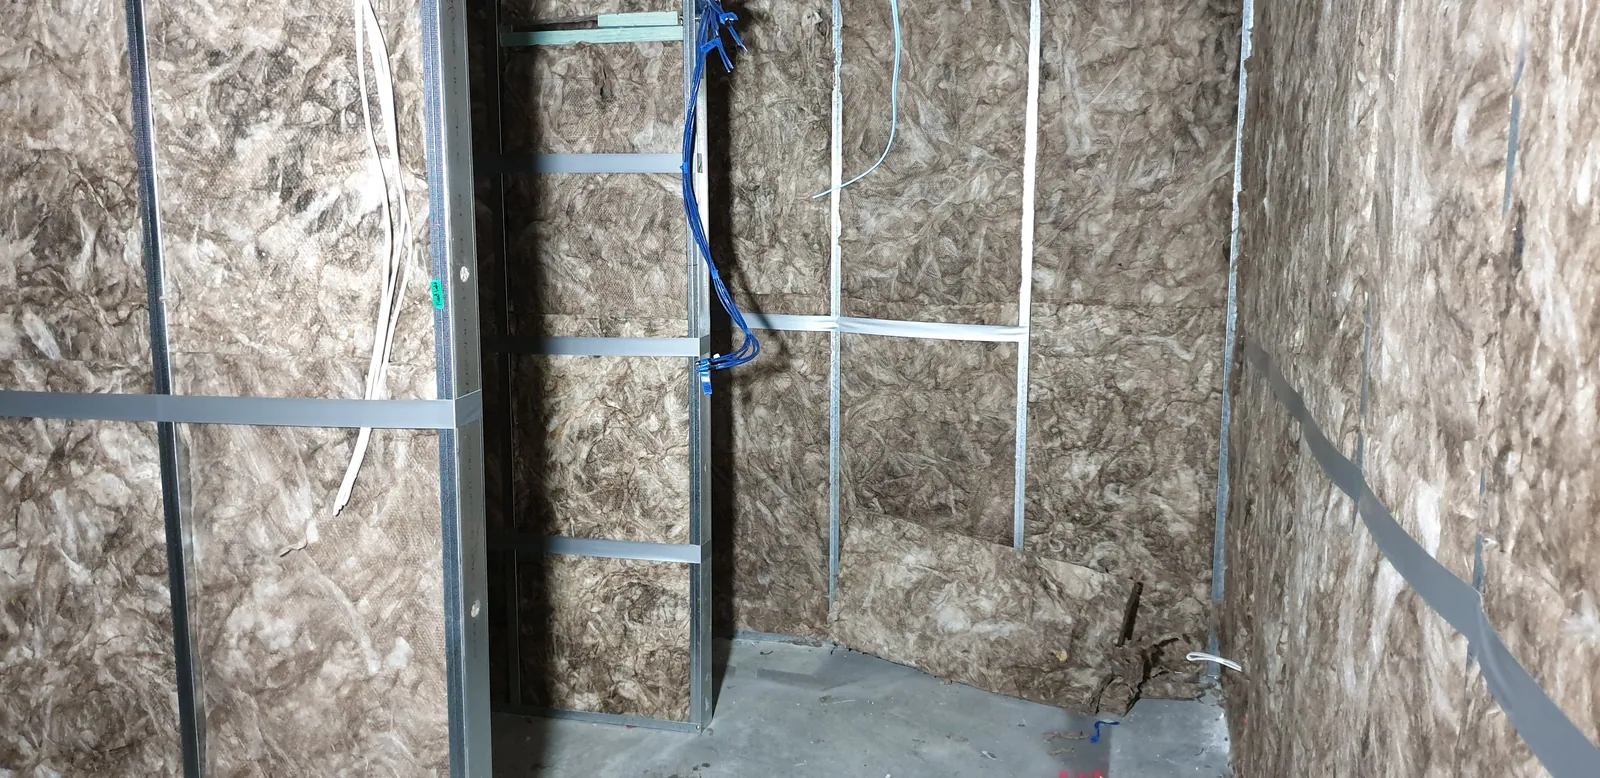
Service routes through the insulated wall.
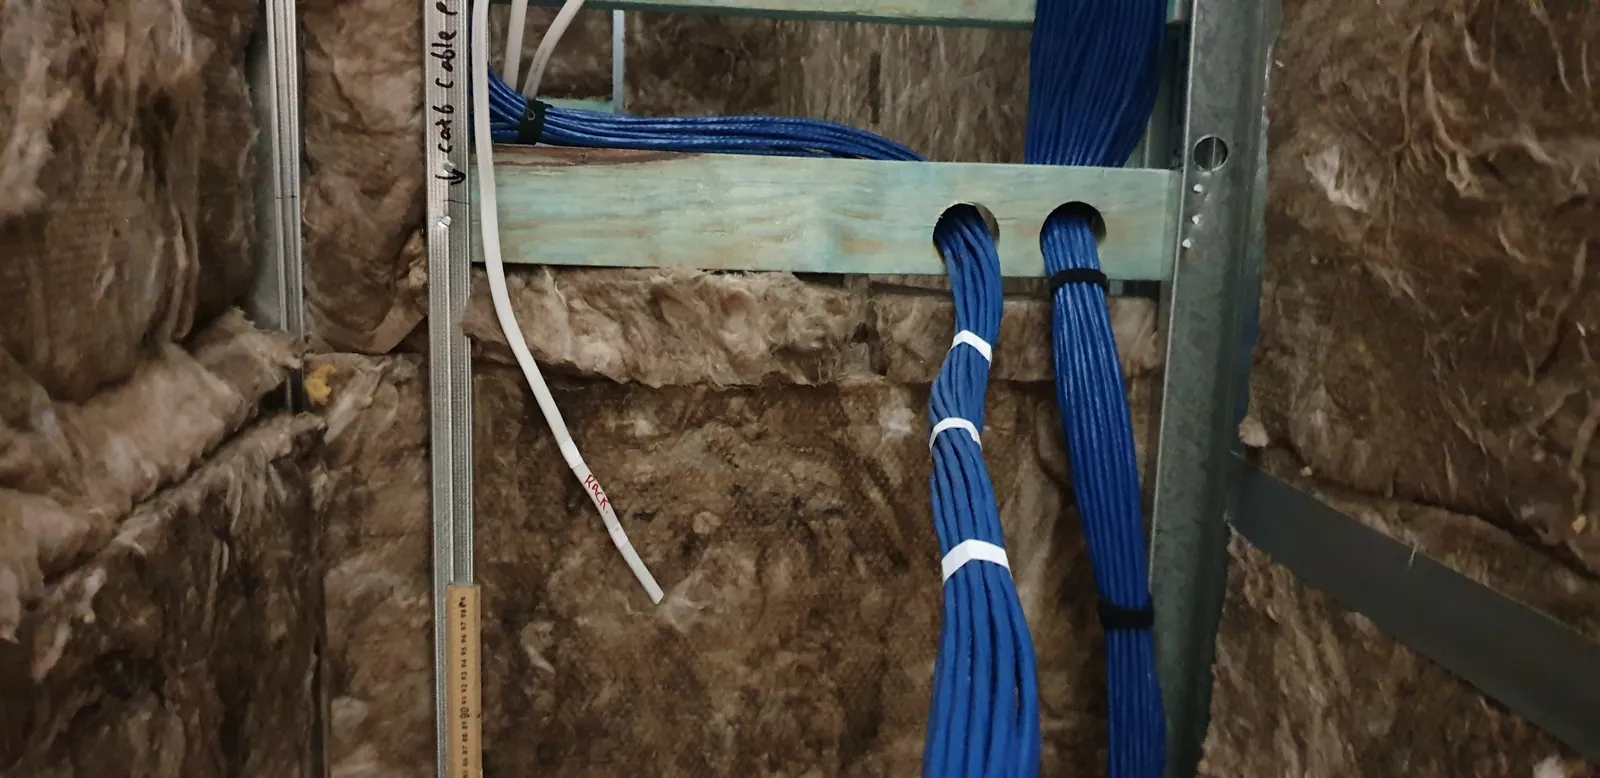
A close view of the blue service lines and horizontal bracing.
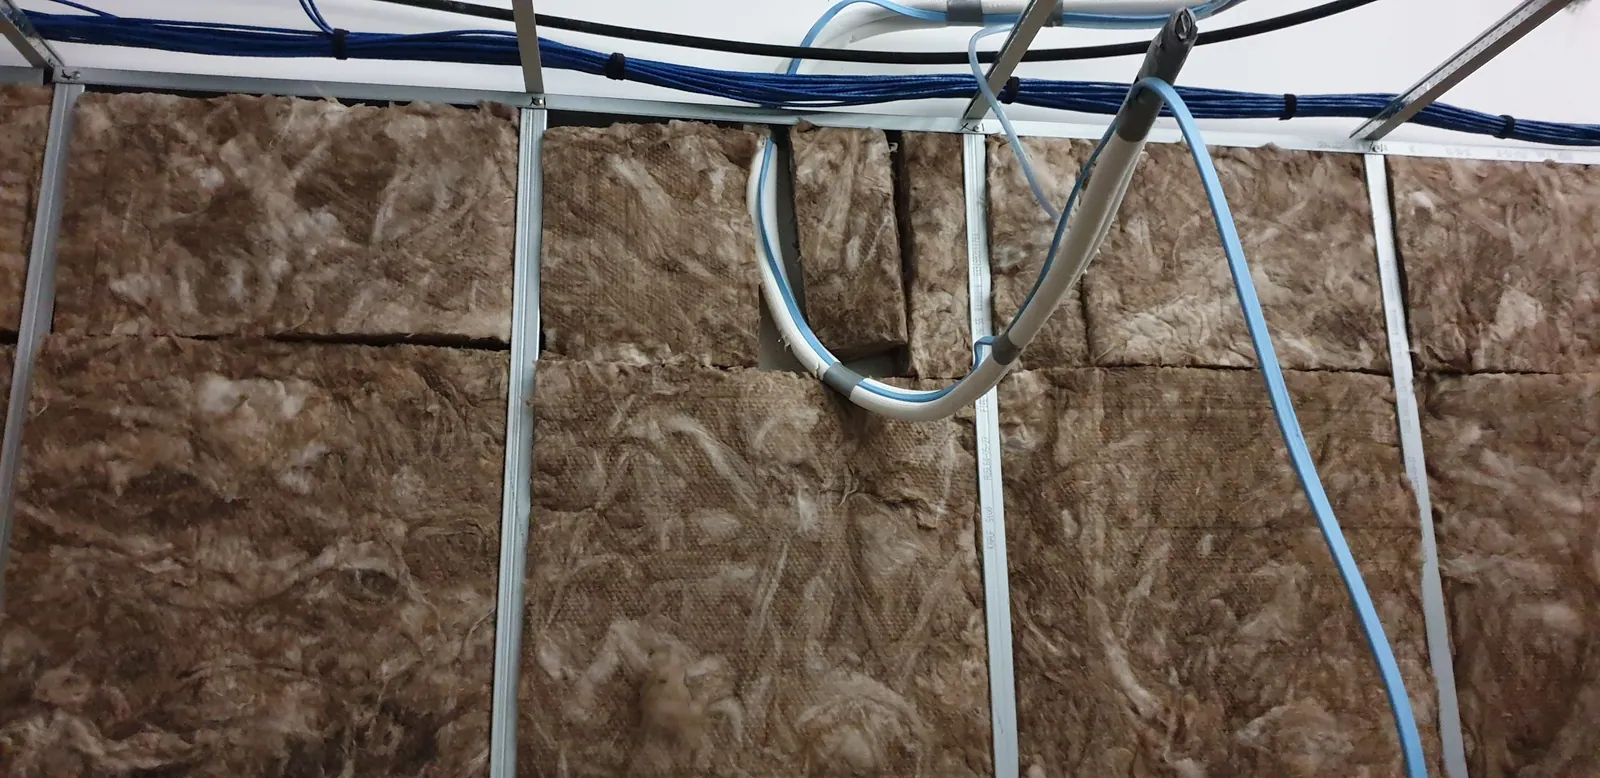
Overhead cables above the new partitions.
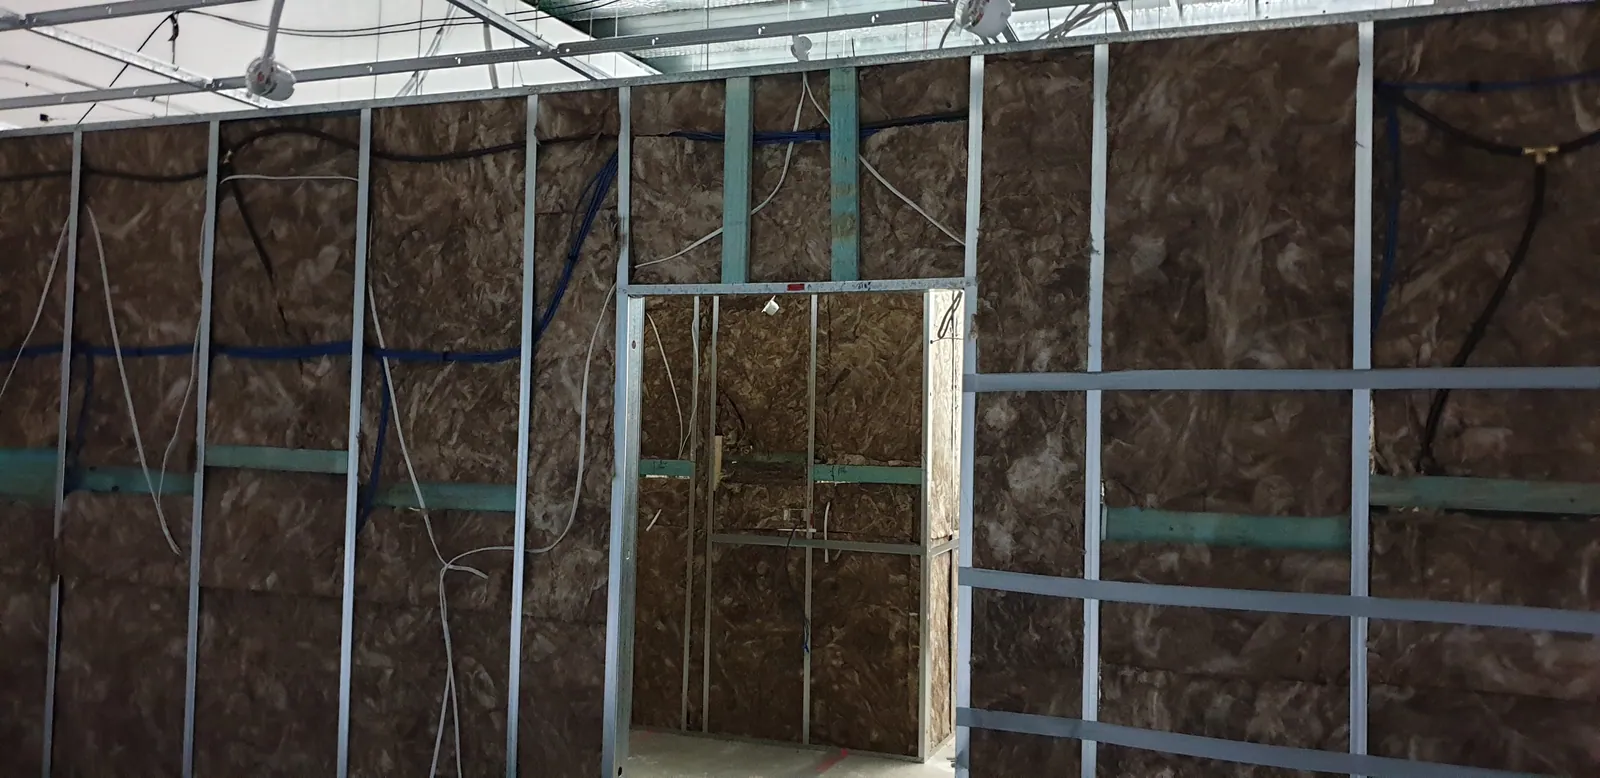
The insulated workshop during the last stages before lining.
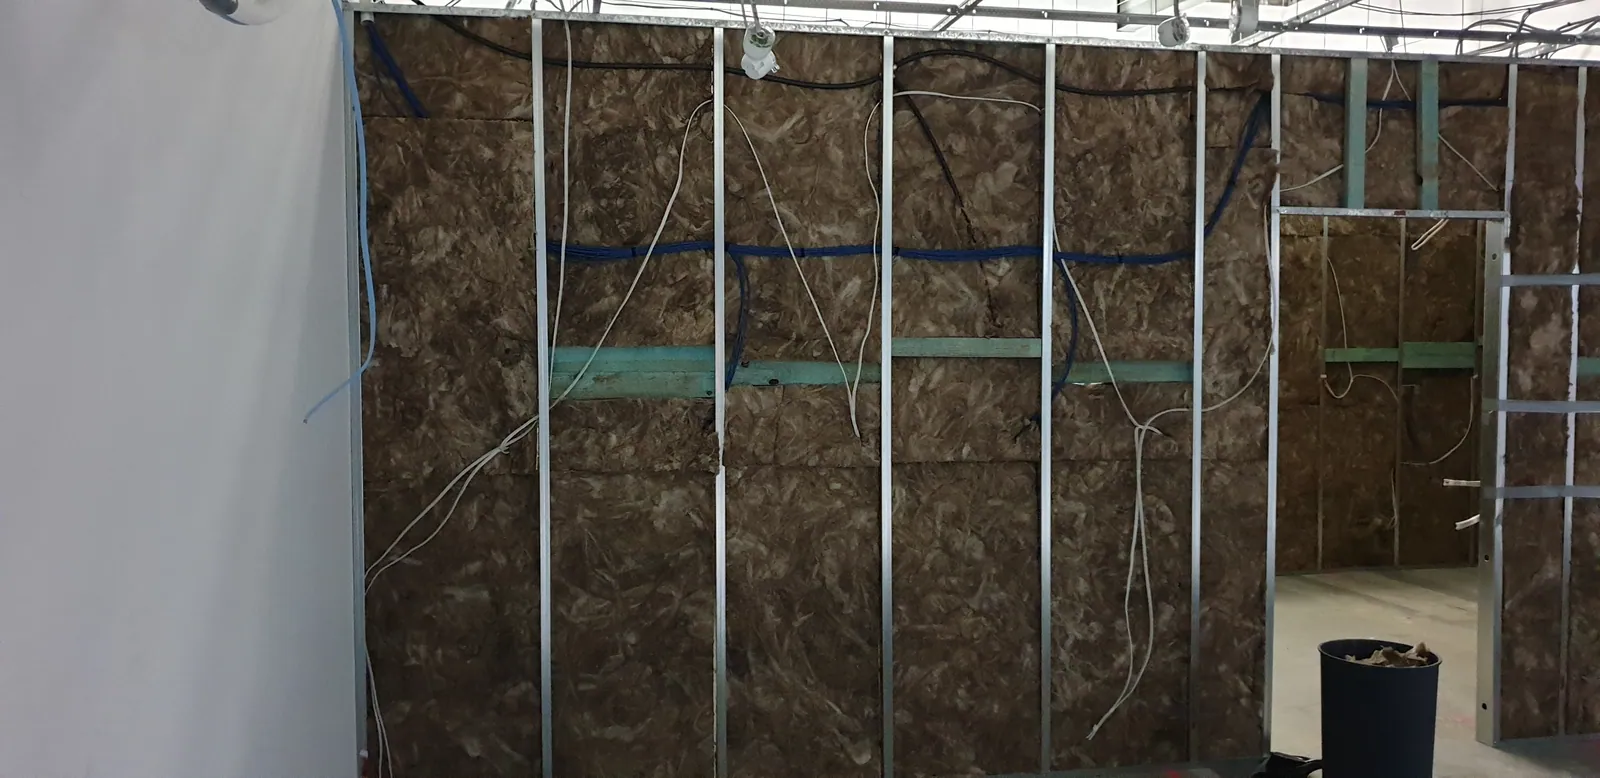
The insulated room viewed through its framed doorway.
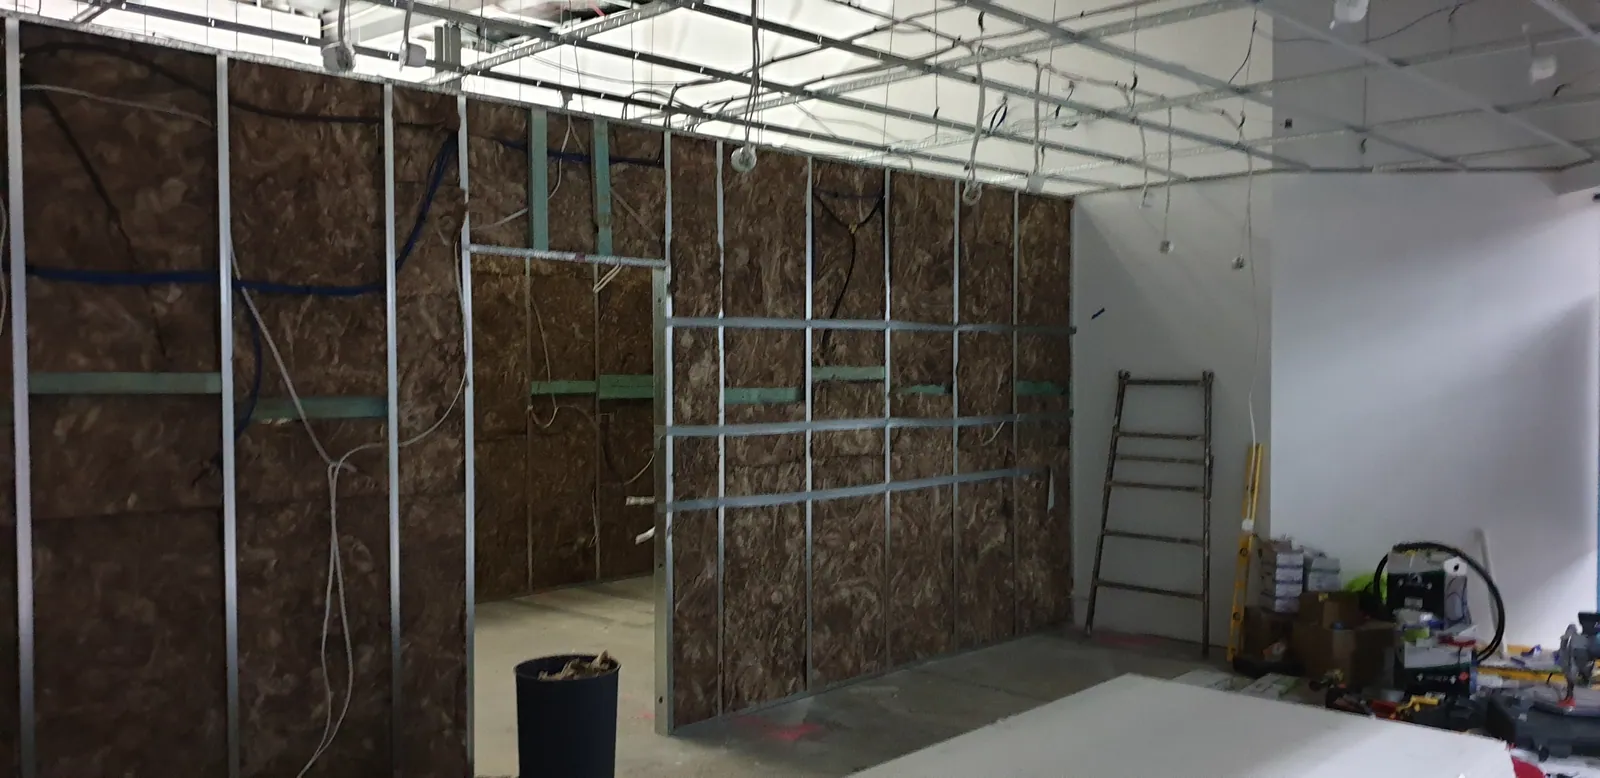
The future retail area with construction tools and materials still out.
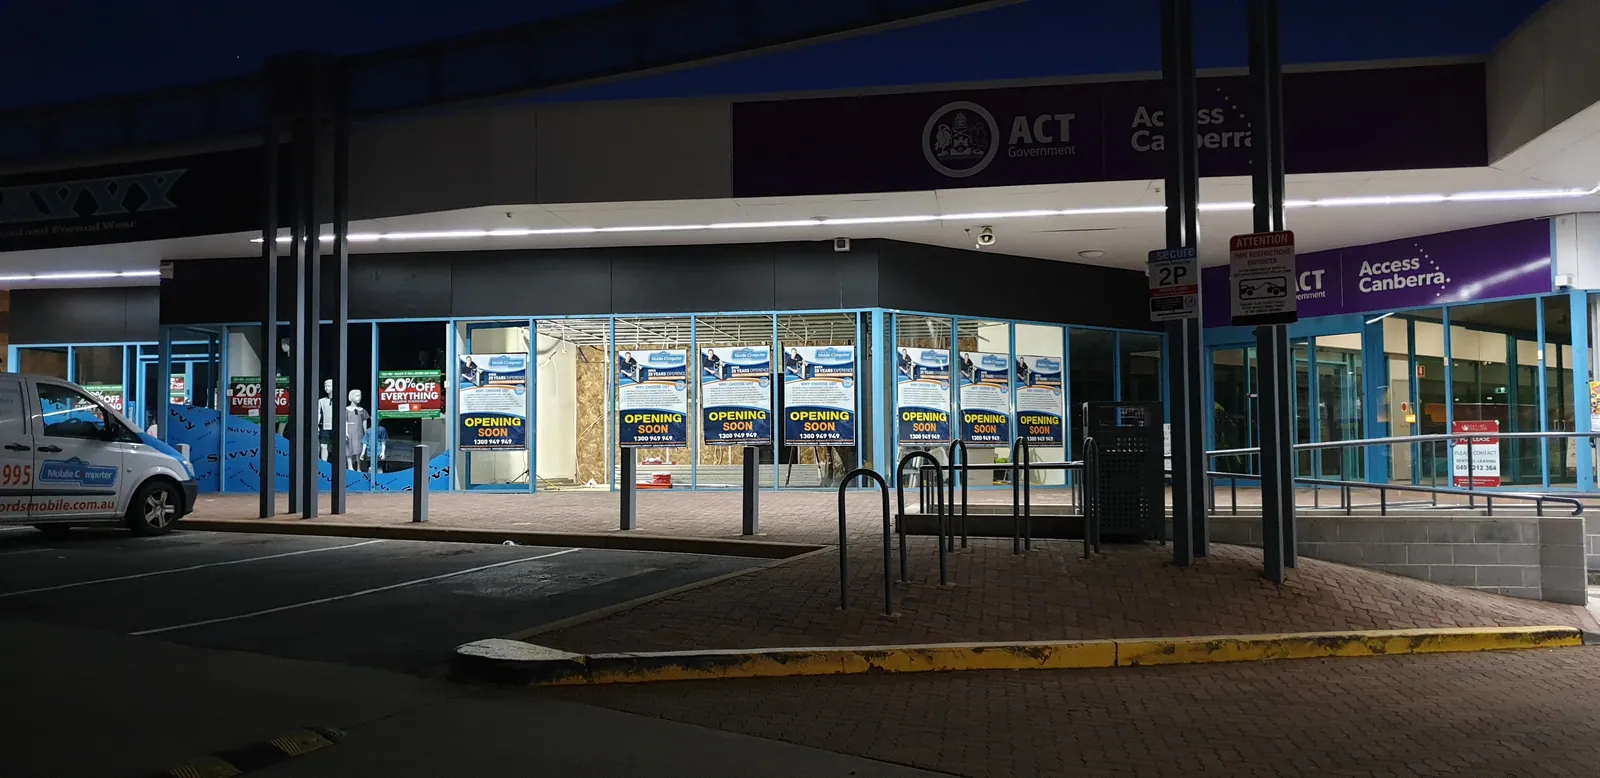
The shop lit from within during the evening build.
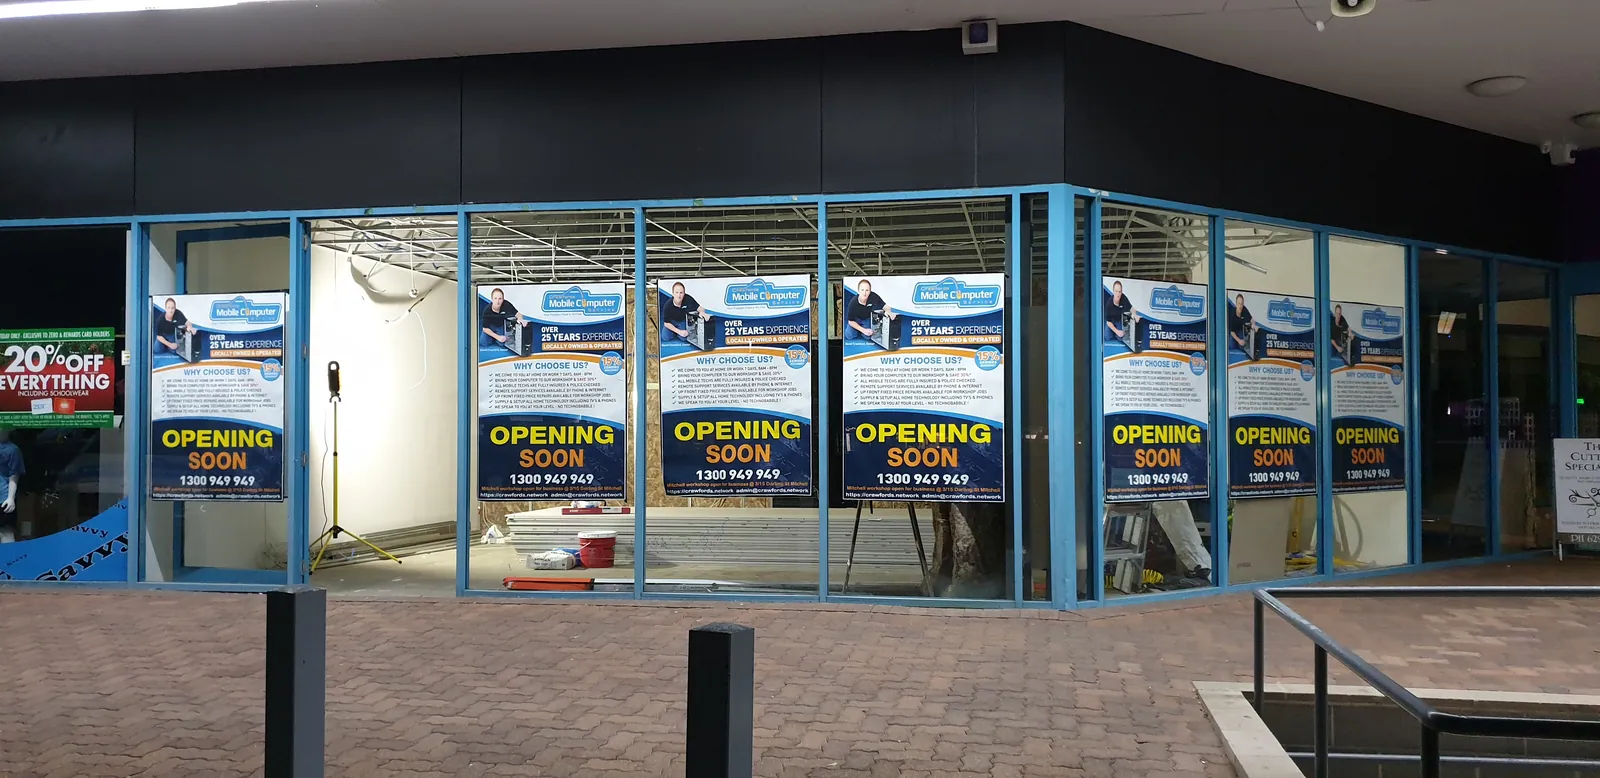
Opening Soon signs across the shopfront windows.
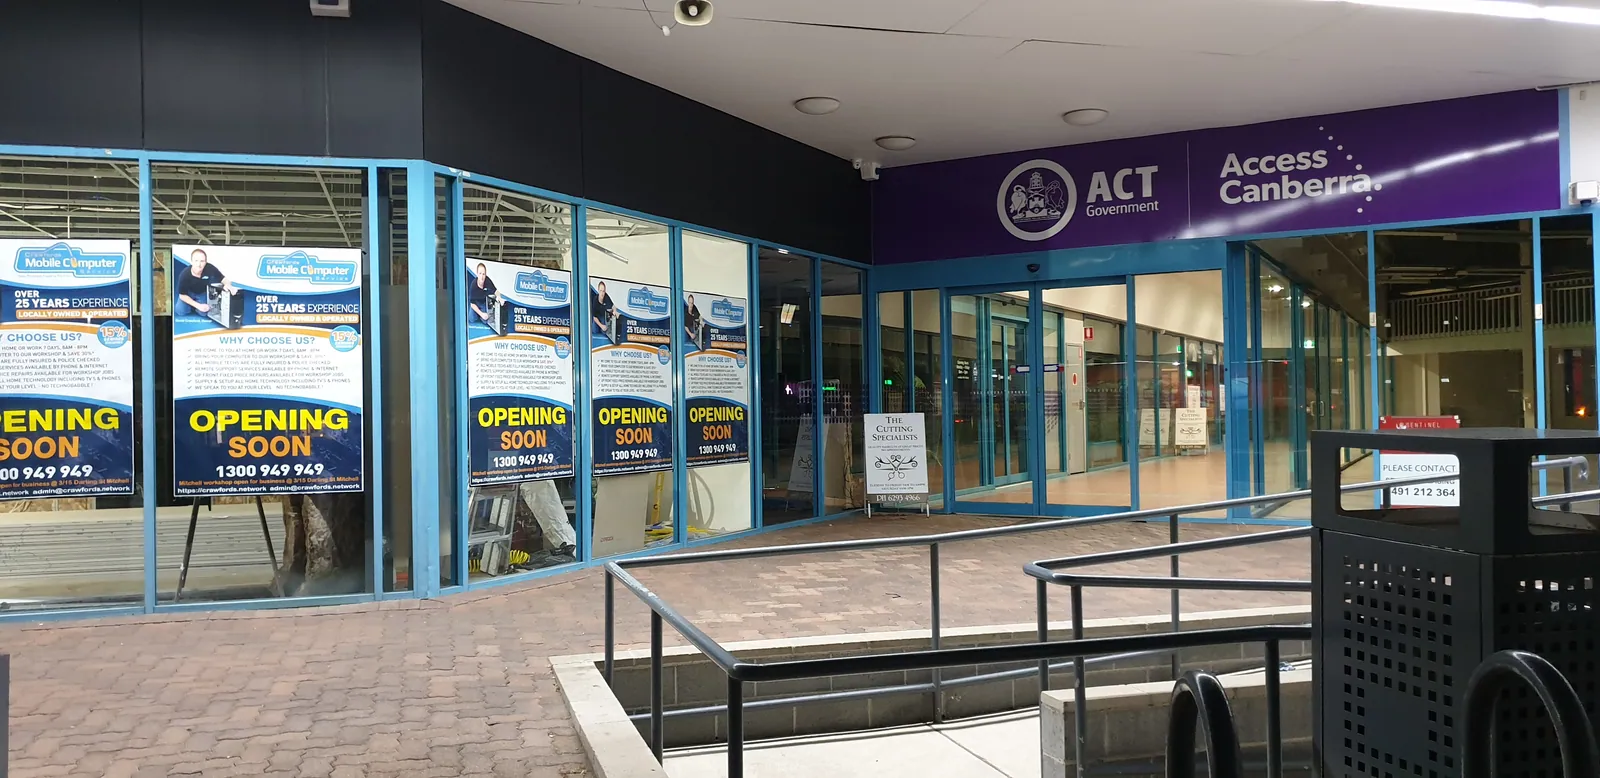
The illuminated corner shopfront as the interior takes shape.
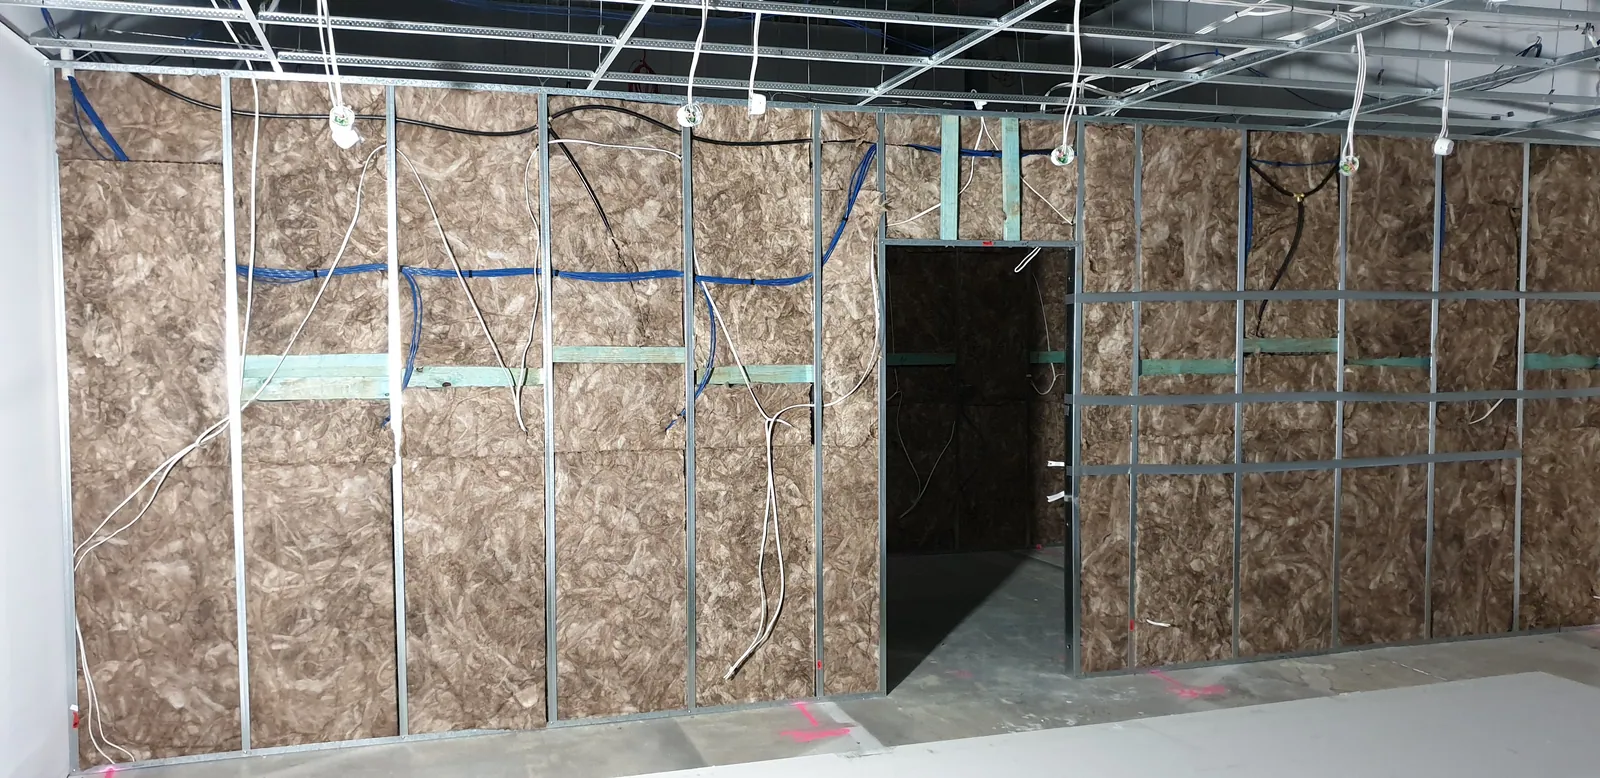
The new partition and doorway seen from the retail area.
06Plasterboard lining
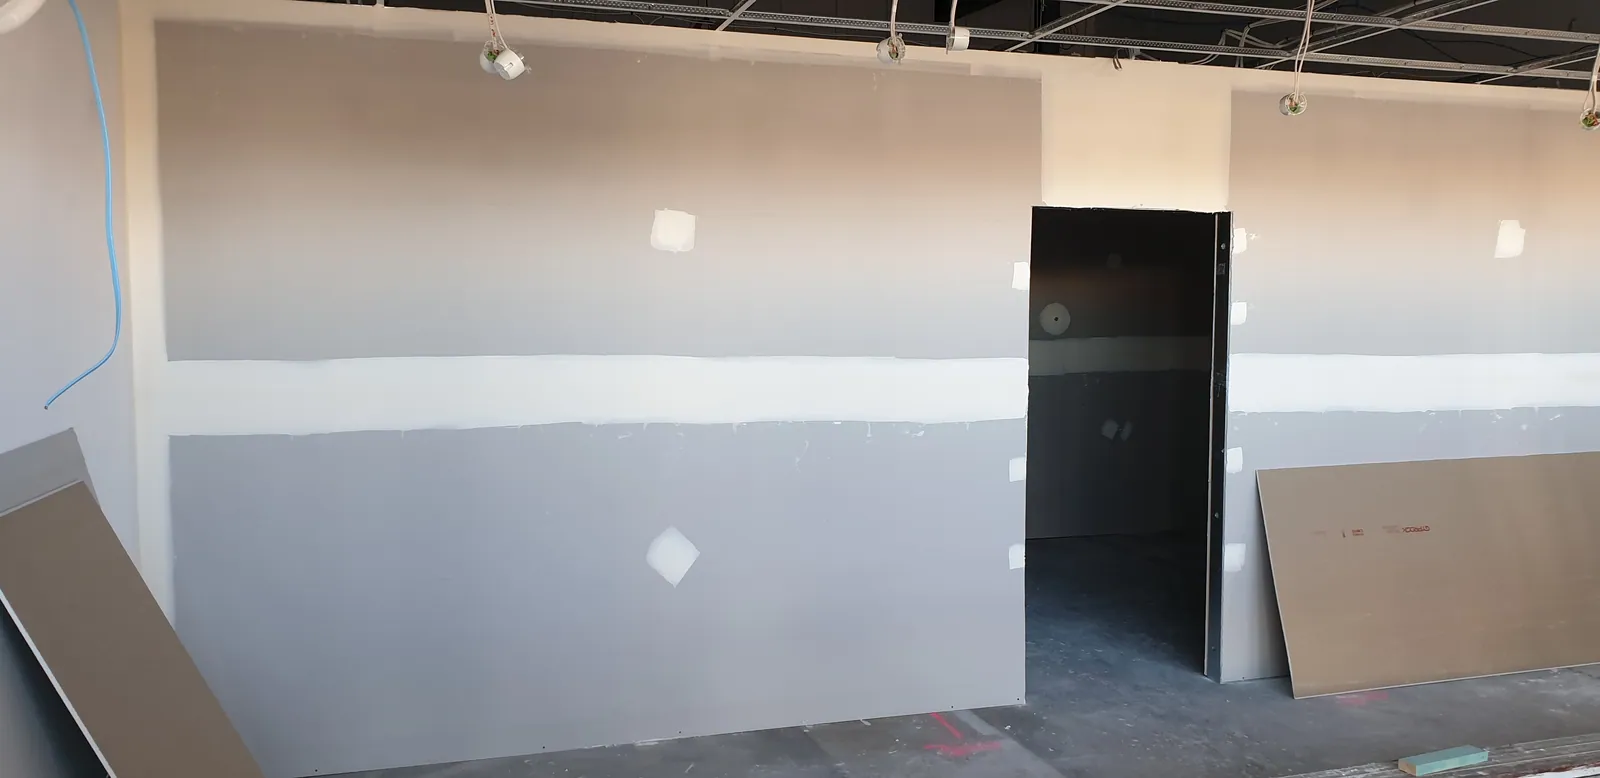
Plasterboard now covers the partition walls.
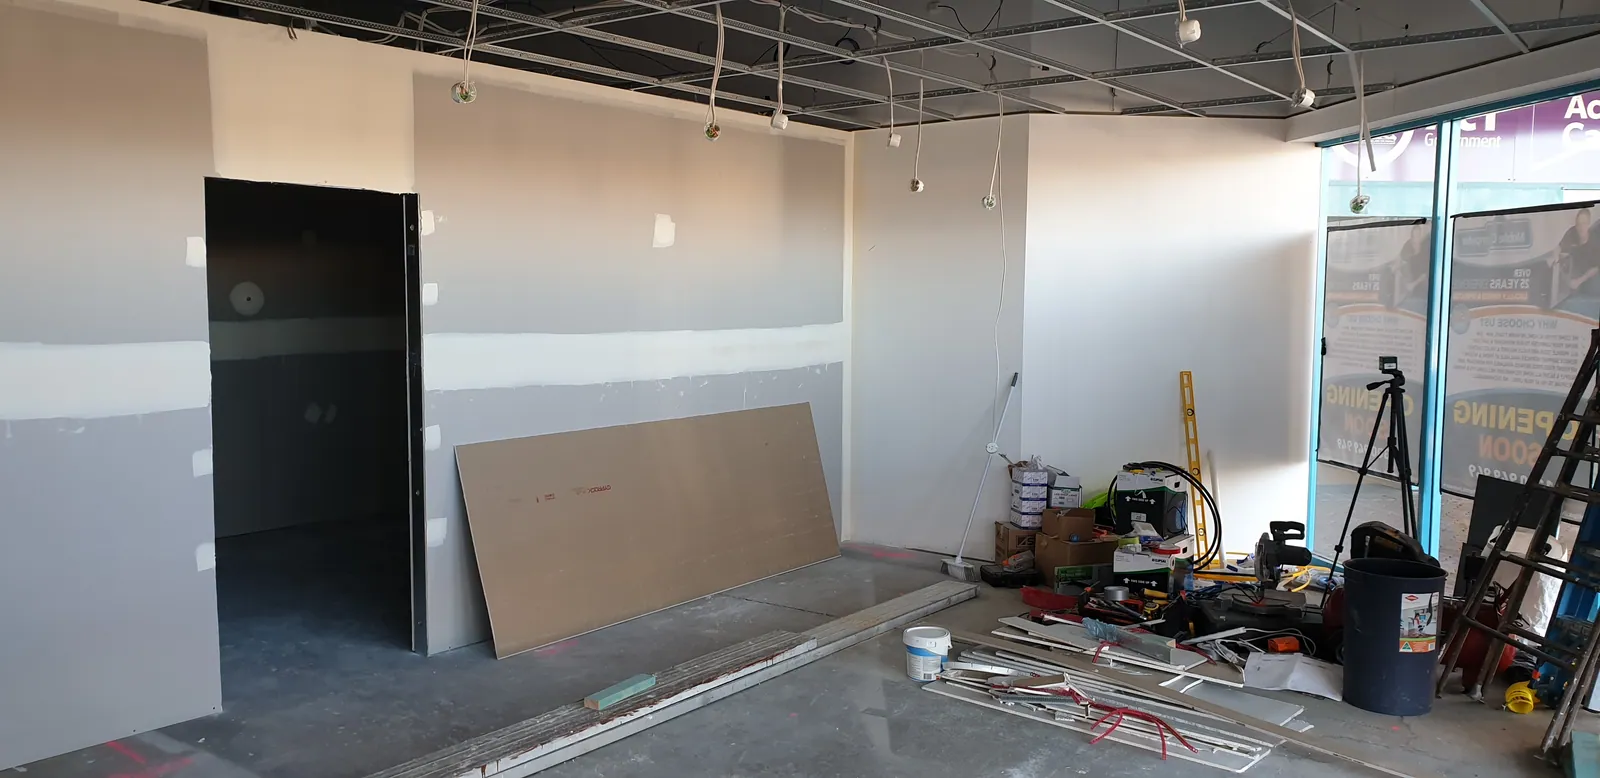
The retail area with newly lined walls and the ceiling grid above.
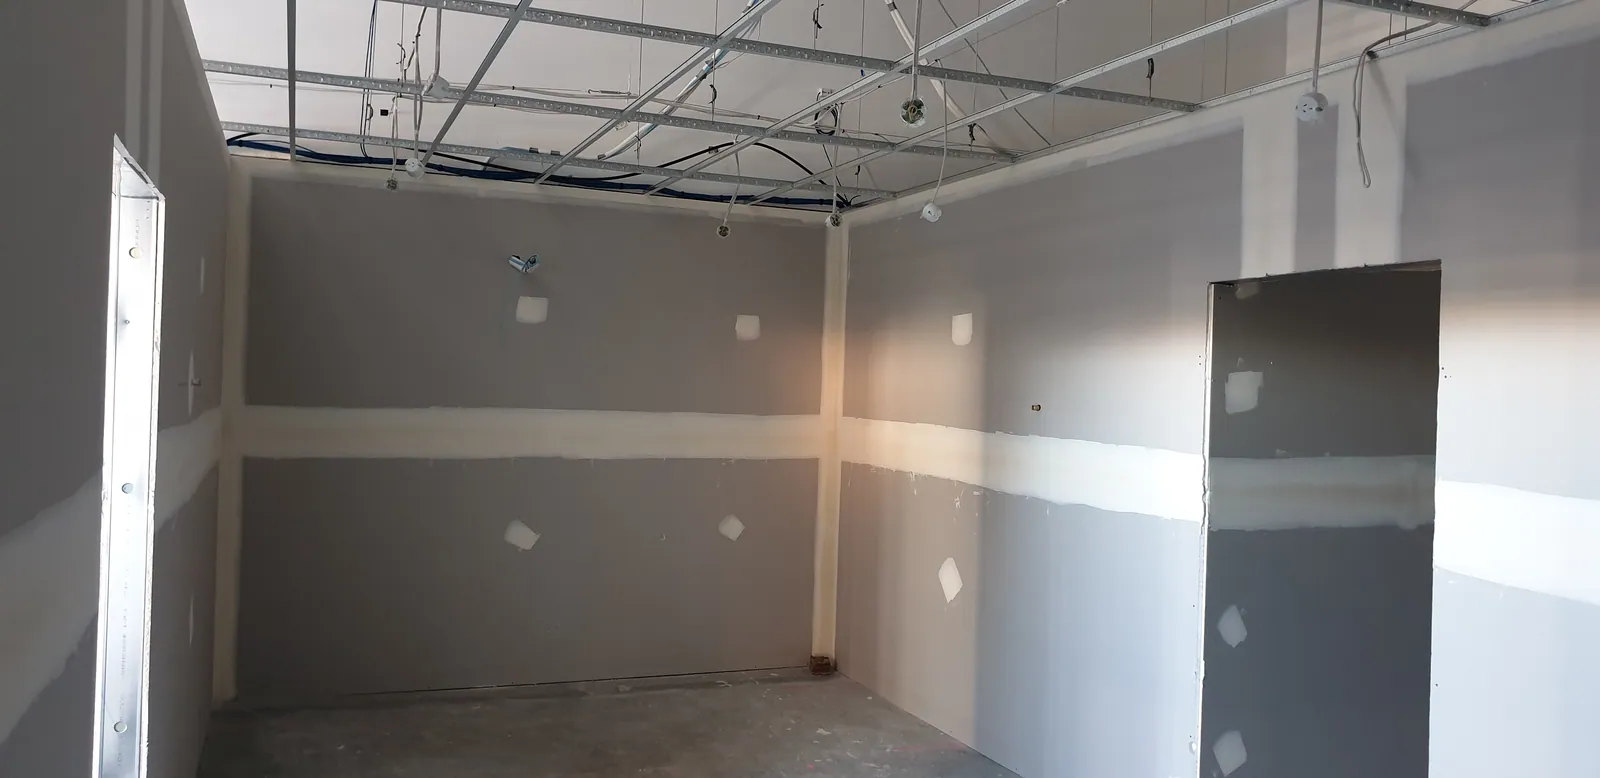
Inside the workshop after the wall lining has been fitted.
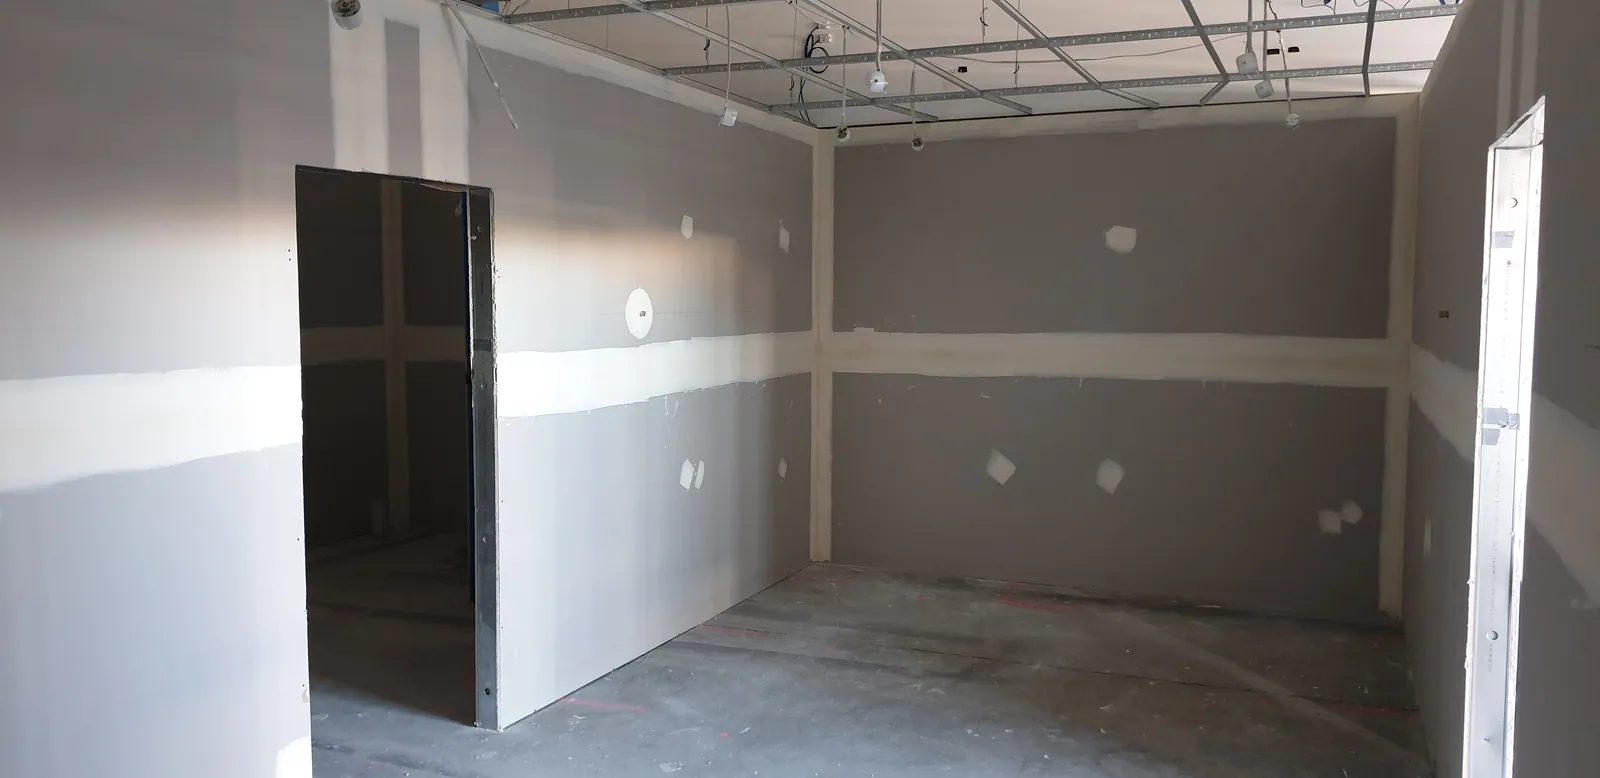
A new internal doorway in the lined partitions.
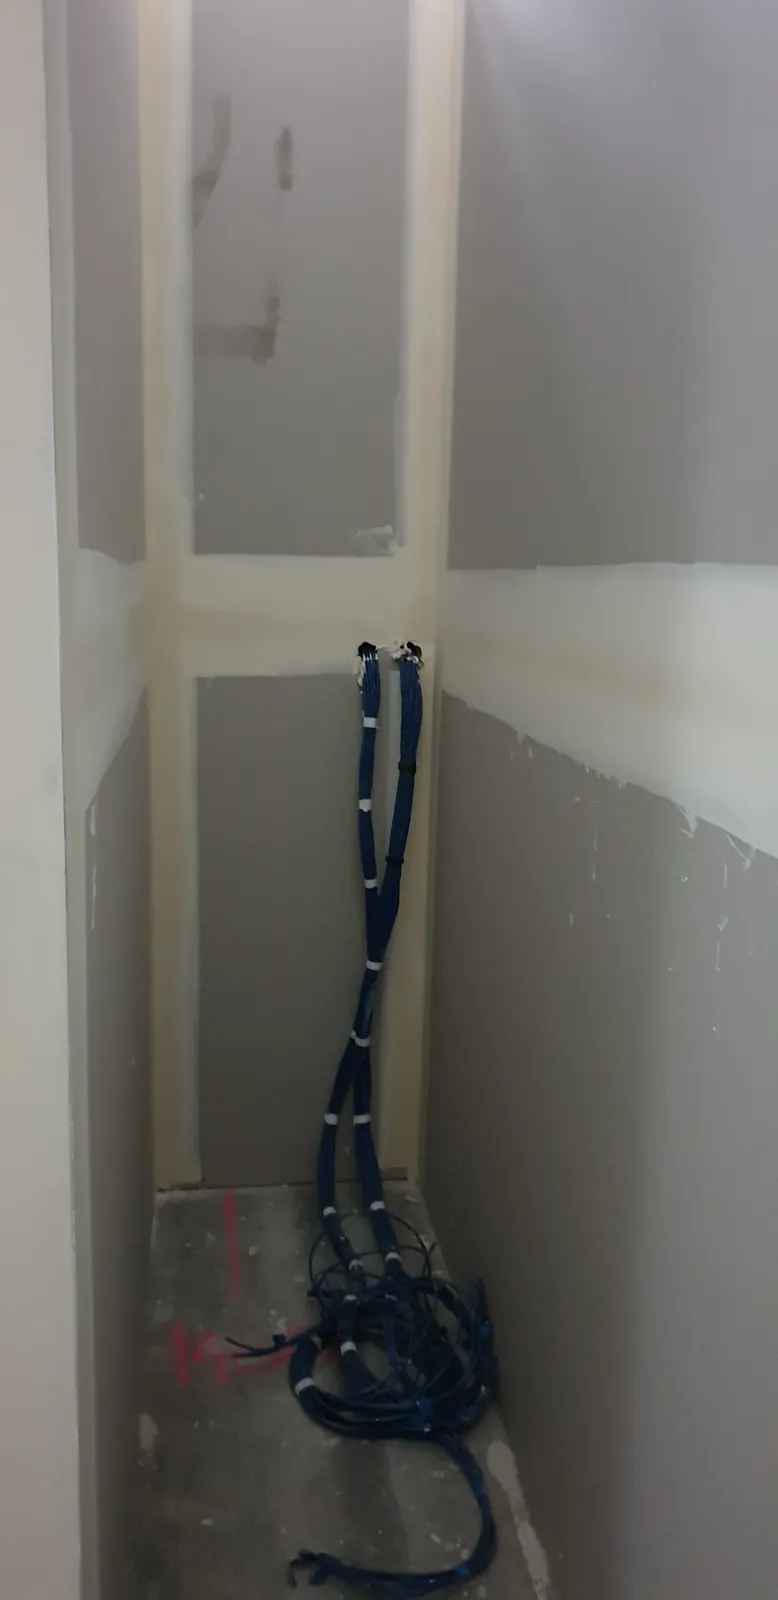
A small service area left accessible during the fit-out.
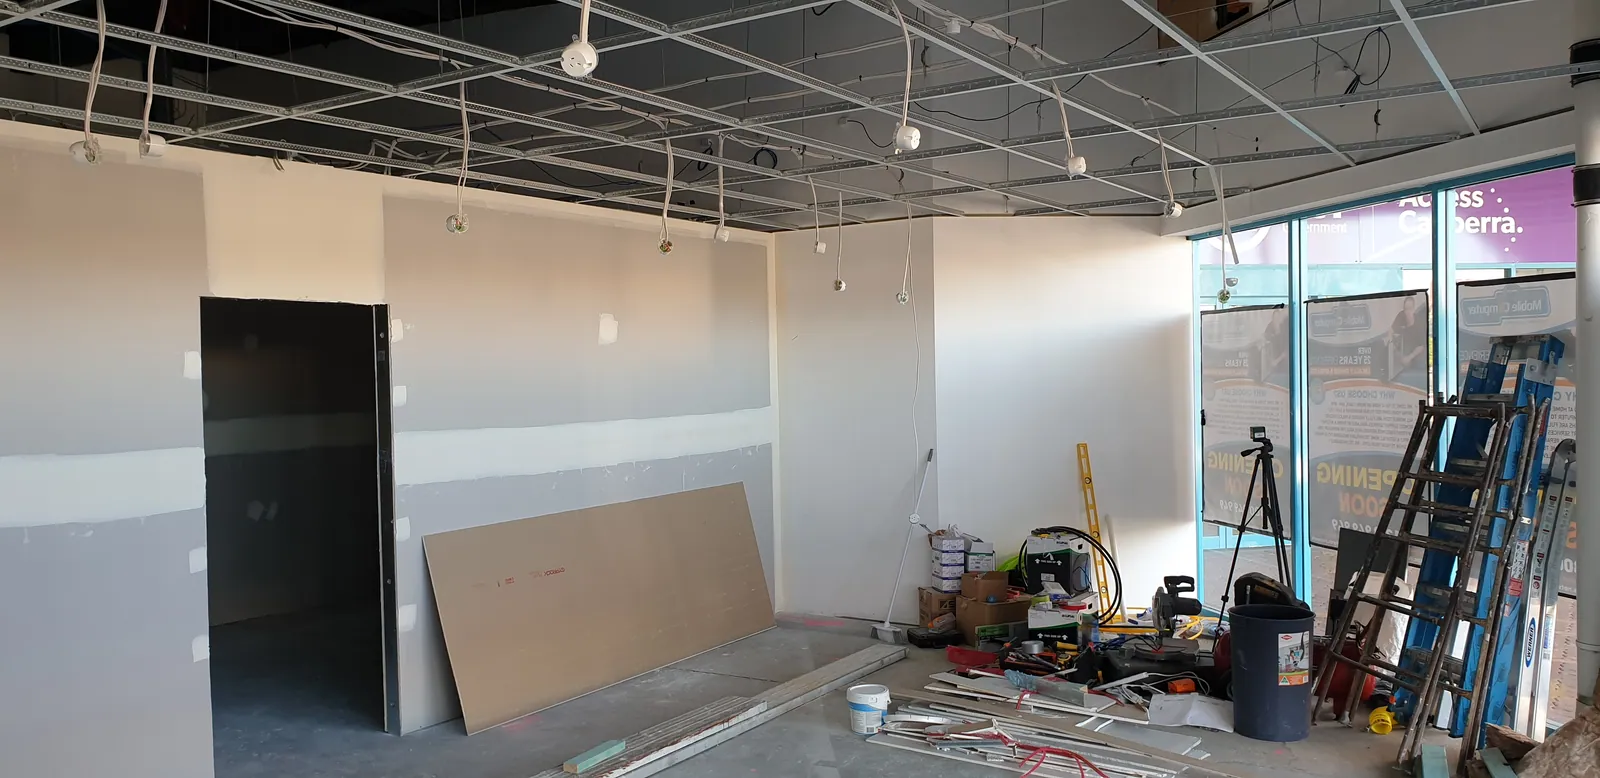
Looking towards the front windows from the newly lined shop.
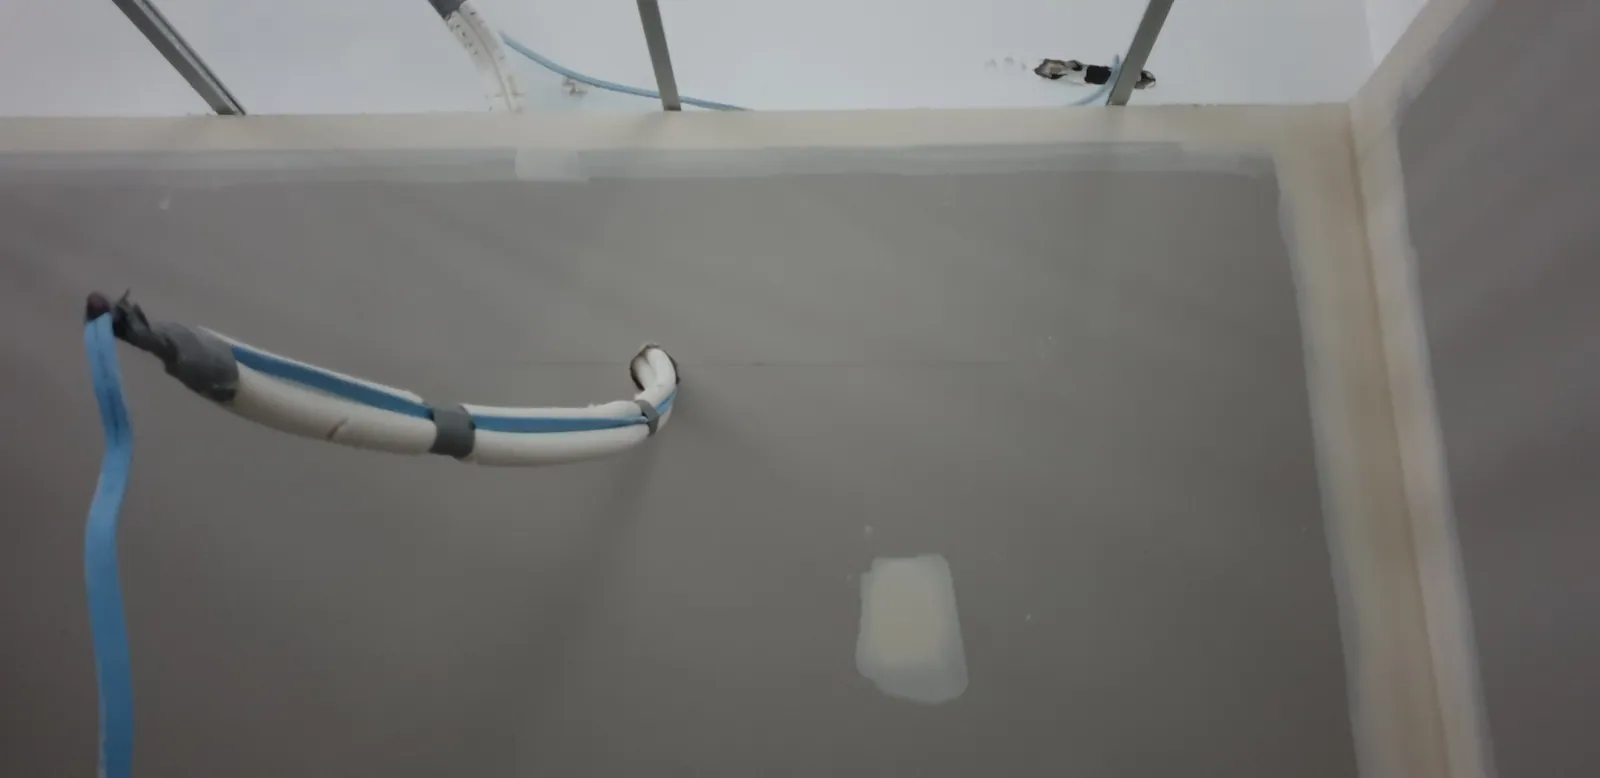
Service outlets emerging through the workshop wall lining.
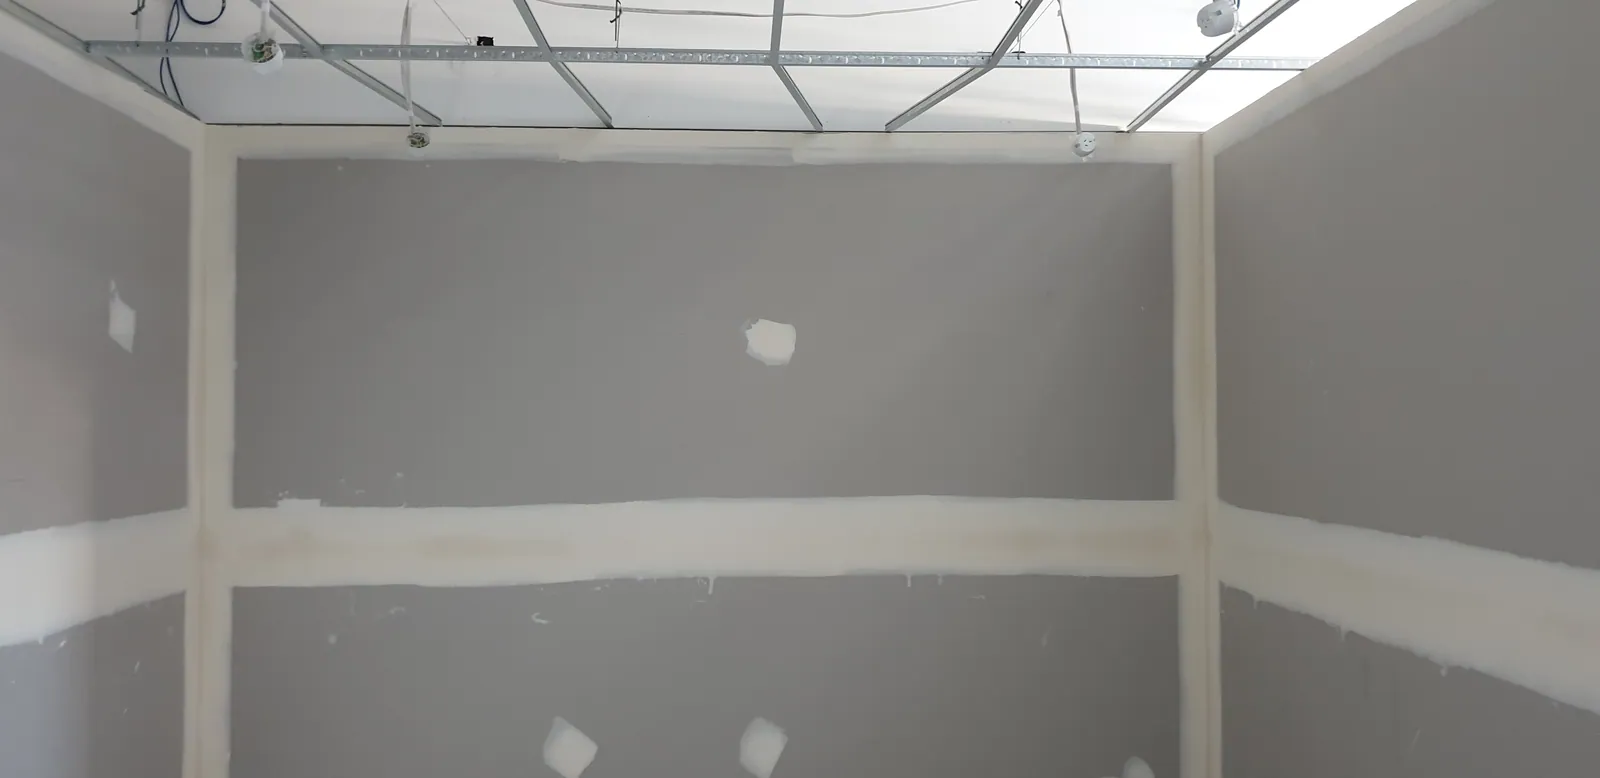
The workshop after the first wall-lining stage.
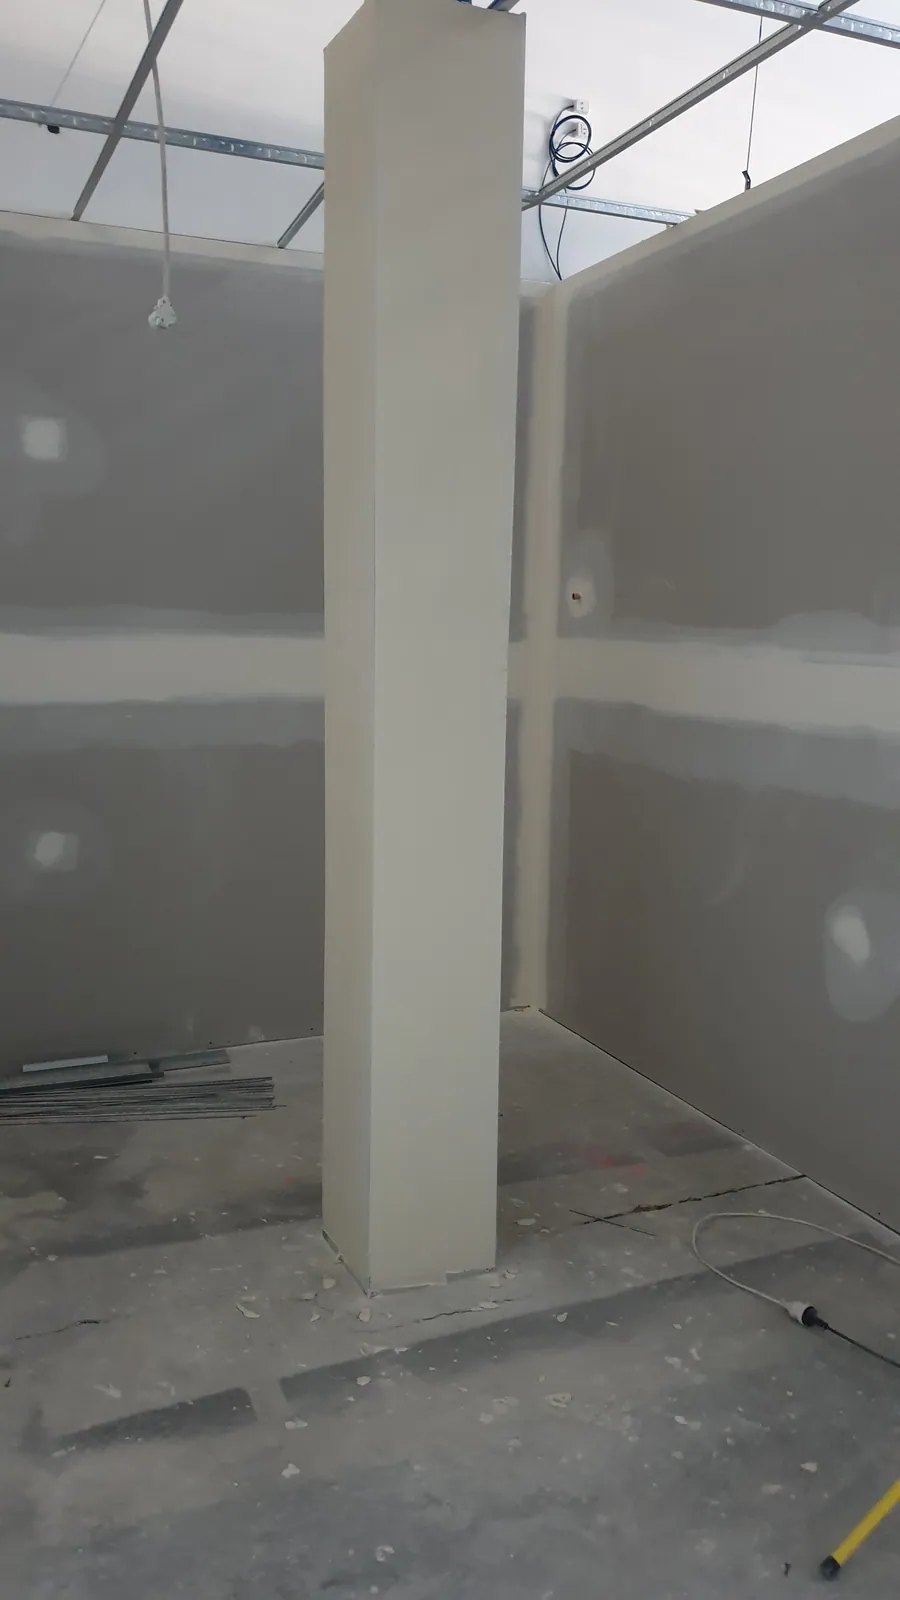
The newly lined passage between the rooms.
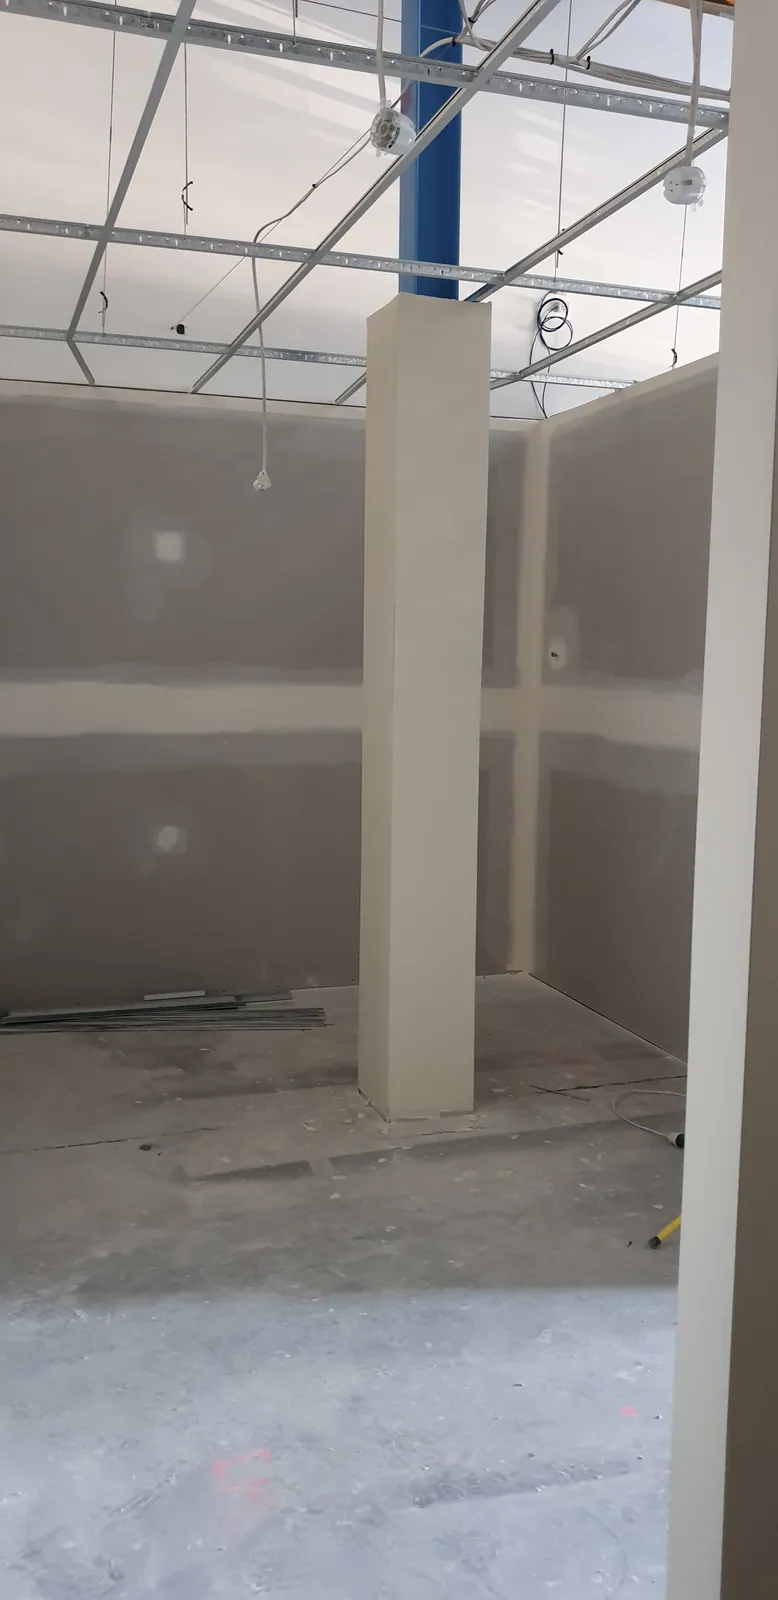
The workshop viewed back towards its entrance.
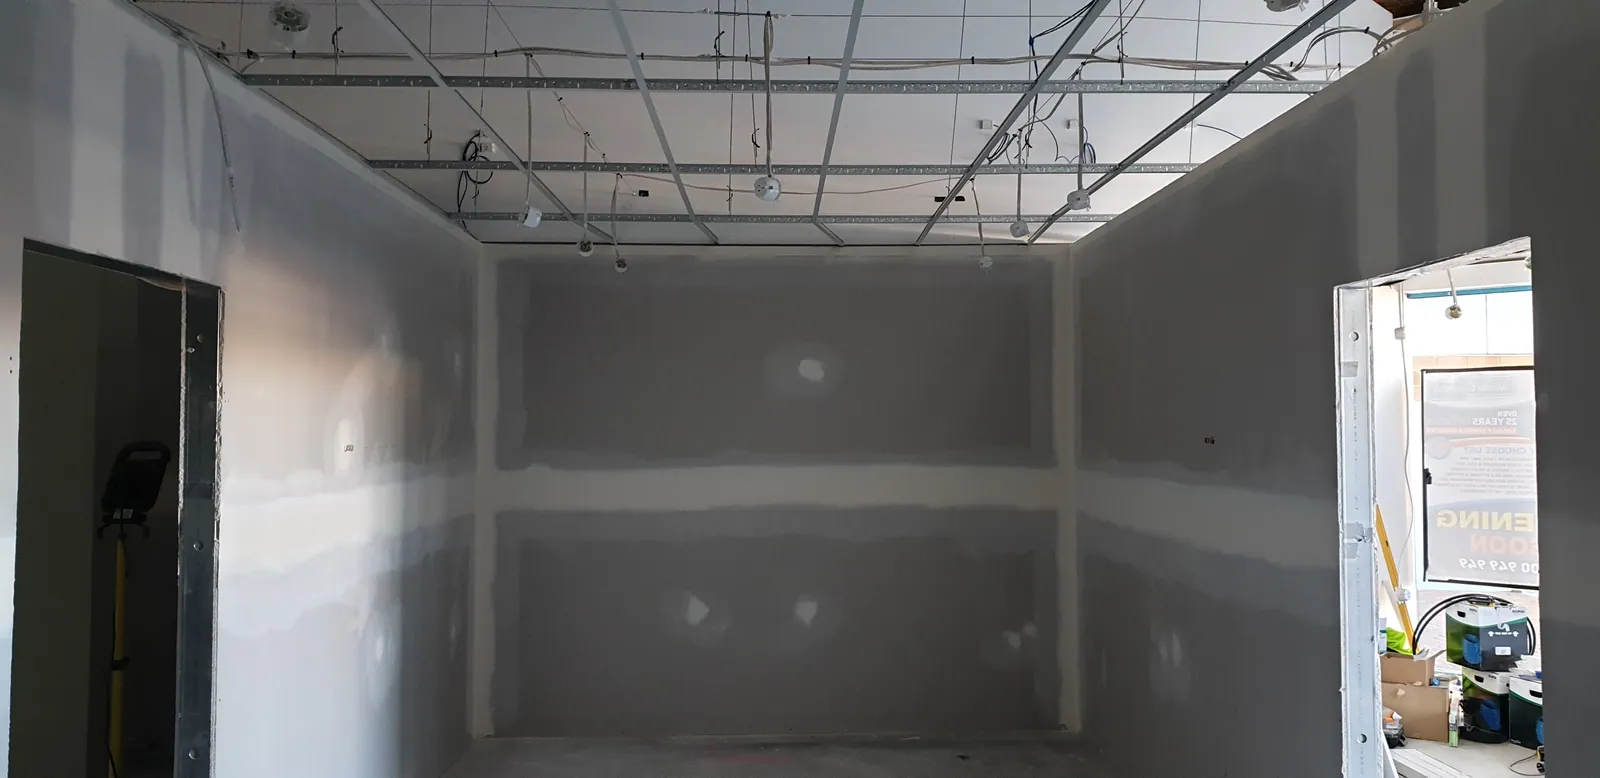
The lined workshop with tools and ladders ready for finishing.
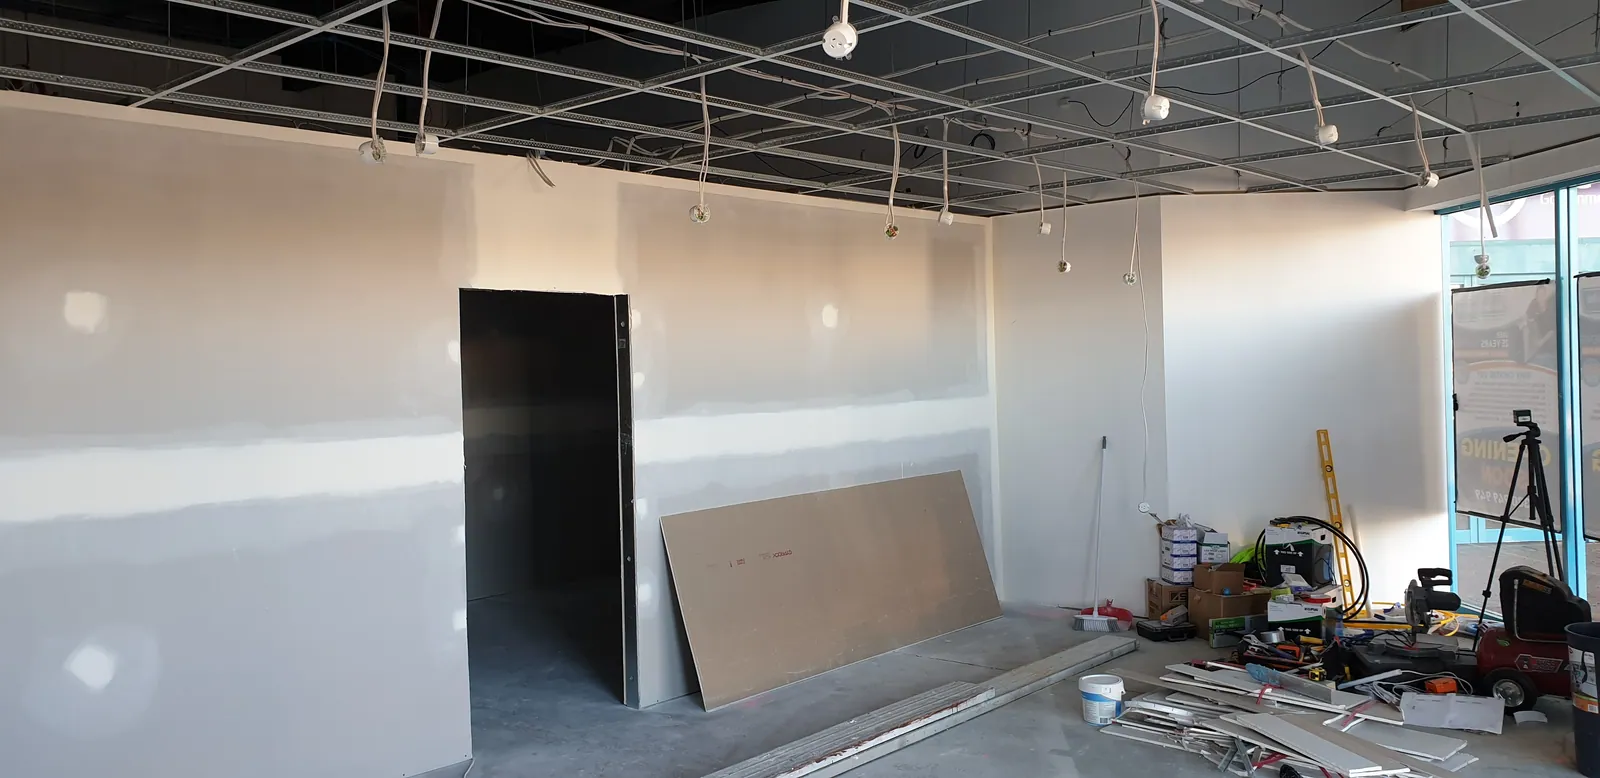
The retail space with the internal walls now enclosed.
07Painting
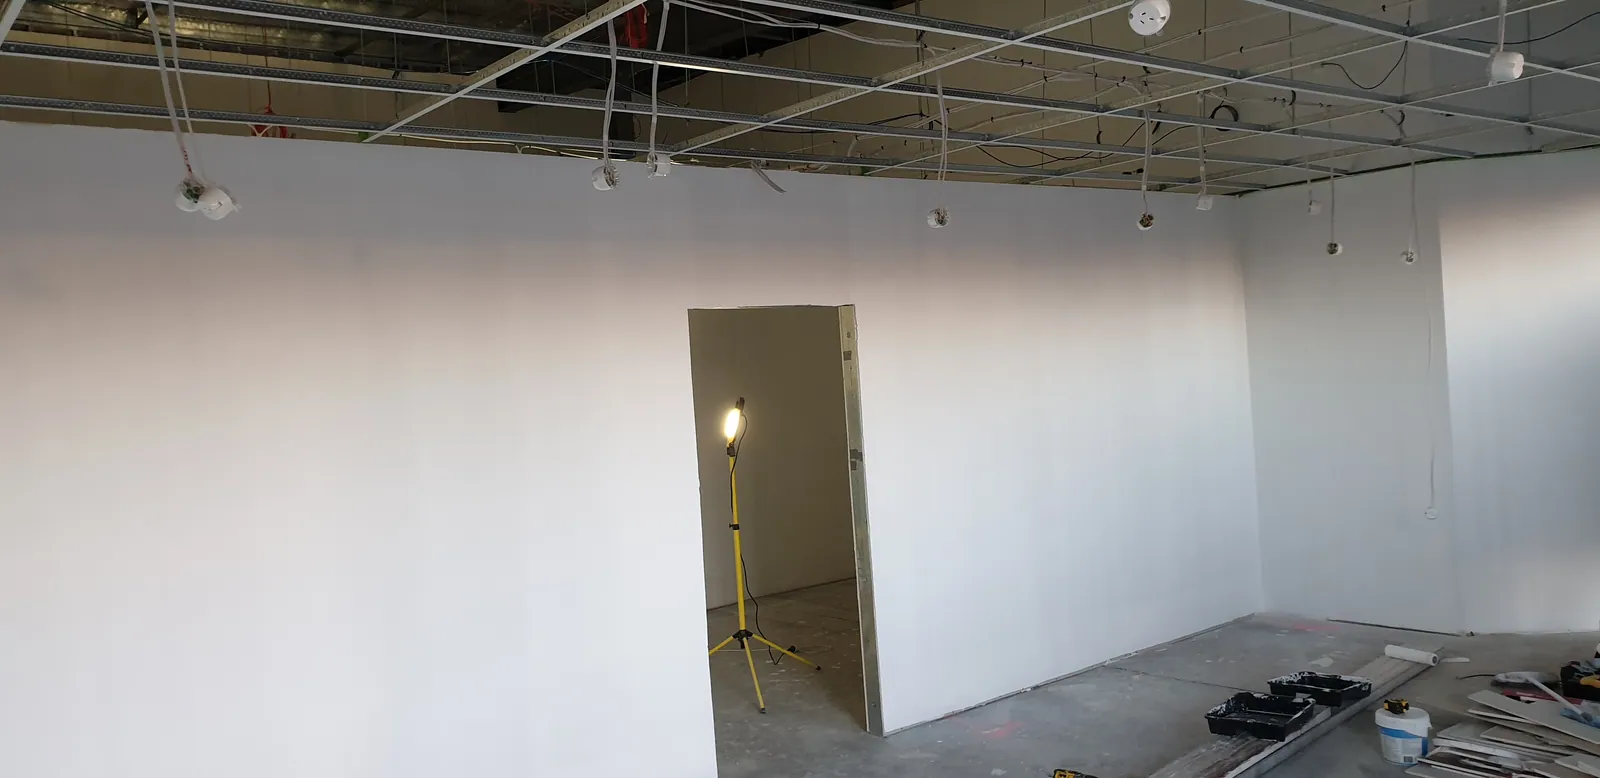
Painting begins on the retail walls.
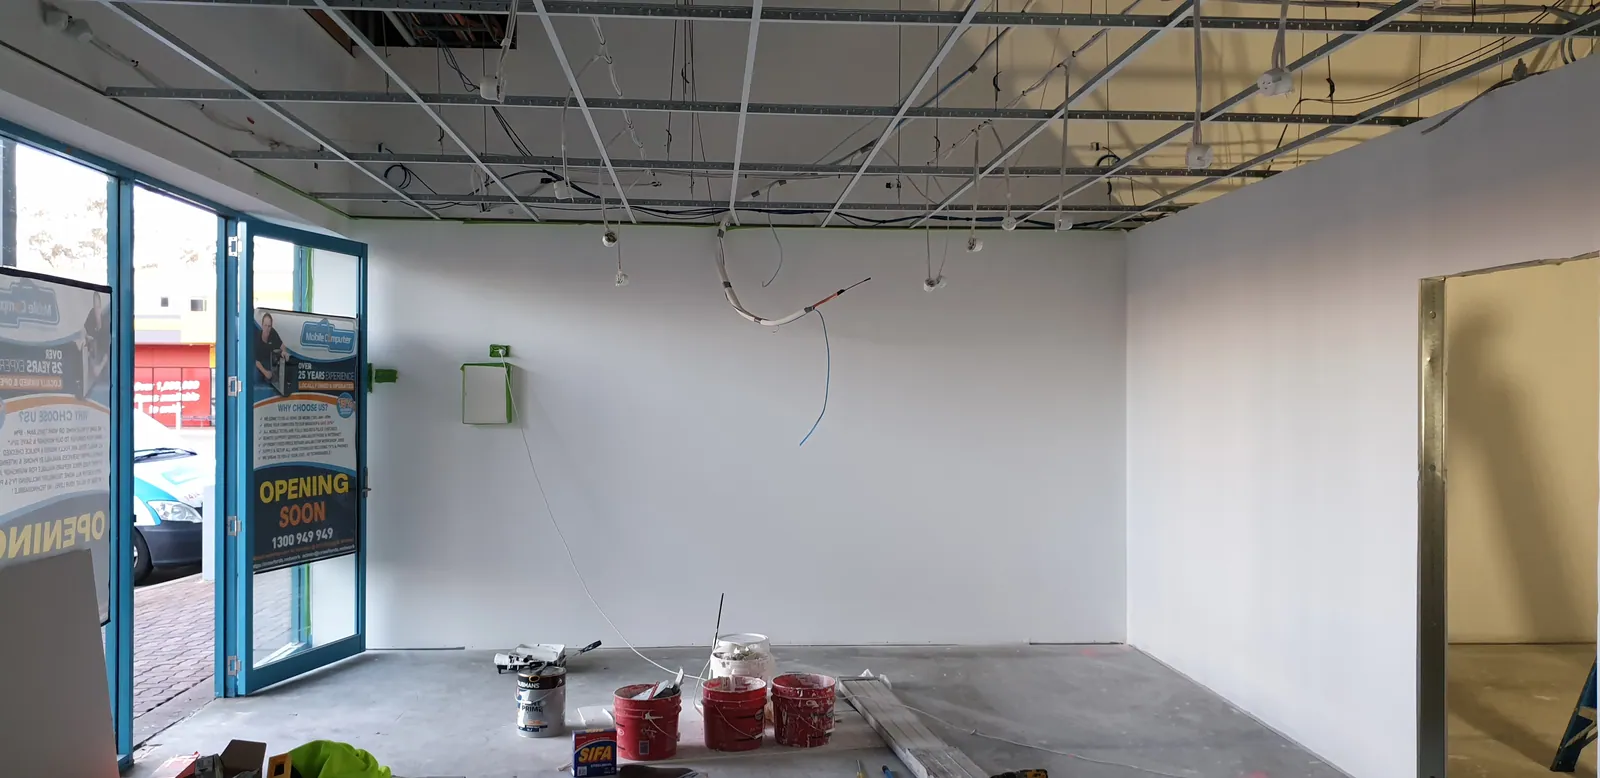
Painted walls brighten the new rooms.
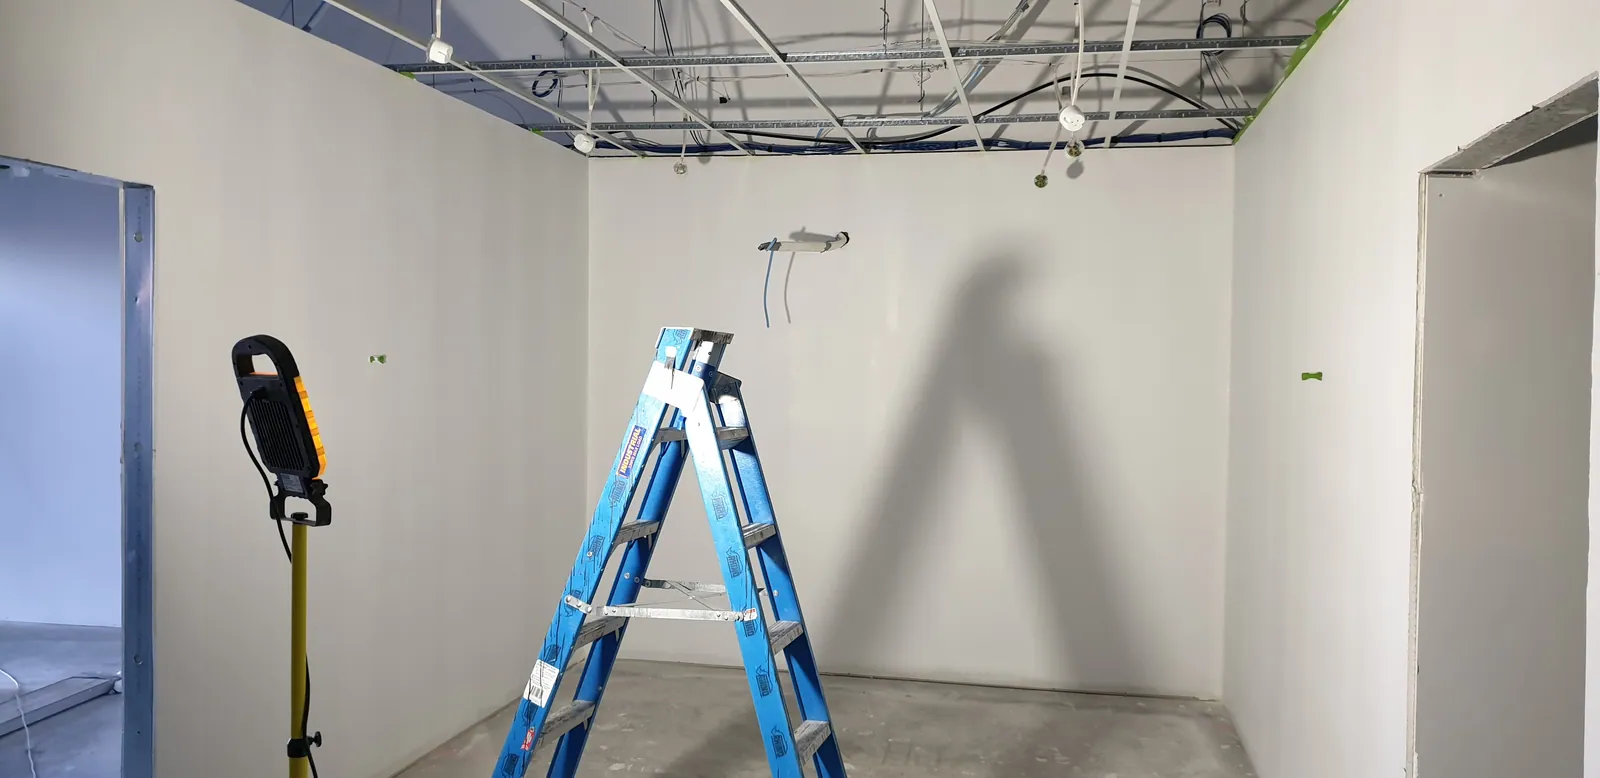
Painting continues around the workshop.
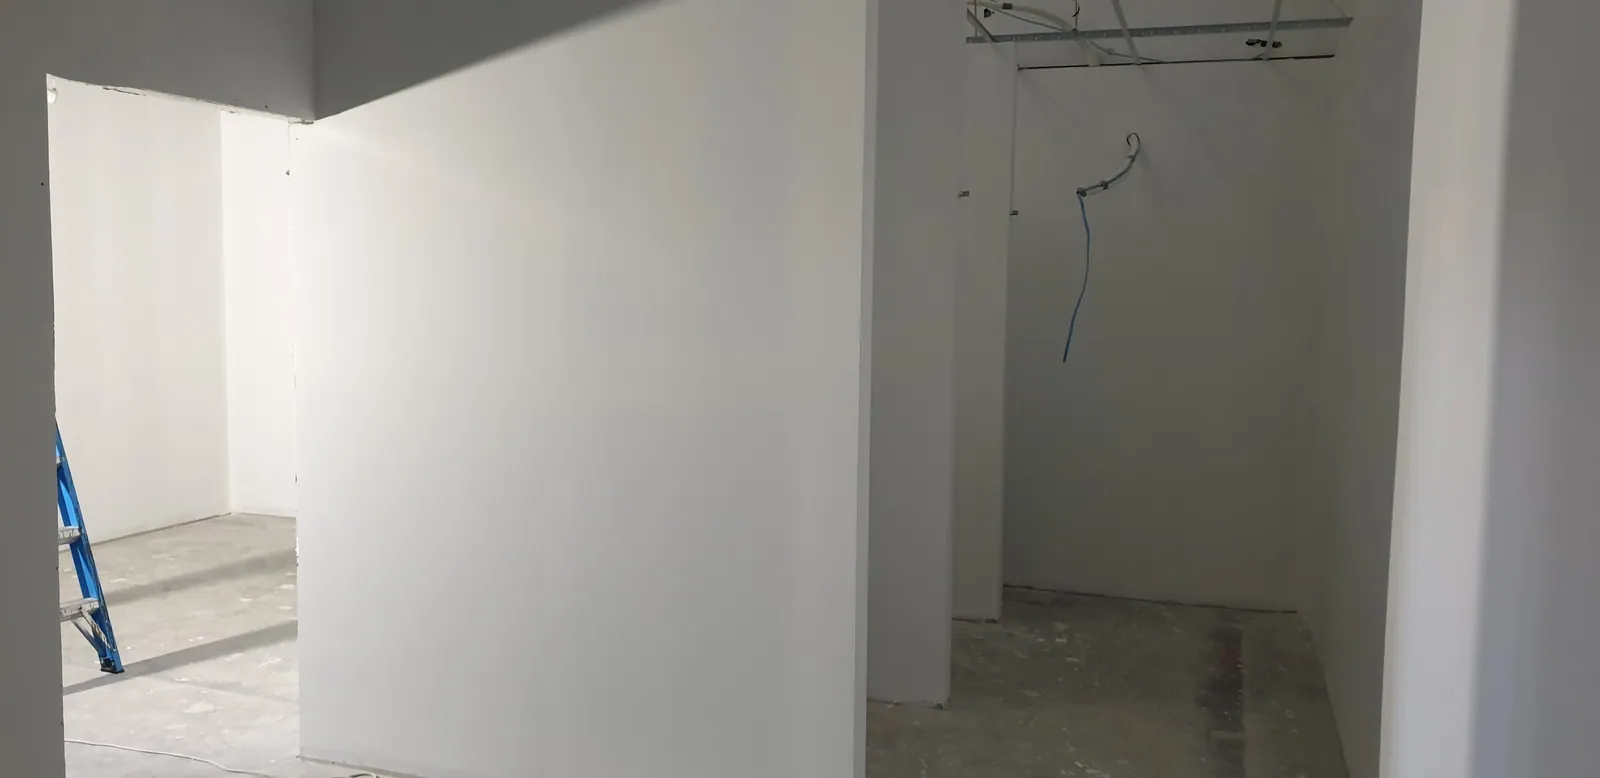
The painted internal passage.
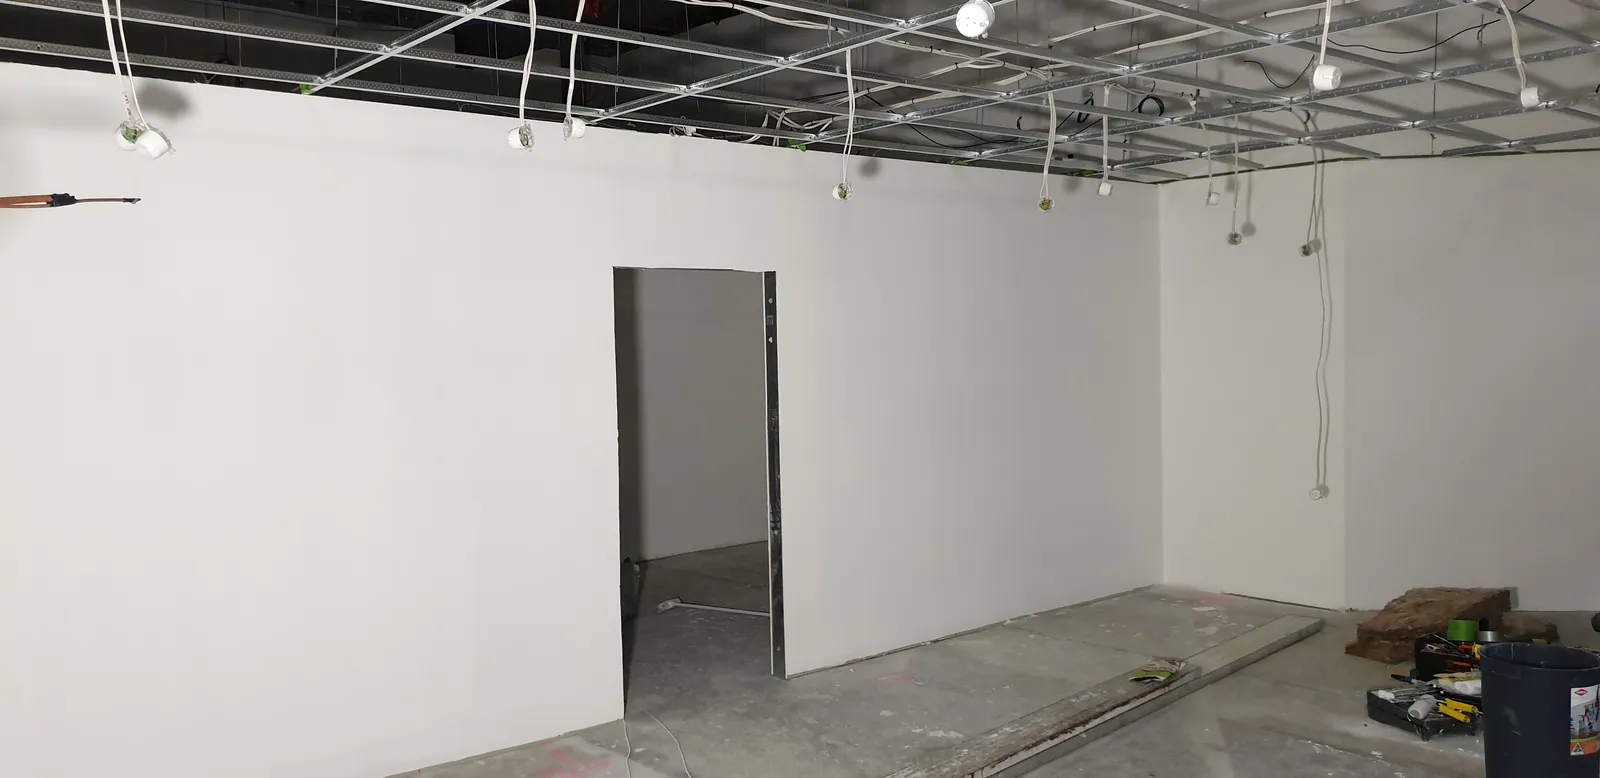
The retail walls after another evening of painting.
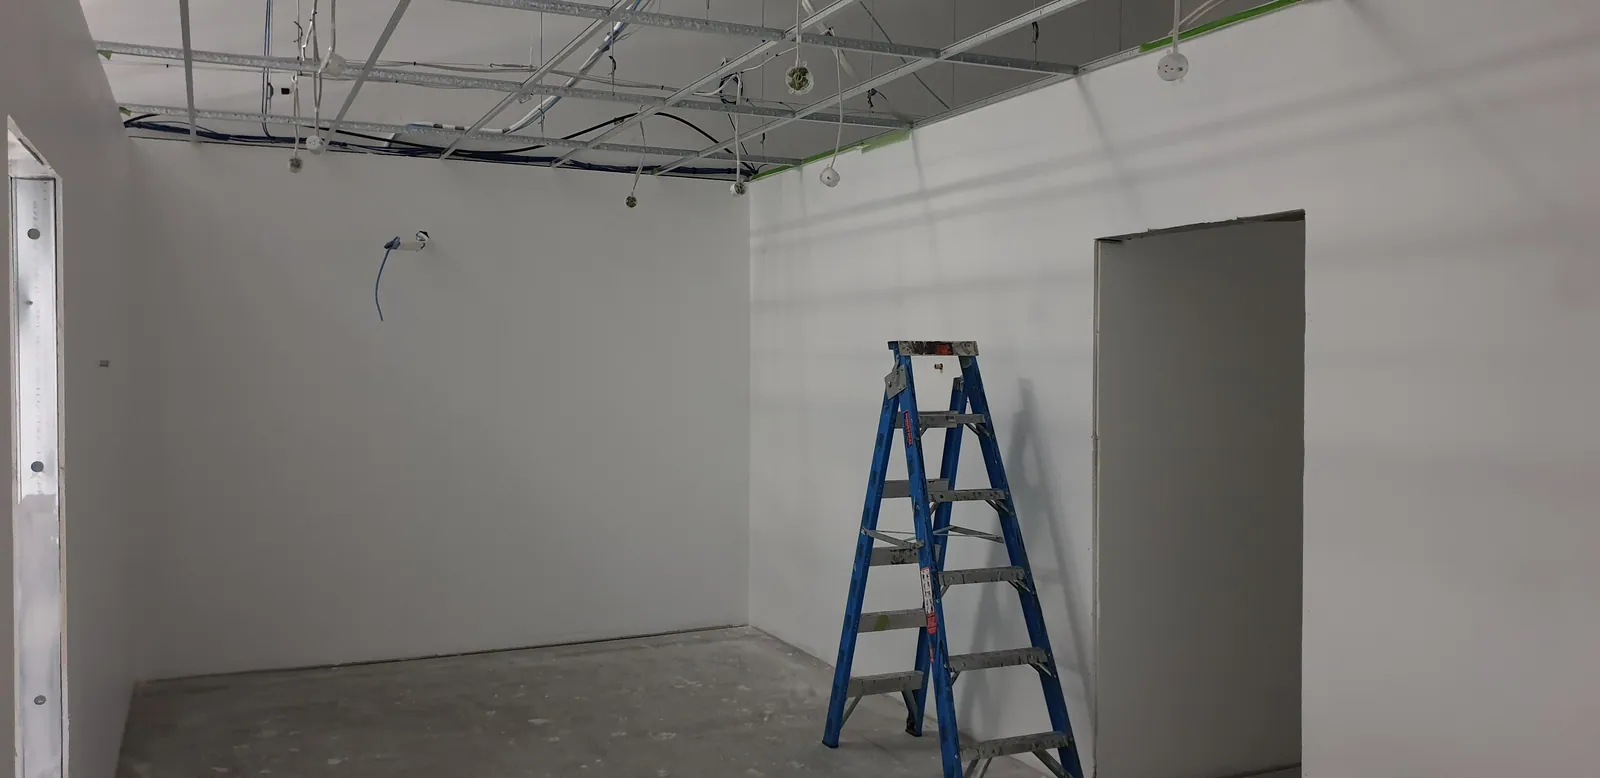
The workshop with painted walls and ladders still in use.
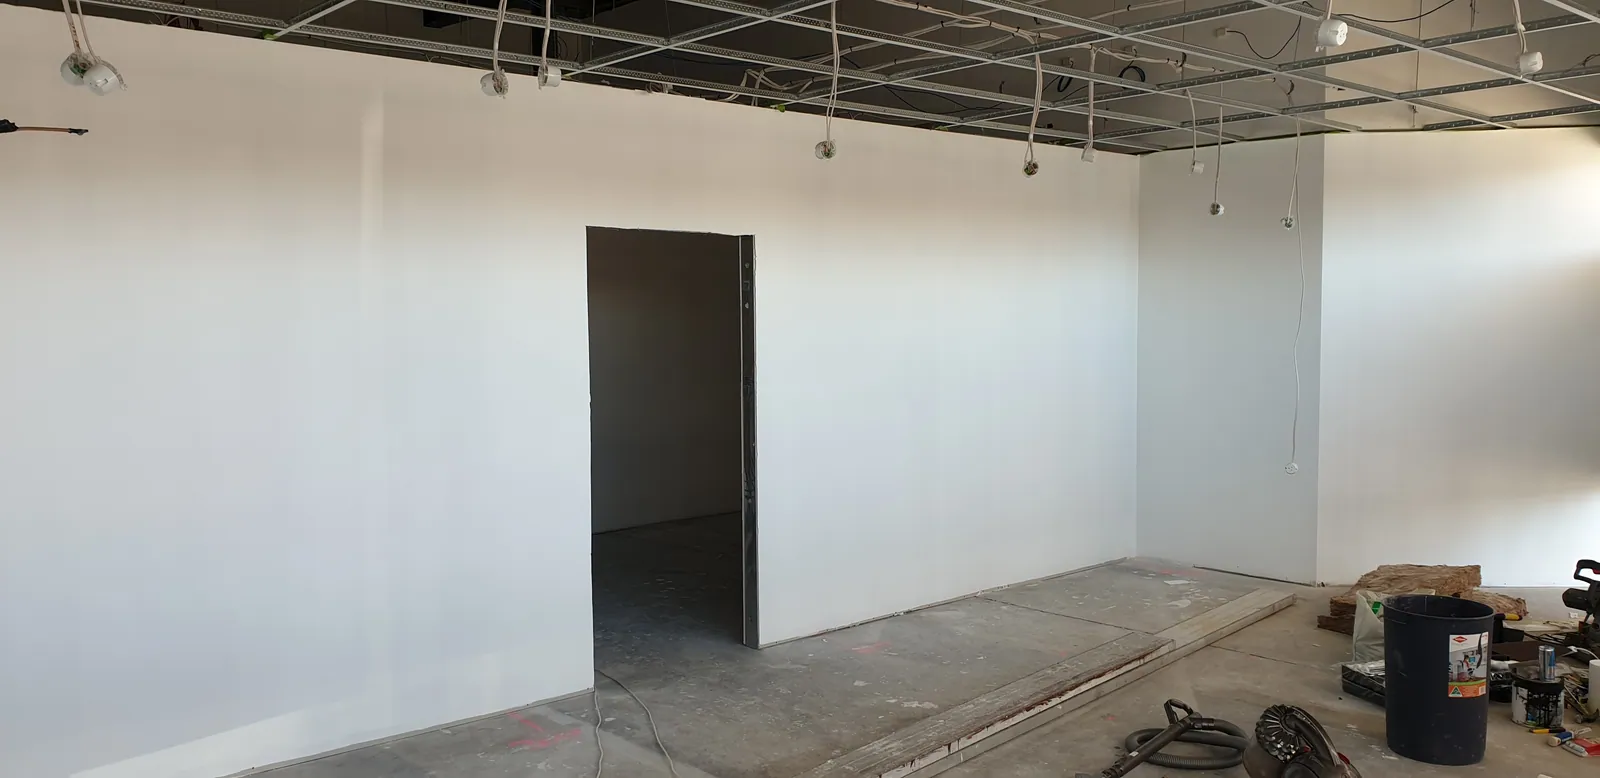
The painted retail area in daylight.
08Screen mounts and network cabinet
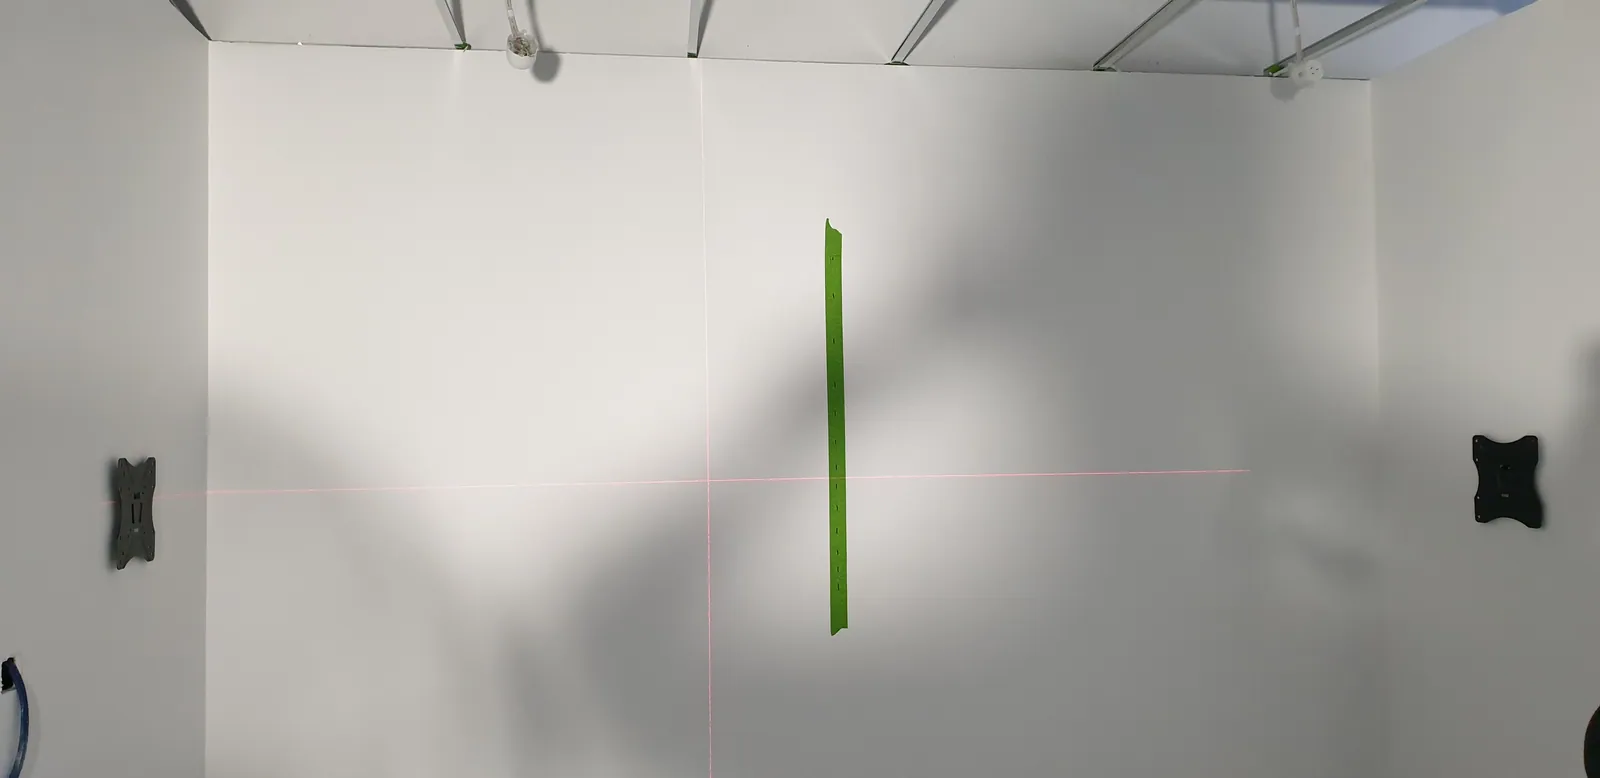
Wall mounts being aligned for the workshop screens.
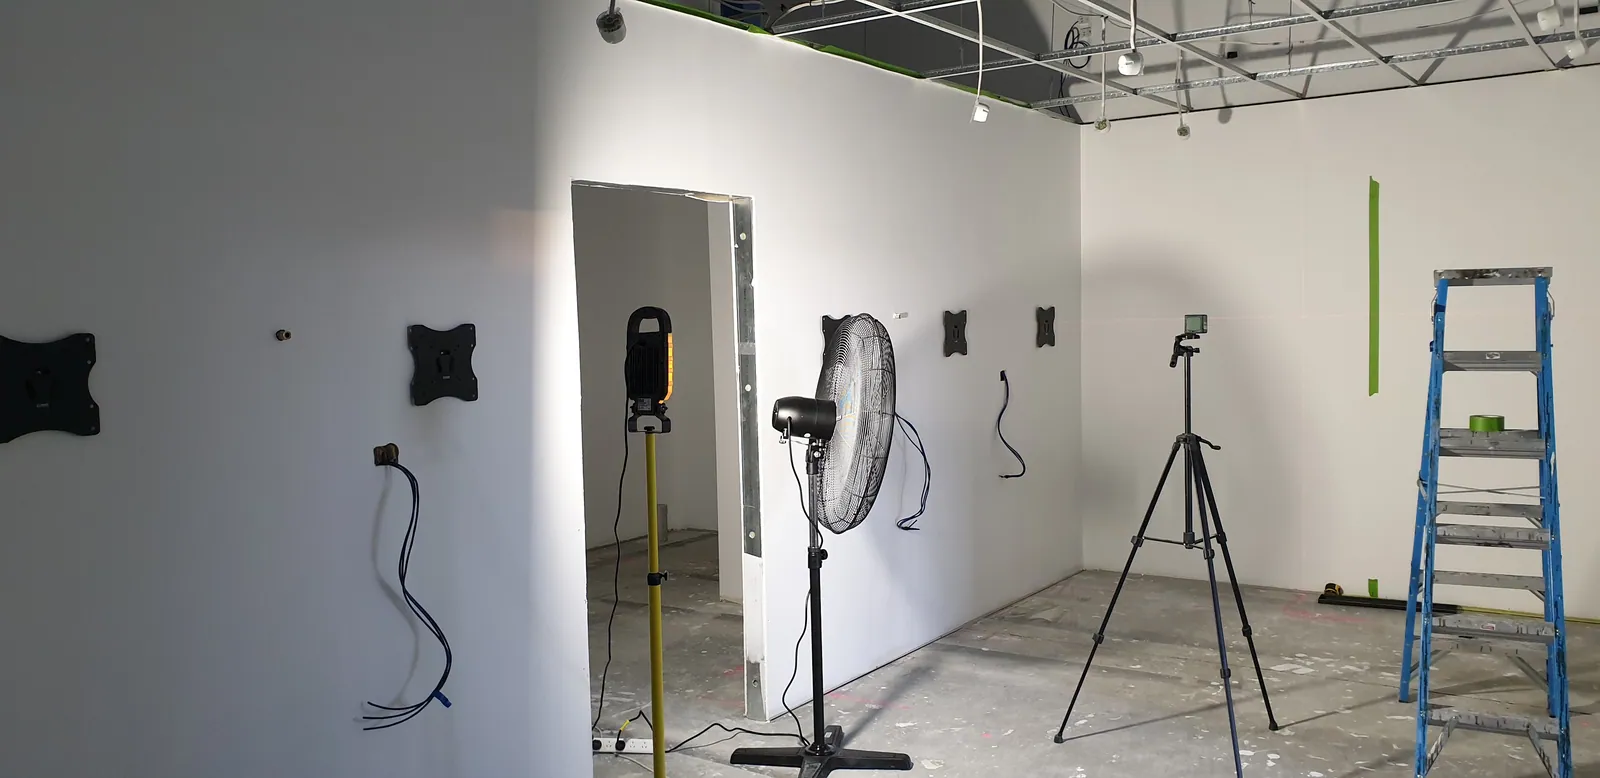
Screen mounts fitted around the workshop walls.
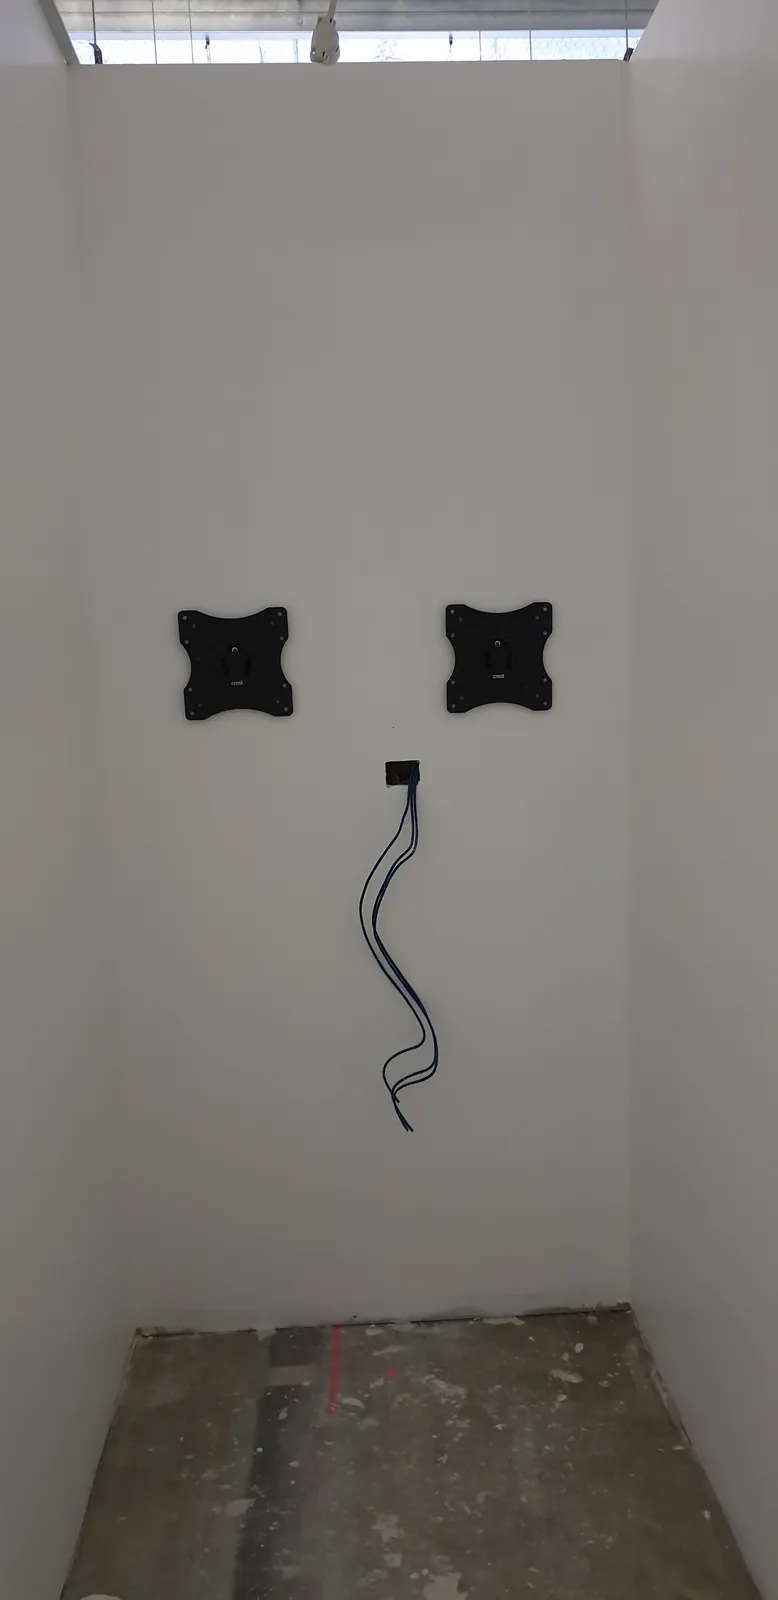
Two screen mounts prepared in a smaller work area.
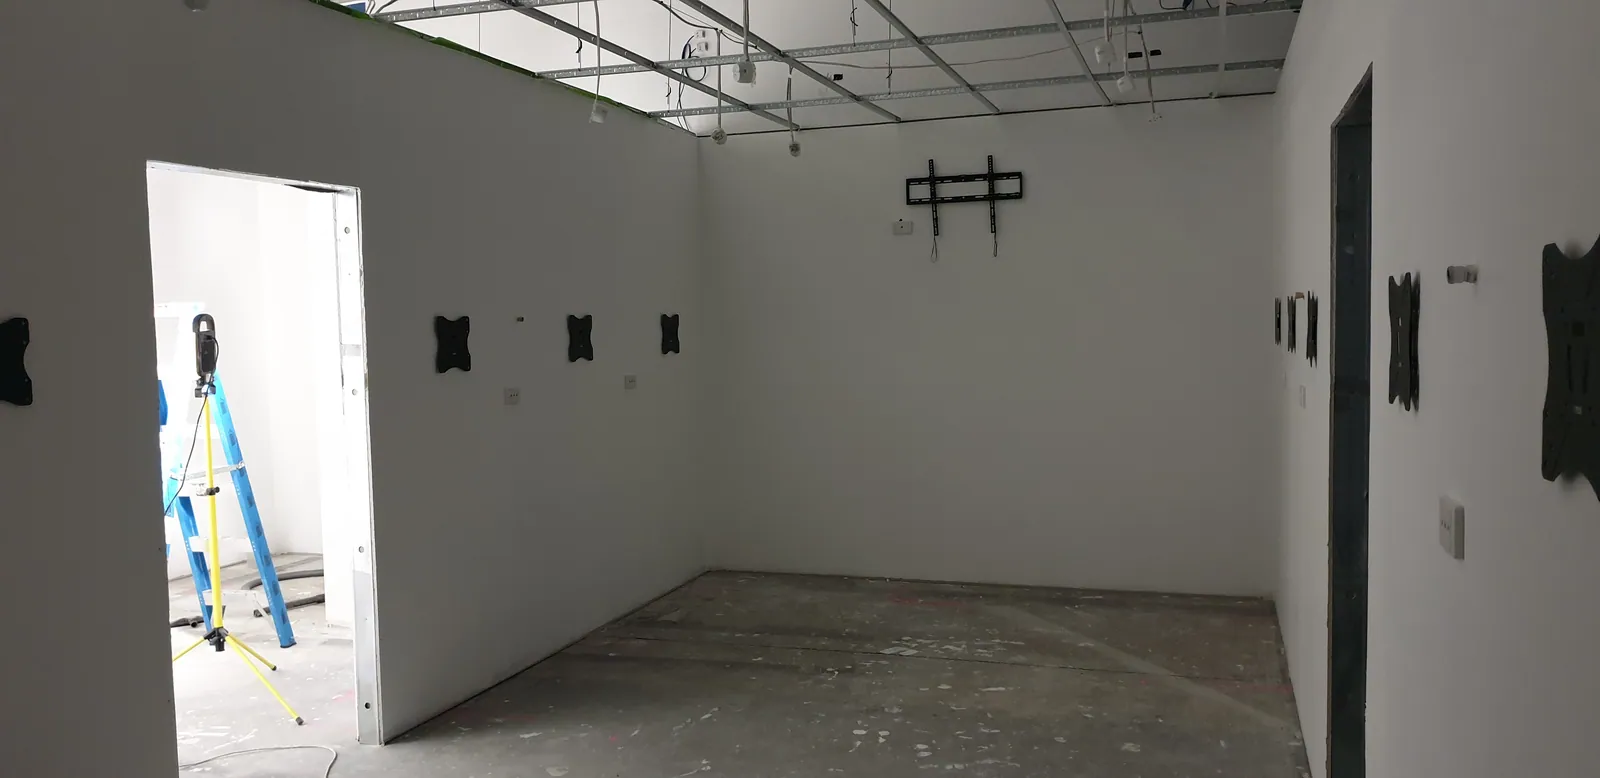
The workshop with the screen positions established.
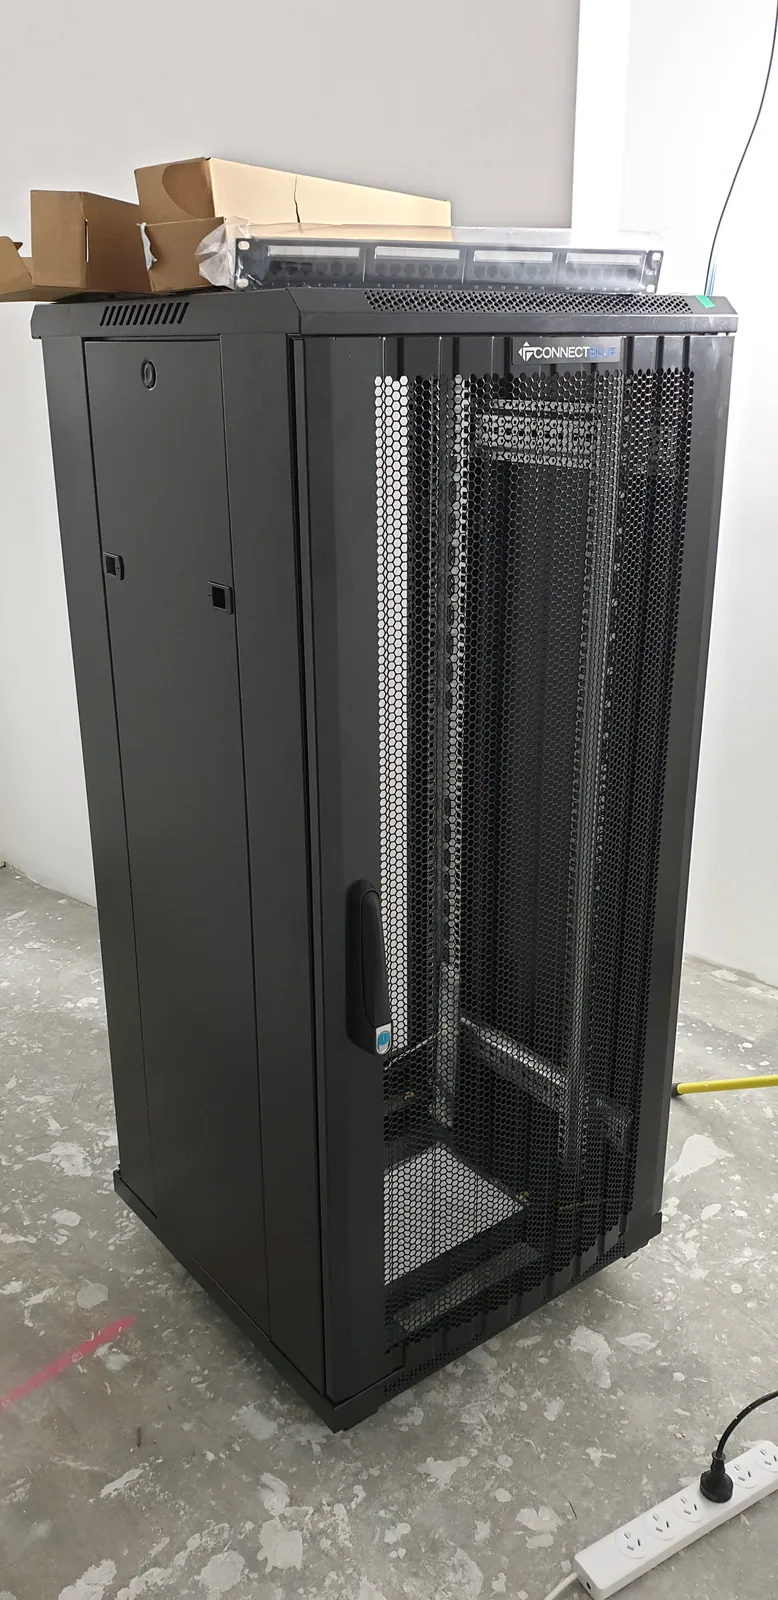
The network cabinet brought into the new premises.
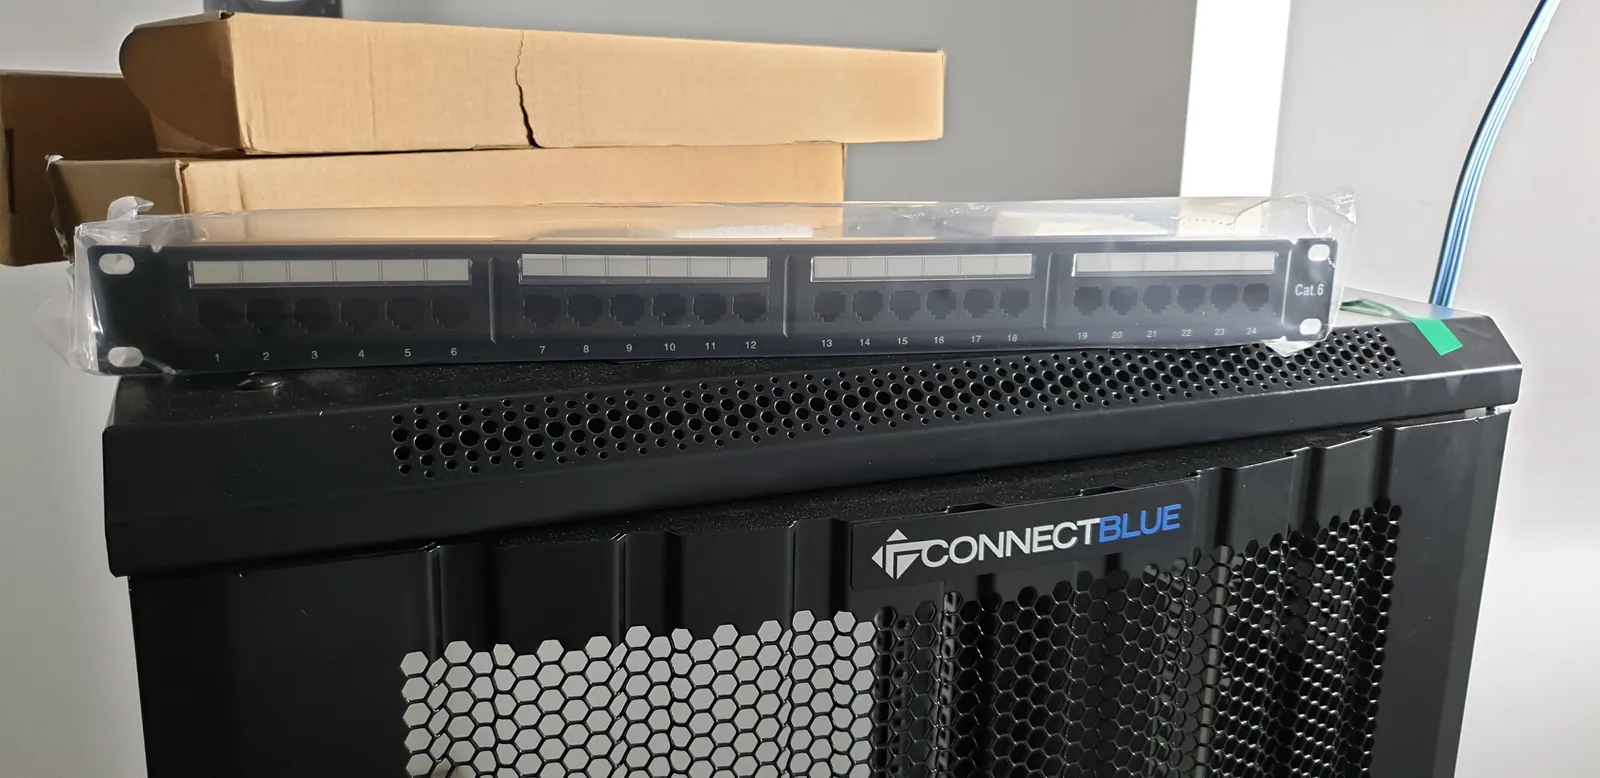
Network hardware being prepared above the new cabinet.
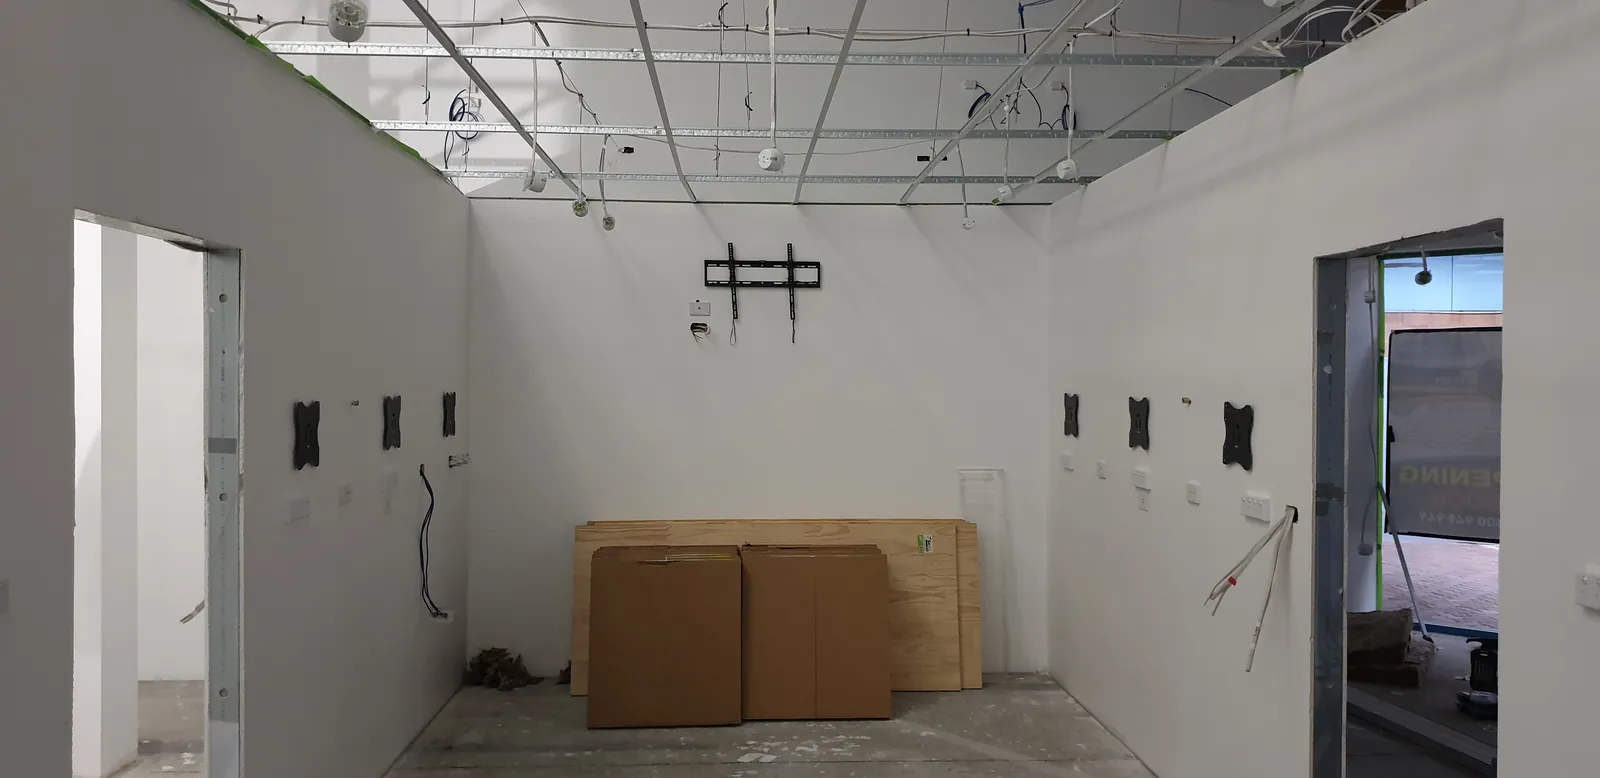
Workshop screen mounts above the next delivery of cabinetry.
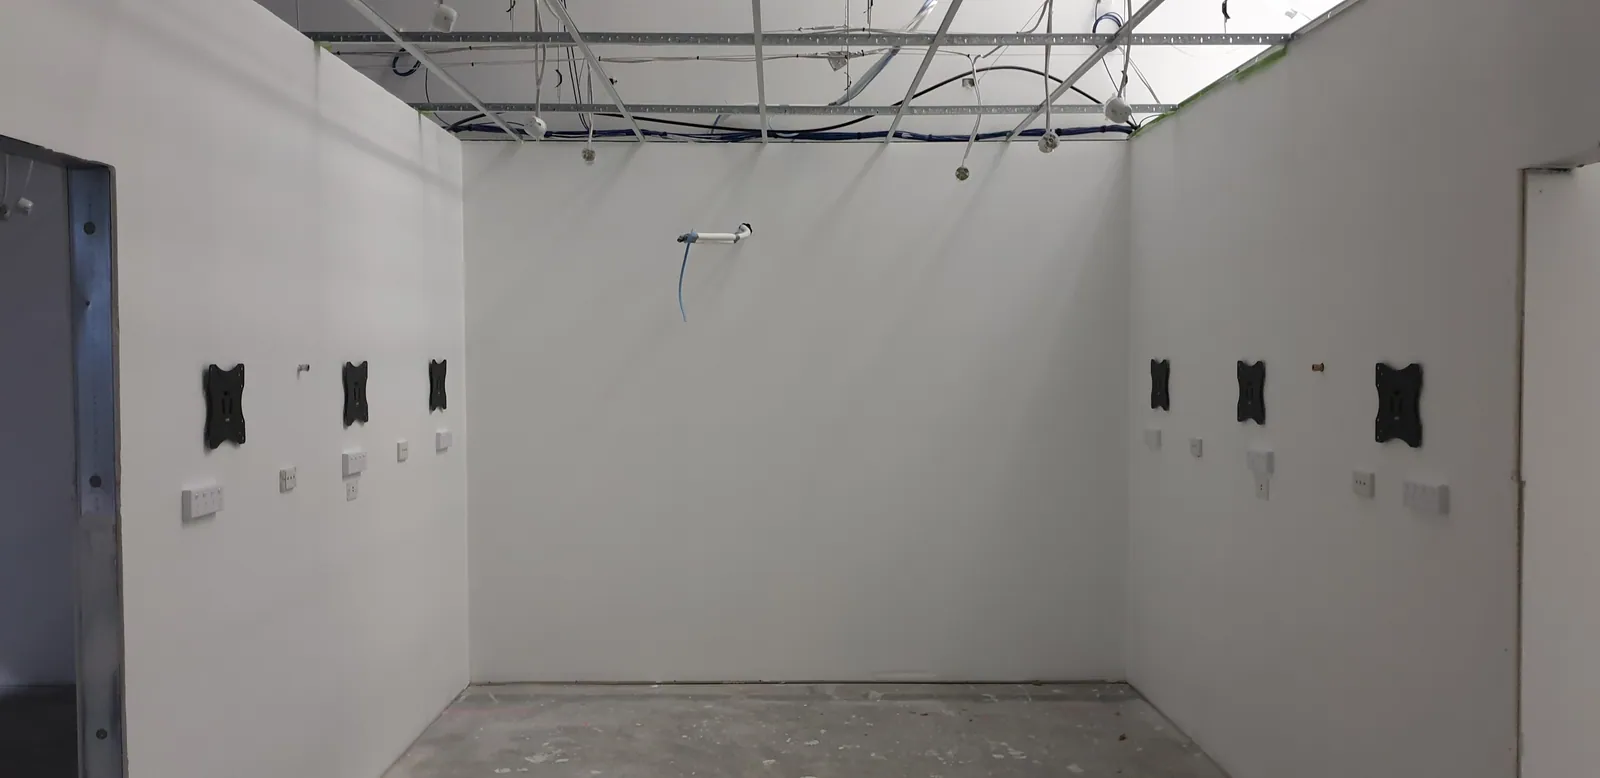
Cabinet parts awaiting assembly in the workshop.
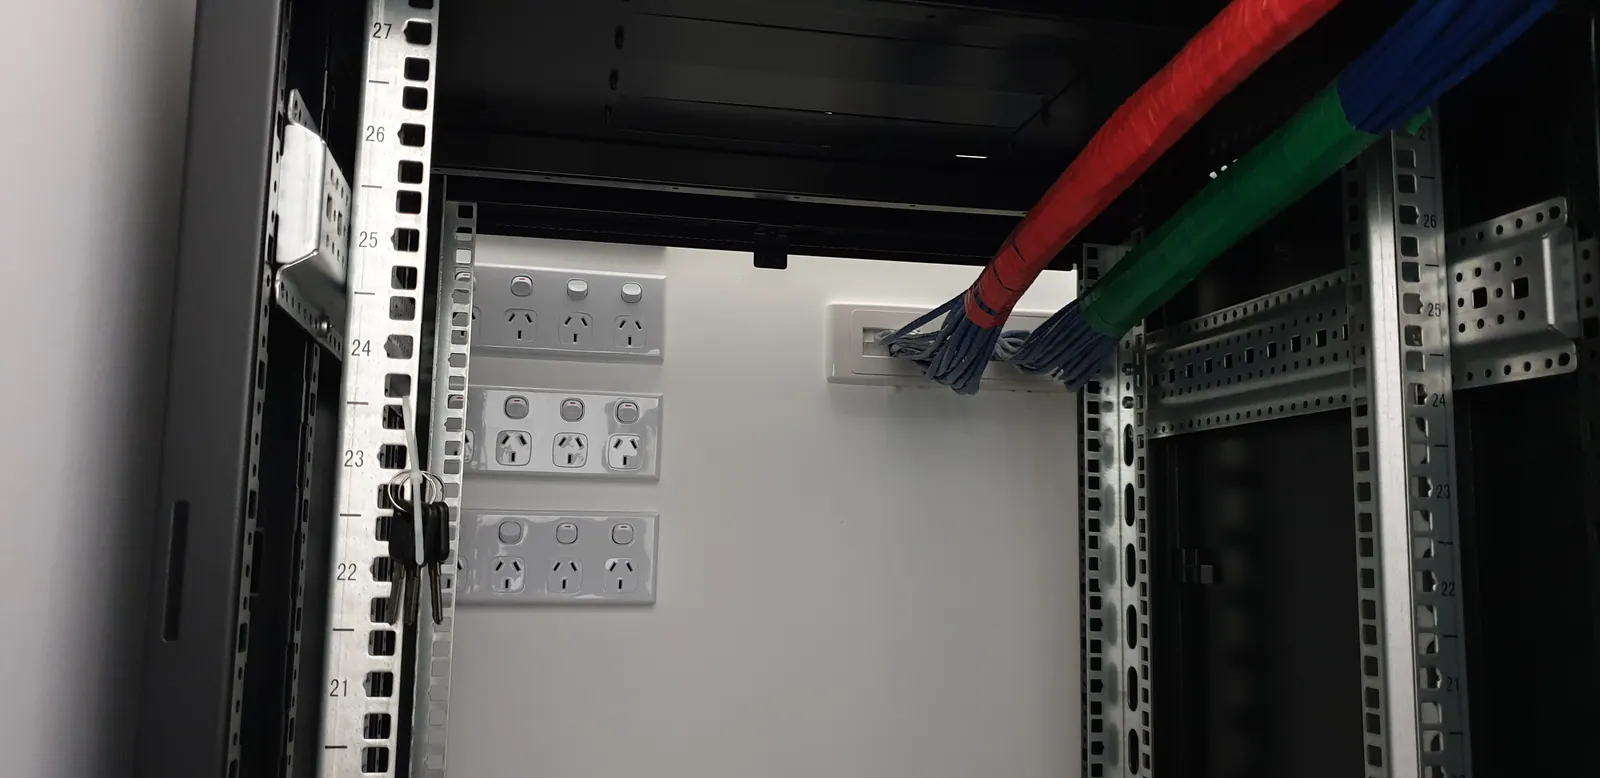
A closer look inside the developing network cabinet.
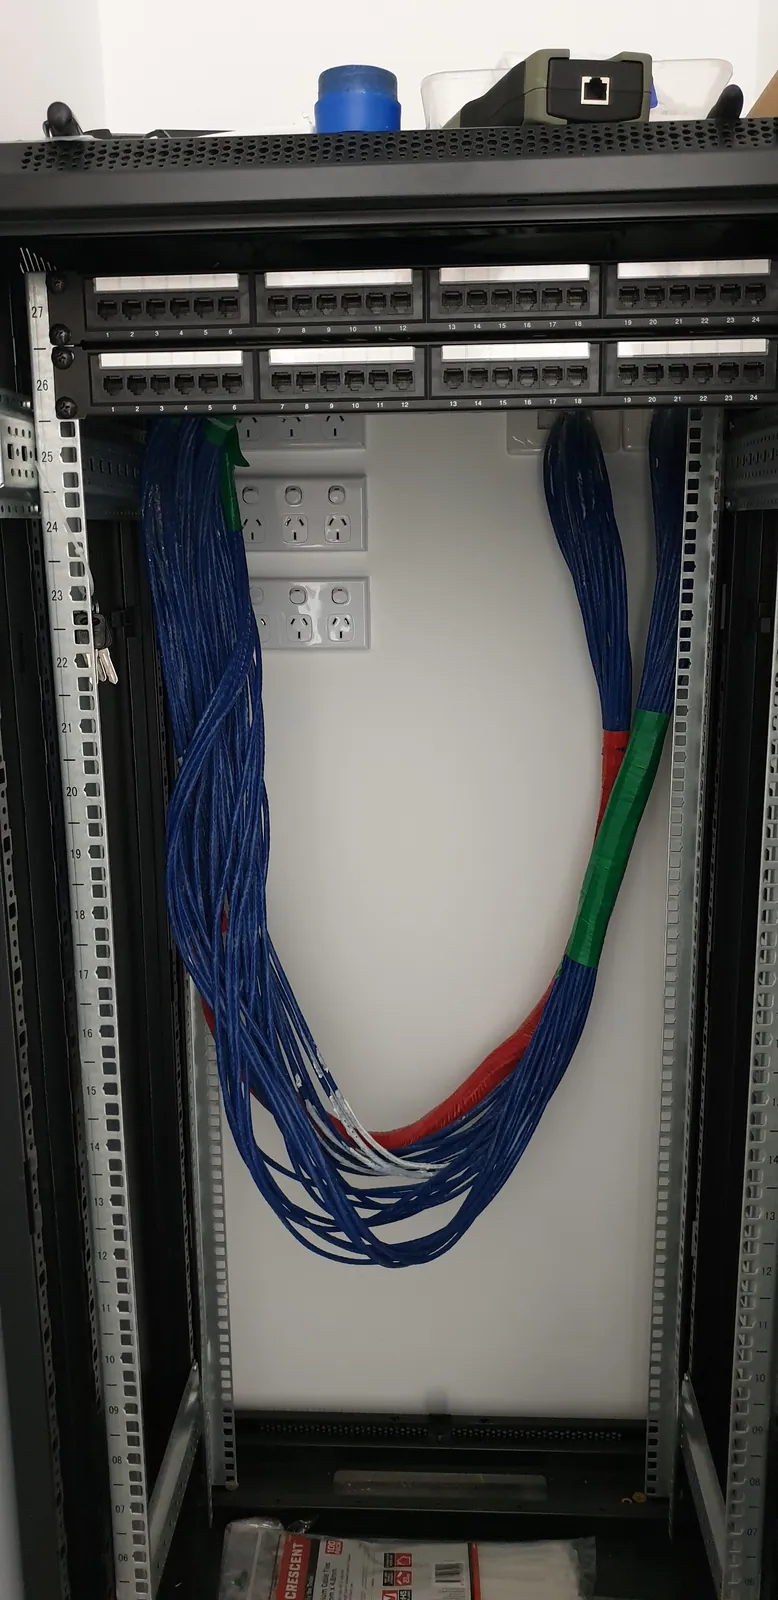
Further network-cabinet wiring during the fit-out.
09Cabinets, windows and worktops
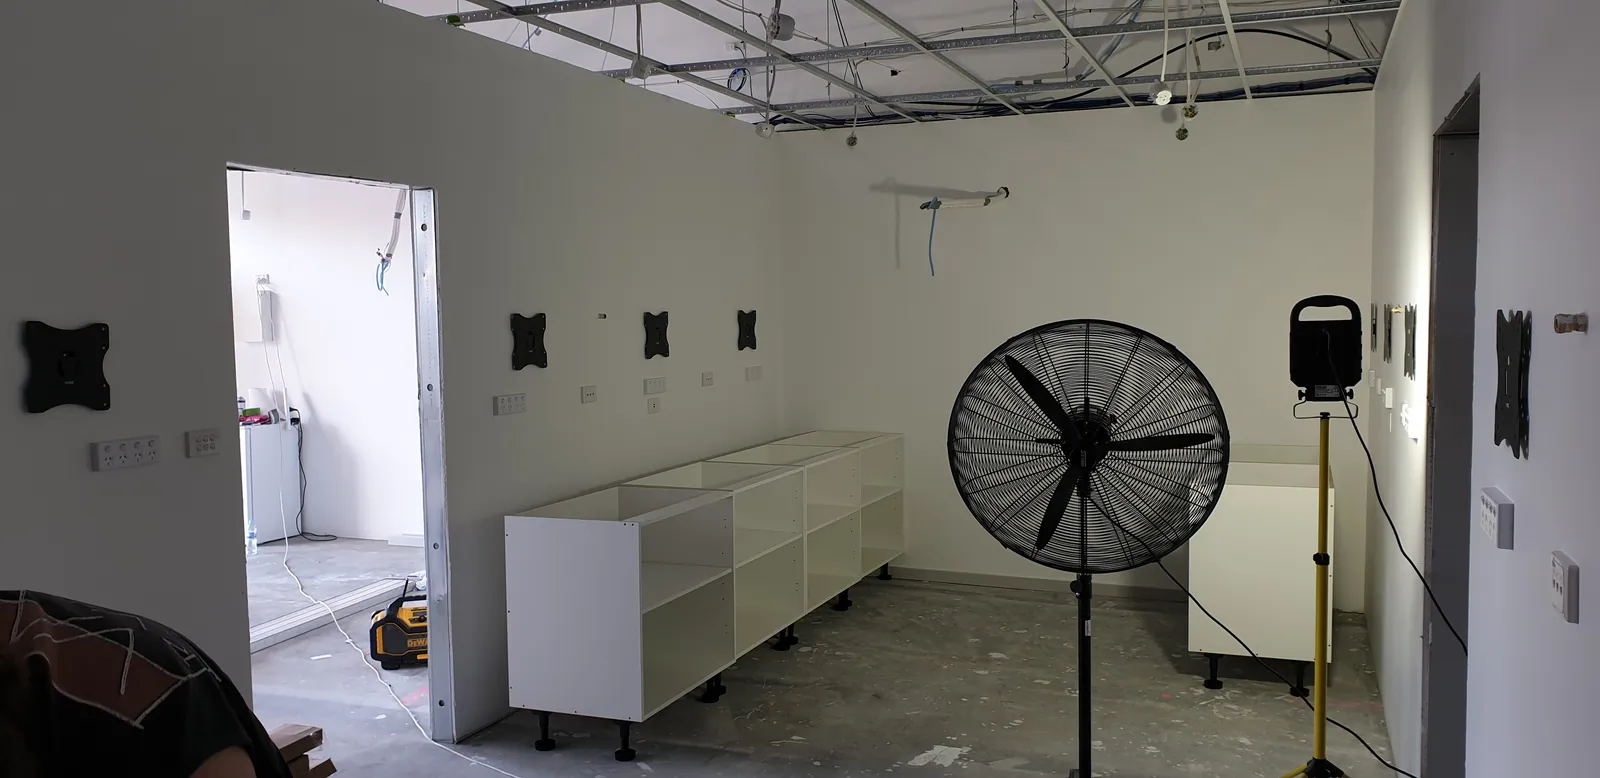
The first base cabinets positioned along the workshop wall.
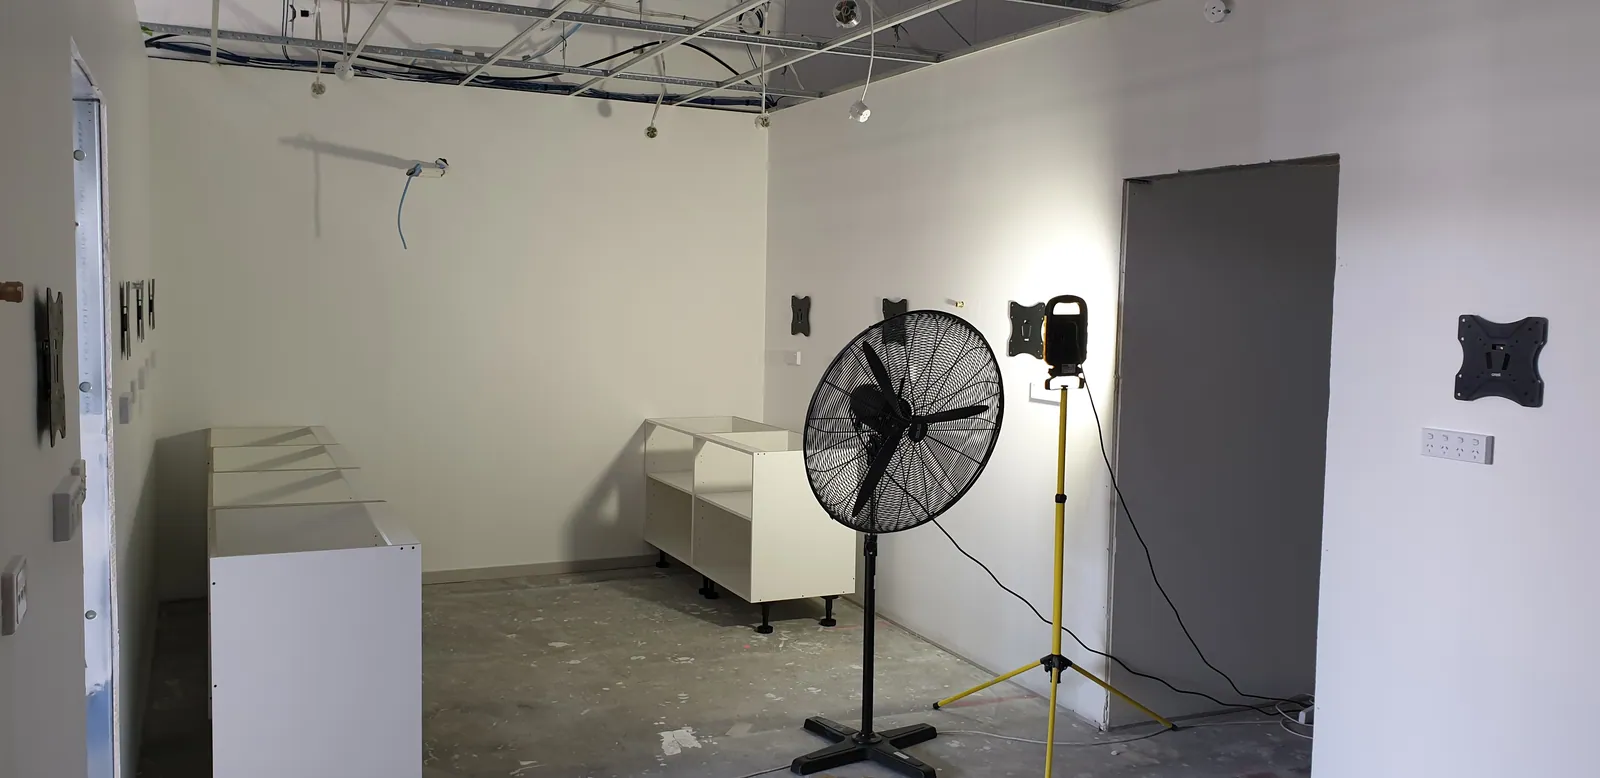
Base cabinets taking shape on the opposite side.
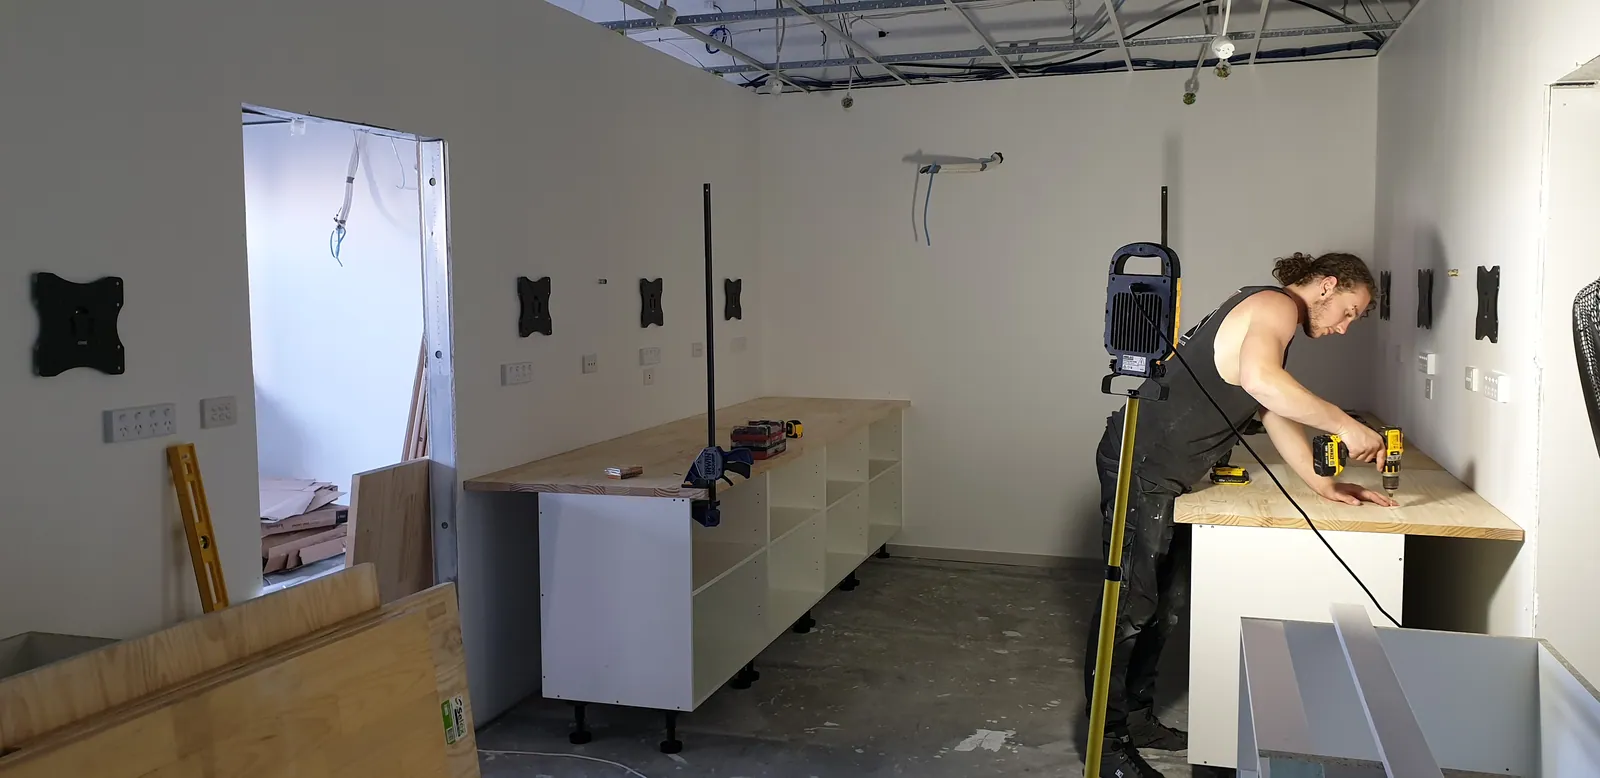
Measuring and assembling the workshop bench cabinetry.
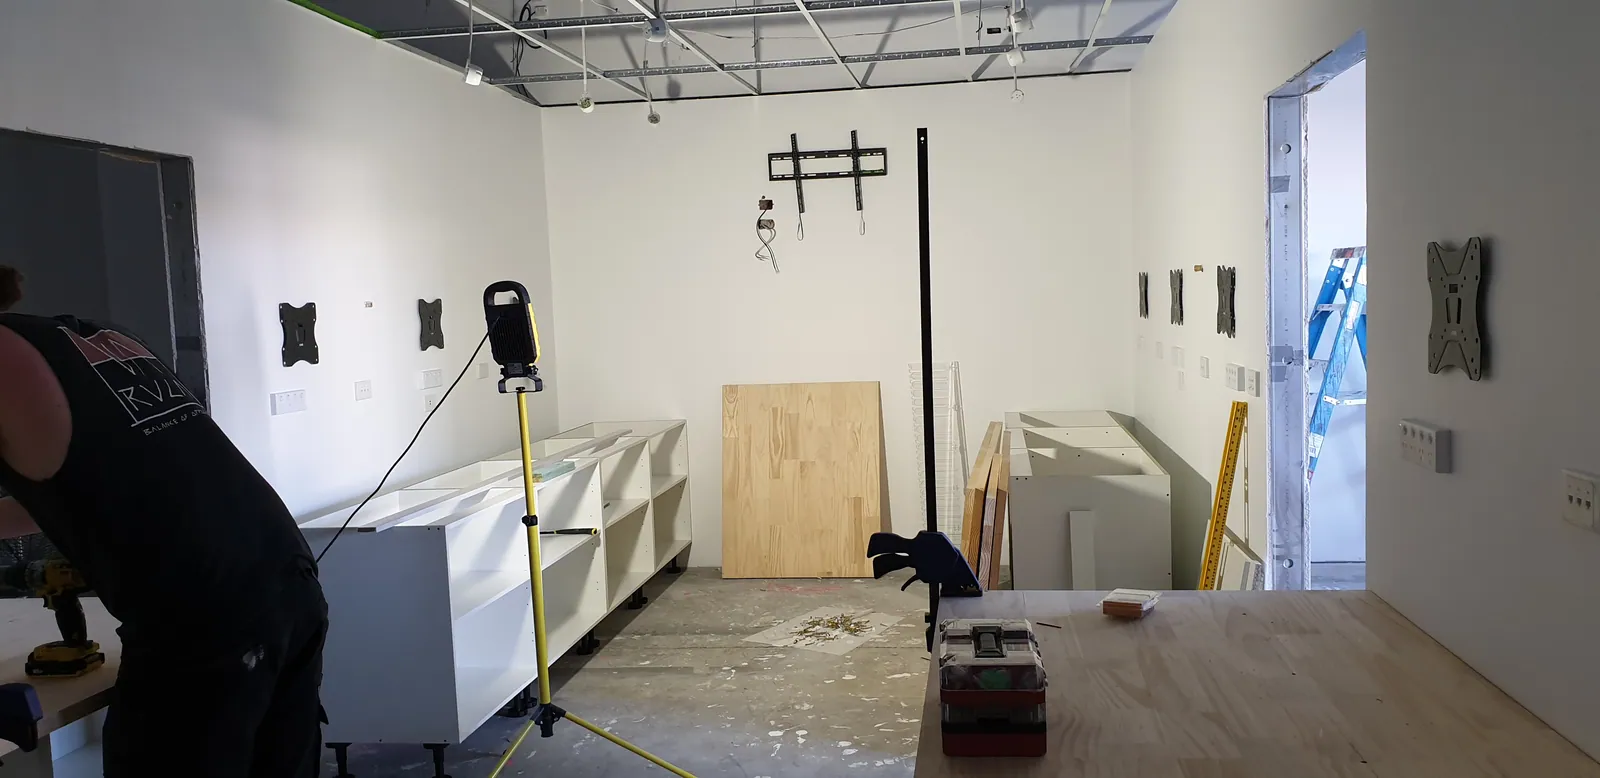
The cabinet layout viewed across the workshop.
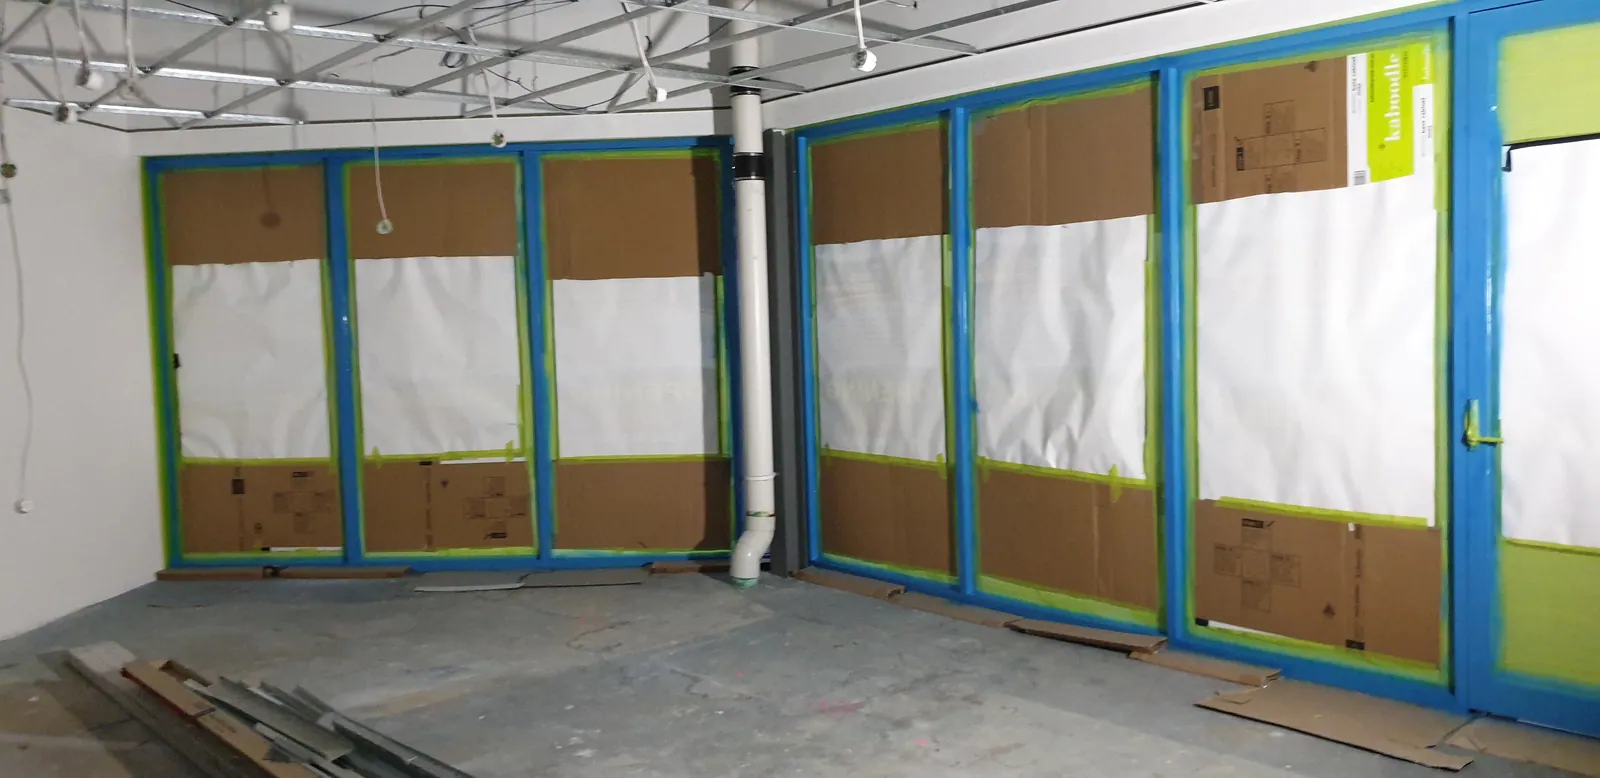
The front glazing masked in preparation for painting.
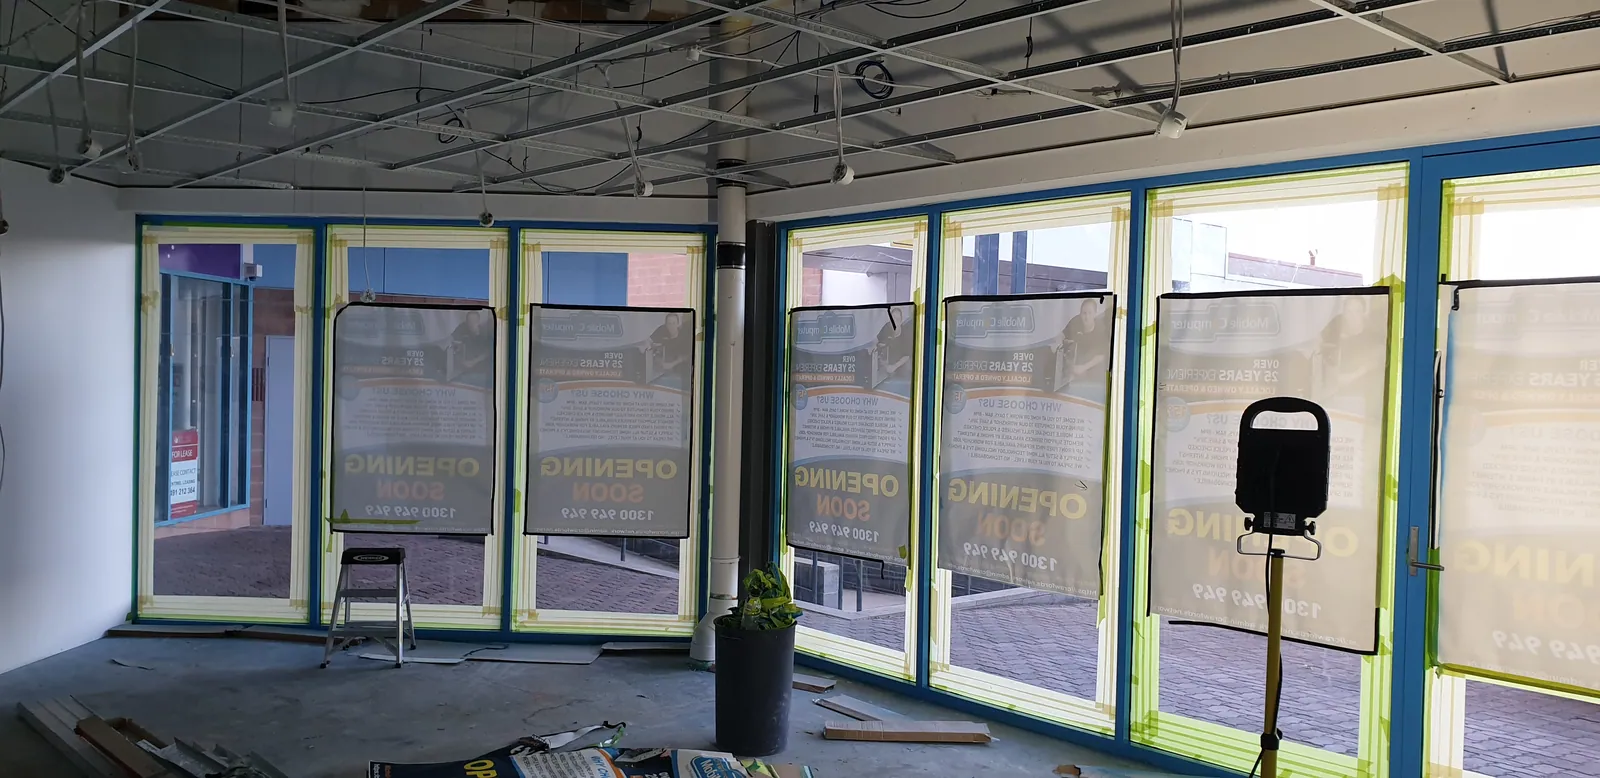
Work continues around the masked front windows.
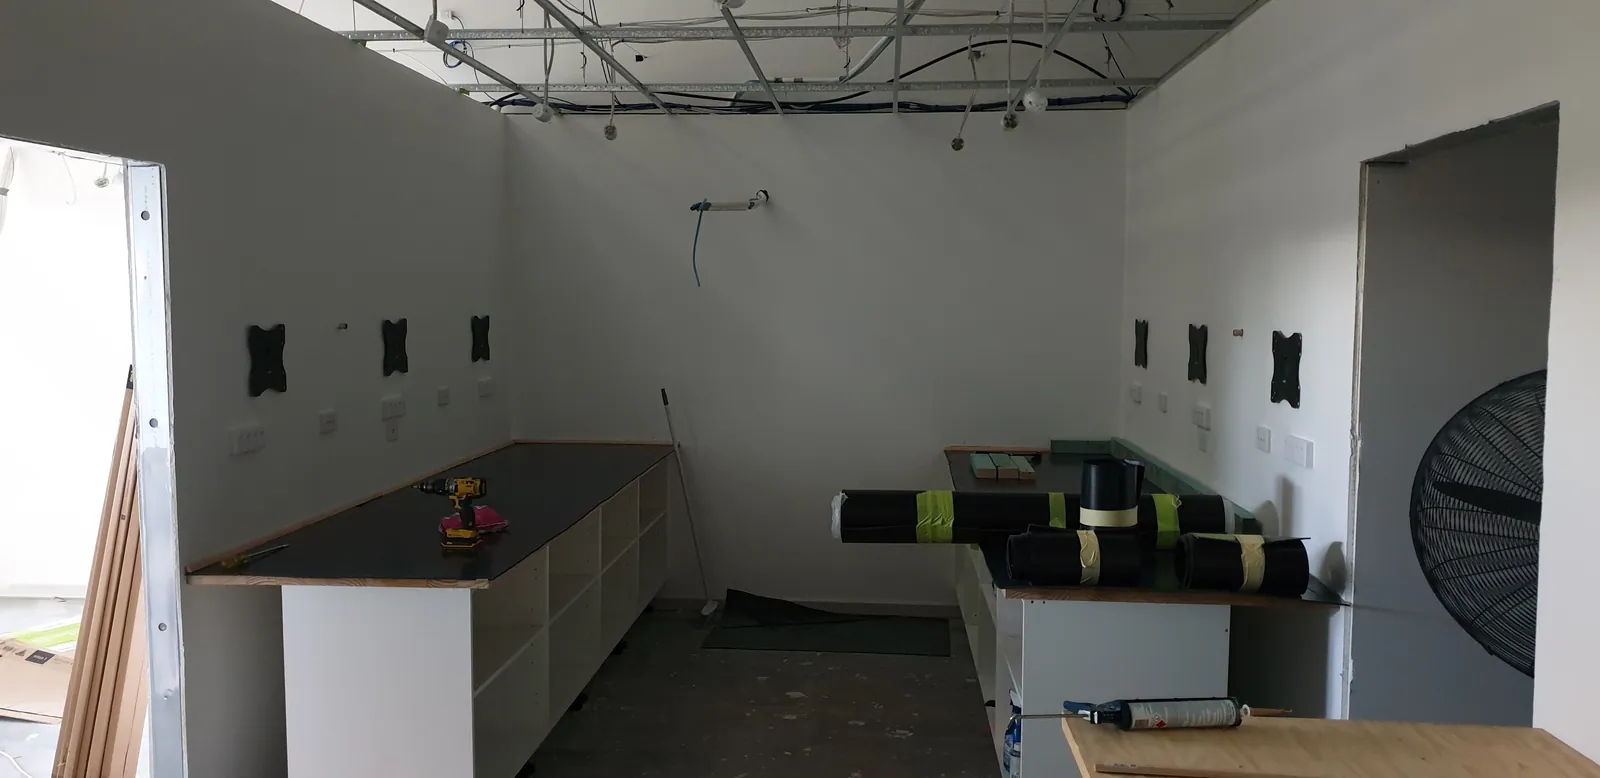
The workshop base cabinets before the benchtops are fitted.
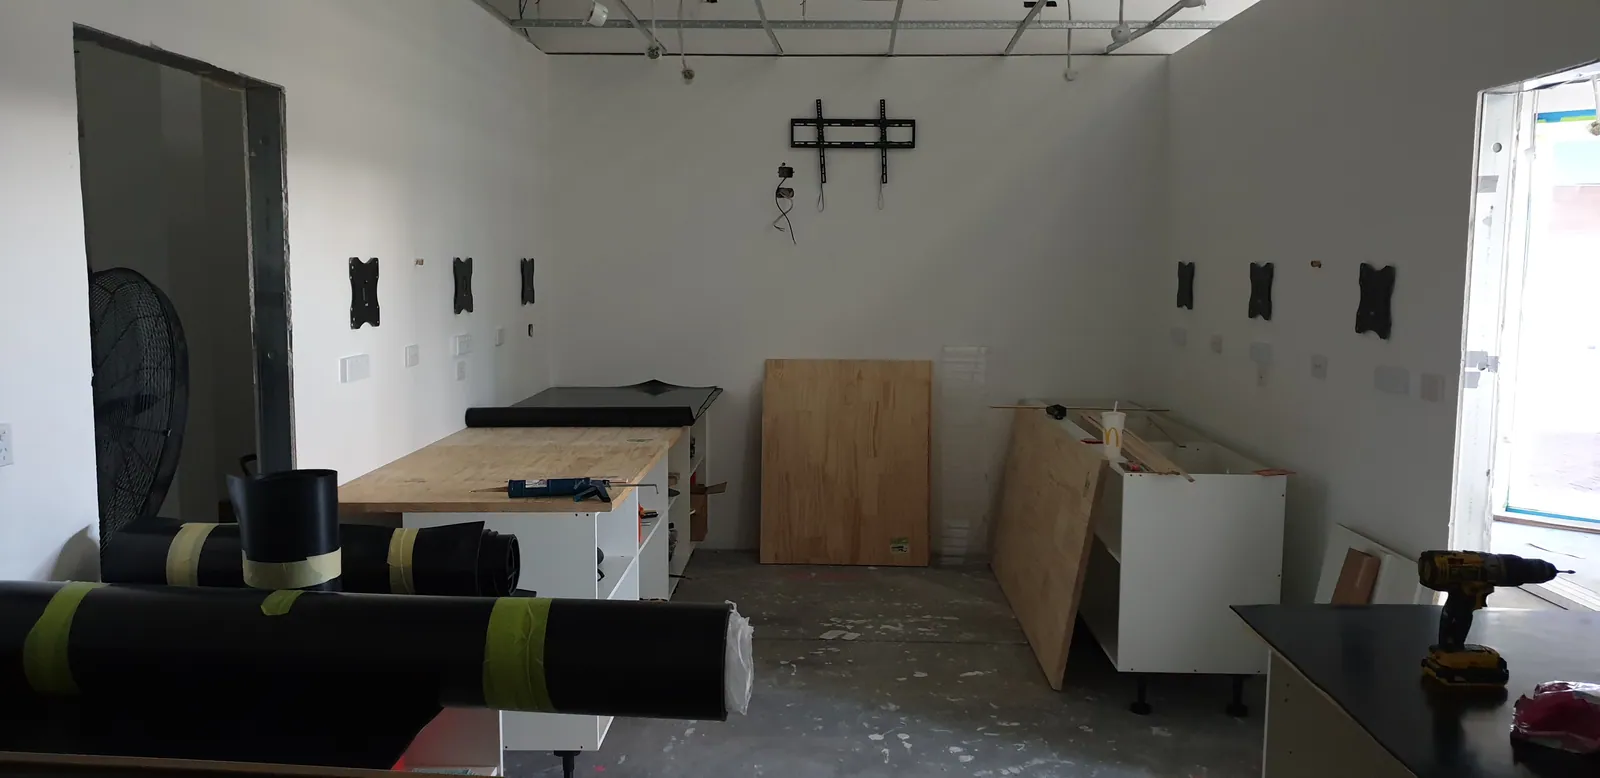
The opposing run of base cabinets and work area.
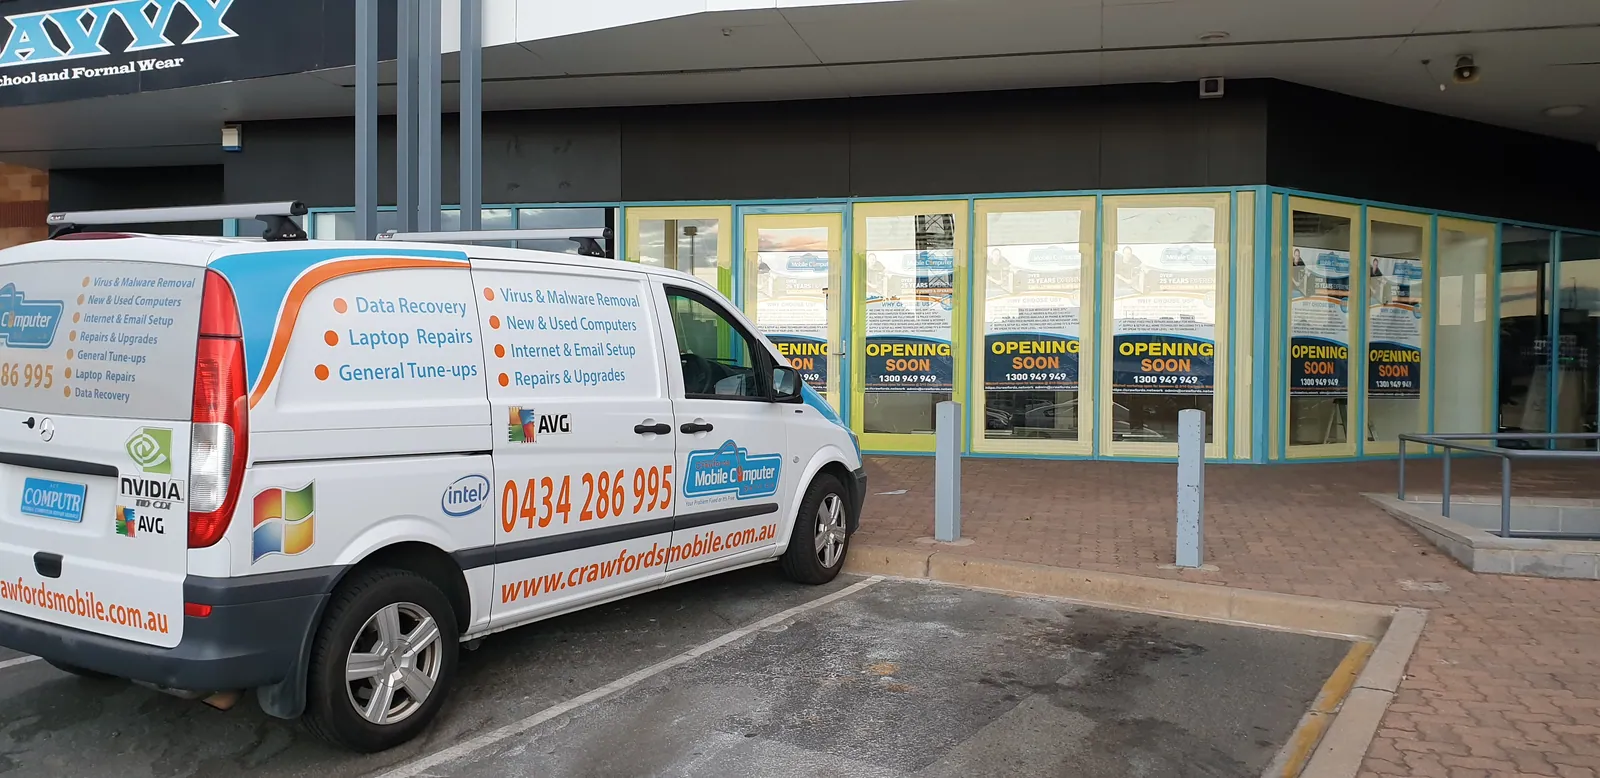
The Crawfords van outside the Opening Soon shopfront.
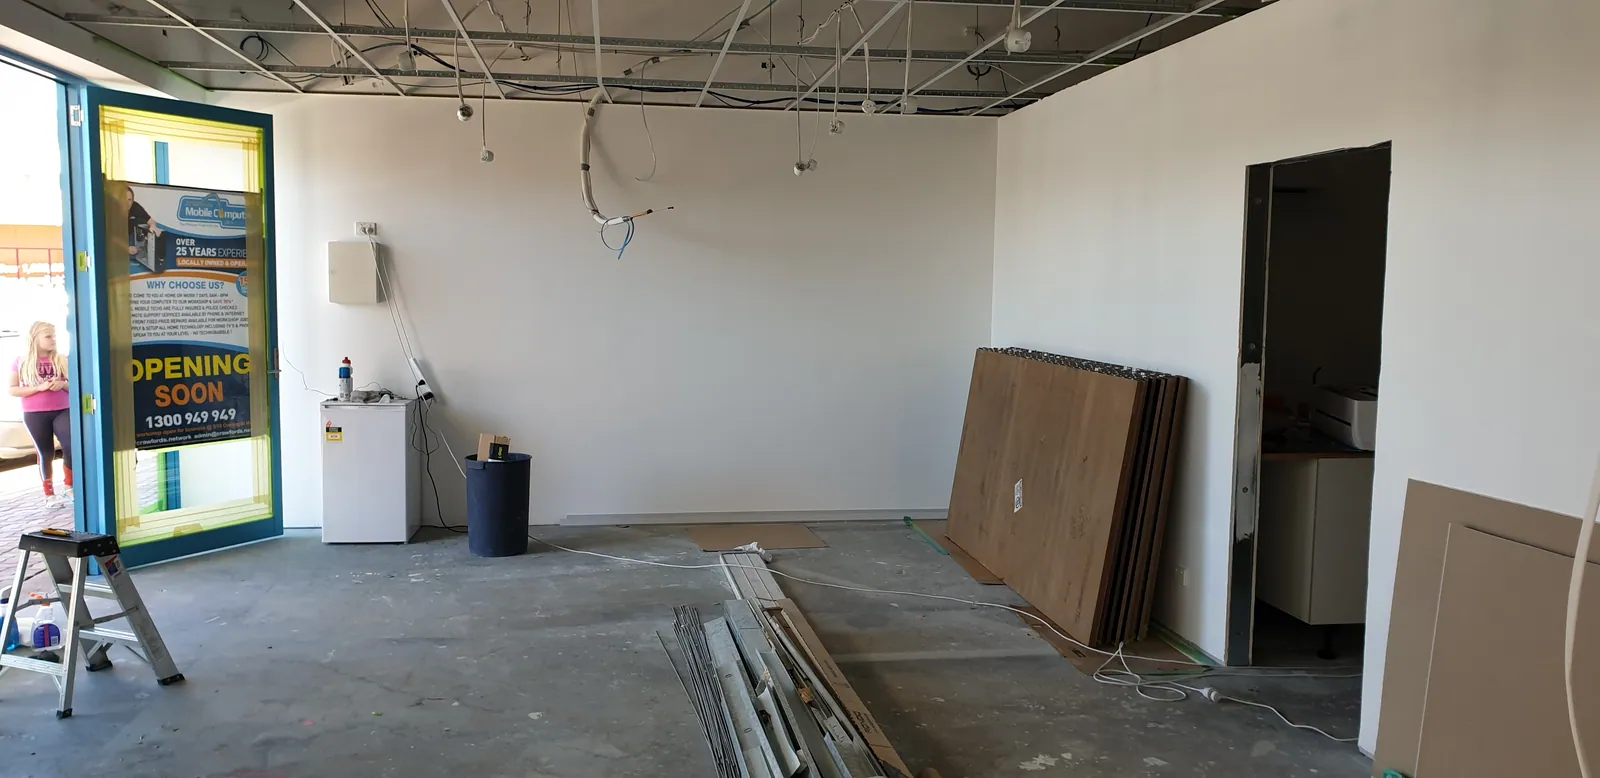
Materials and panels set out across the retail floor.
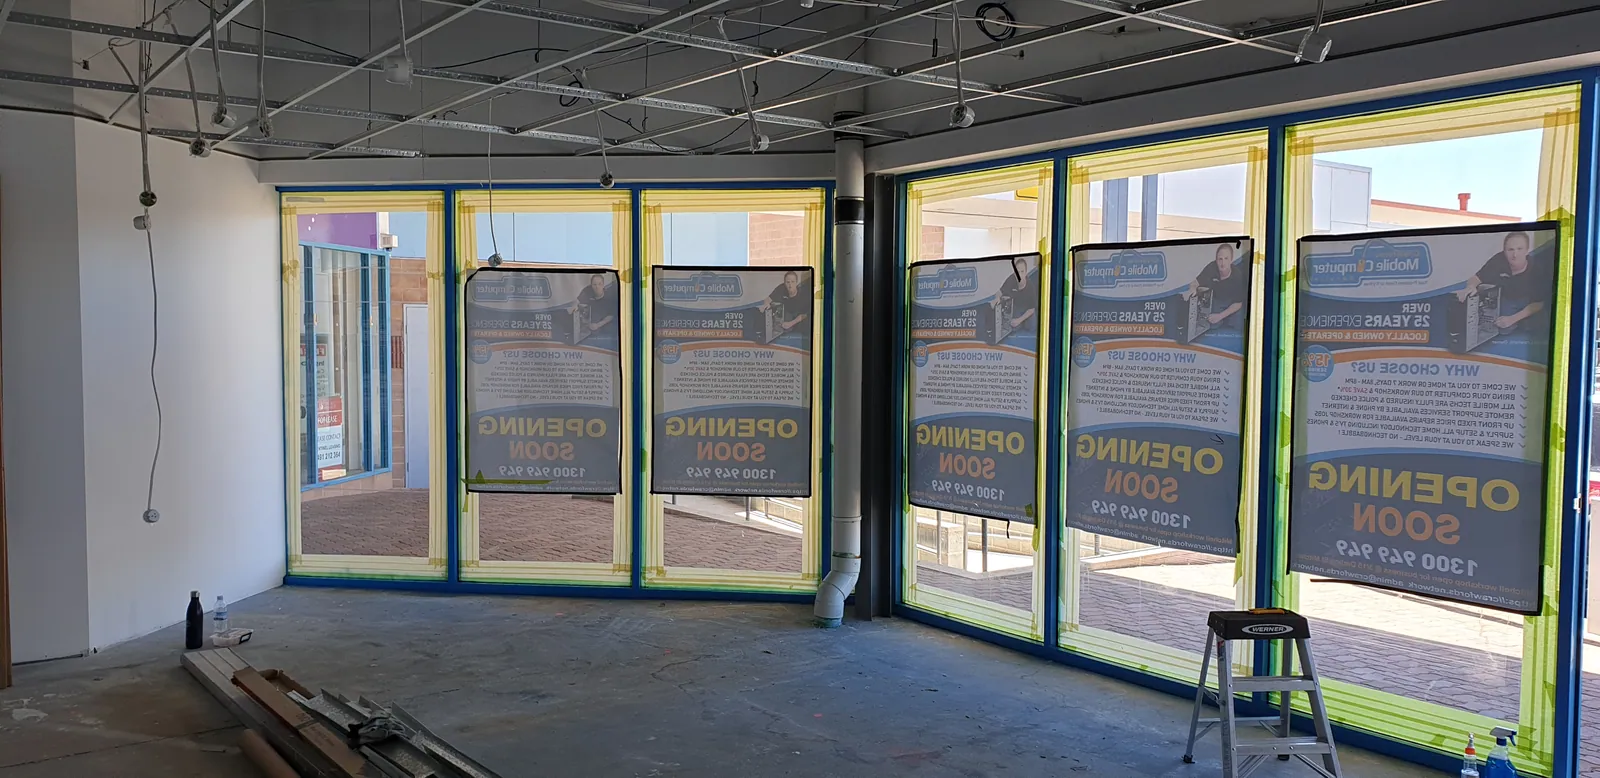
Looking towards the masked front glazing during the next finishing stage.
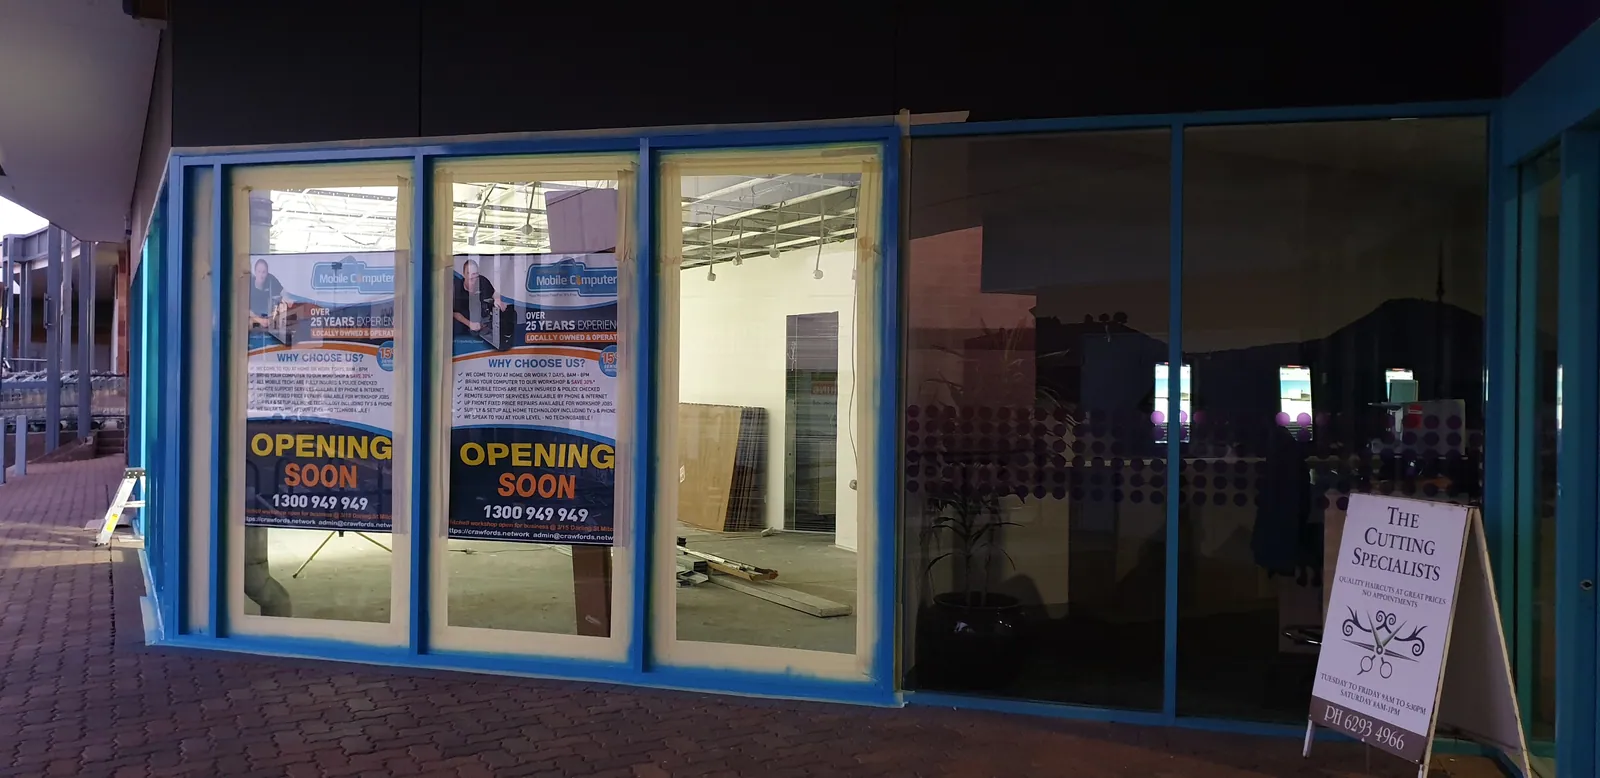
The illuminated shopfront after another evening of work.
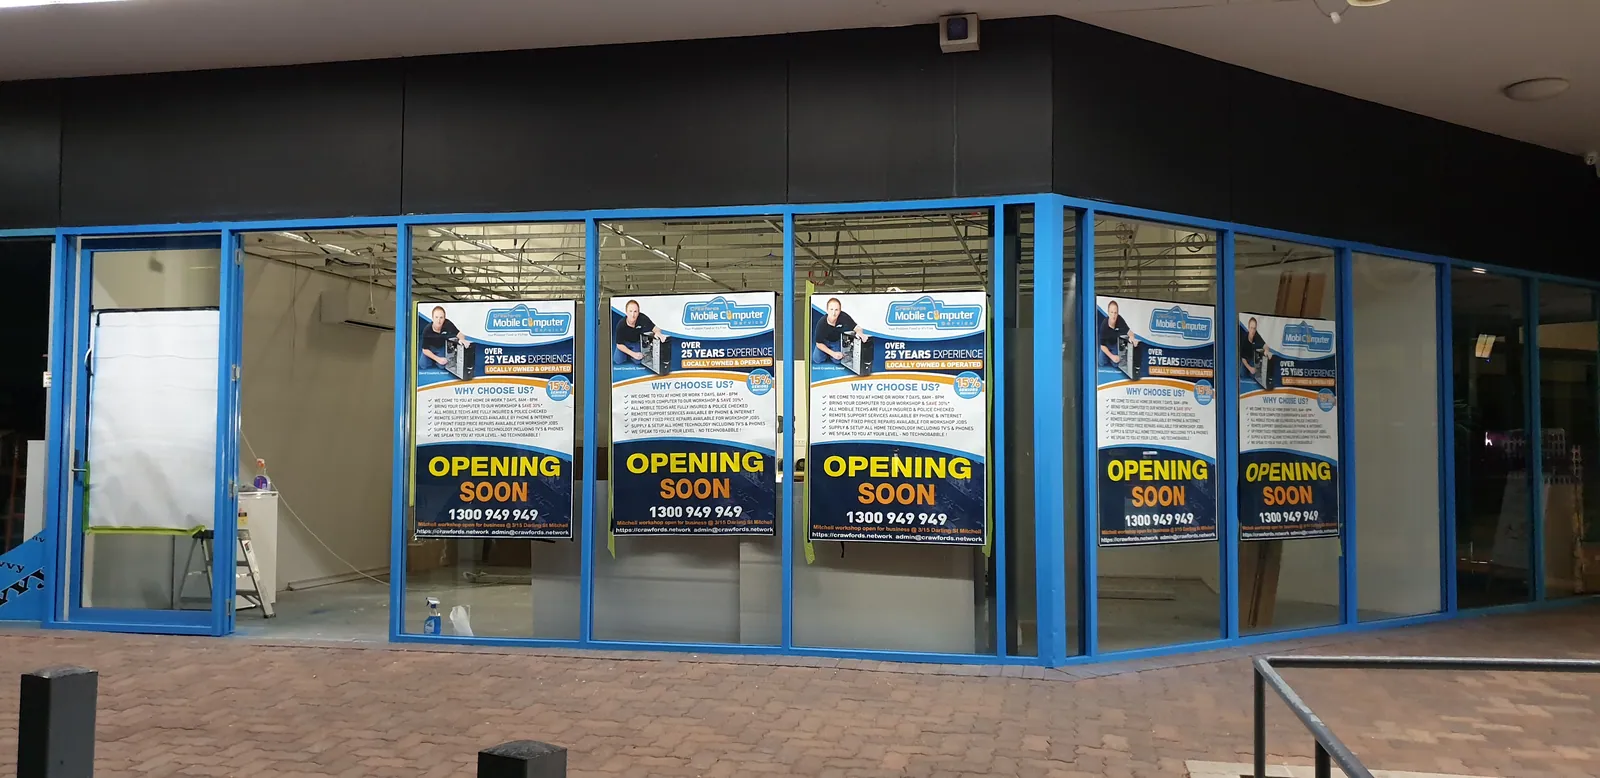
The front-window finishing work nearing completion.
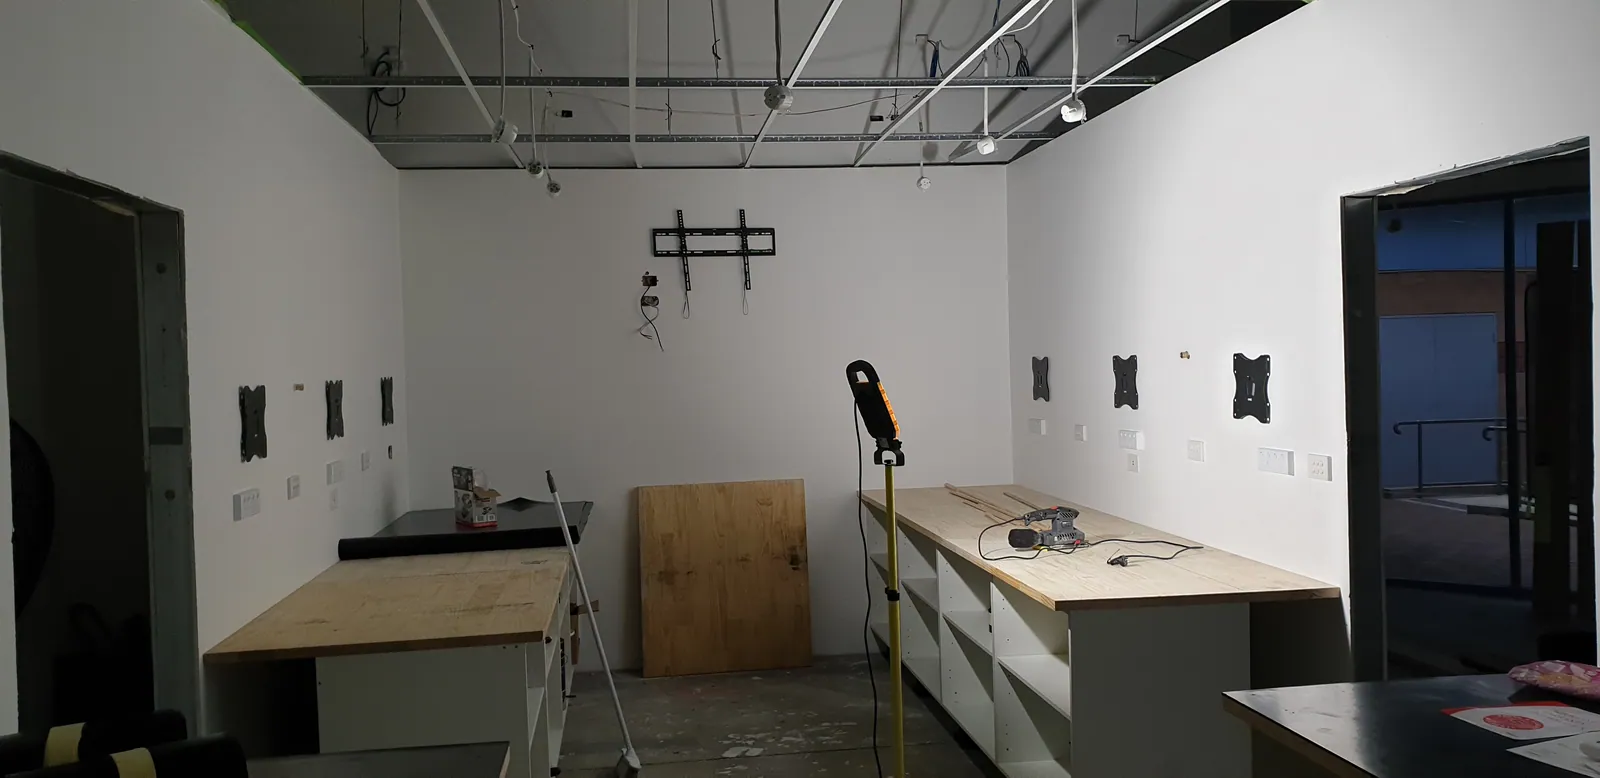
Benchtops fitted to the workshop base cabinets.
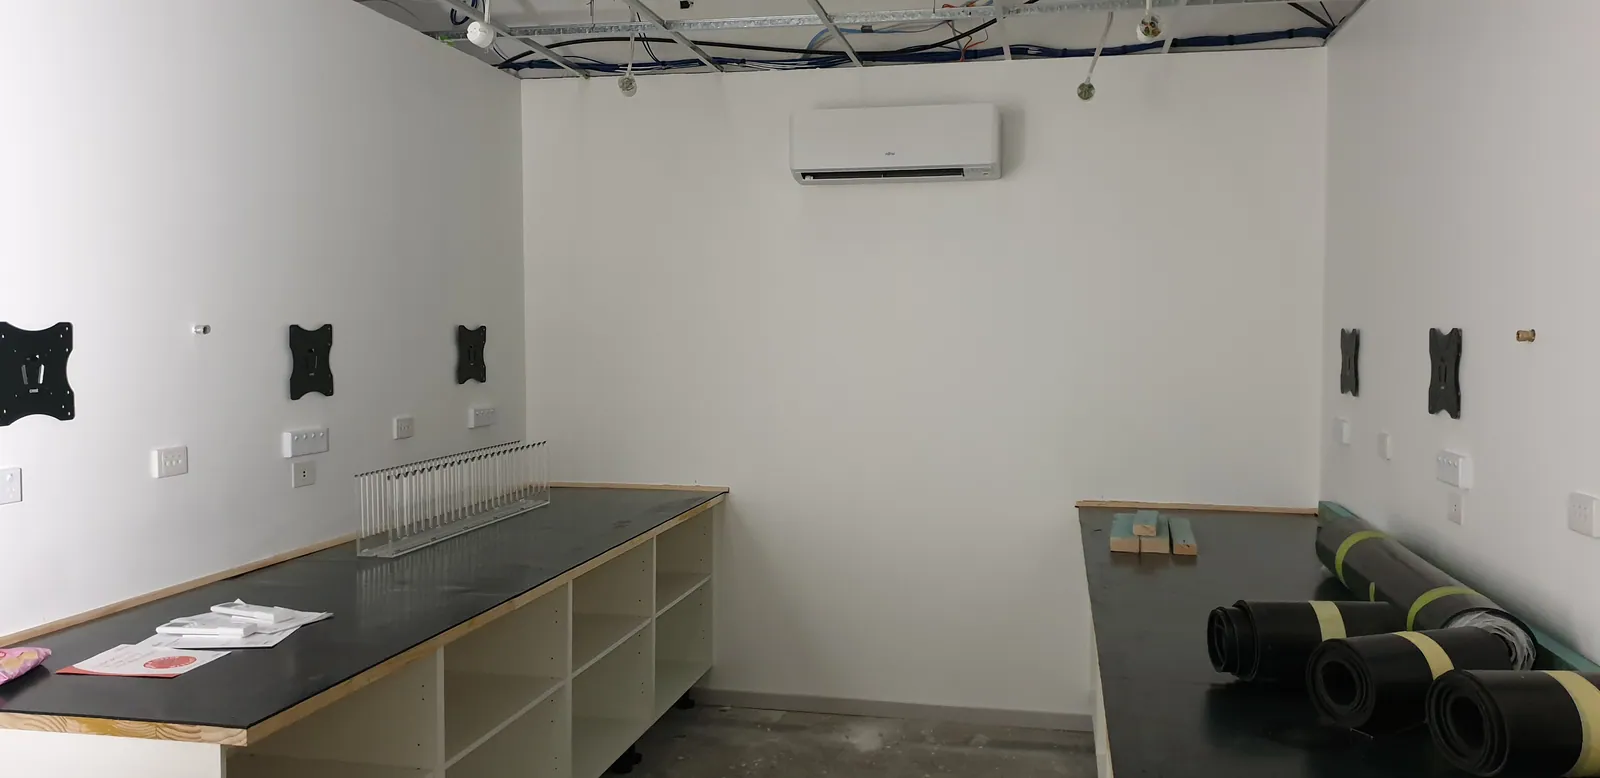
The opposing workbench and air conditioner during installation.
10Ceilings and lighting
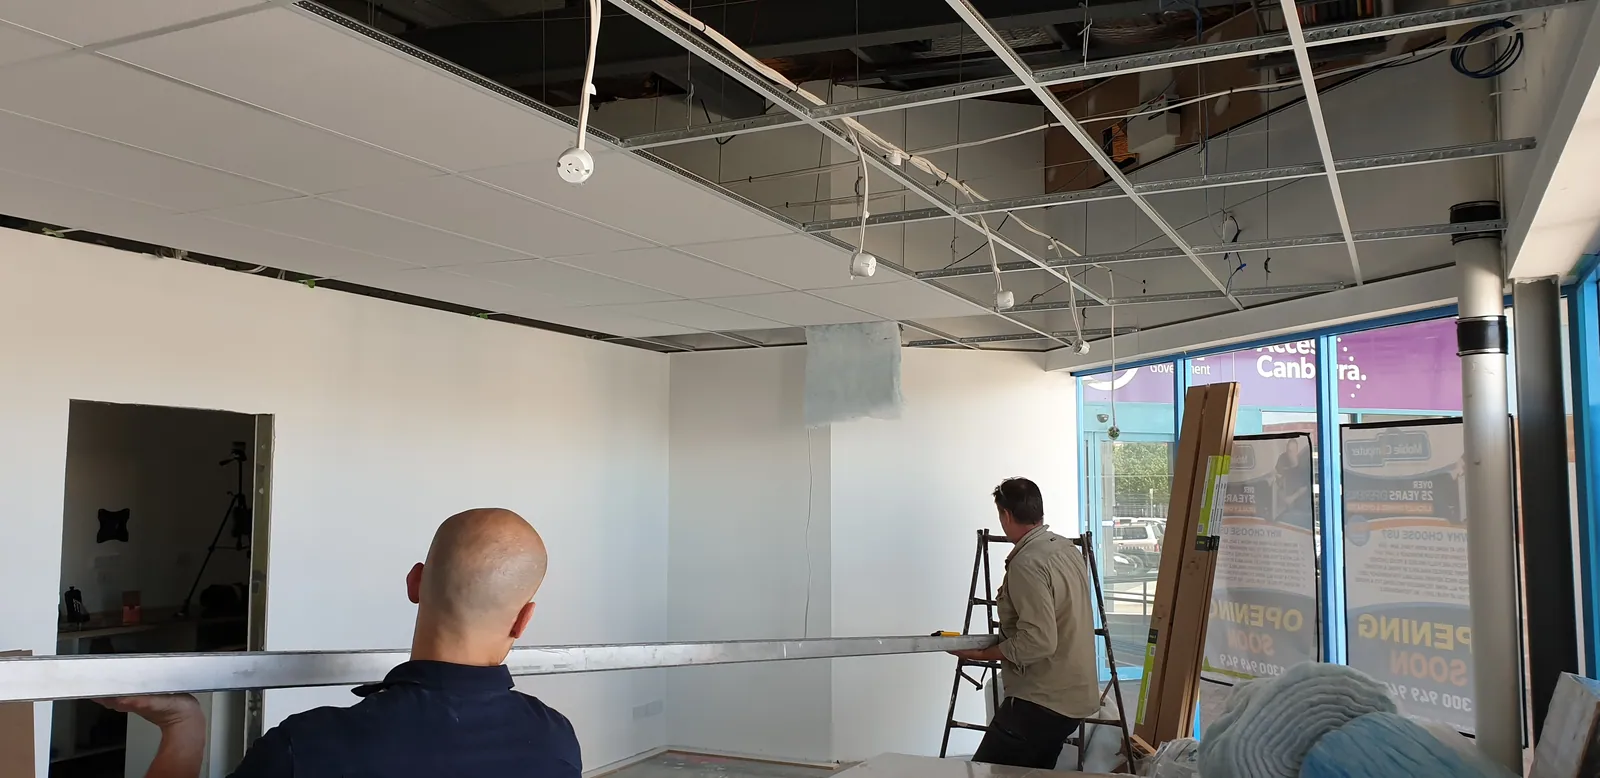
Ceiling panels being installed above the retail area.
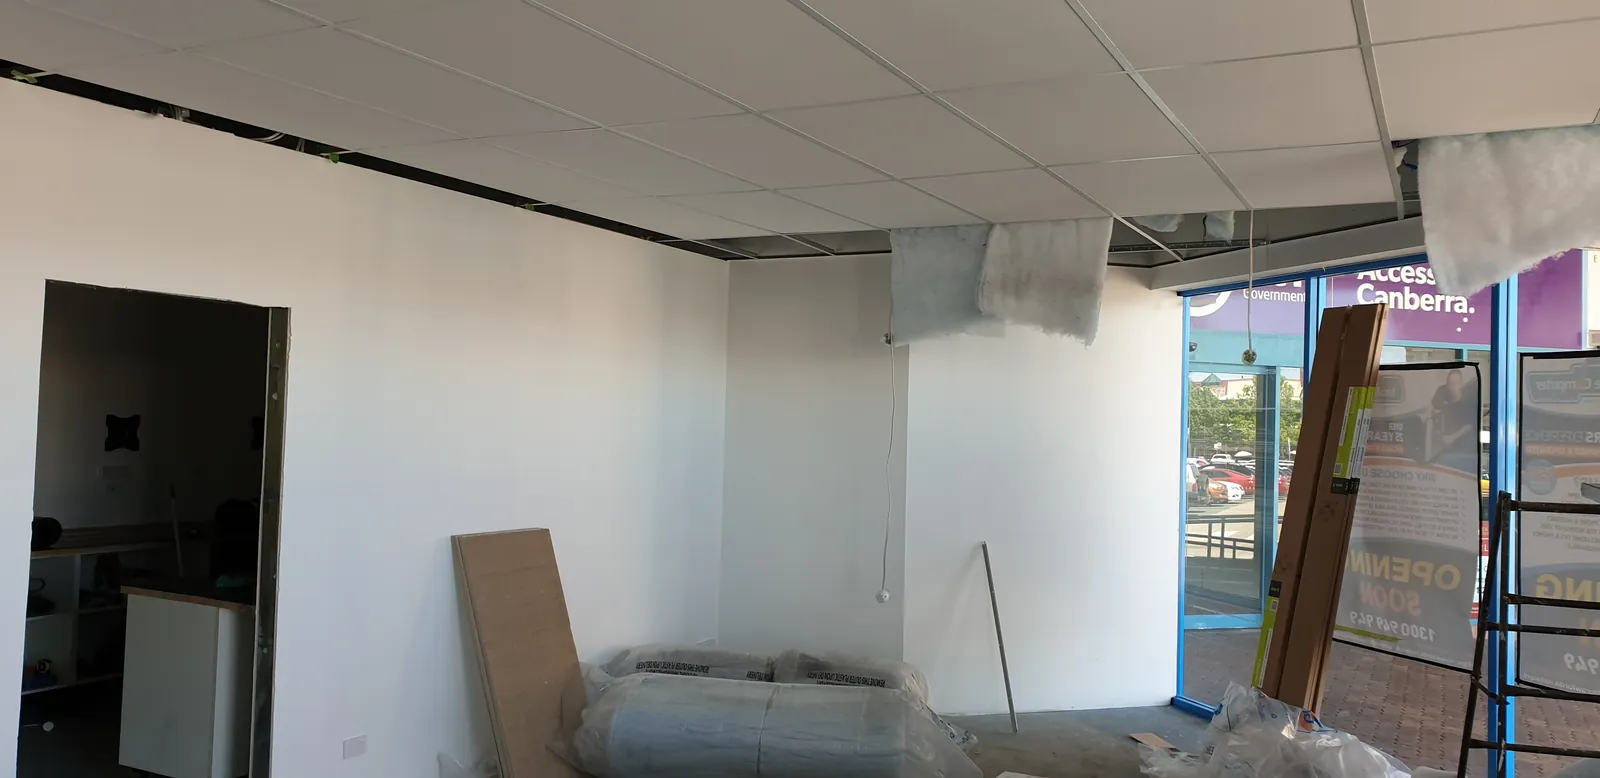
The ceiling-panel installation progressing towards the shopfront.
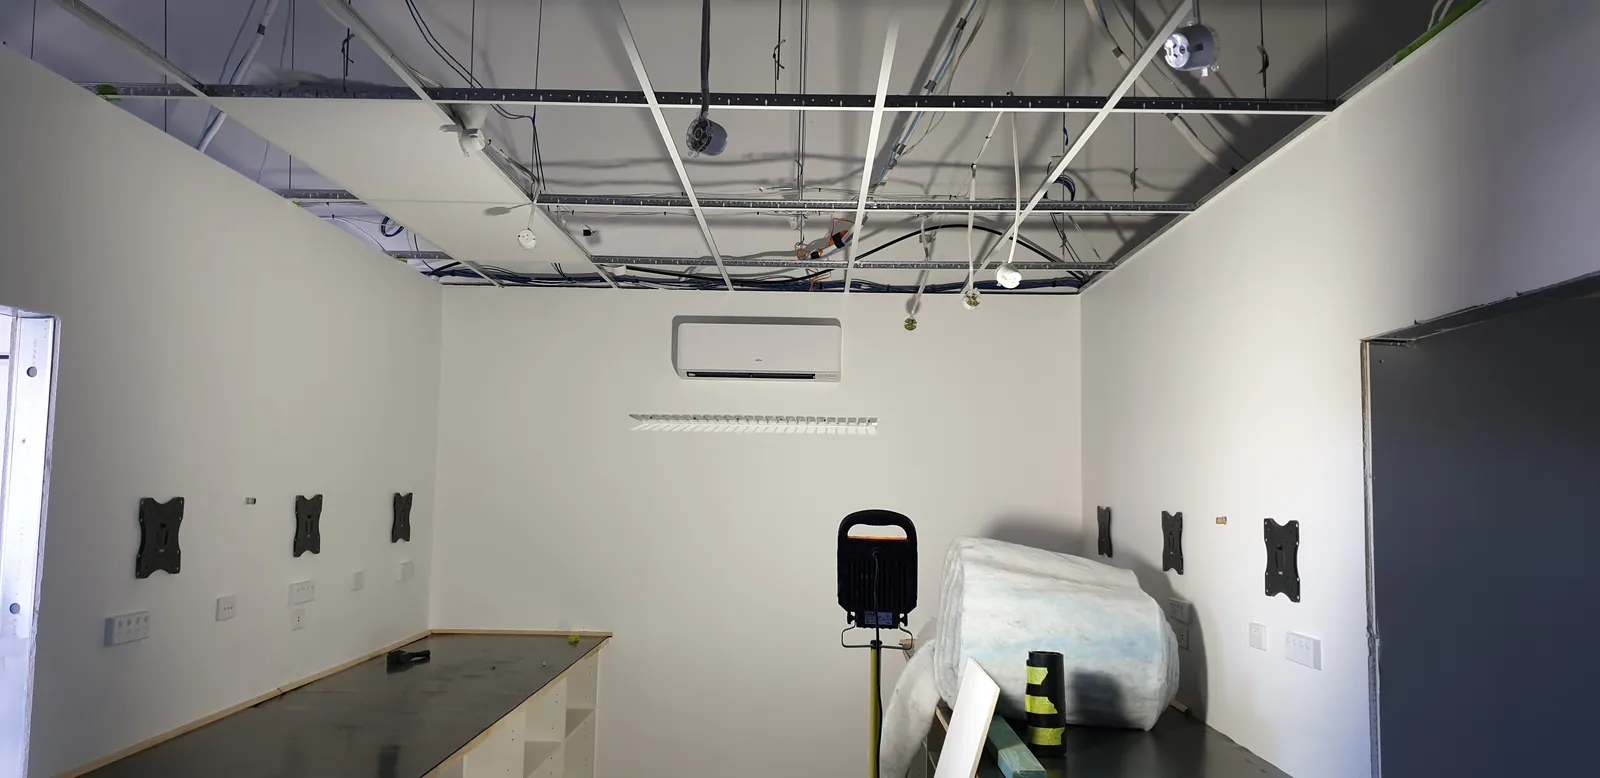
Ceiling panels being added above the workshop.
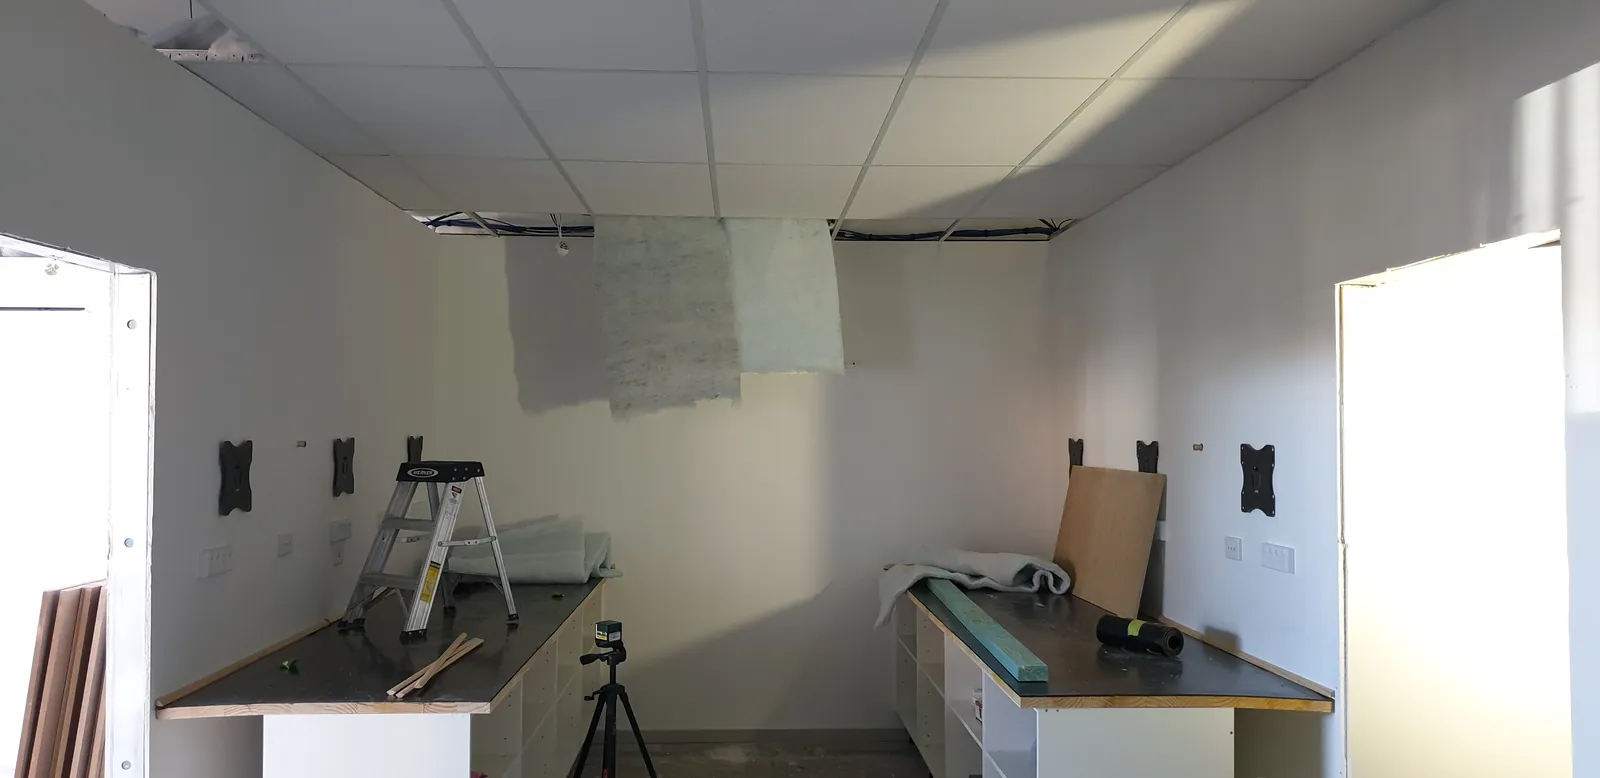
More of the workshop ceiling closed in.
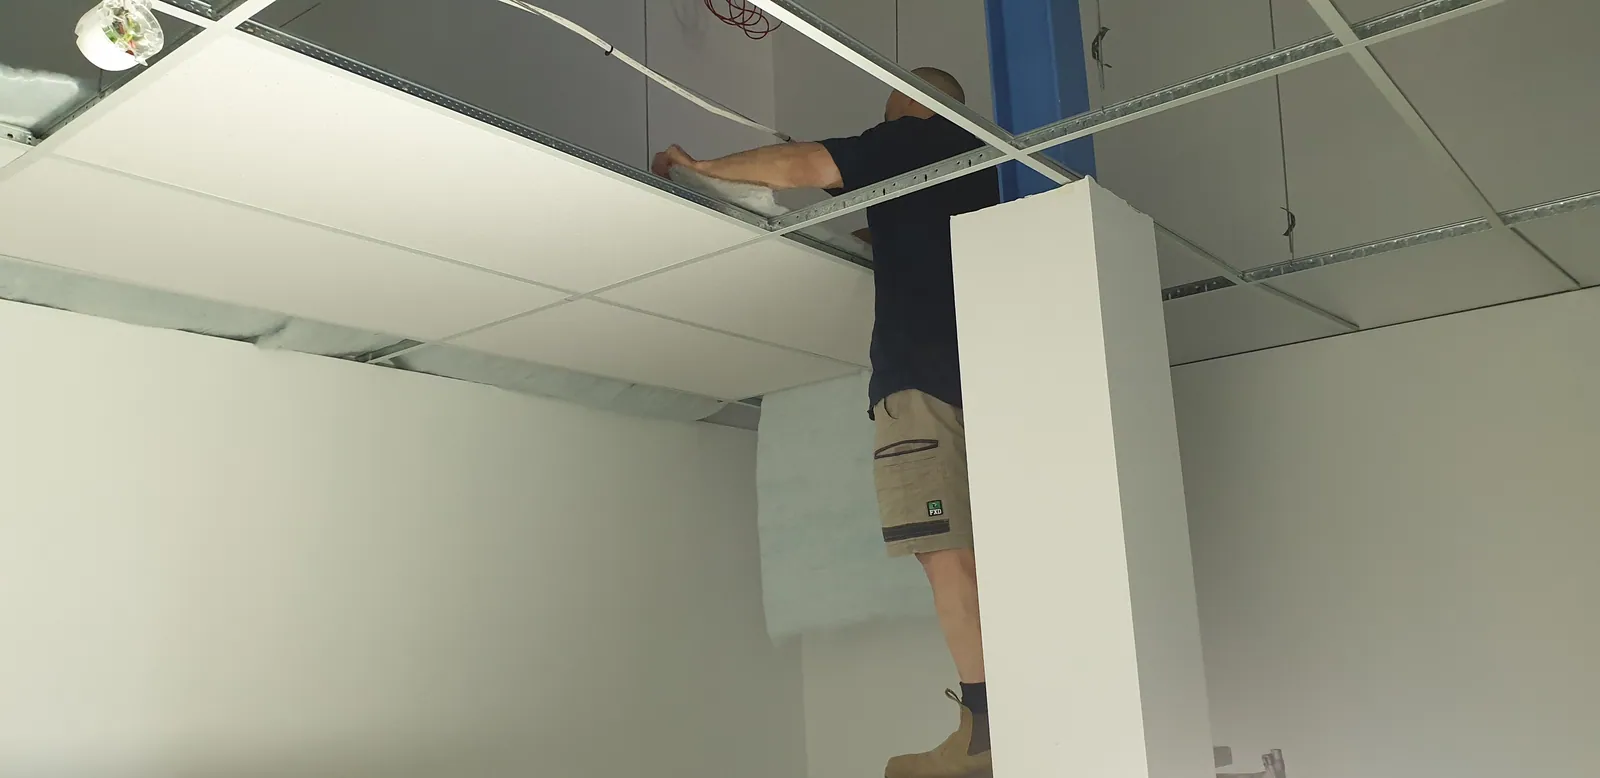
The remaining ceiling openings during installation.
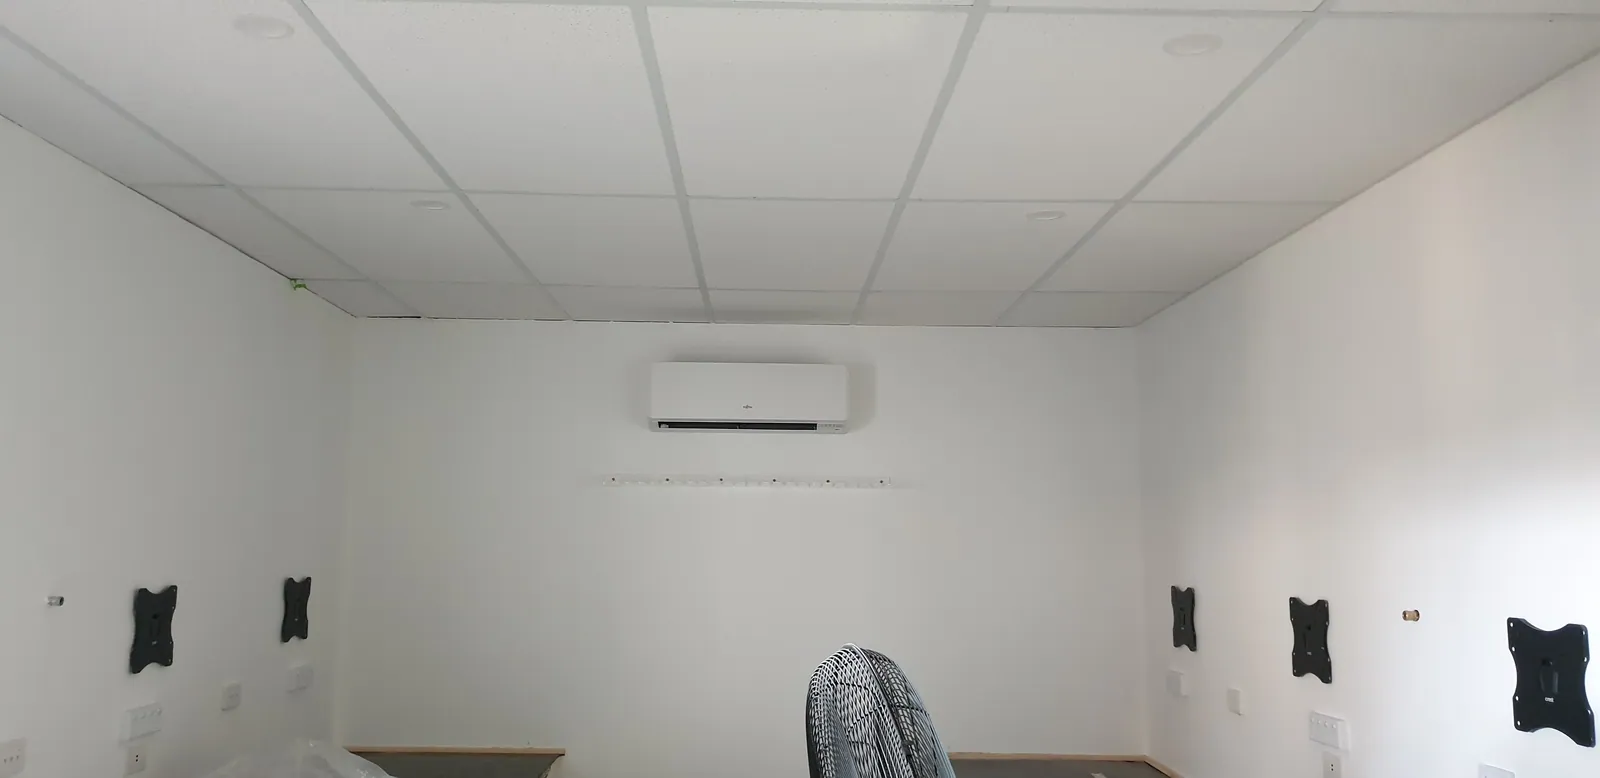
The workshop with its ceiling panels fitted.
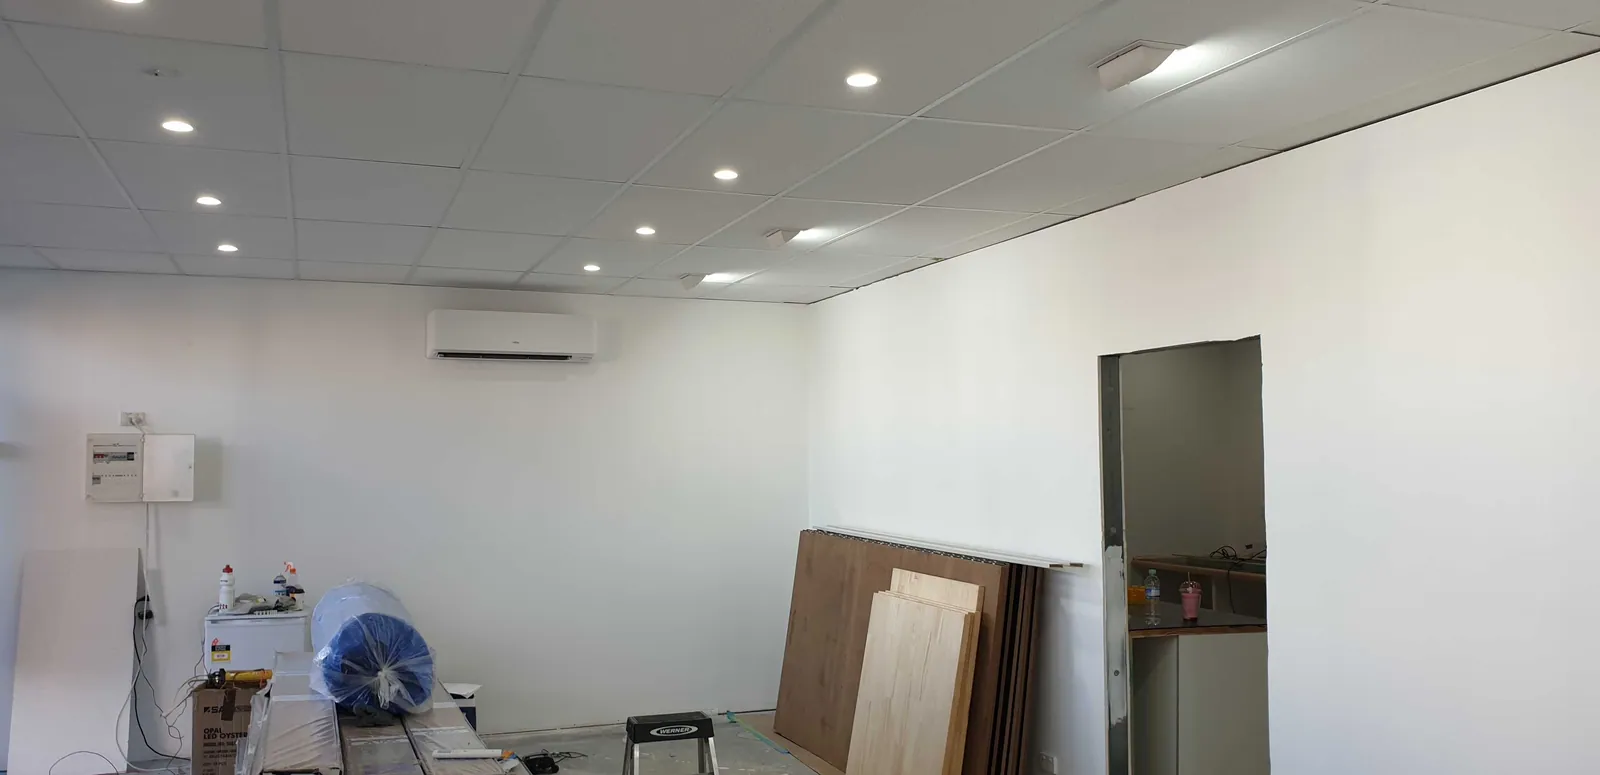
The new retail ceiling and lights in place.
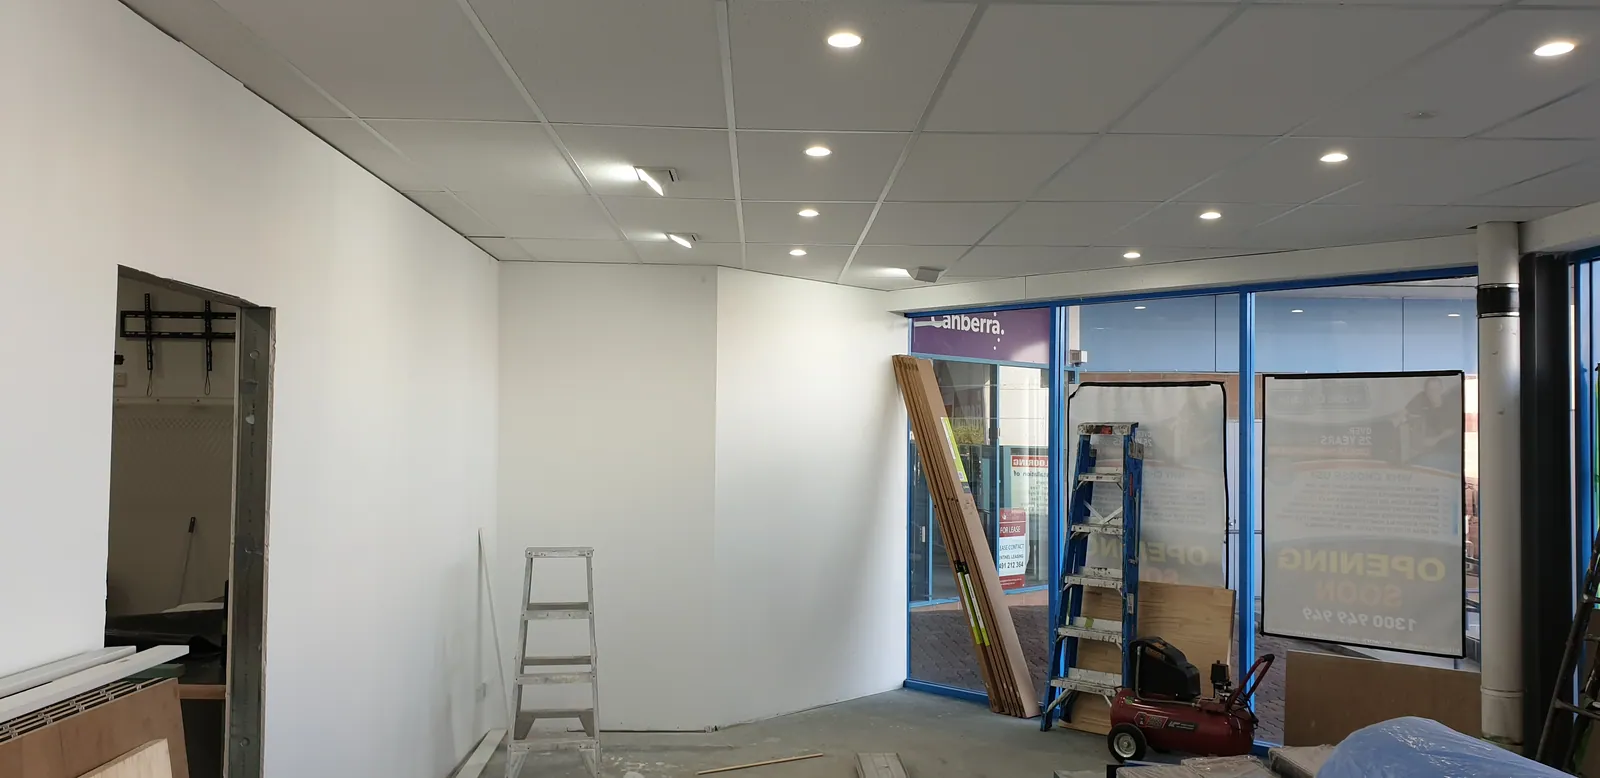
Looking towards the front beneath the finished retail ceiling.
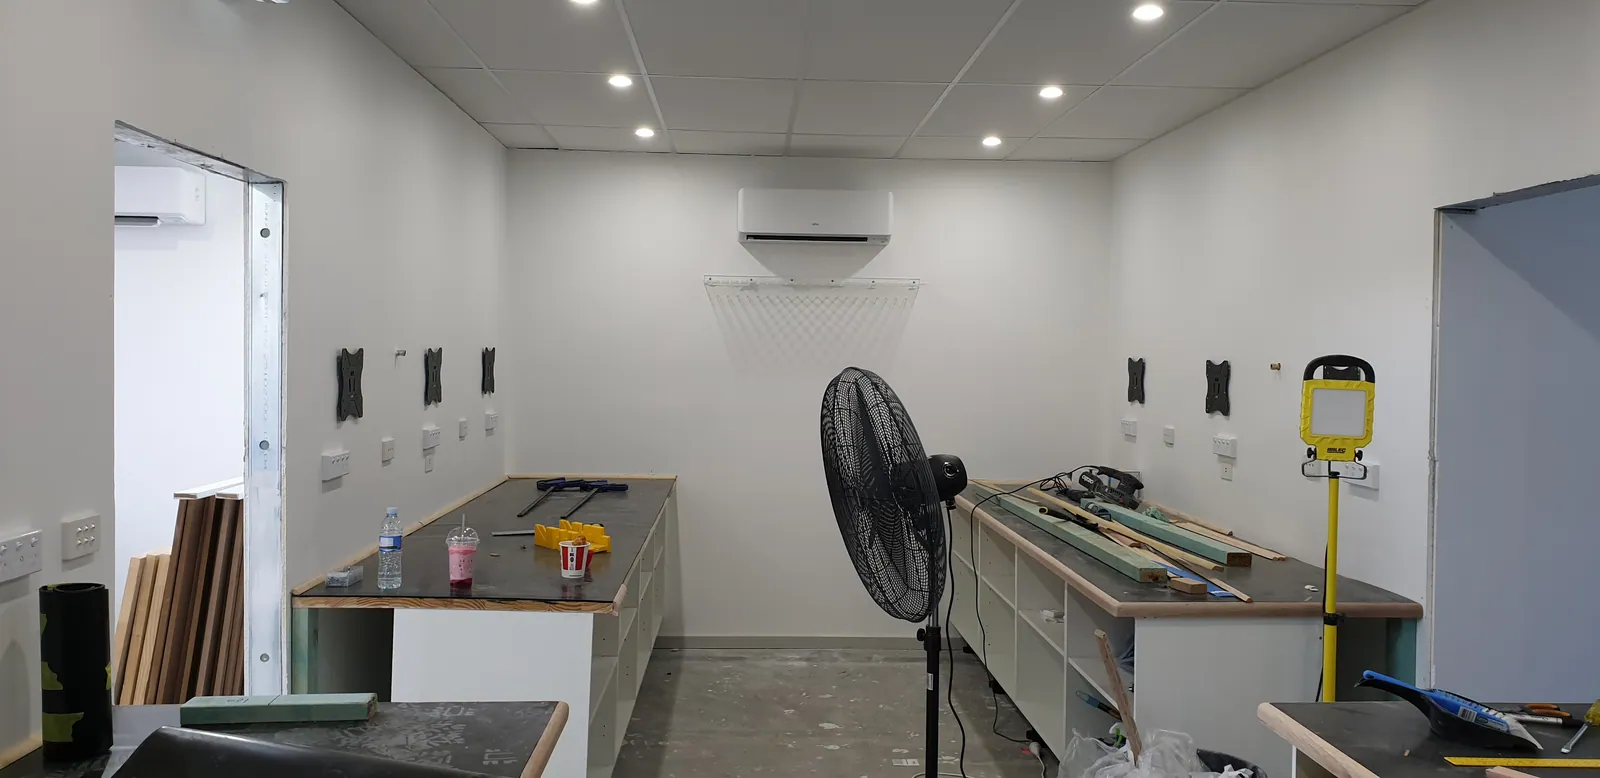
The workshop lit by its newly completed ceiling lights.
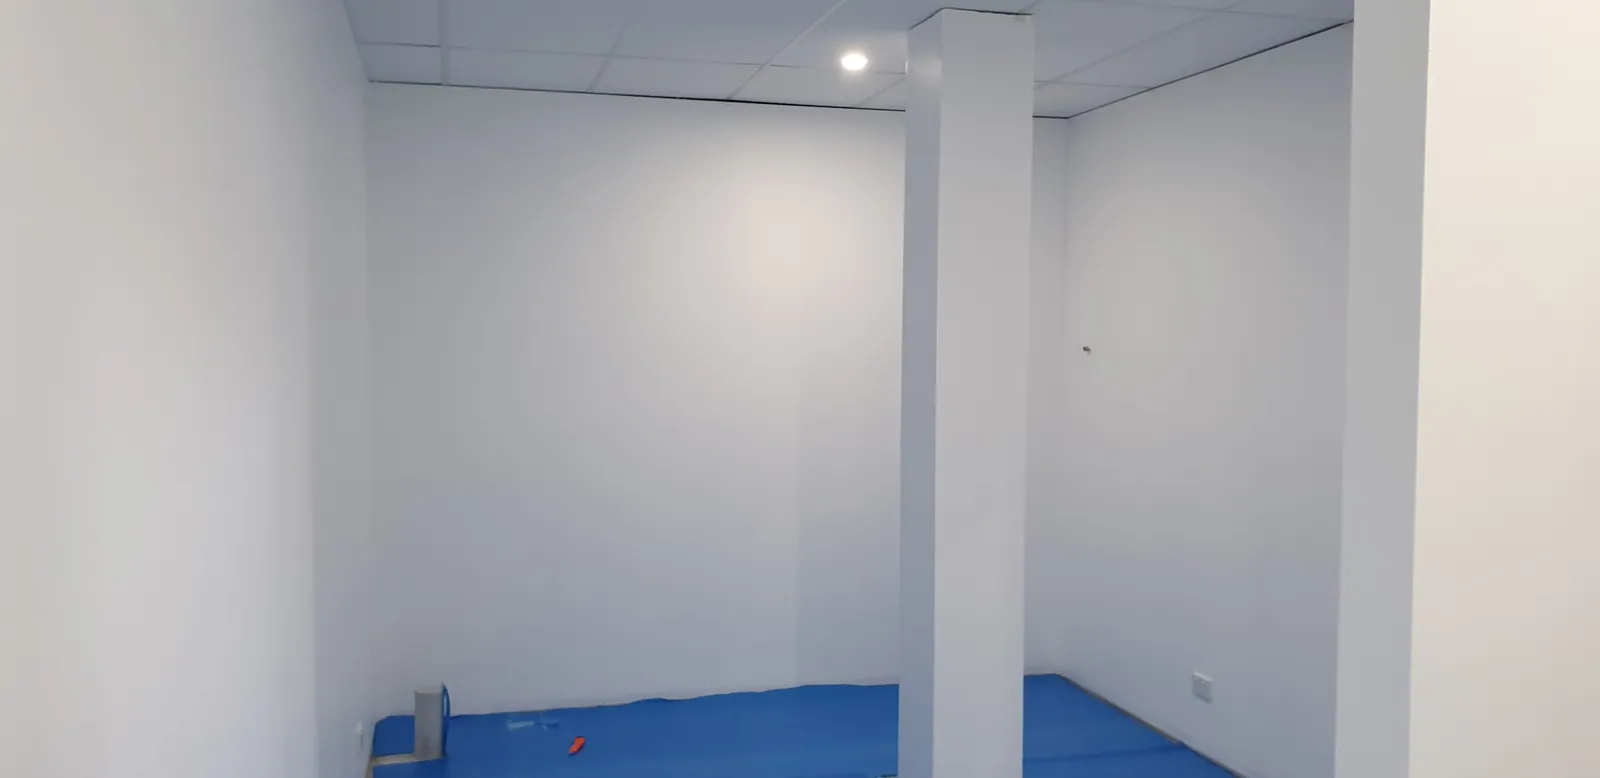
Floor underlay laid in a smaller rear room.
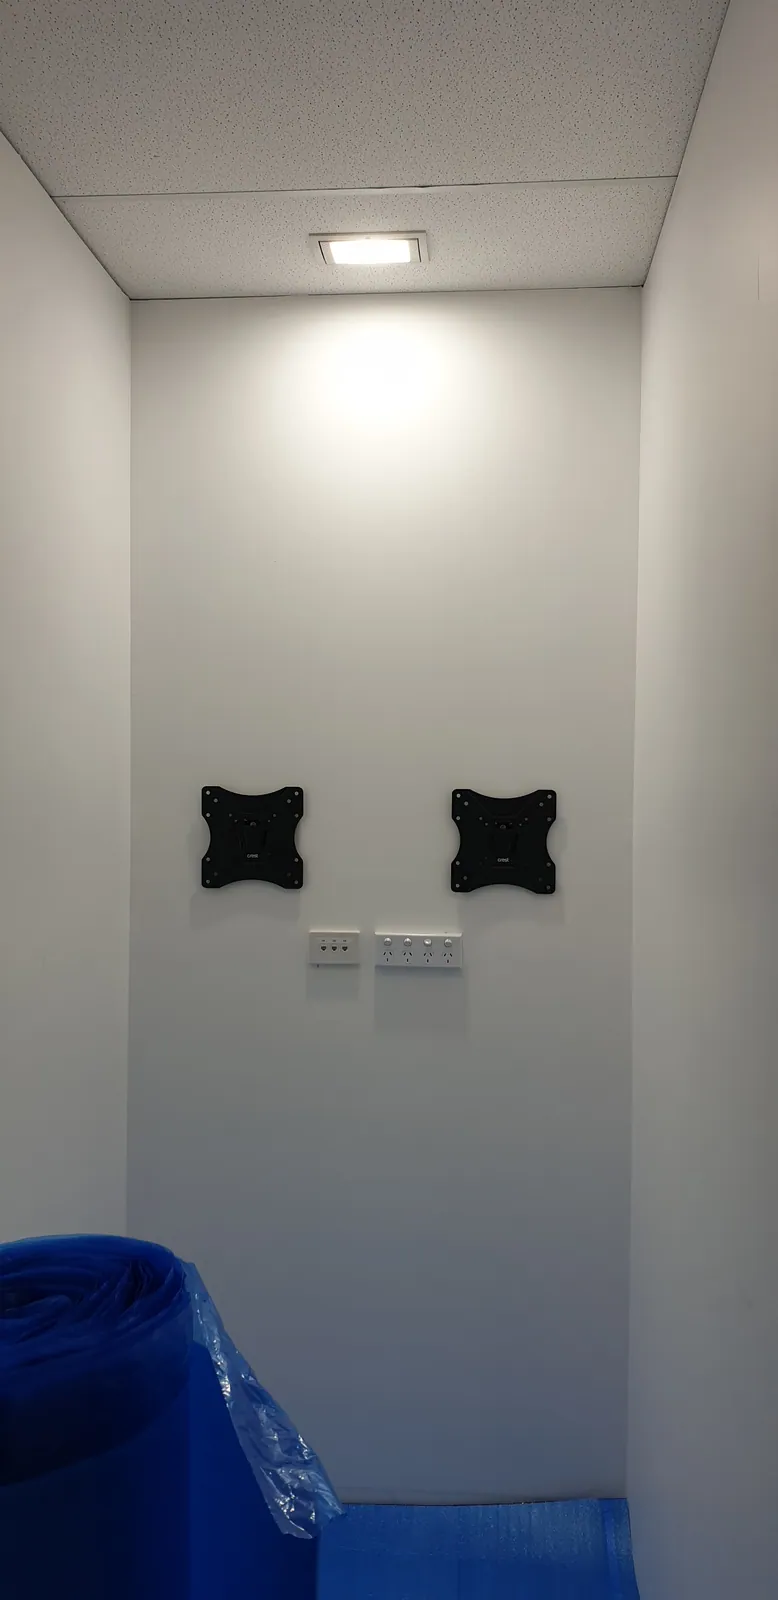
The smaller work area with screen mounts and the new ceiling.
11Floors
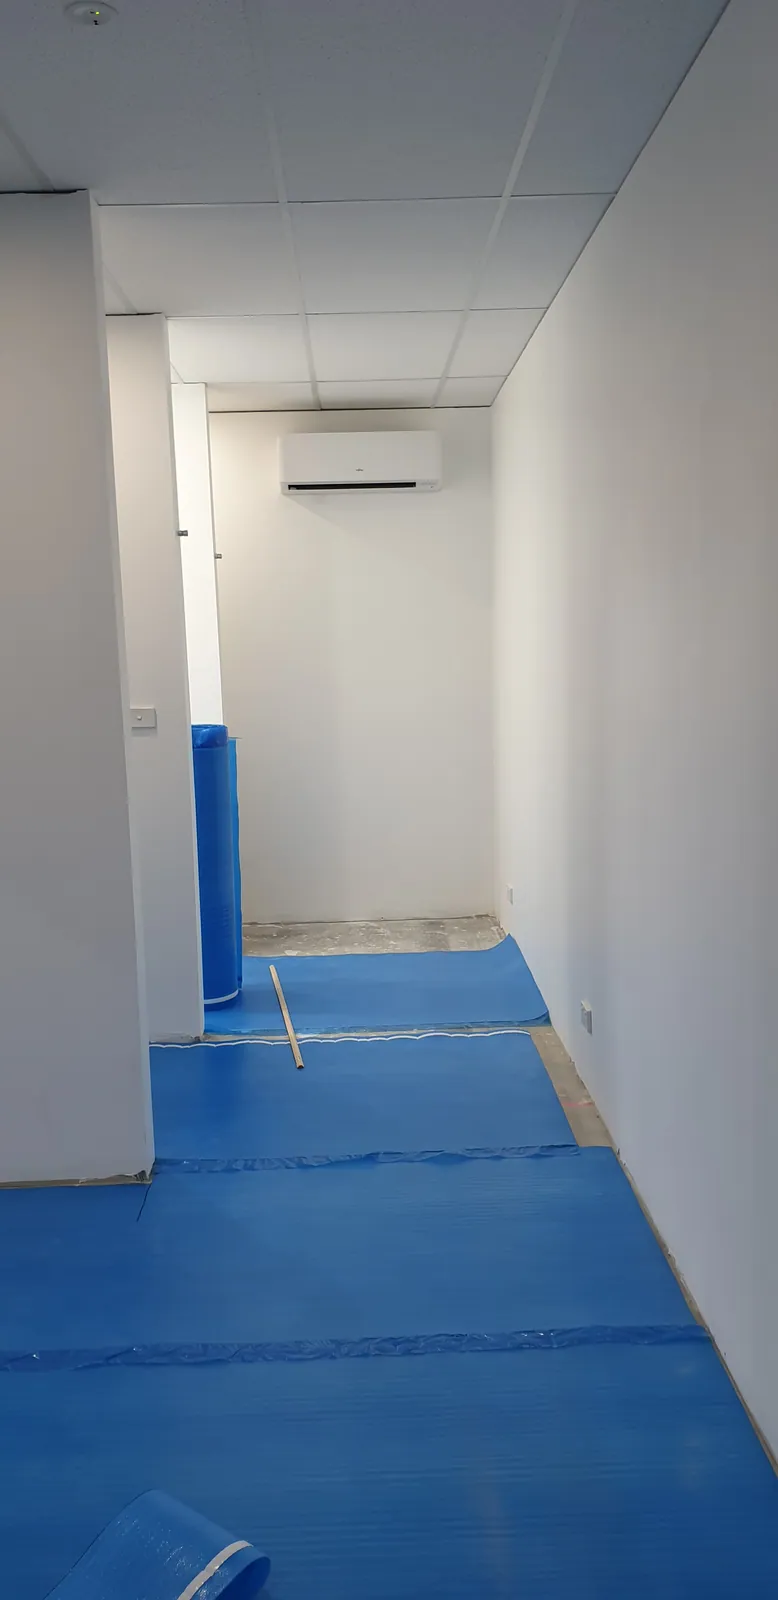
Underlay extending along the internal passage.
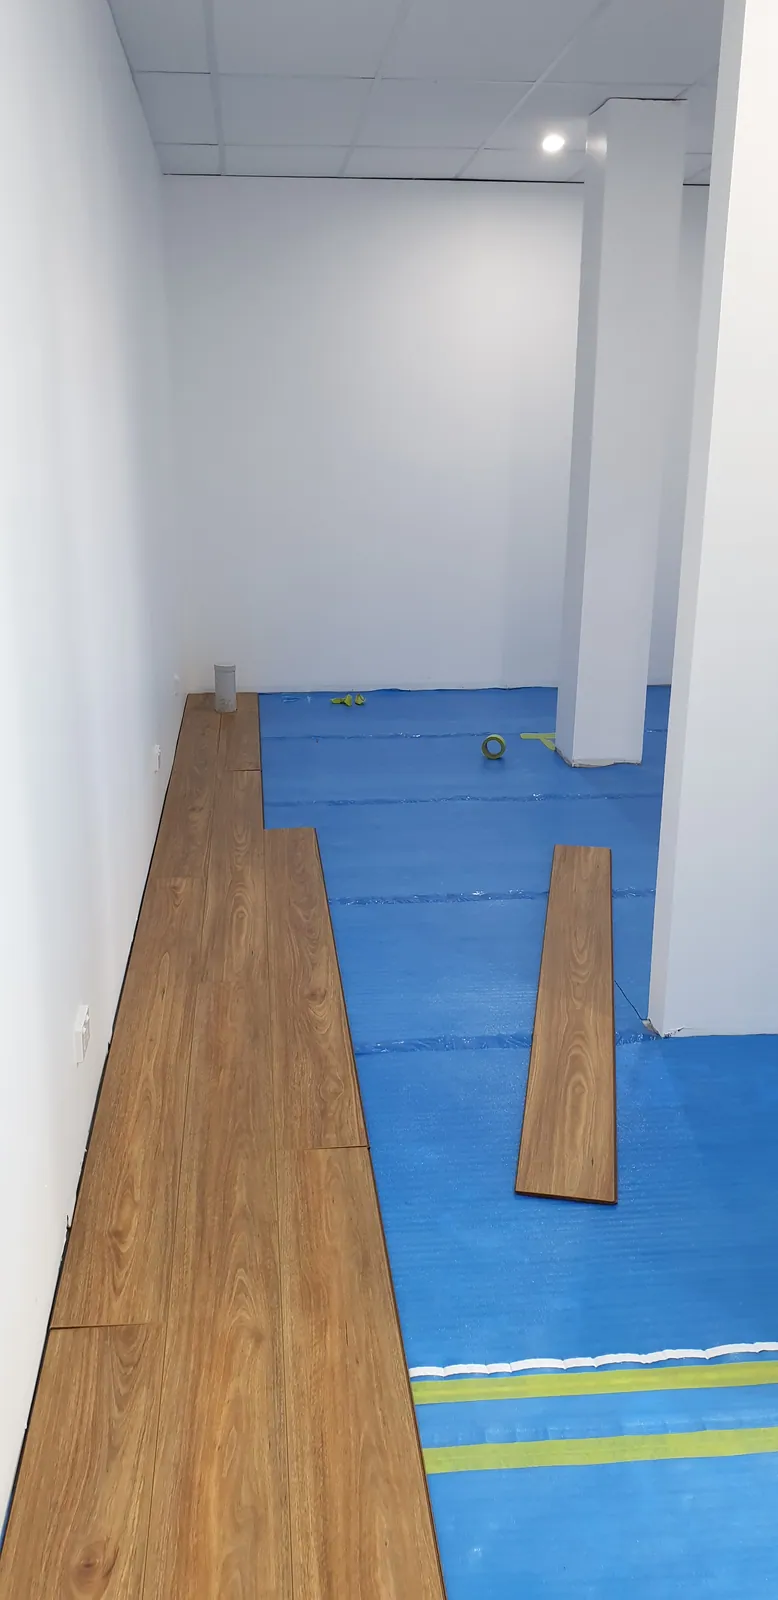
The first floorboards being laid through the passage.
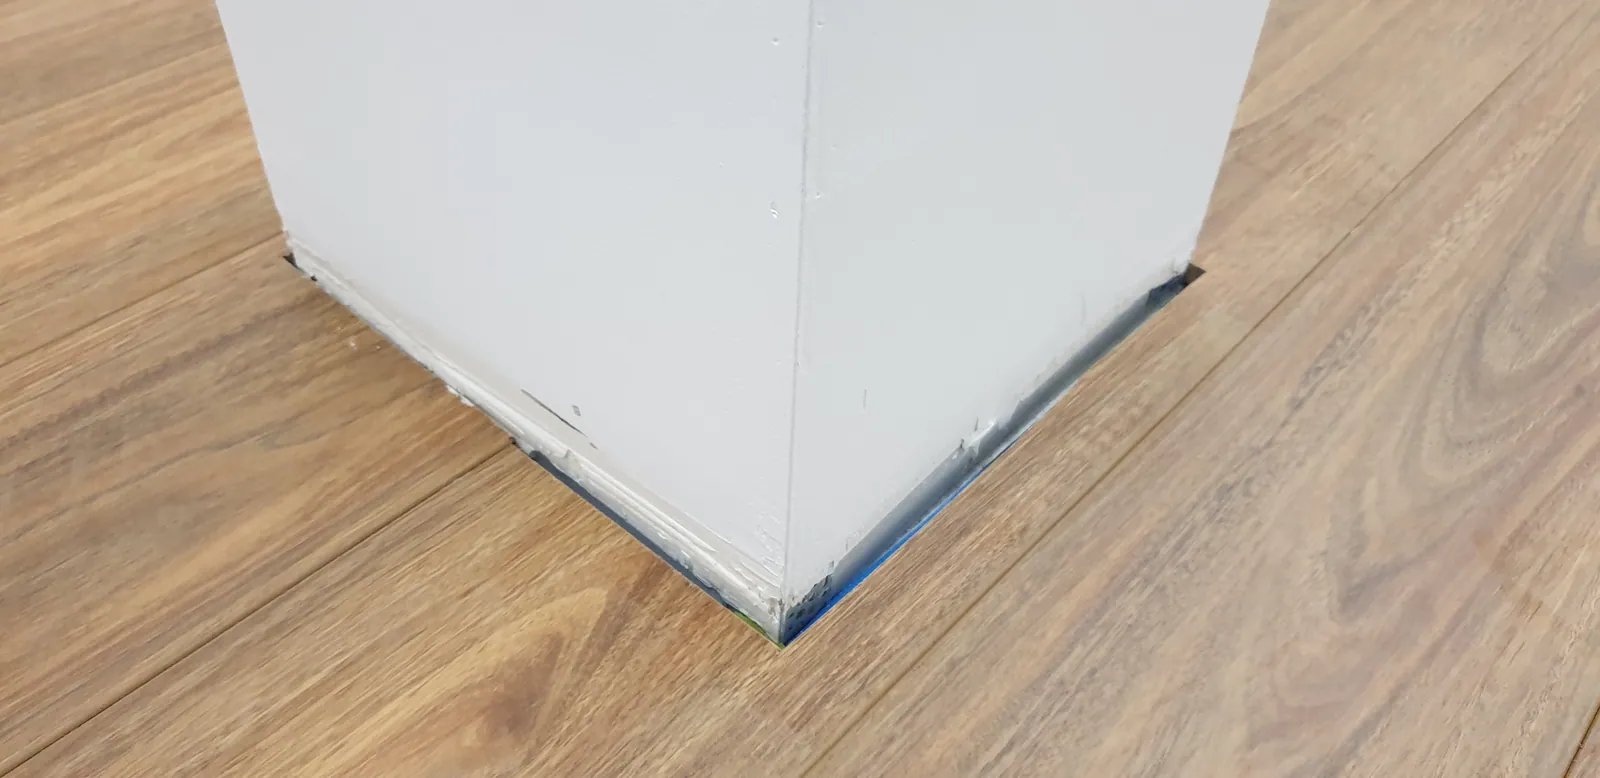
Flooring cut around a corner and the existing structure.
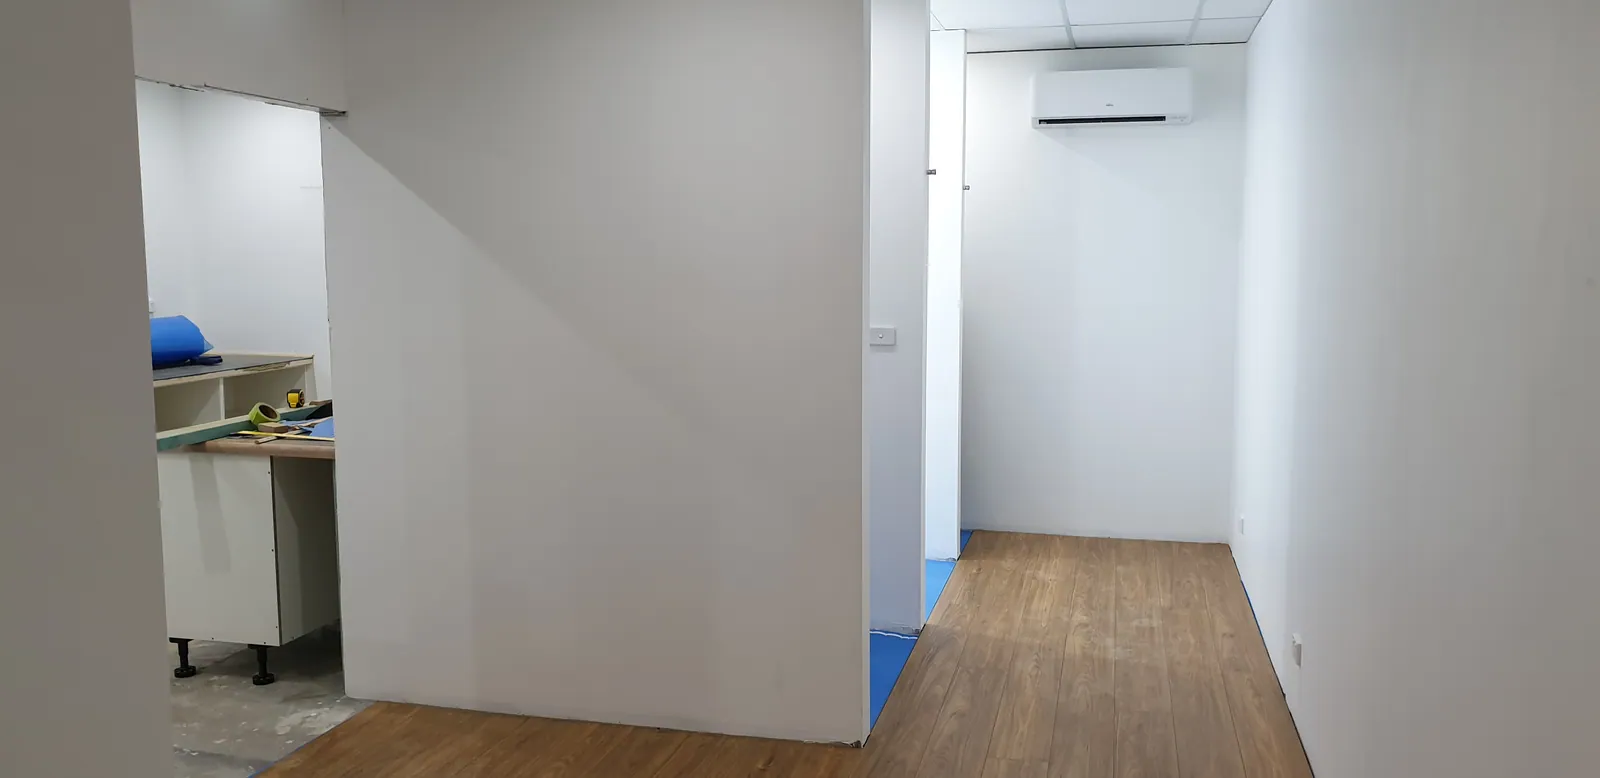
The passage with its new flooring laid.
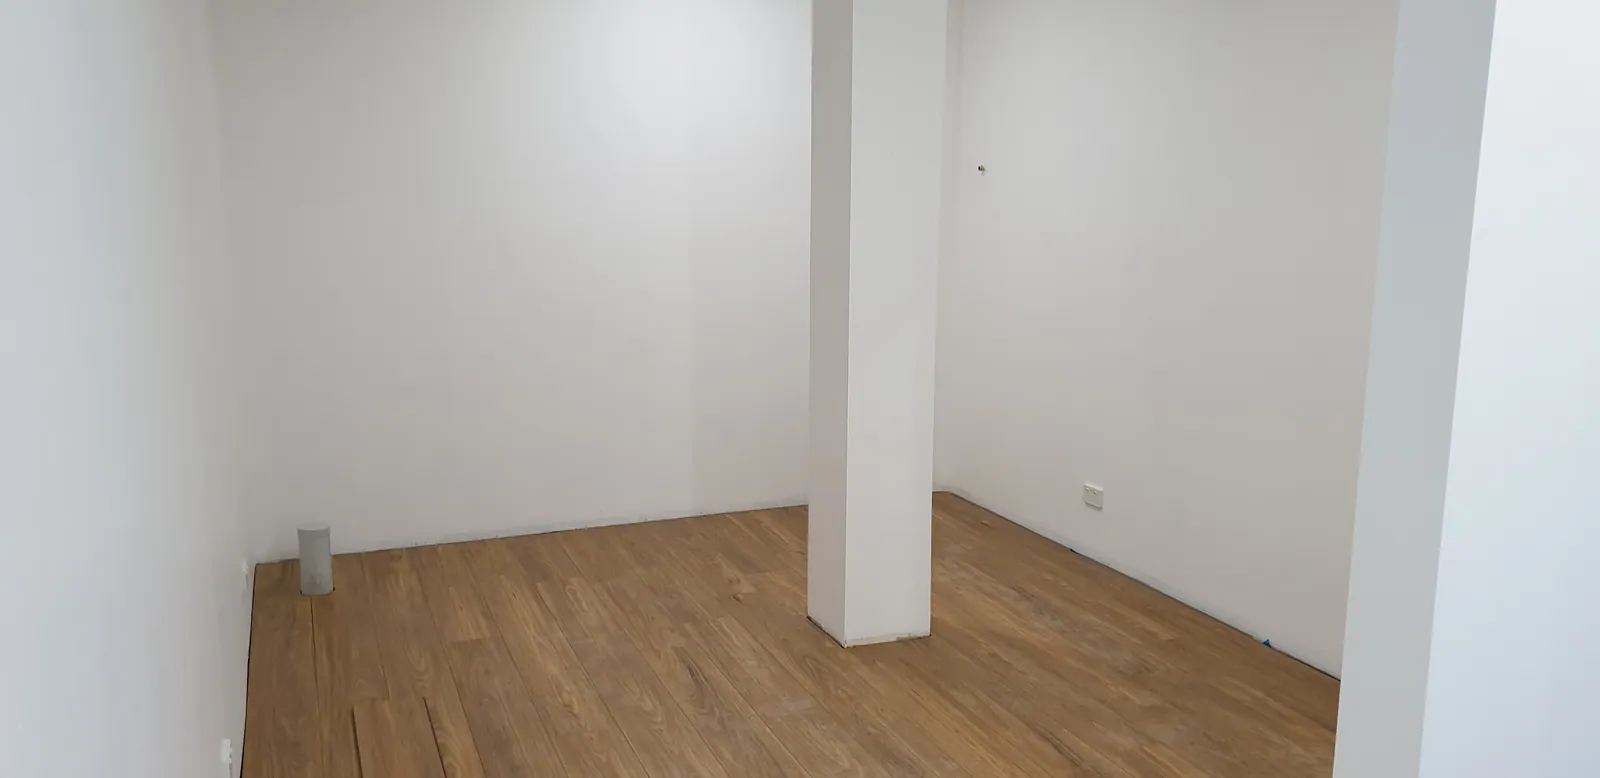
Flooring completed in the smaller room.
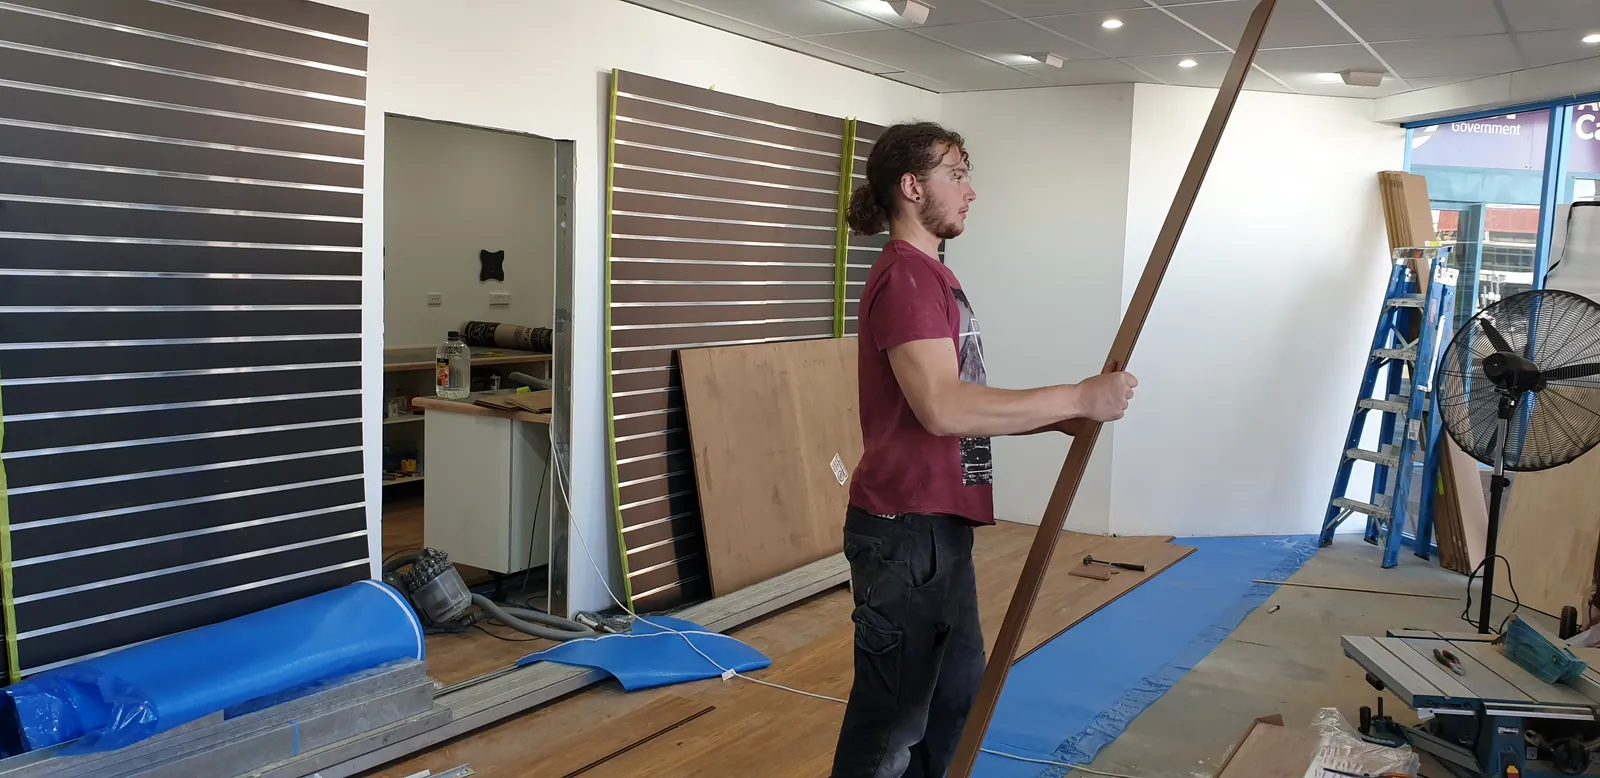
Laying the new floor across the retail area.
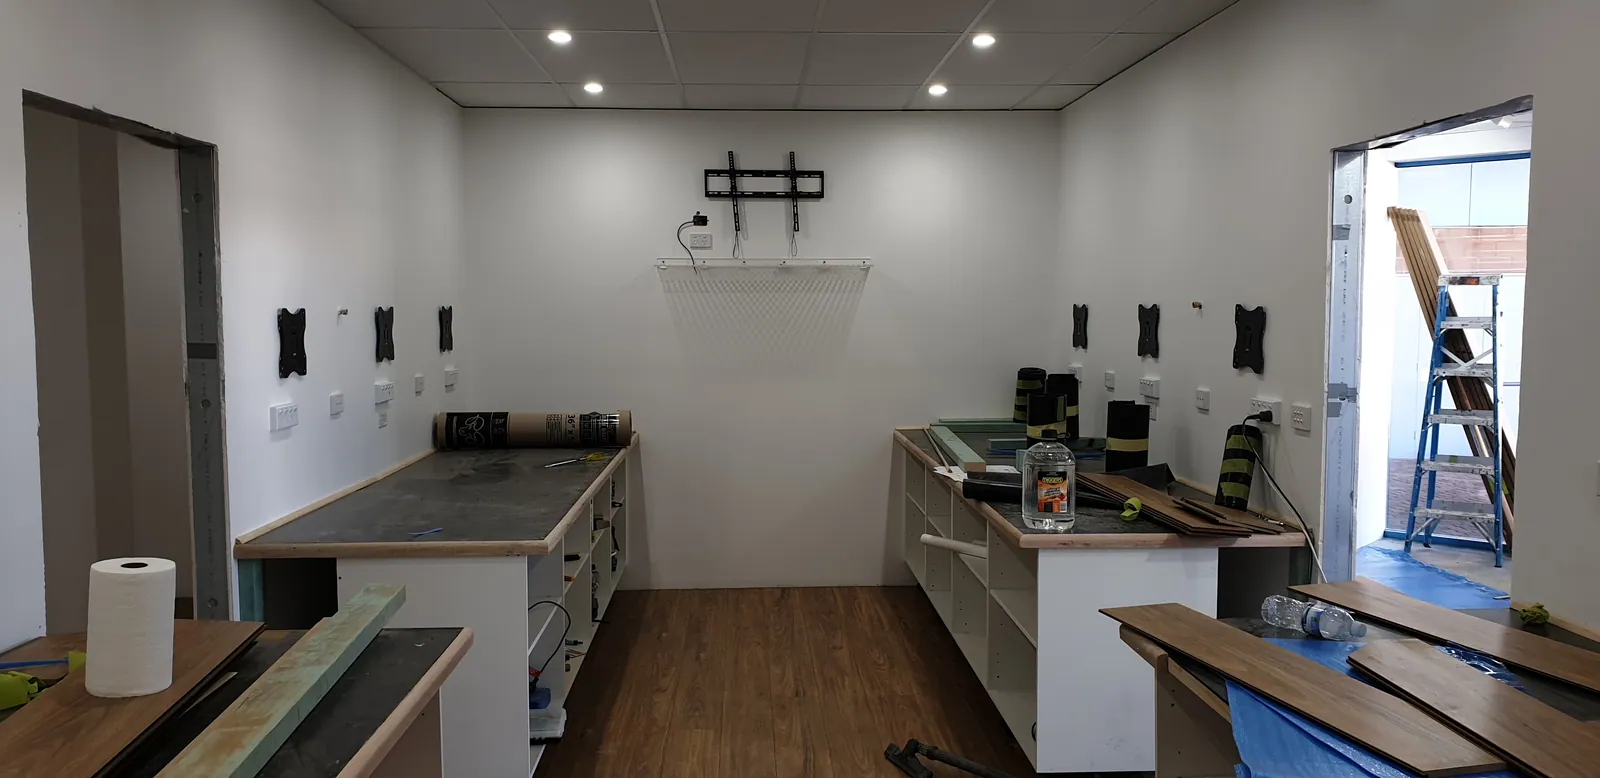
The workshop benches above the newly finished floor.
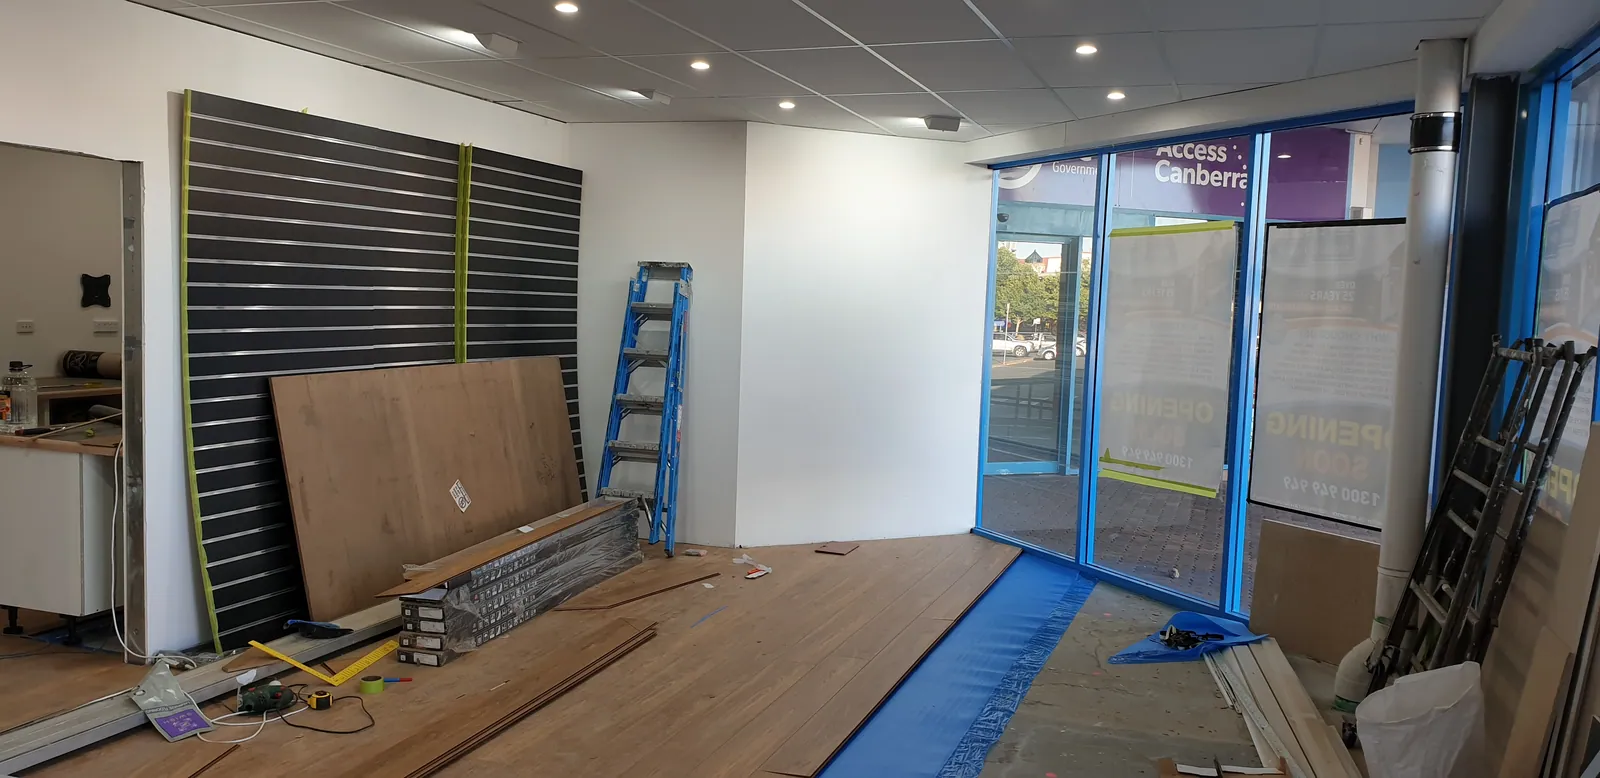
The retail floor progresses towards the front windows.
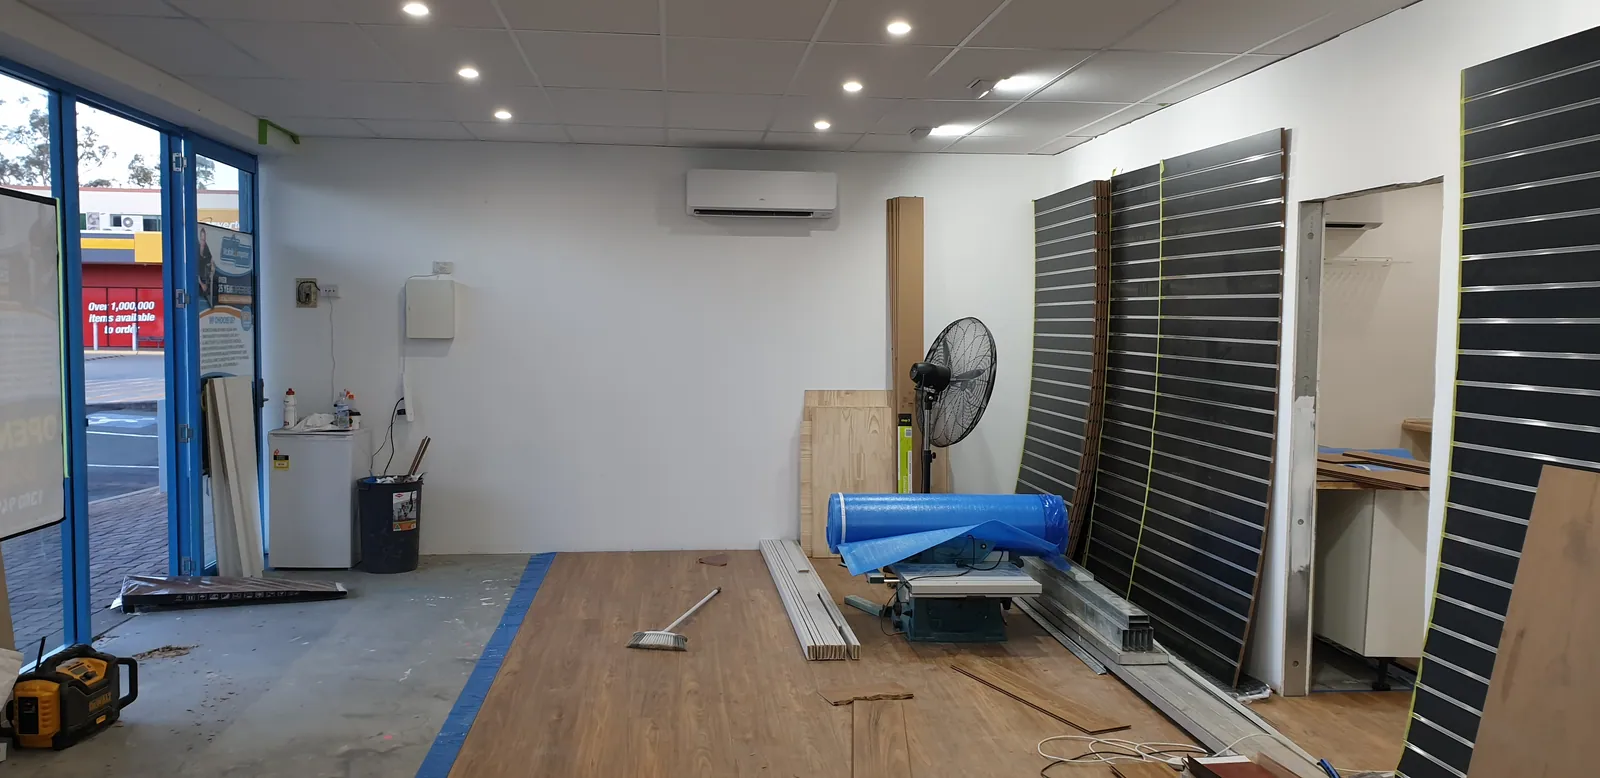
The flooring installation nearing the shopfront.
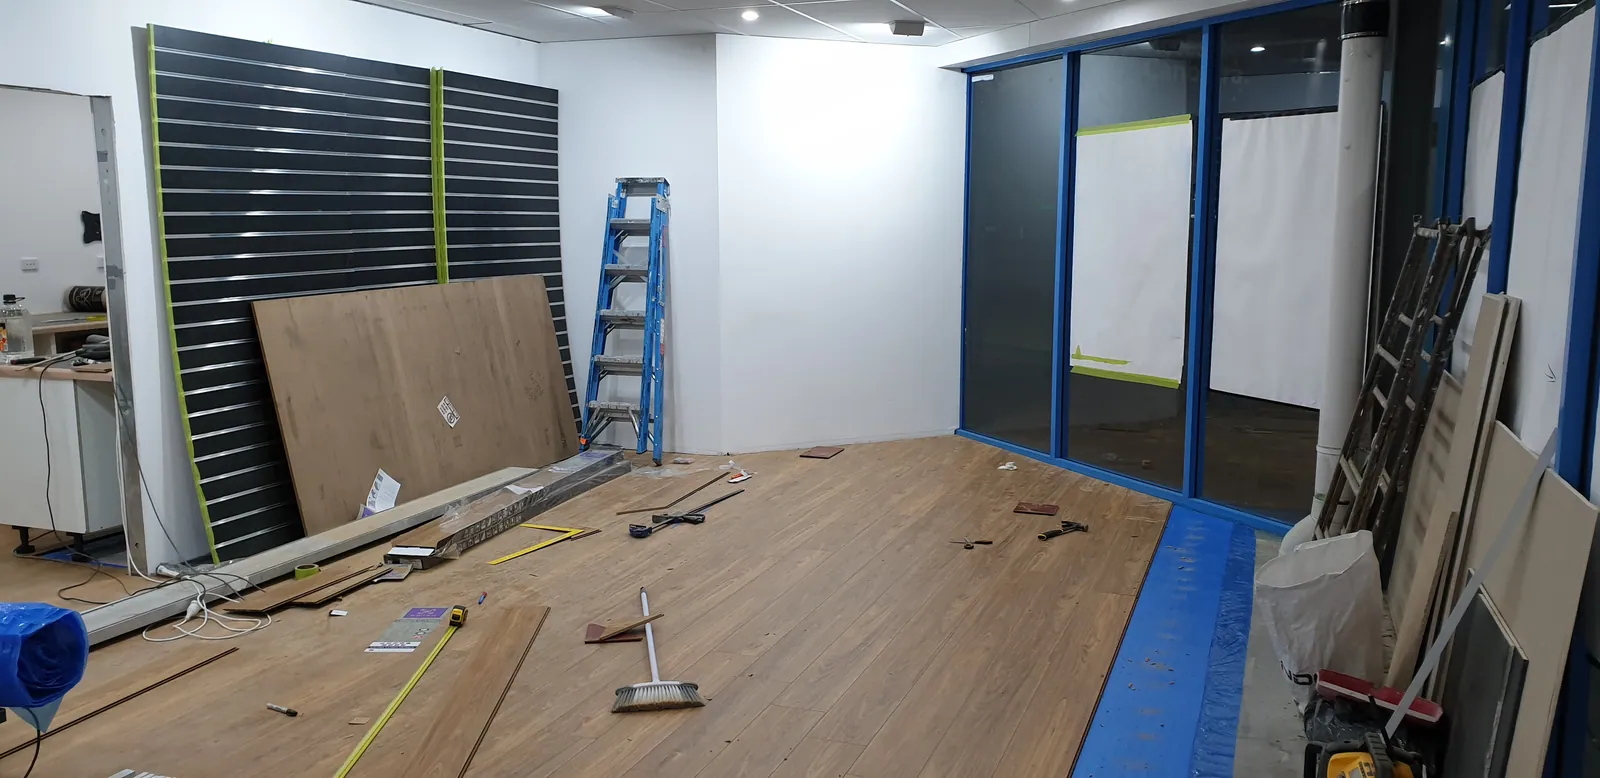
The new floor reaching the entrance.
12Retail display walls
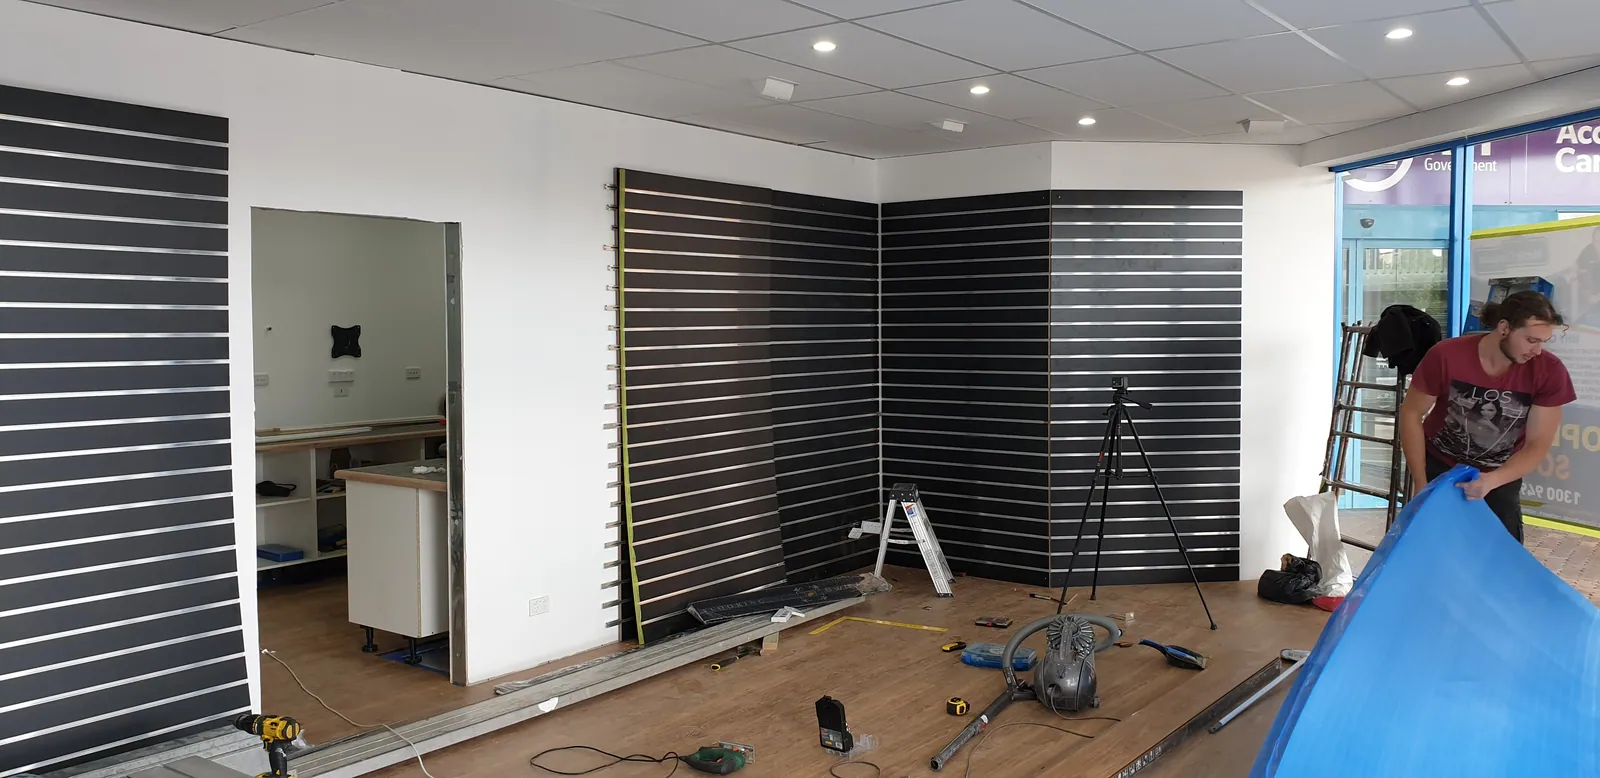
The first retail display-wall panels being fitted.
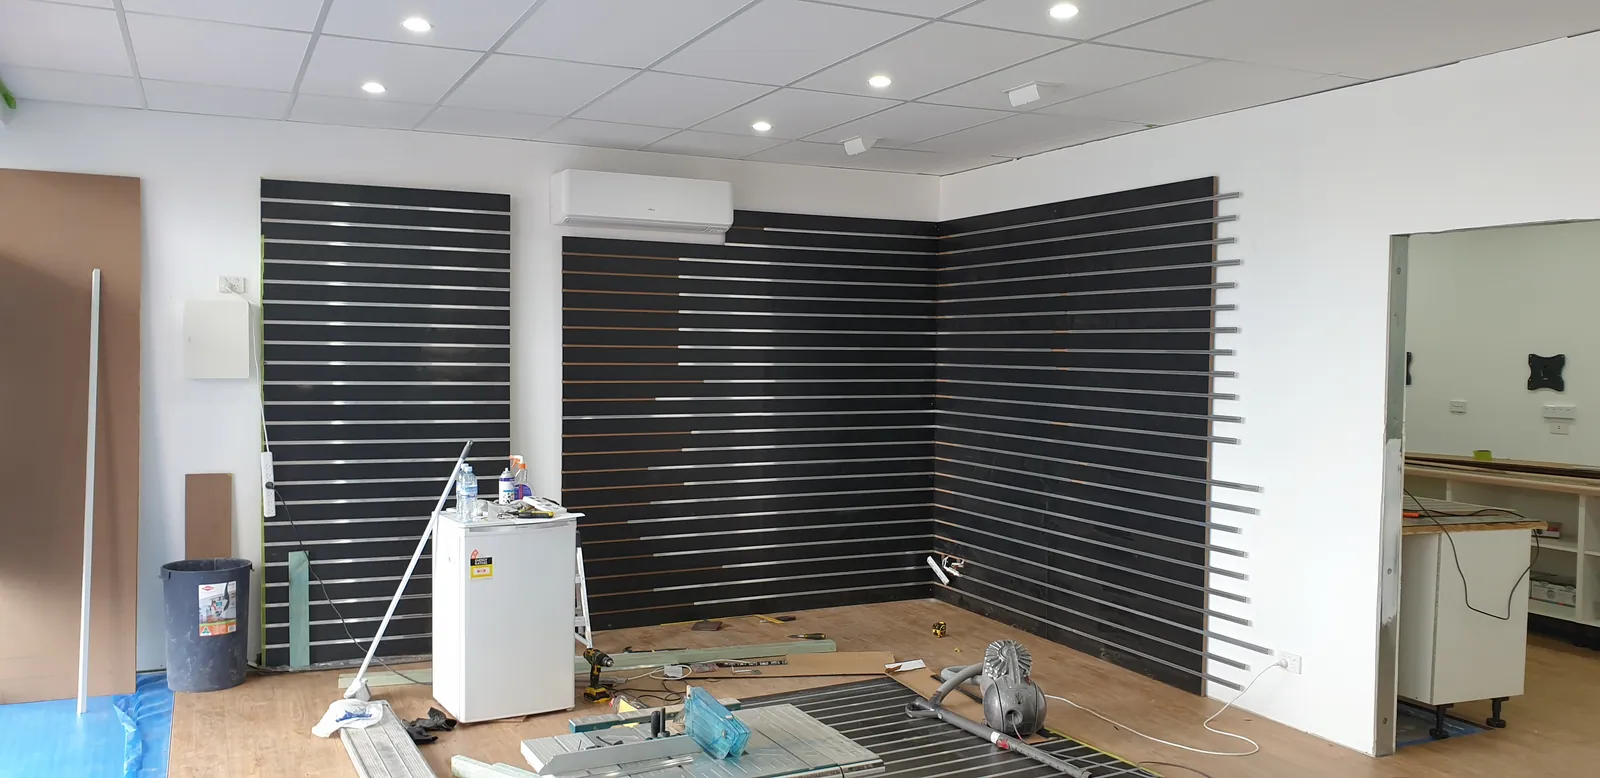
Display panels extending around the retail corner.
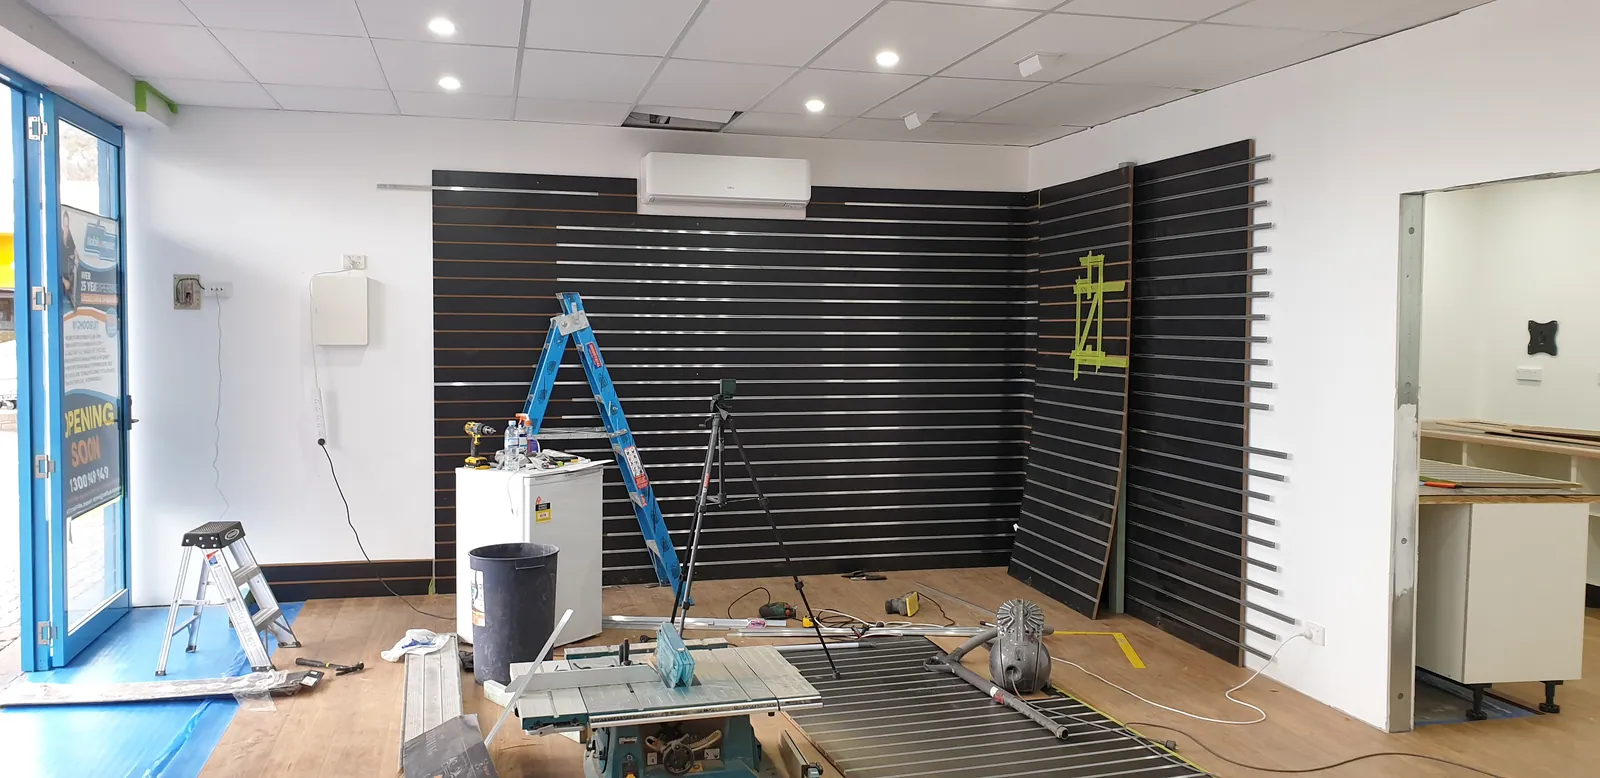
The new display wall and finished floor together.
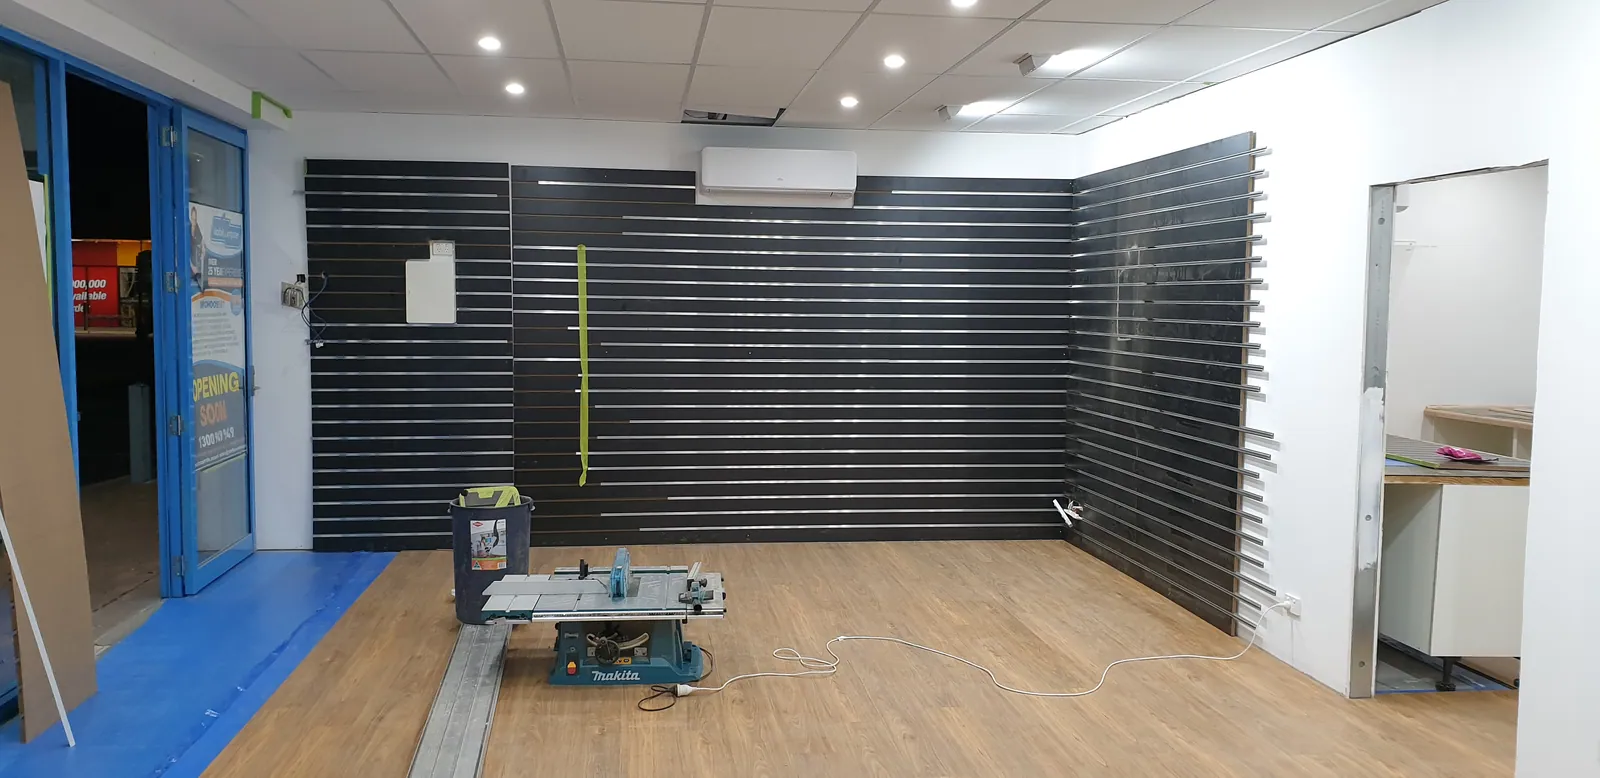
Display panels fitted beside the front windows.
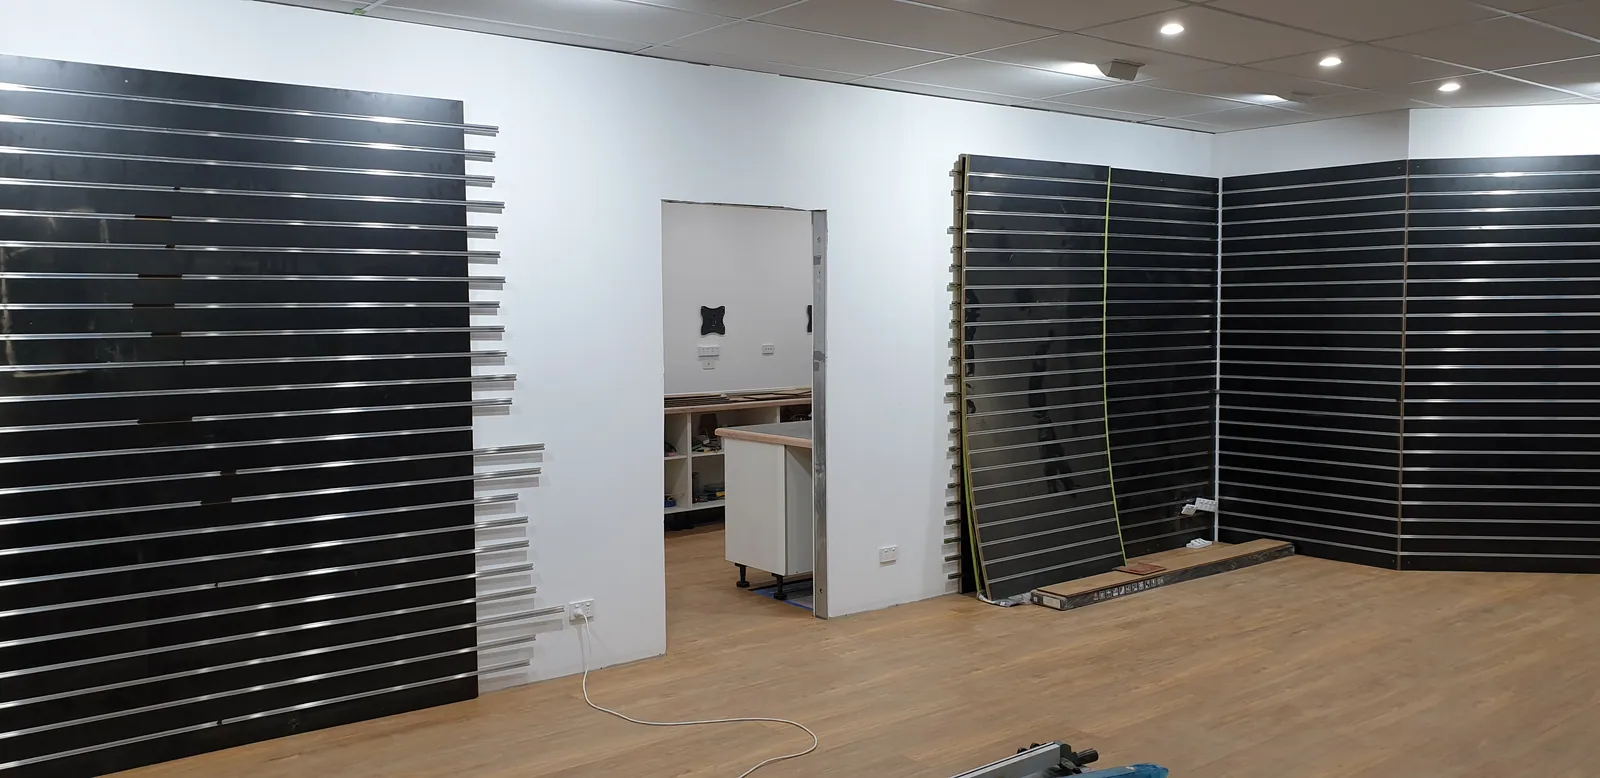
The rear retail wall prepared for product displays.
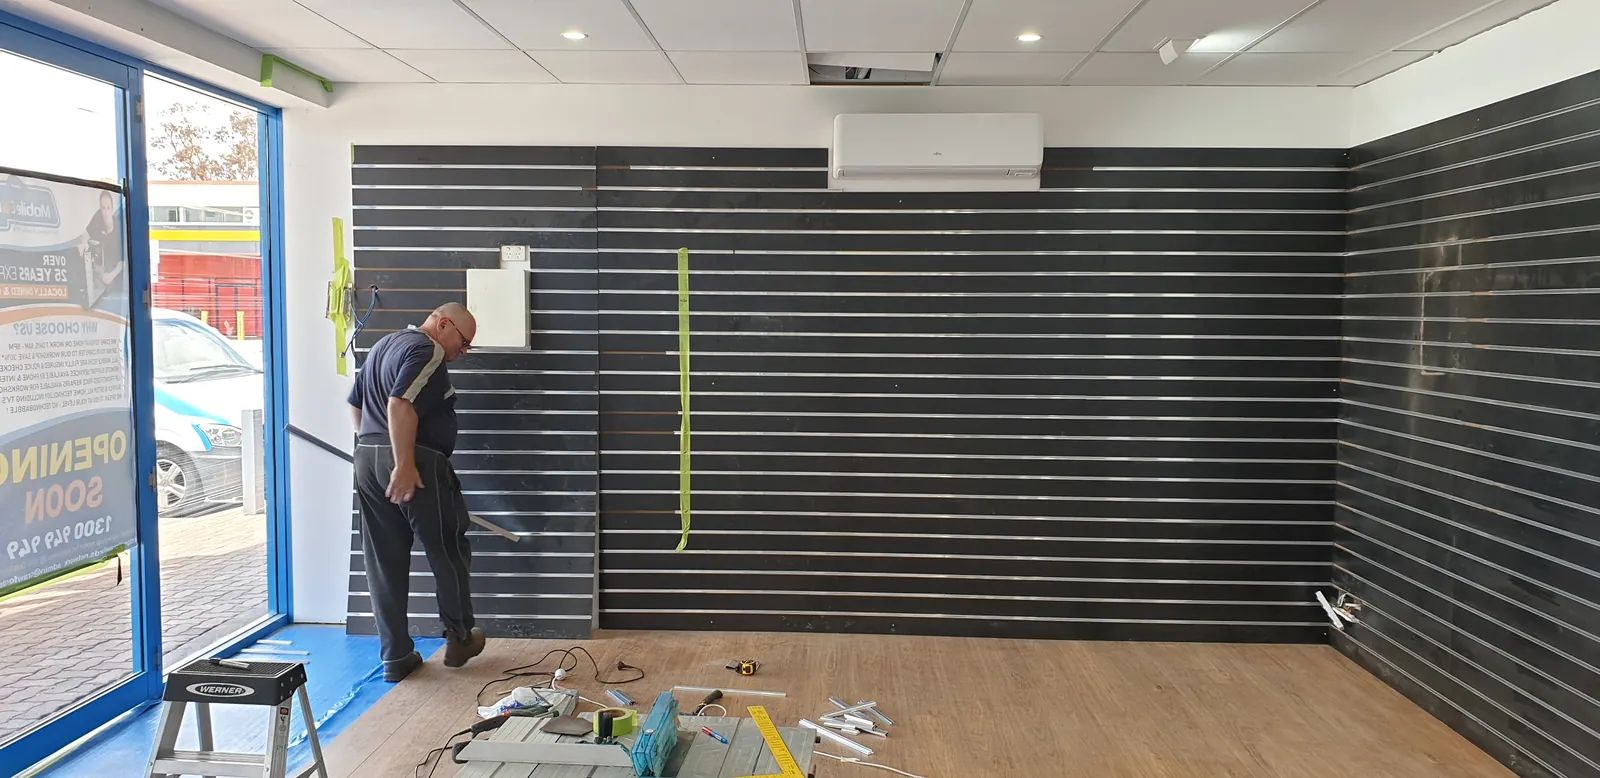
Measuring and fitting the next display-wall section.
13Glass displays and service counters
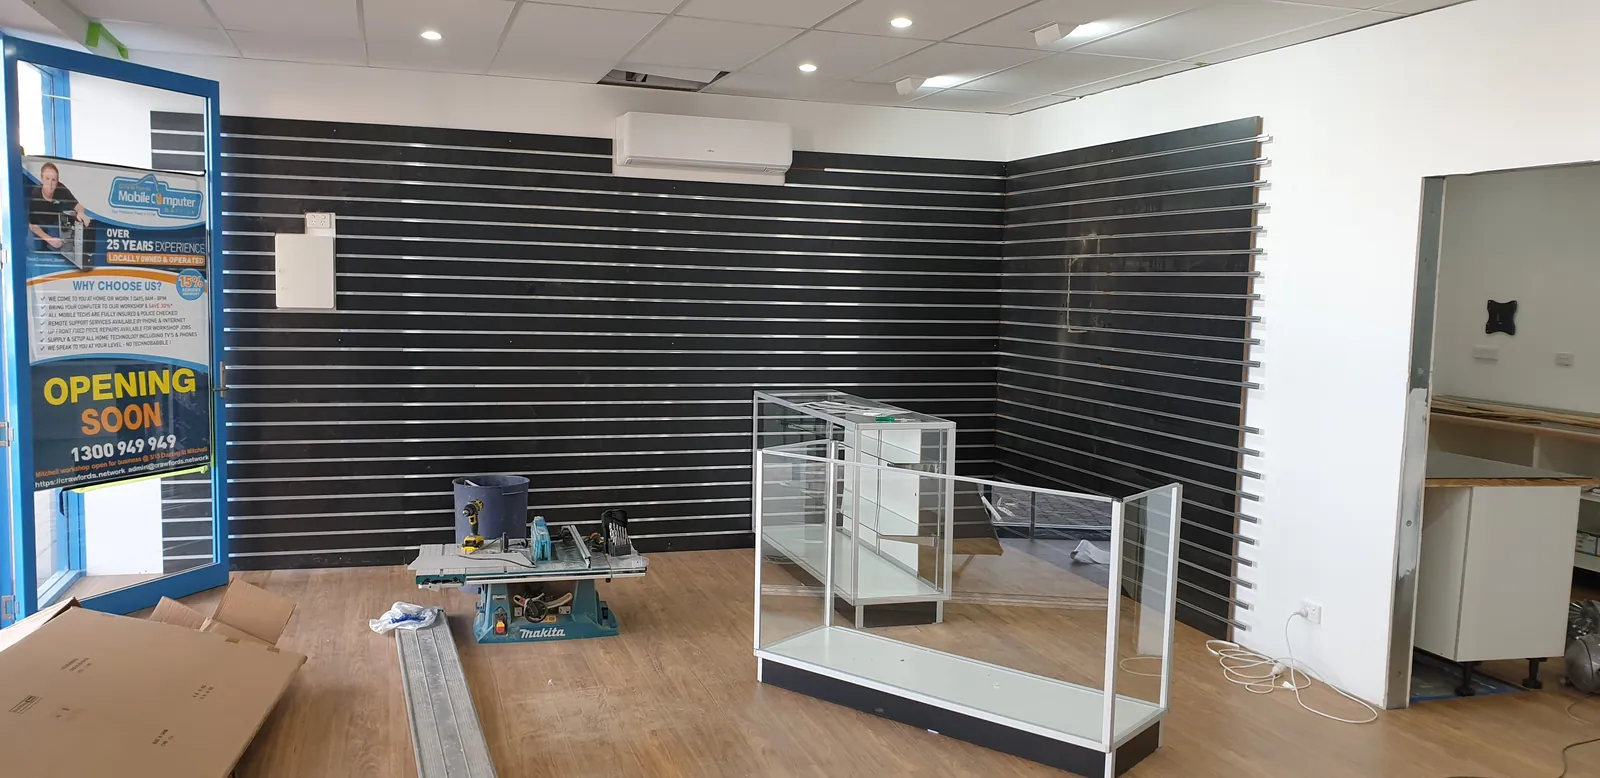
Glass-display cabinet frames brought into the showroom.
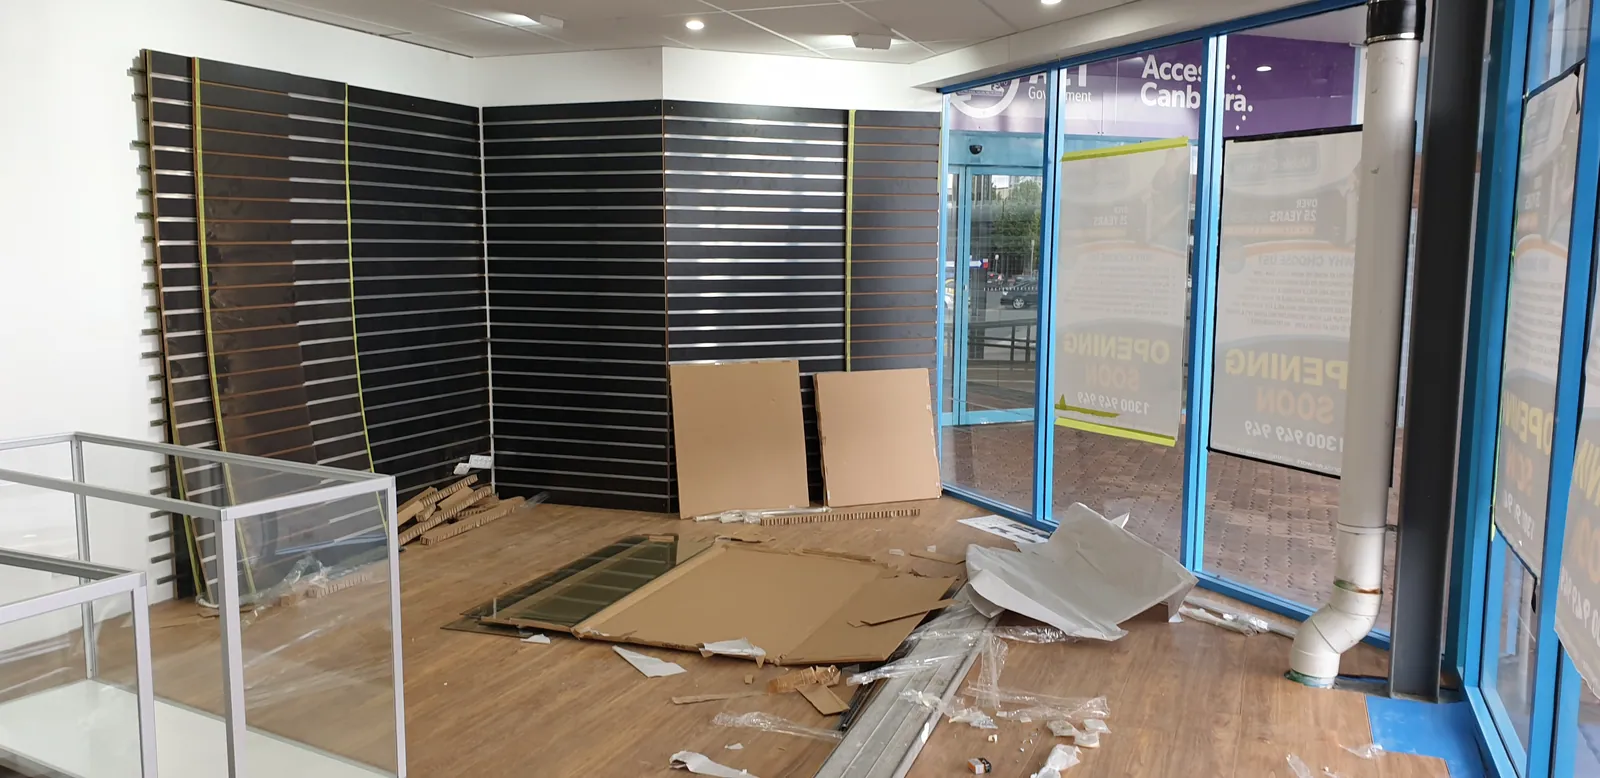
The display-cabinet layout taking shape.
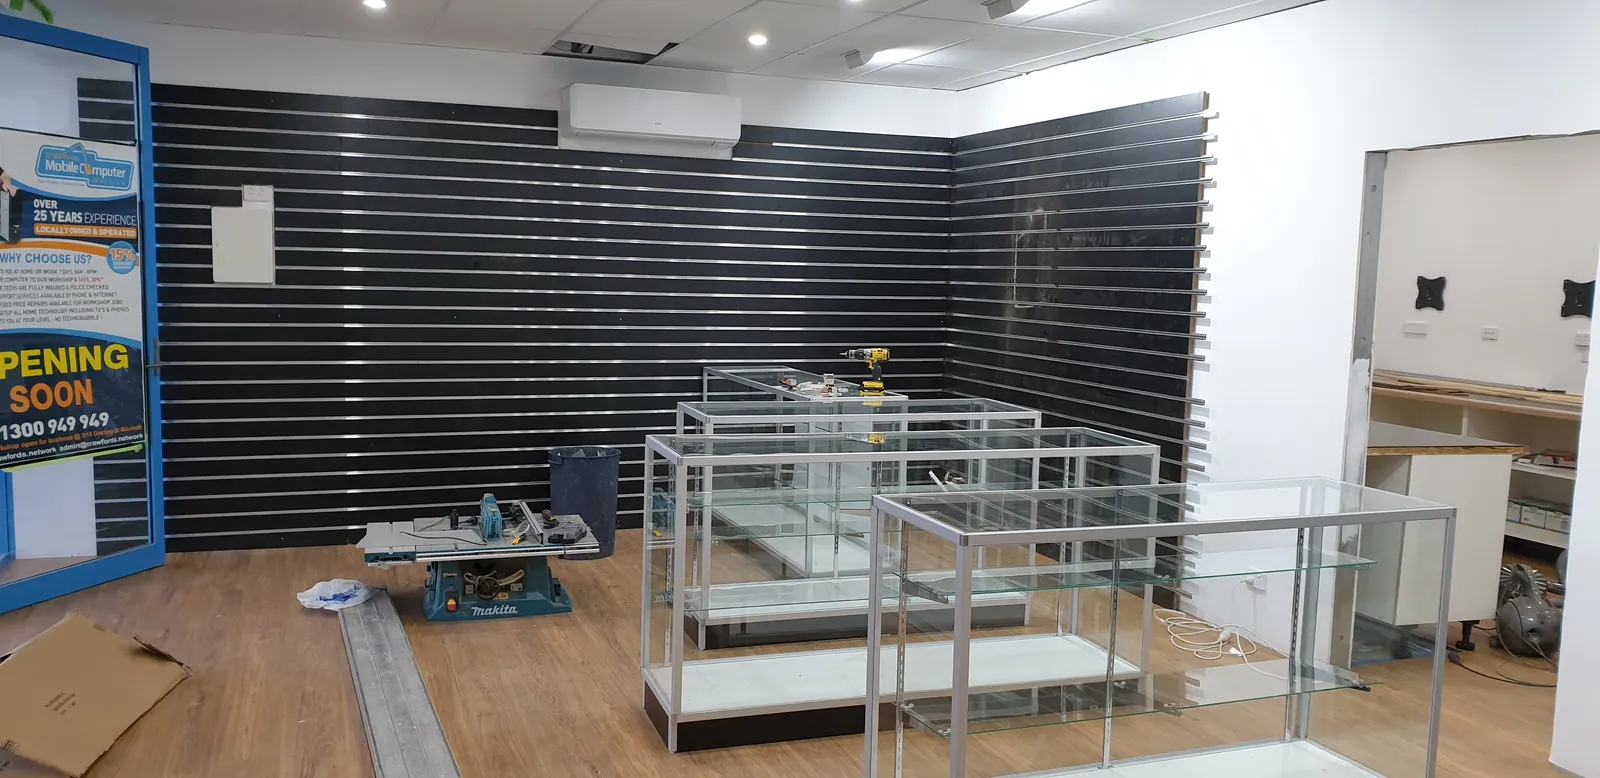
Glass display cabinets partway through assembly.
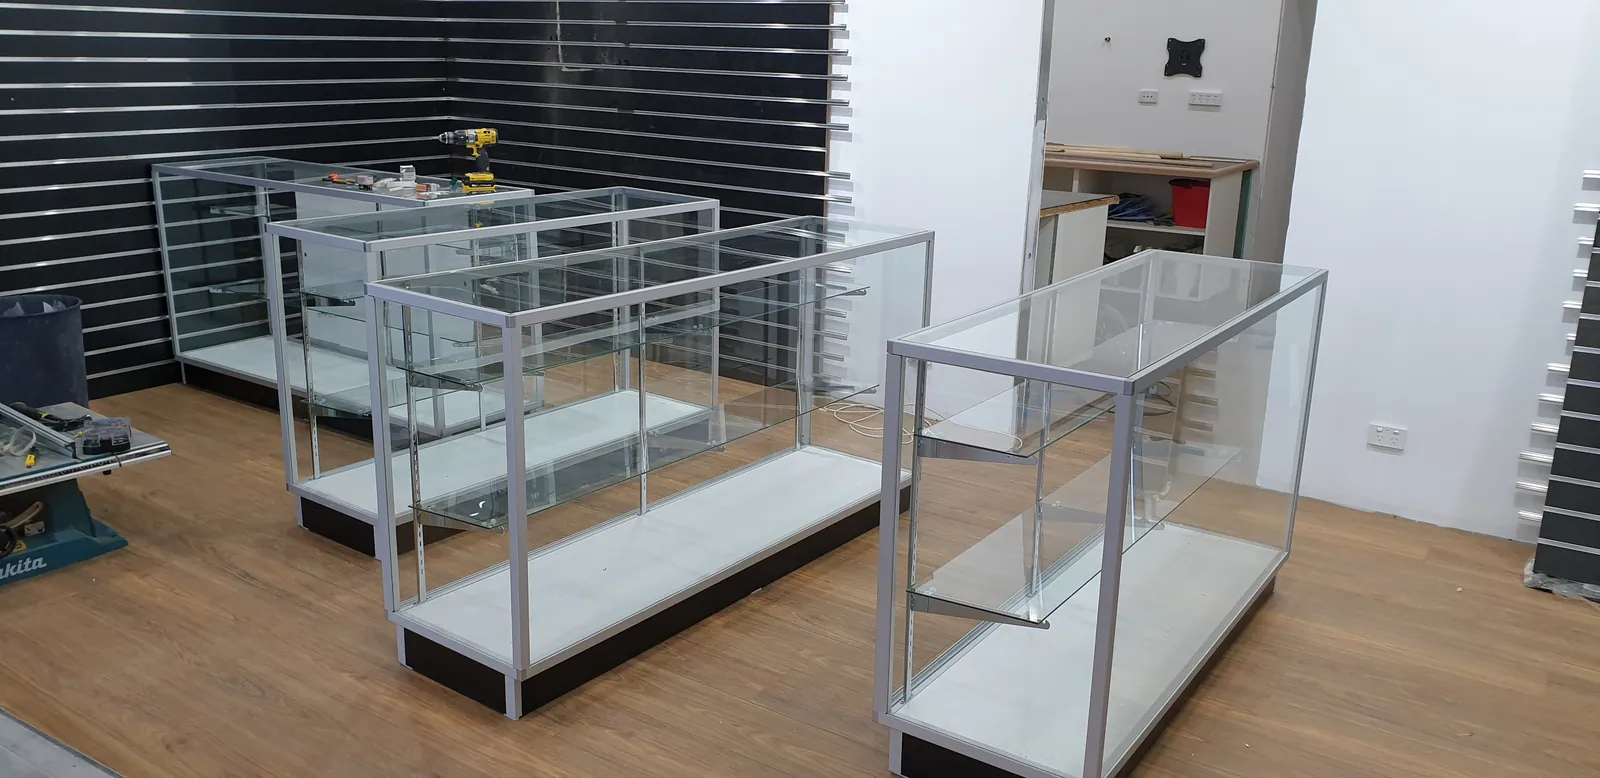
The new display cabinets positioned around the showroom.
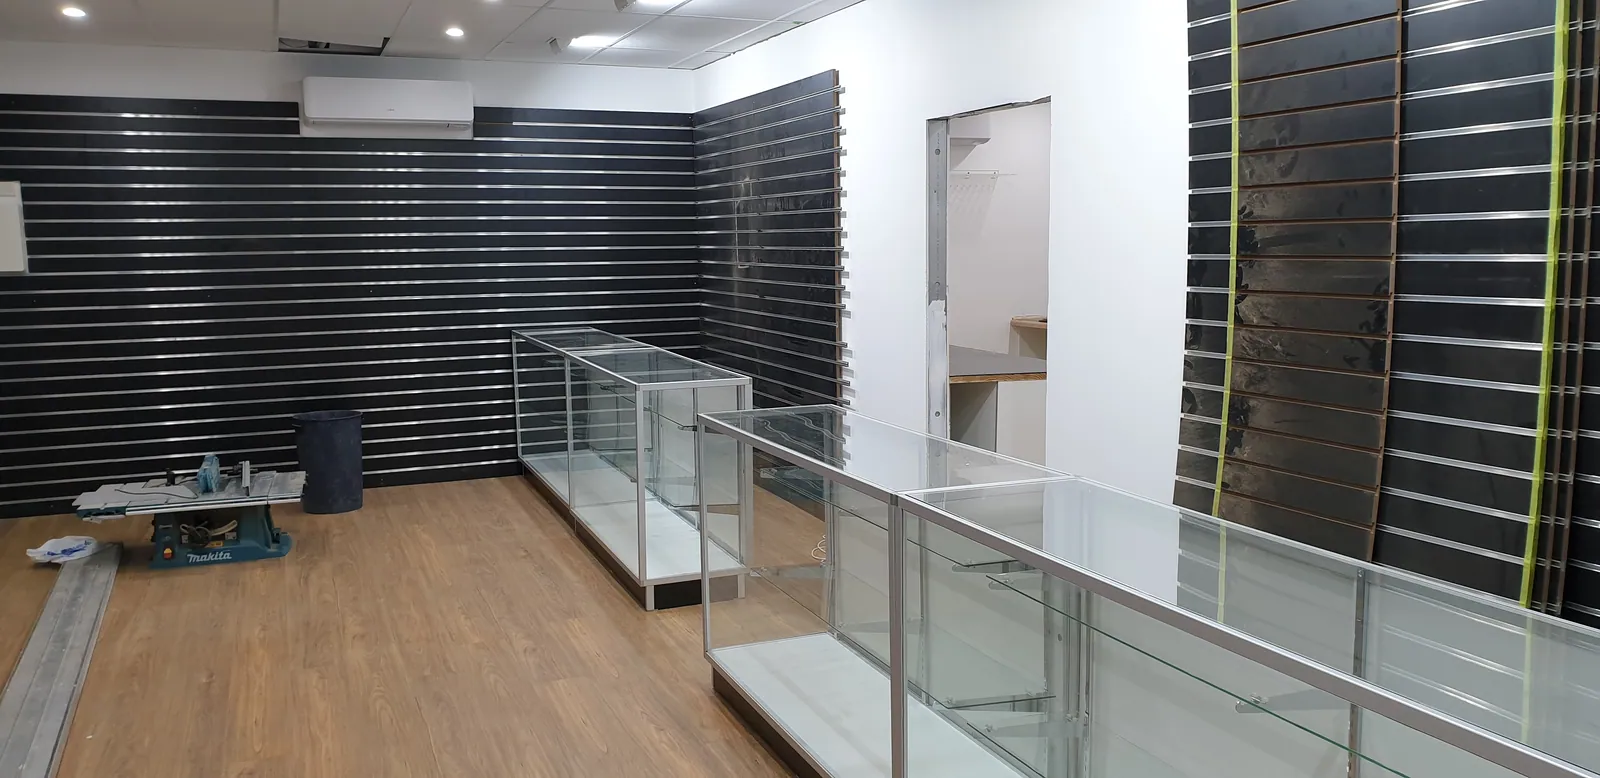
The glass cabinets and retail wall panels coming together.
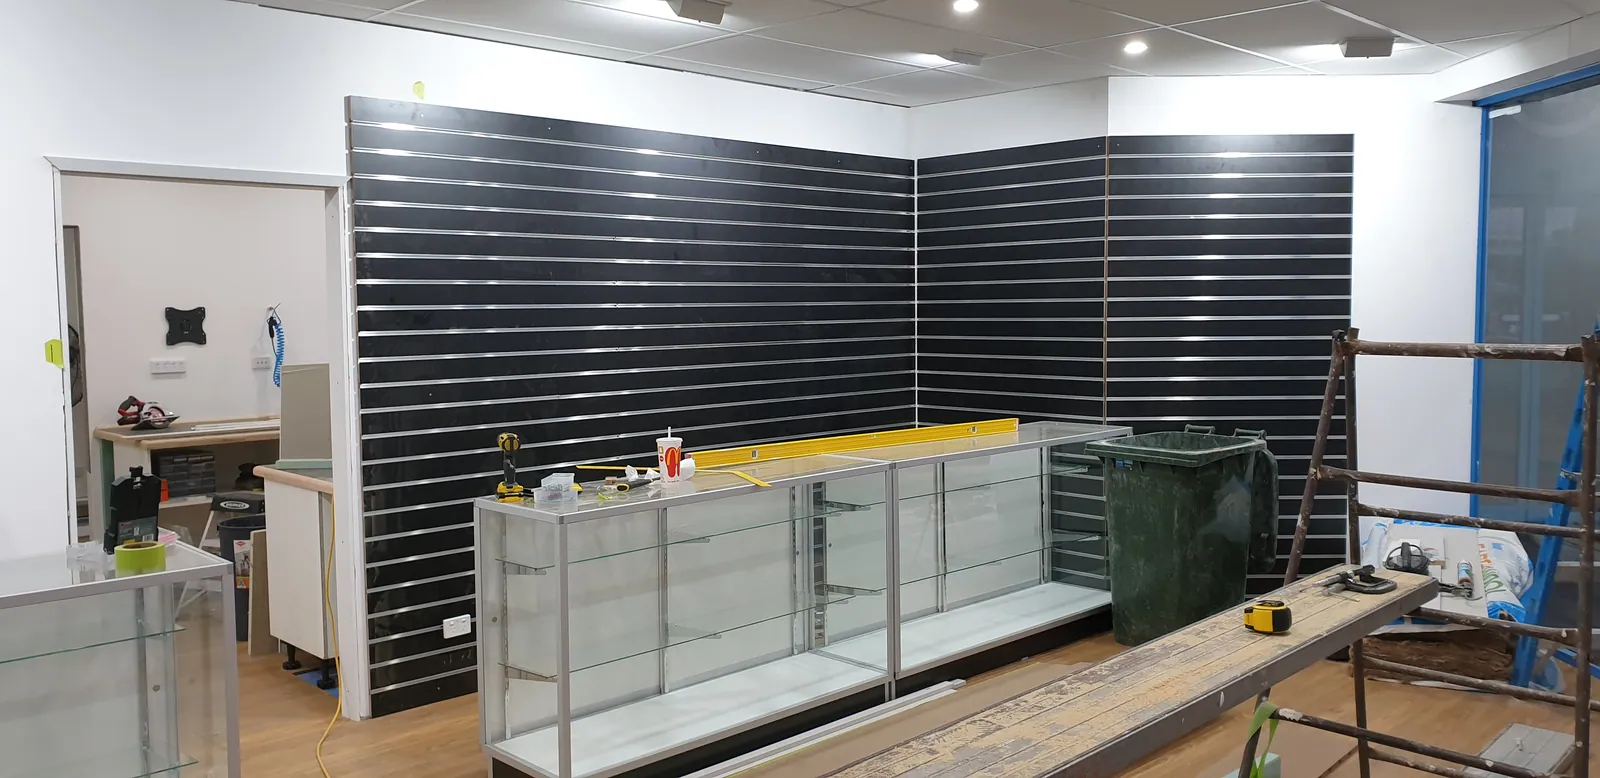
Timber prepared along the developing service counter.
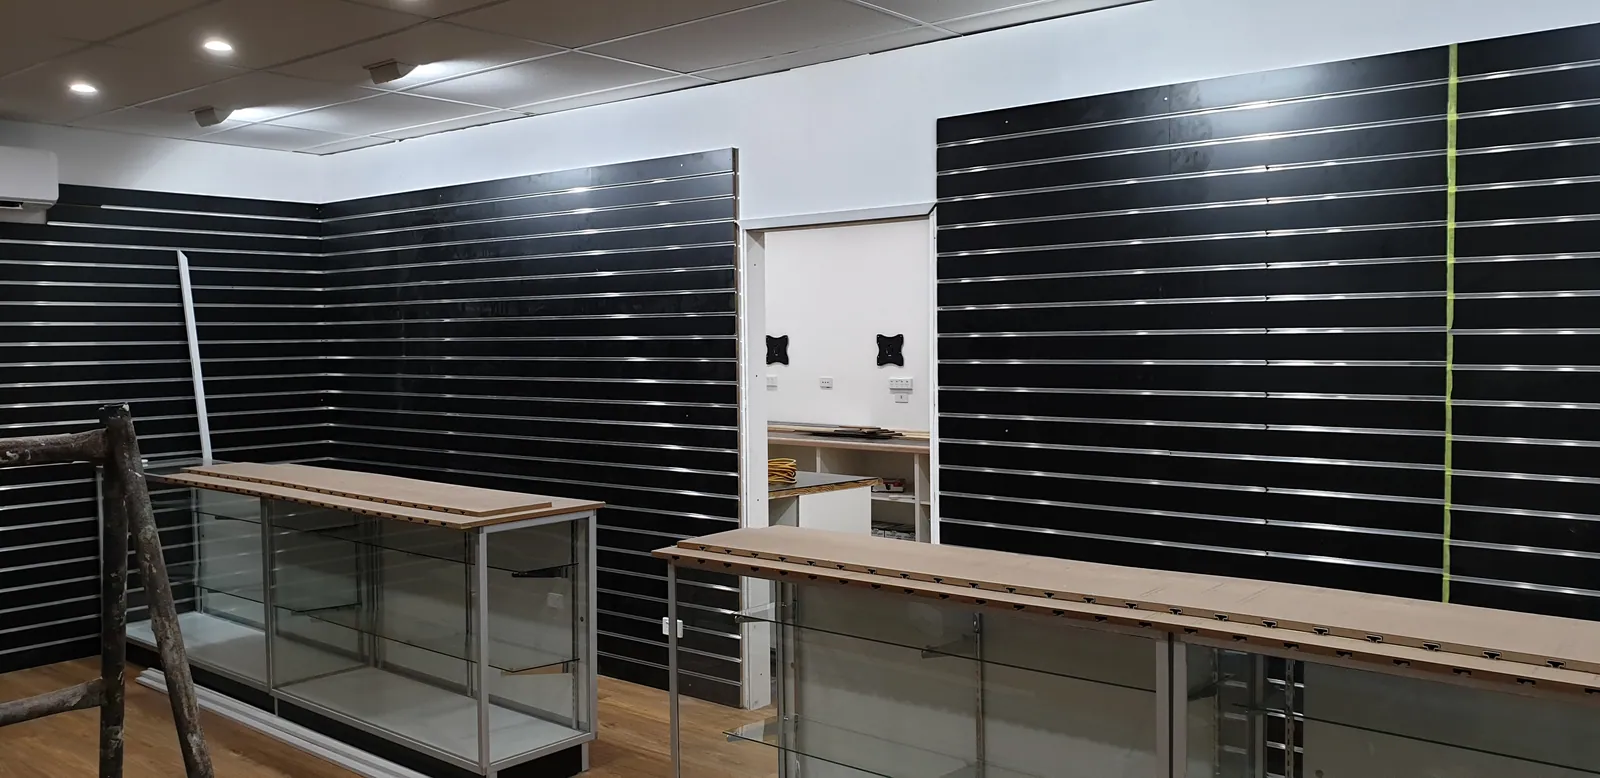
The counter work viewed across the showroom.
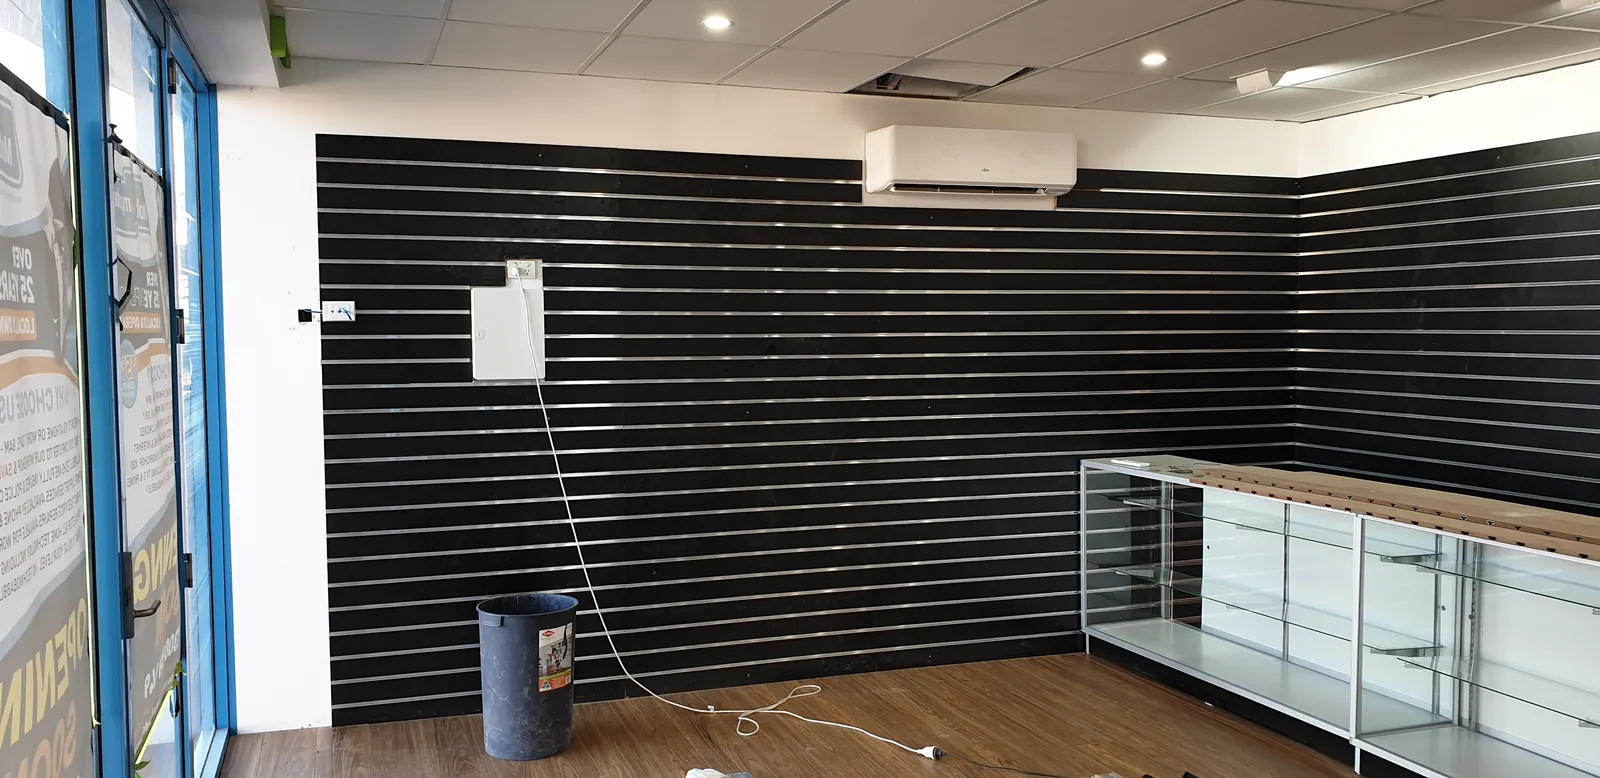
The showroom as the counters and fittings progress.
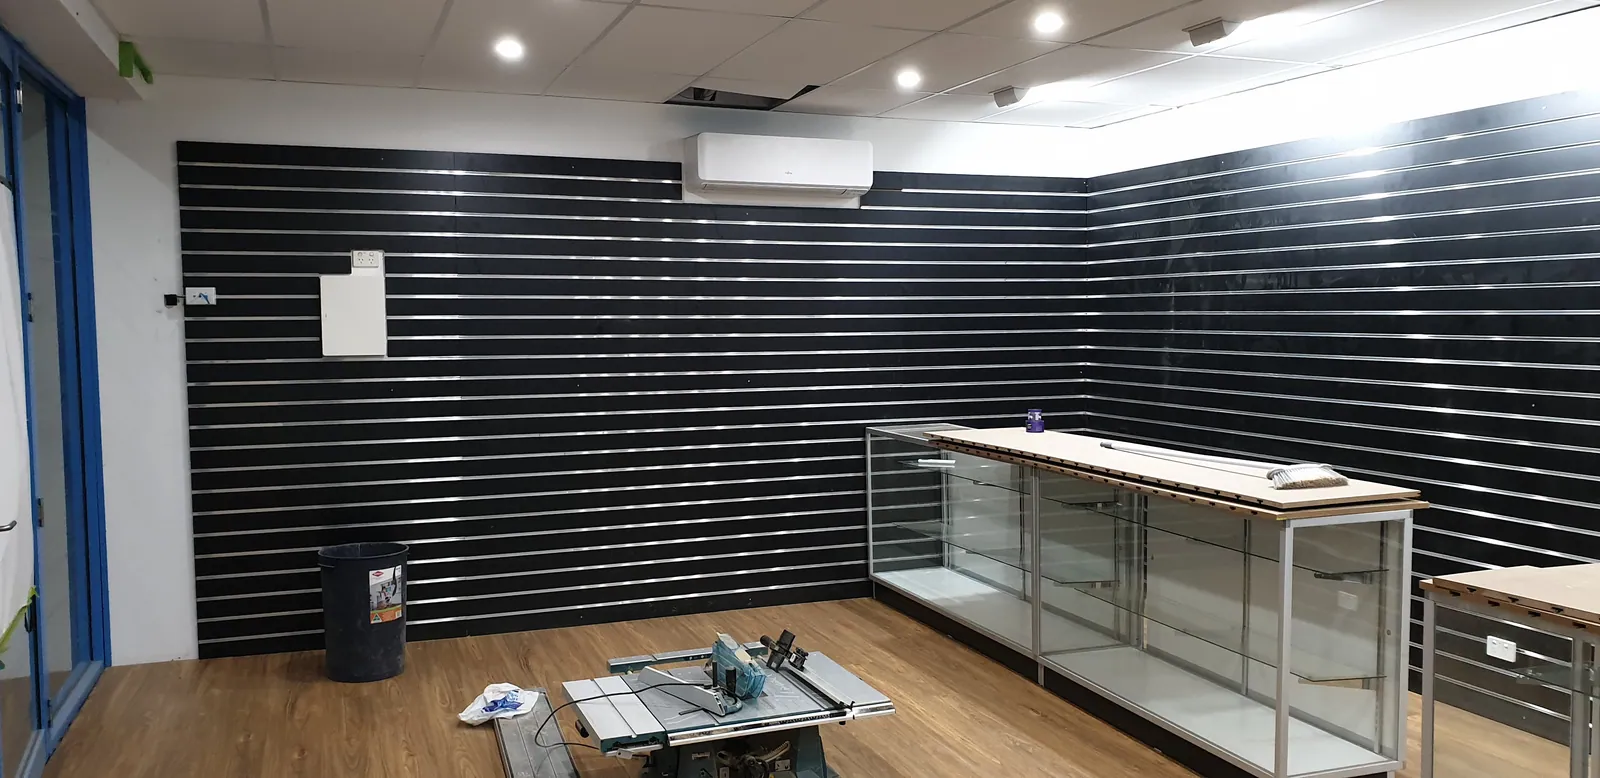
Timber counter tops fitted above the cabinets.
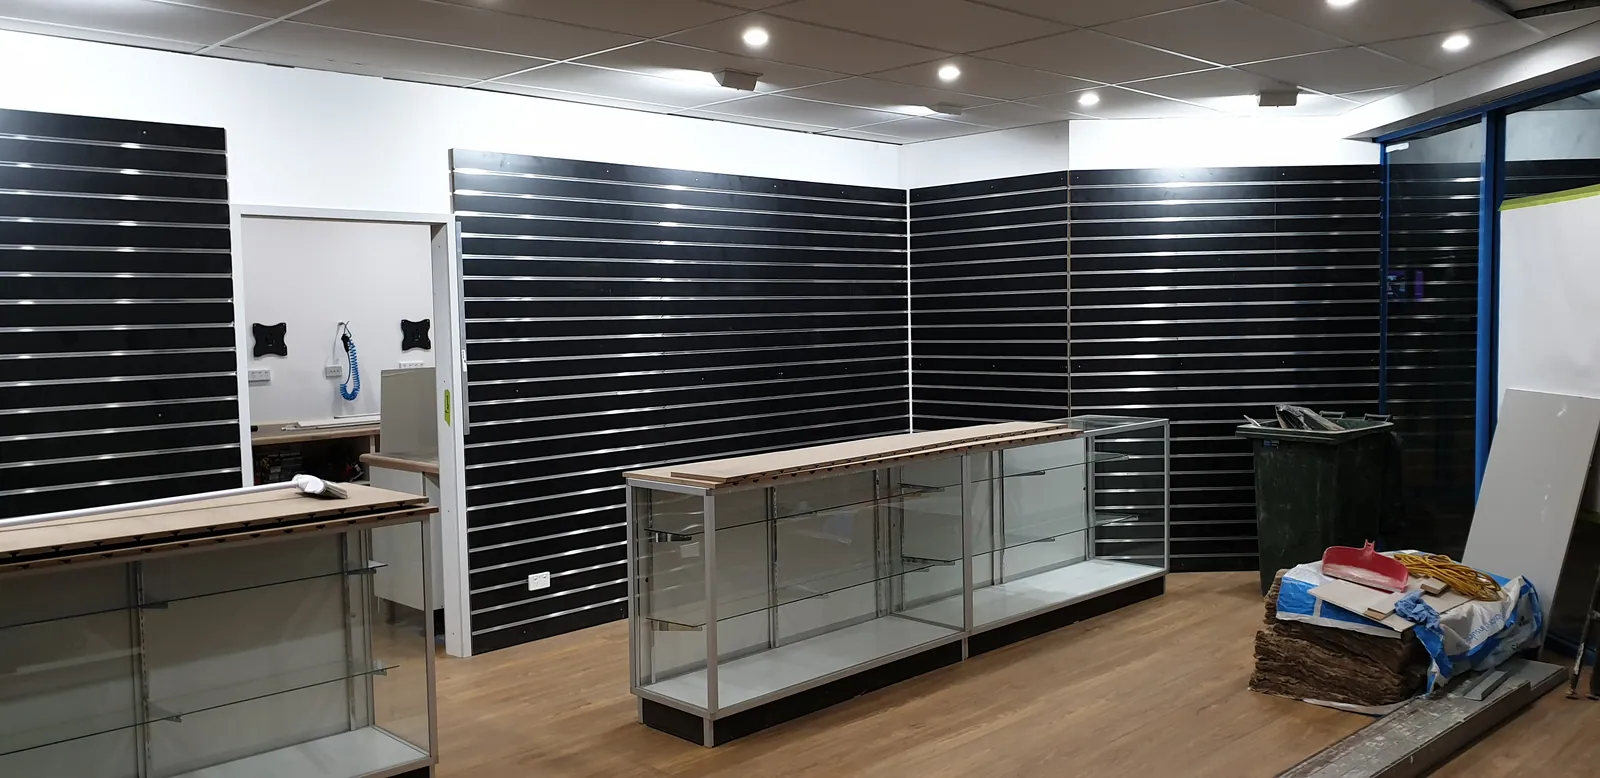
The fitted display walls, counters and glass cabinets.
14Doors and final retail fittings
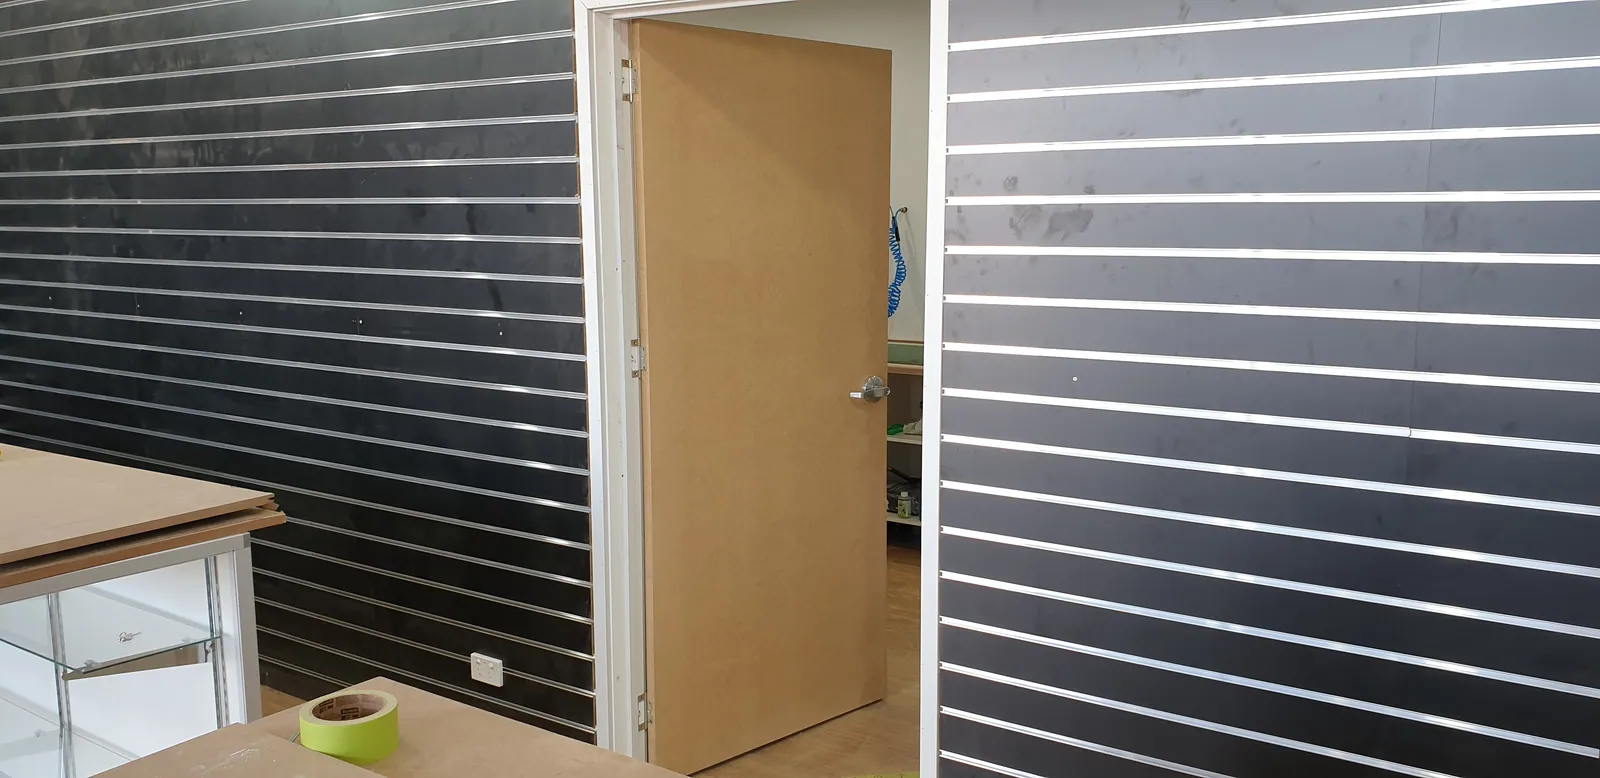
A new internal workshop door hung during the fit-out.
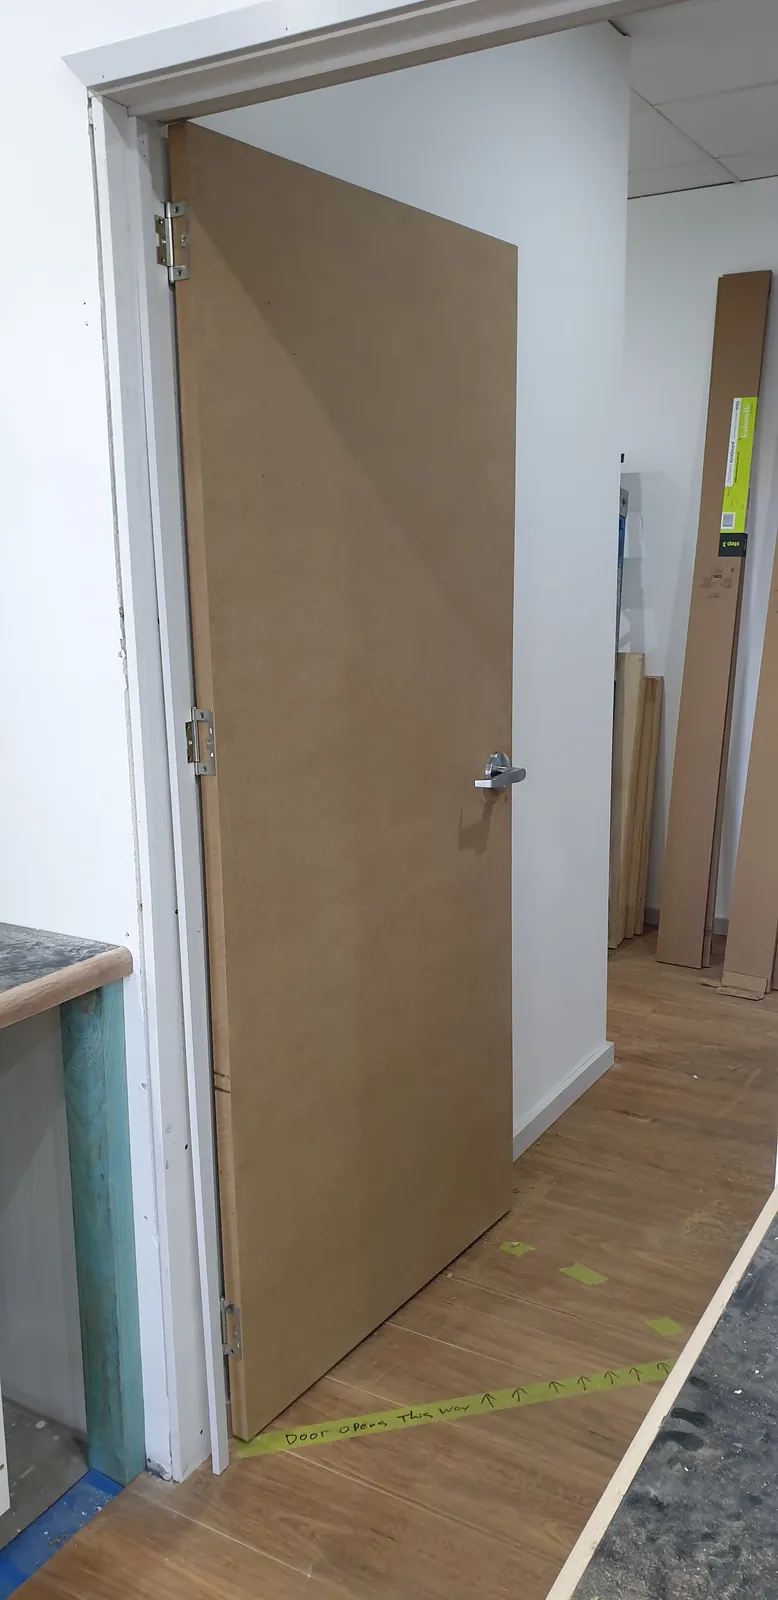
The new workshop door viewed from the internal passage.
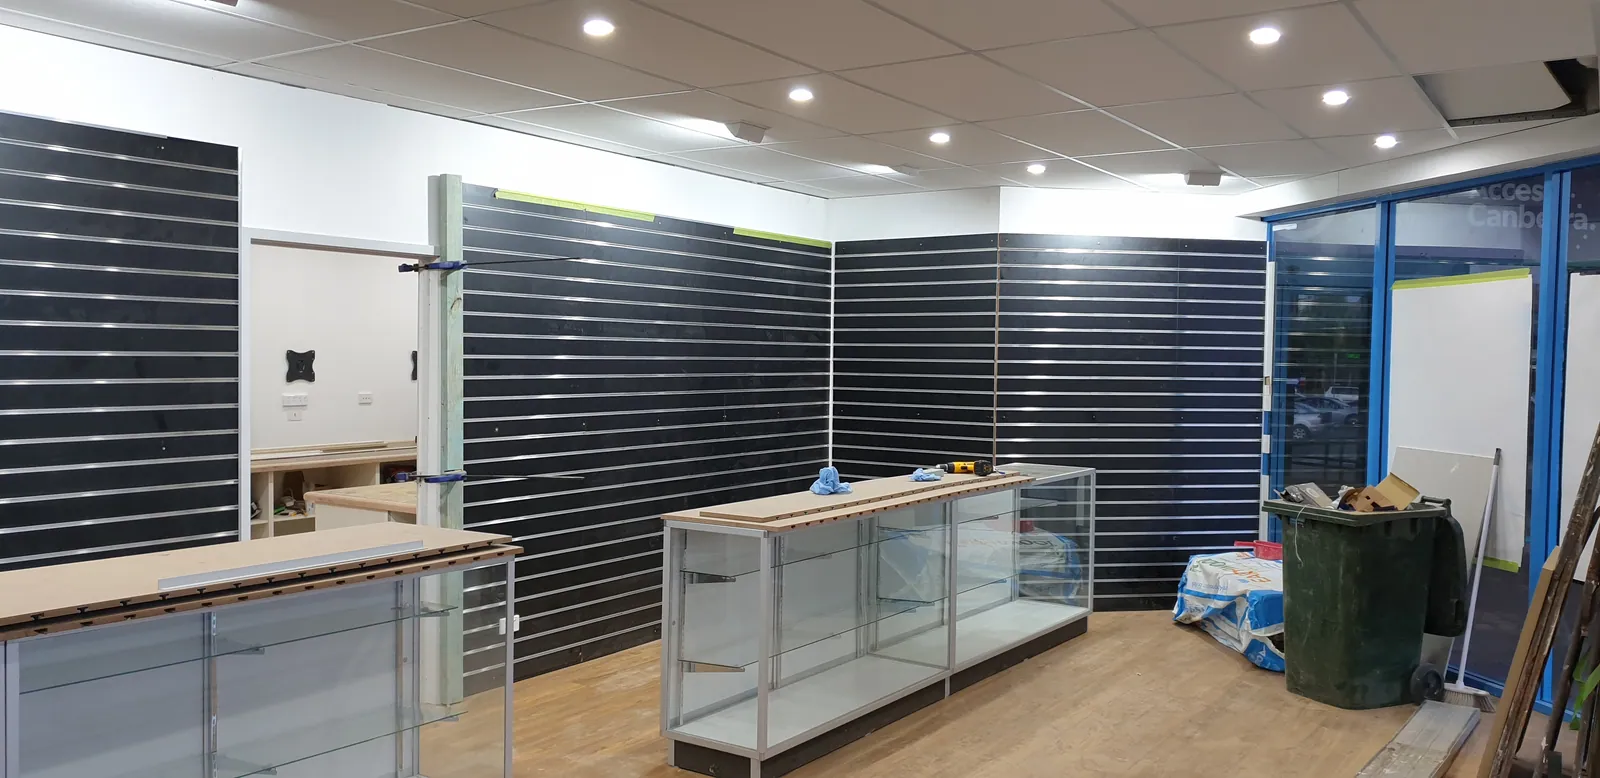
The showroom with its new workshop door in place.
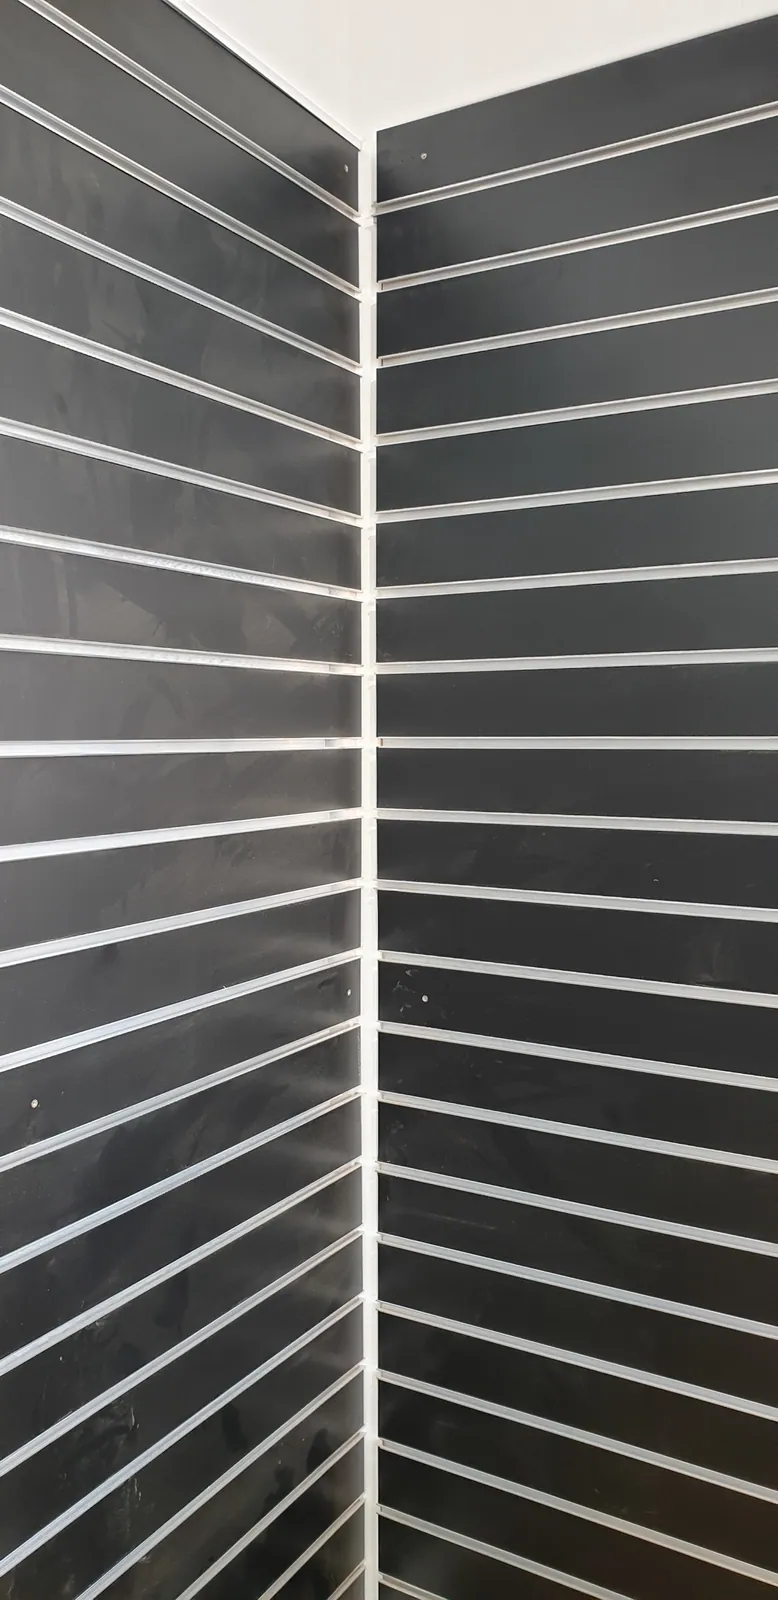
Finishing the joins around the retail wall panels.
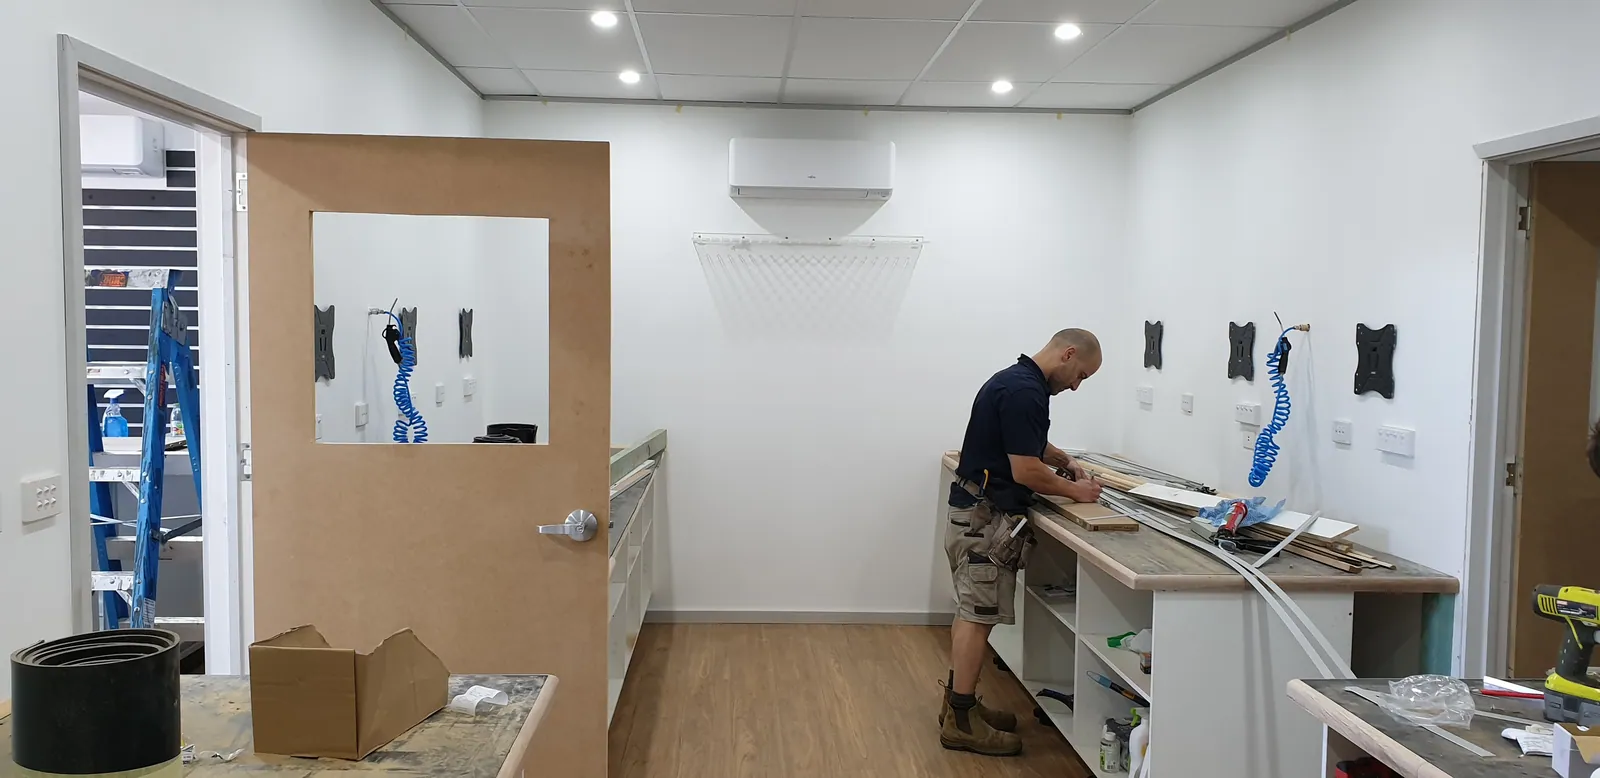
Work continues on the workshop benches.
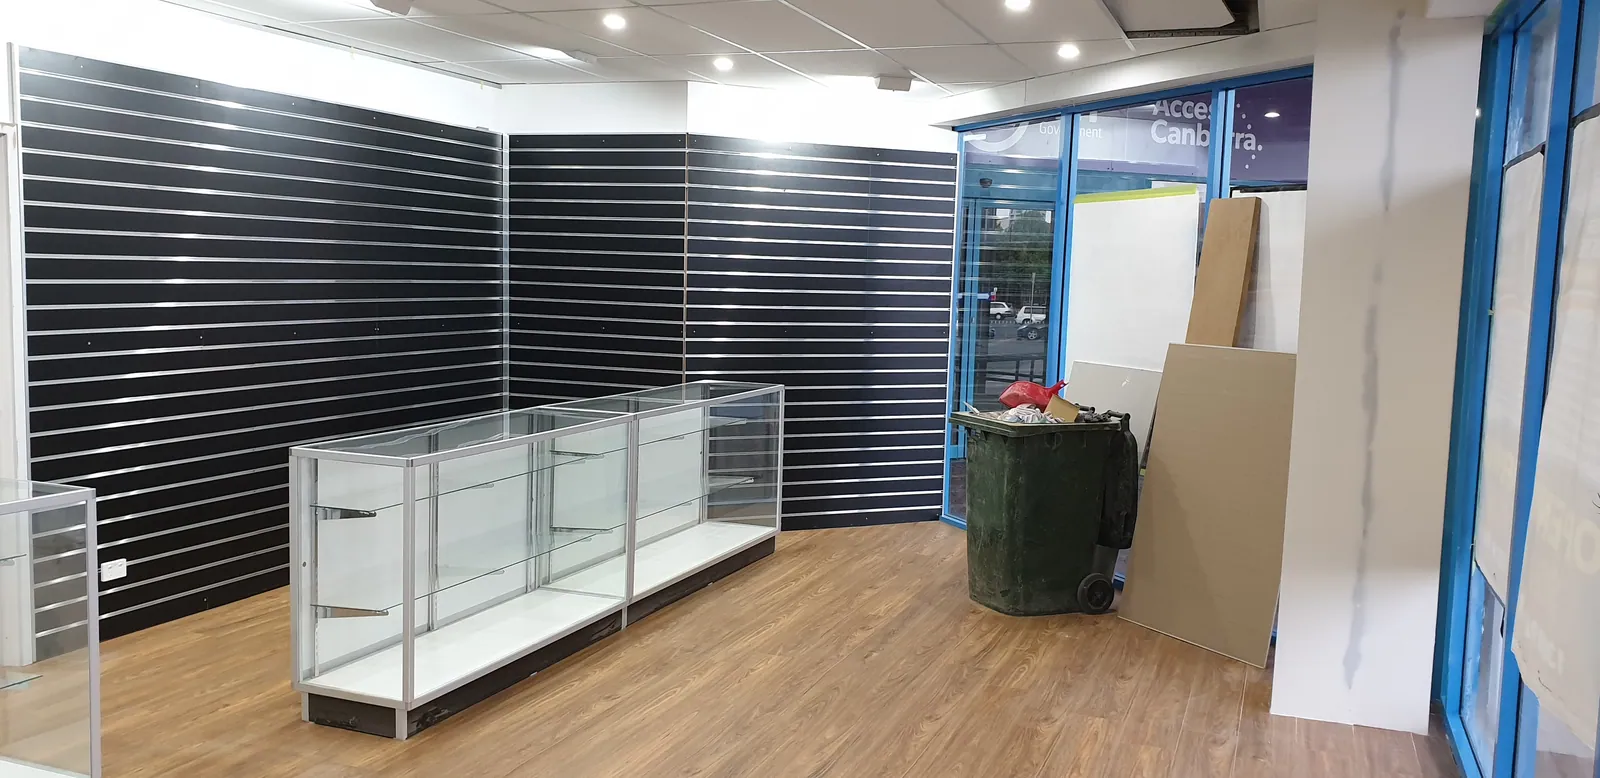
The showroom counters and cabinets approaching completion.
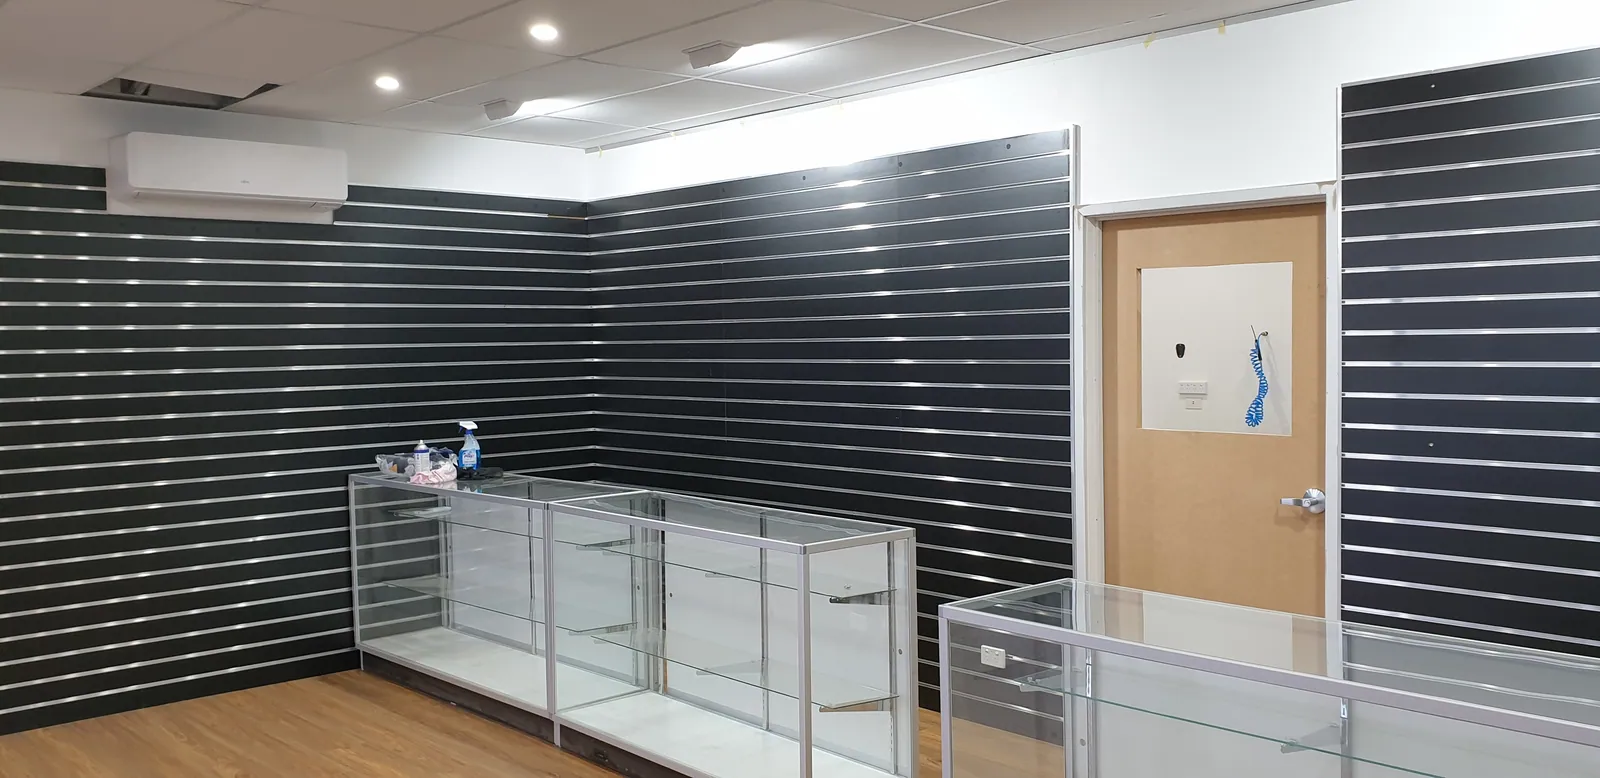
A glazed panel added to the workshop door.
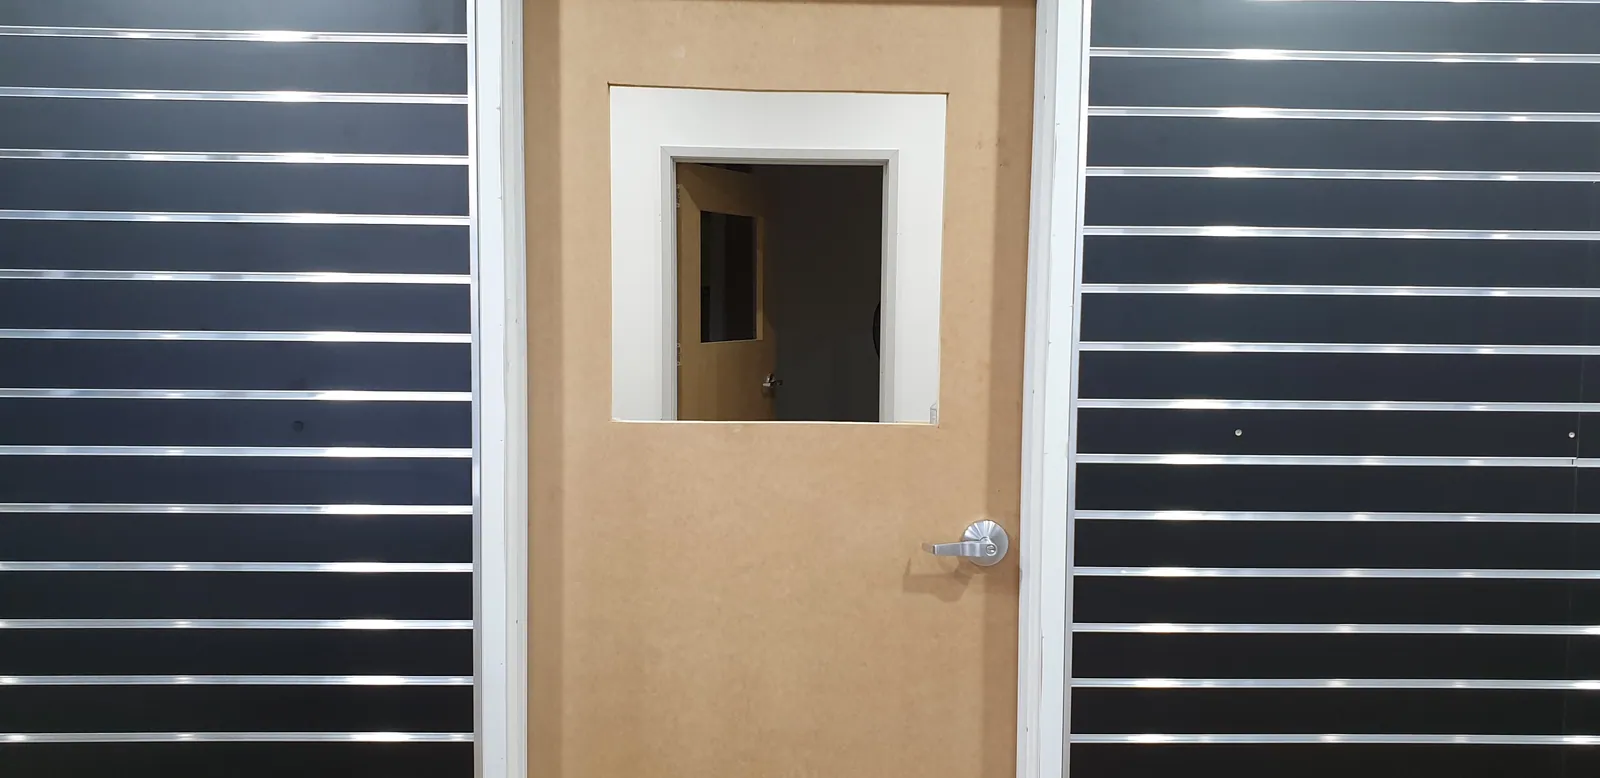
A closer view of the new door glazing.
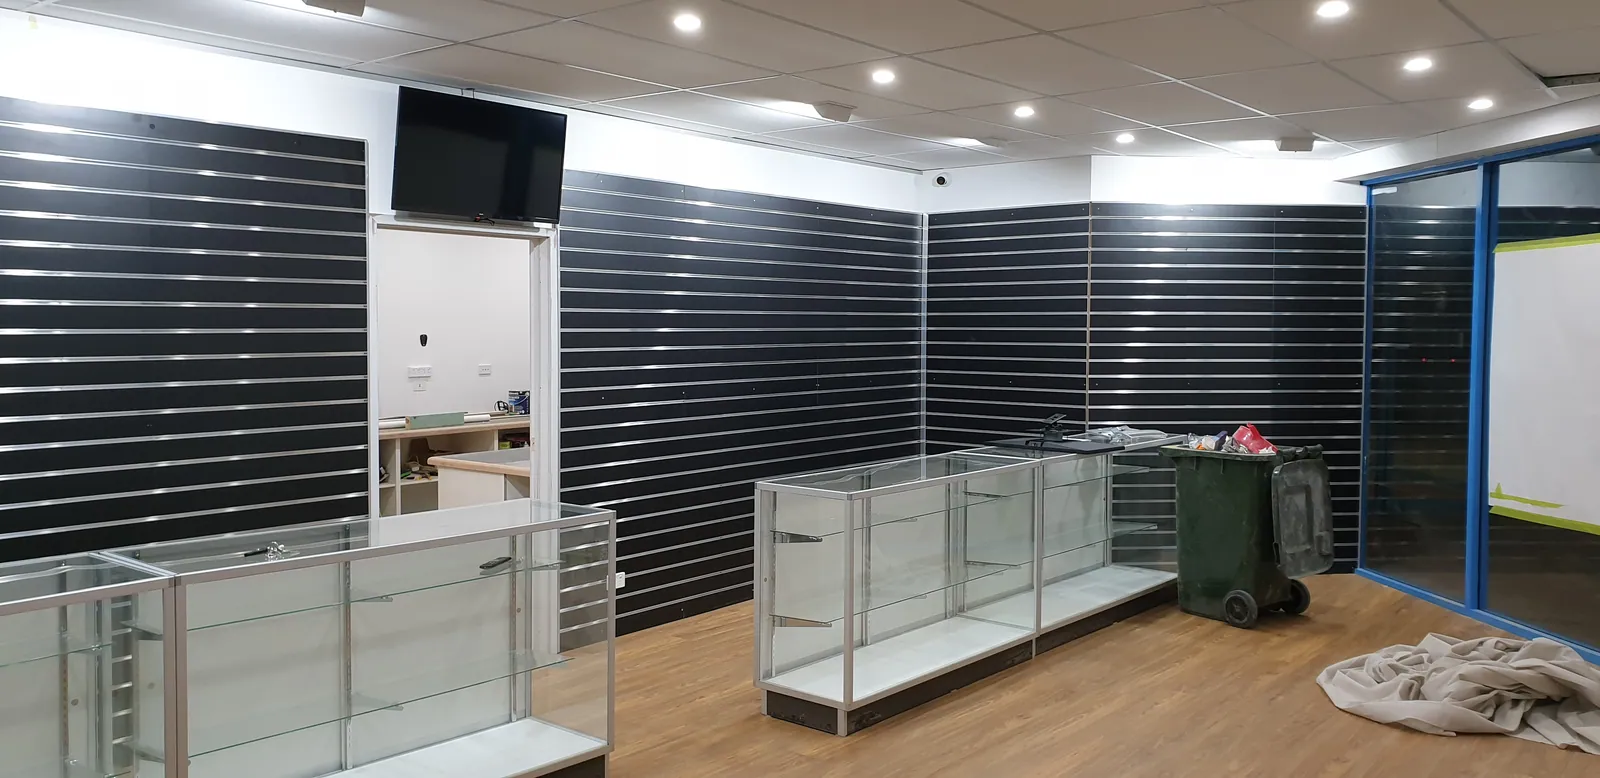
The fitted showroom before stock is put on display.
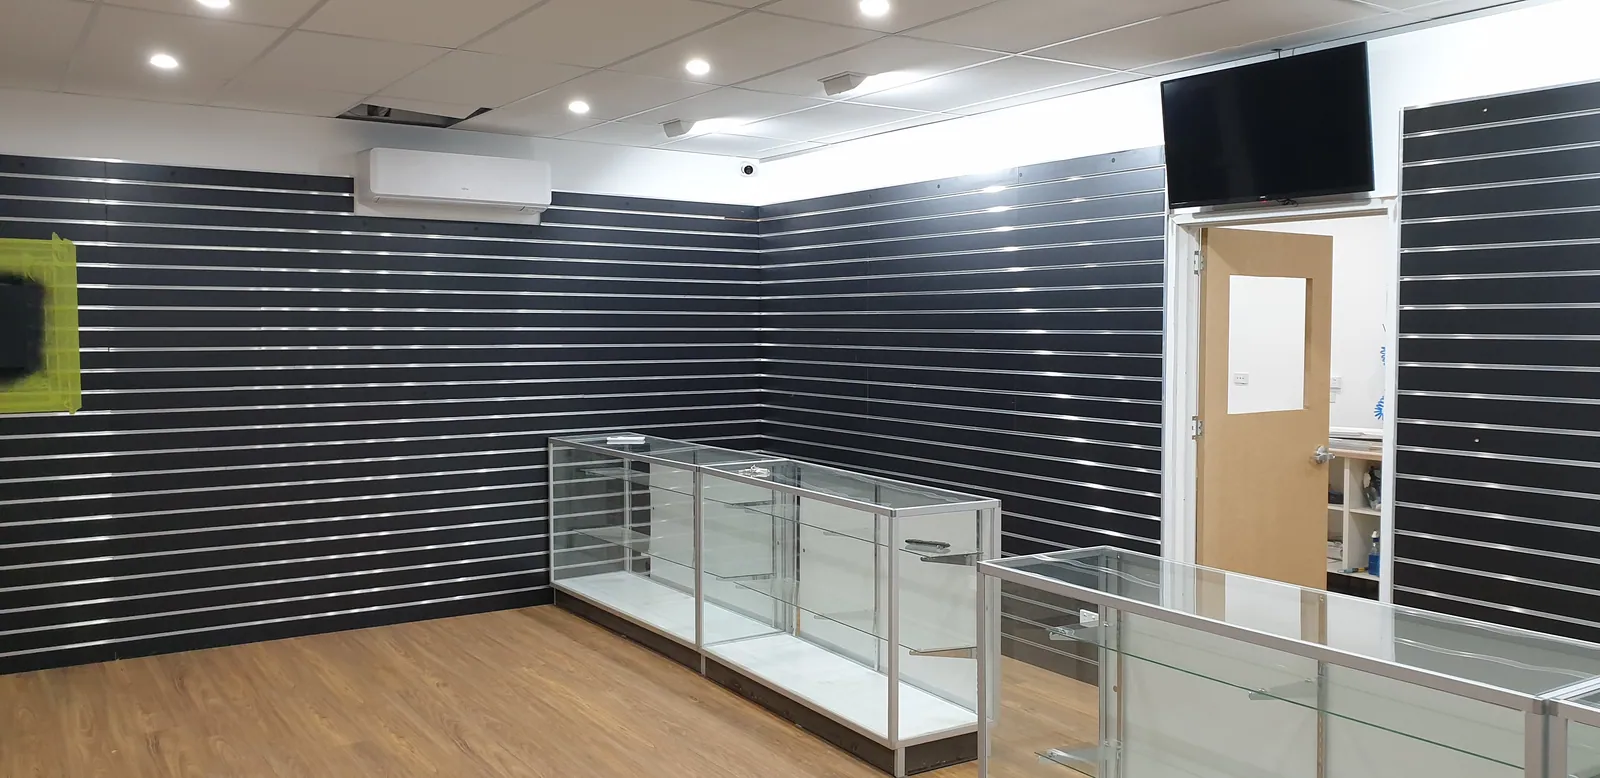
The completed display walls and counter layout from another angle.
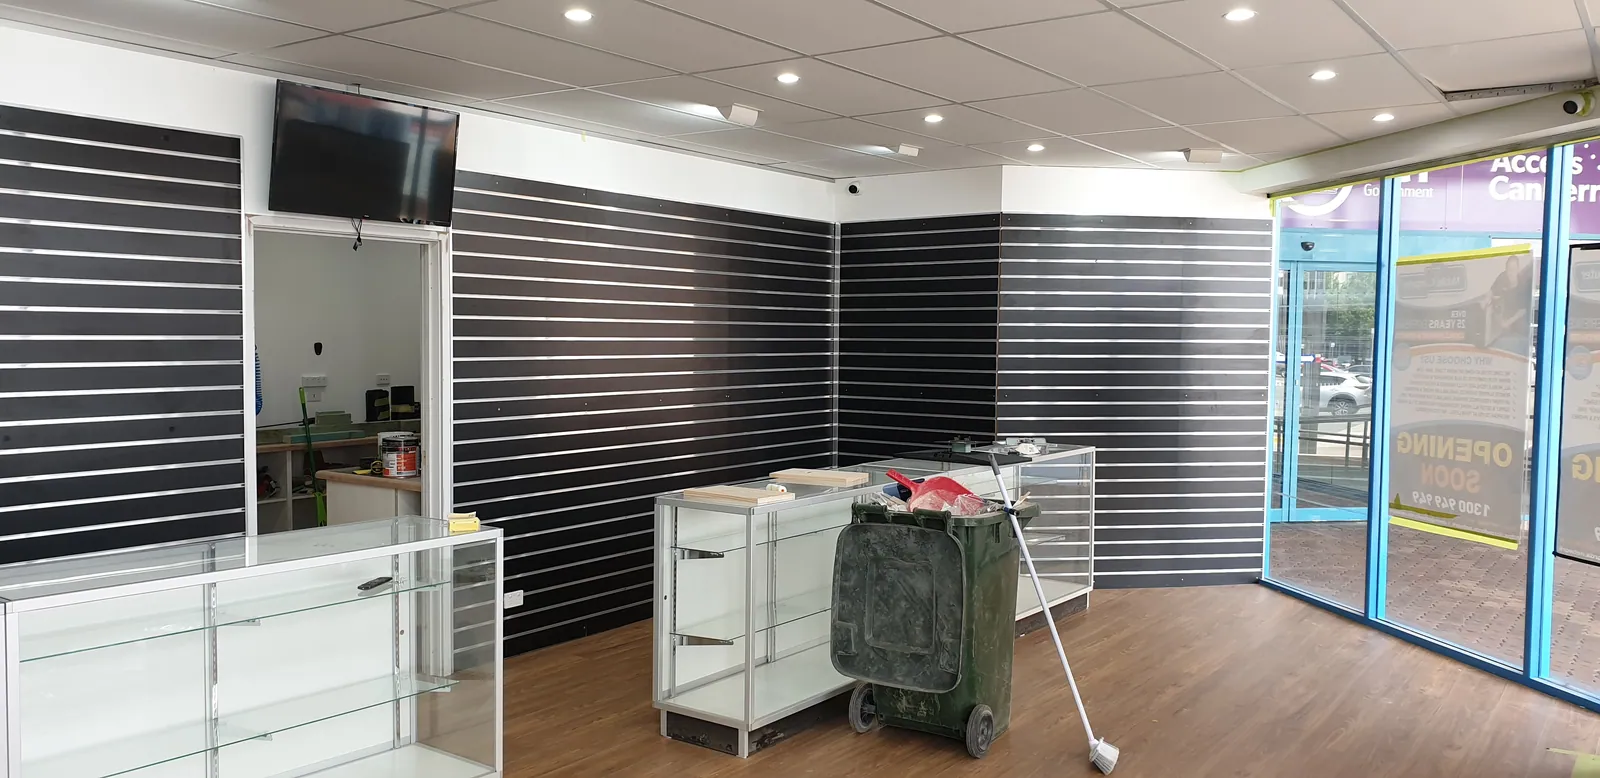
A screen added above the retail display area.
15Equipping the workshop
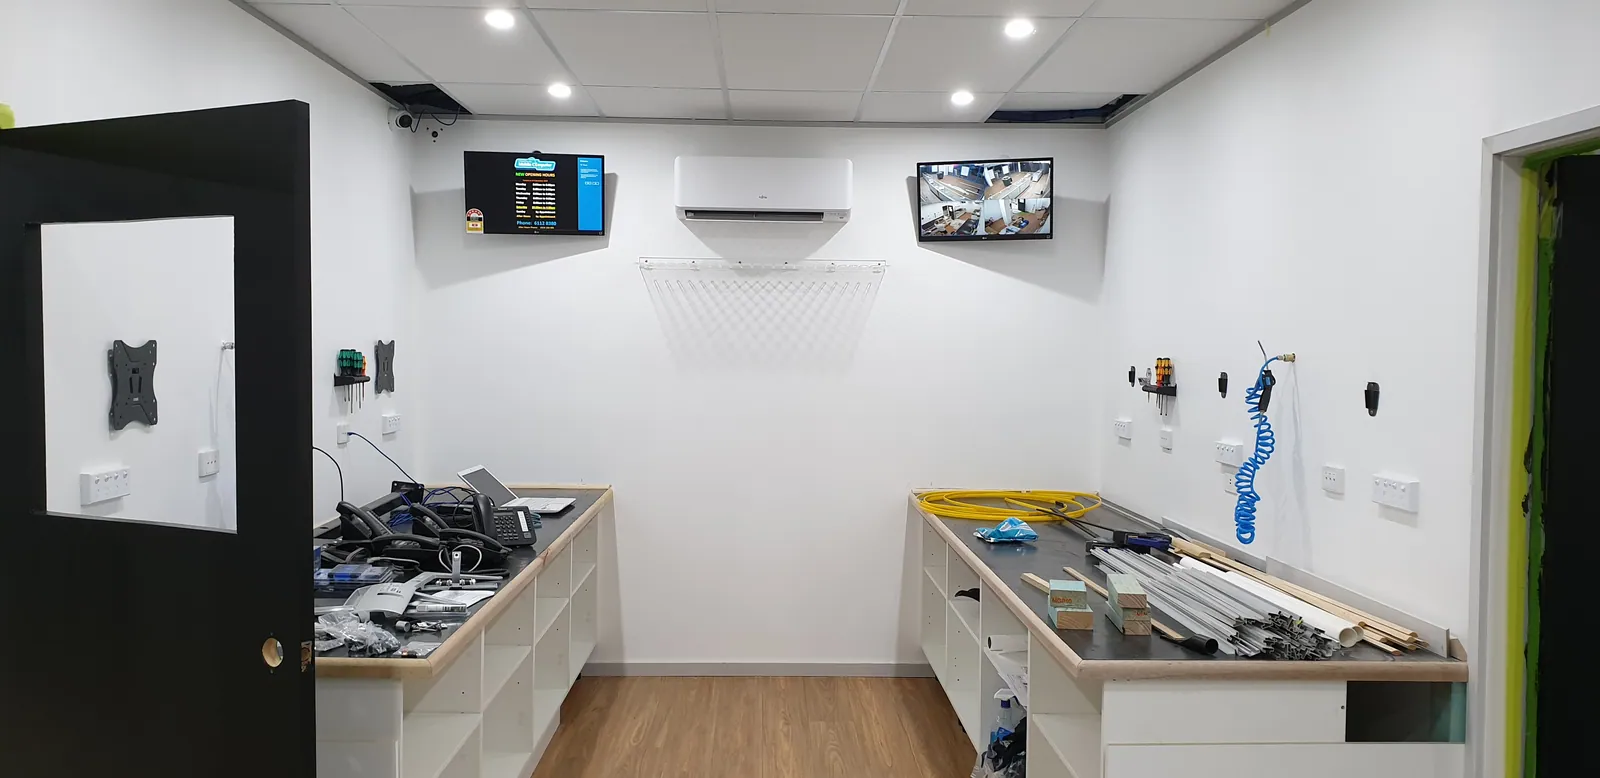
The workshop benches being equipped with screens and air lines.
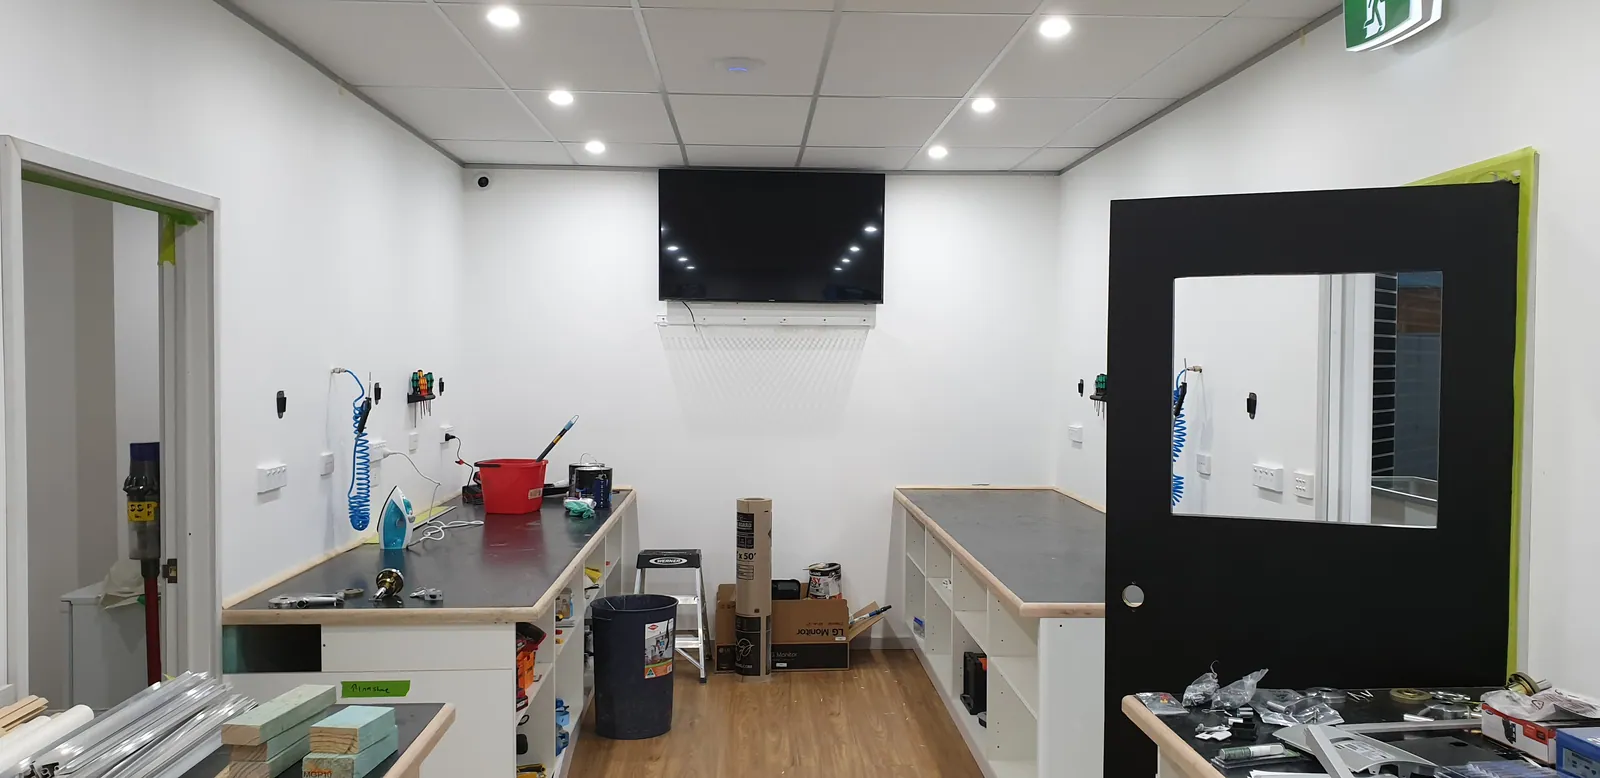
The opposing workbench as the repair stations take shape.
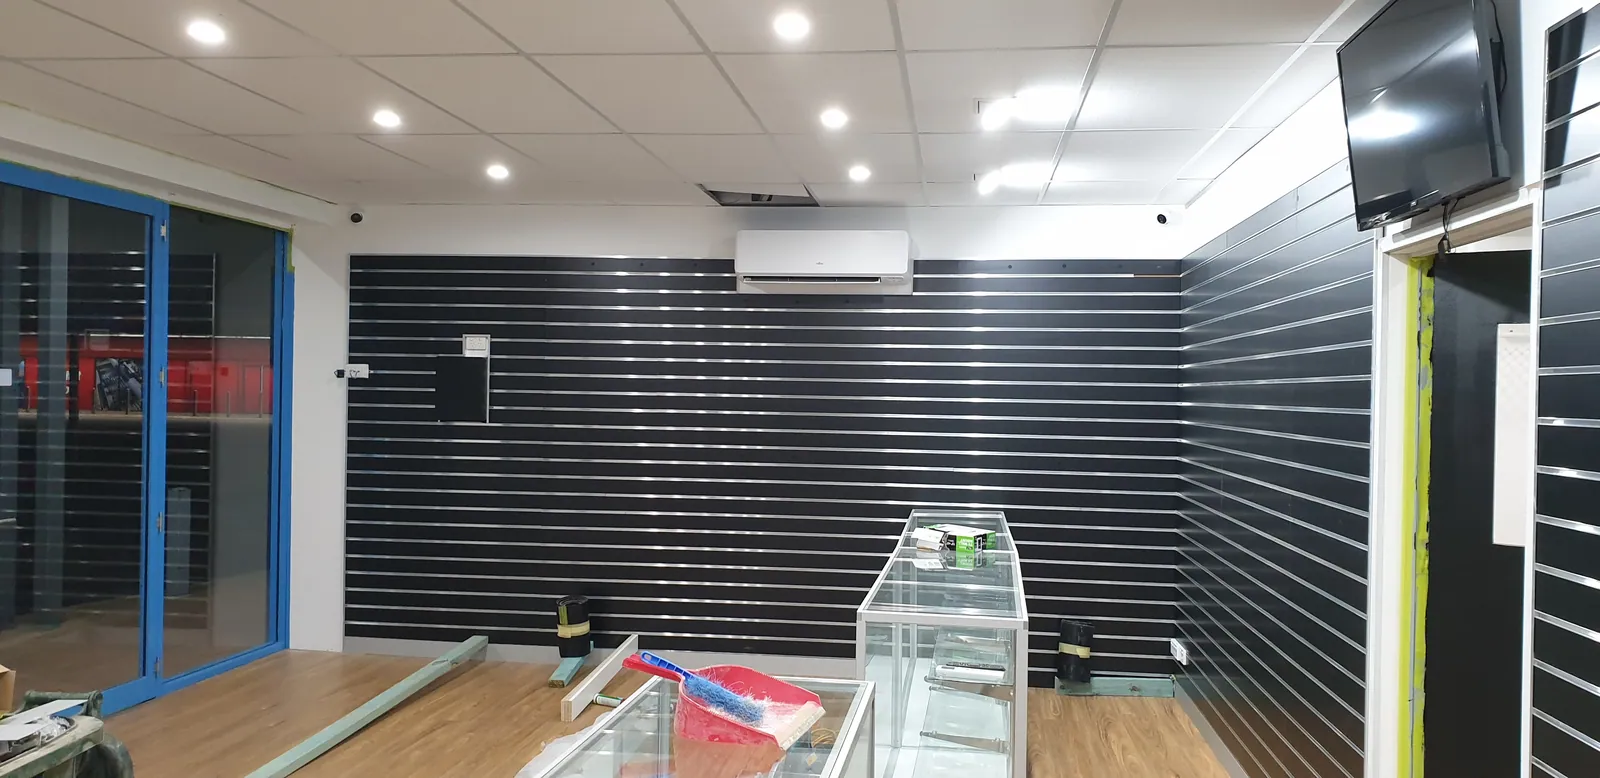
The finished retail counters before stocking.
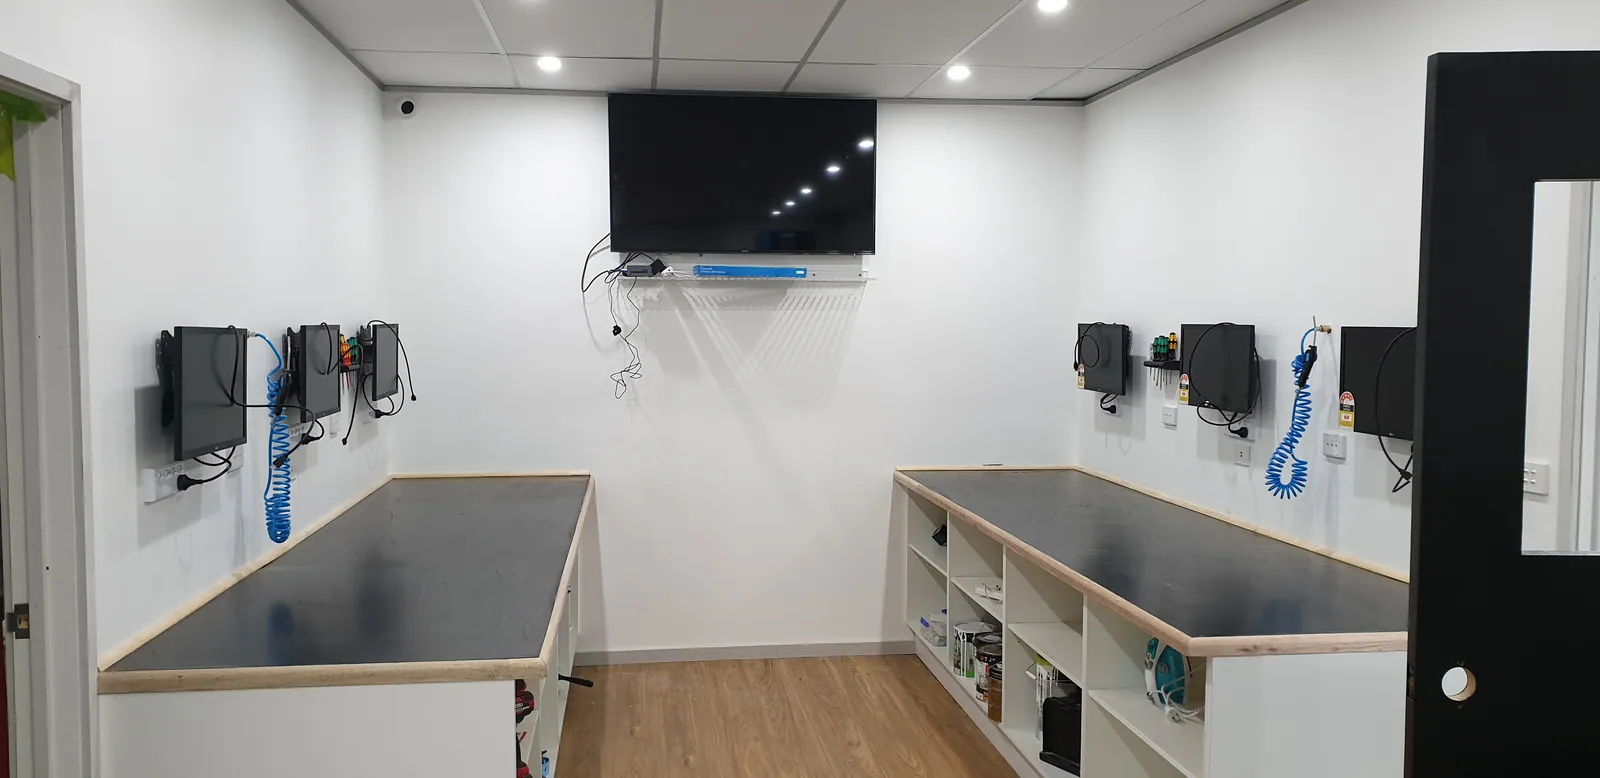
Workshop screens installed above the repair benches.
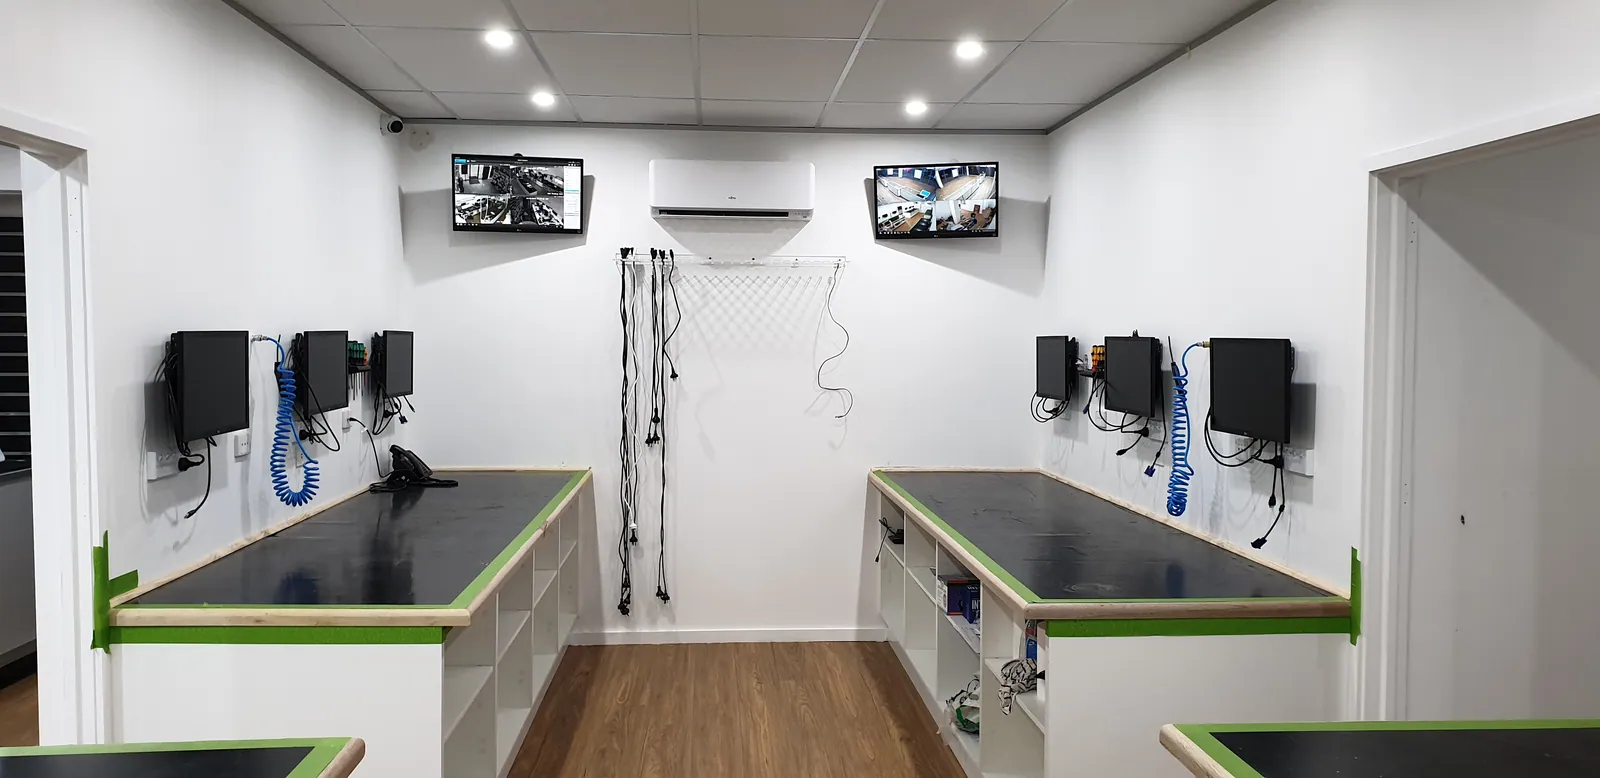
The workshop benches and compressed-air reels during final fit-out.
16Stocking the shop
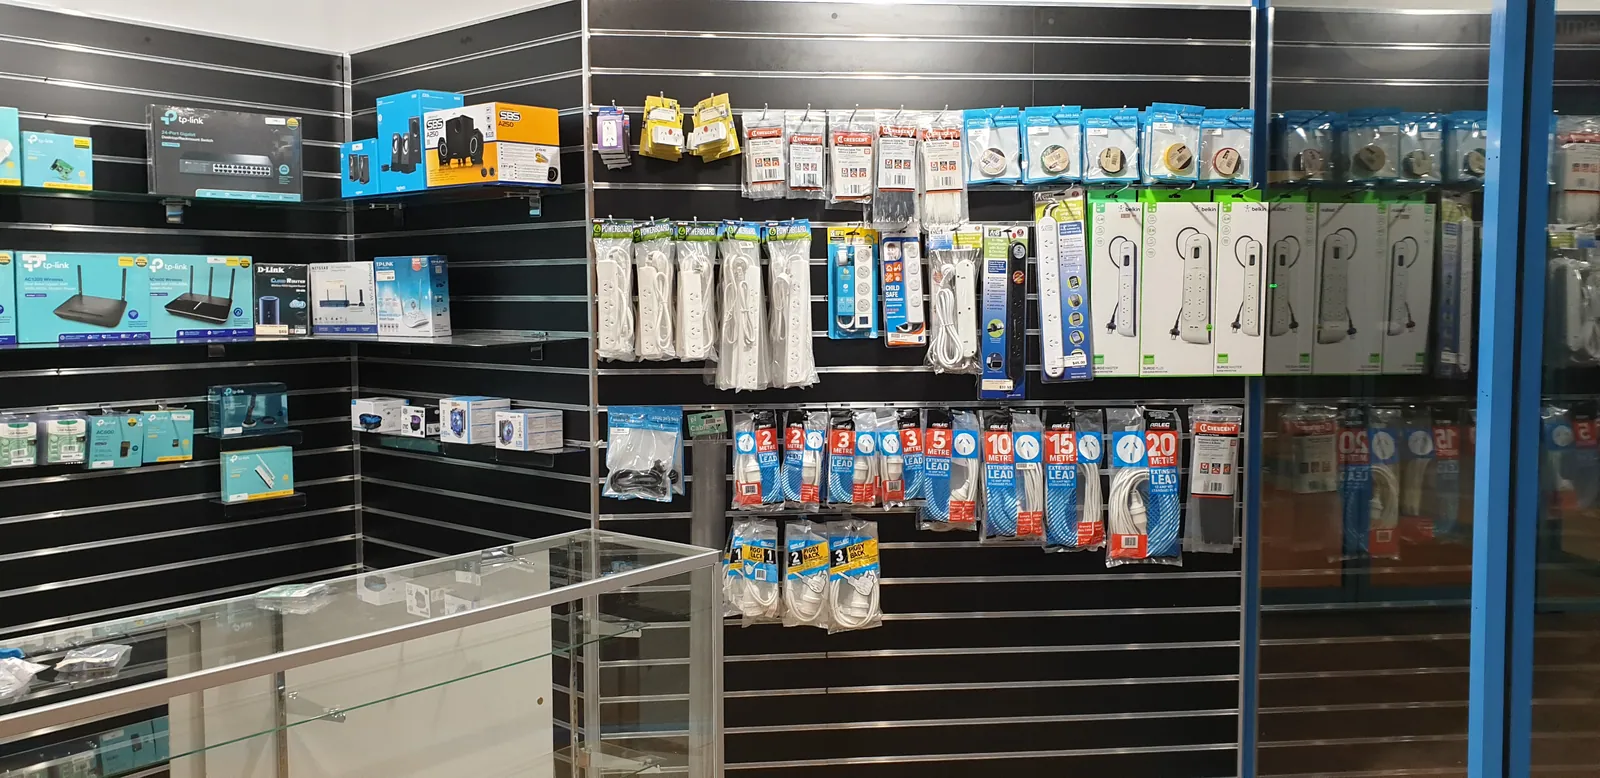
Accessories arranged on the retail display wall.
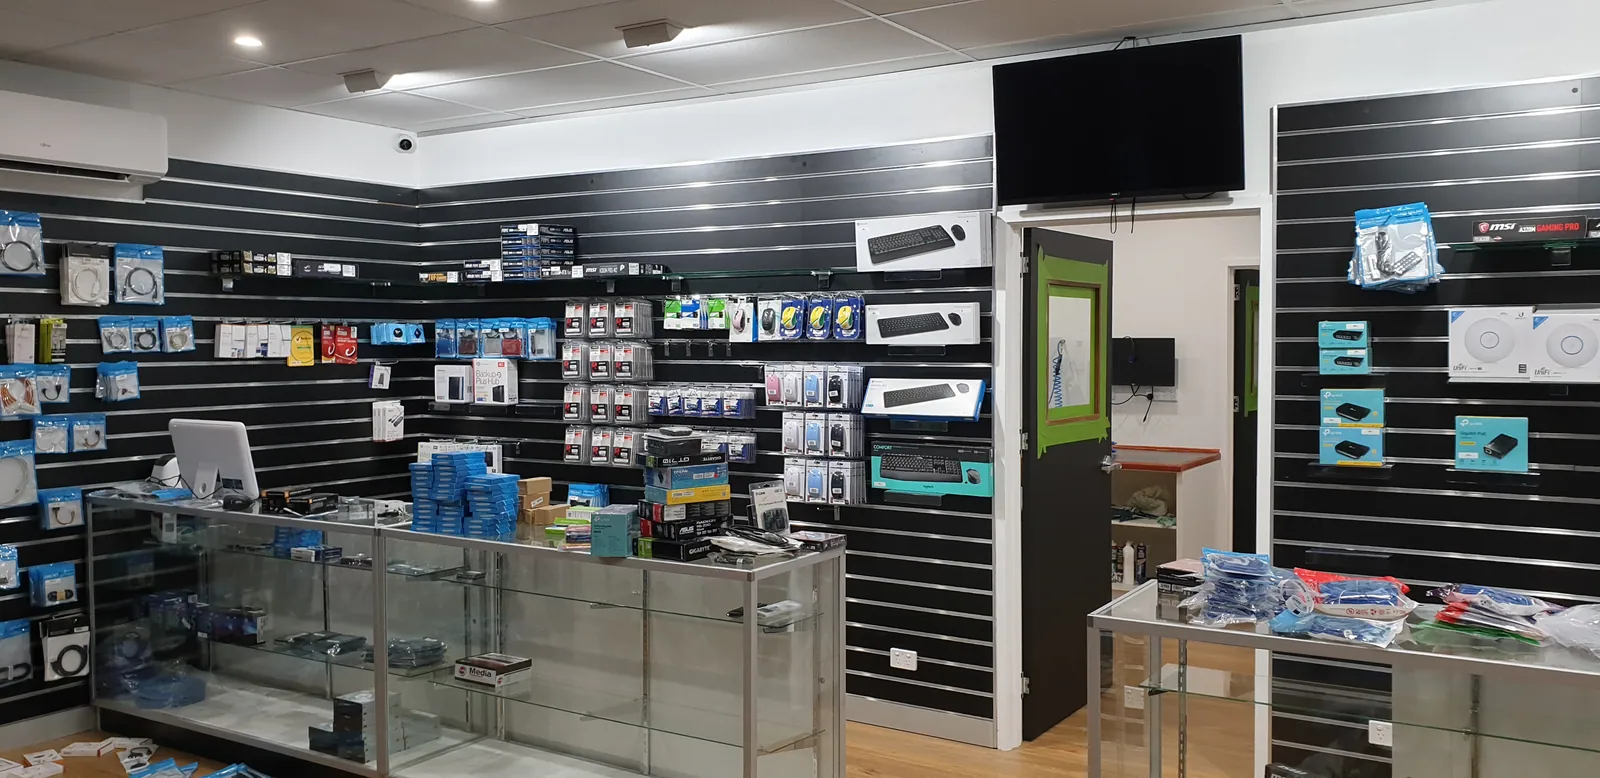
The glass cabinets and wall displays filling with stock.
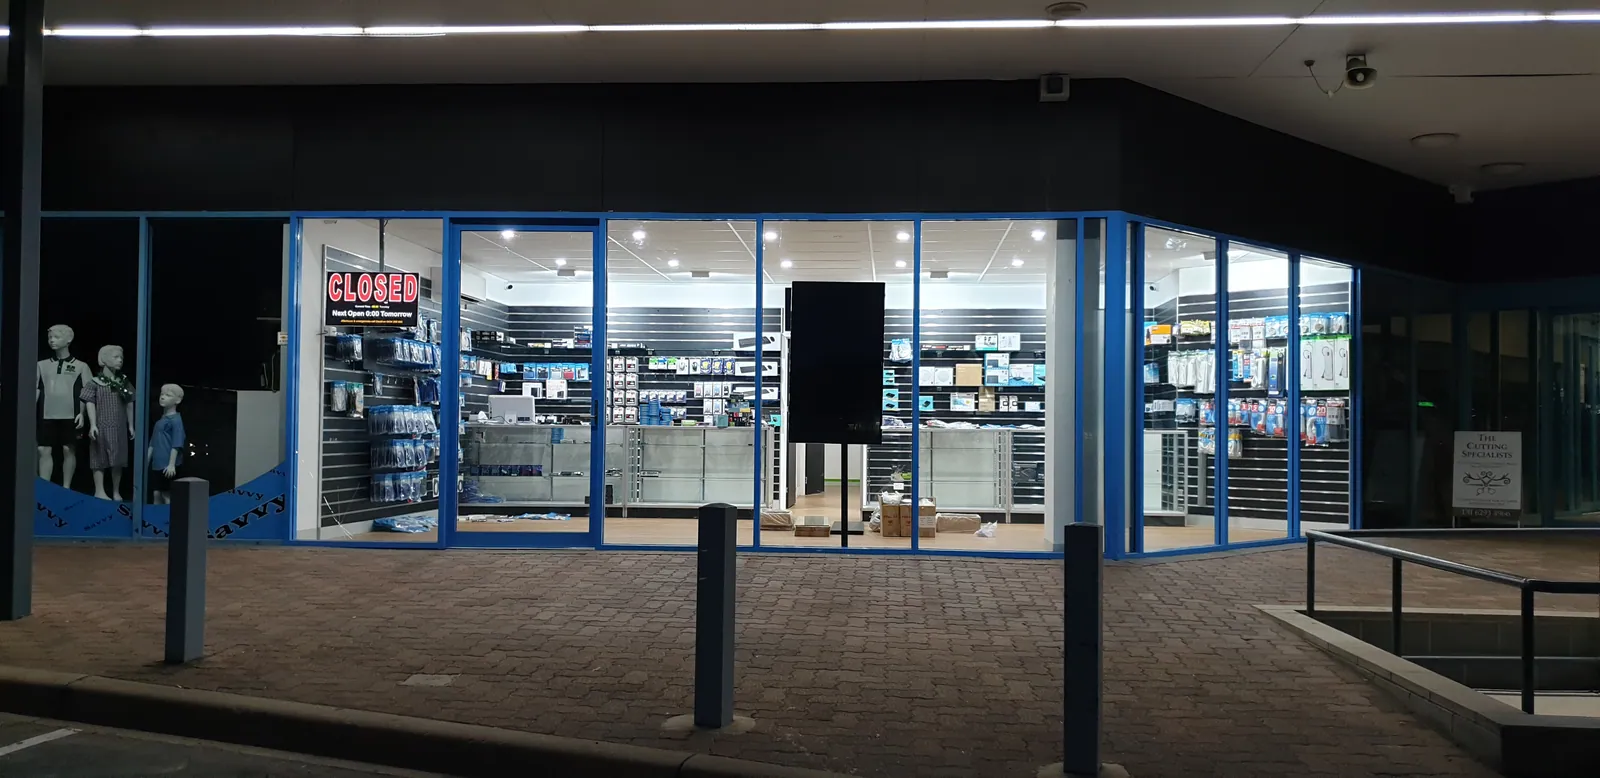
The stocked shopfront illuminated at night.
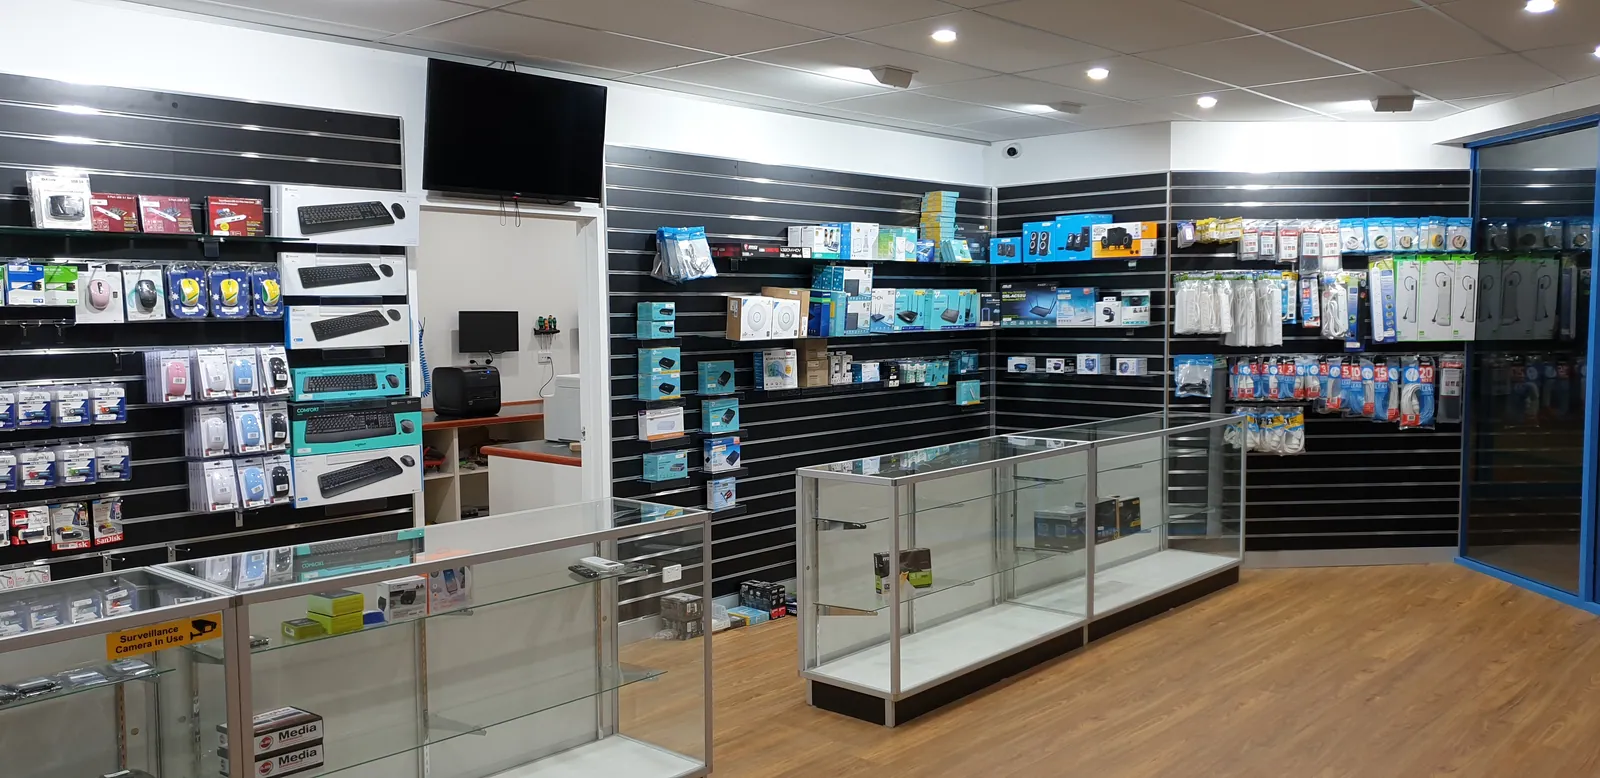
The fitted showroom with its product range on display.
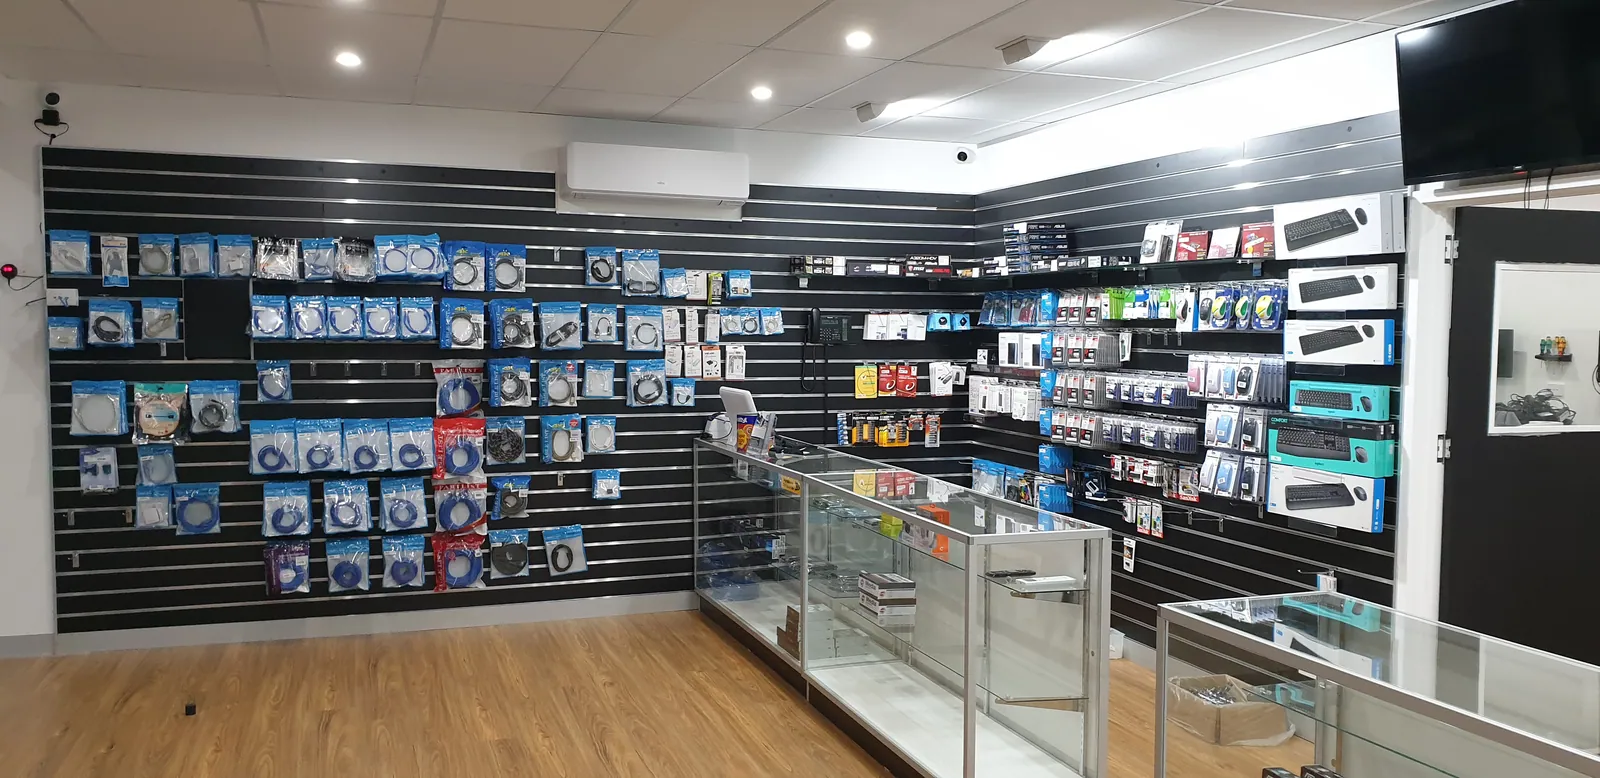
The stocked retail space later in December.
17Final stations, storage and frontage
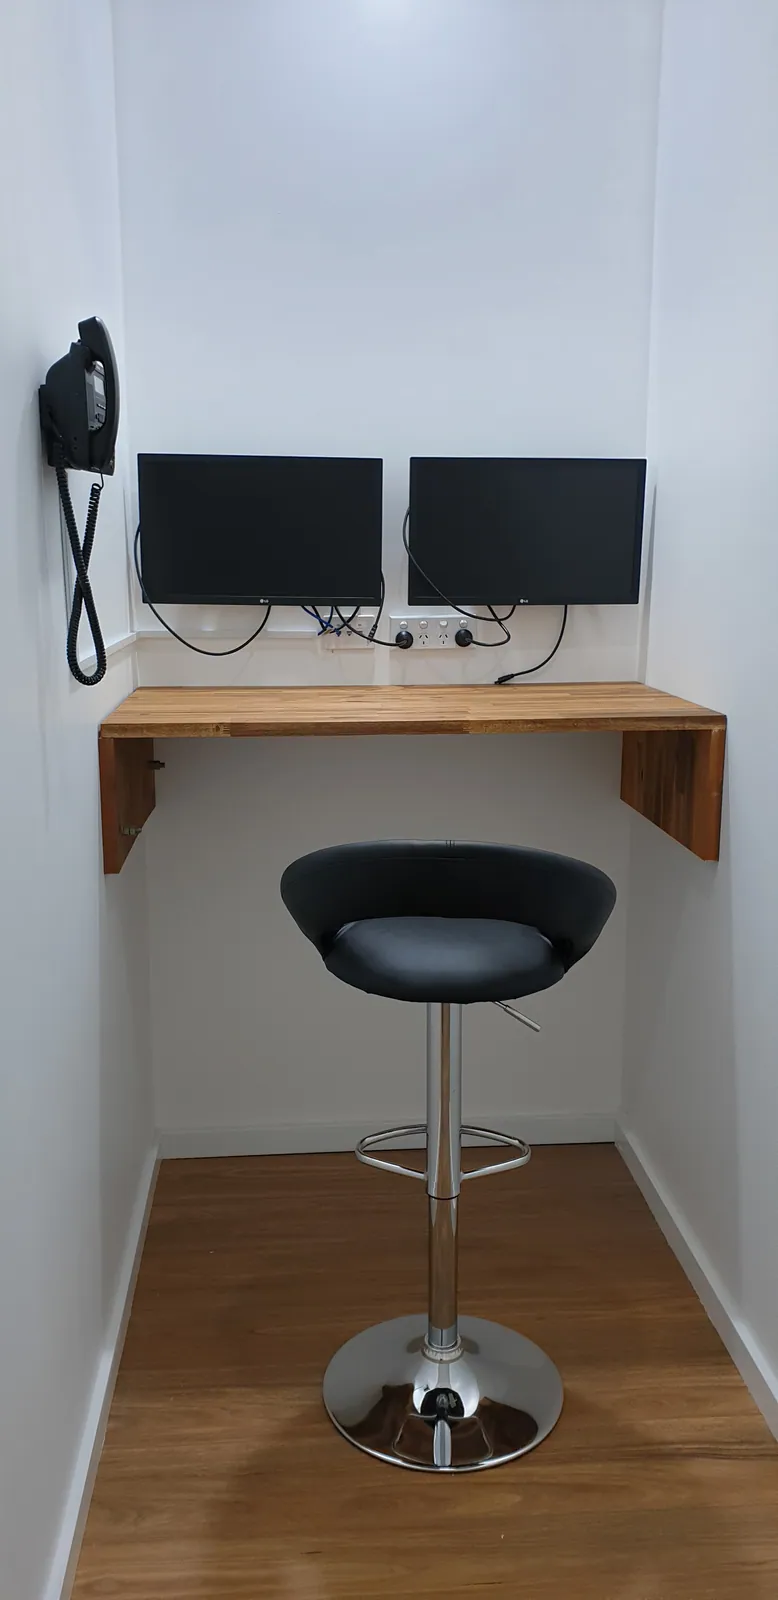
A smaller work area fitted with two screens and a stool.
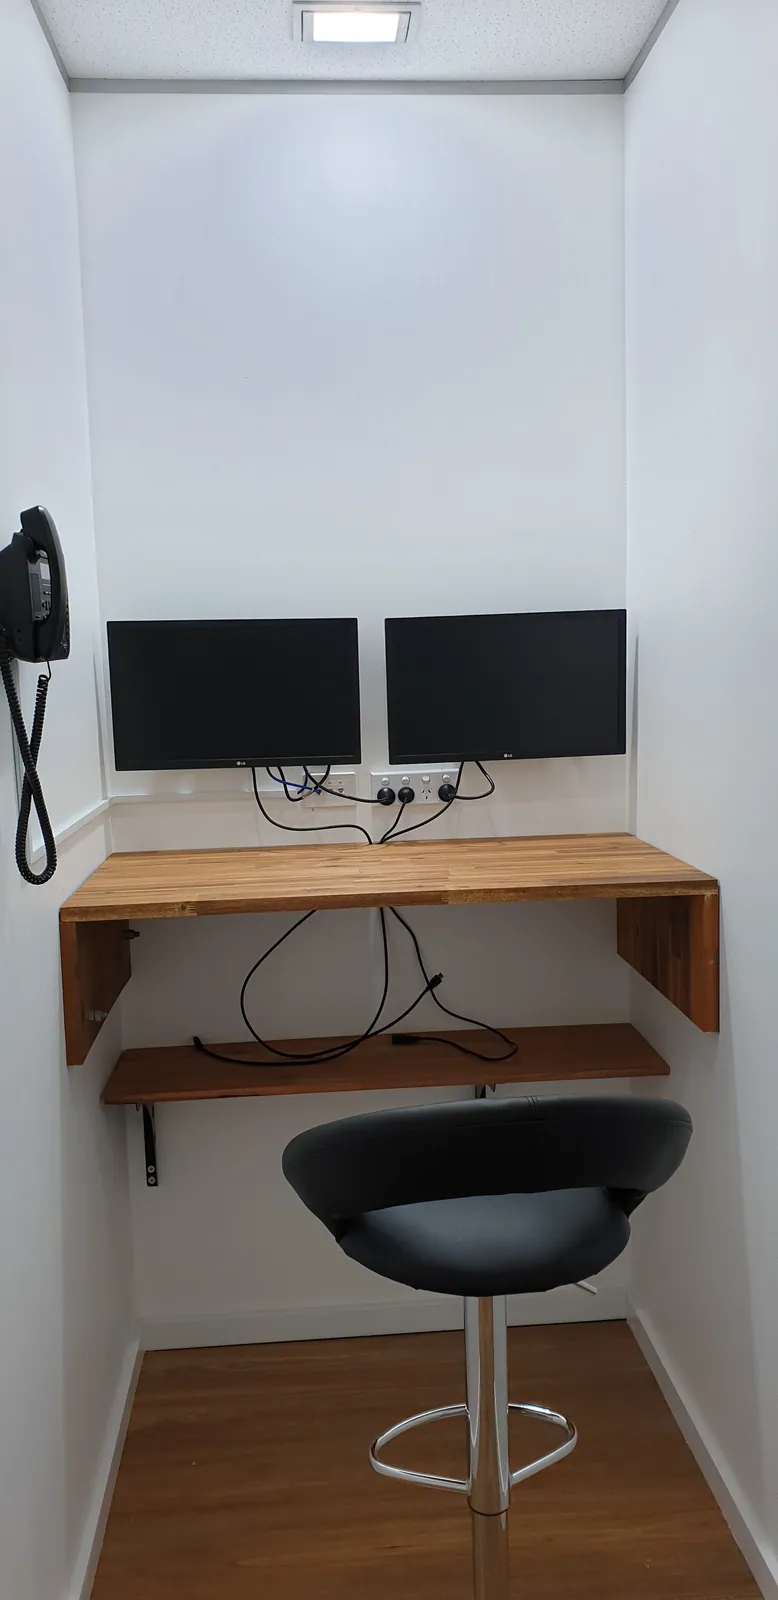
The smaller workstation with its keyboard and bench equipment.
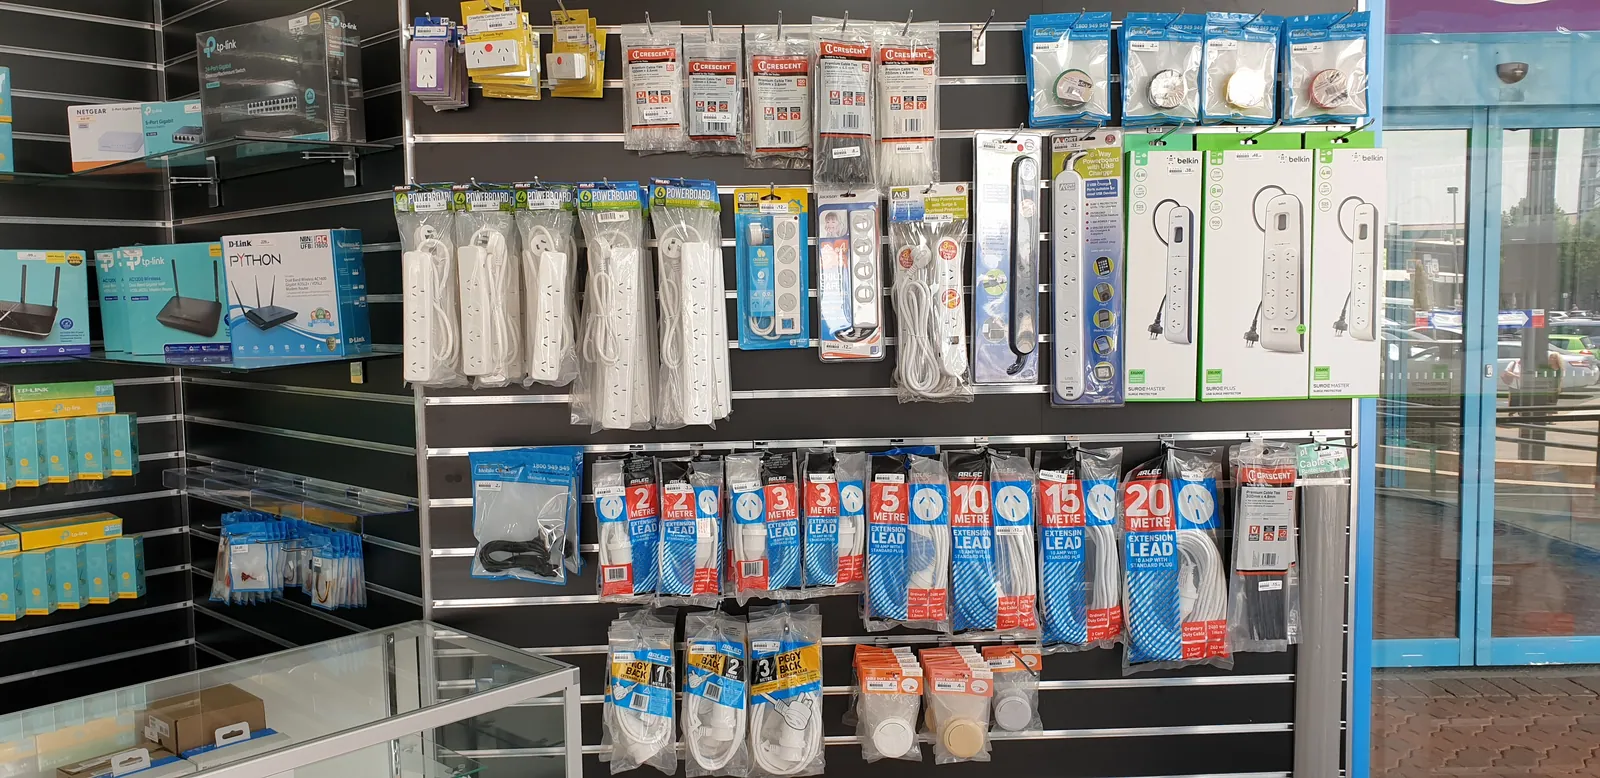
The expanded accessory display along the retail wall.
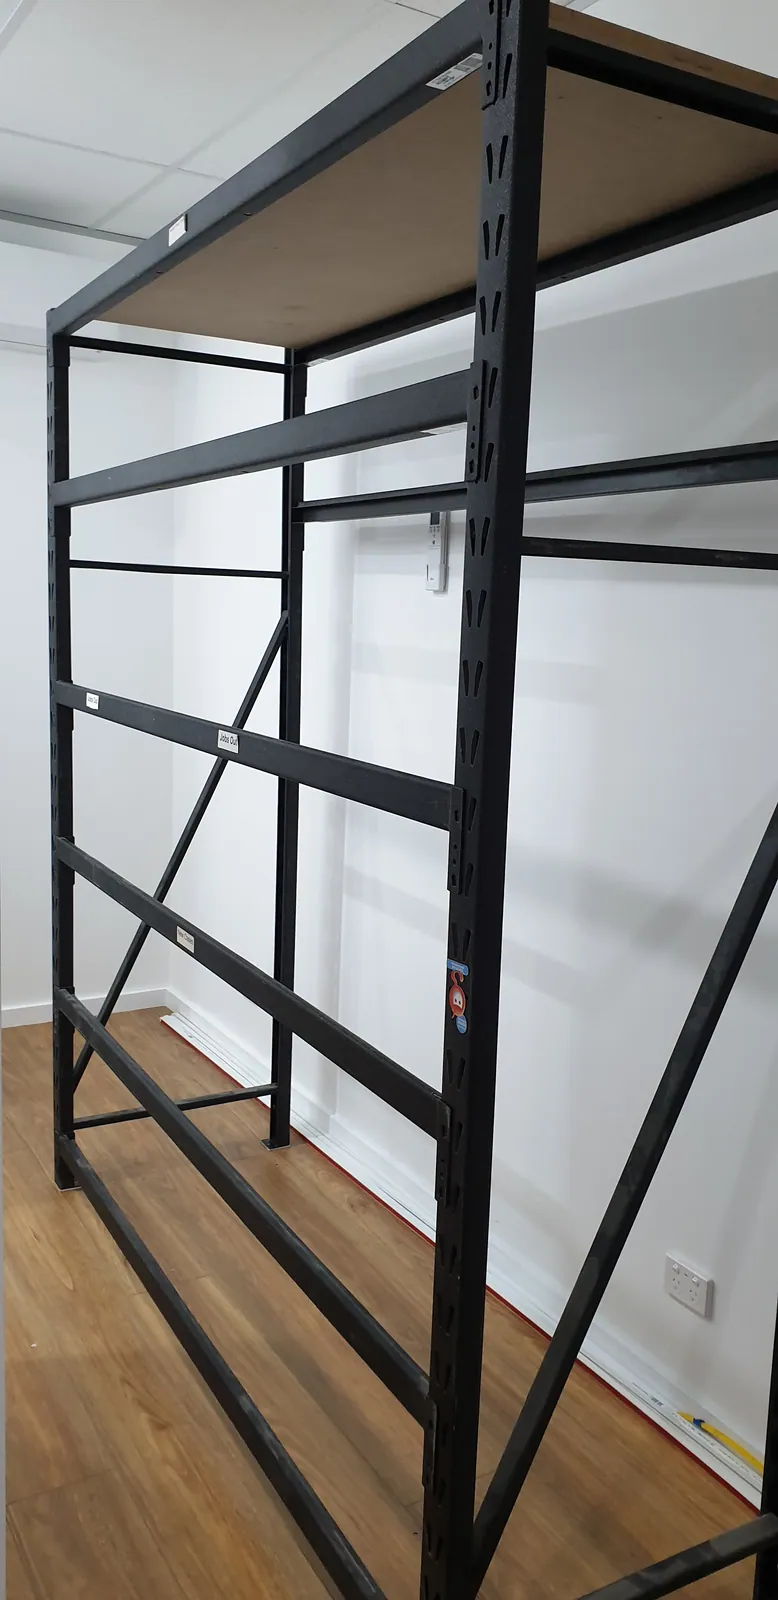
Additional shelving assembled for storage.
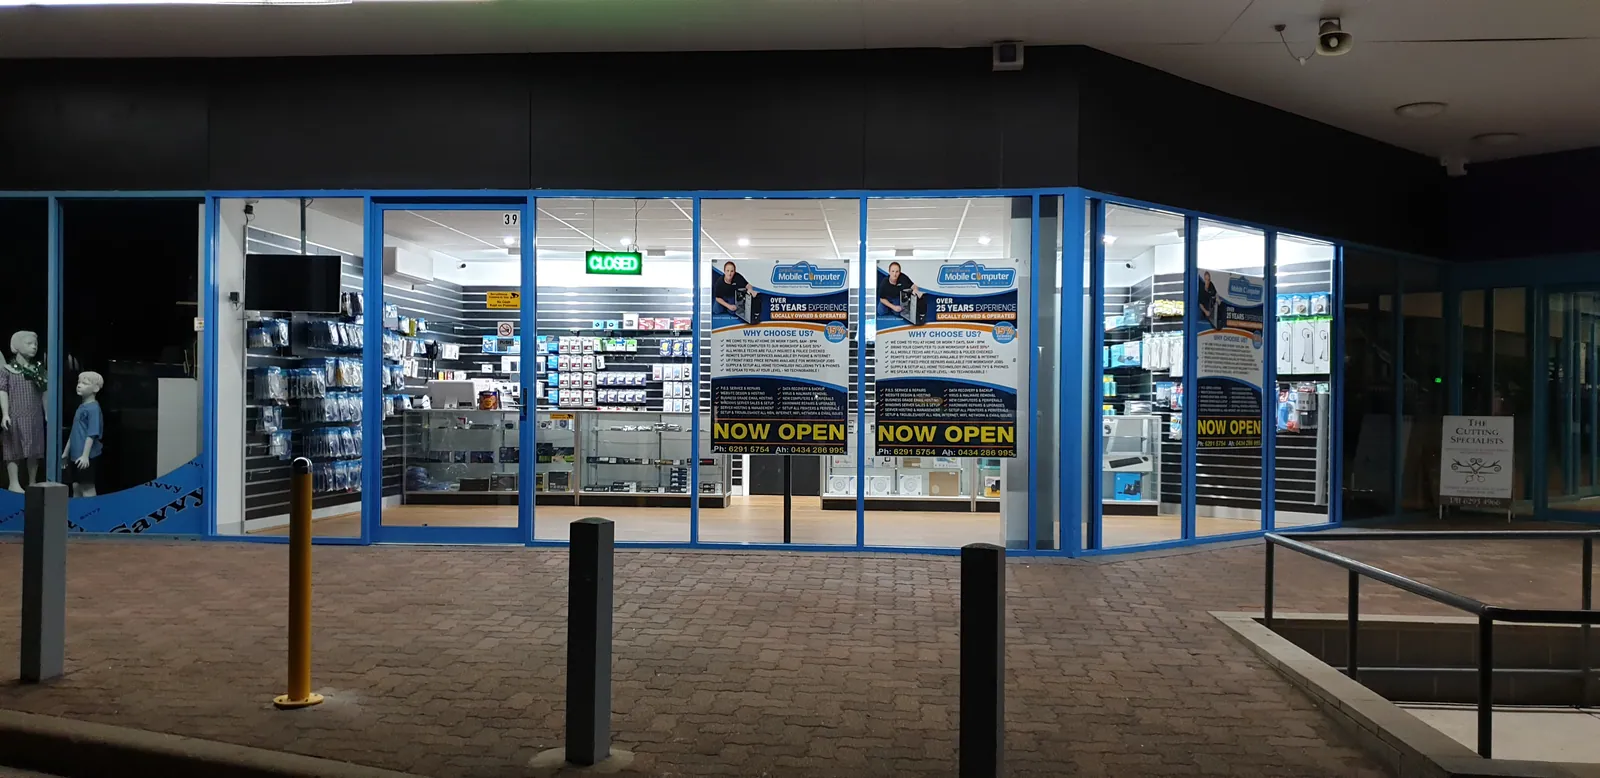
Now Open signs displayed across the illuminated shopfront.
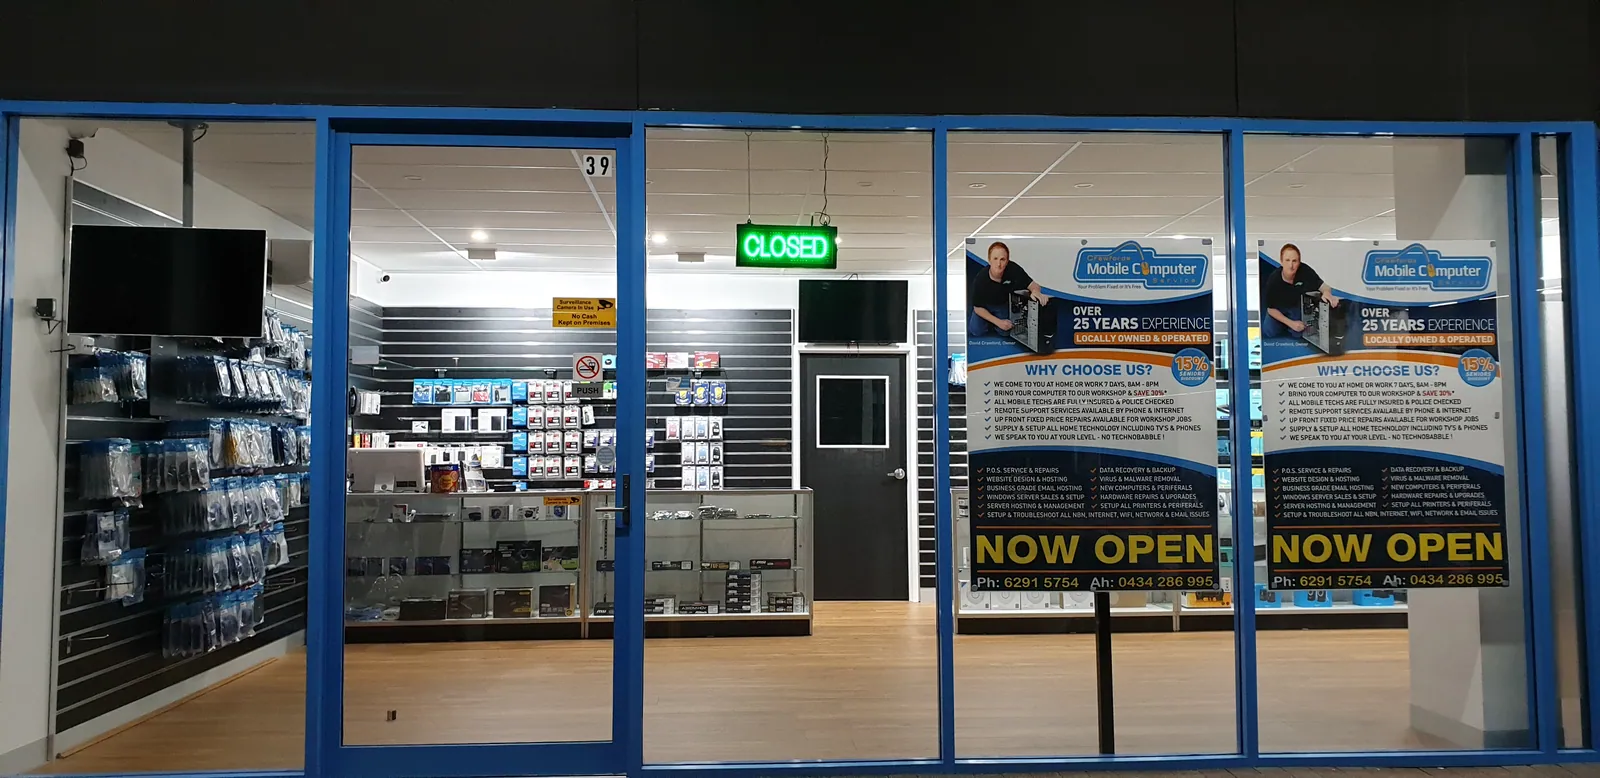
The new shop entrance with its Now Open signs.
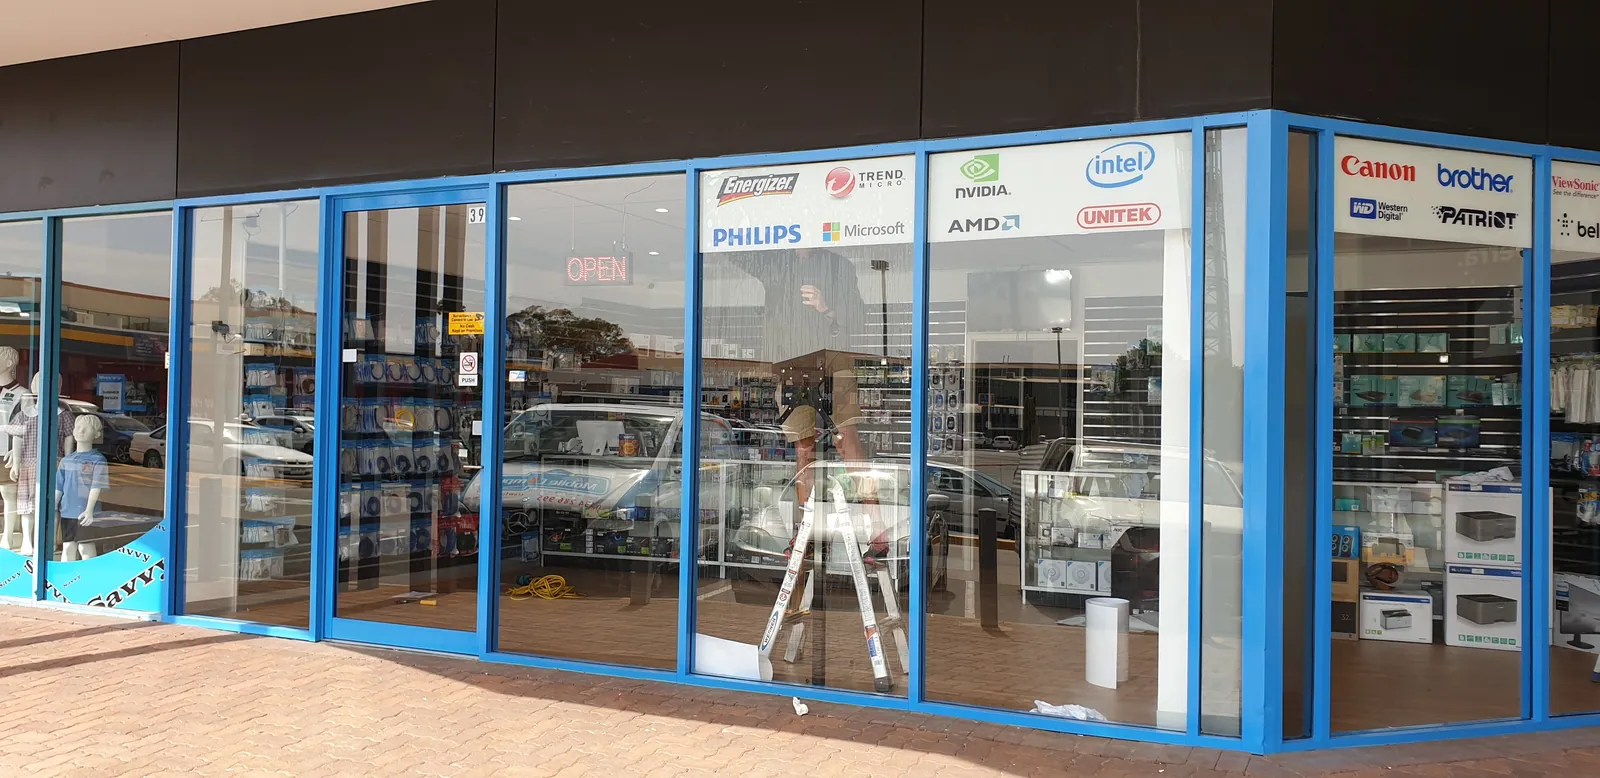
The stocked Tuggeranong shopfront at the end of December.
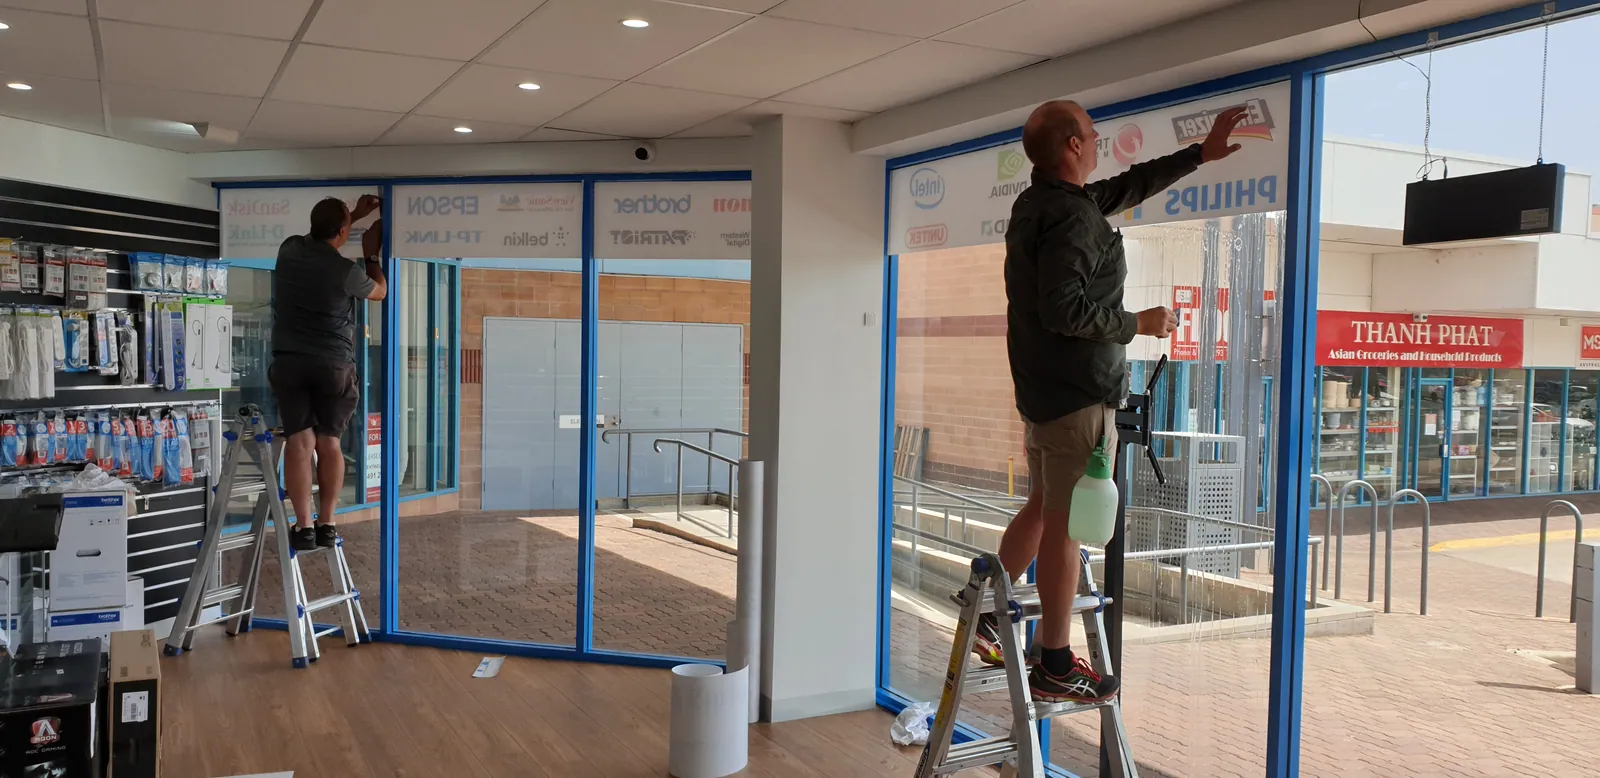
Brand signage being applied inside the front windows.
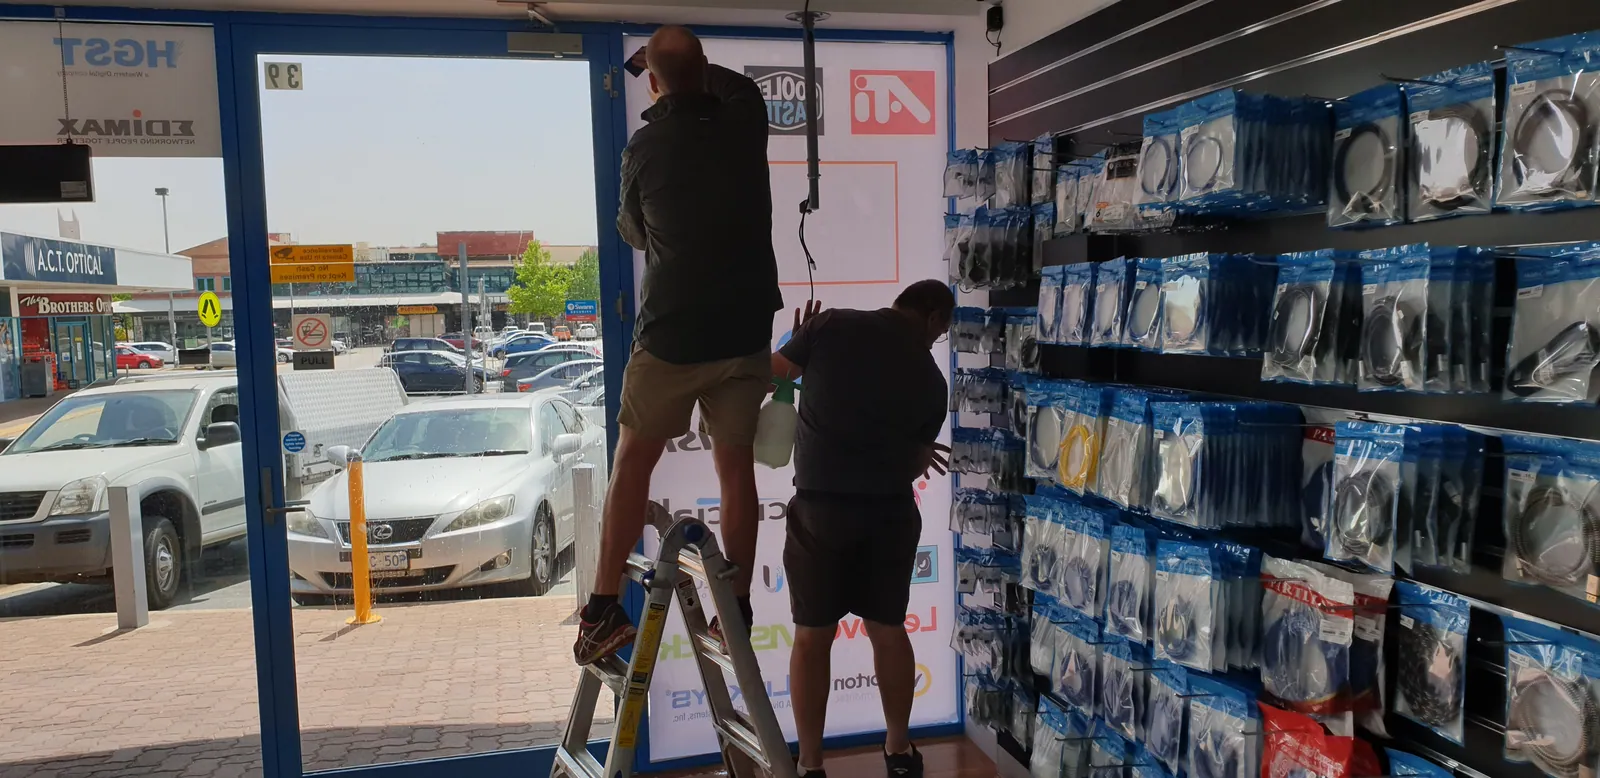
Fitting the tall brand graphic beside the front entrance.
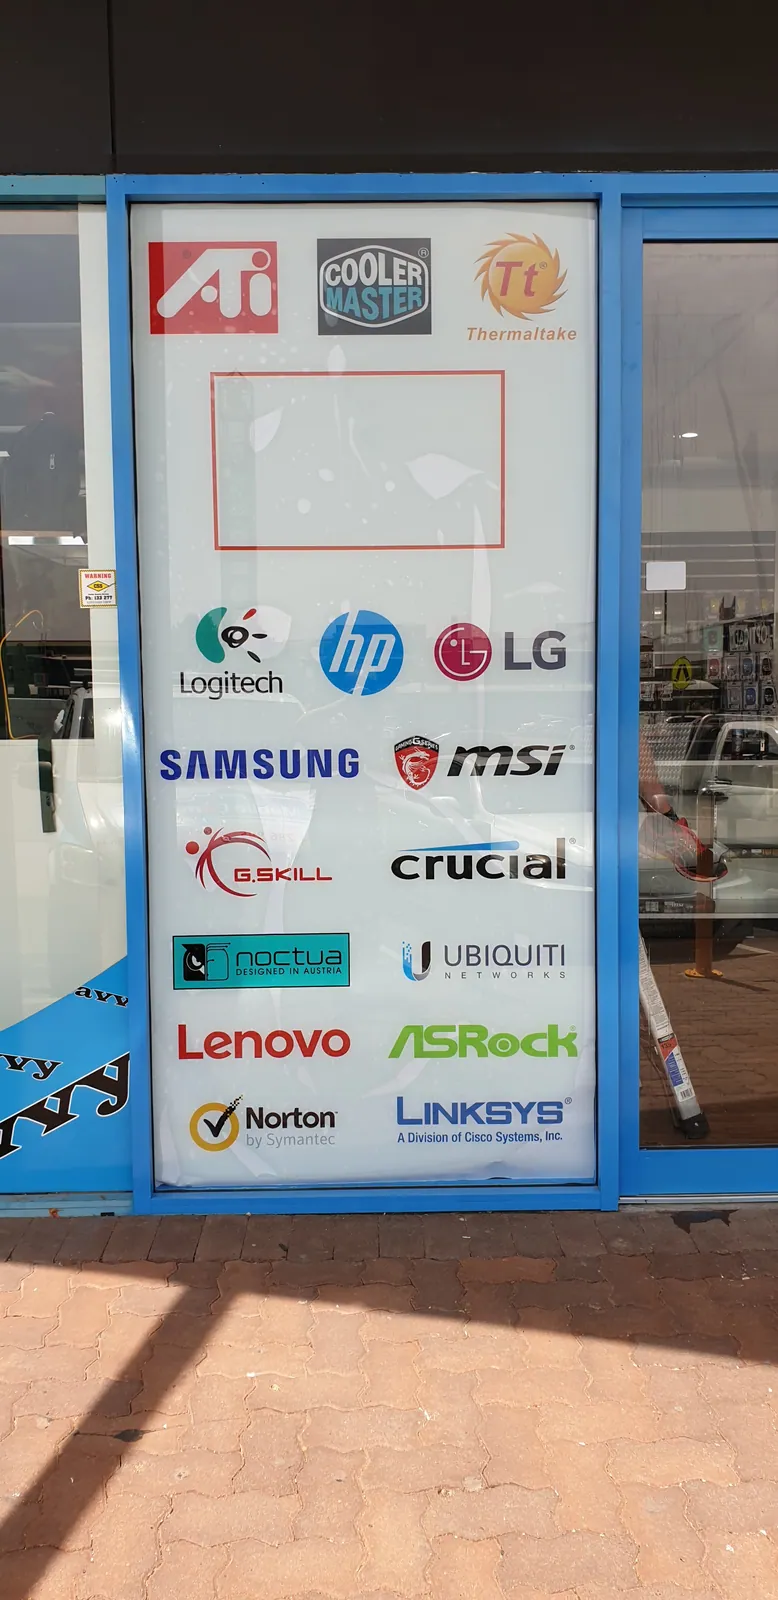
The front-window display and Crawfords branding.
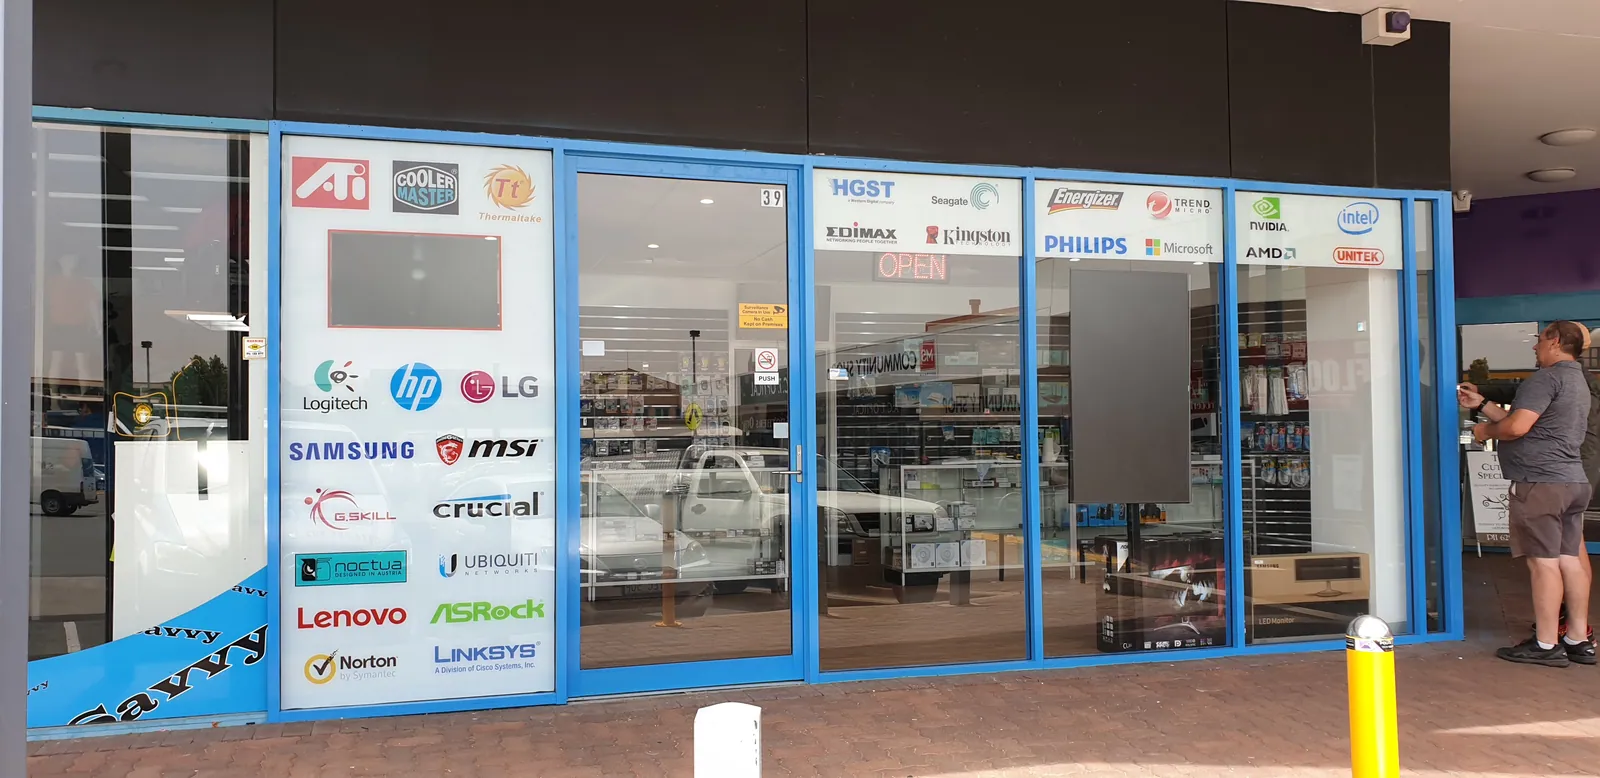
The fitted shopfront at the end of the documented build sequence.