
The build diaries · Photographed in 2016–2017
Building the Mitchell shop and workshop
The Mitchell build, from the early rooms and retail displays to the fitted workshop. Follow the framing, lining, paint, shelving, benches and finishing touches in date order.
136 photographs · From the first steps to the finished space
Follow the photographs in date order, or choose a stage. Select a photo to enlarge it and move through the sequence.
01The premises and the existing workshop — February–April 2016
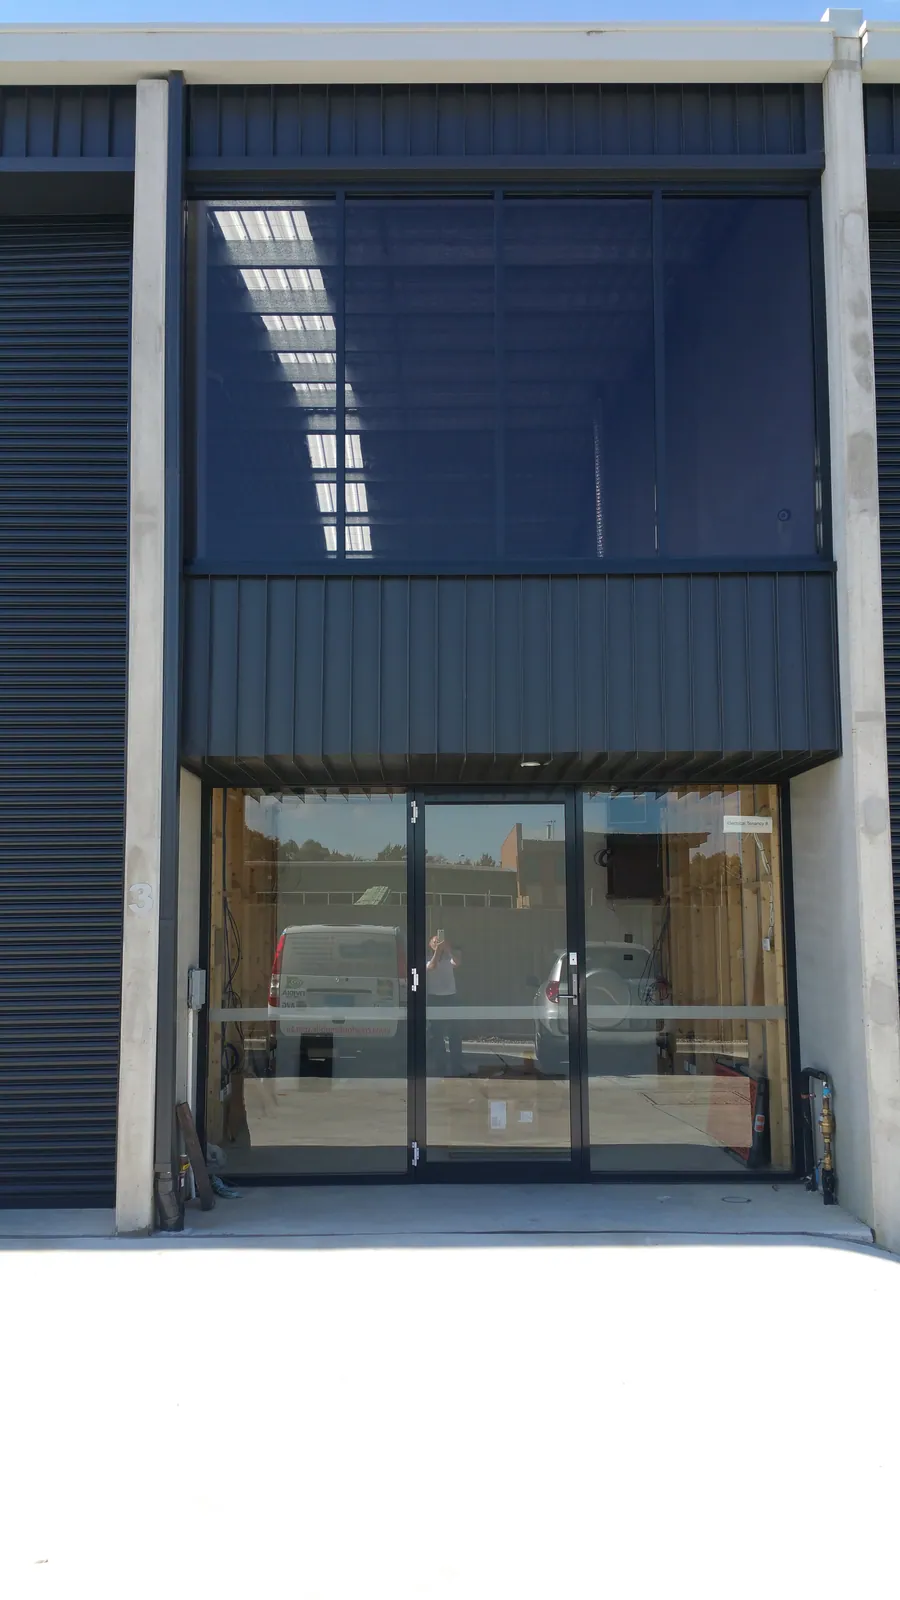
The blue Mitchell shopfront, before the later signs and displays.
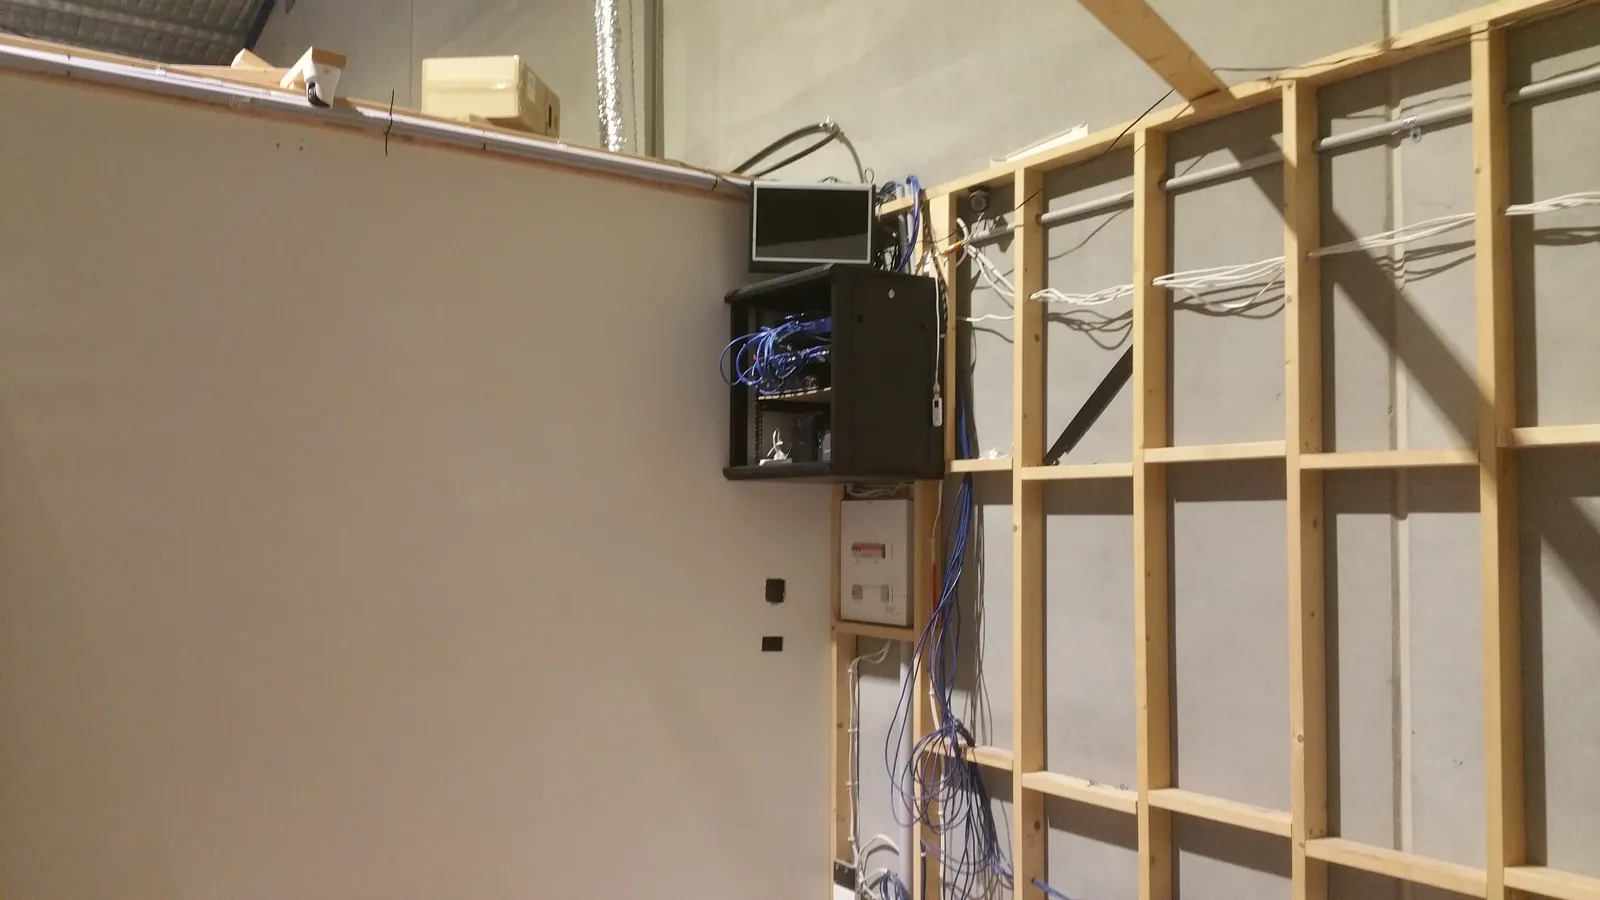
A timber partition takes shape beside existing wiring and wall panels.
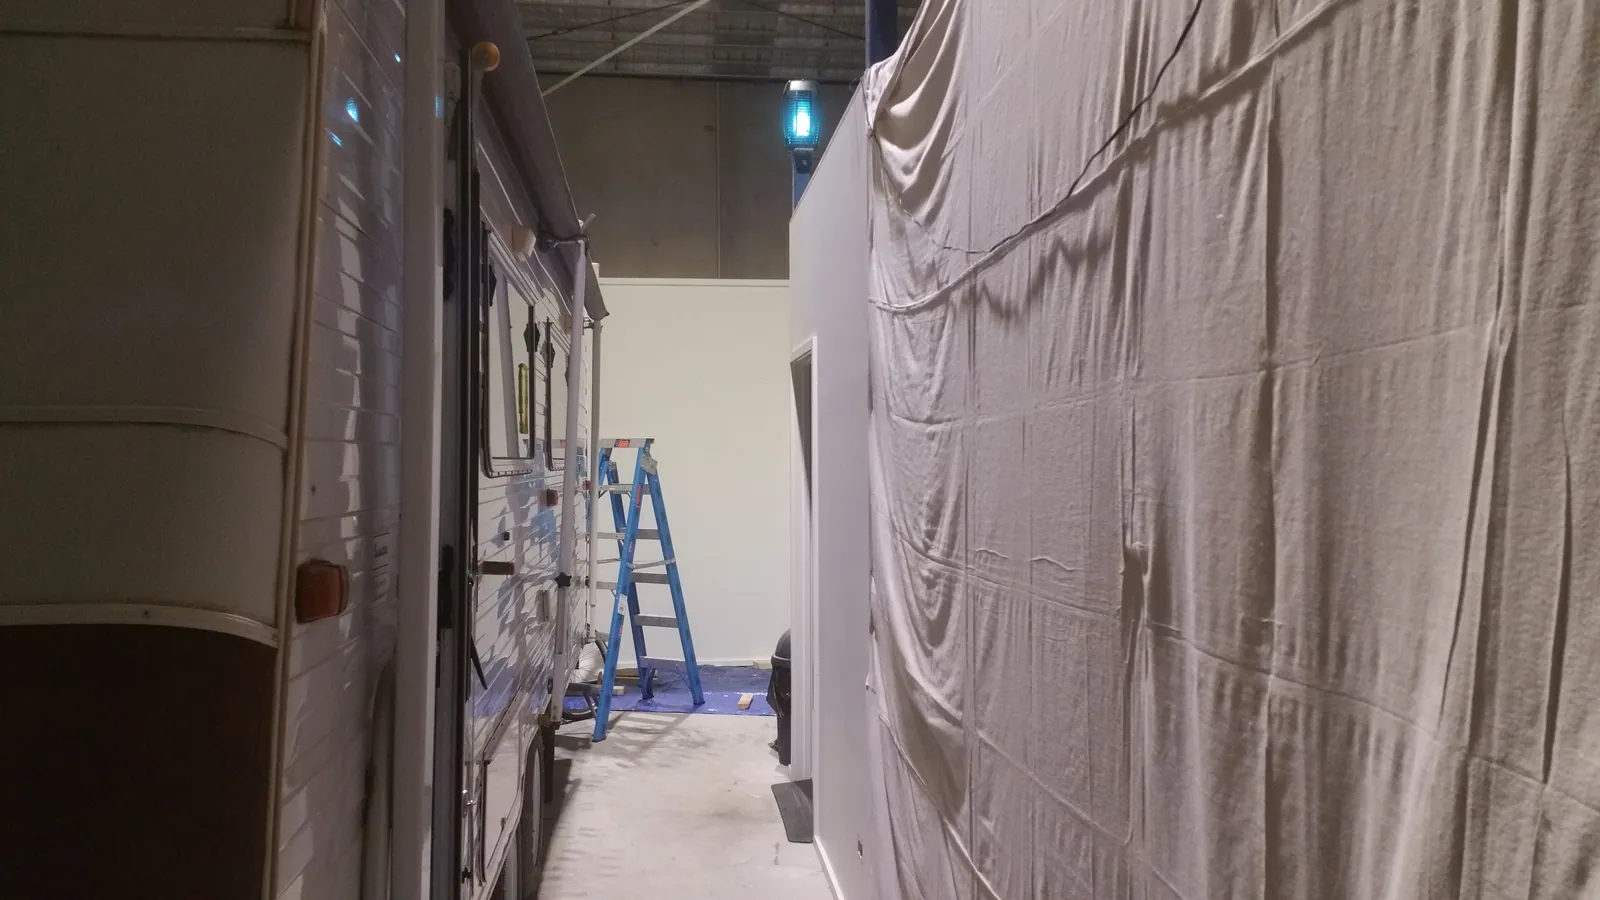
A narrow passage runs alongside the partly enclosed work area.
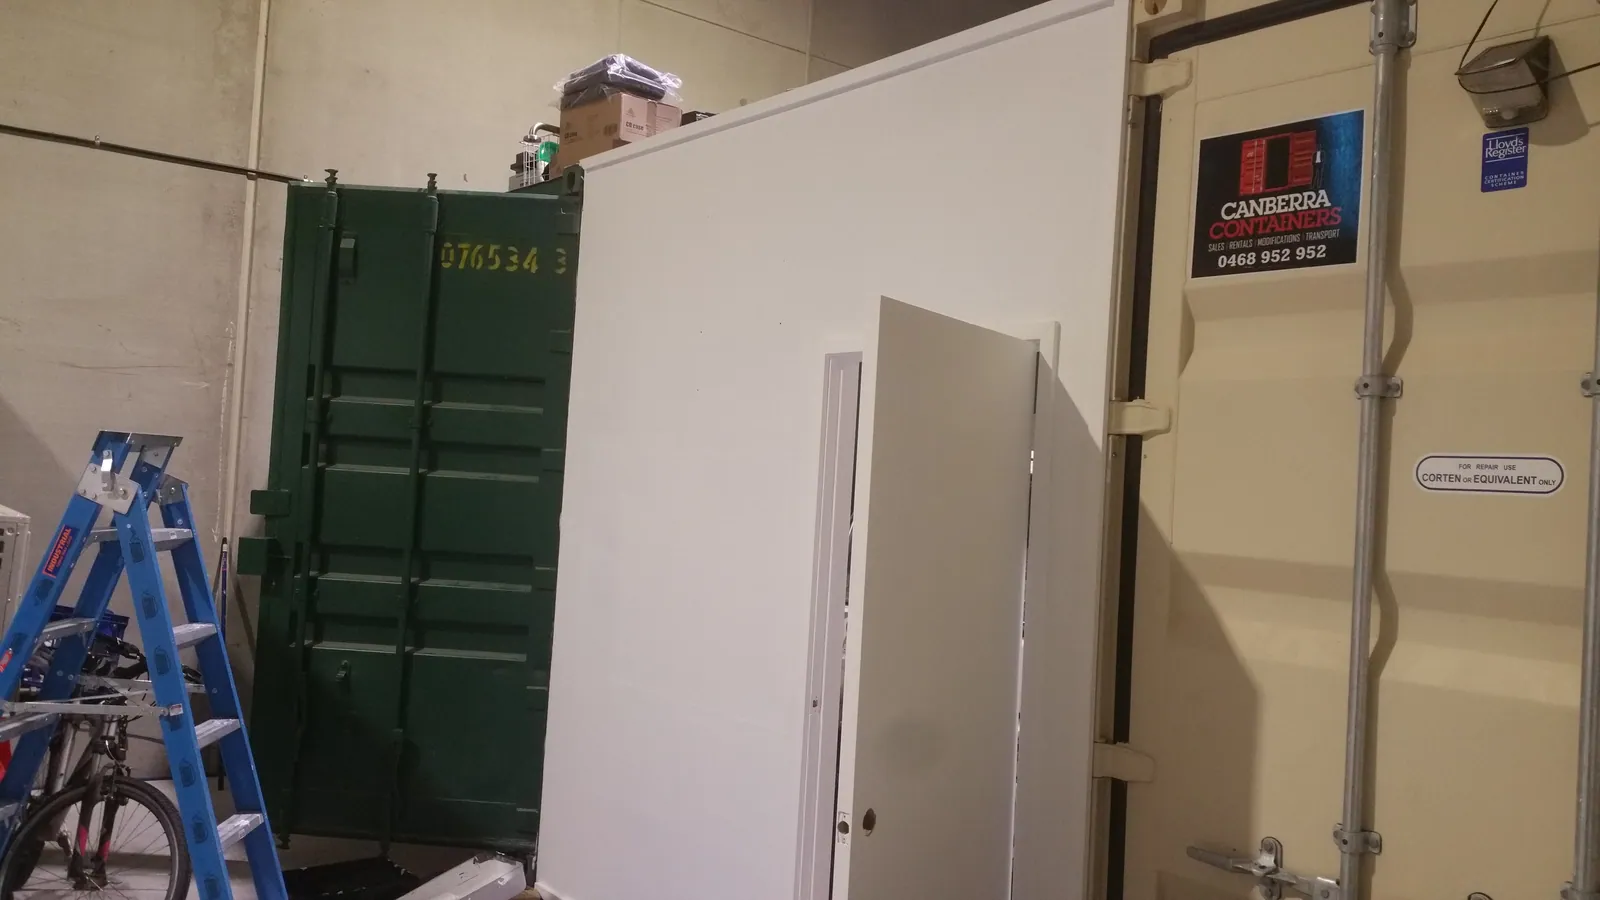
Containers and new partitions share the warehouse space.
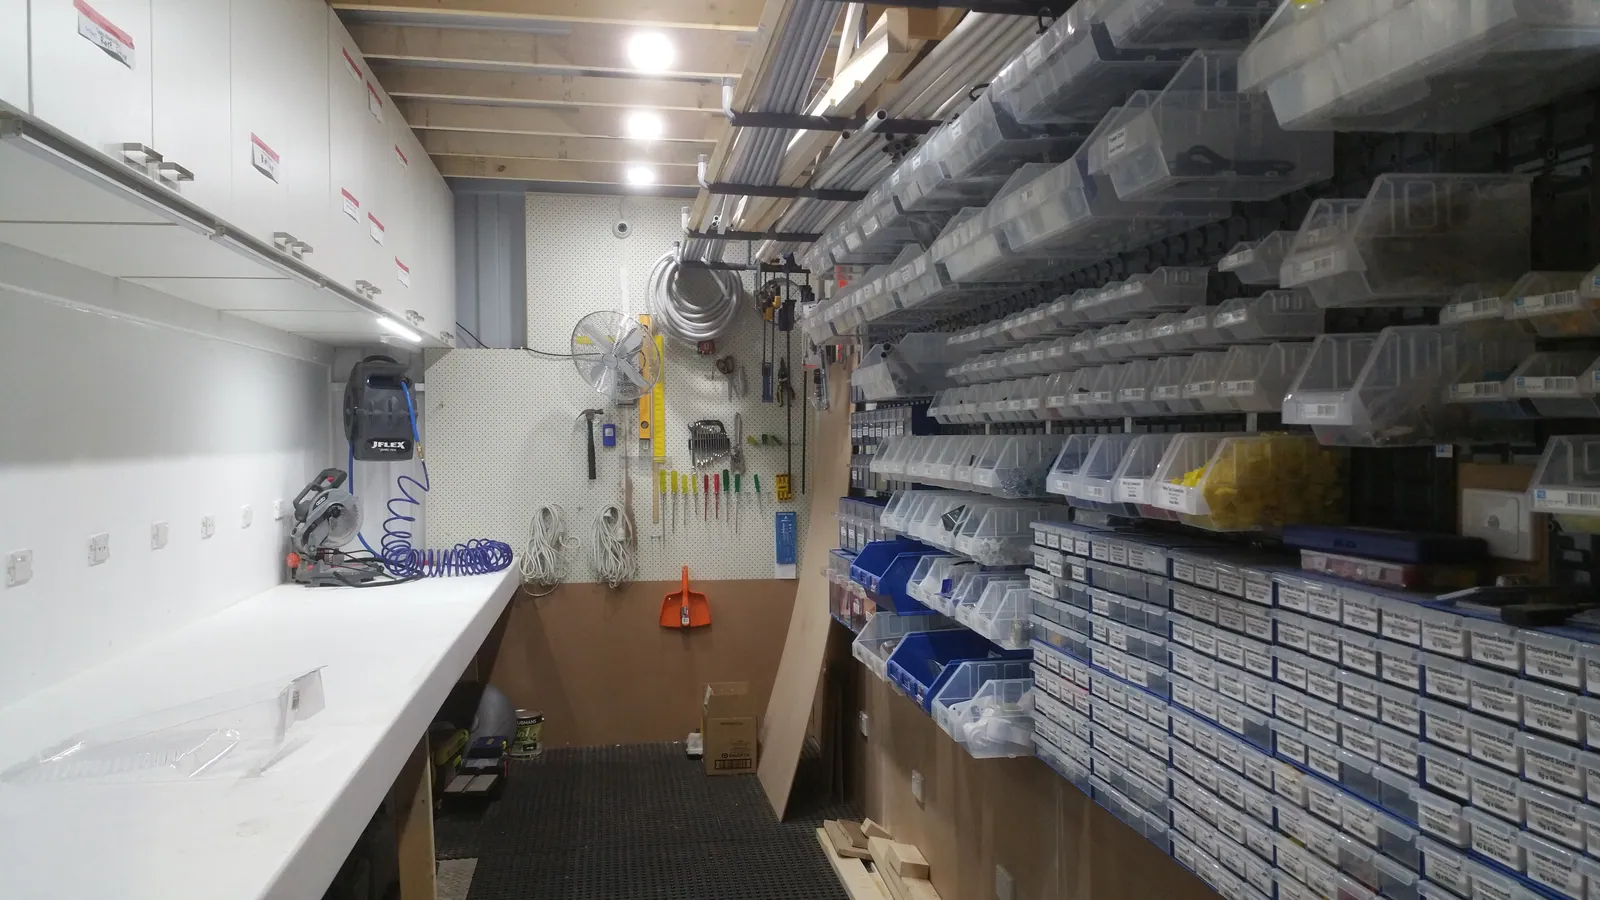
The existing repair bench, already surrounded by tools and parts.
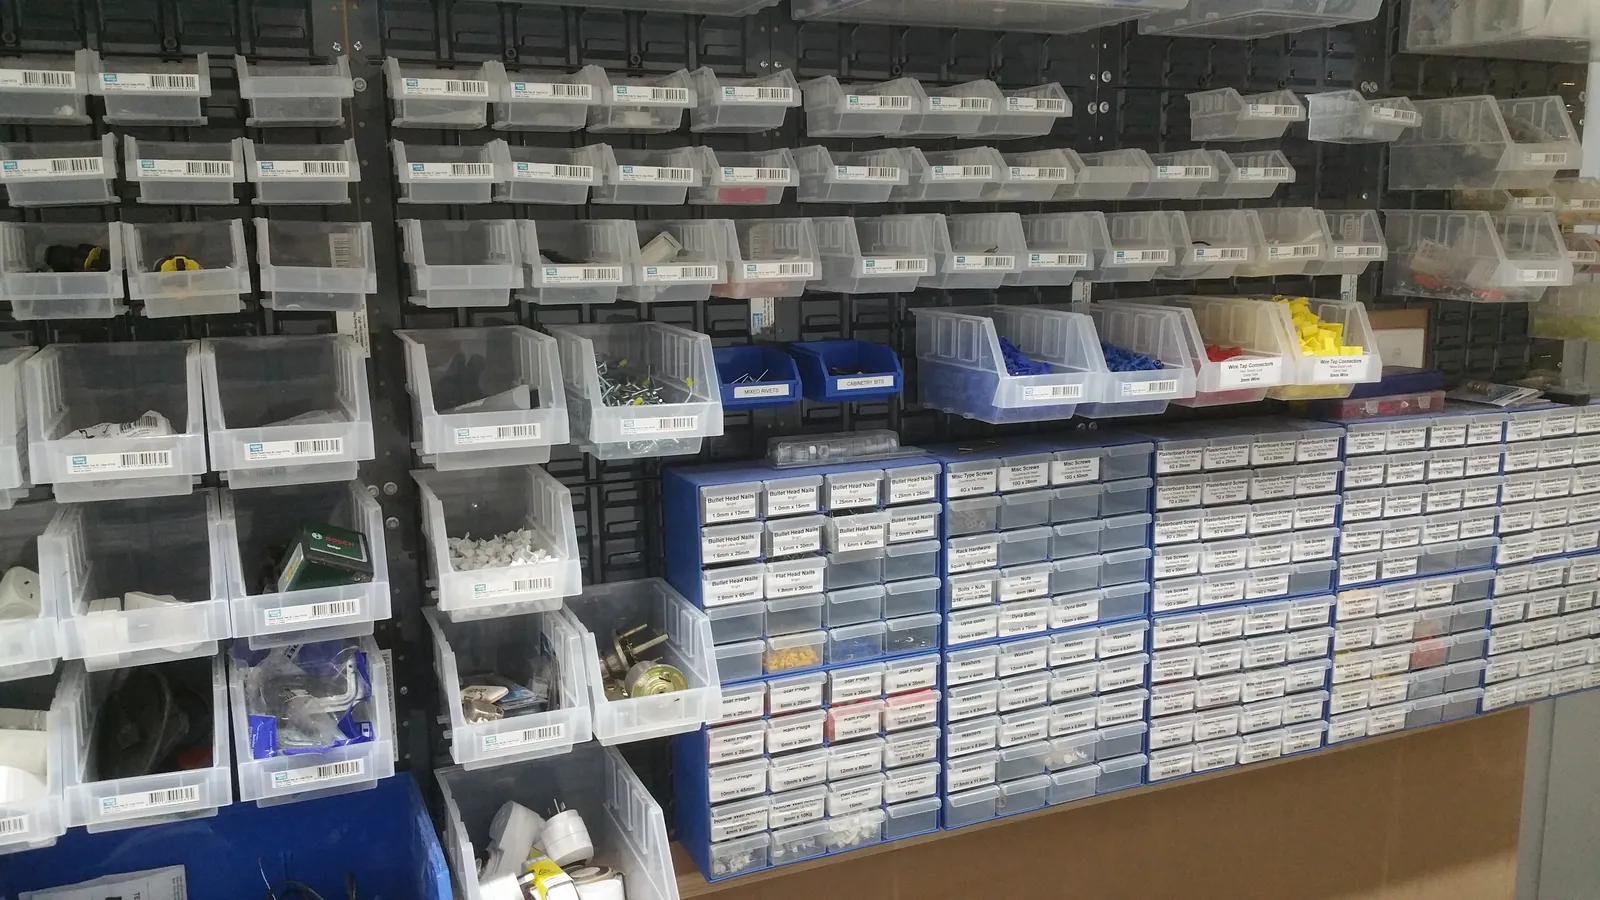
Rows of parts bins show how the existing workshop was organised.
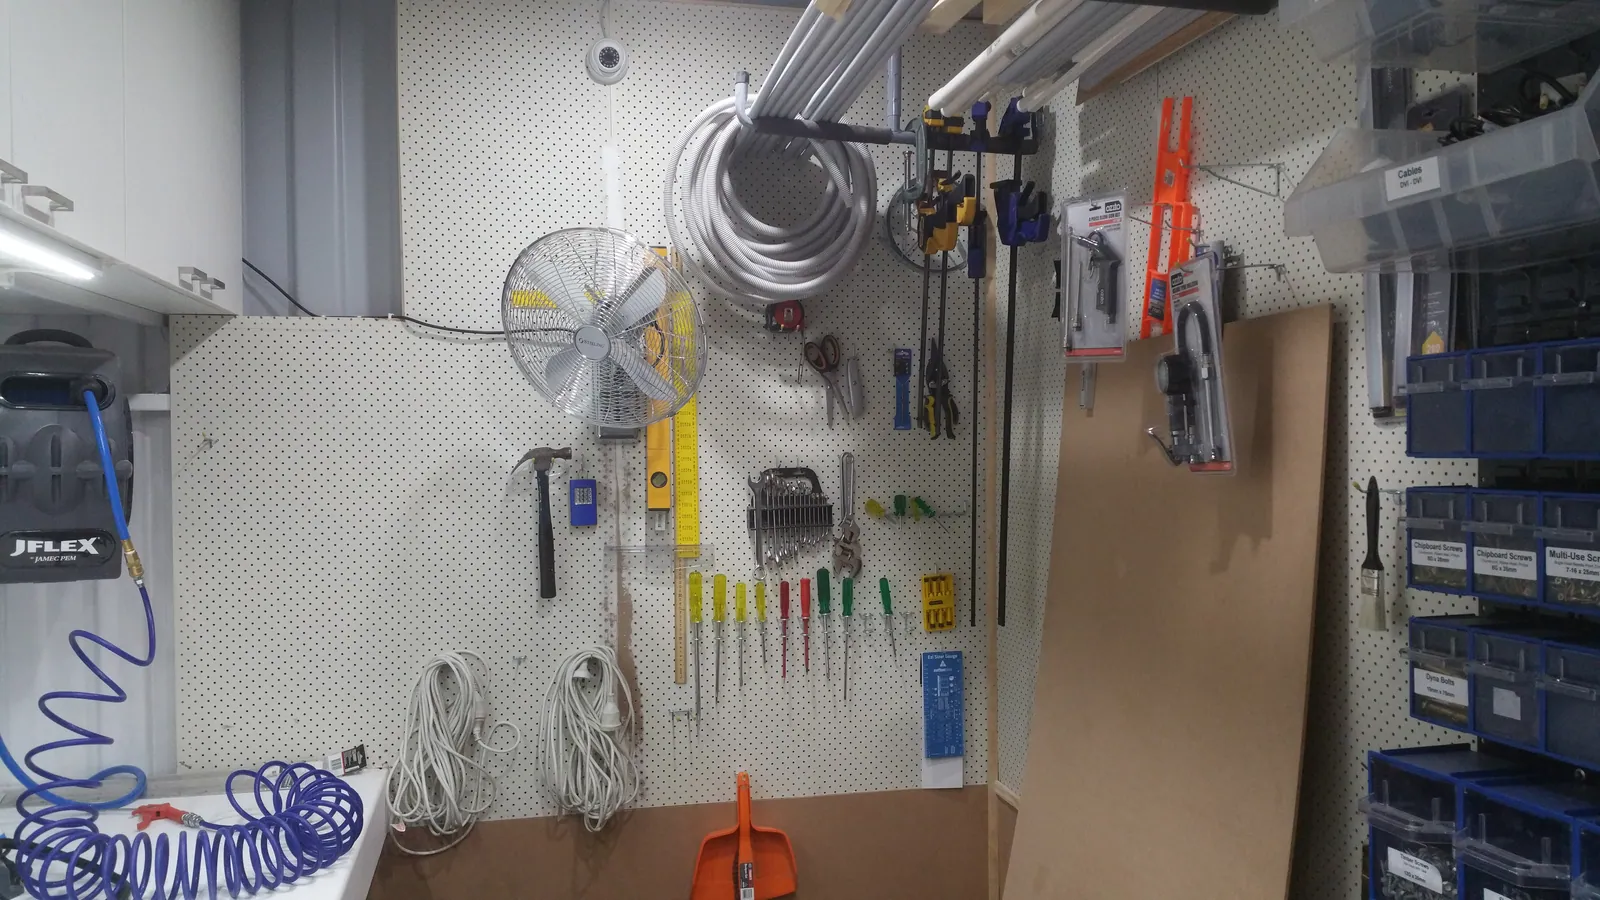
Tools and supplies fill the end of the repair bench.
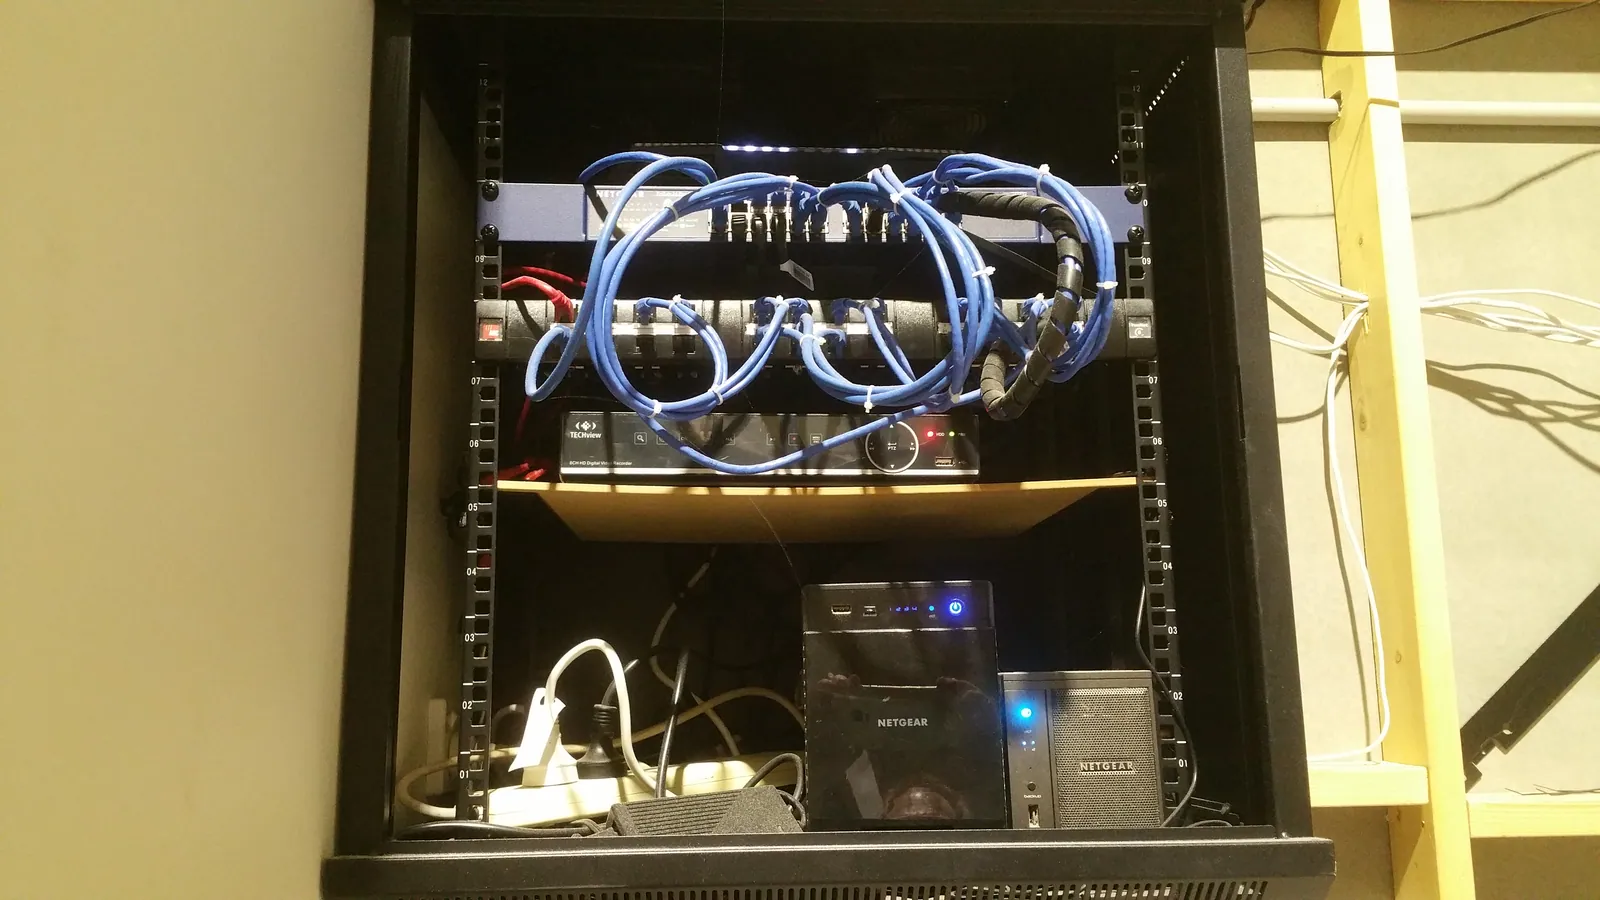
A view of the existing equipment rack and cabling.
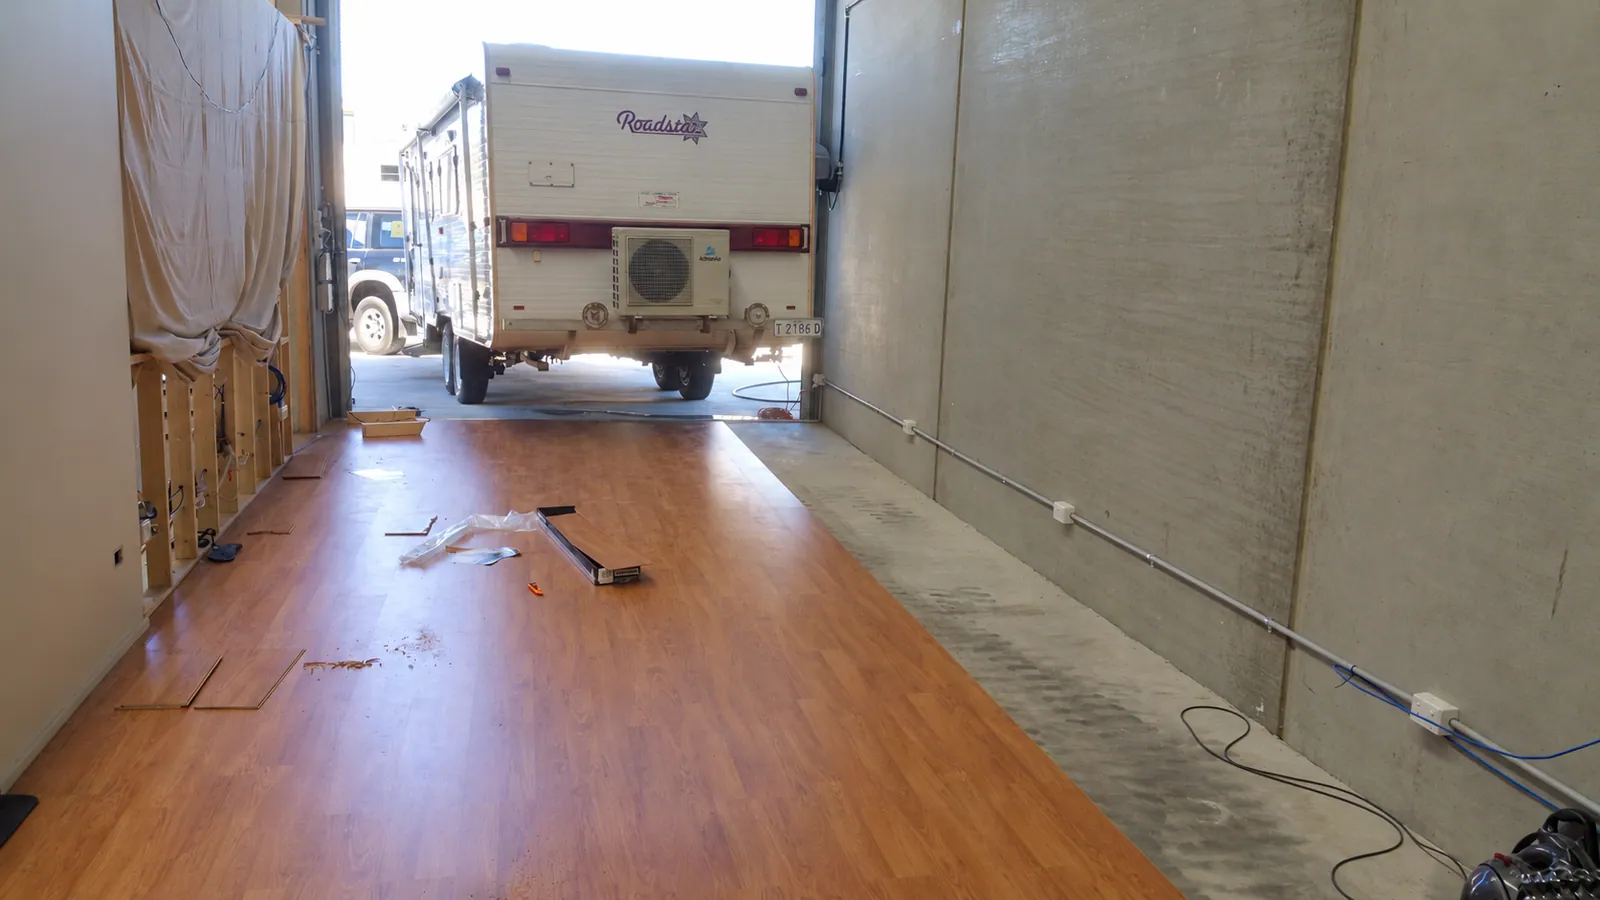
A timber floor and bare wall record the space before more fitting out.
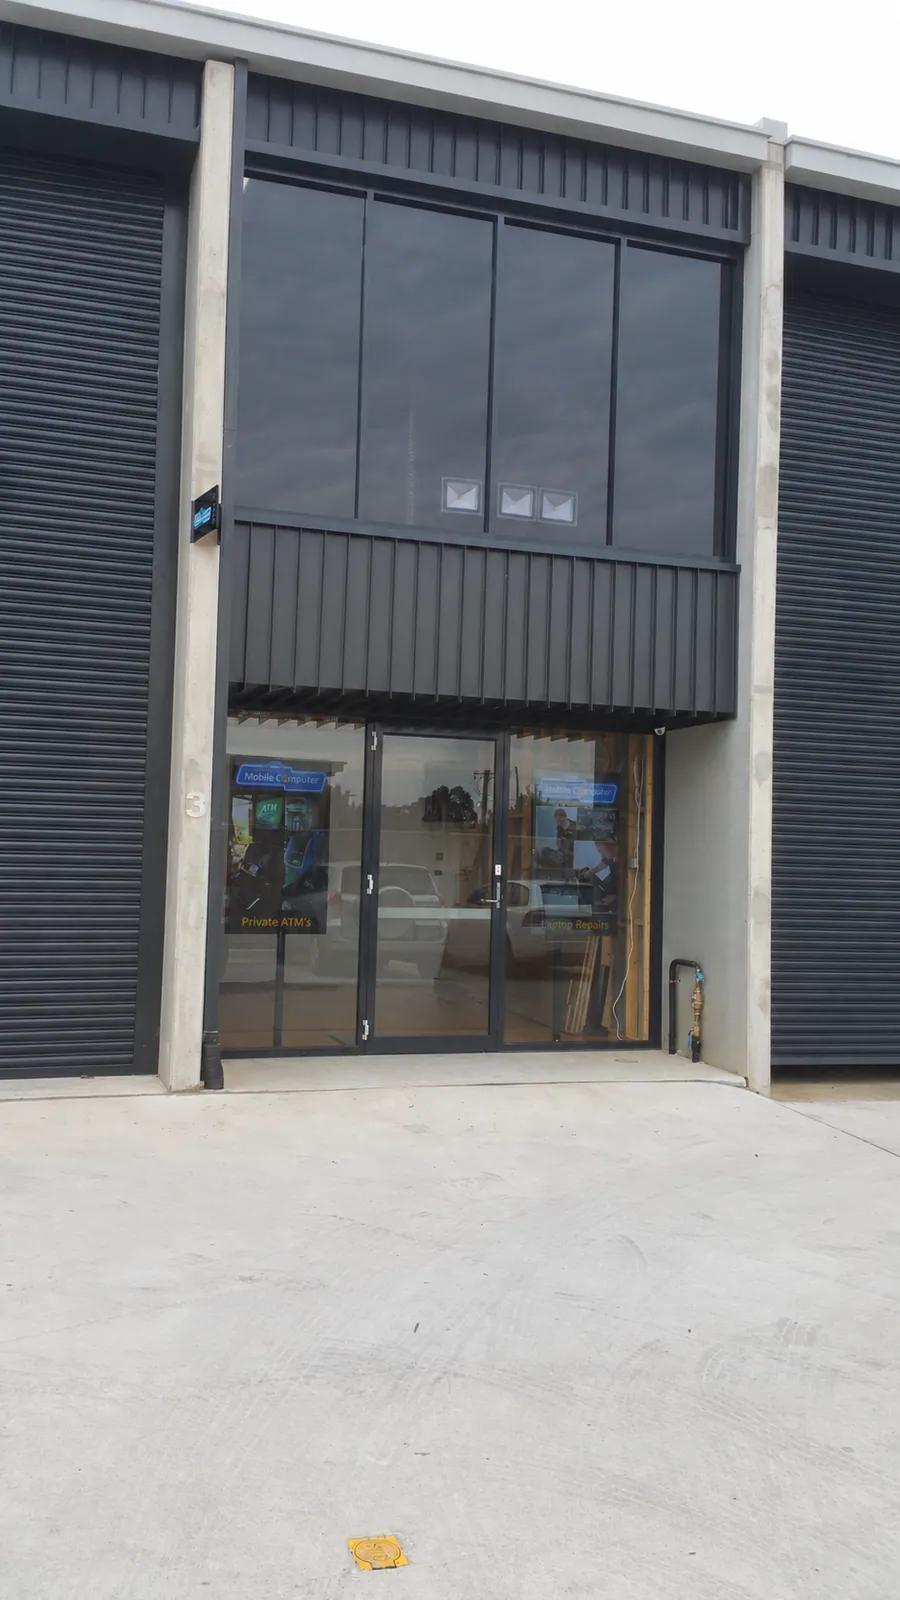
Posters begin to fill the blue shopfront windows in April.
02Building a compact room — May–June 2016
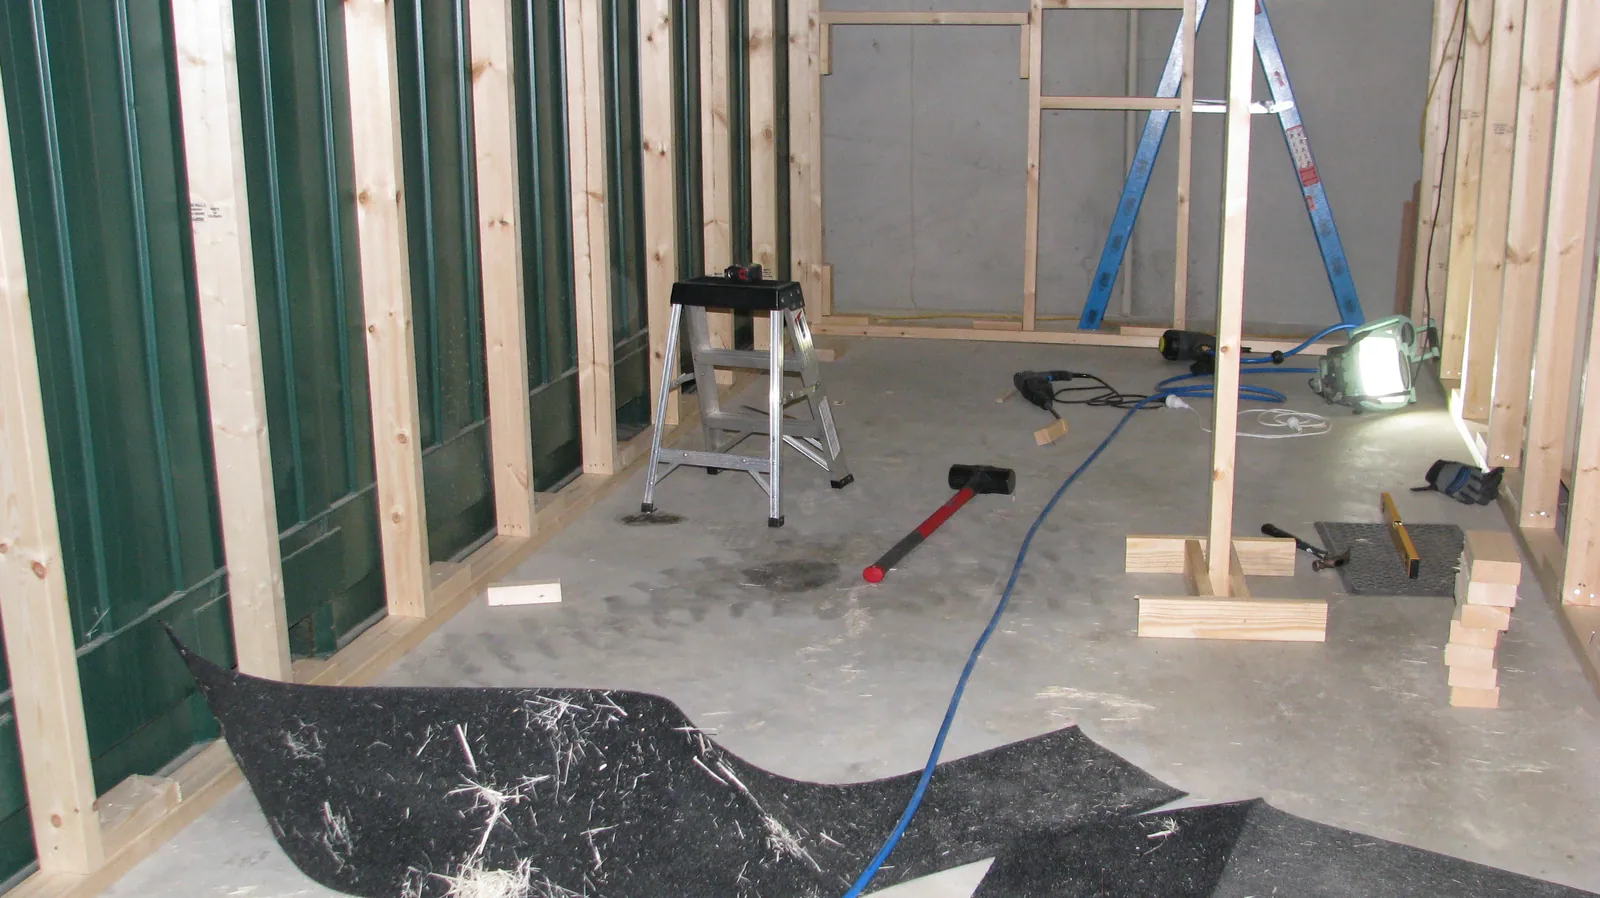
The compact room begins as exposed timber framing above a bare floor.
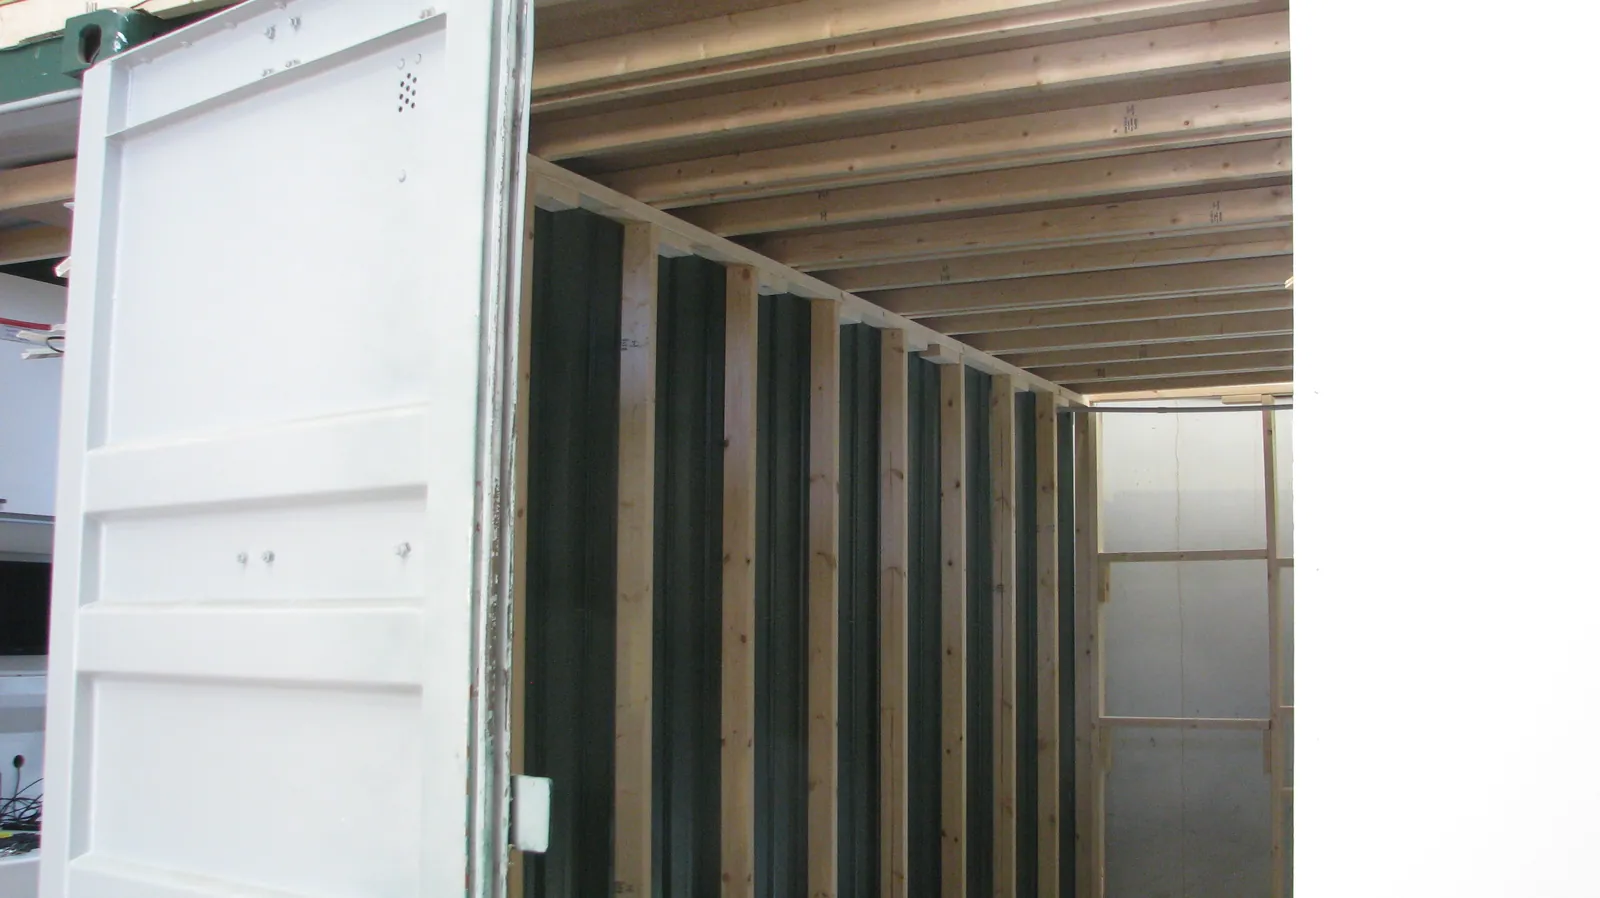
An outside view records the new framing beside the existing container door.
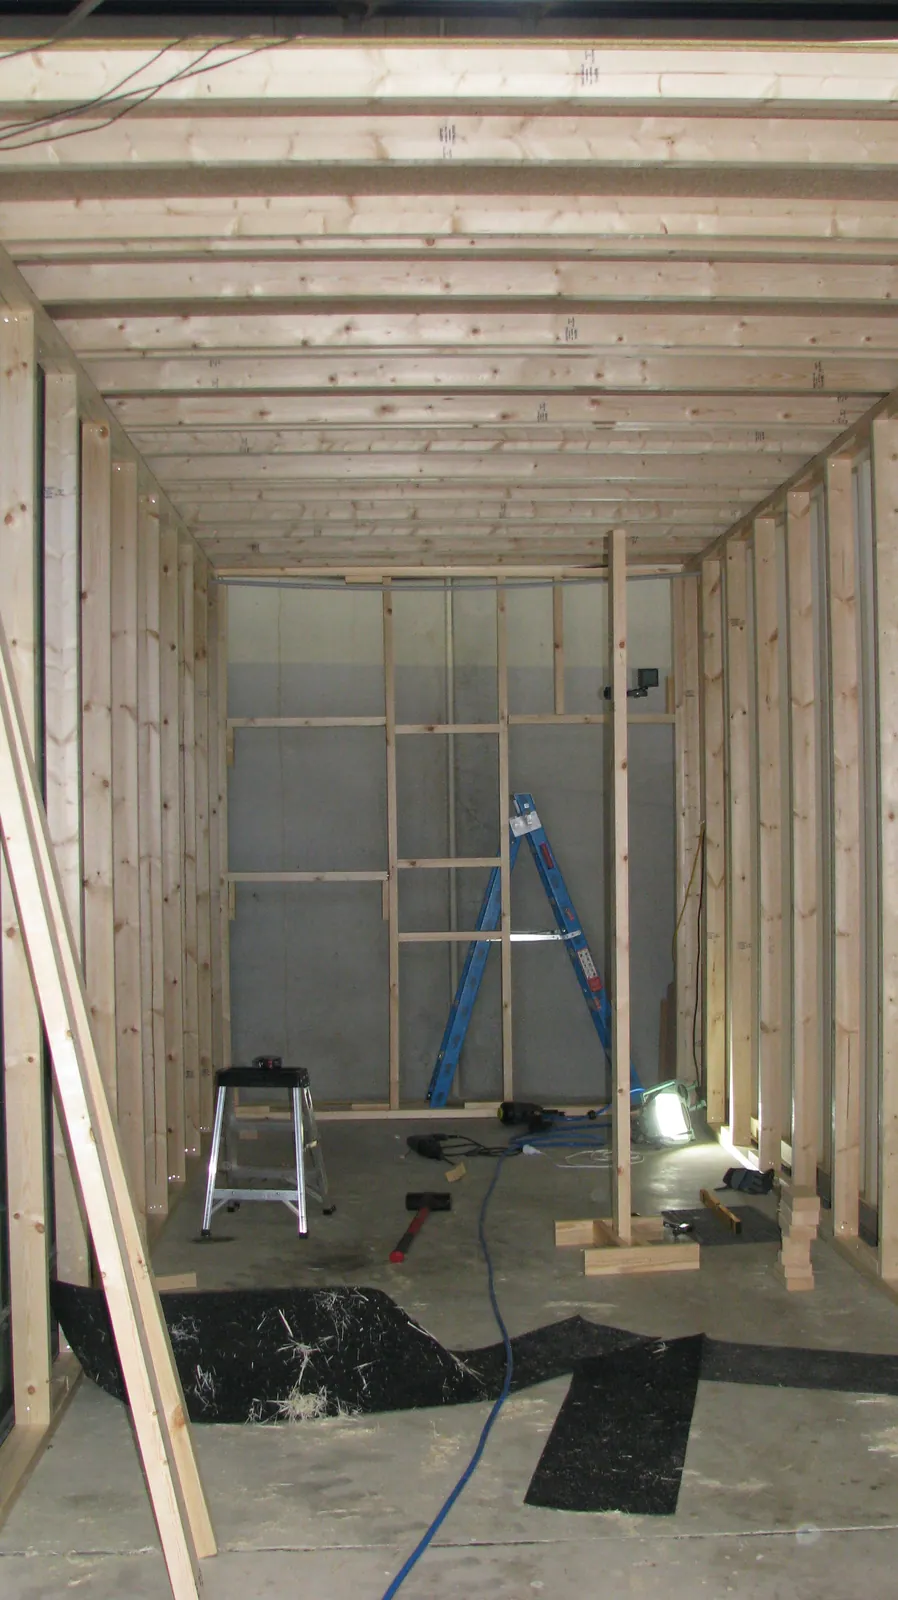
Wall studs and ceiling joists define the long, narrow room.
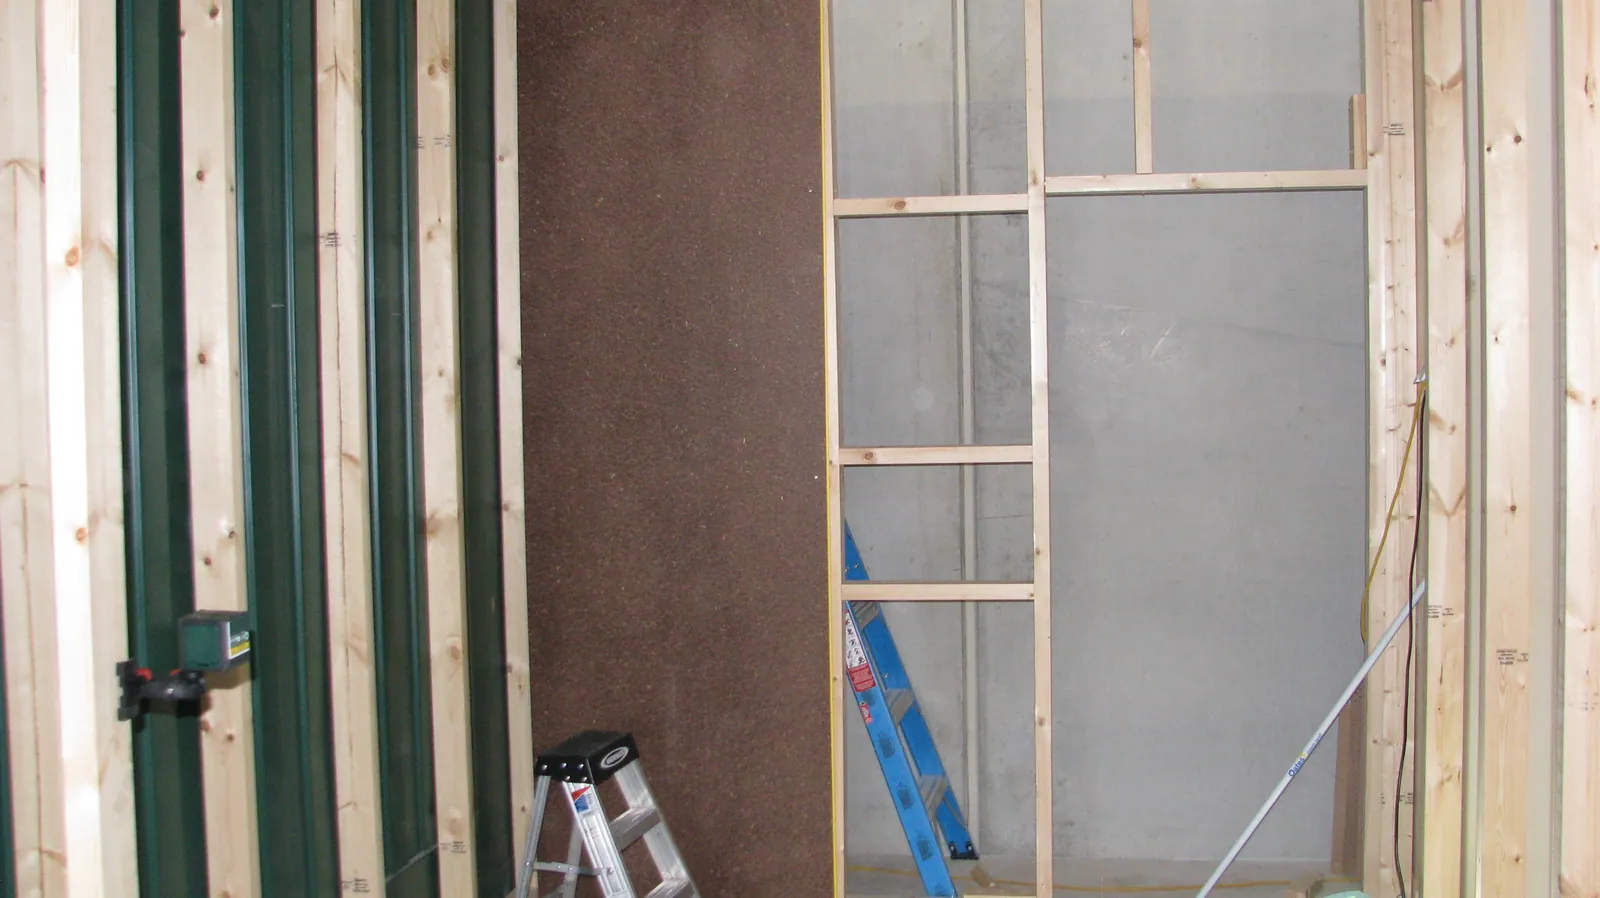
Wall lining starts to cover the exposed framing.
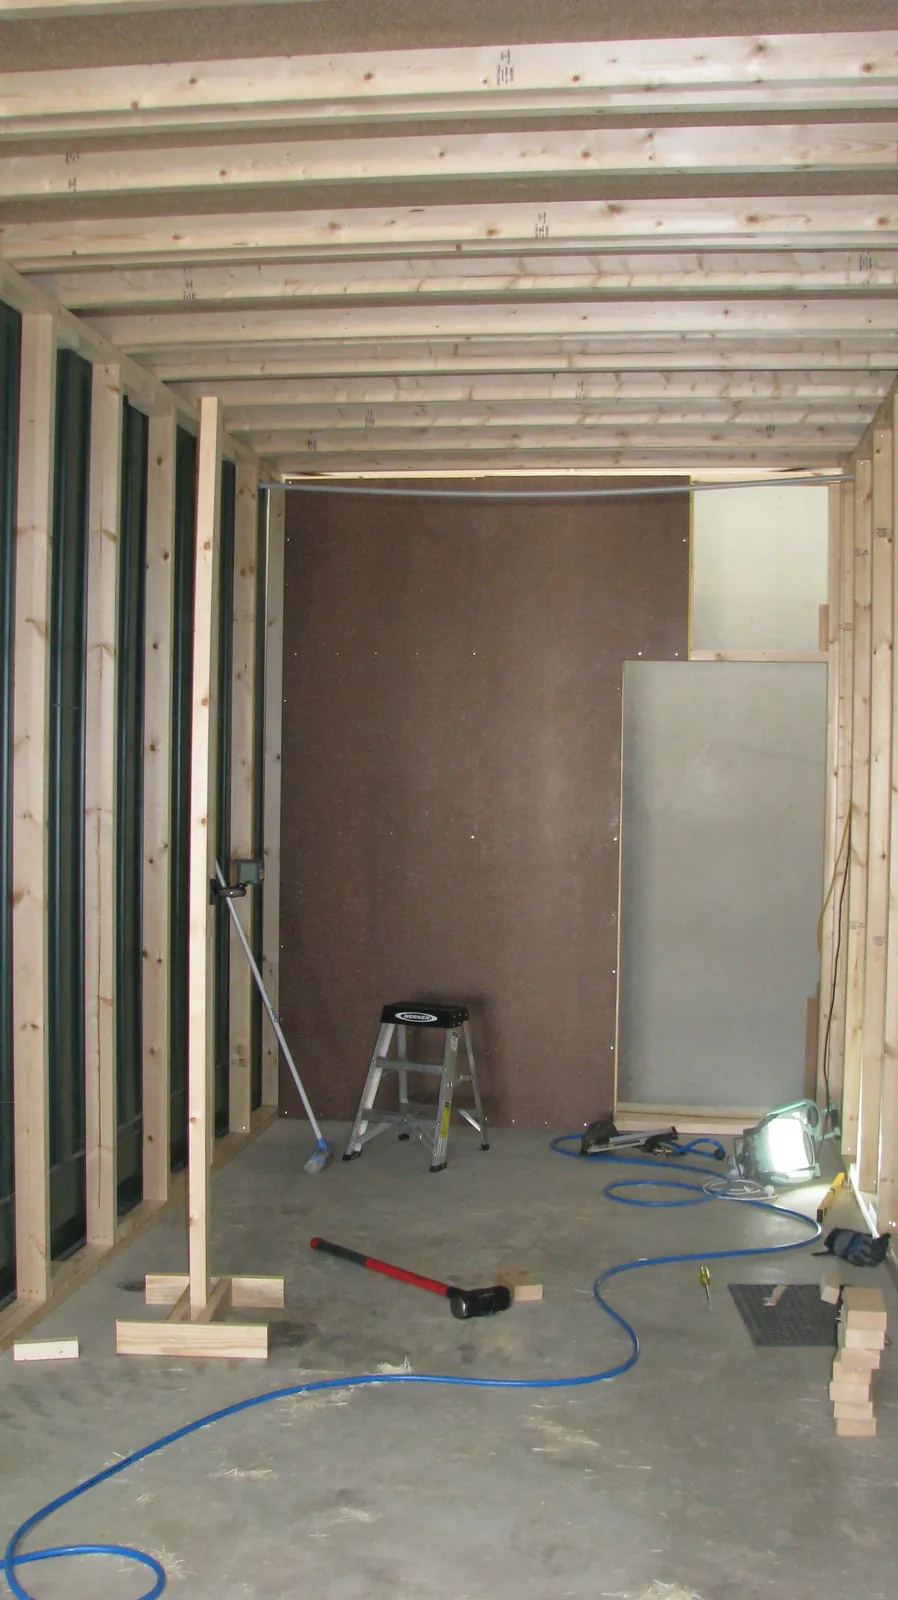
More wall panels are fitted while the ceiling framing remains exposed.
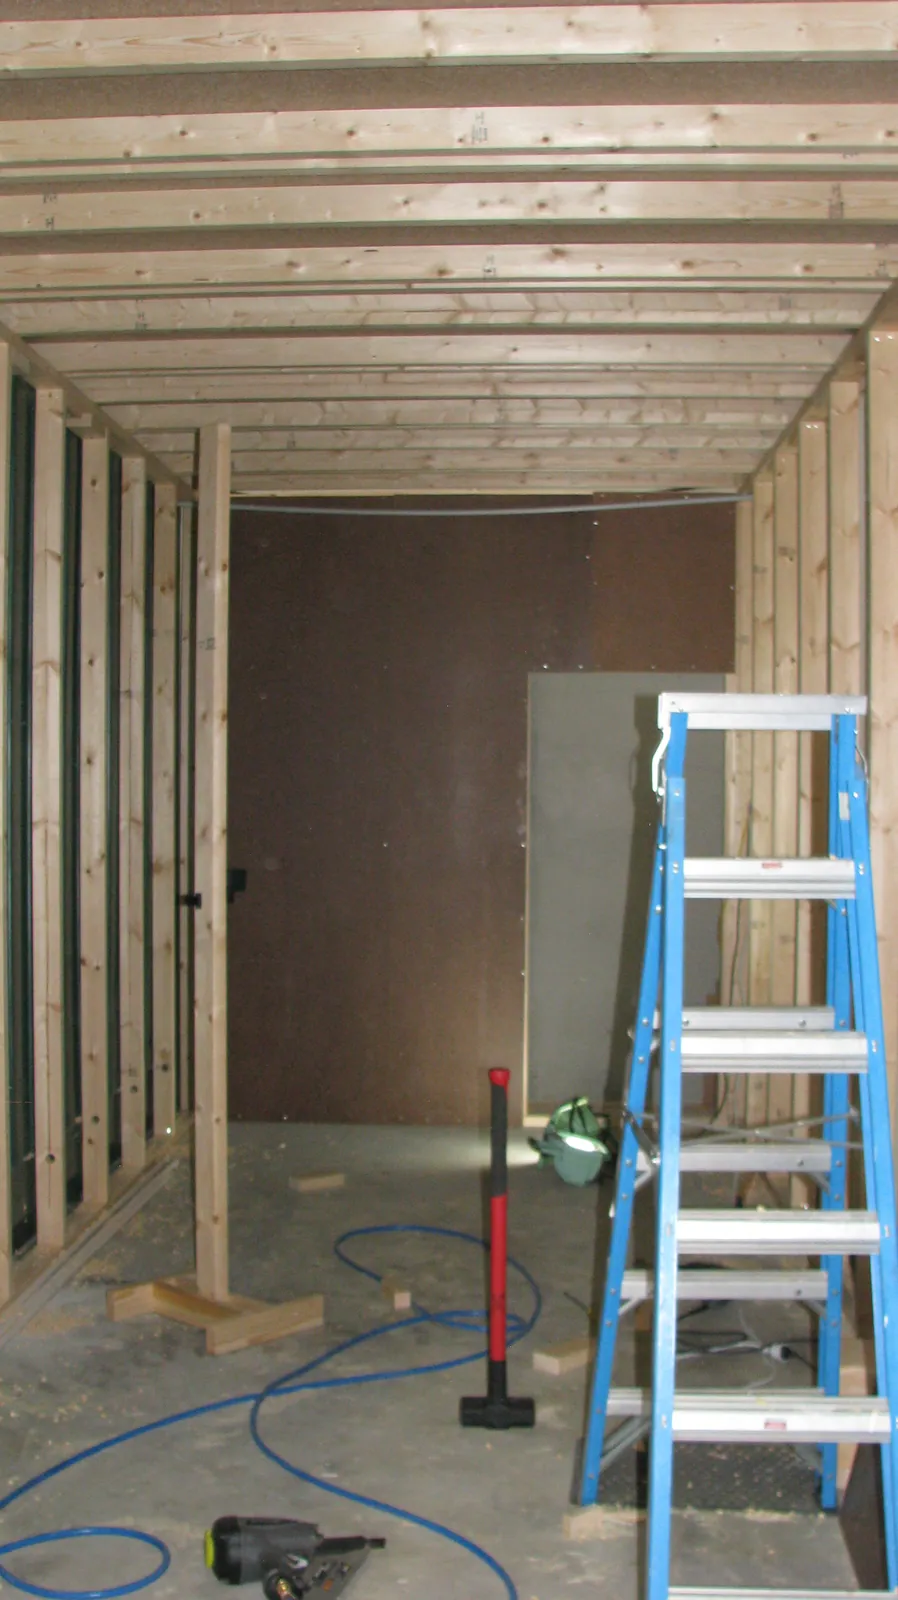
Lining progresses along the side of the room.
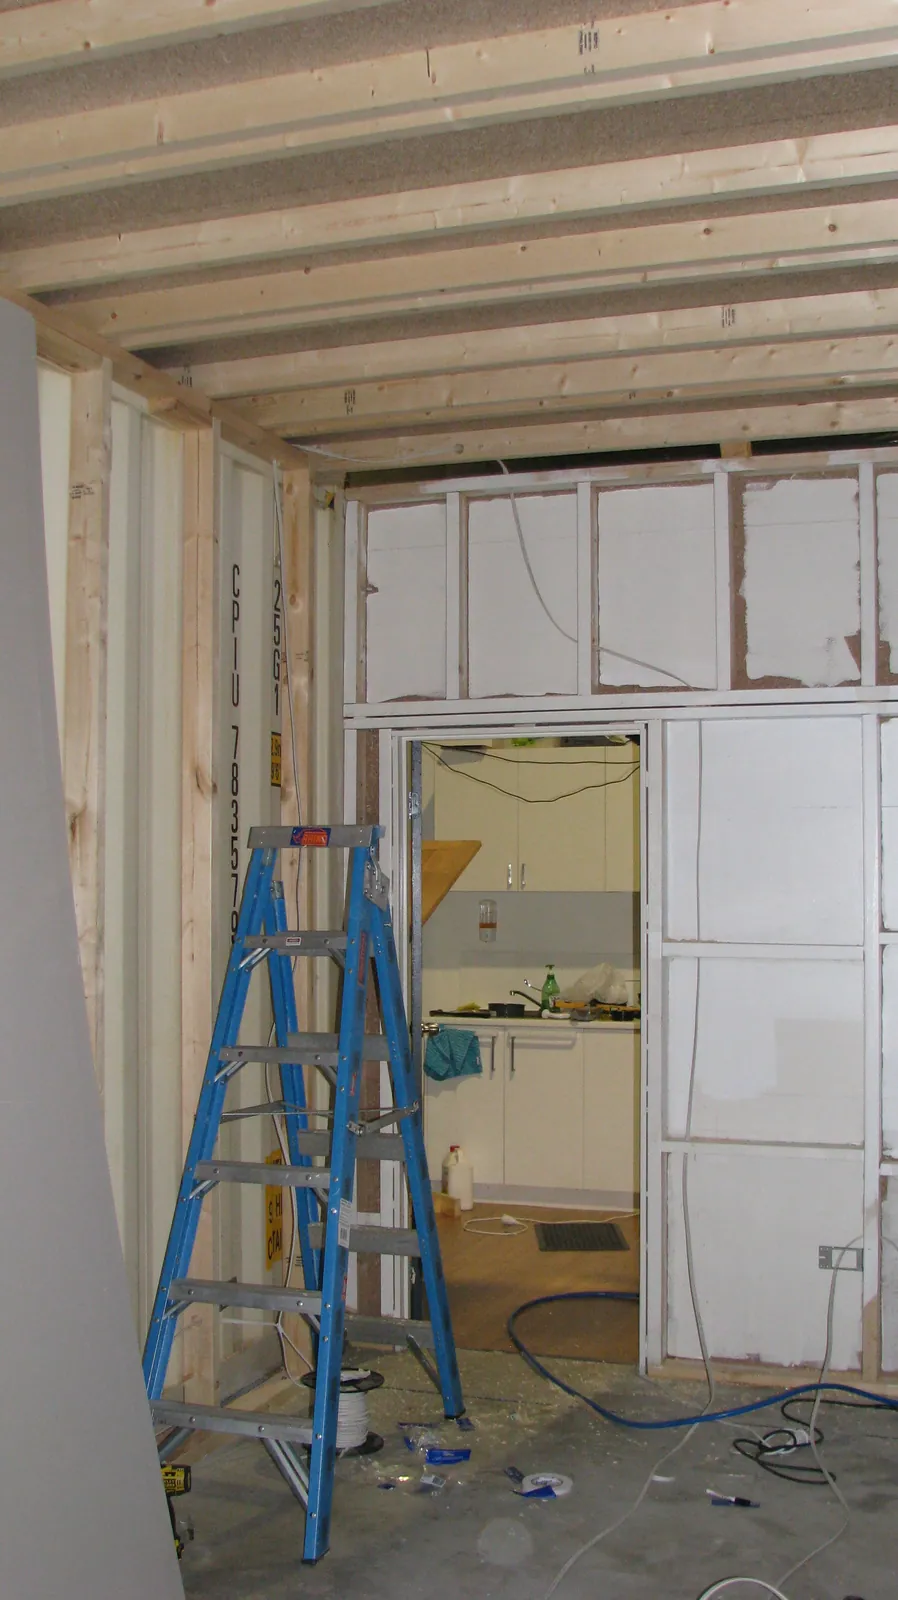
The doorway and wiring are visible during the lining work.
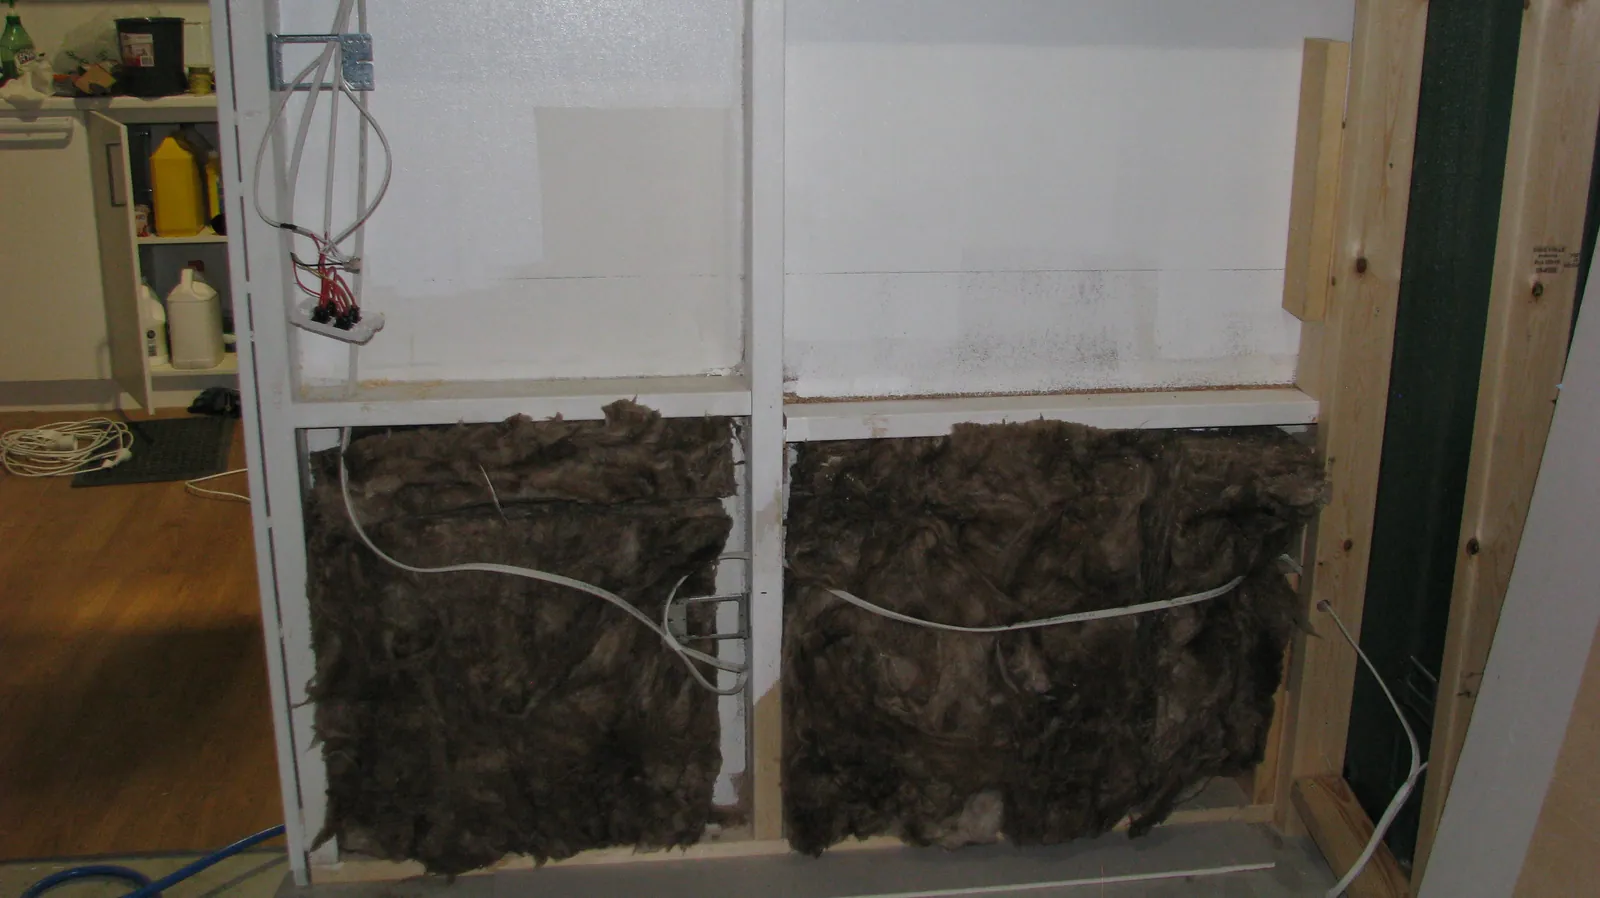
Insulation starts filling the spaces between the wall studs.
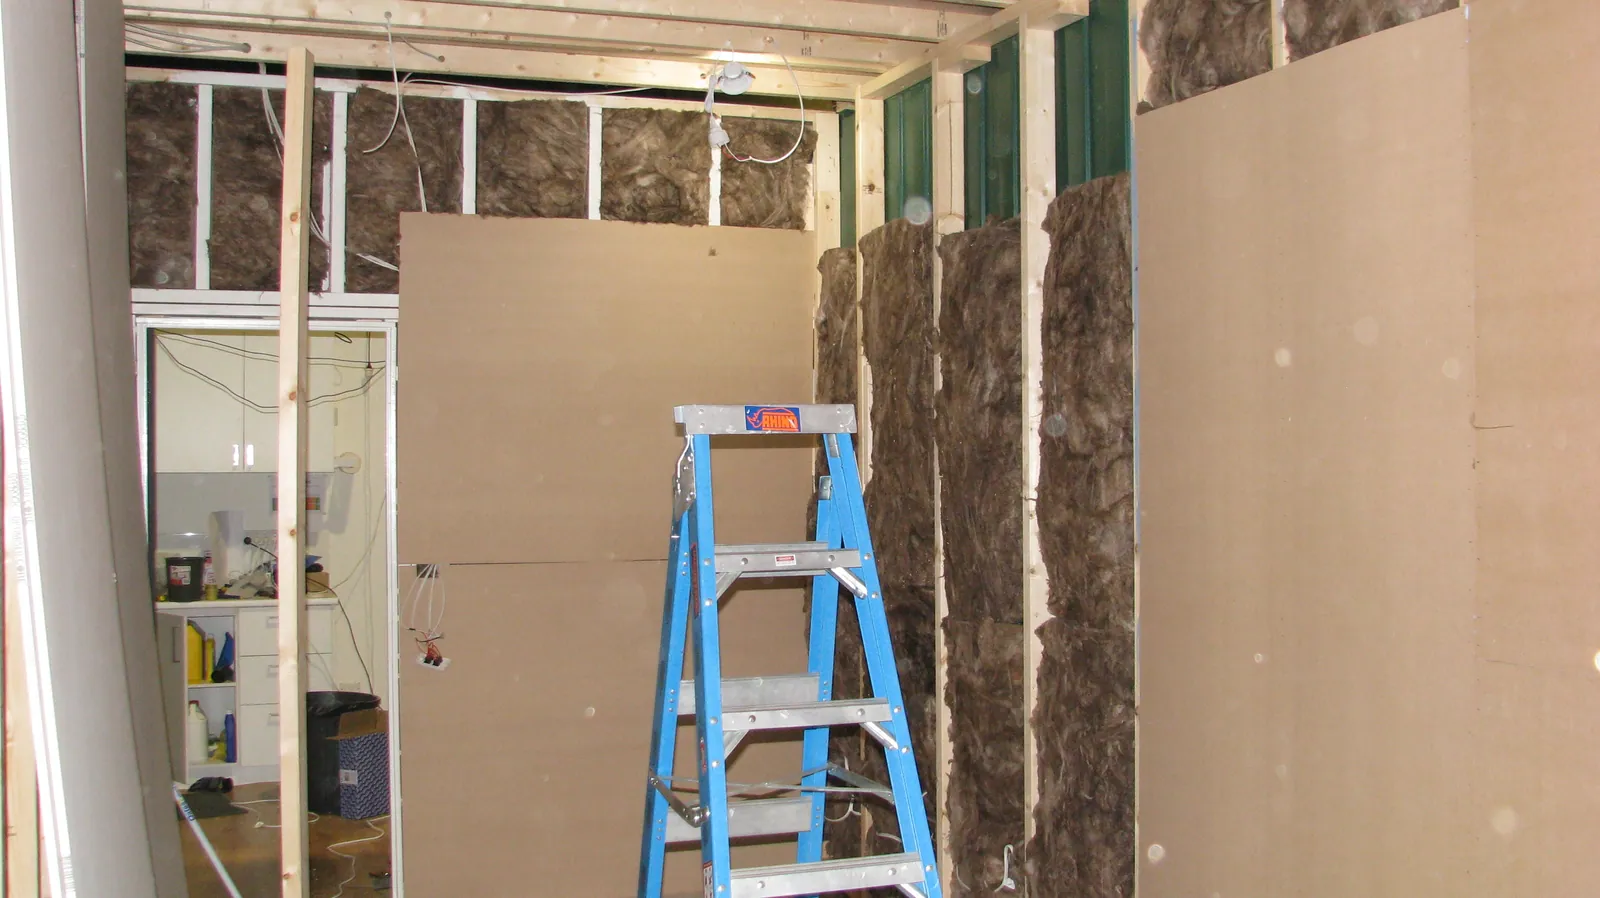
Insulation and new lining meet partway along the wall.
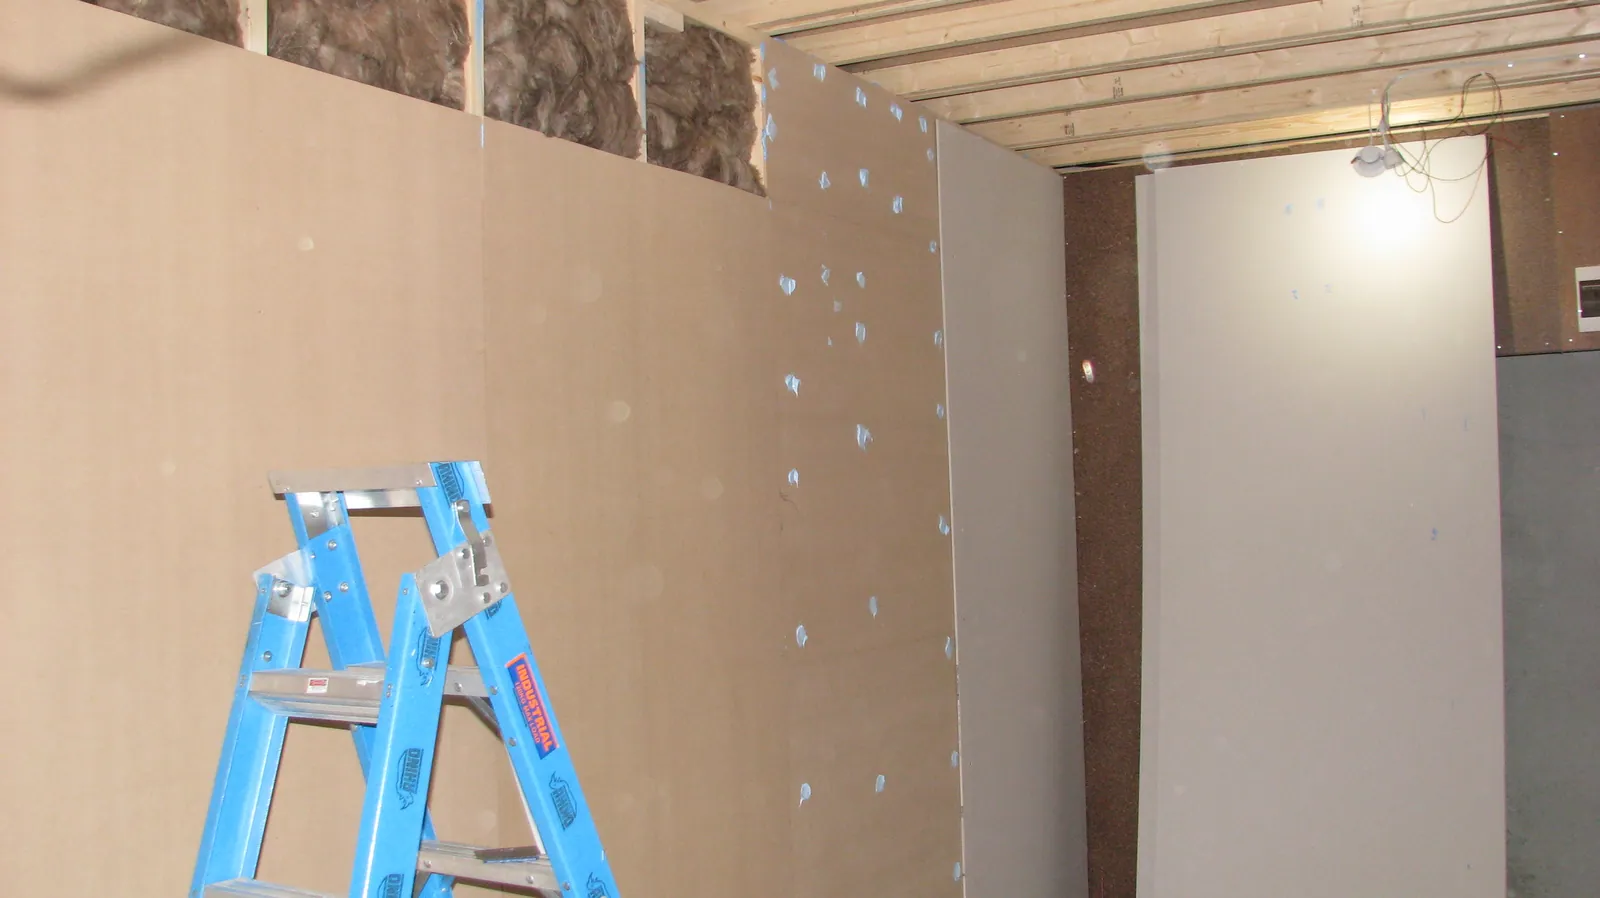
Wall panels cover more of the framing, with insulation still visible above.
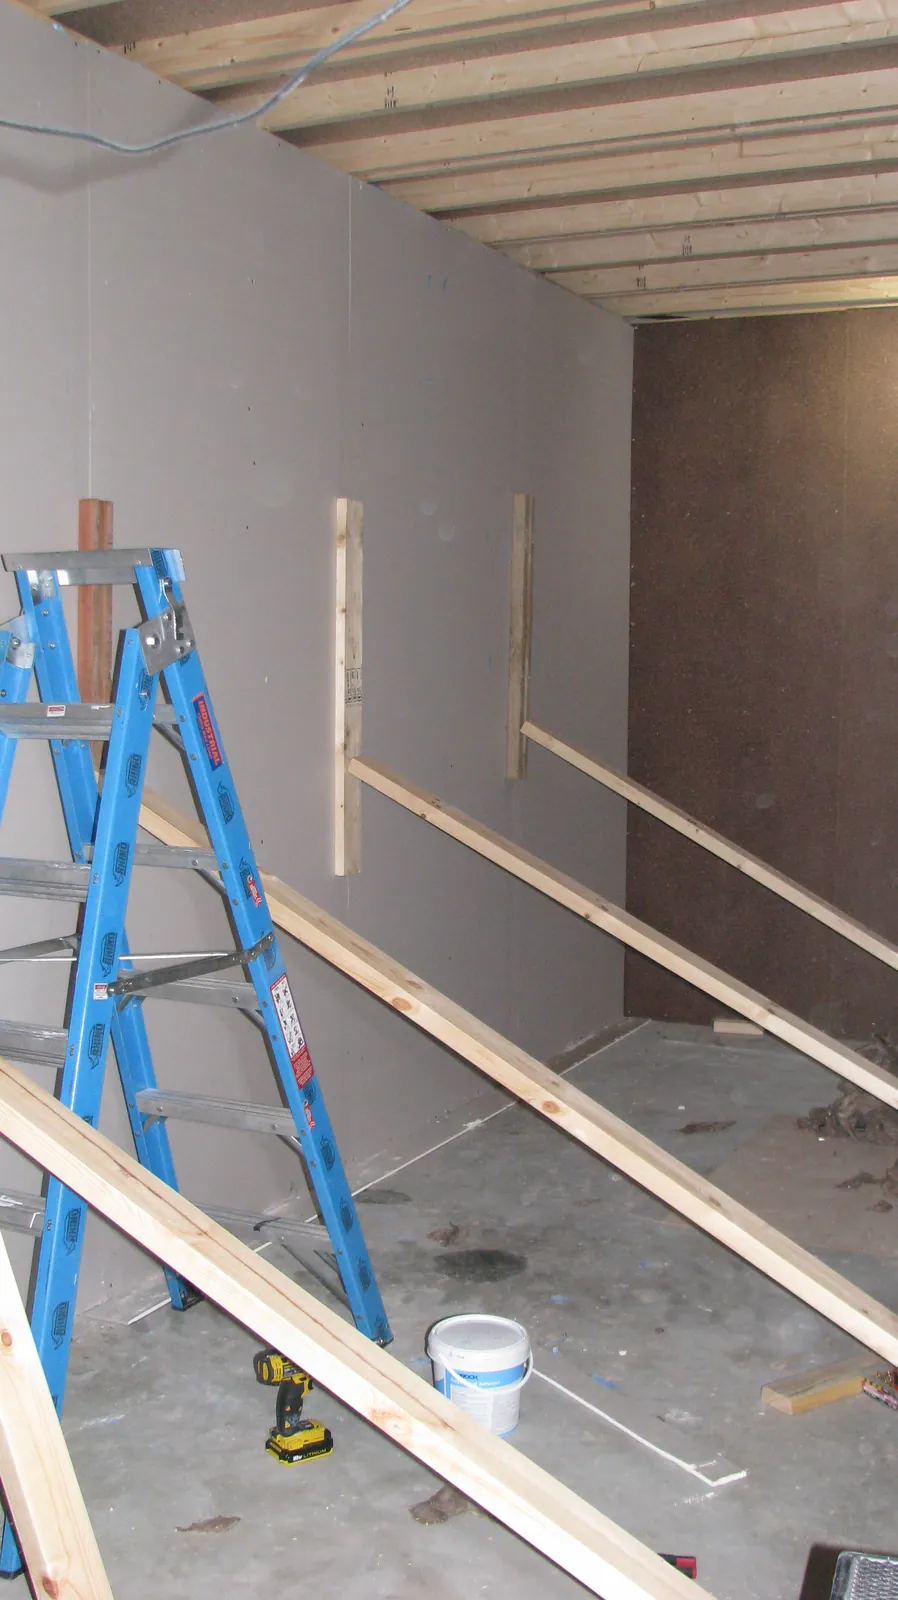
Horizontal timber pieces are fitted across the partly lined wall.
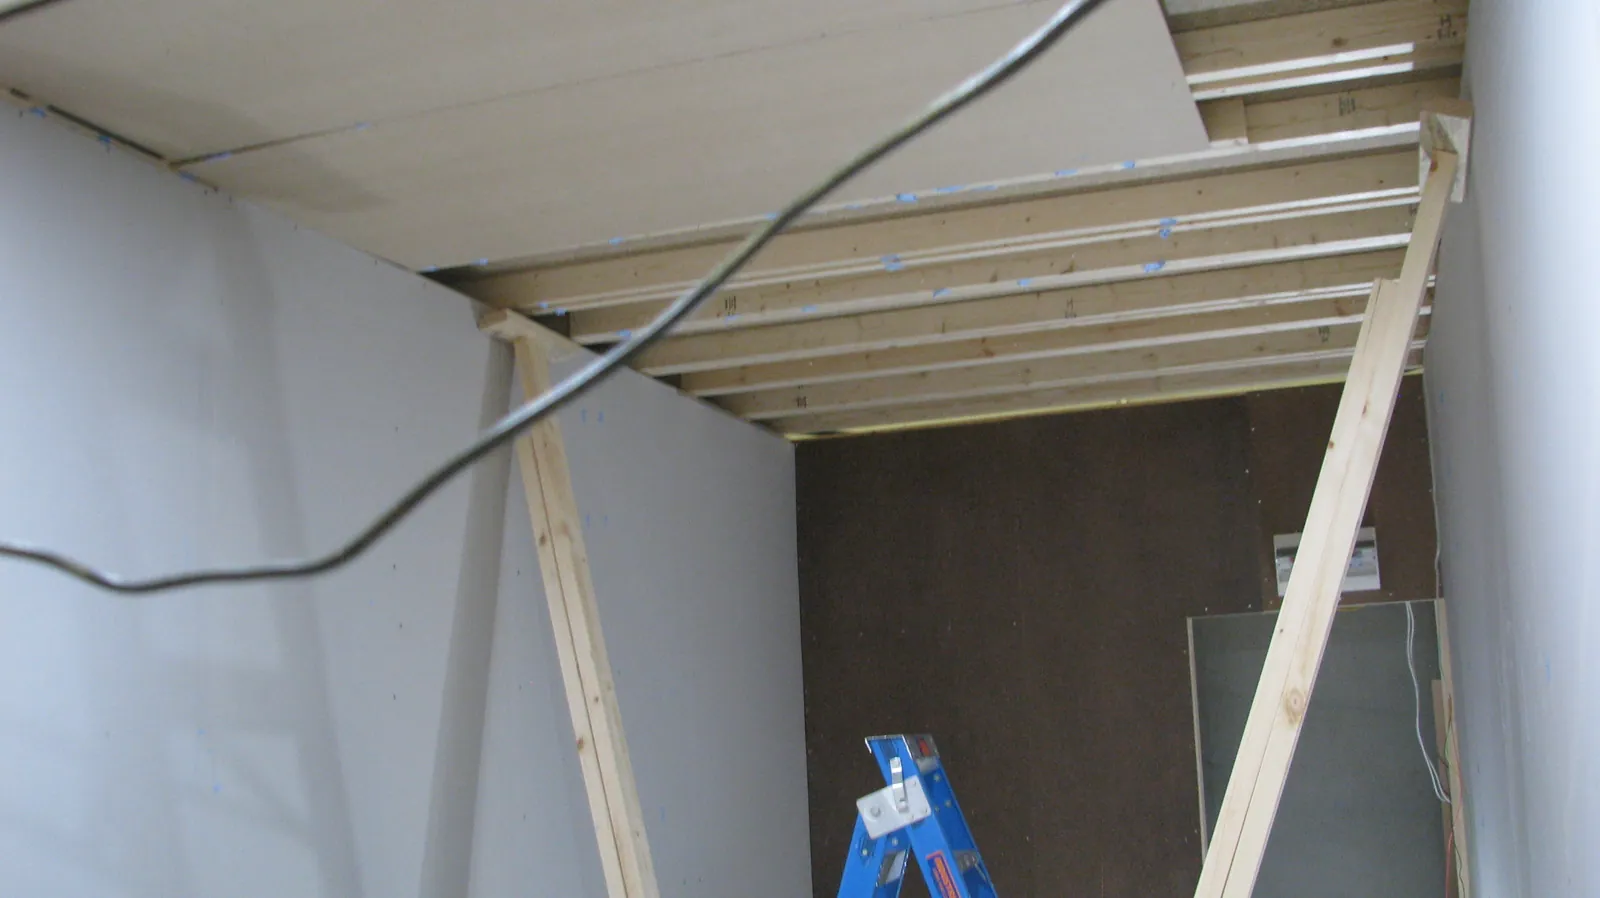
Ceiling lining starts covering the exposed joists.
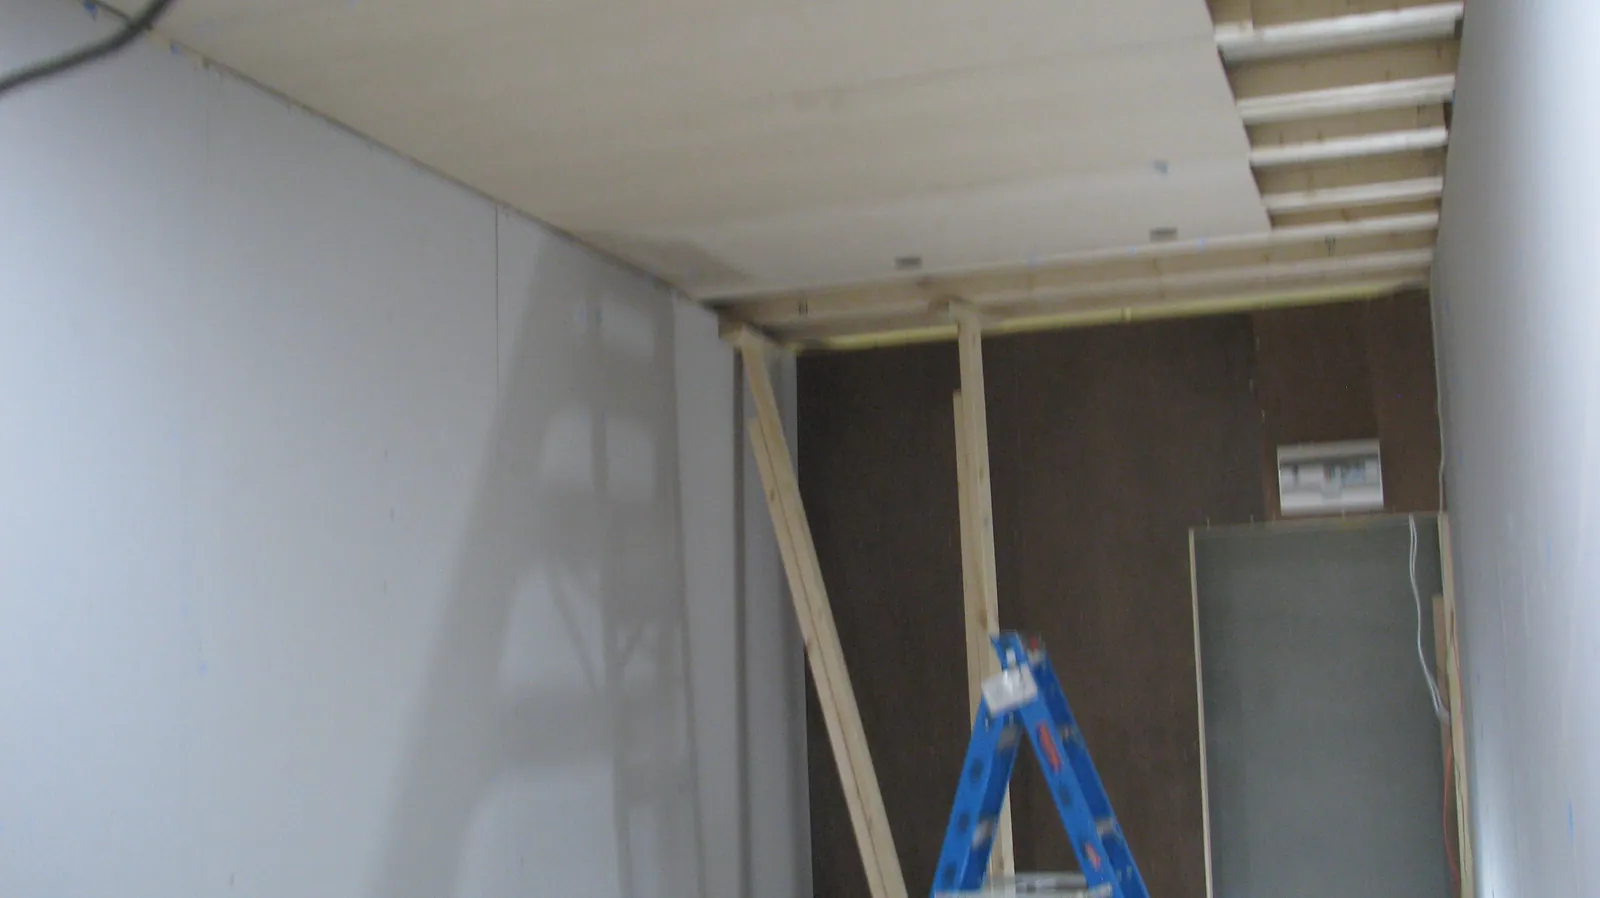
The ceiling is almost covered, with a strip still open at the side.
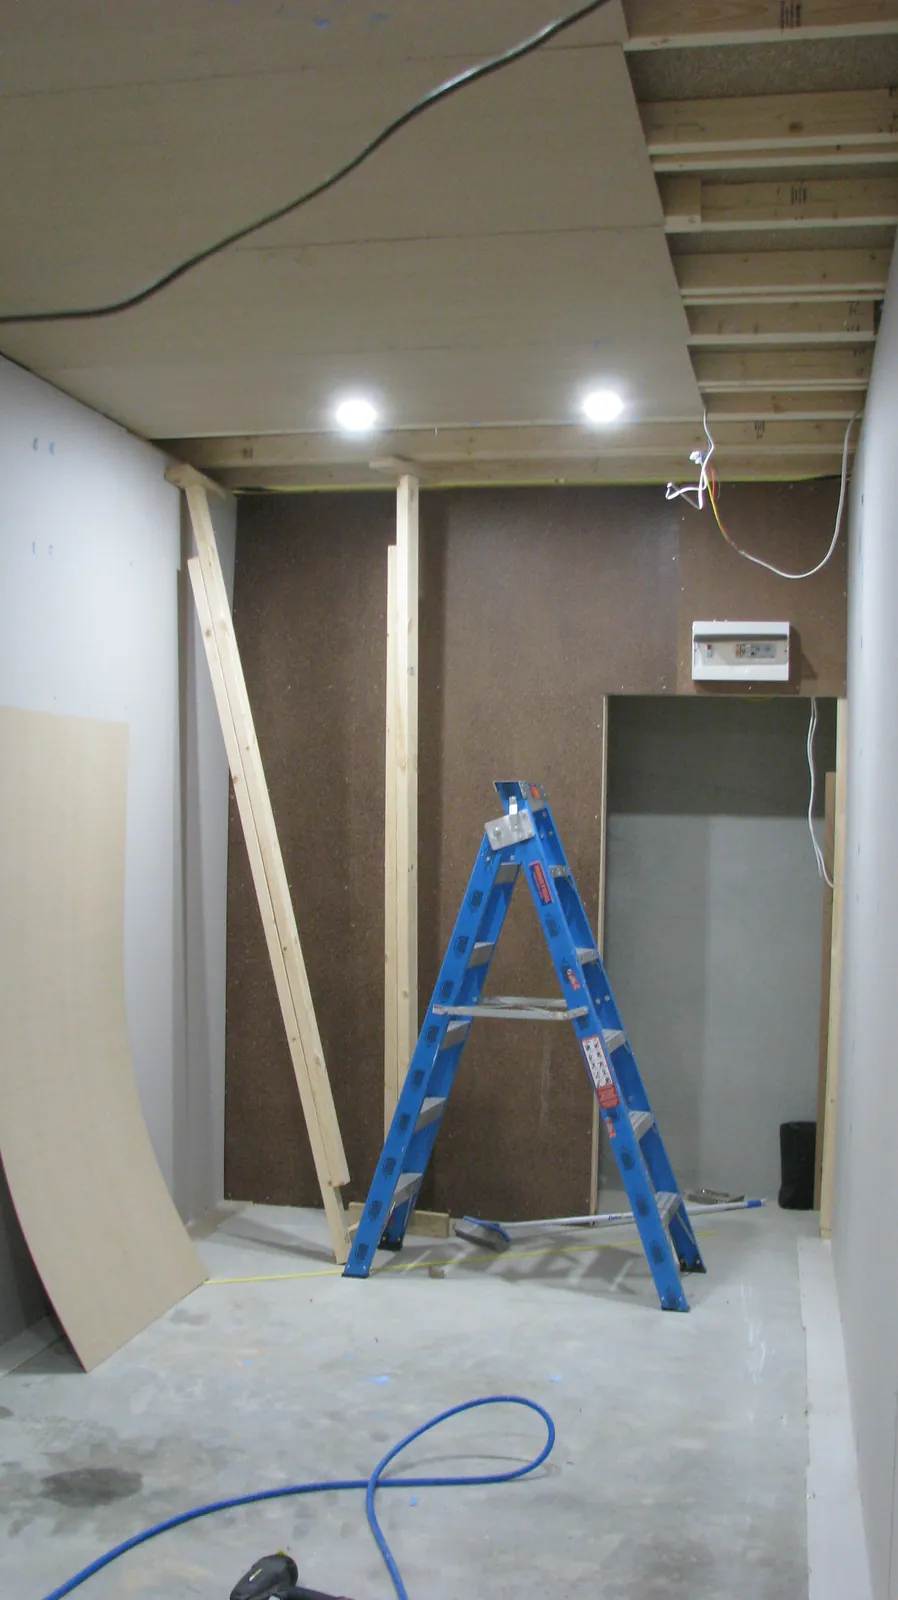
Lights are on as the last ceiling edges are finished.
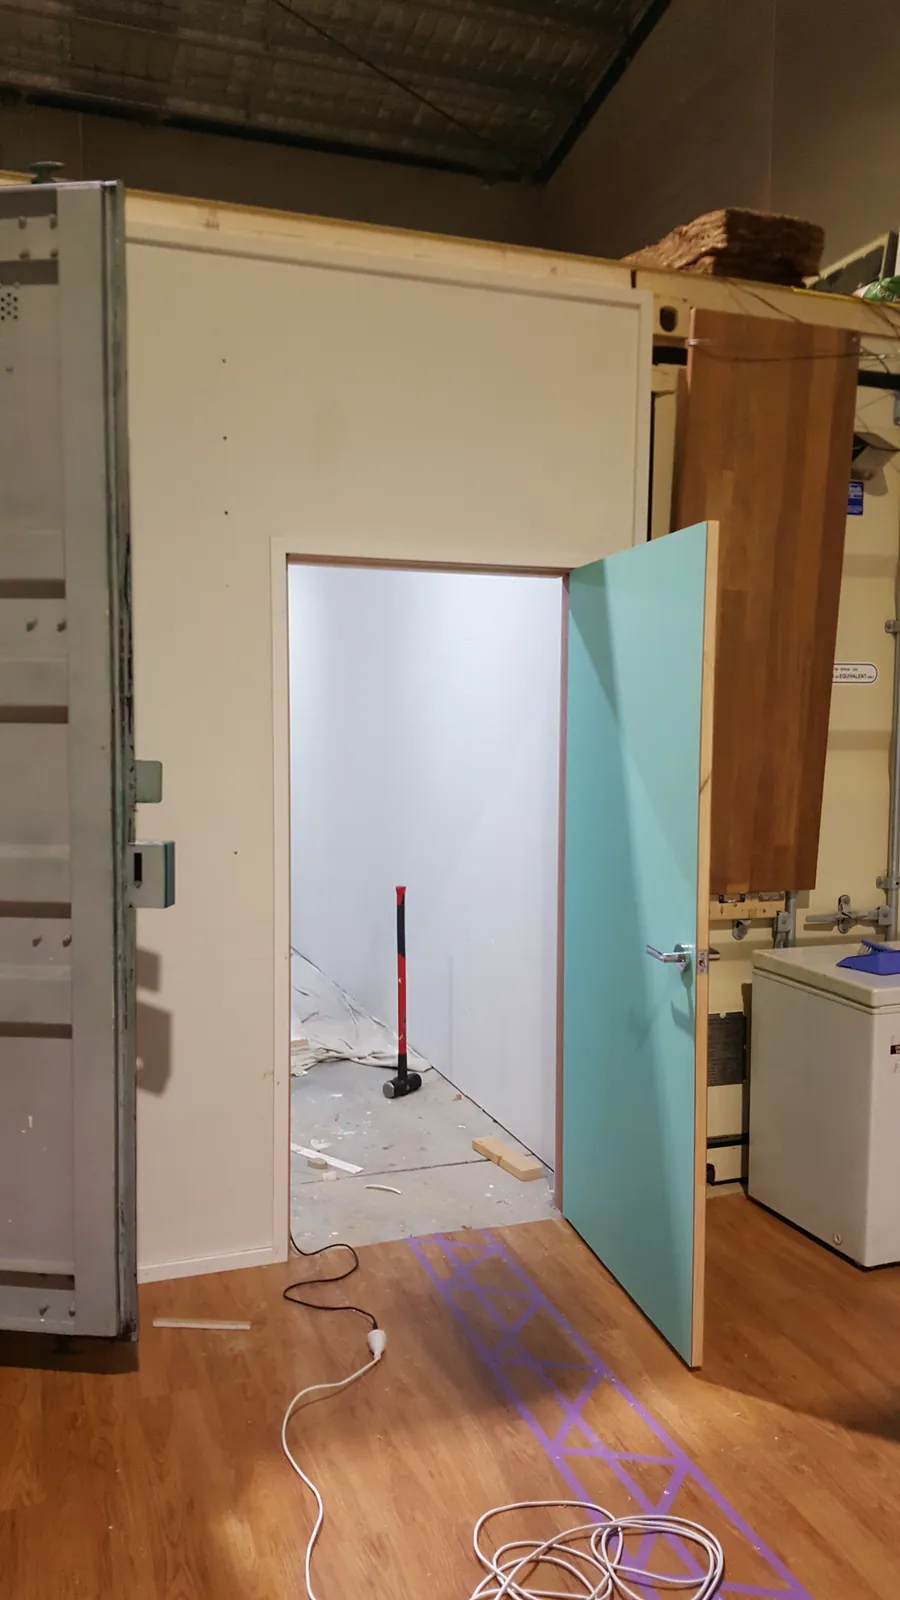
The doorway from outside shows how the new room sits beside the existing structure.
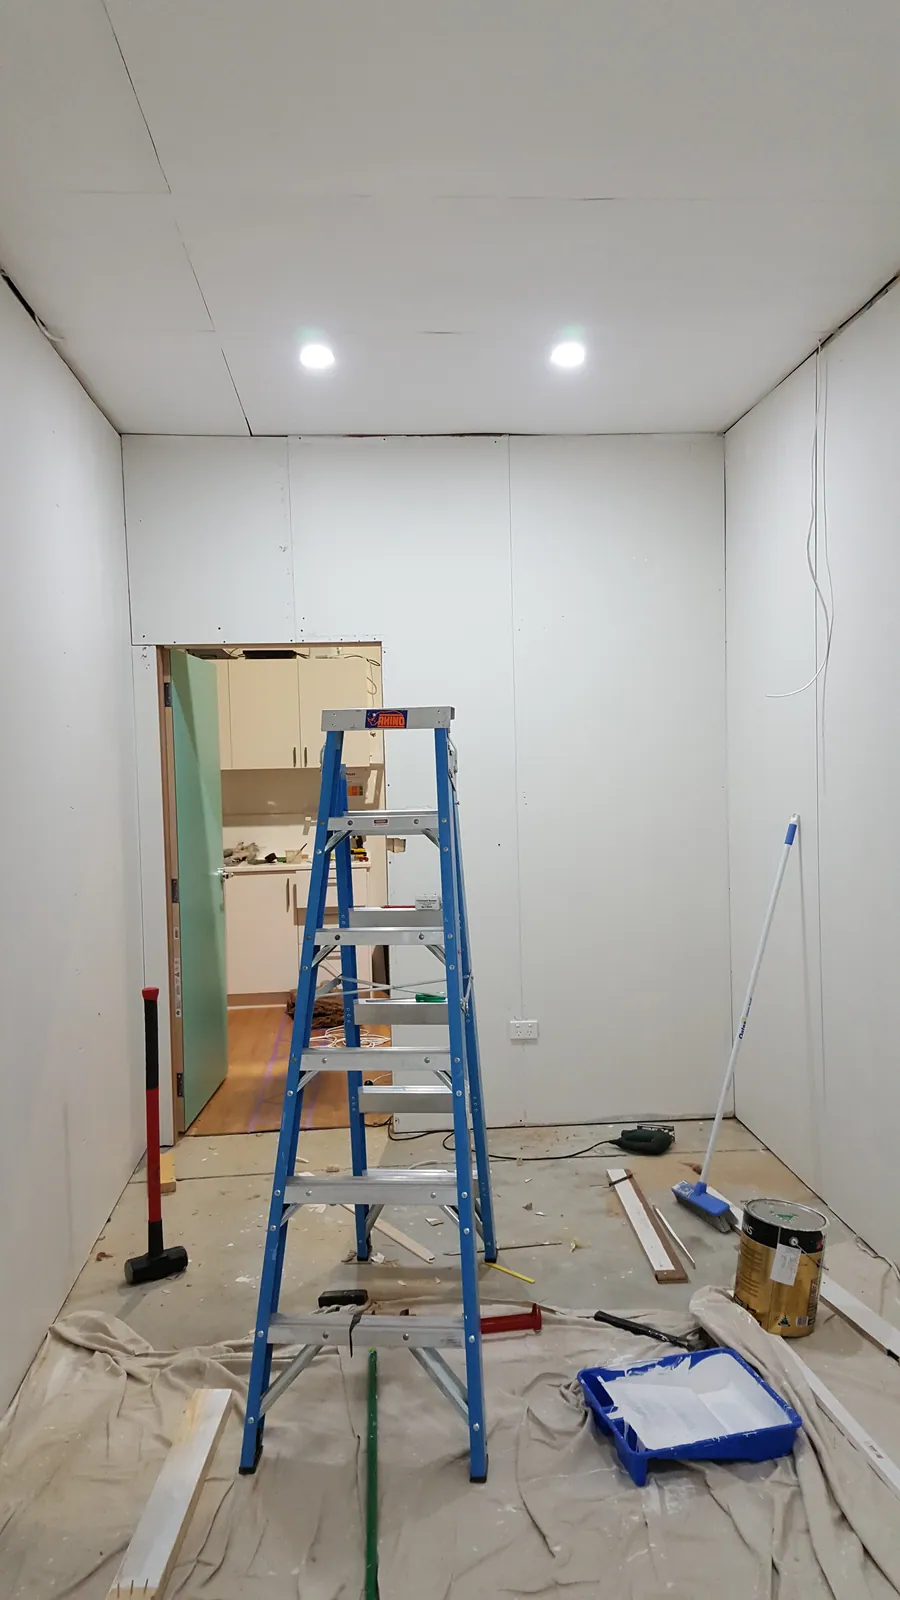
The room is now fully lined and lit.
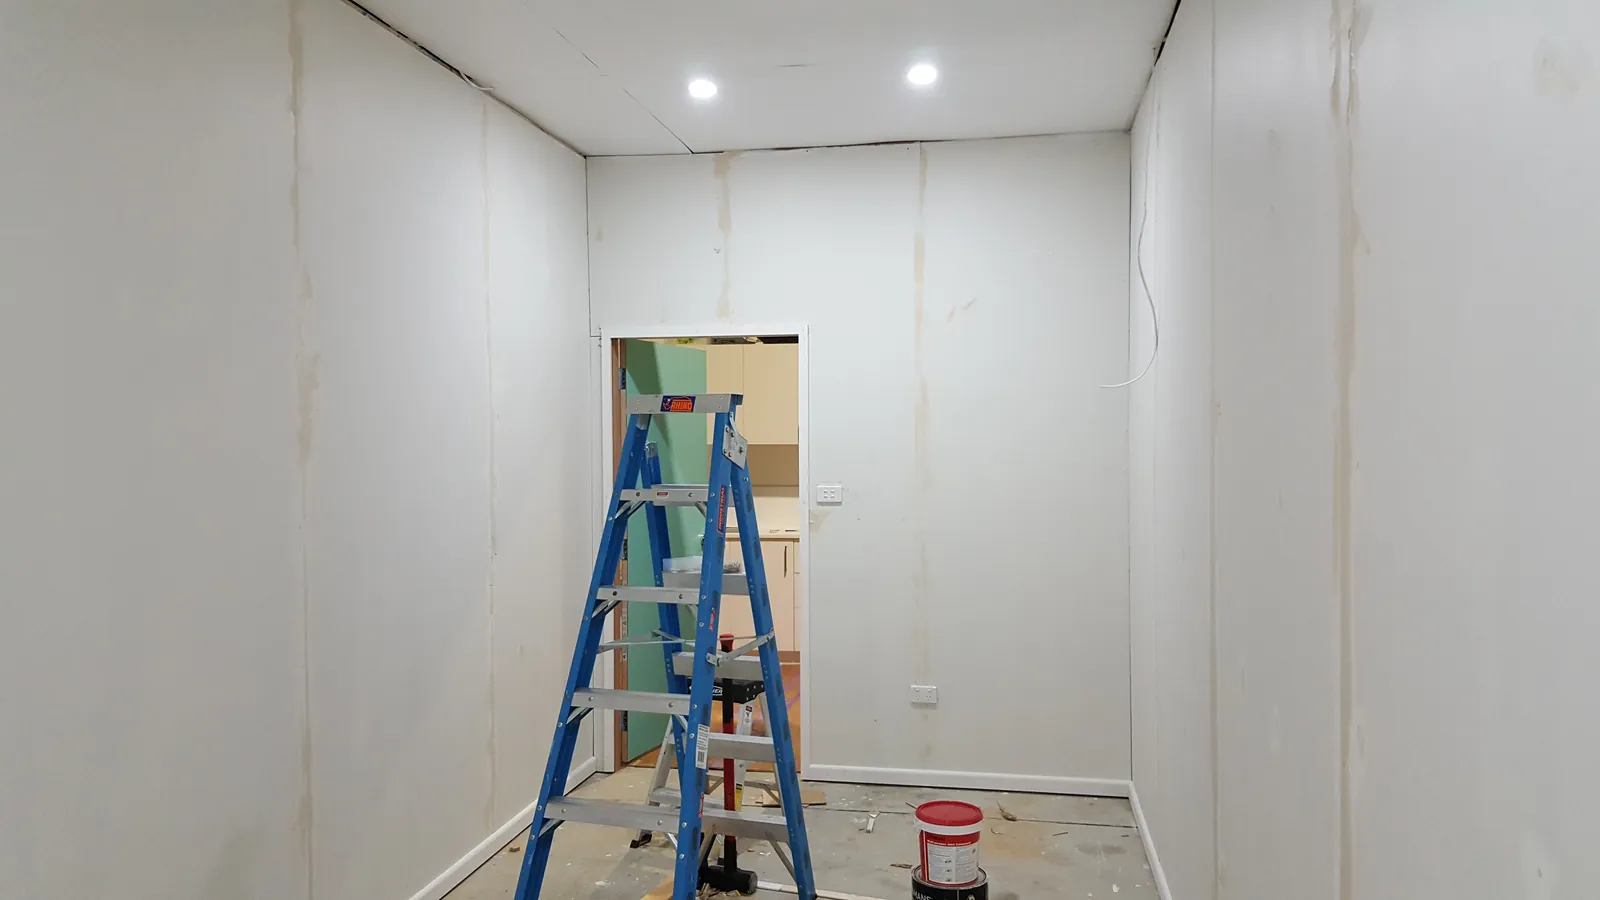
Joints and trim remain visible before painting.
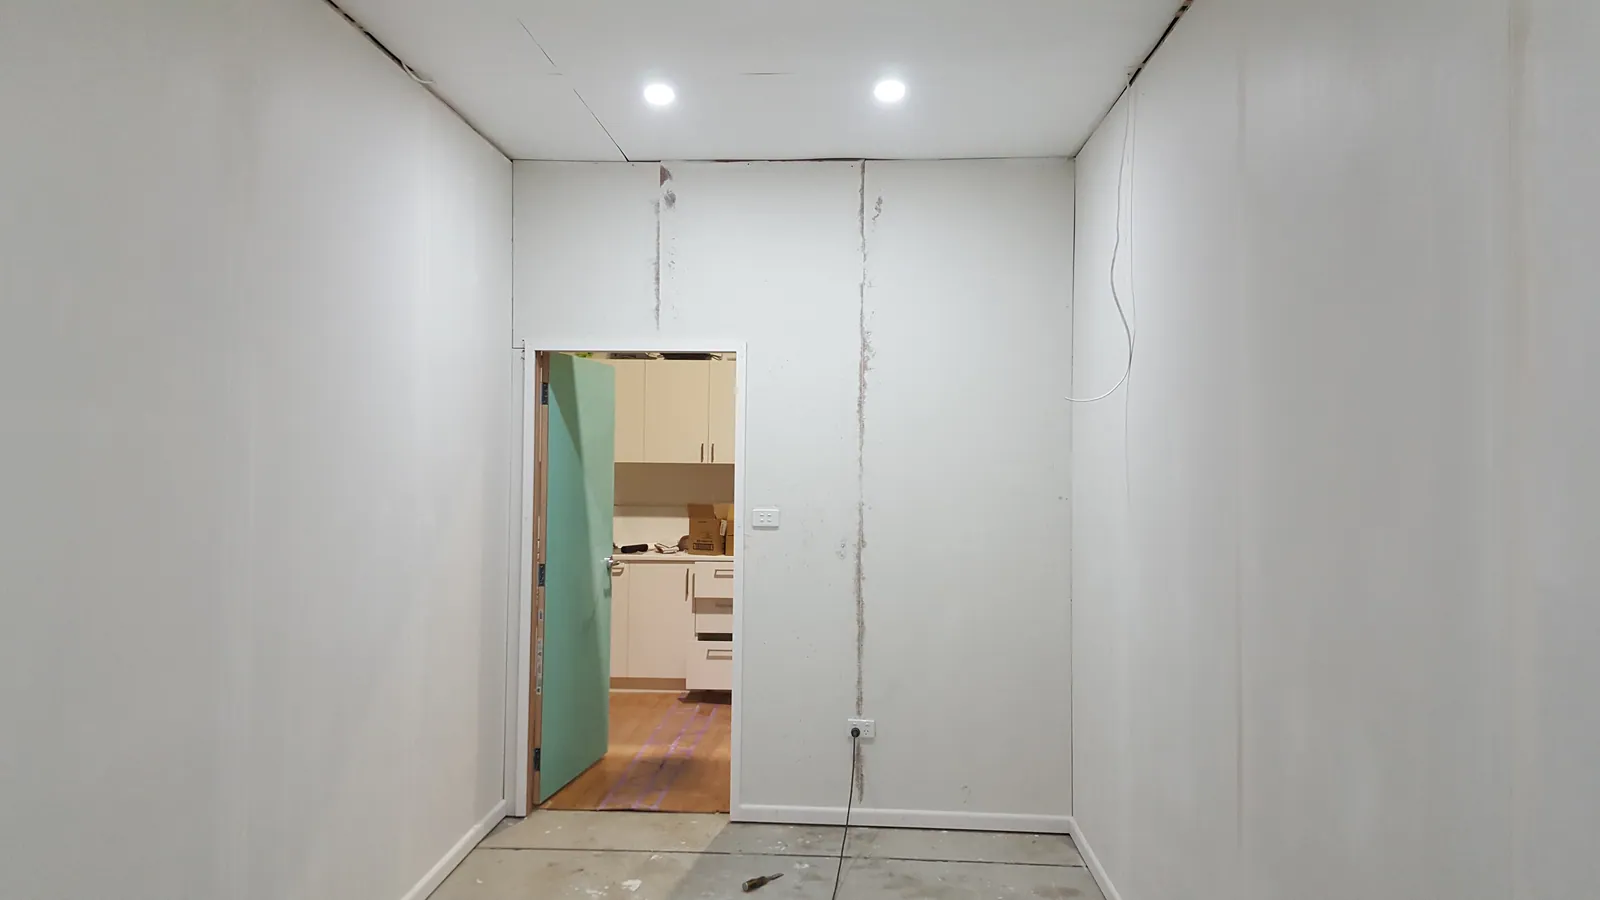
The room is masked and prepared for finishing.
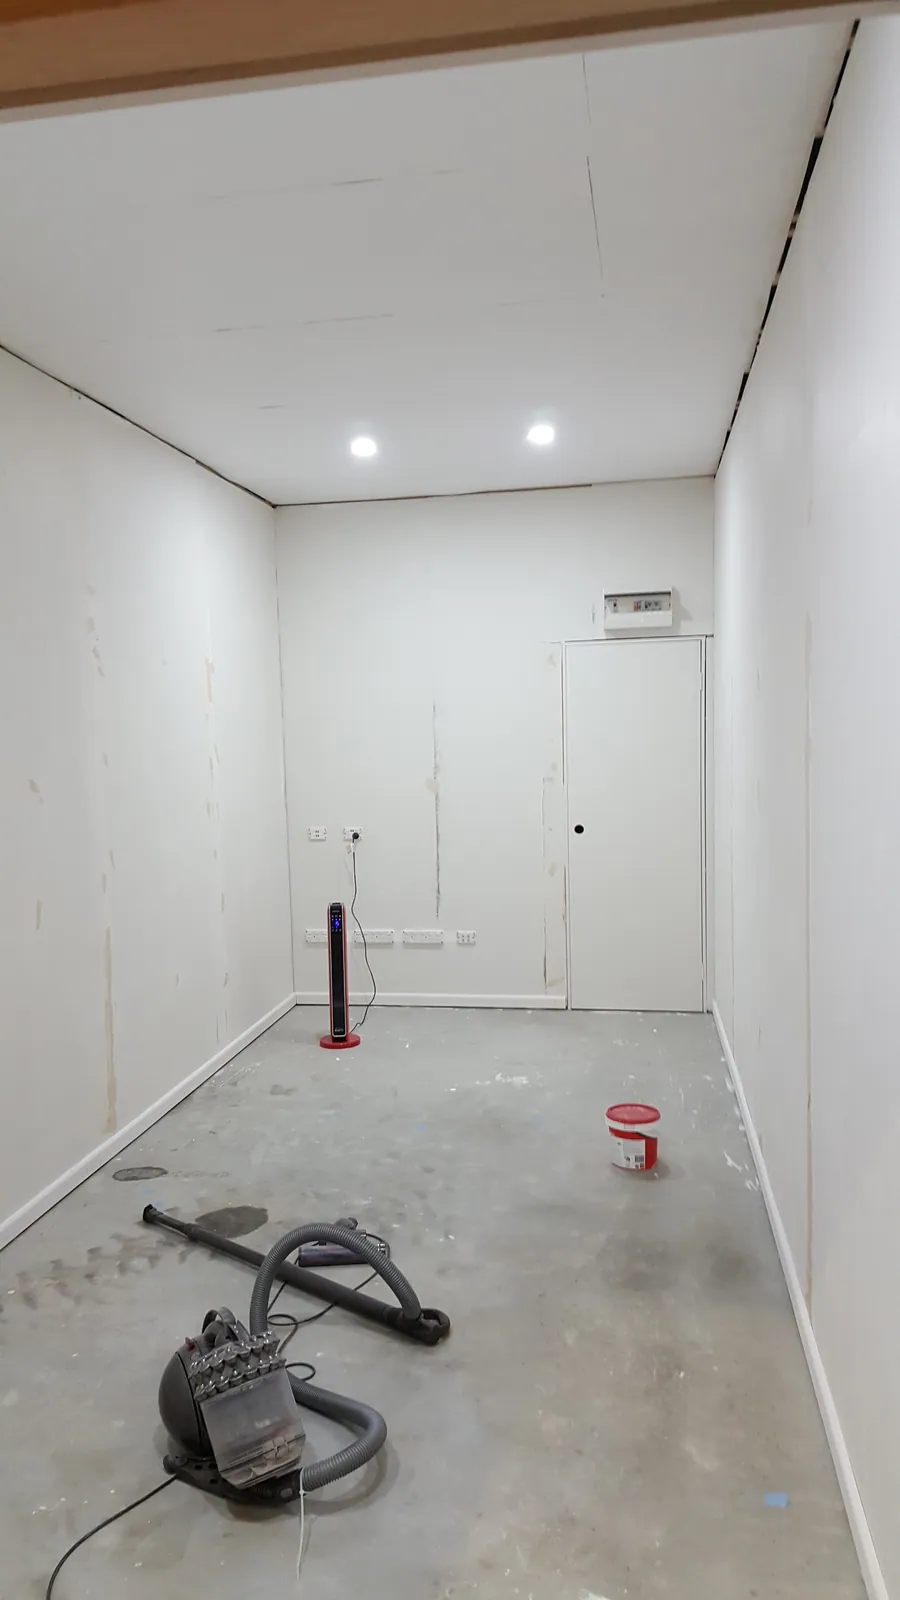
A further view records the wall preparation before the final paintwork.
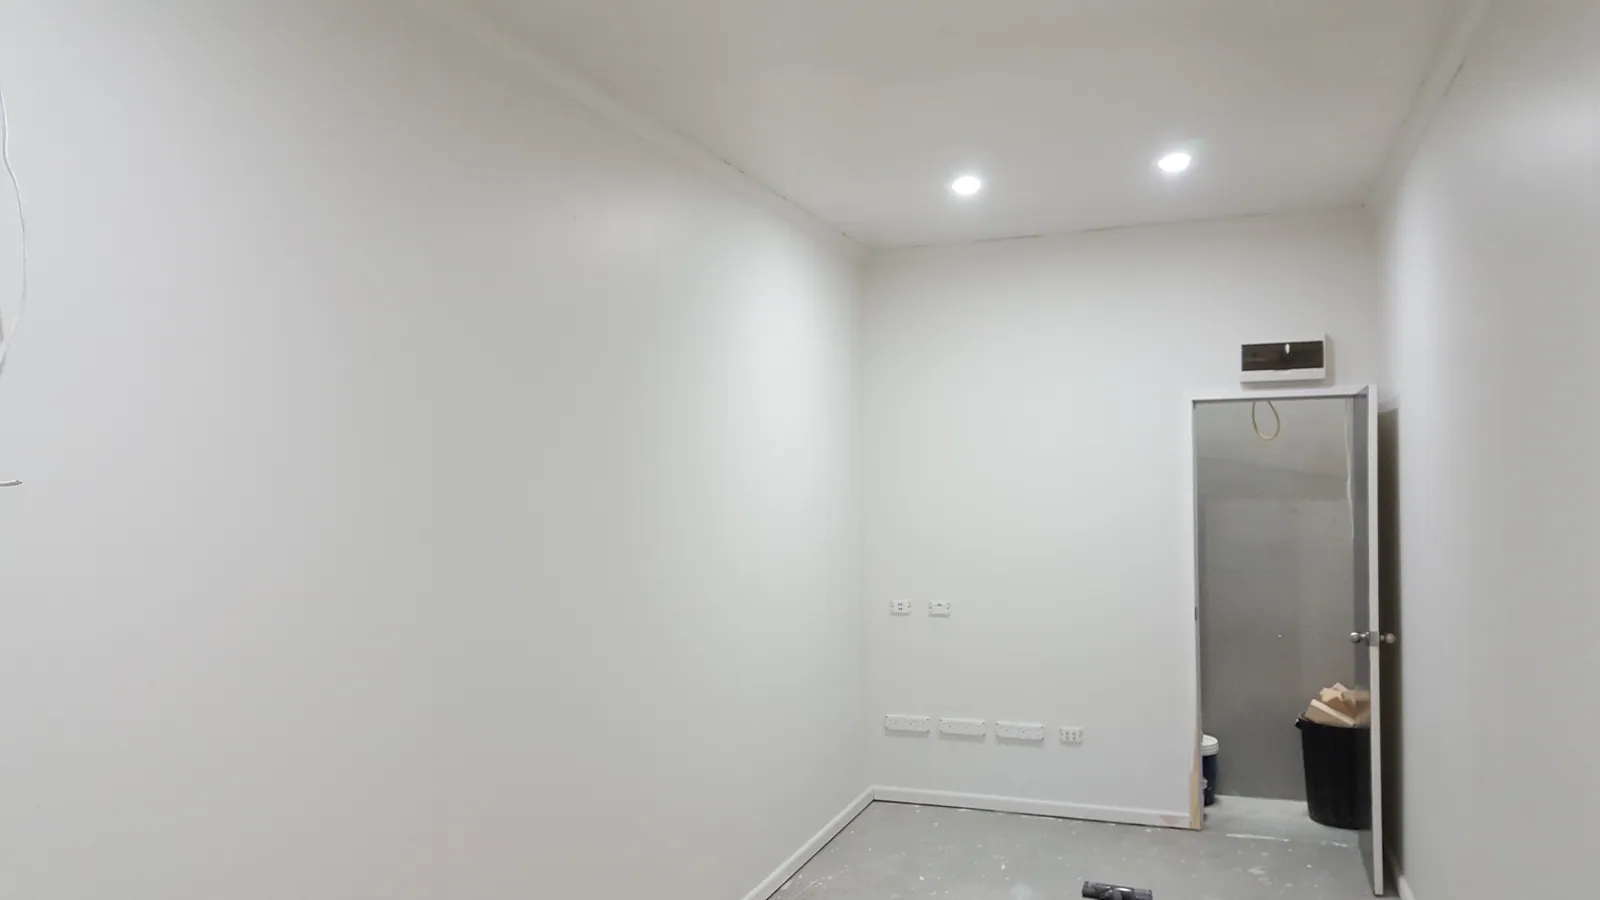
White paint changes the feel of the narrow room.
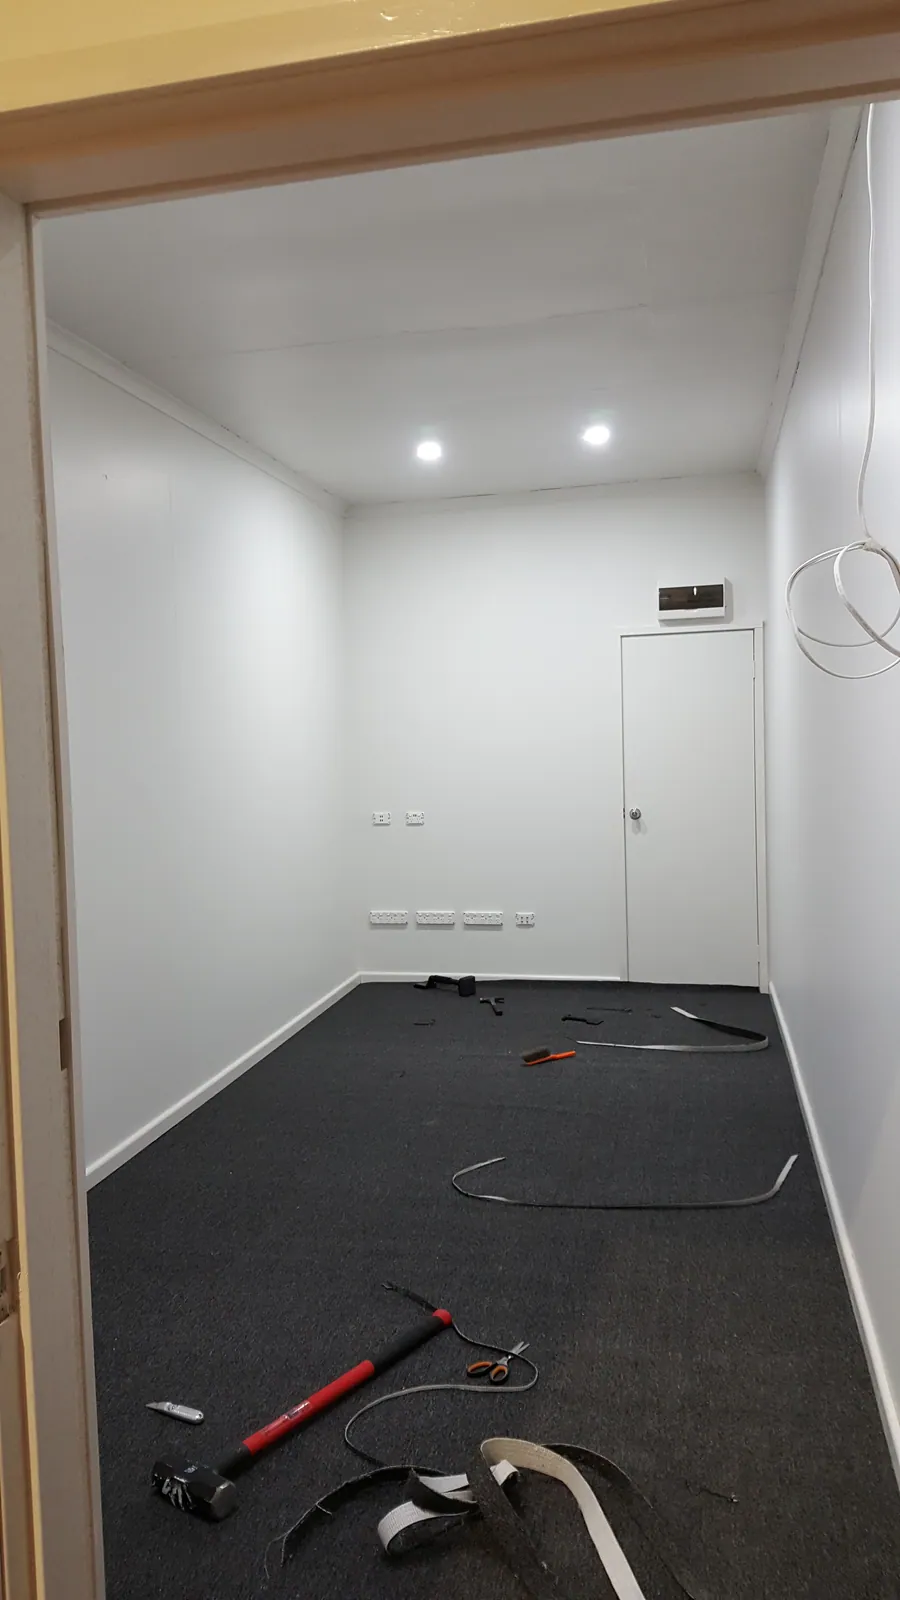
Carpet replaces the exposed timber floor.
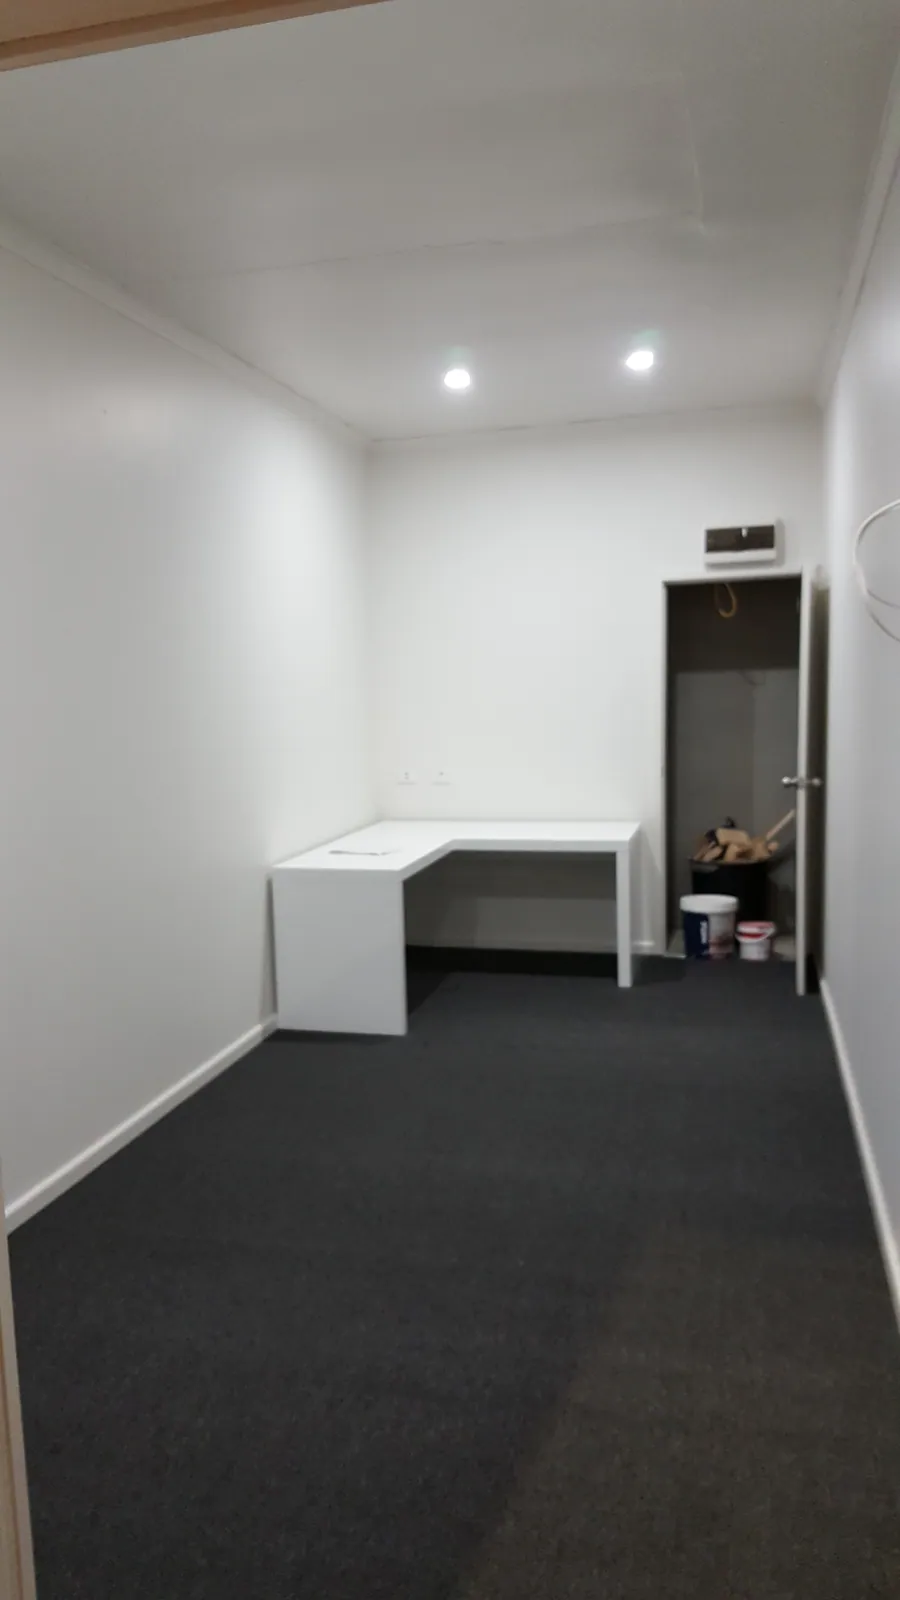
A desk goes into the far end of the room.
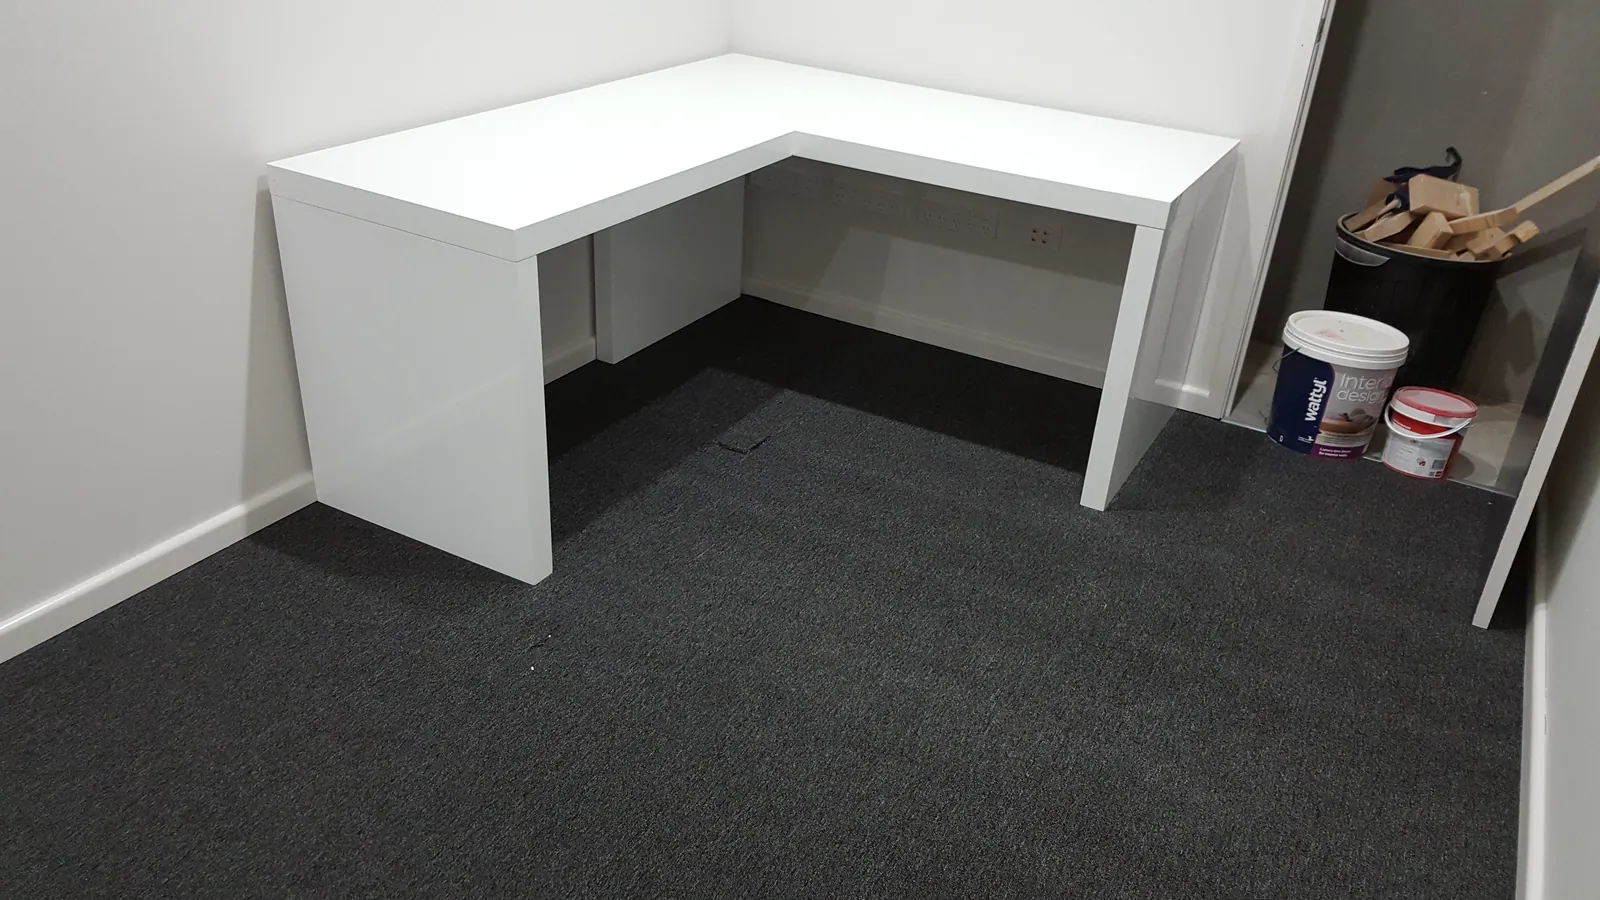
The fitted corner desk completes this stage of the room.
03The first retail display walls — July–August 2016
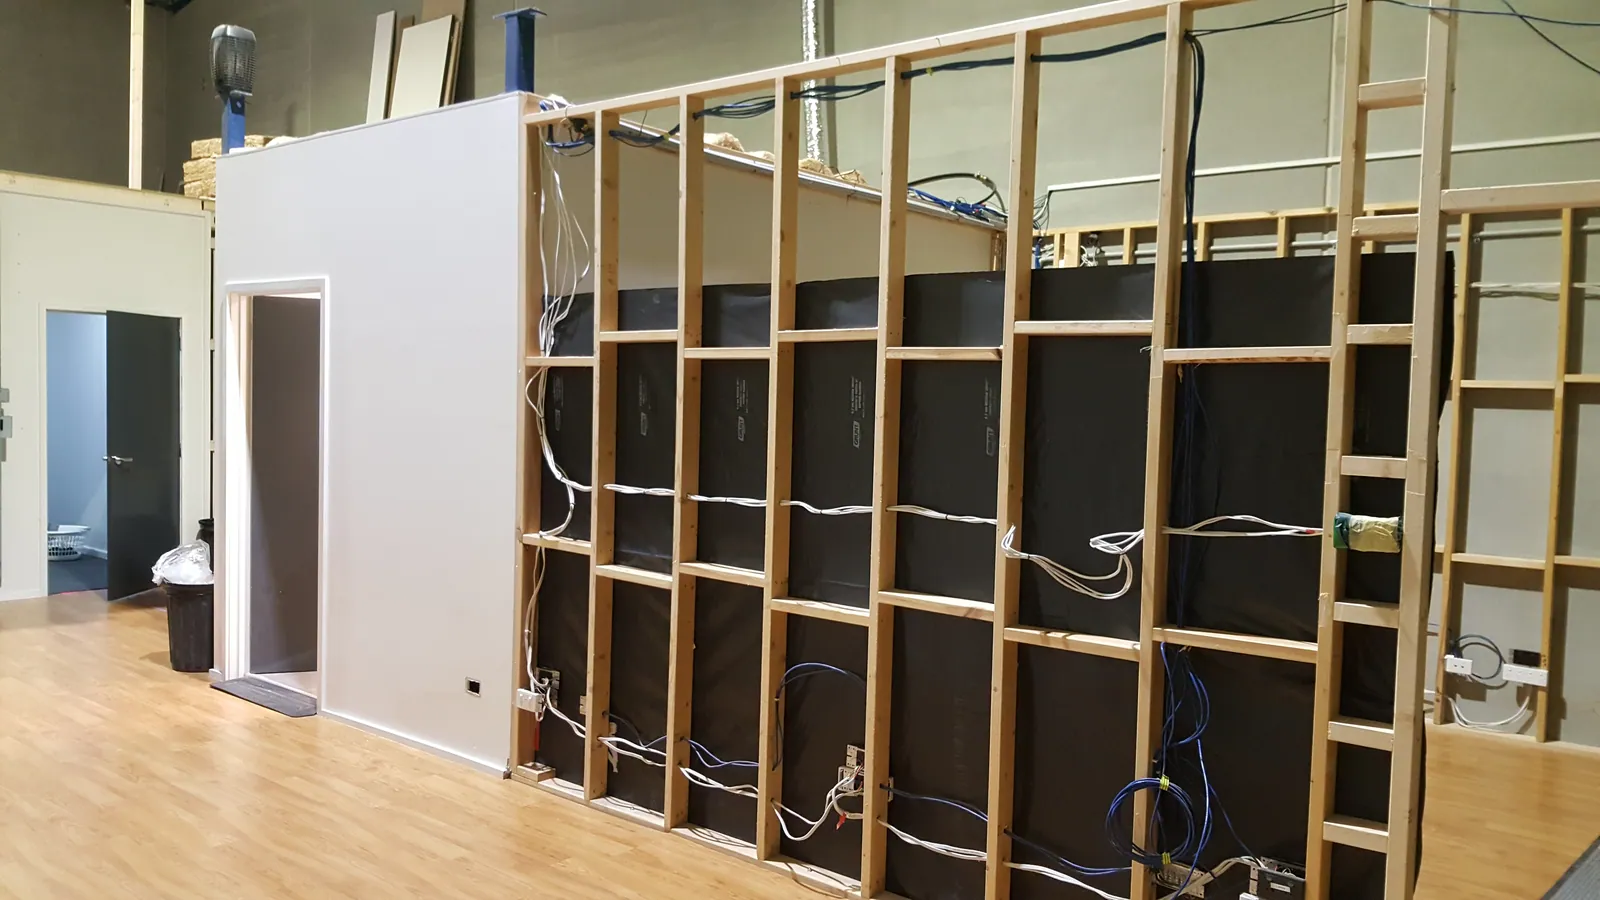
Bare timber studs mark out the next area to be fitted out.
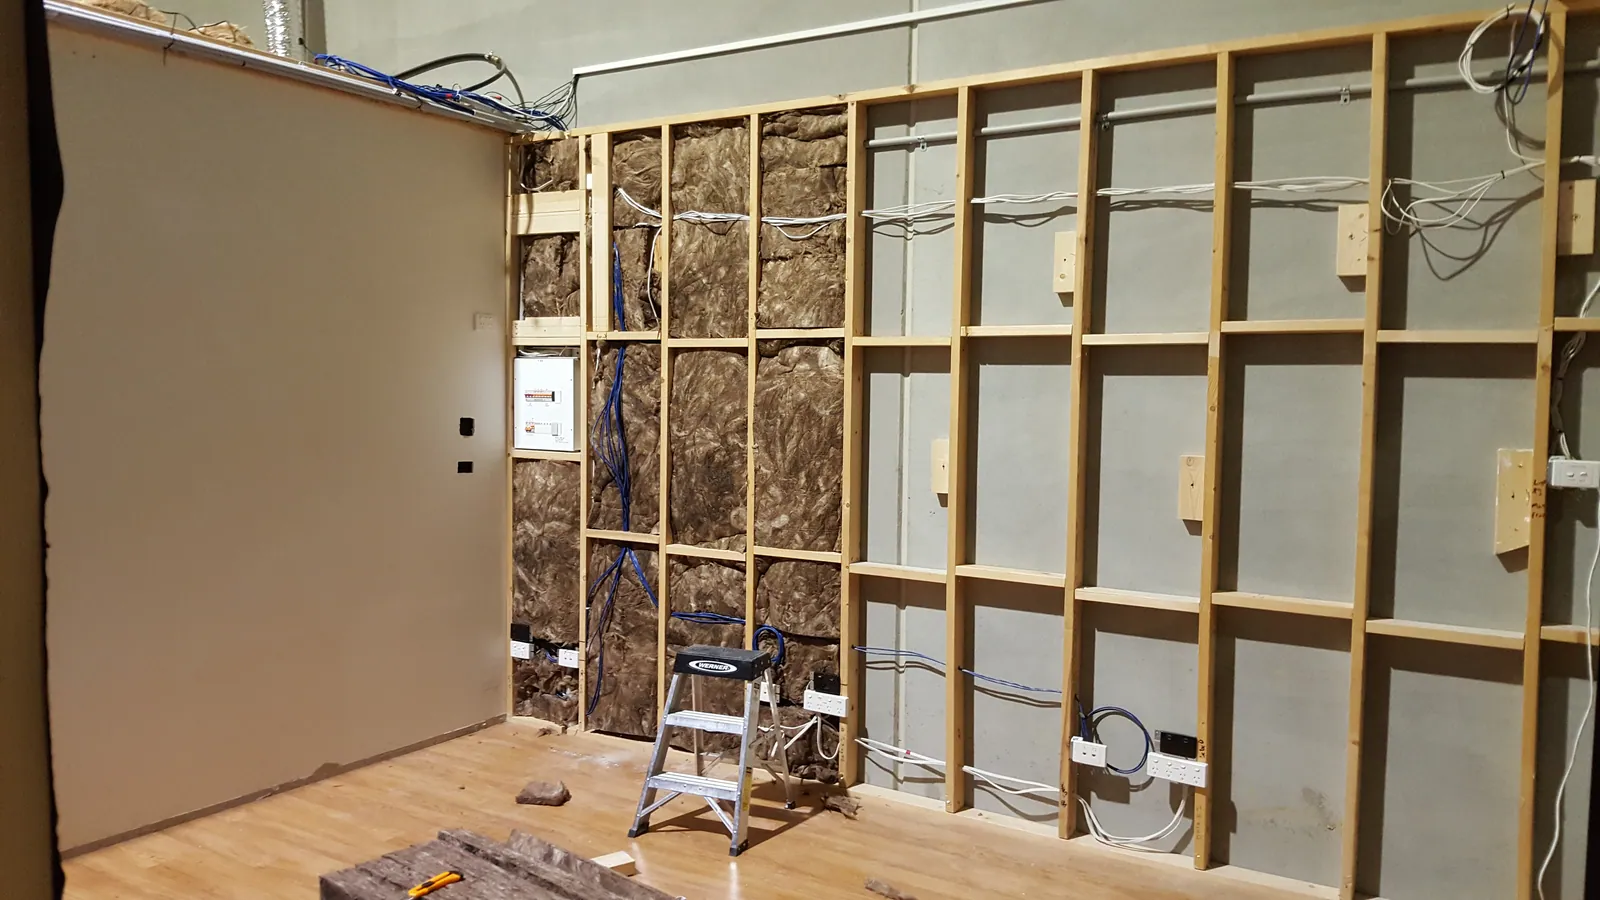
Insulation is fitted partway across the display wall.
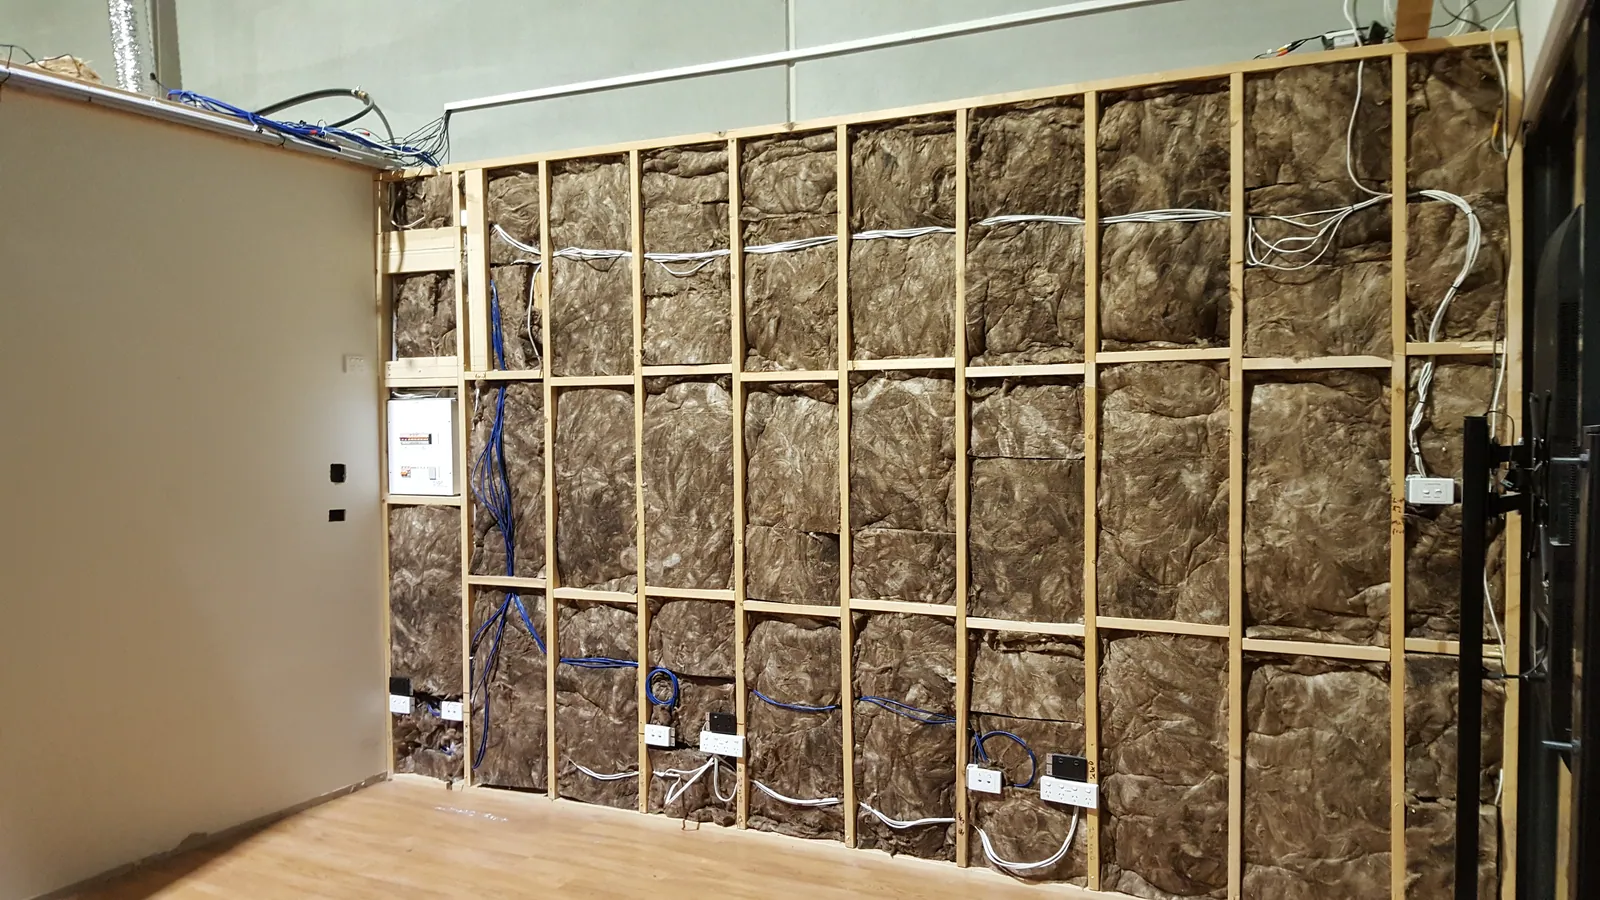
The first wall is filled with insulation.
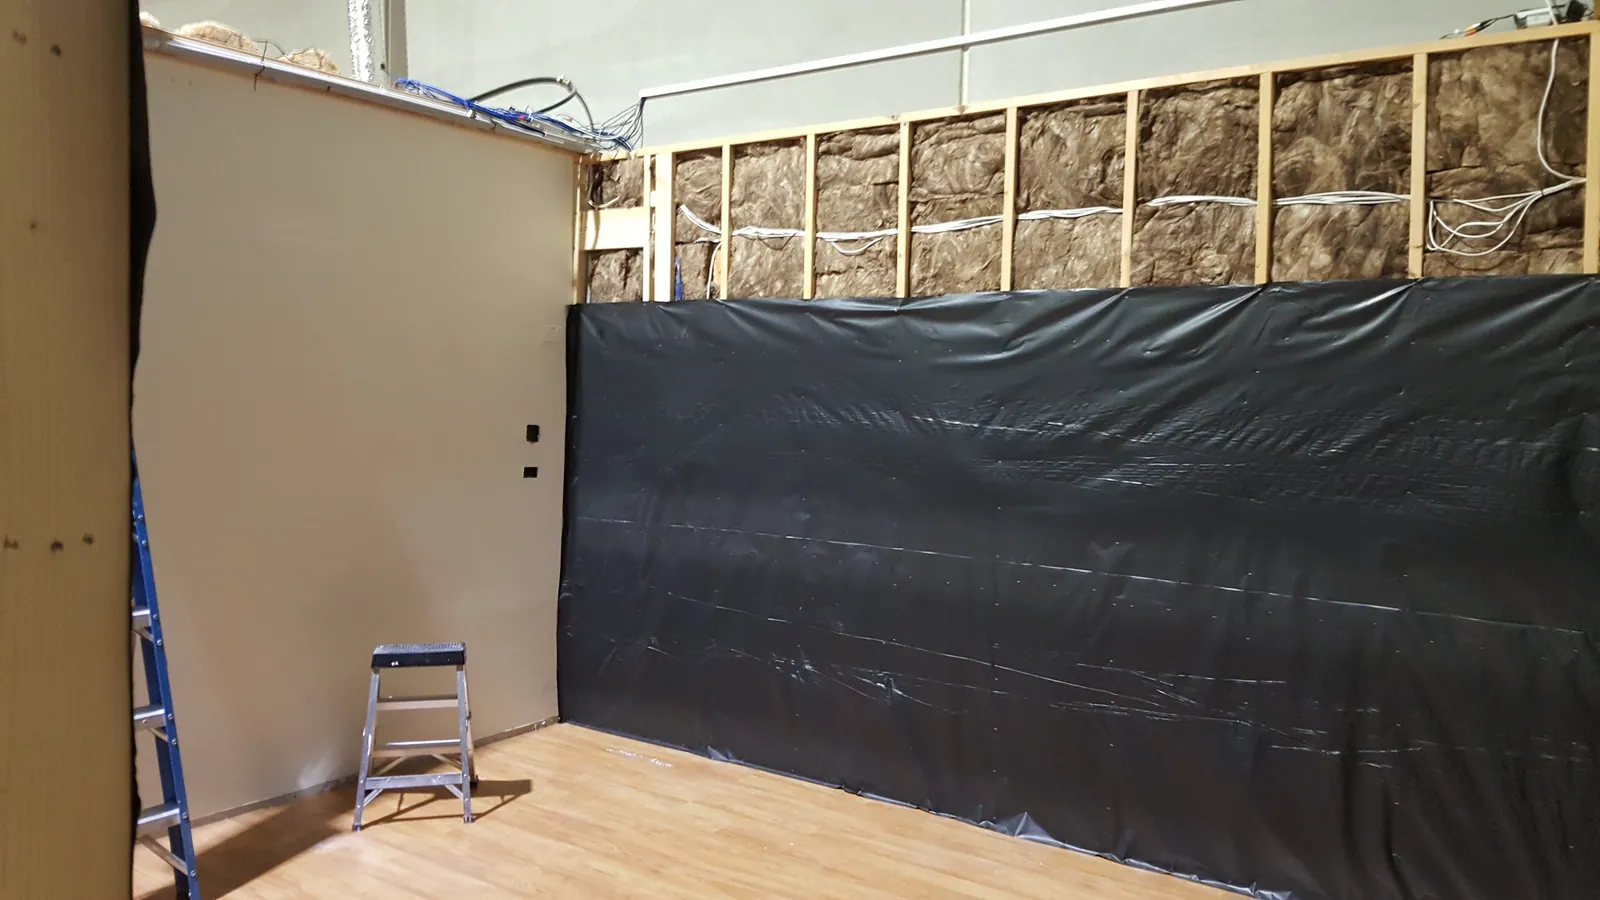
Black membrane starts covering the insulated wall.
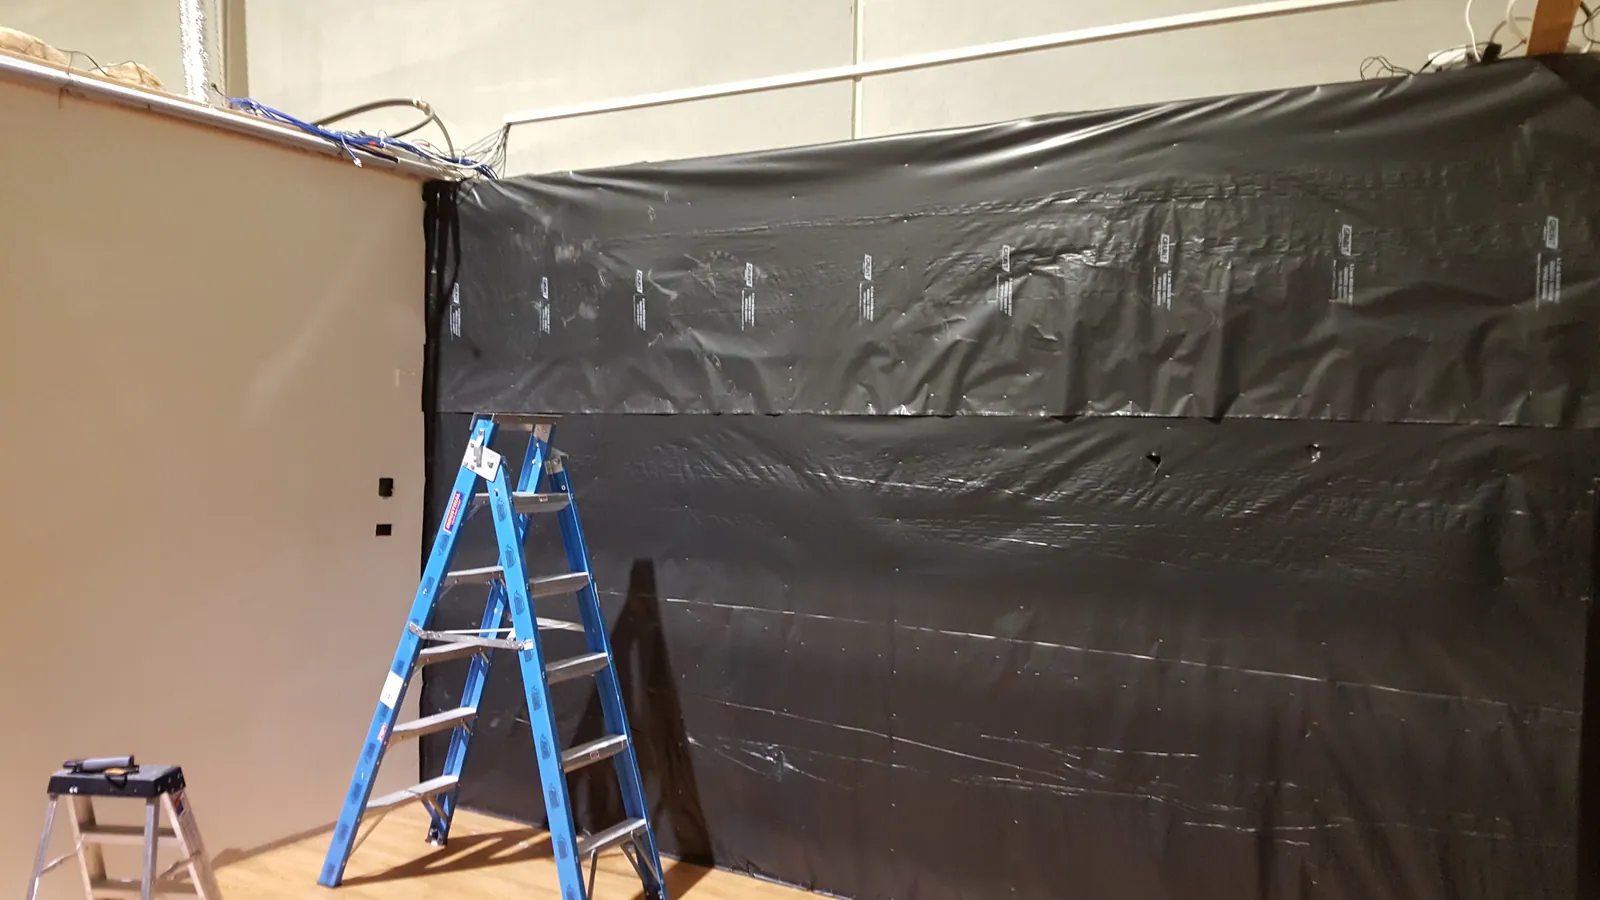
The membrane now spans the first wall.
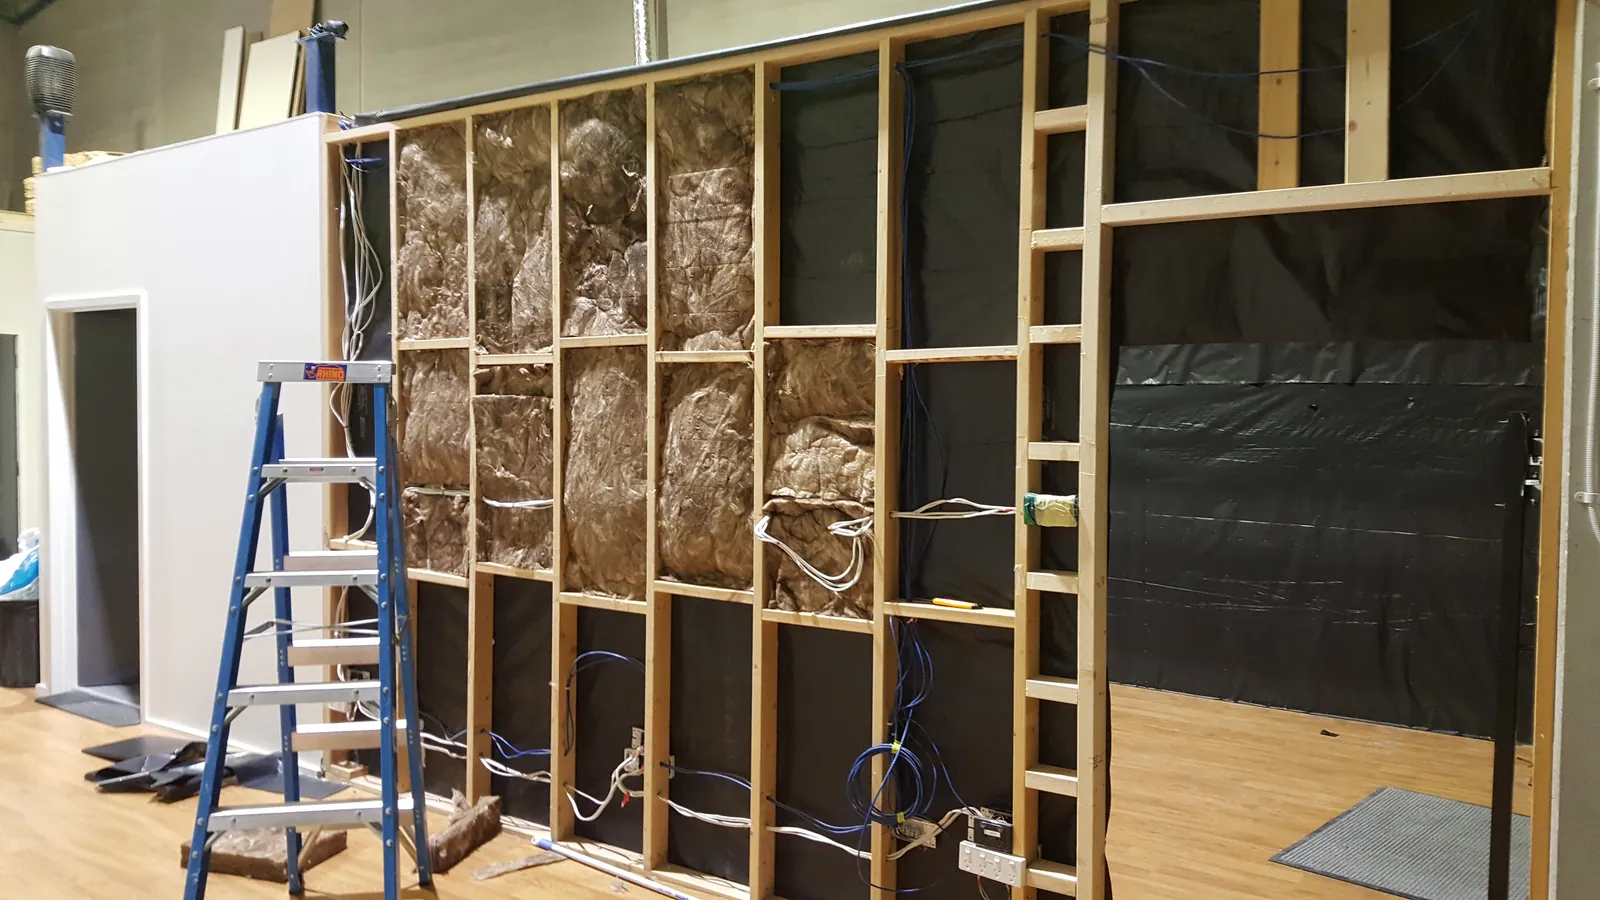
Insulation work moves around the adjacent wall.
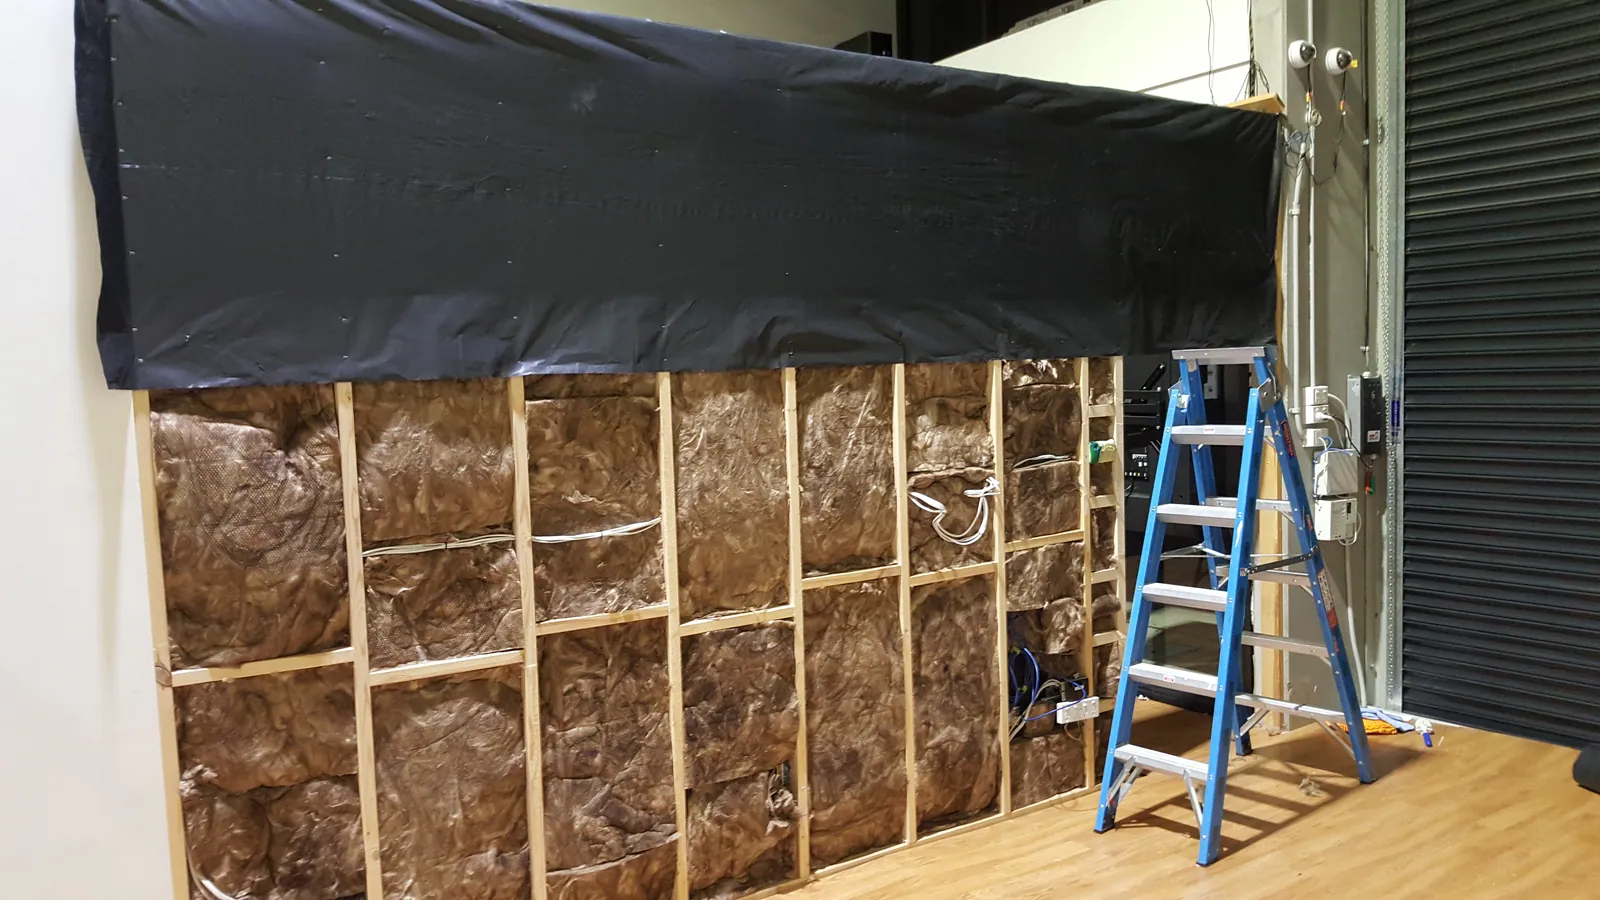
The next wall is filled before the membrane goes on.
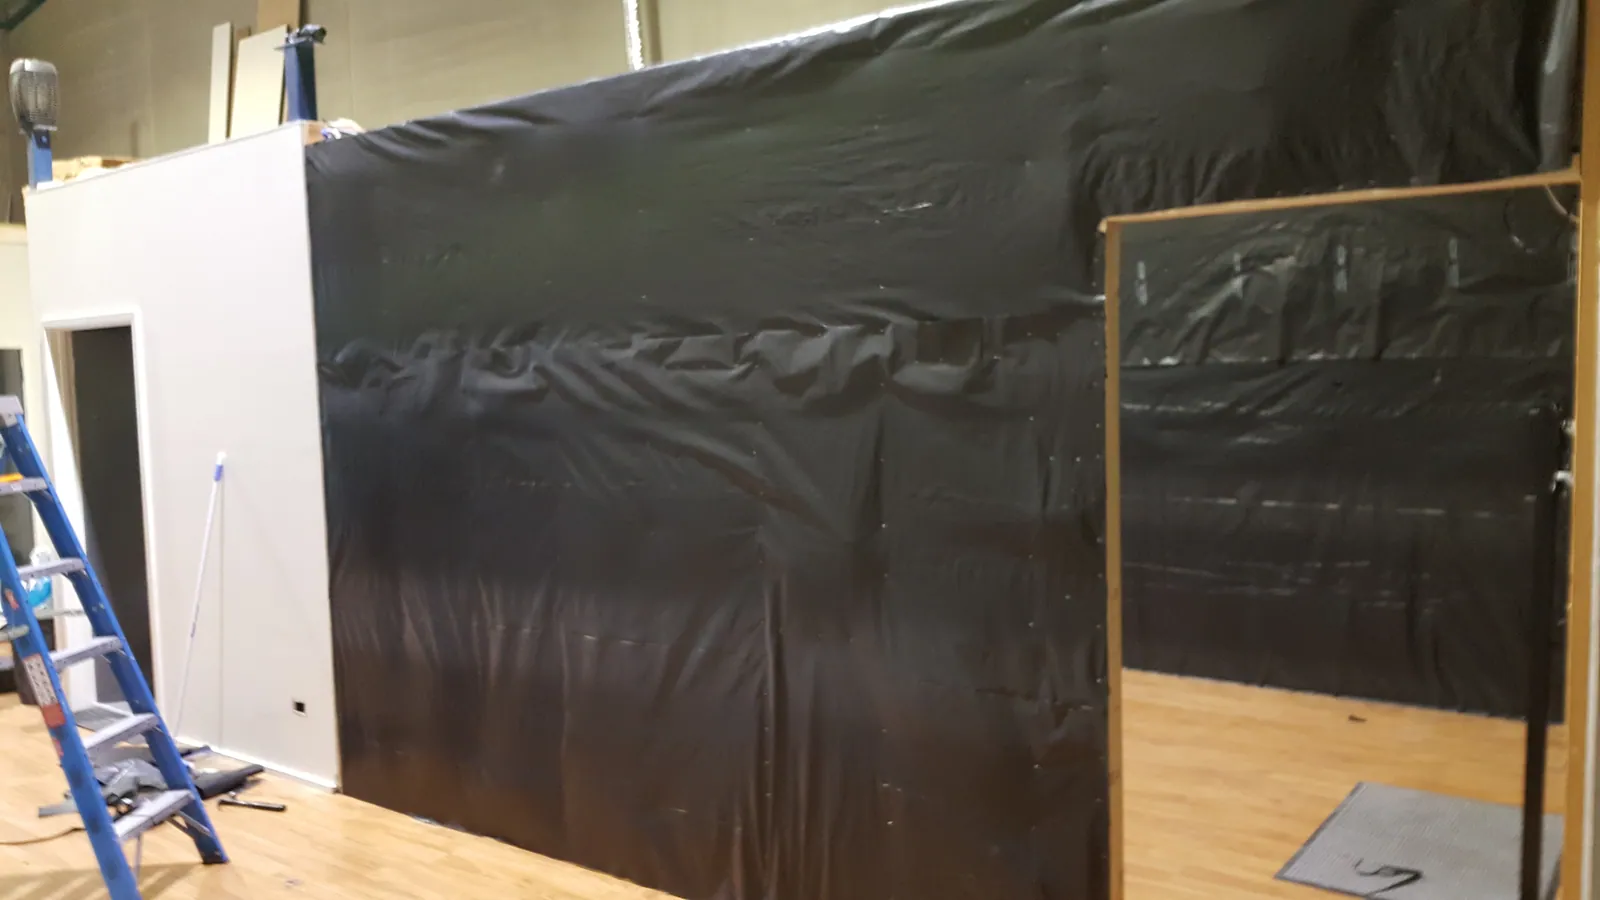
Black membrane encloses more of the retail corner.
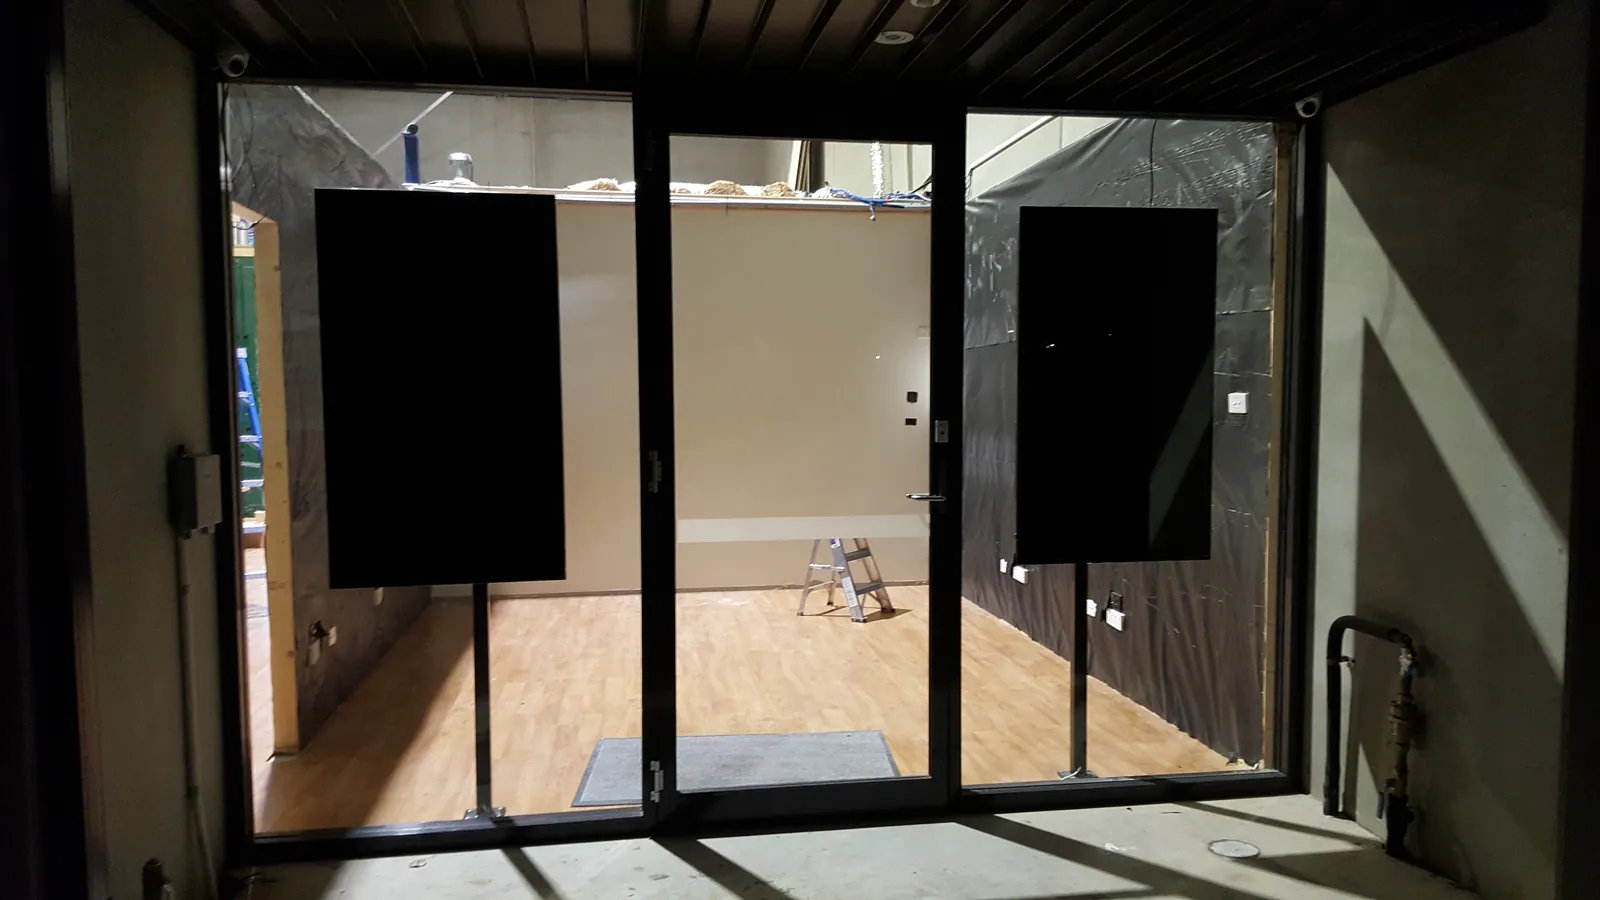
A view through the entrance glass shows the work still underway inside.
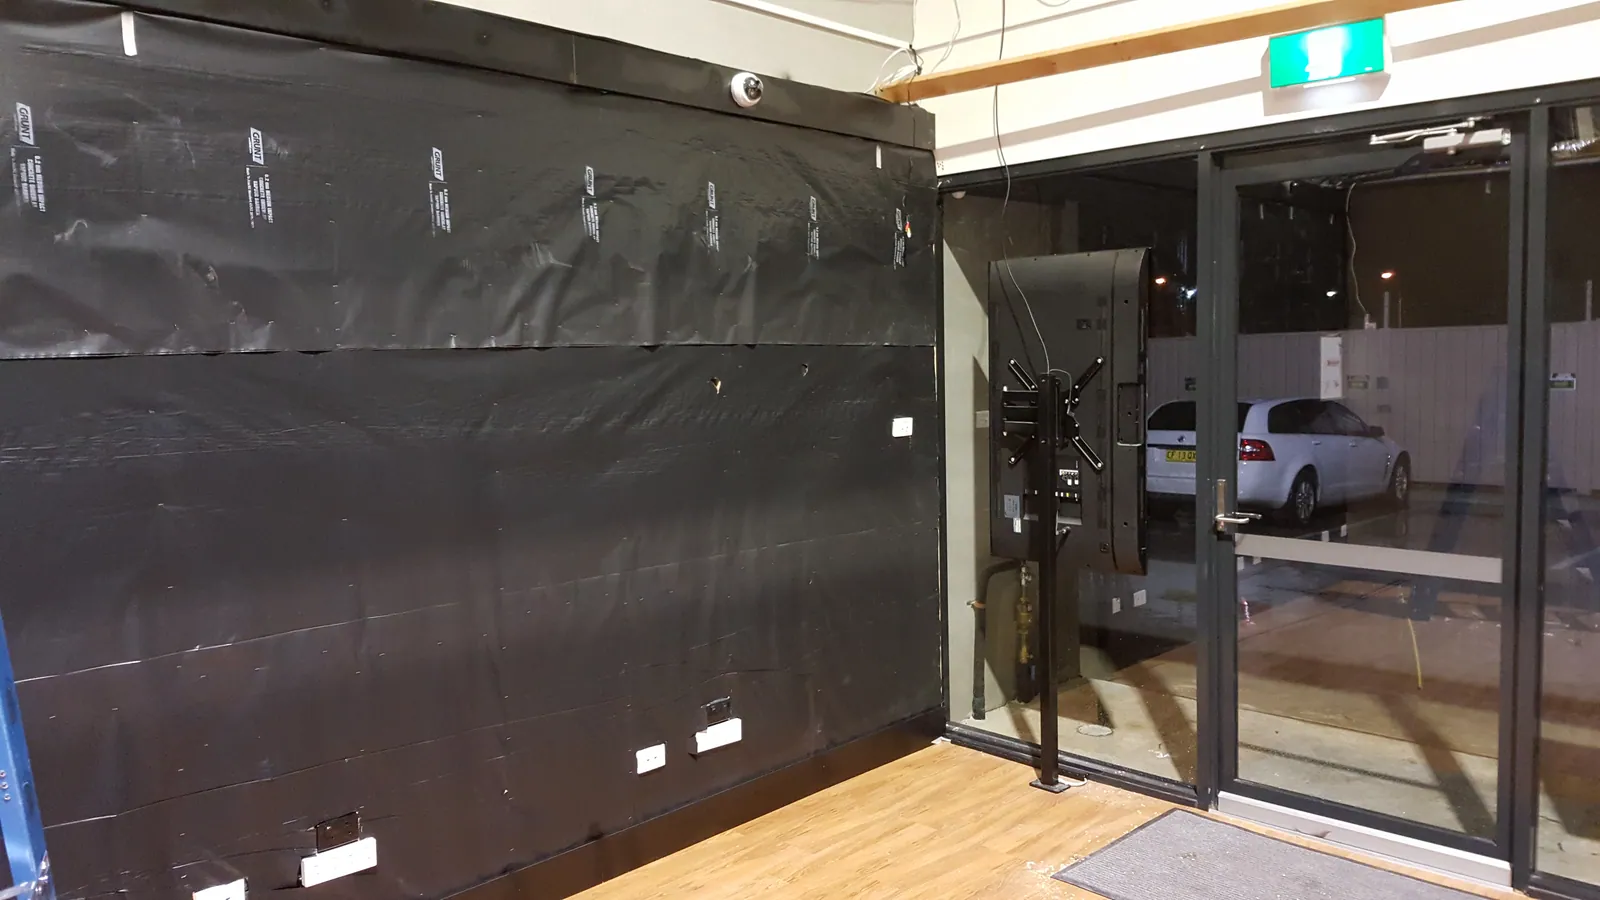
The membrane-lined area is seen together with the entrance.
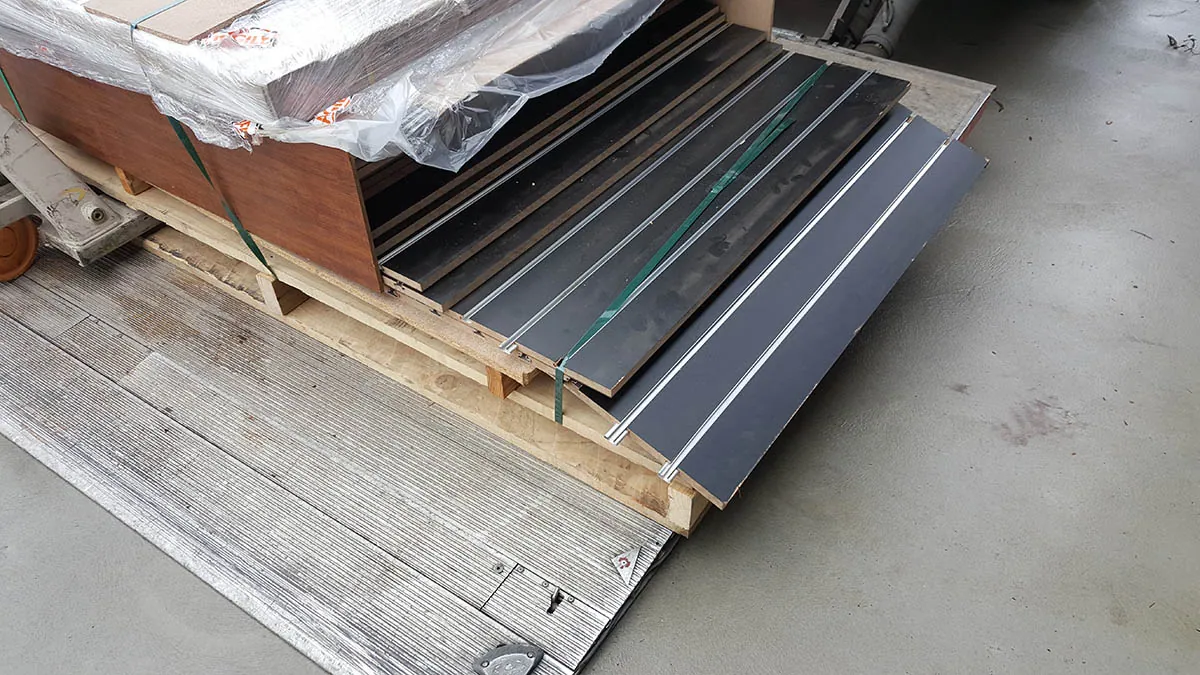
A delivery of slatwall panels waits to be fitted.
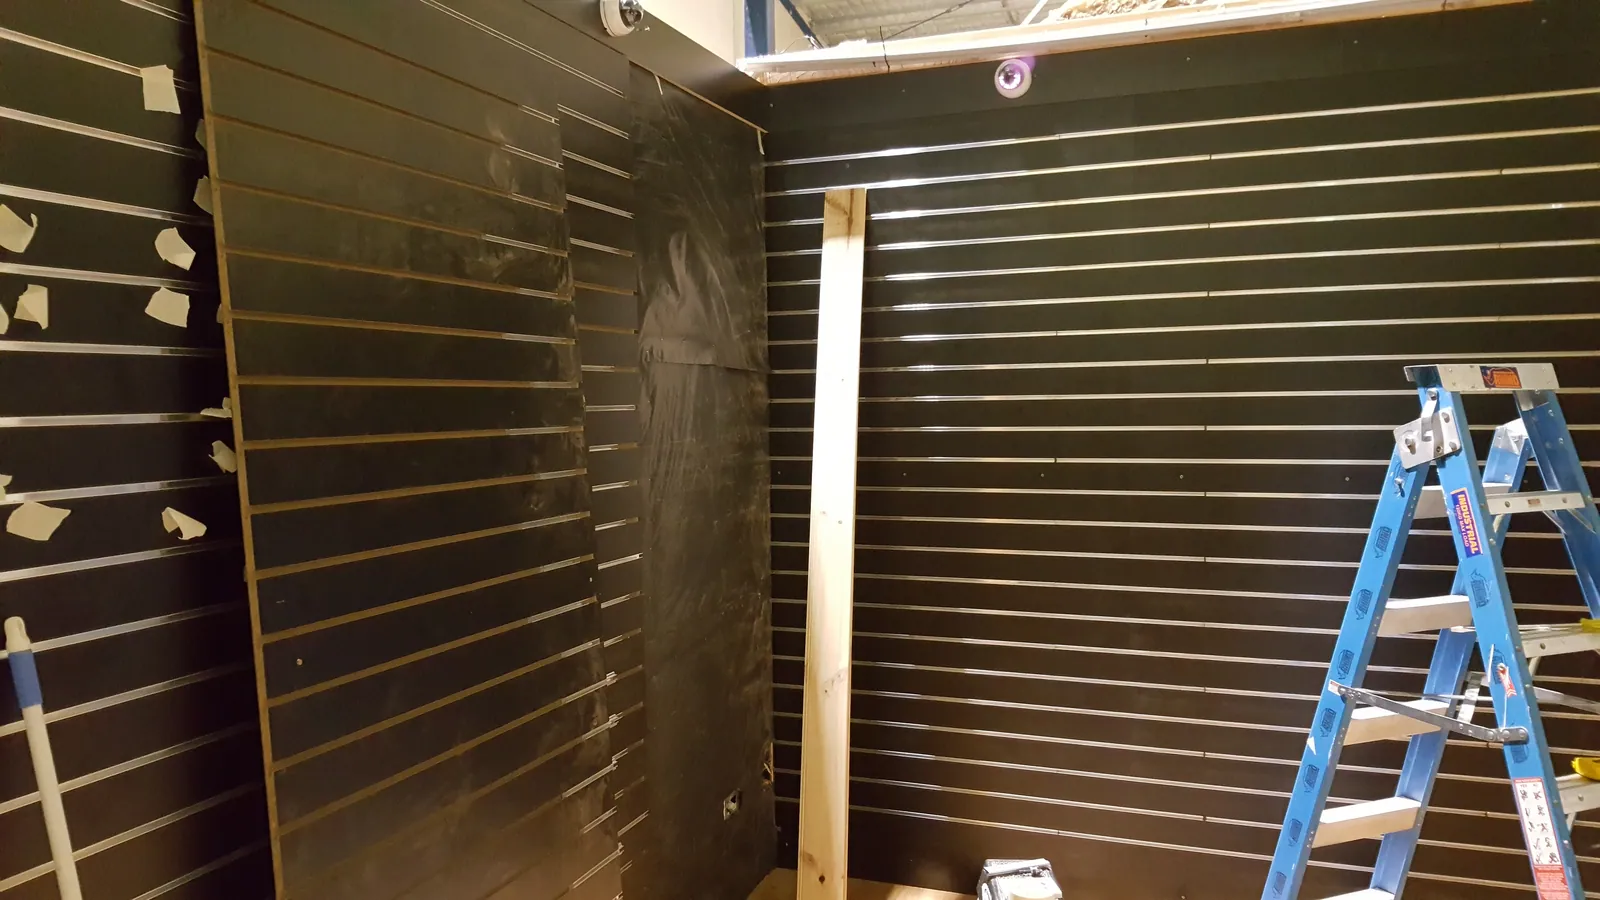
The first slatwall panels start turning the frame into a display wall.
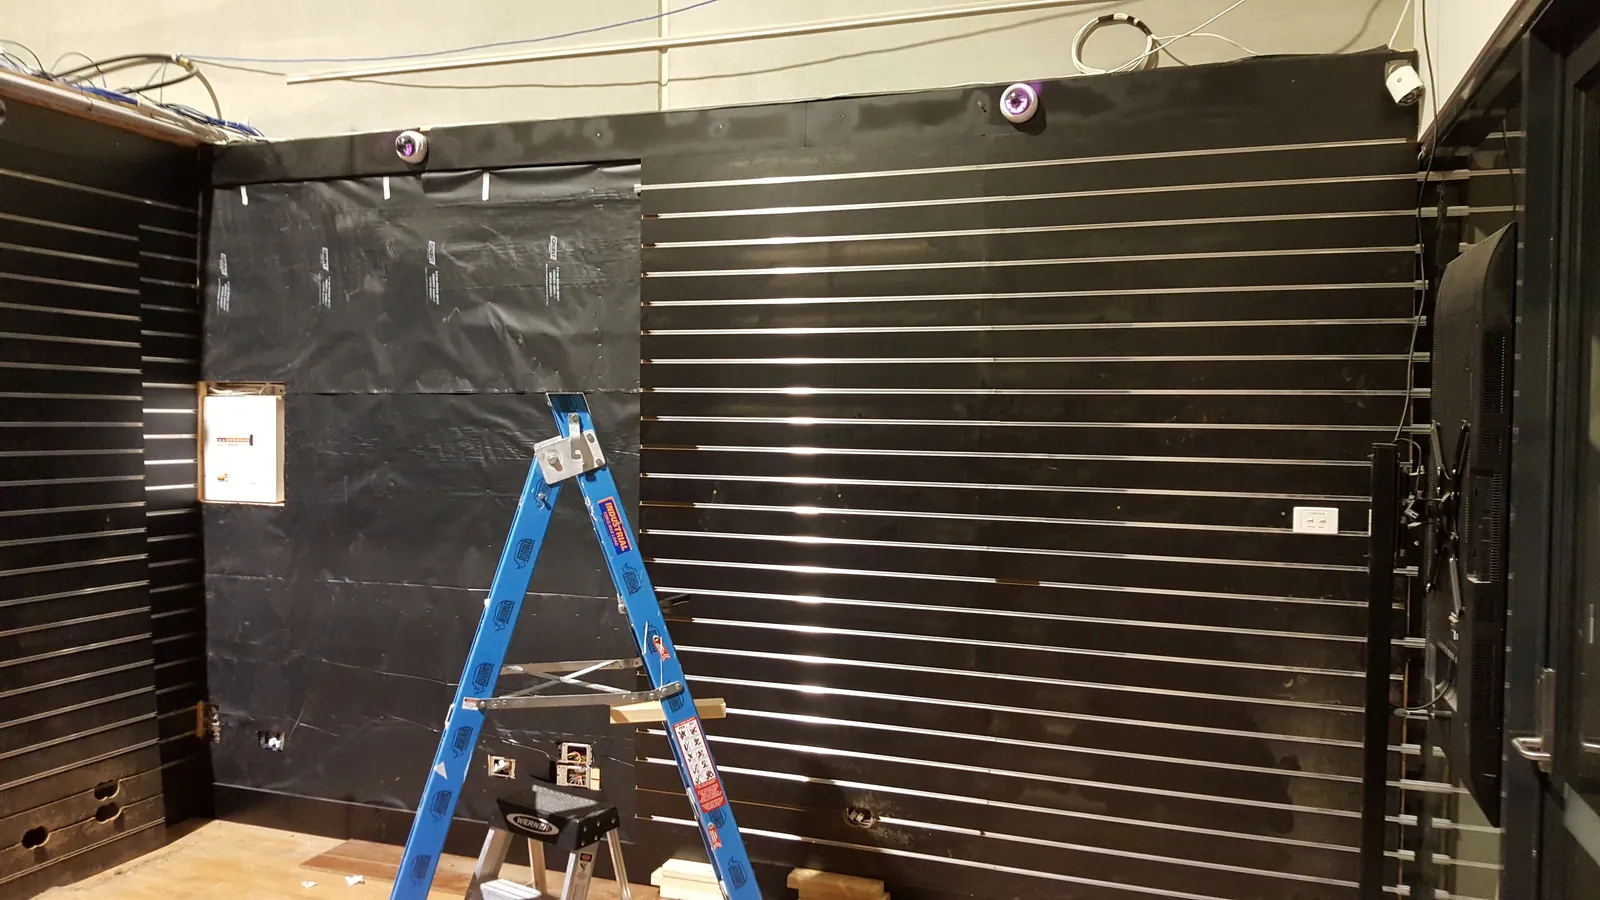
Display panels advance across the next section.
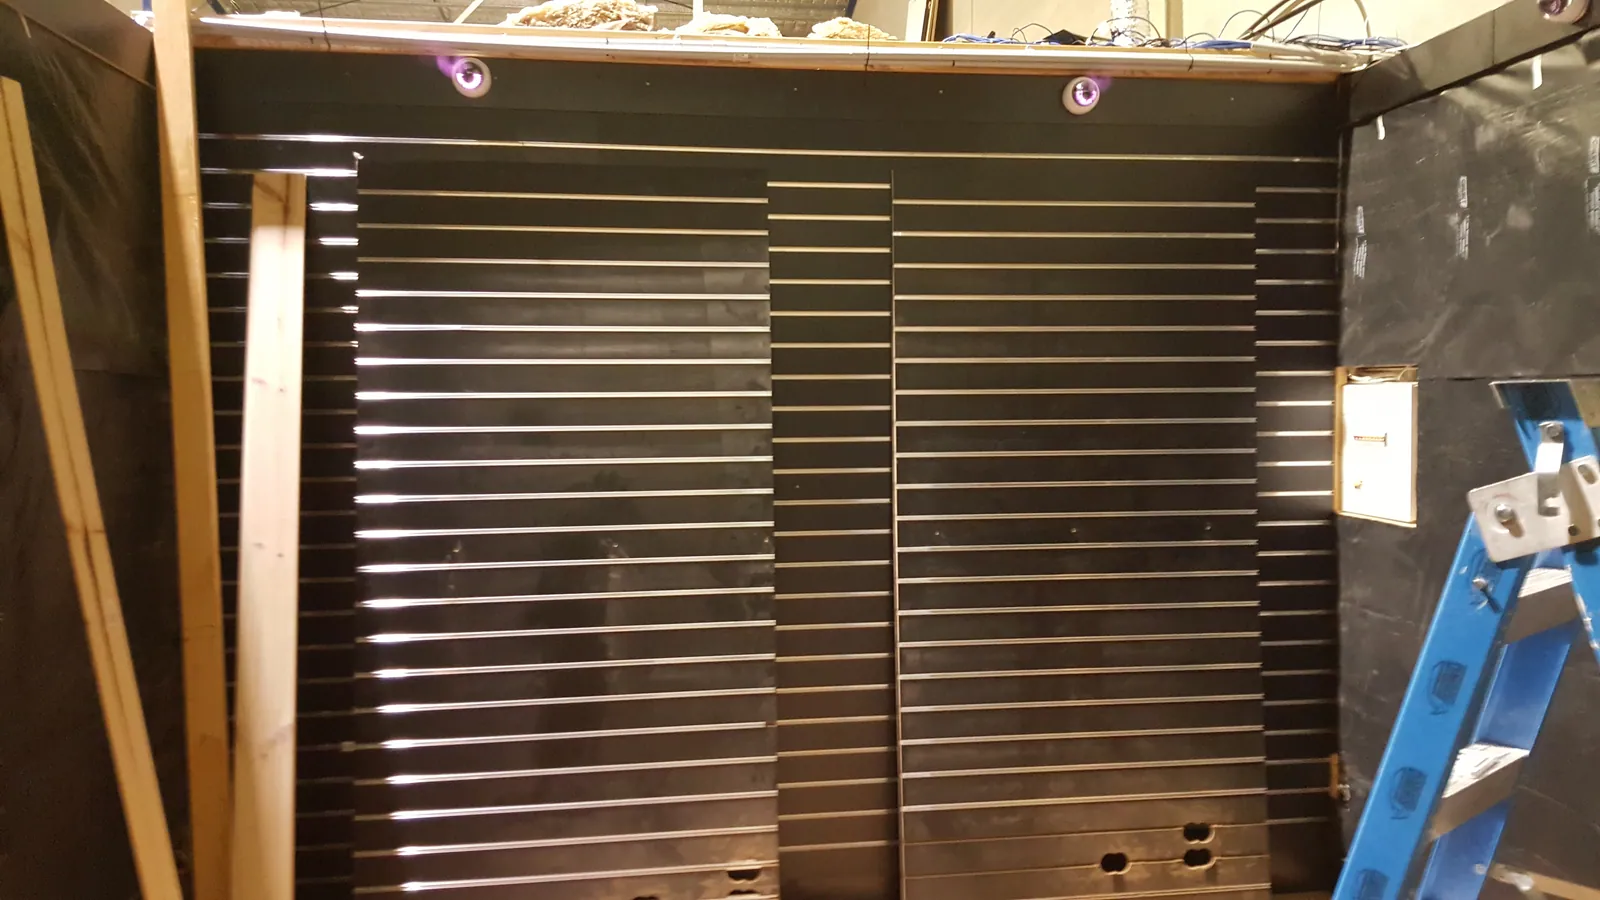
More panels join up around the corner.
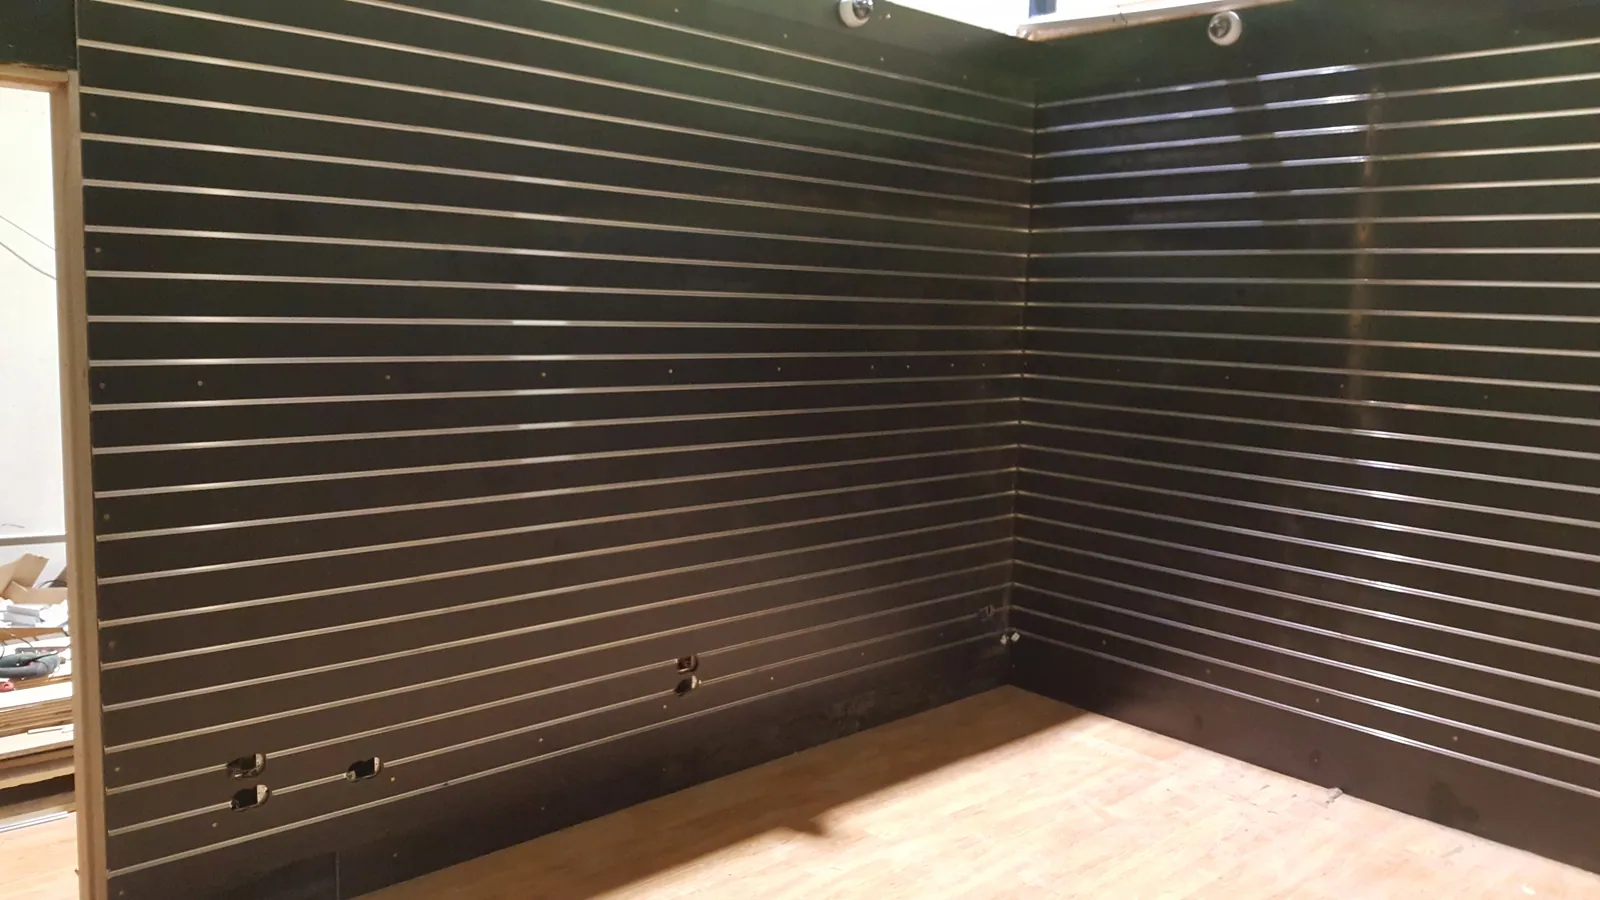
The slatwall corner is nearly complete.
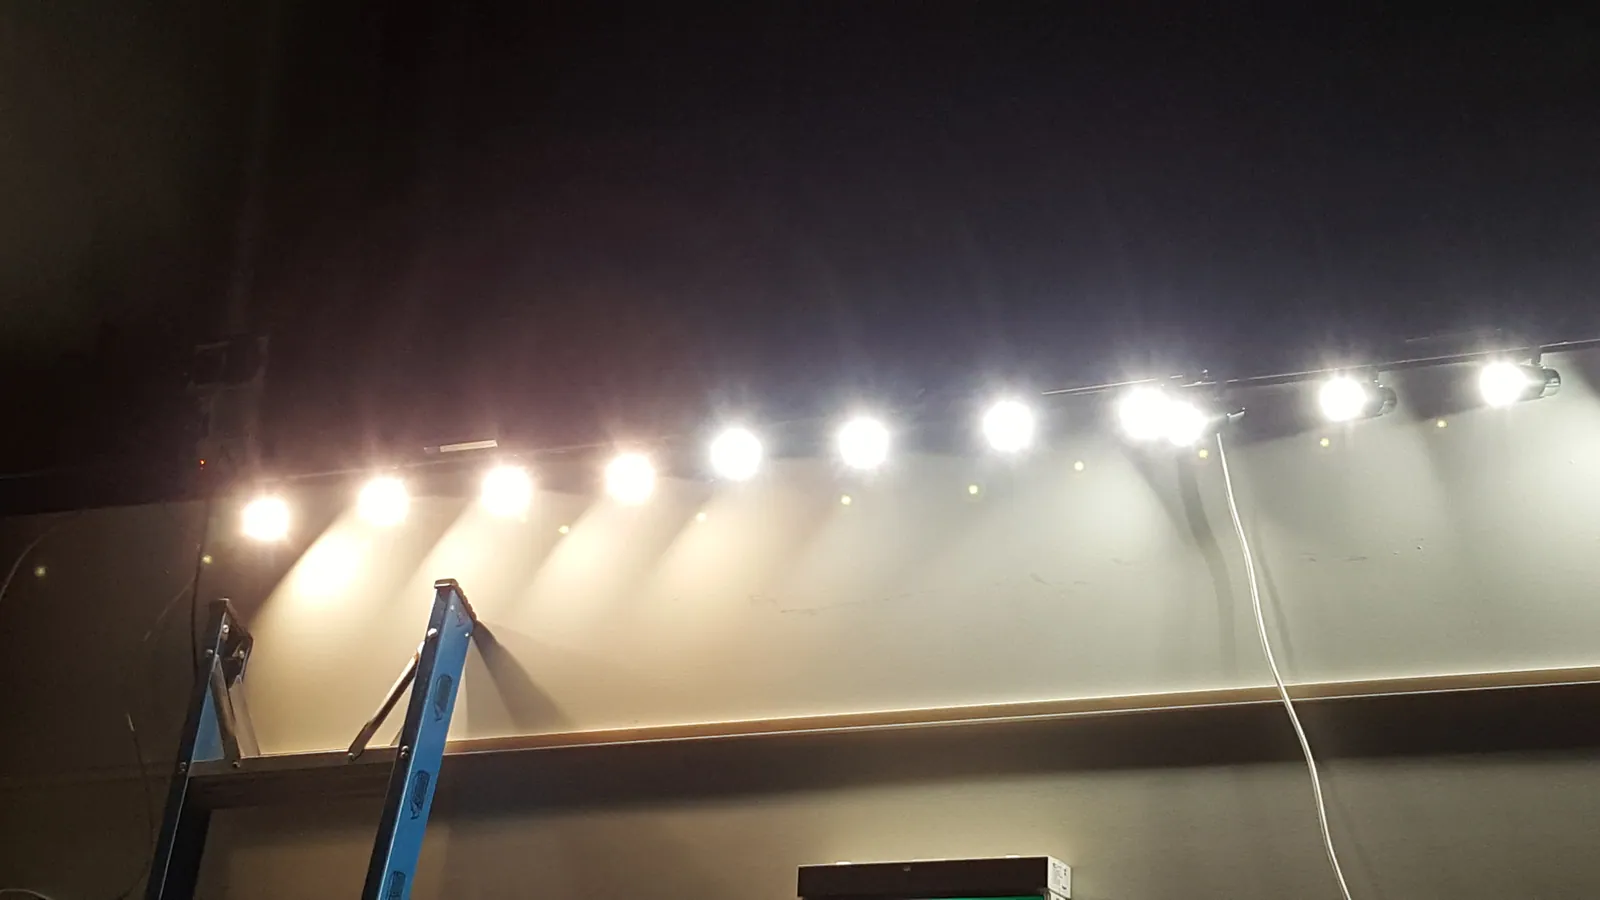
Lighting is fitted above the new display area.
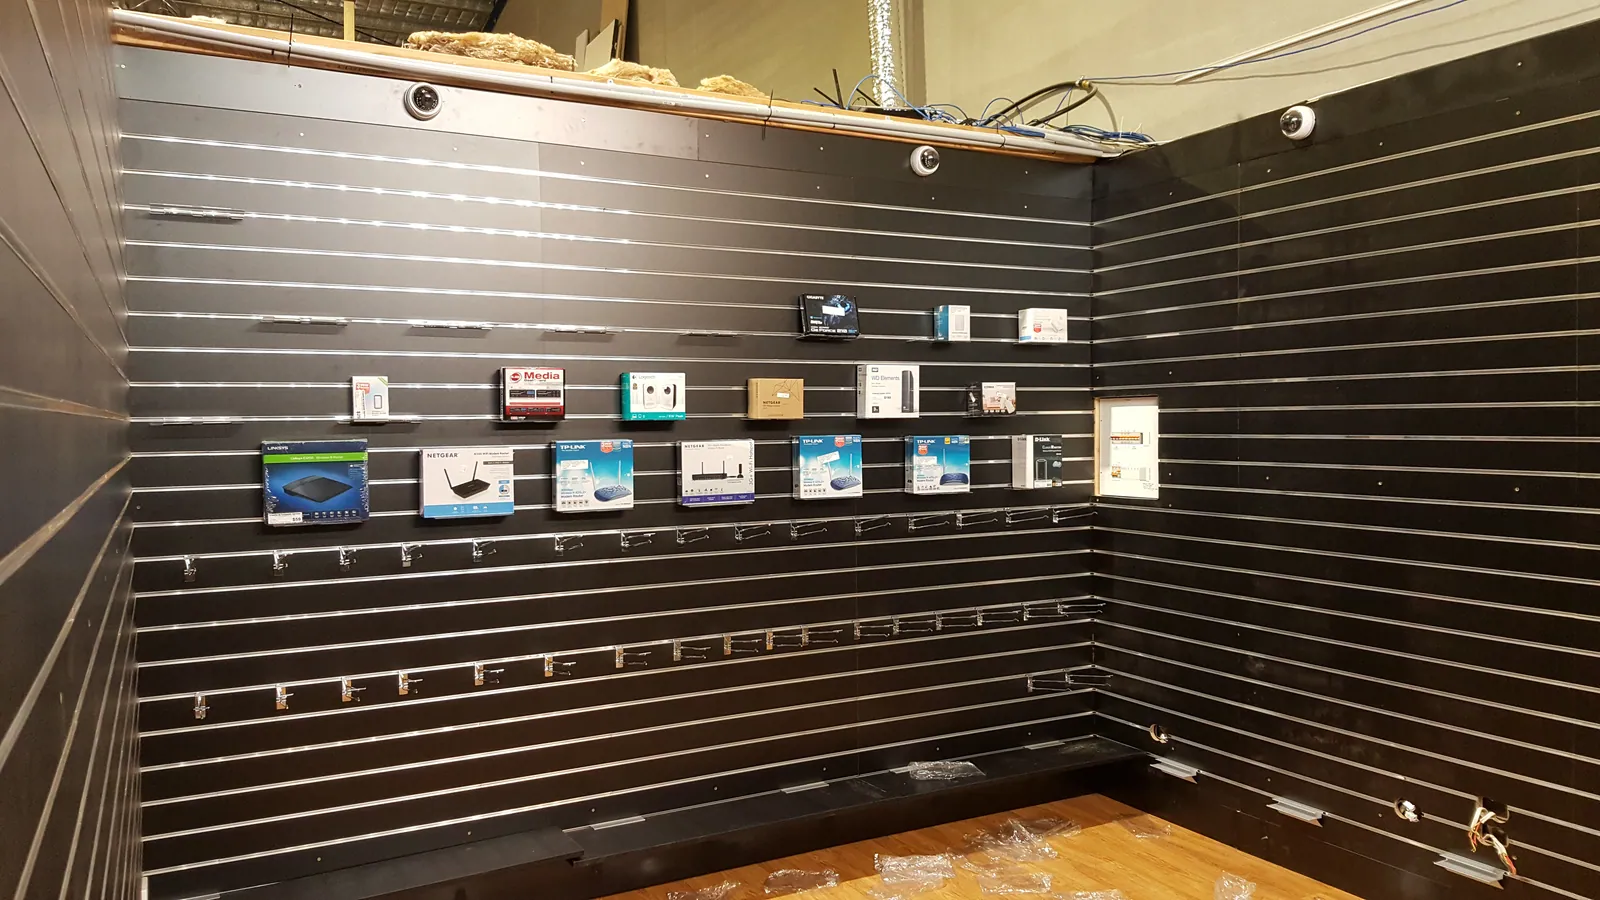
The first stock begins to appear on the display wall.
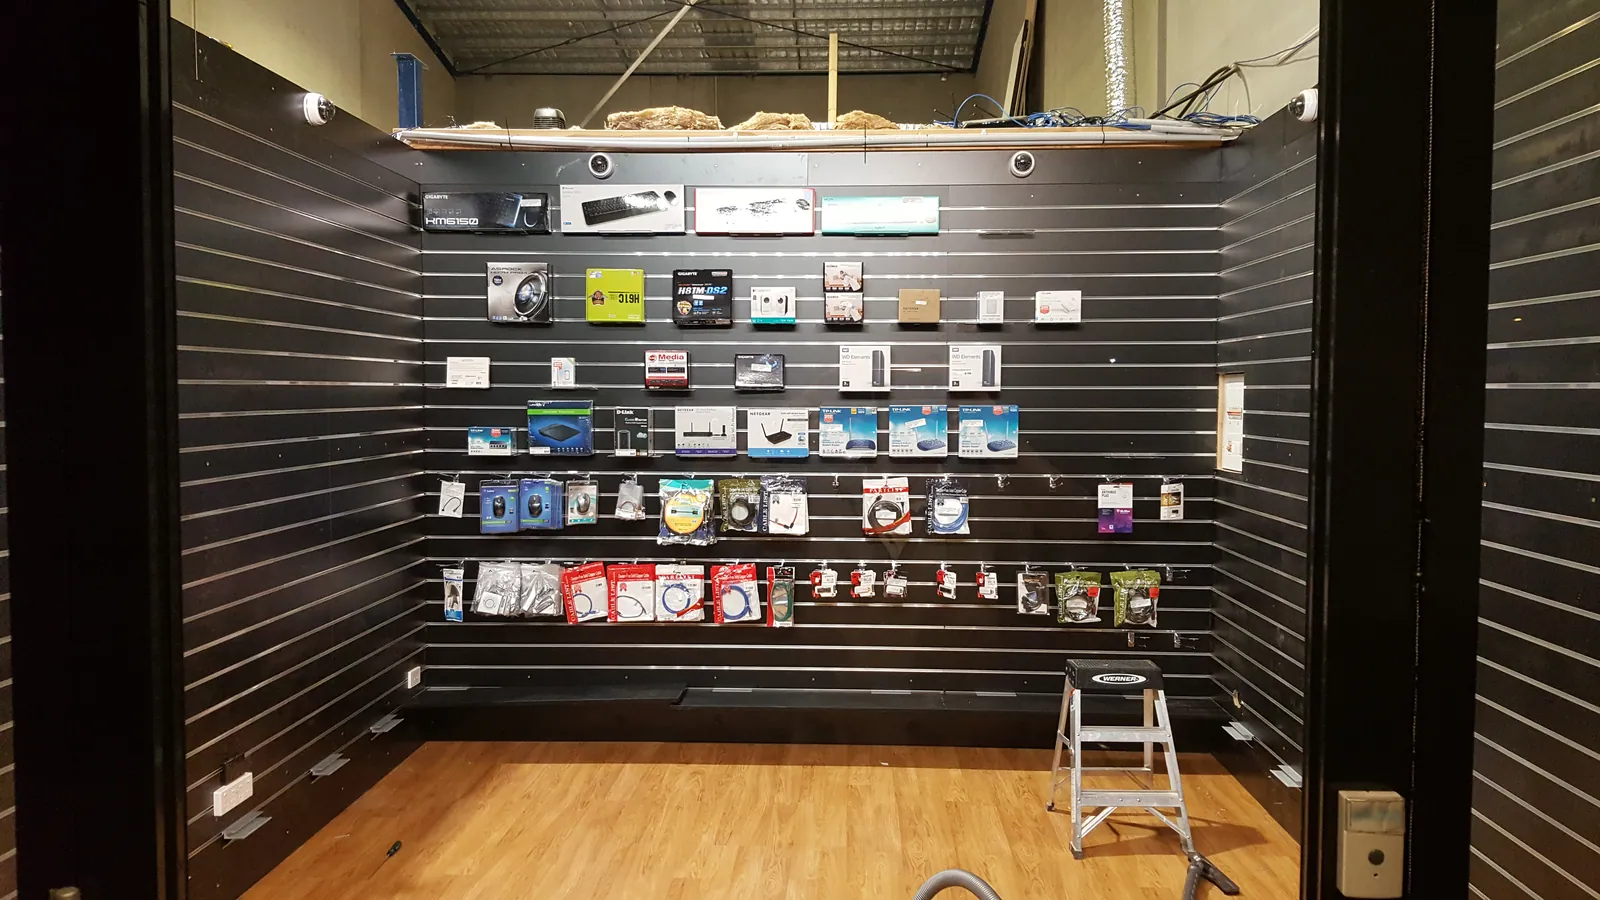
Stock spreads across more of the new display.
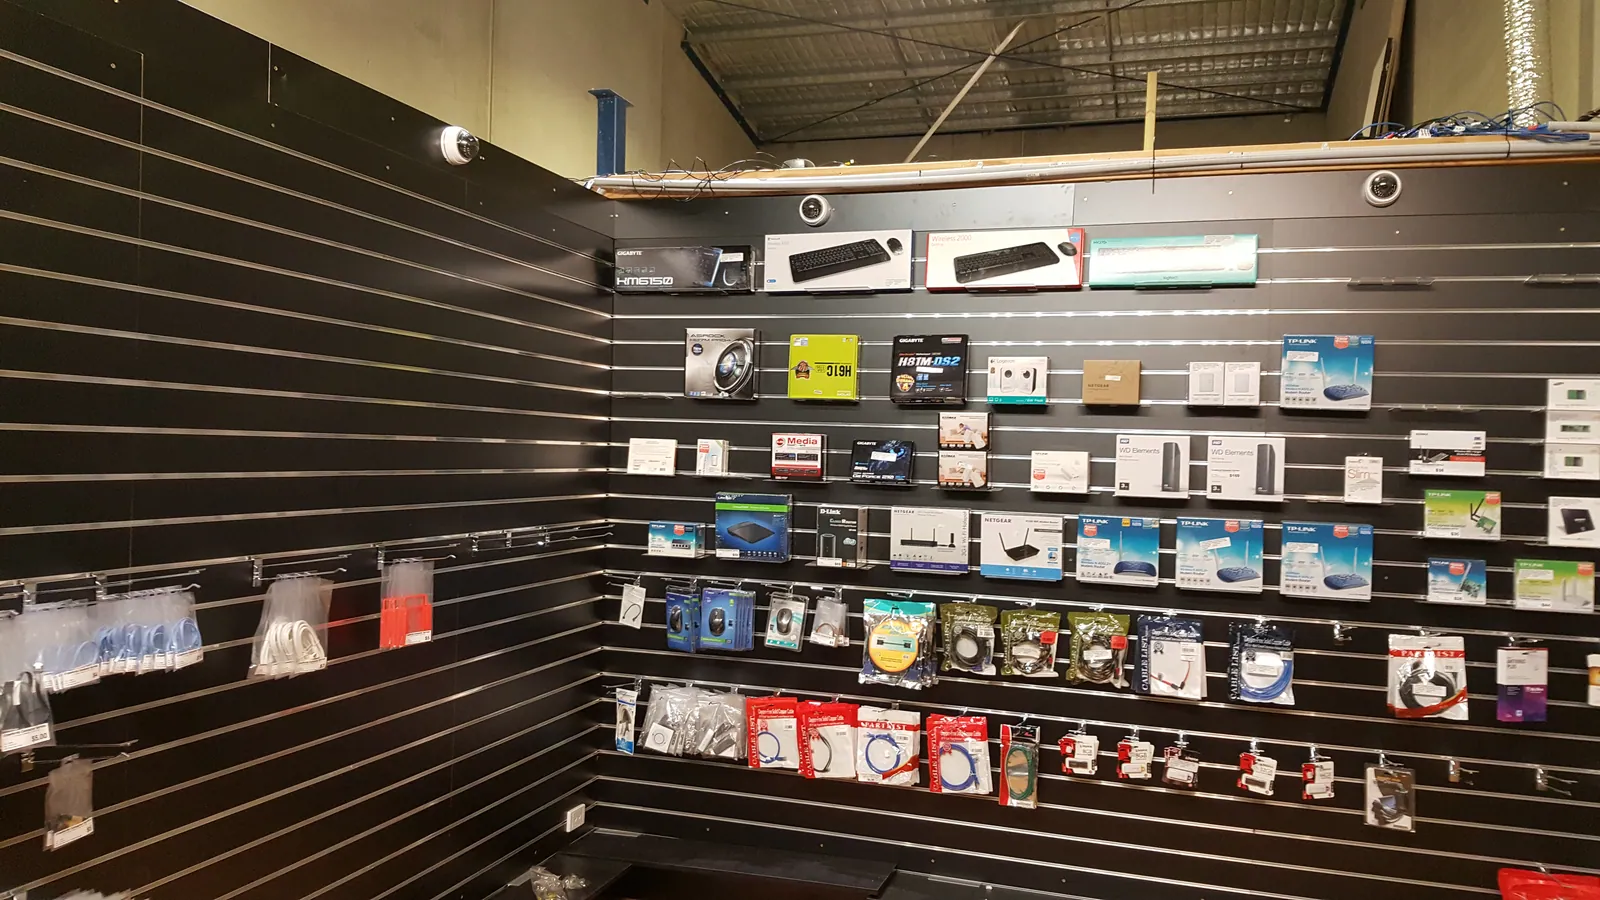
The stocked retail corner is taking shape in early August.
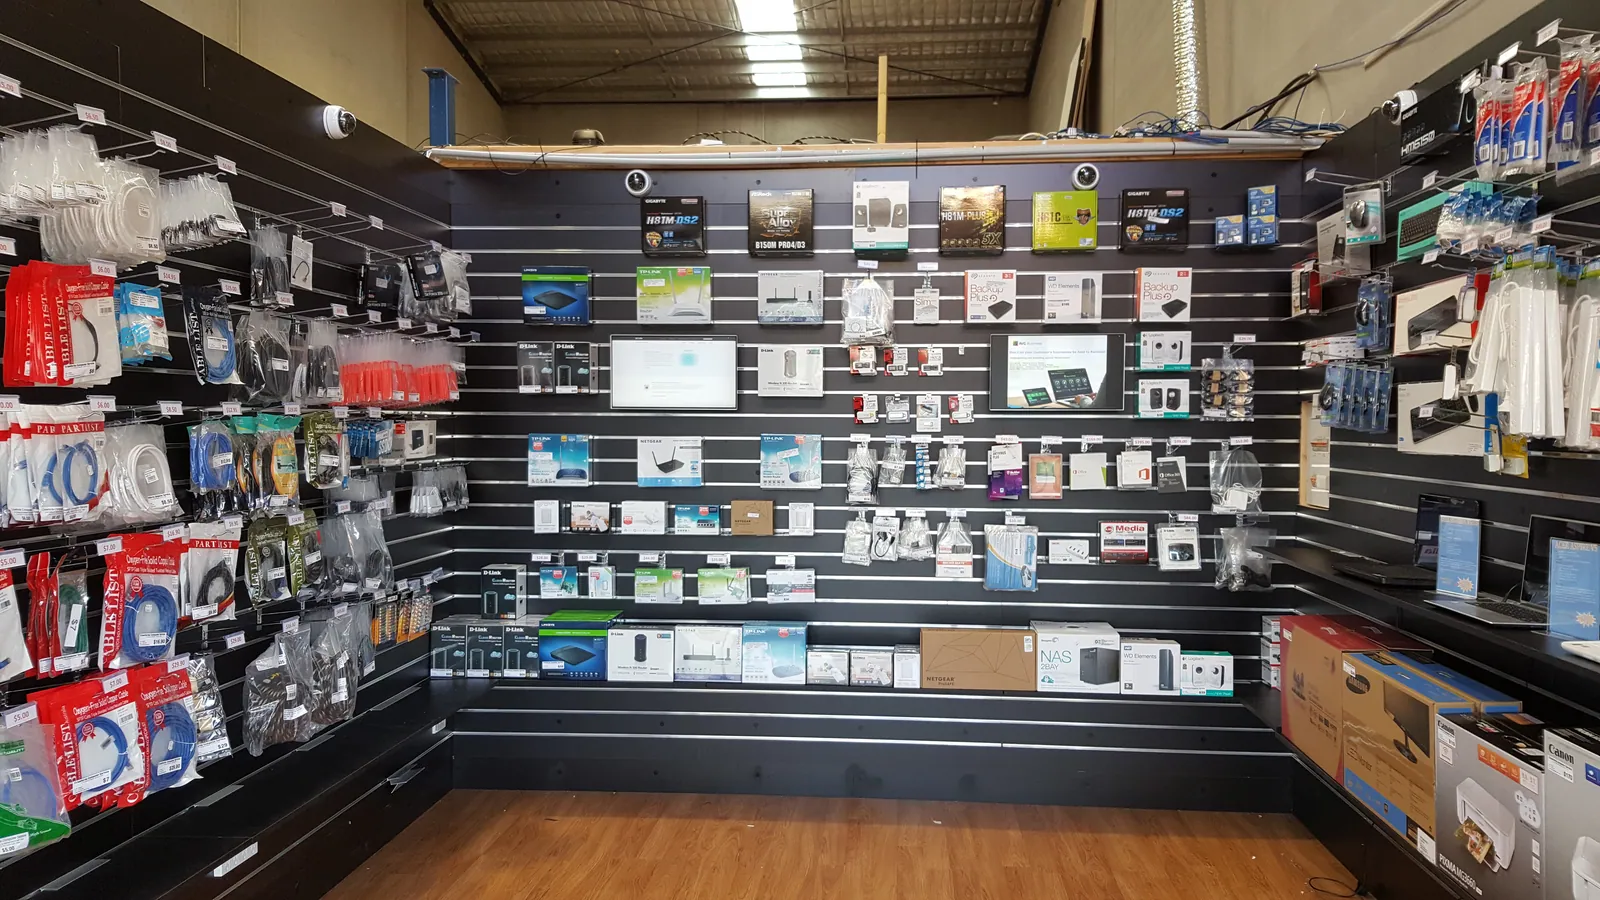
A later August view shows the display filled out with accessories.
04Extending the fitout and building the timber ceiling — September–November 2016
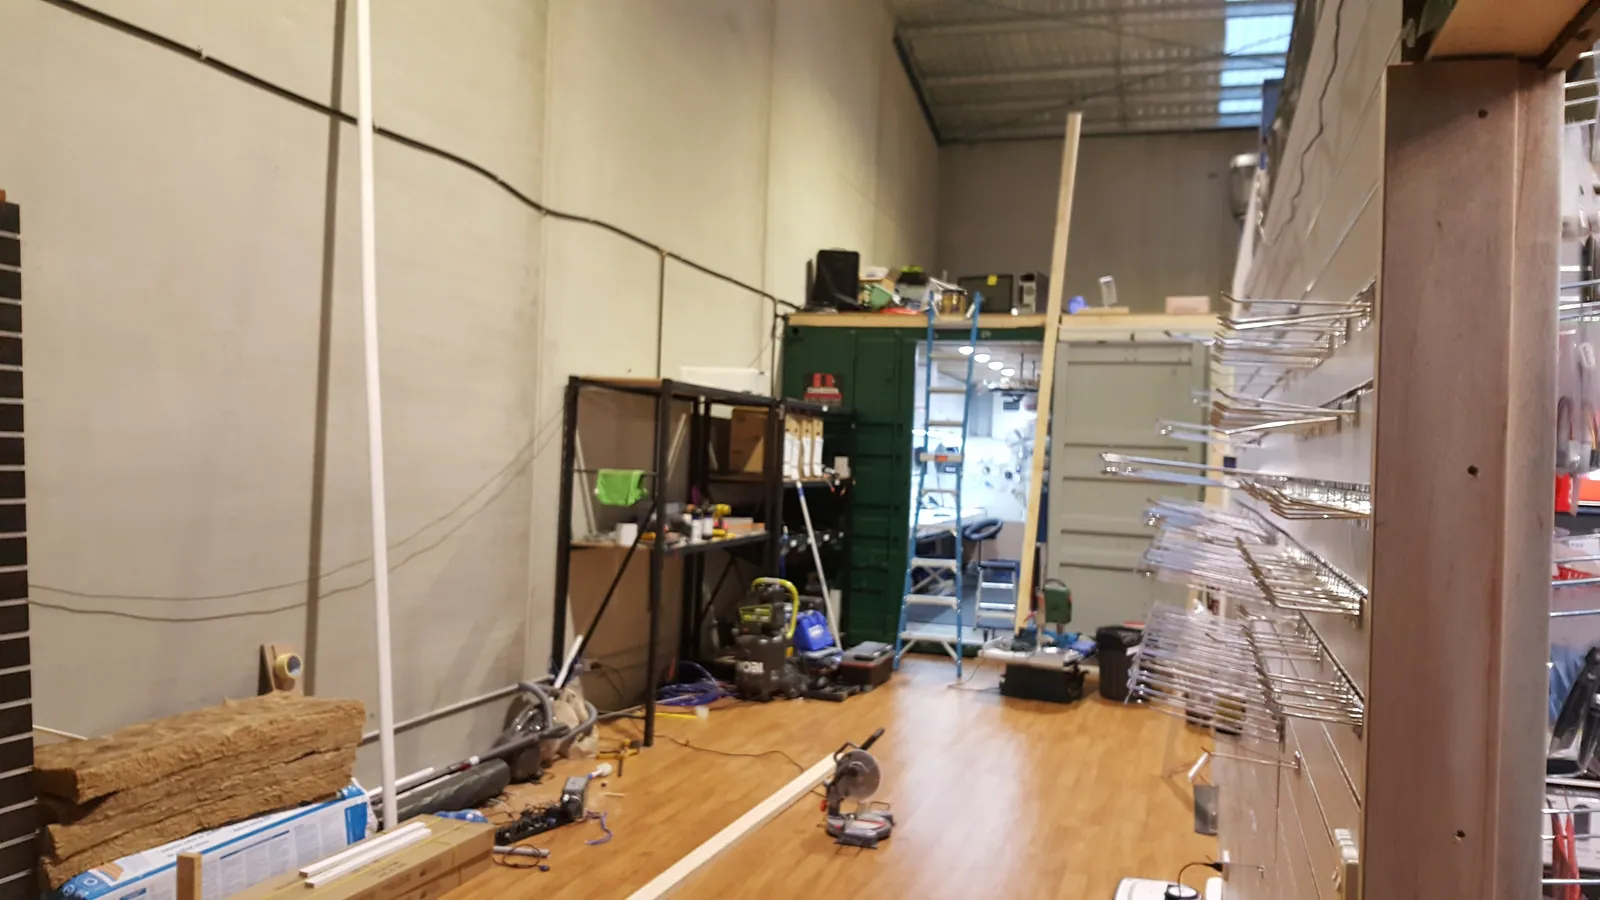
A bare wall records the next section before its new frame is installed.
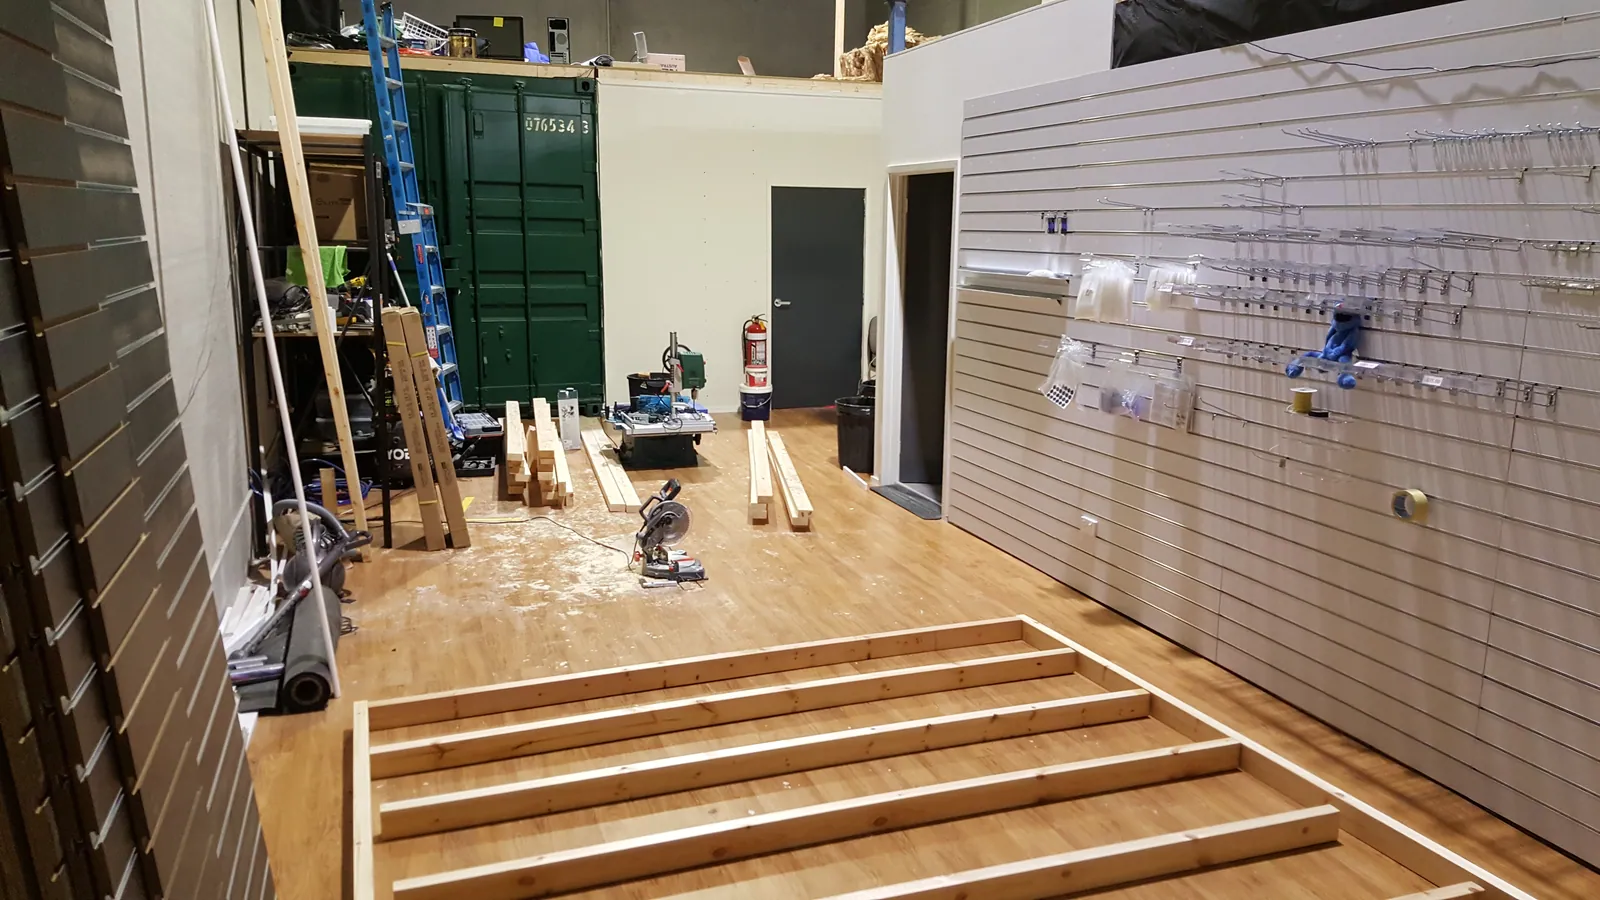
A rectangular timber frame is assembled flat on the floor.
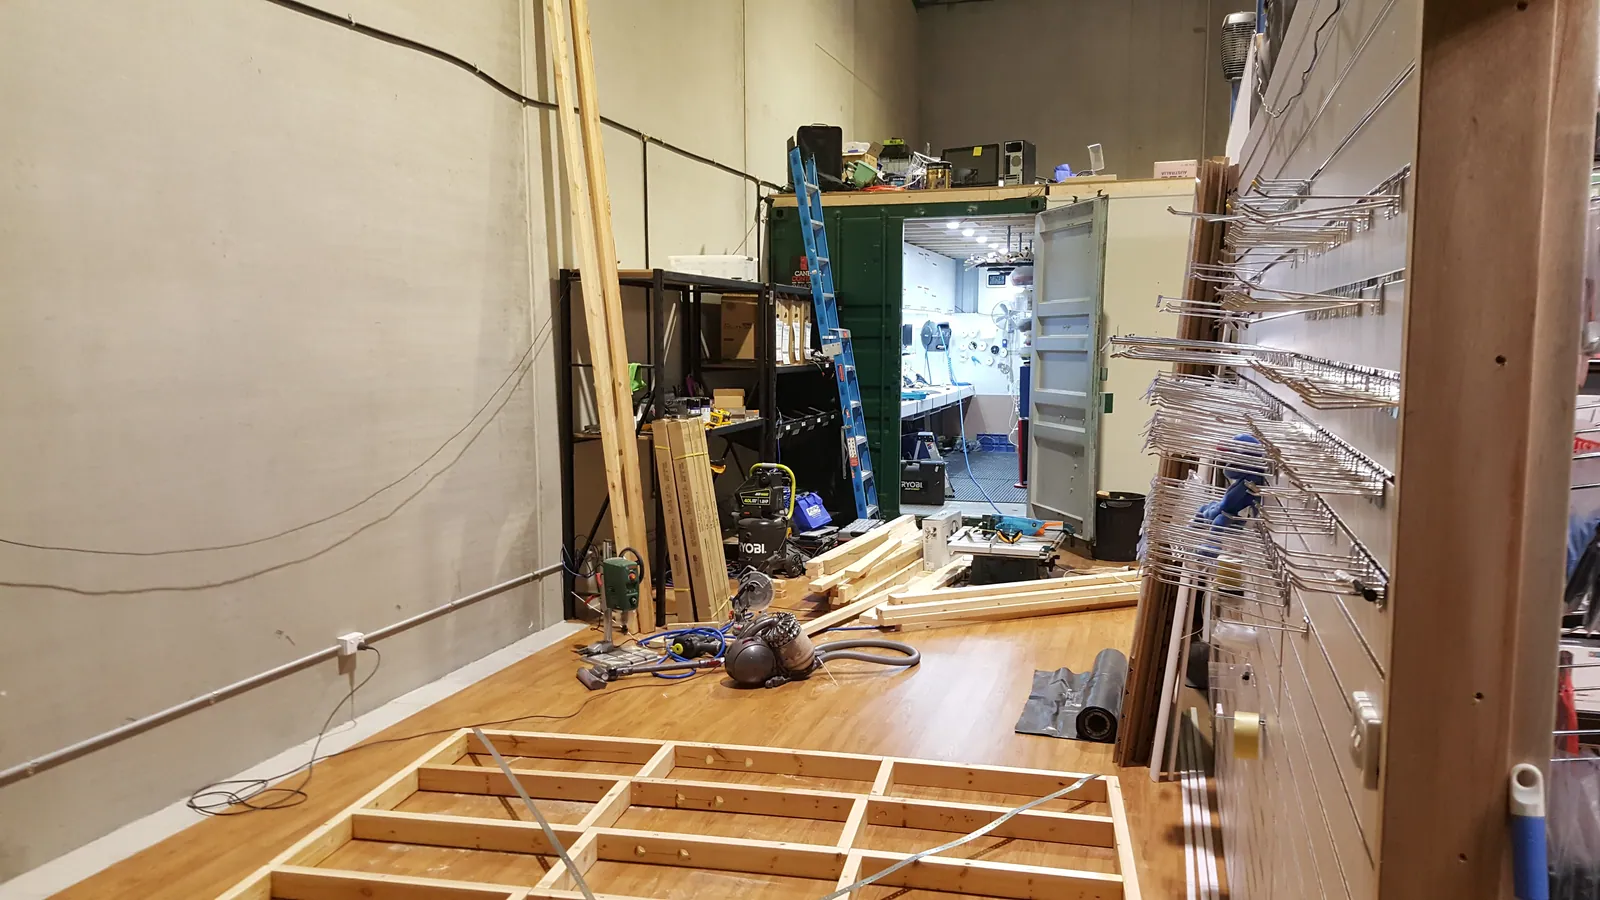
More of the wall frame is put together at floor level.
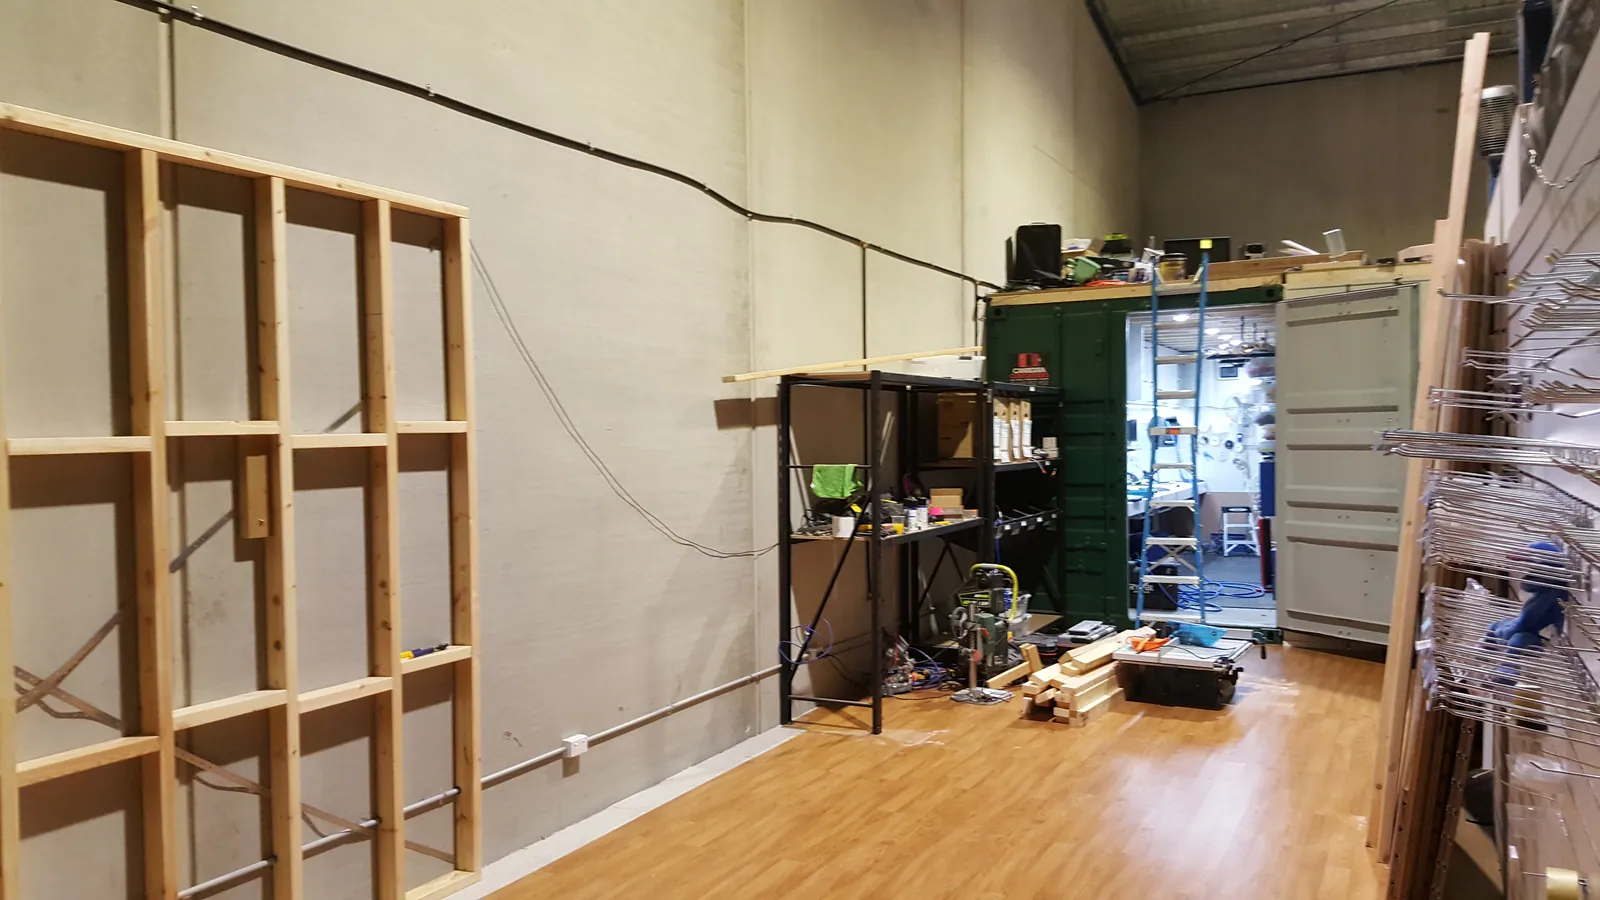
The frame is raised into position against the wall.
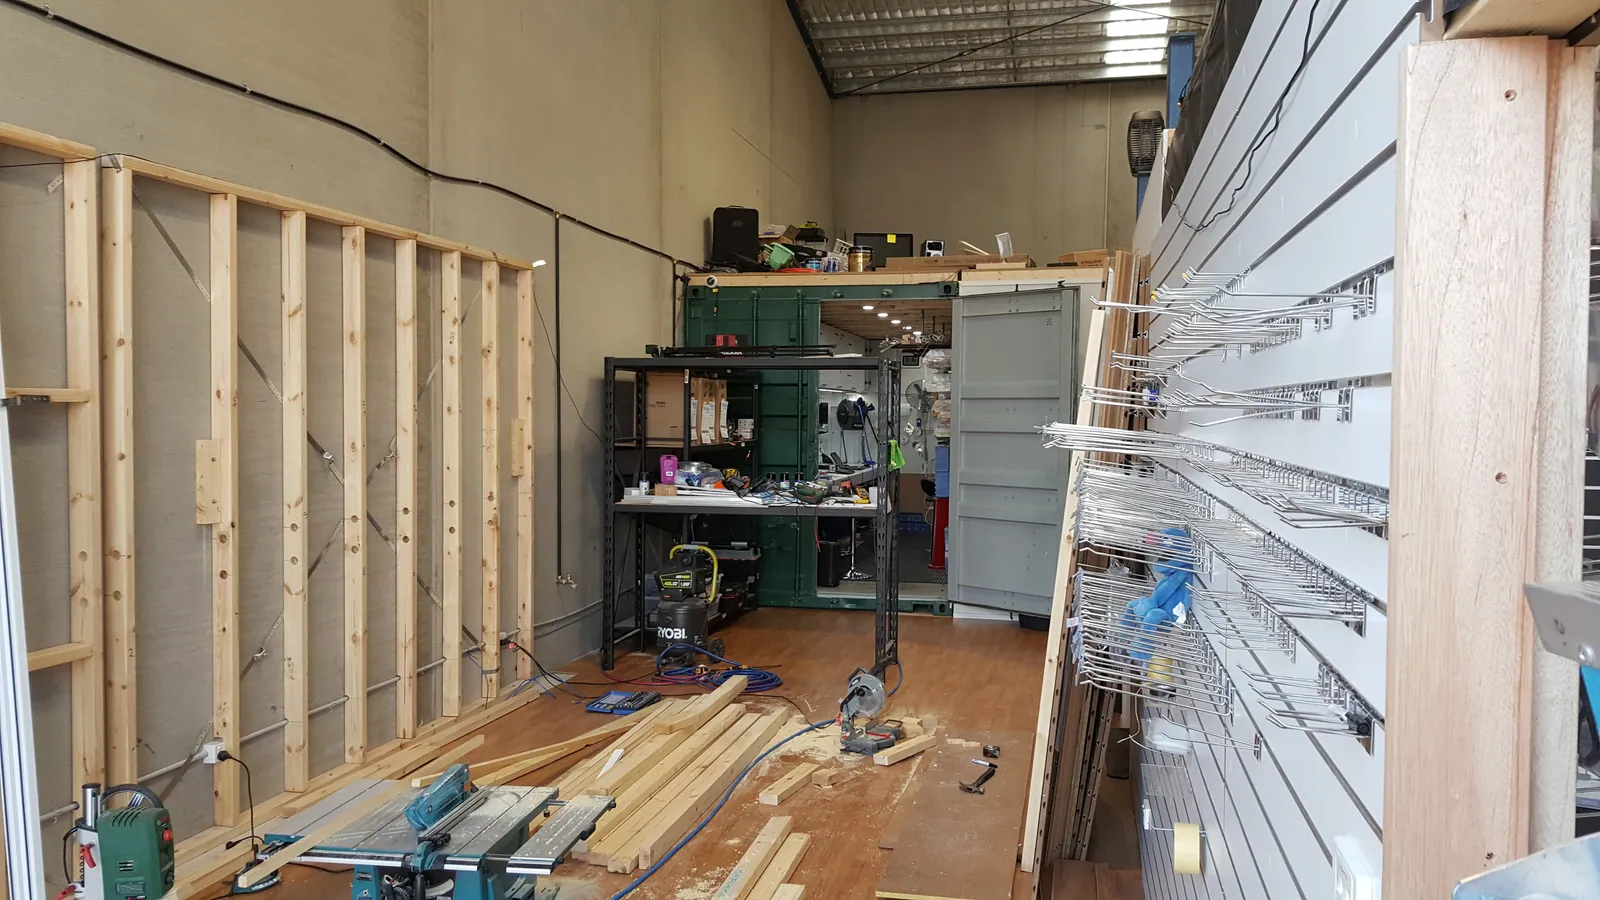
Timber framing extends down the longer wall.
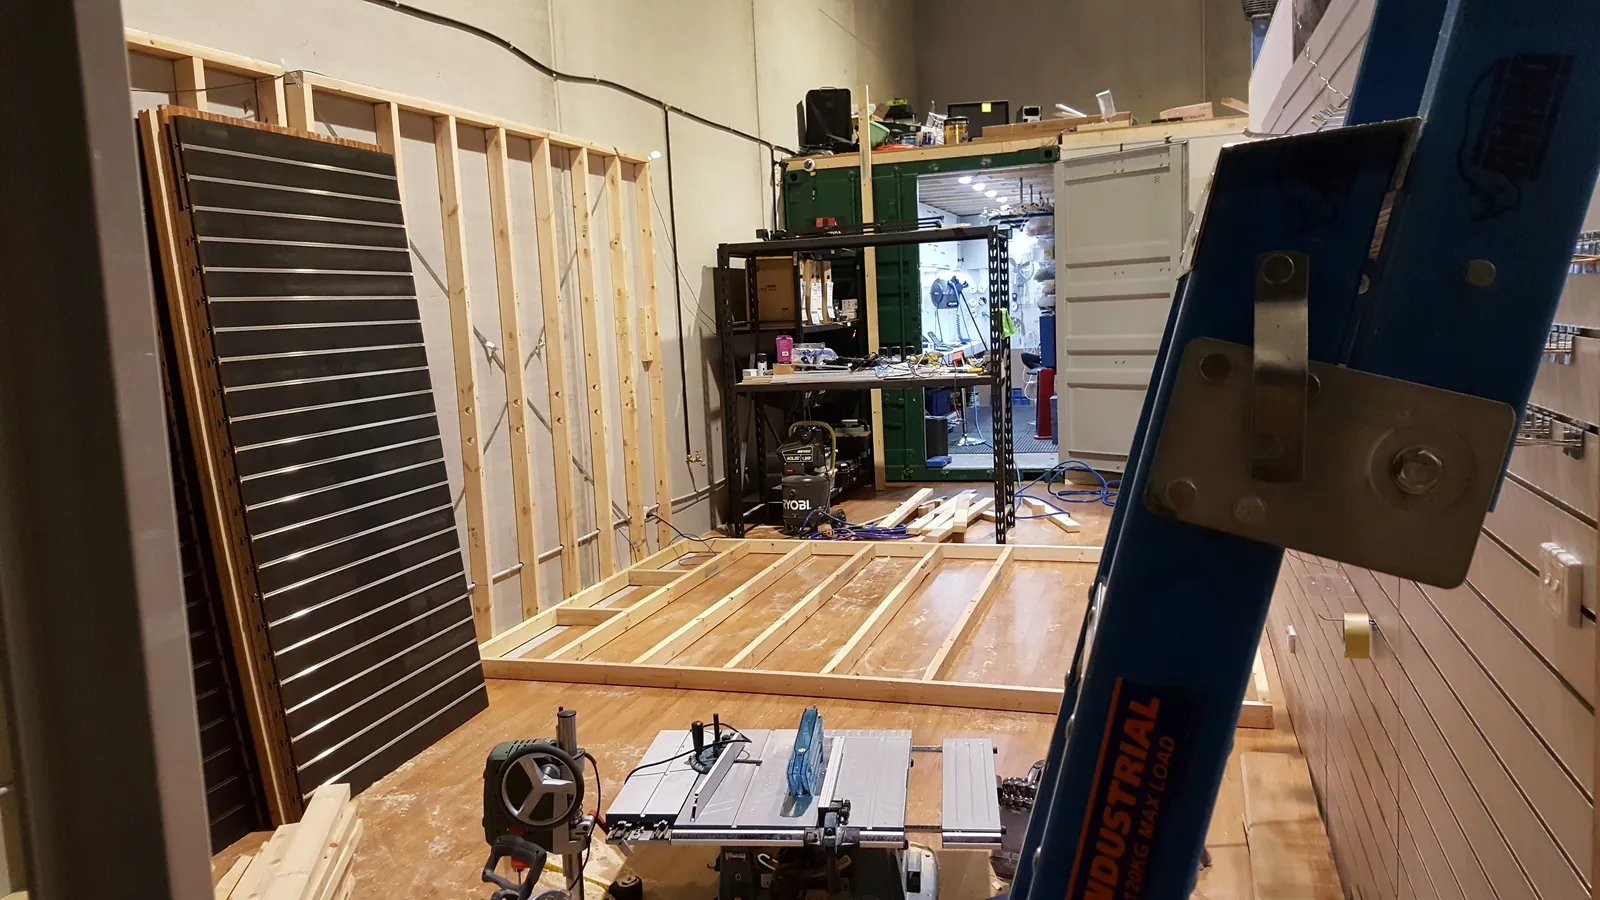
A cross-wall opening takes shape within the frame.
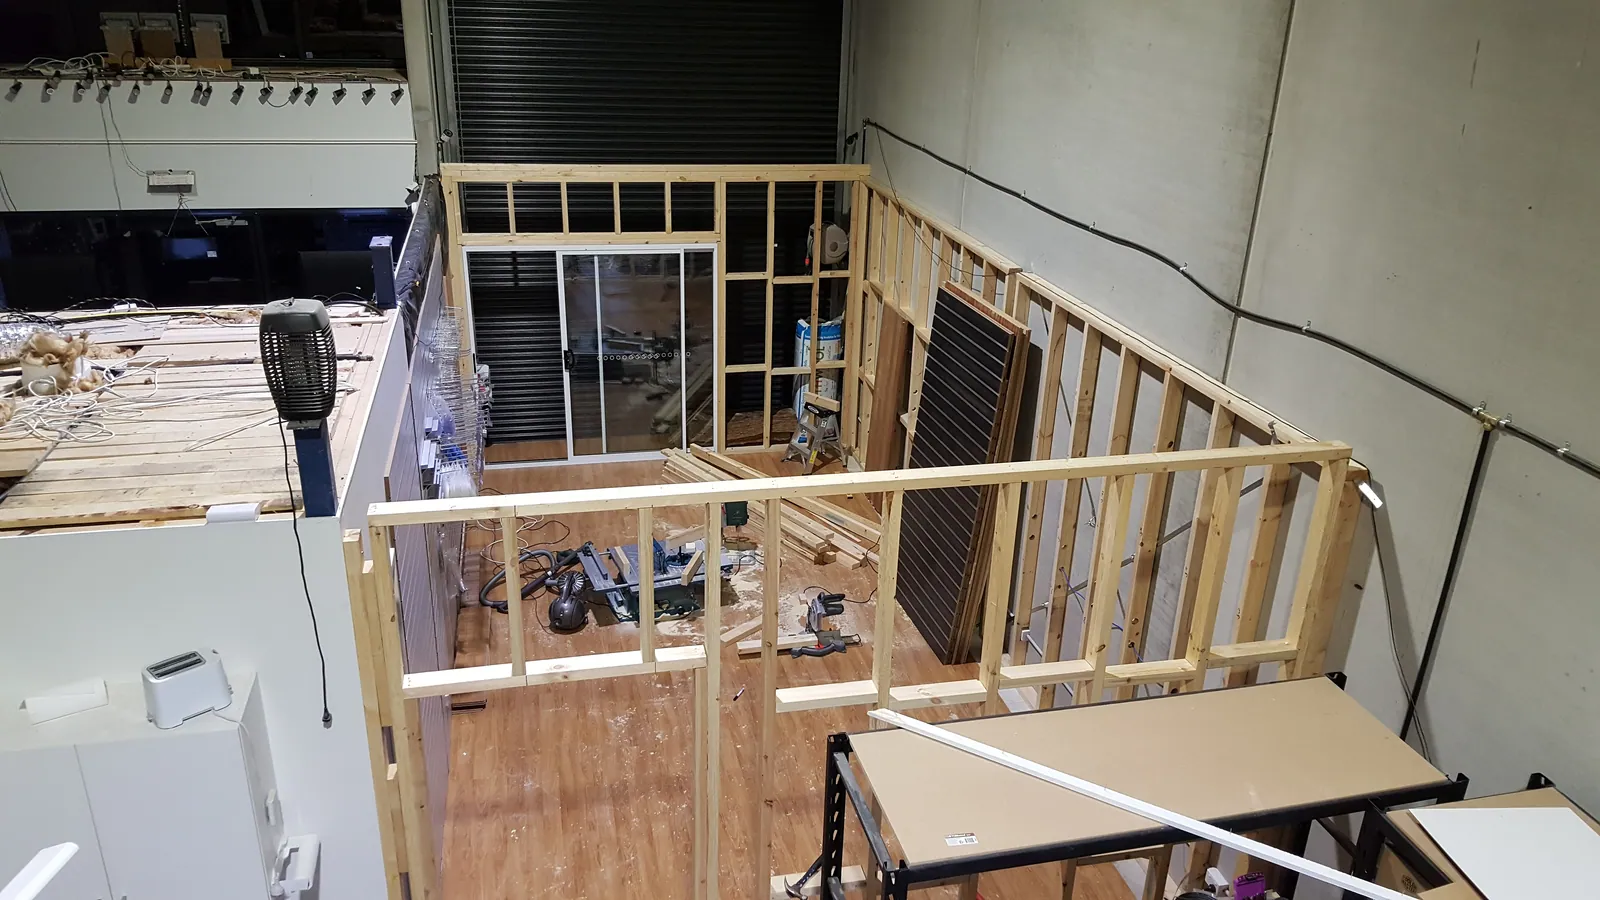
An elevated view shows the footprint of the new framed area.
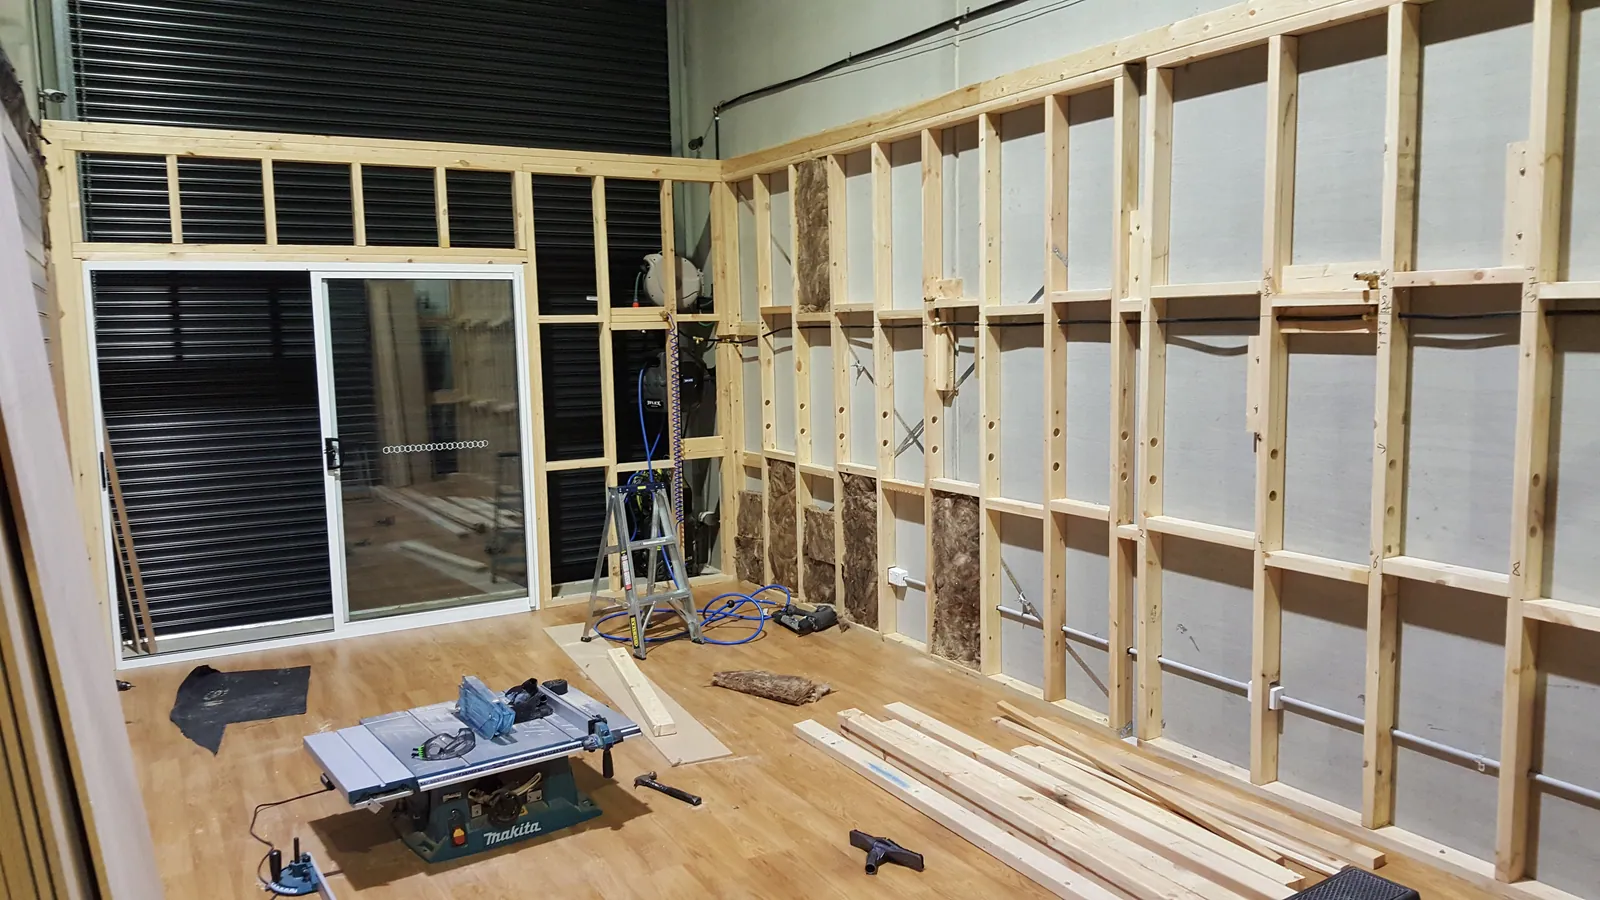
Horizontal timber members are added between the wall studs.
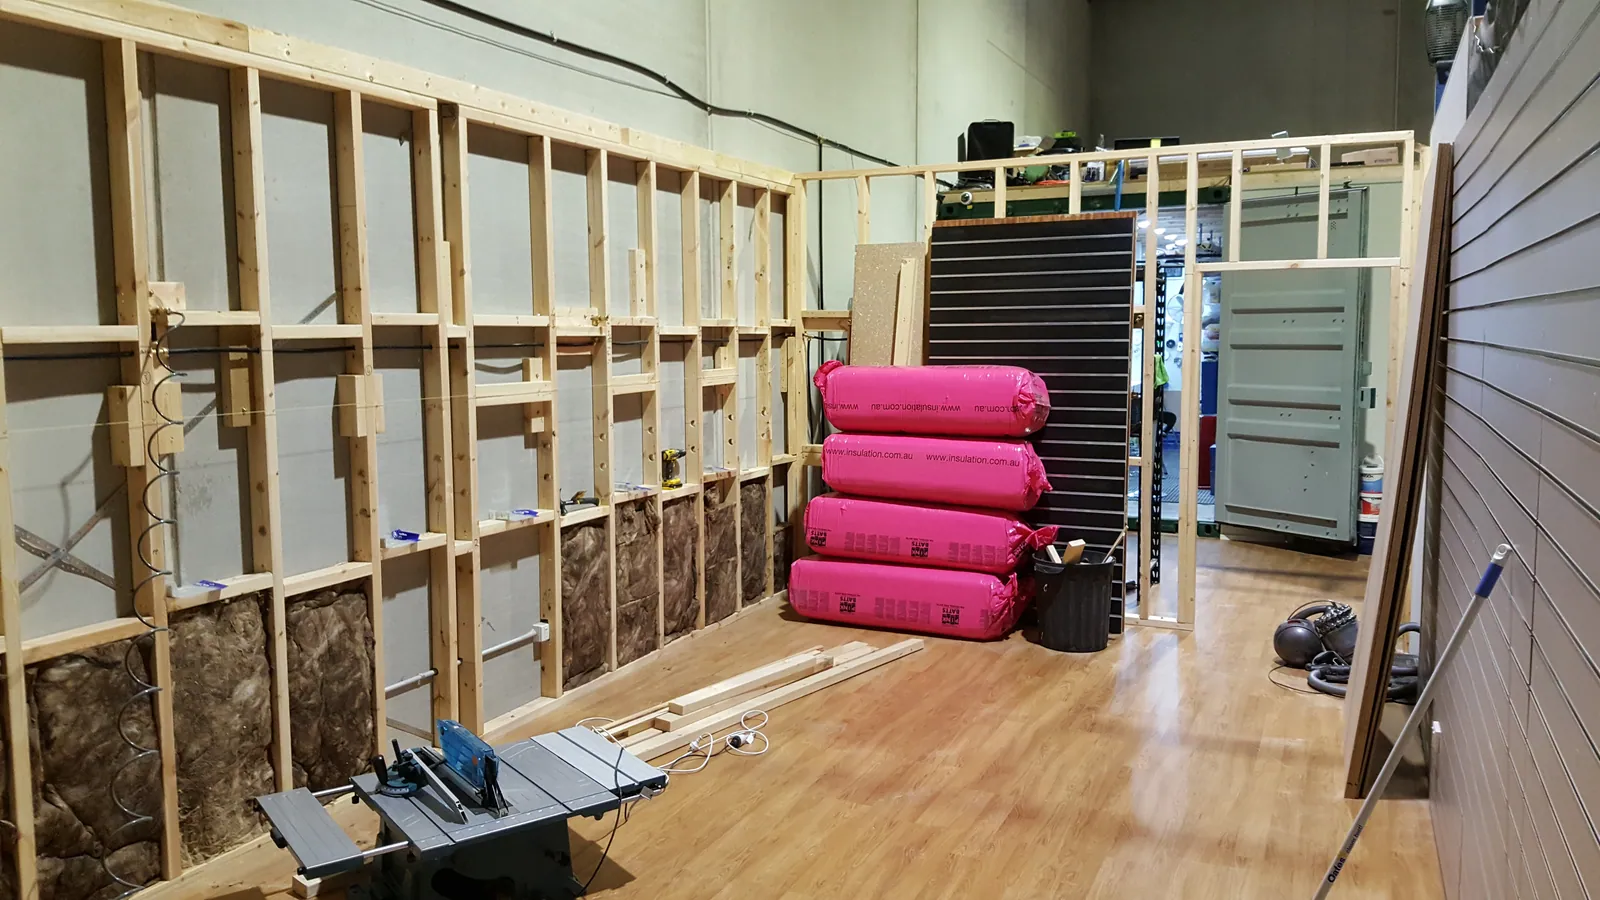
Insulation starts filling the lower wall sections.
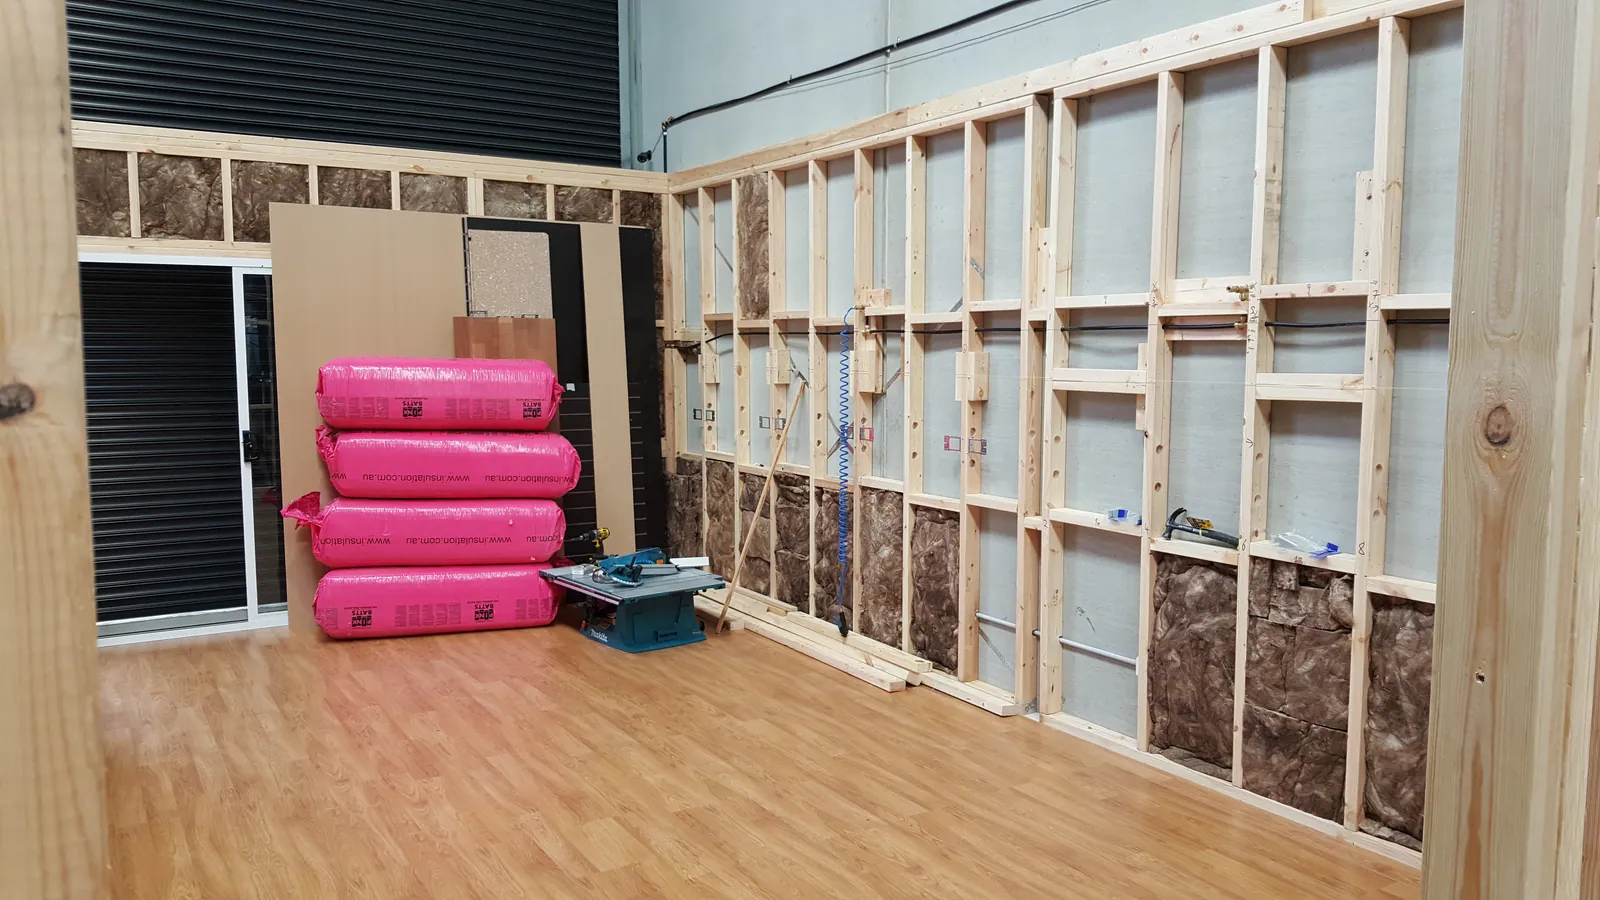
More wall bays are filled with insulation.
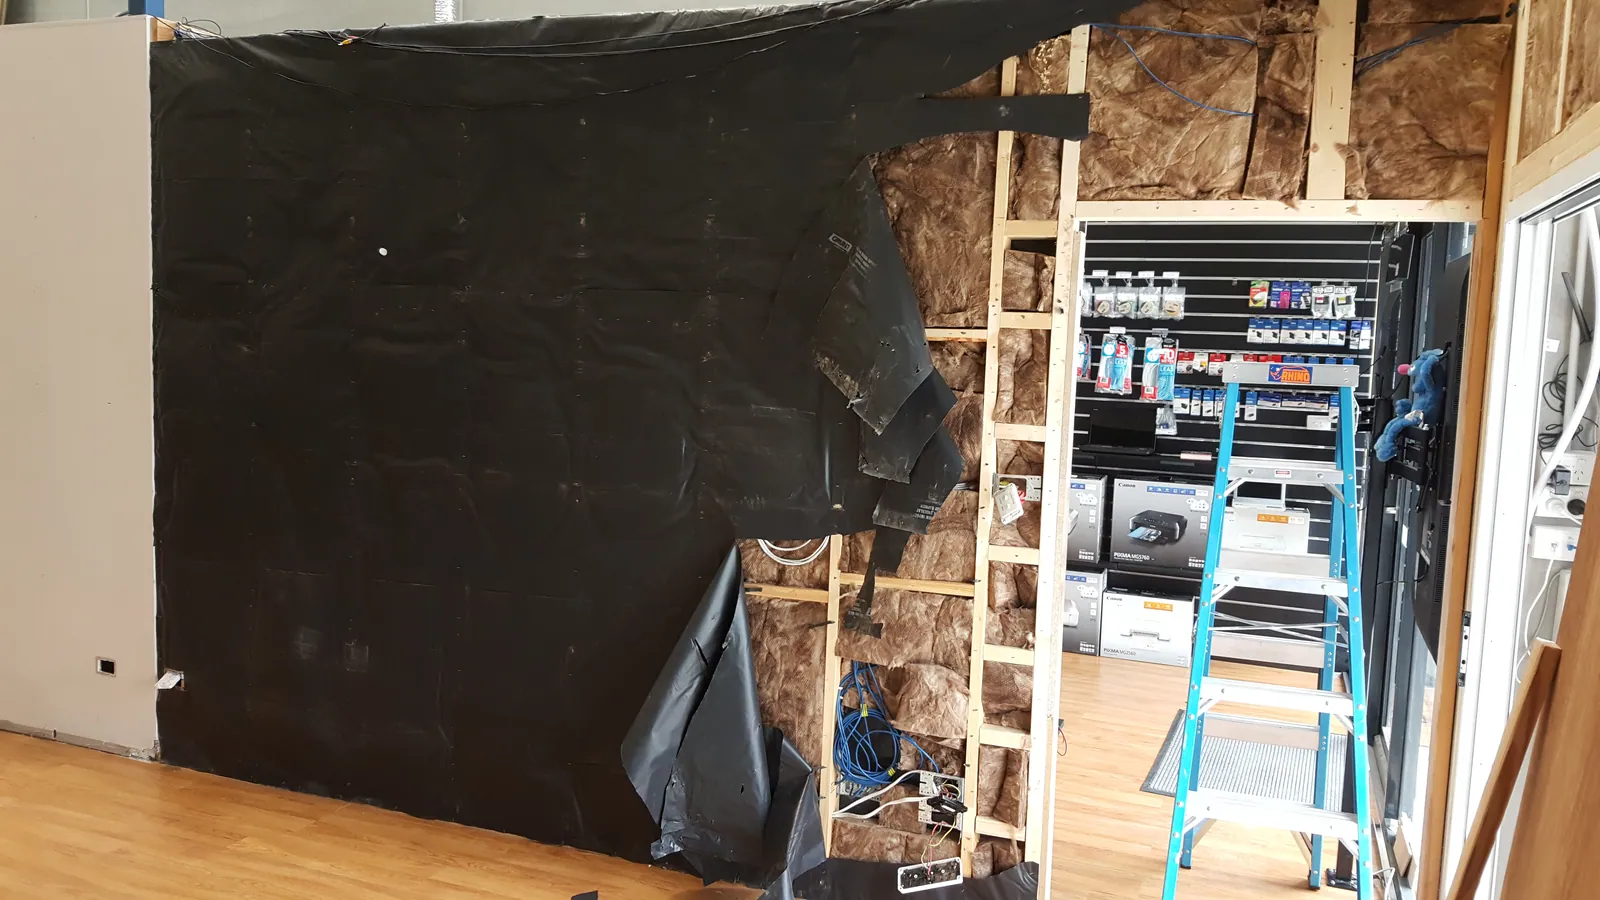
Black membrane begins covering the new wall.
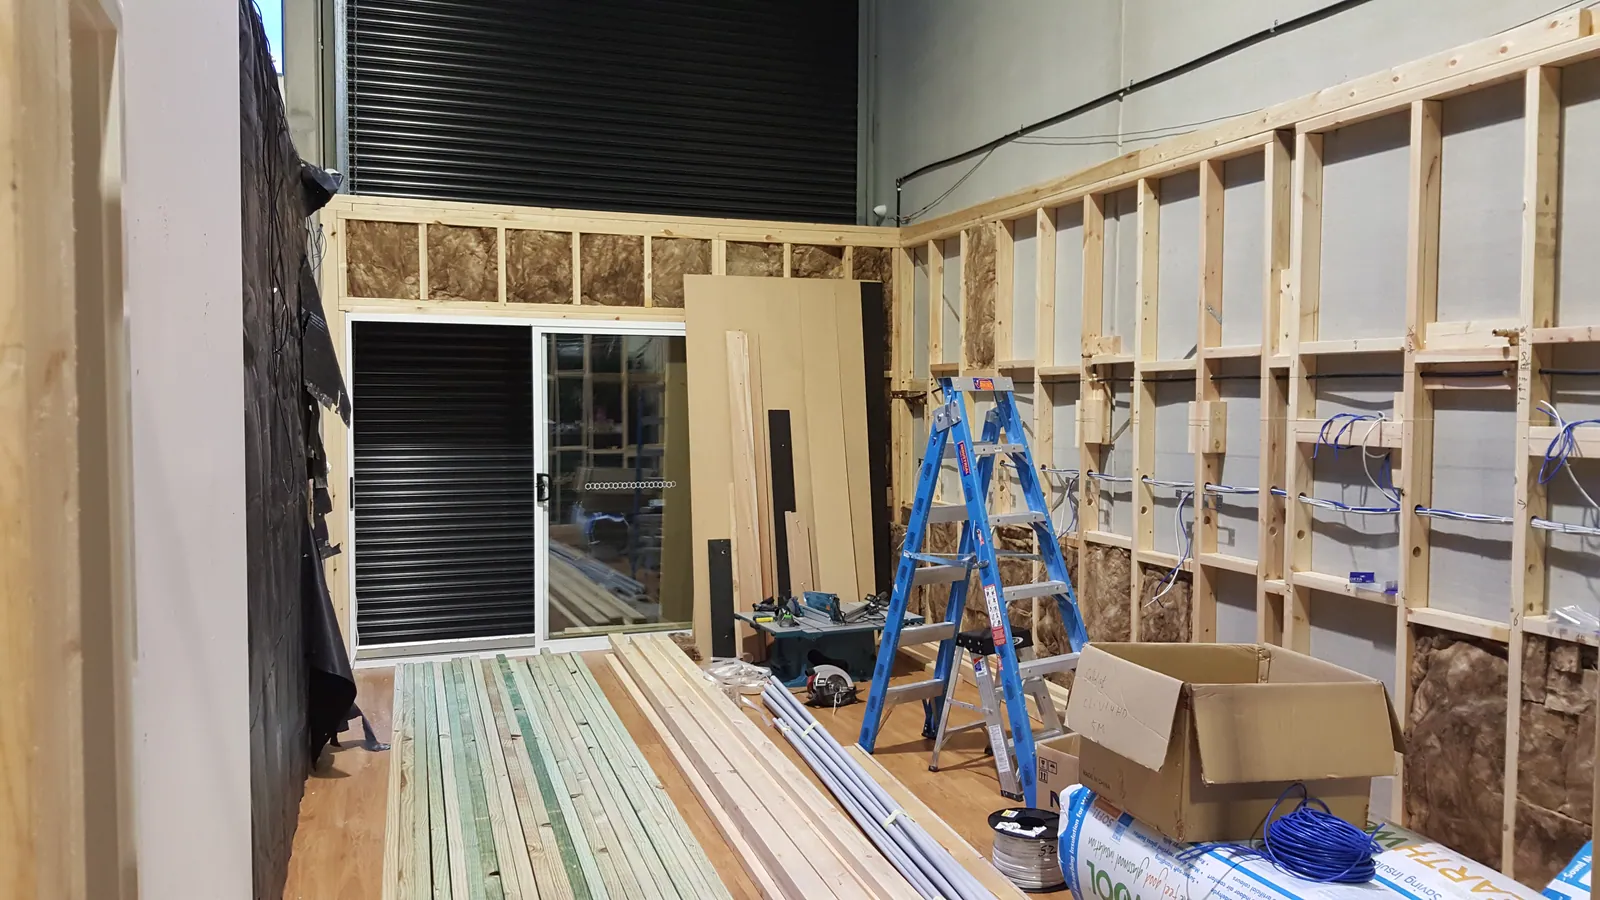
Framing continues above the lower wall sections.
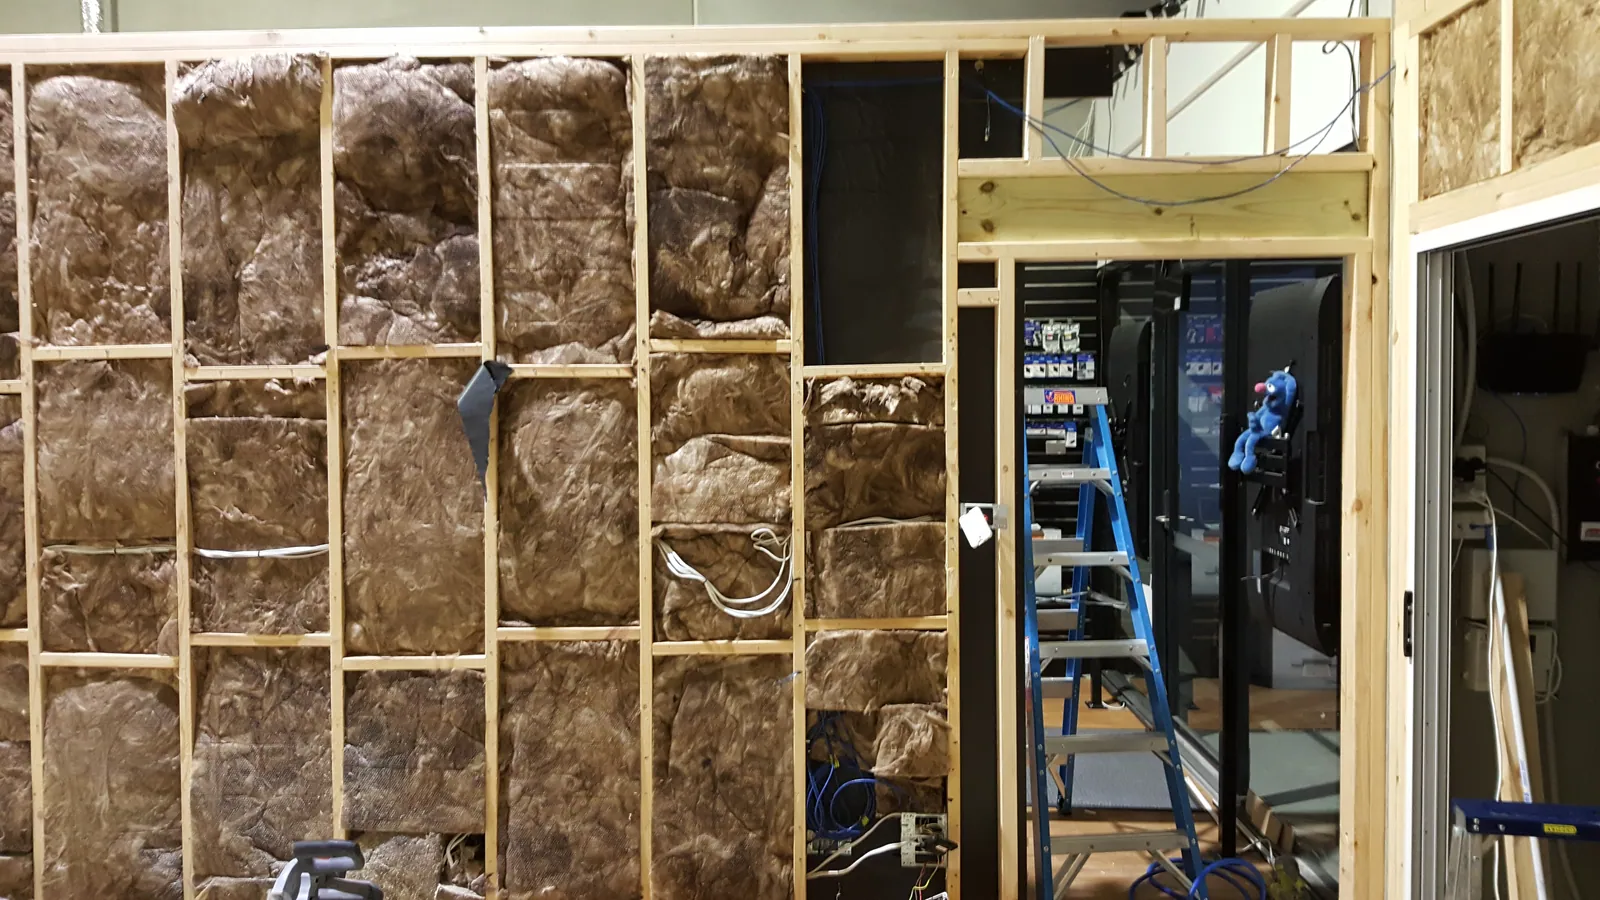
Insulation reaches the upper corner of the wall.
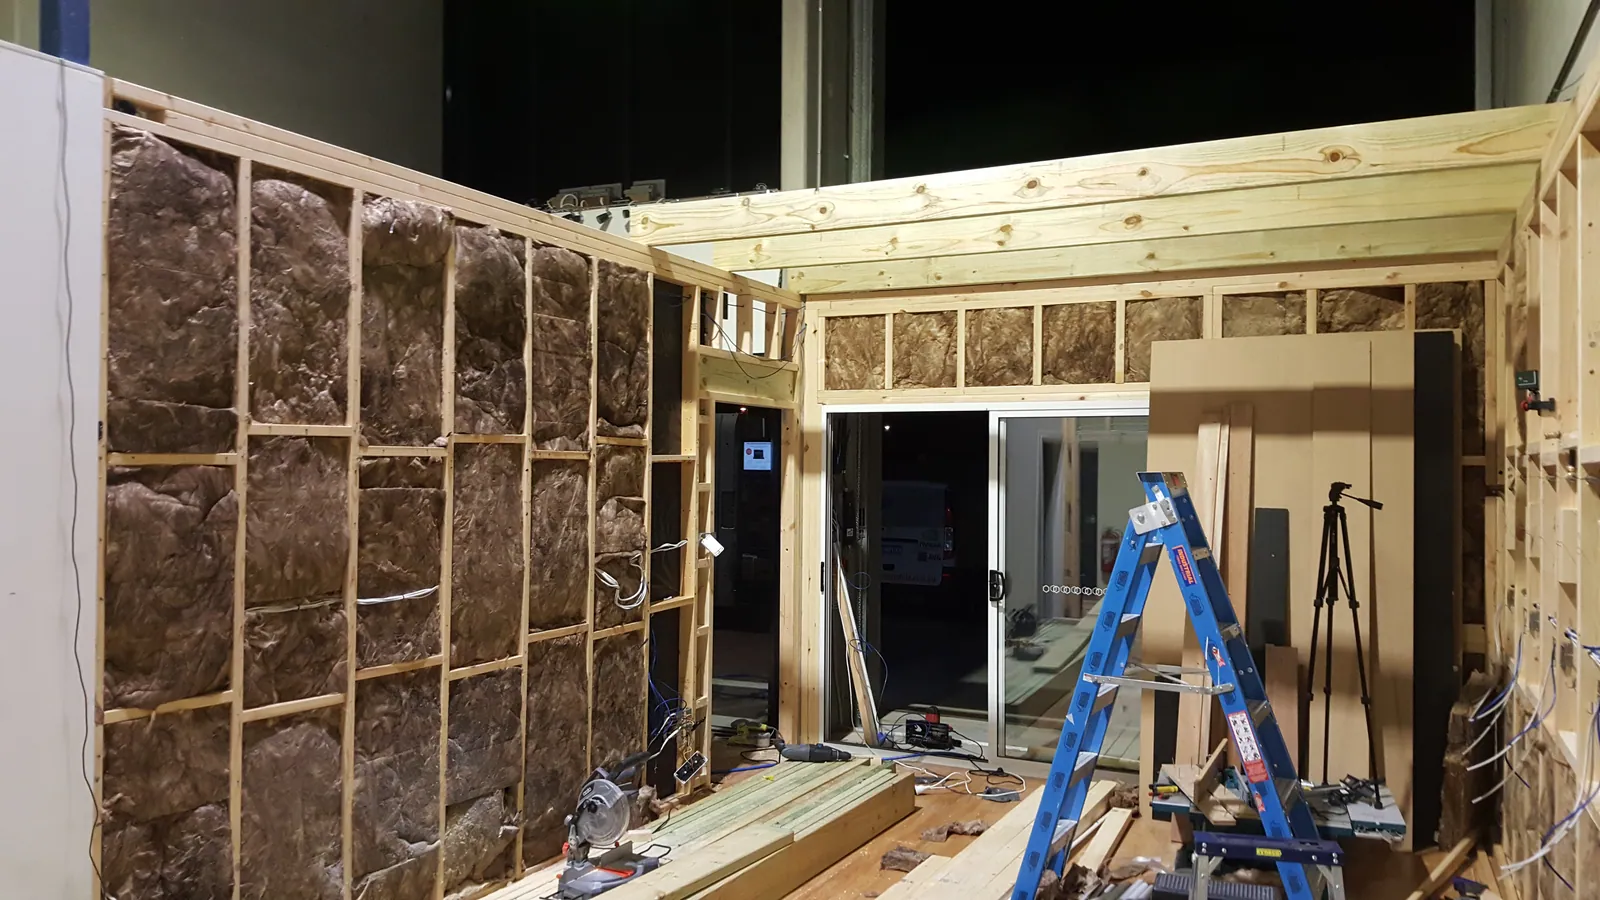
Ceiling joists start bridging the space.
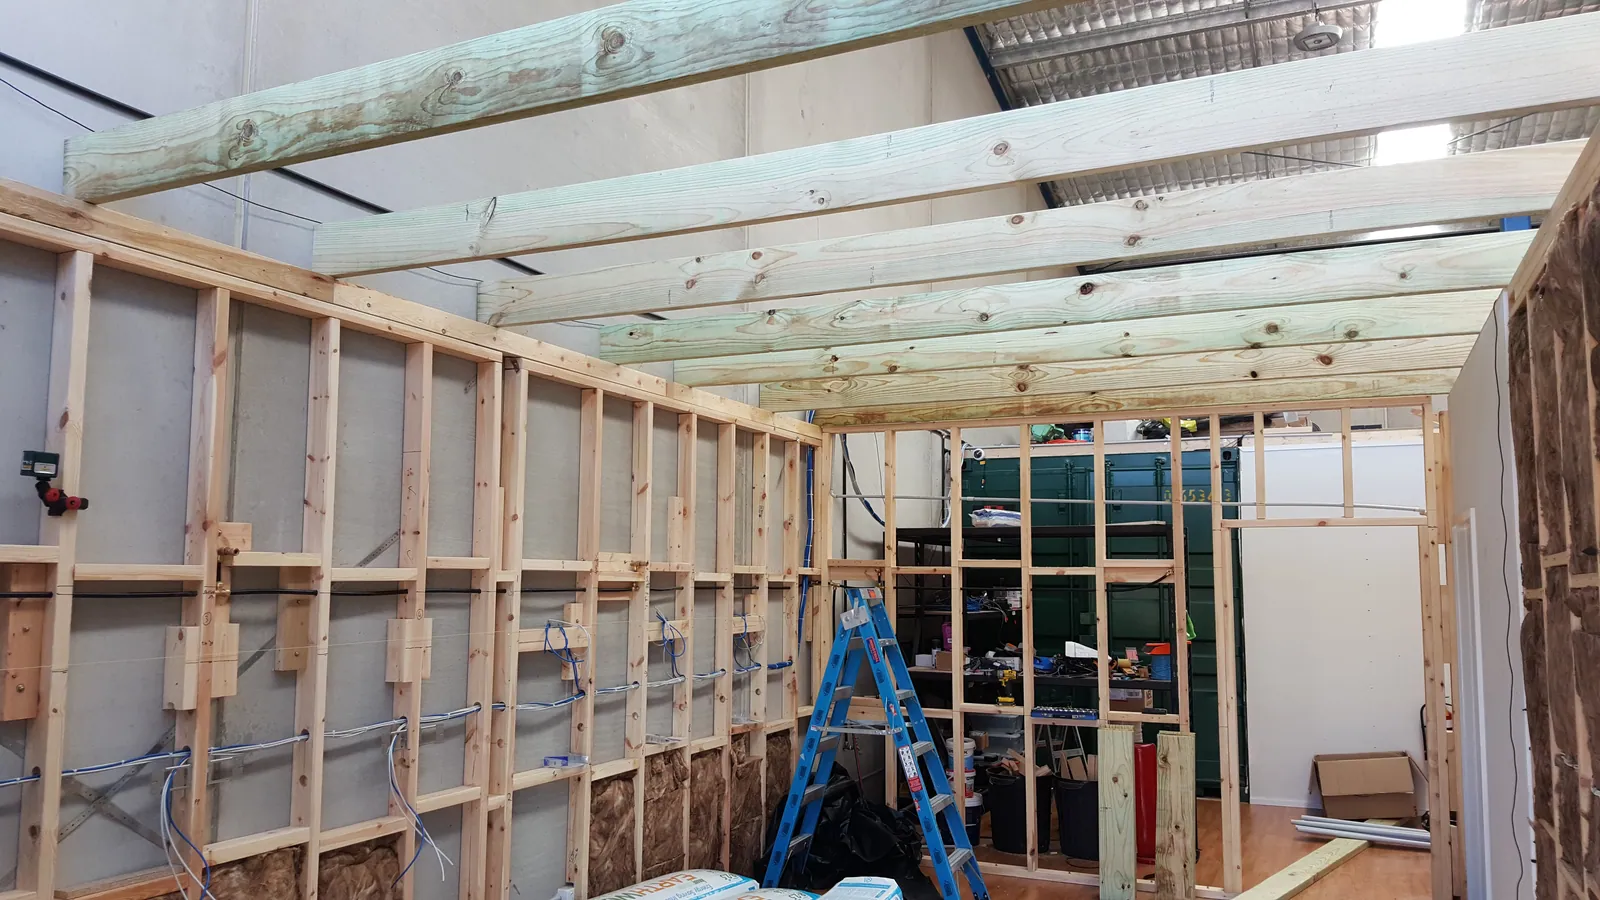
Joists now span the length of the area.
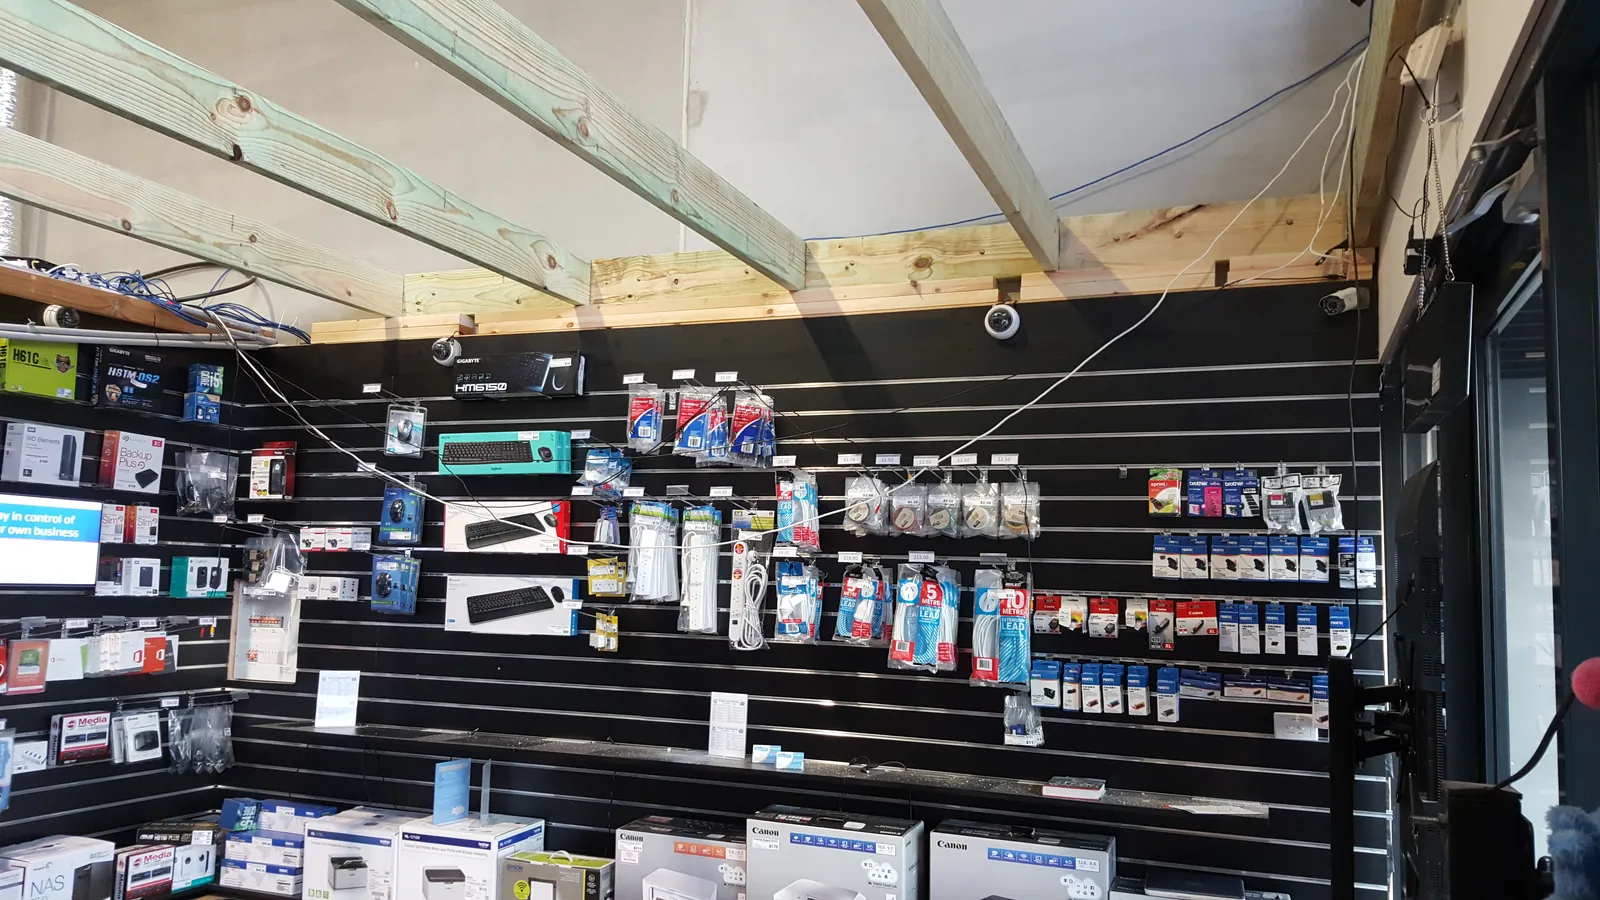
The retail corner is seen beneath the new overhead framing.
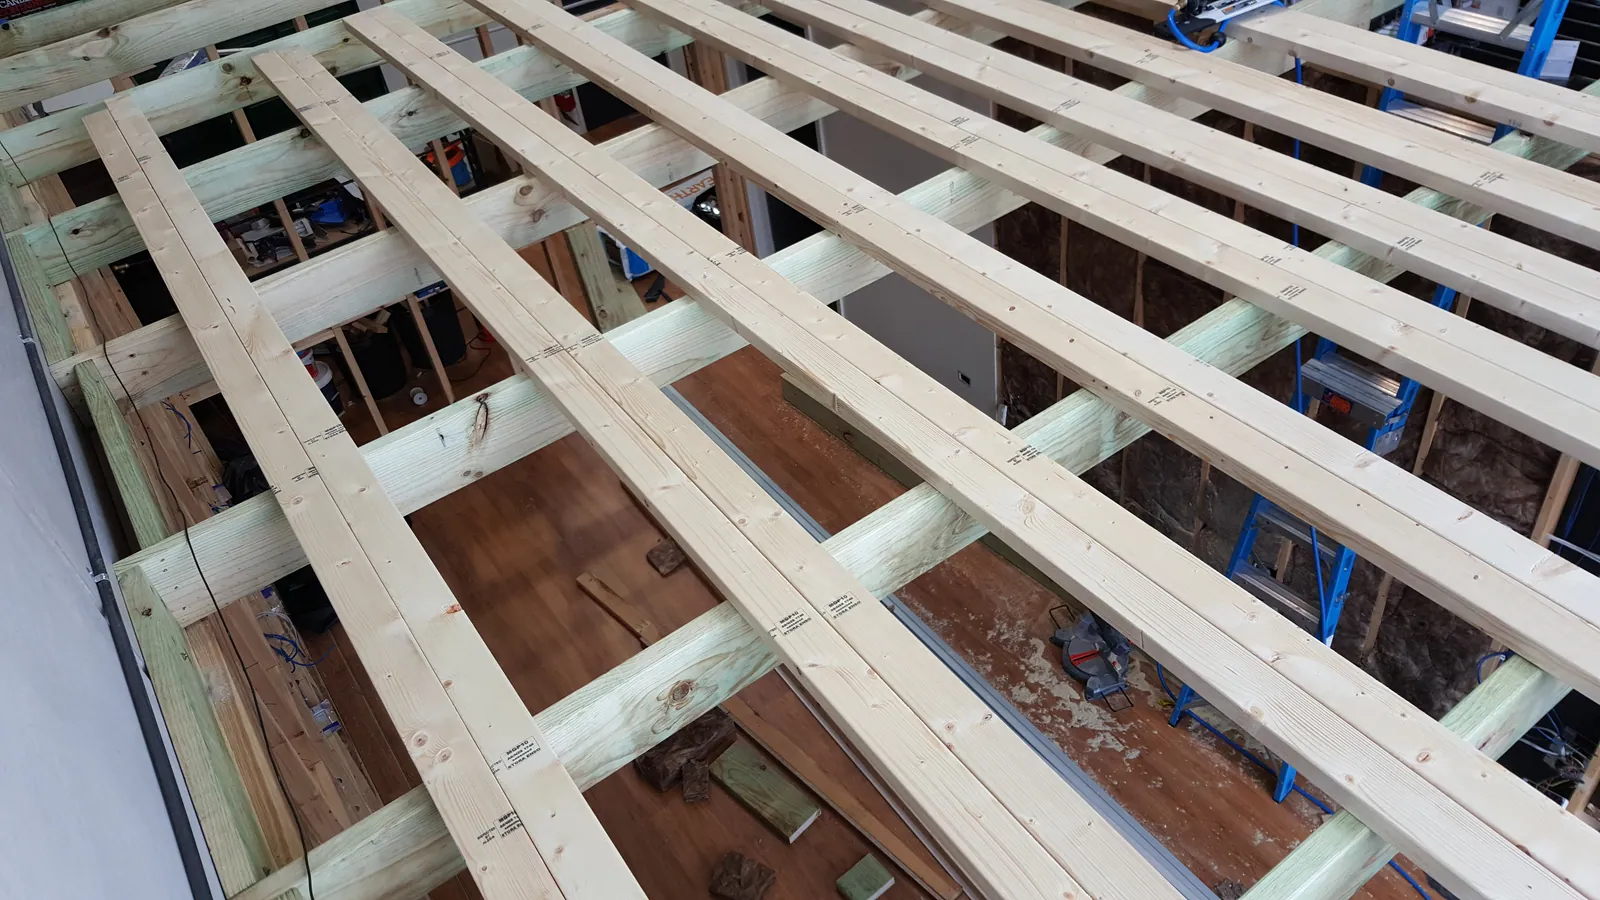
From above, the ceiling battens form a grid ready for lining.
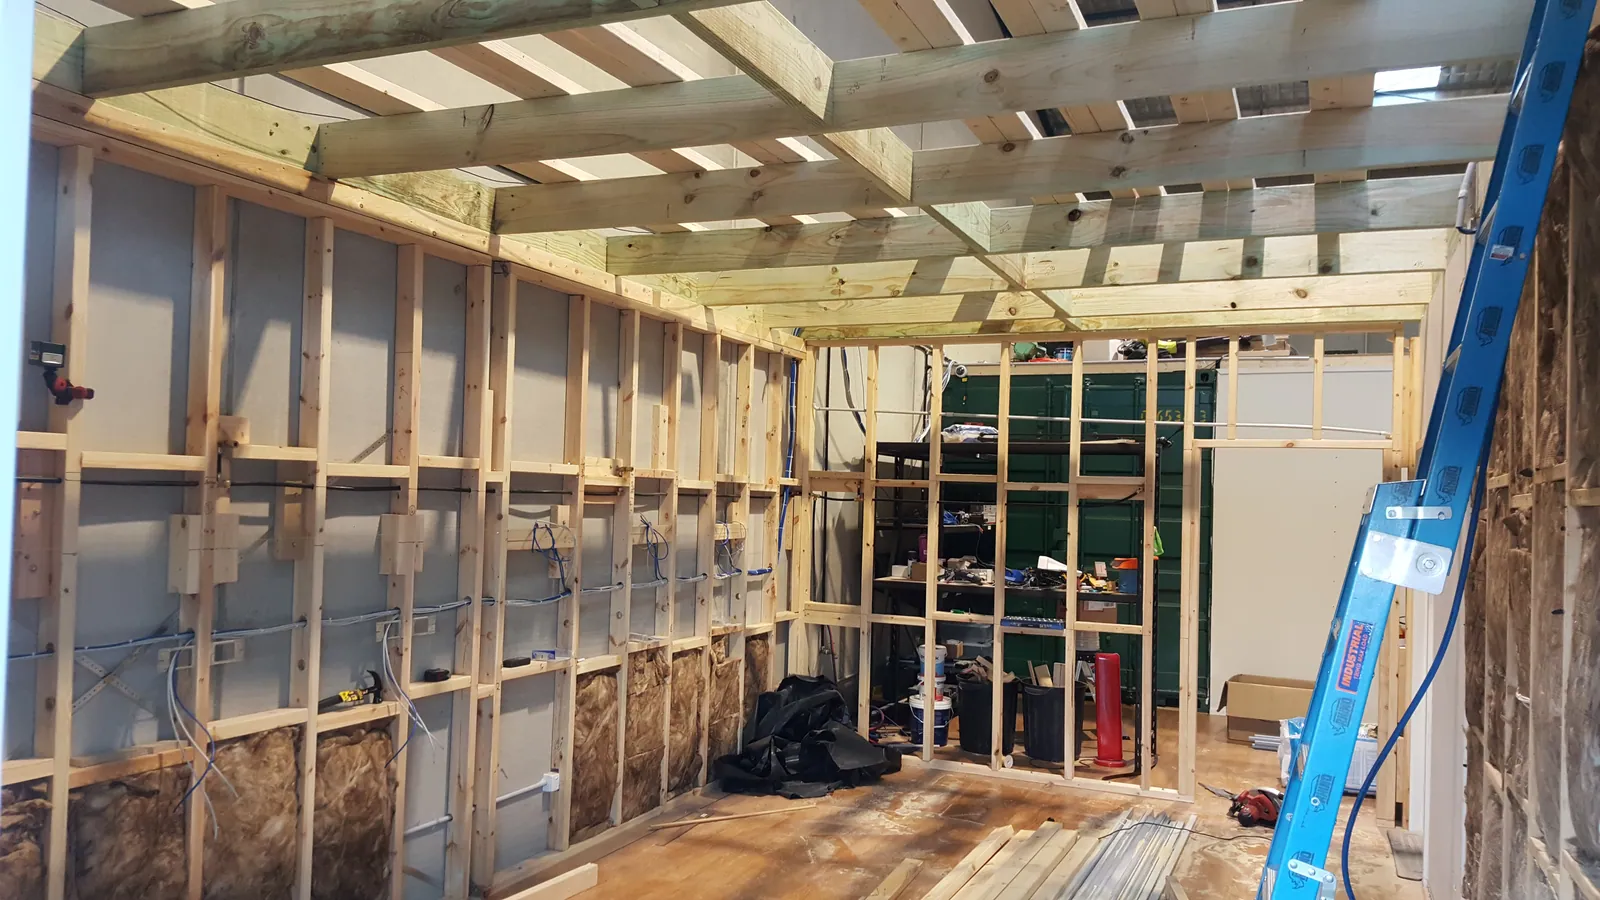
The same ceiling structure is visible from below.
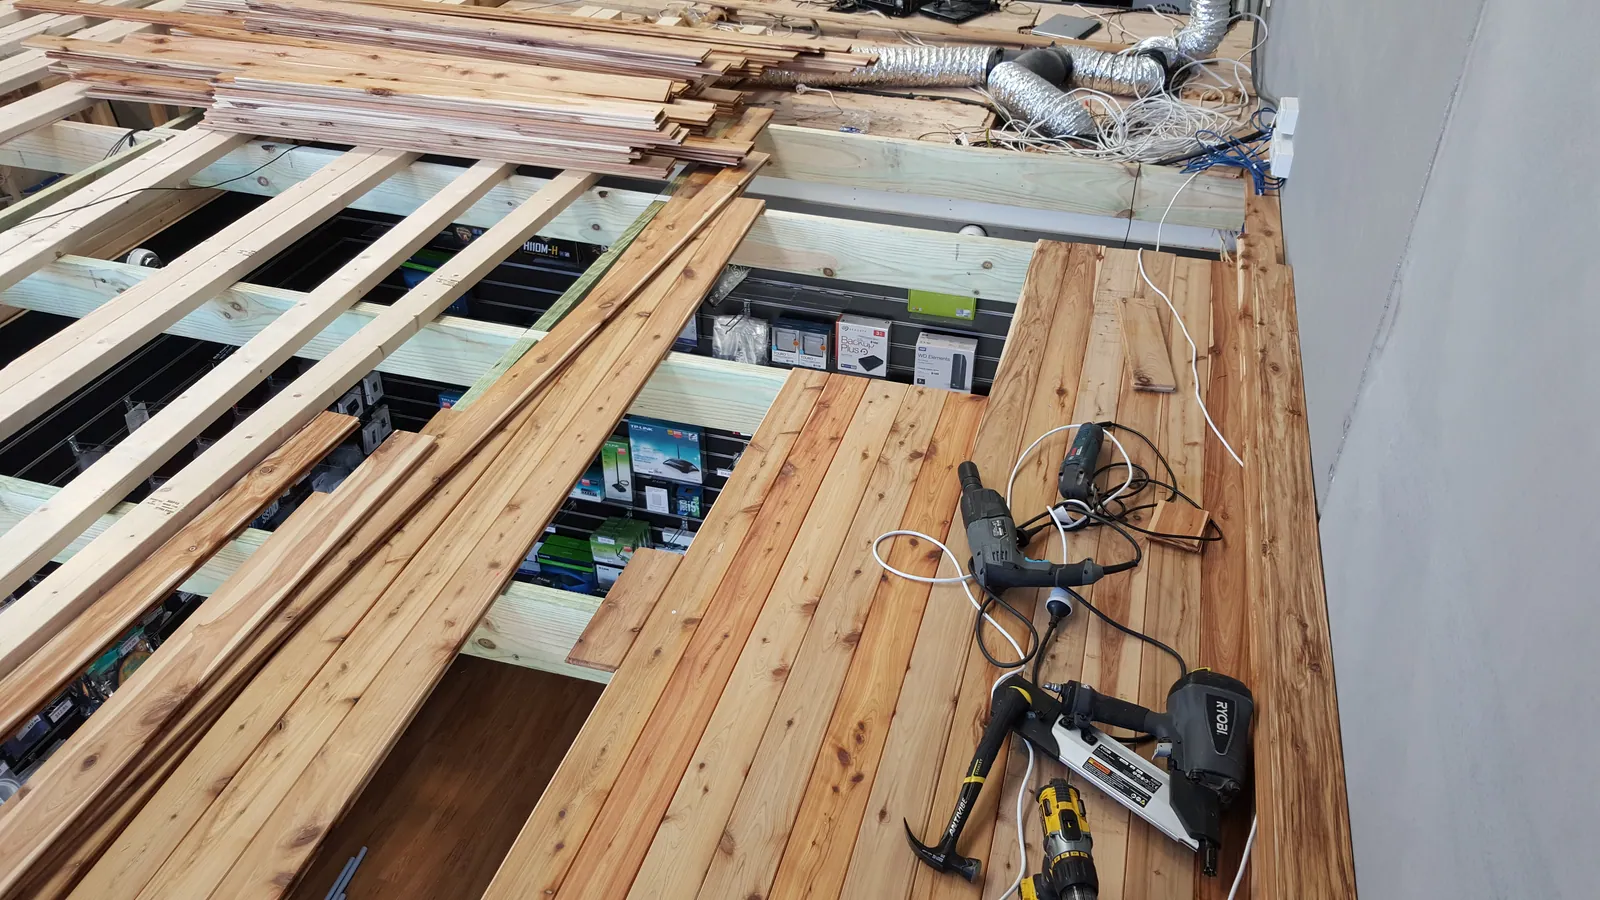
Timber boards start covering the ceiling structure.
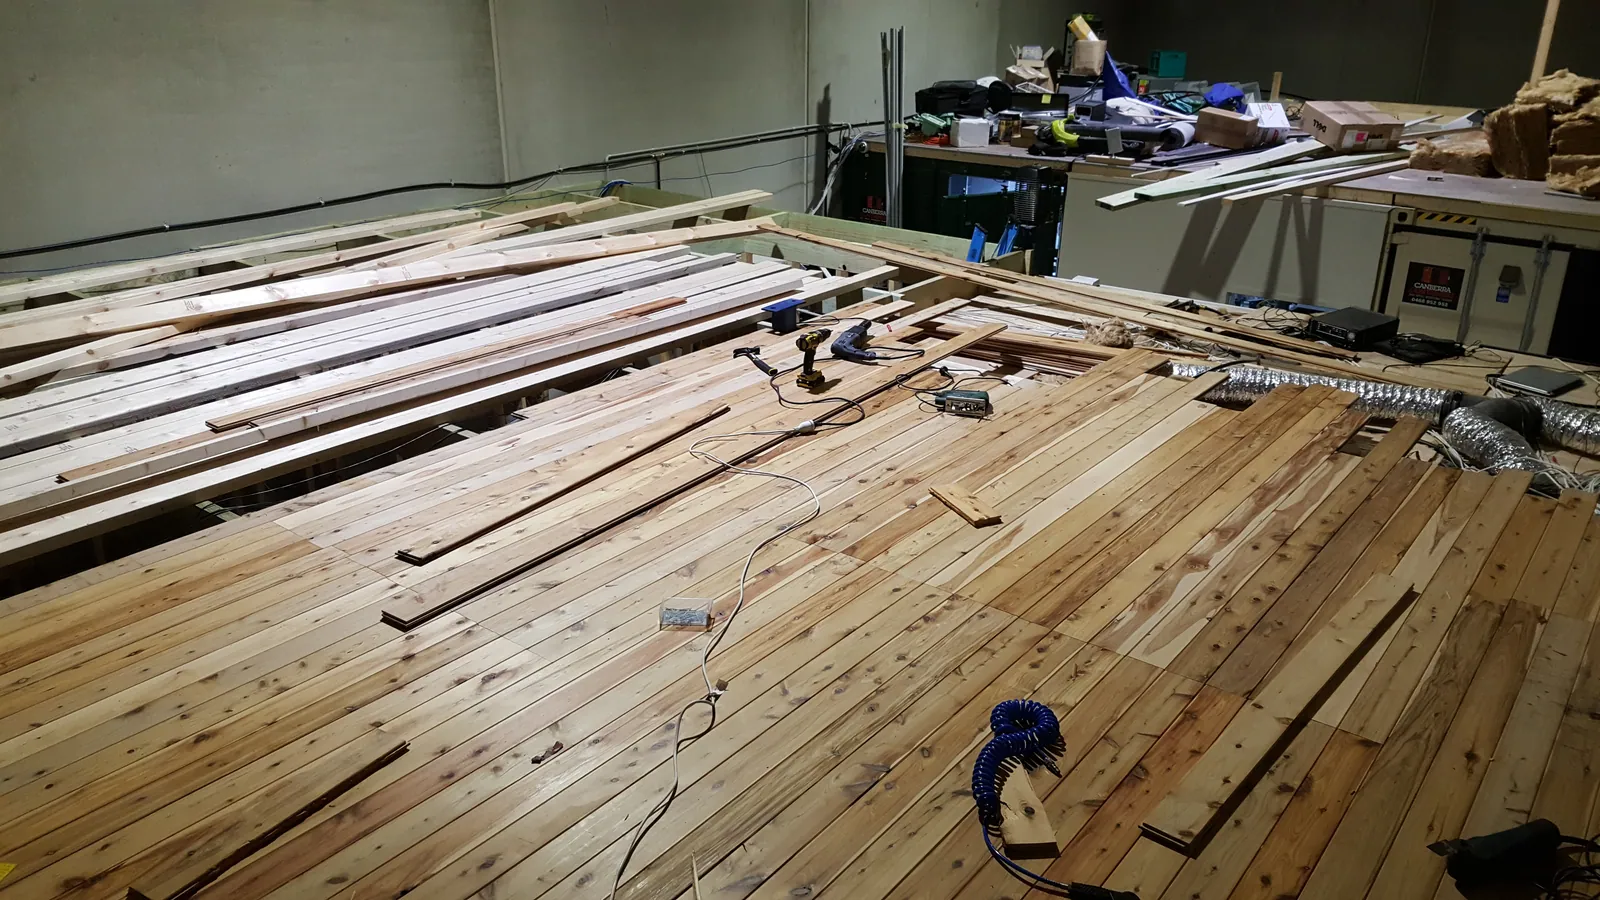
The timber lining extends farther across the ceiling.
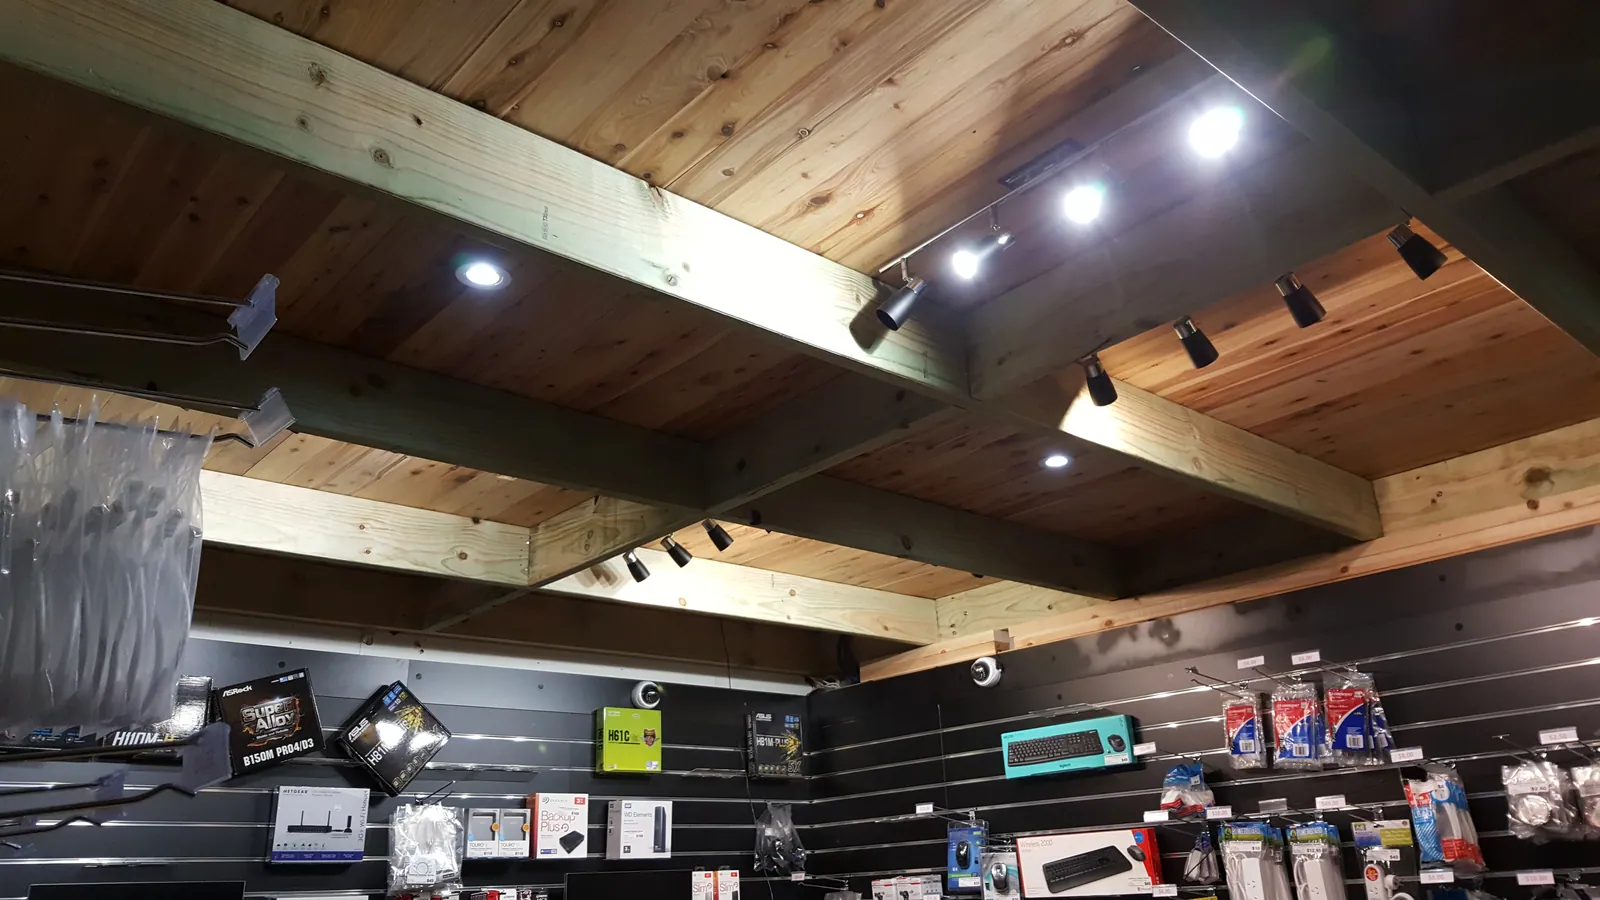
Lights are fitted into the new timber ceiling.
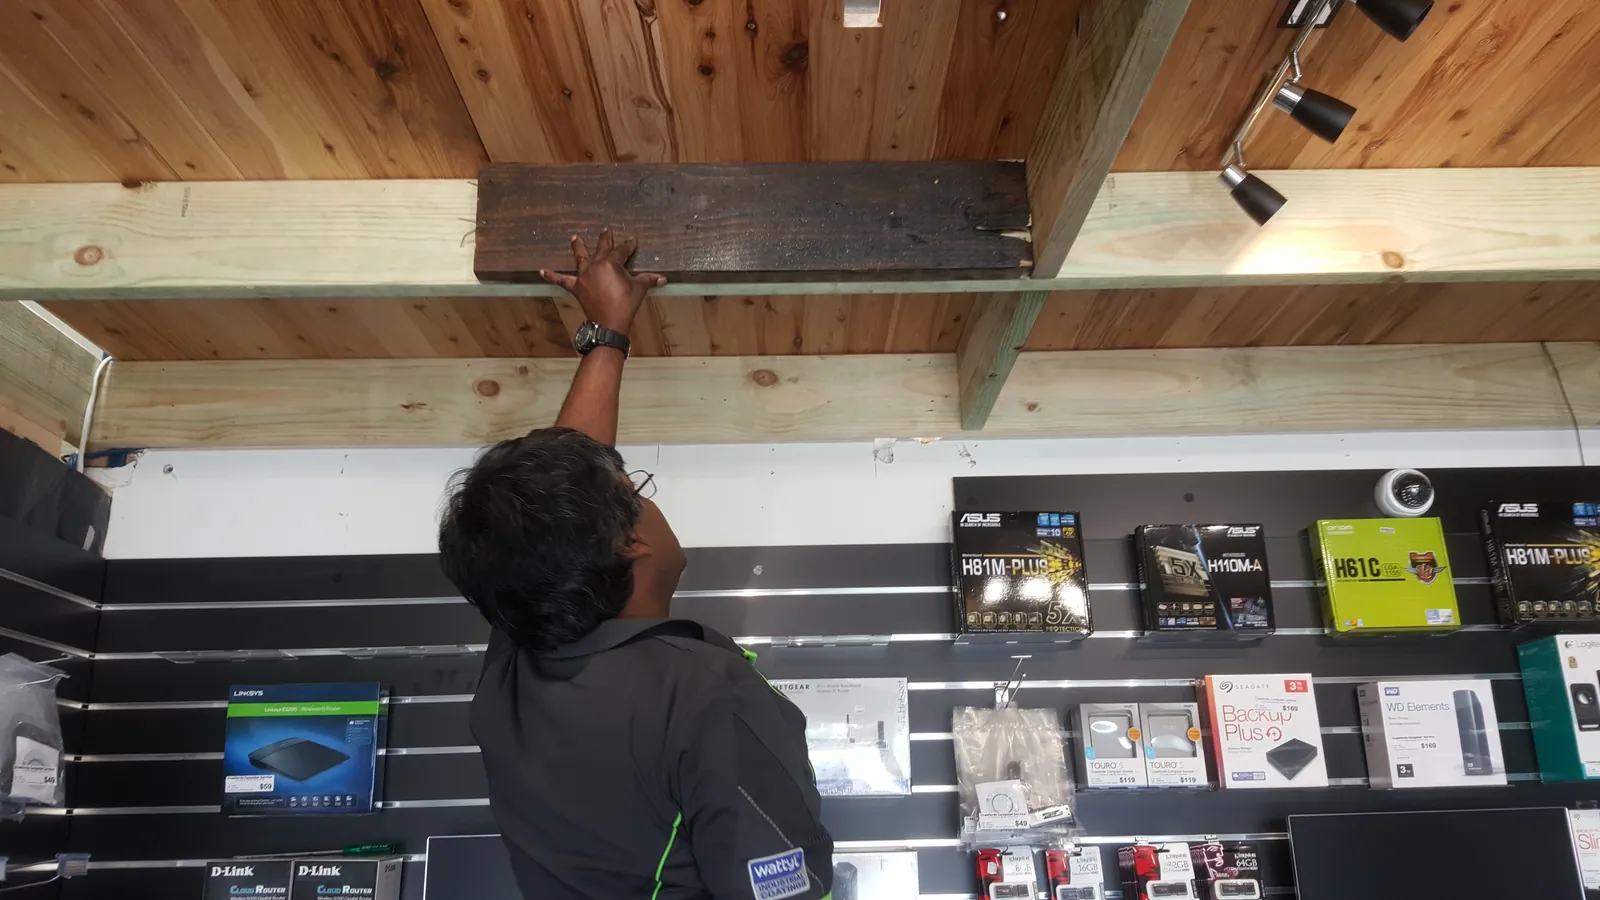
A beam is painted beneath the finished timber lining.
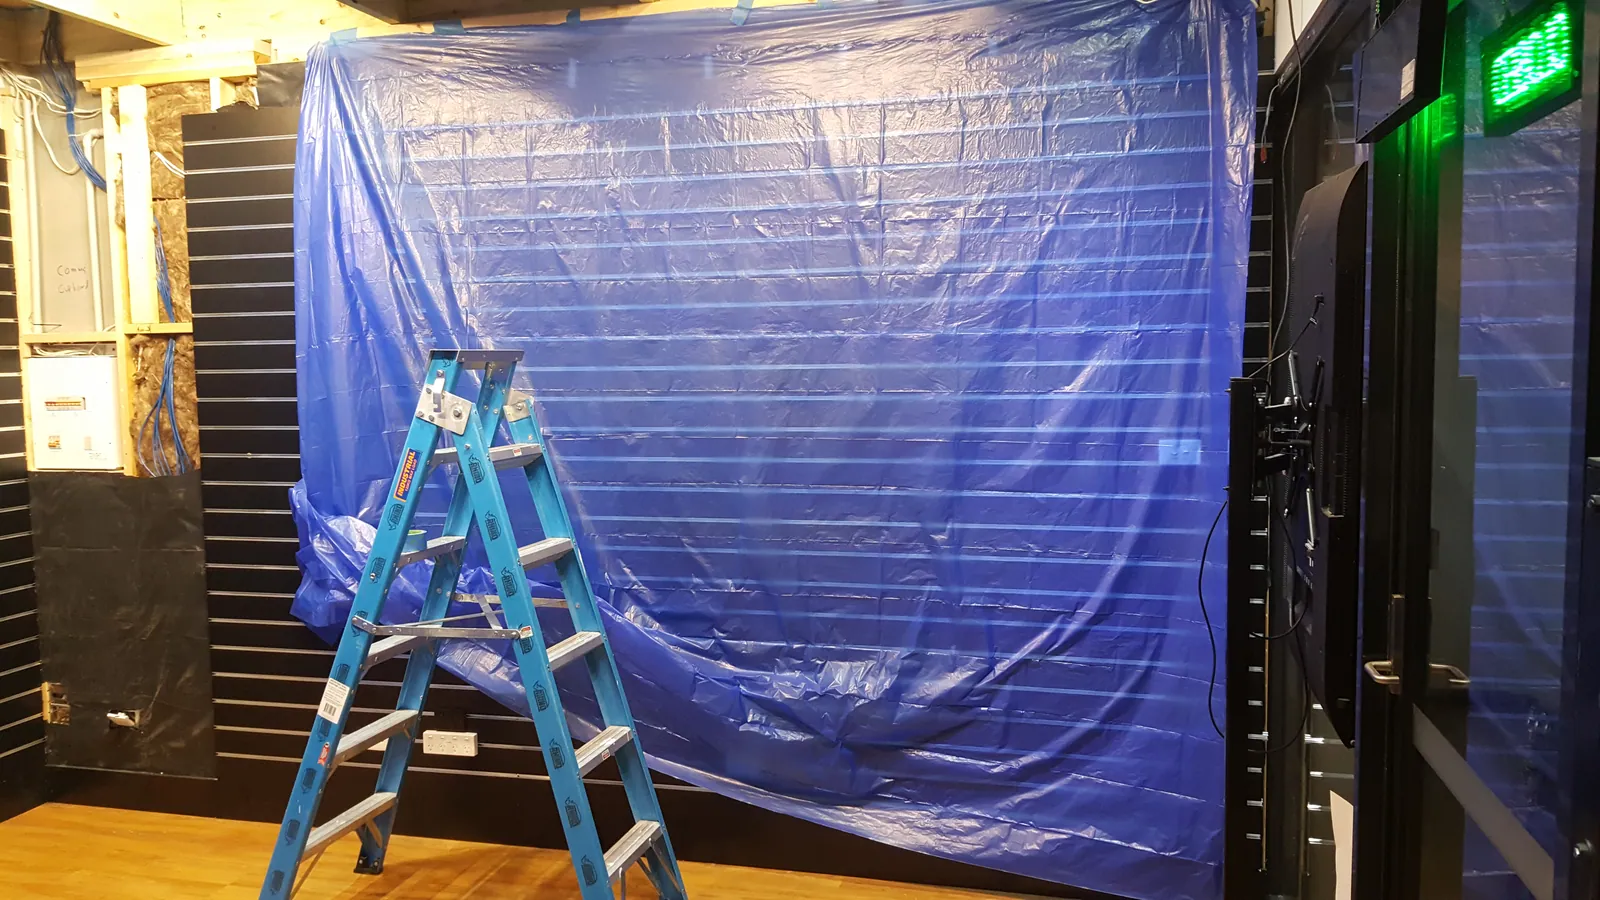
Protective sheeting covers the room during painting.
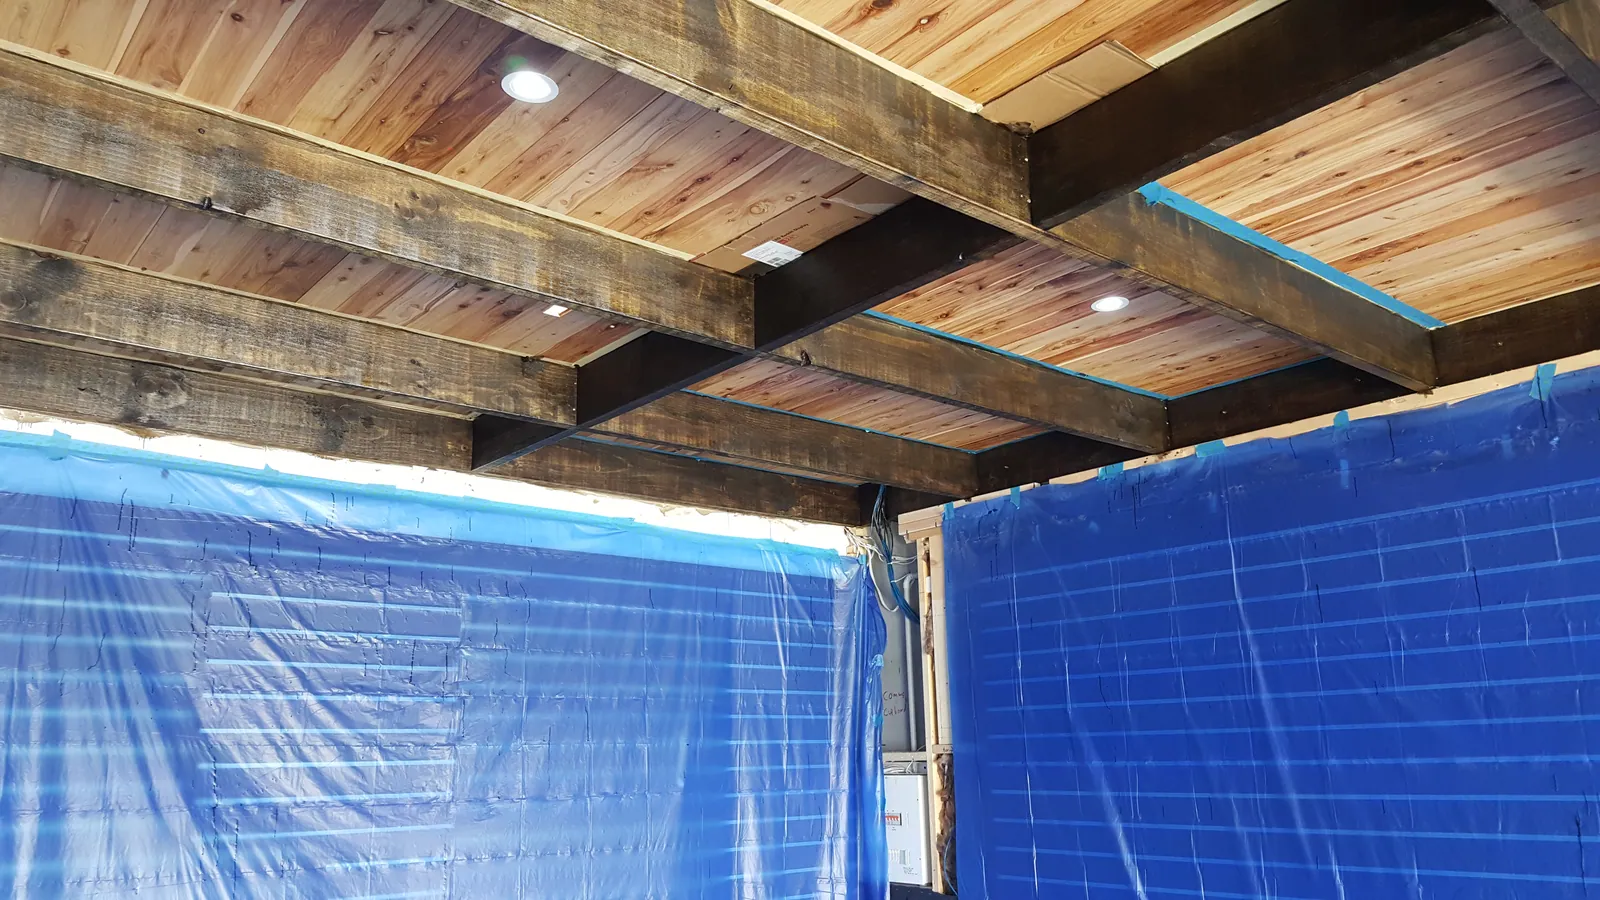
Painting progresses along the overhead beams.
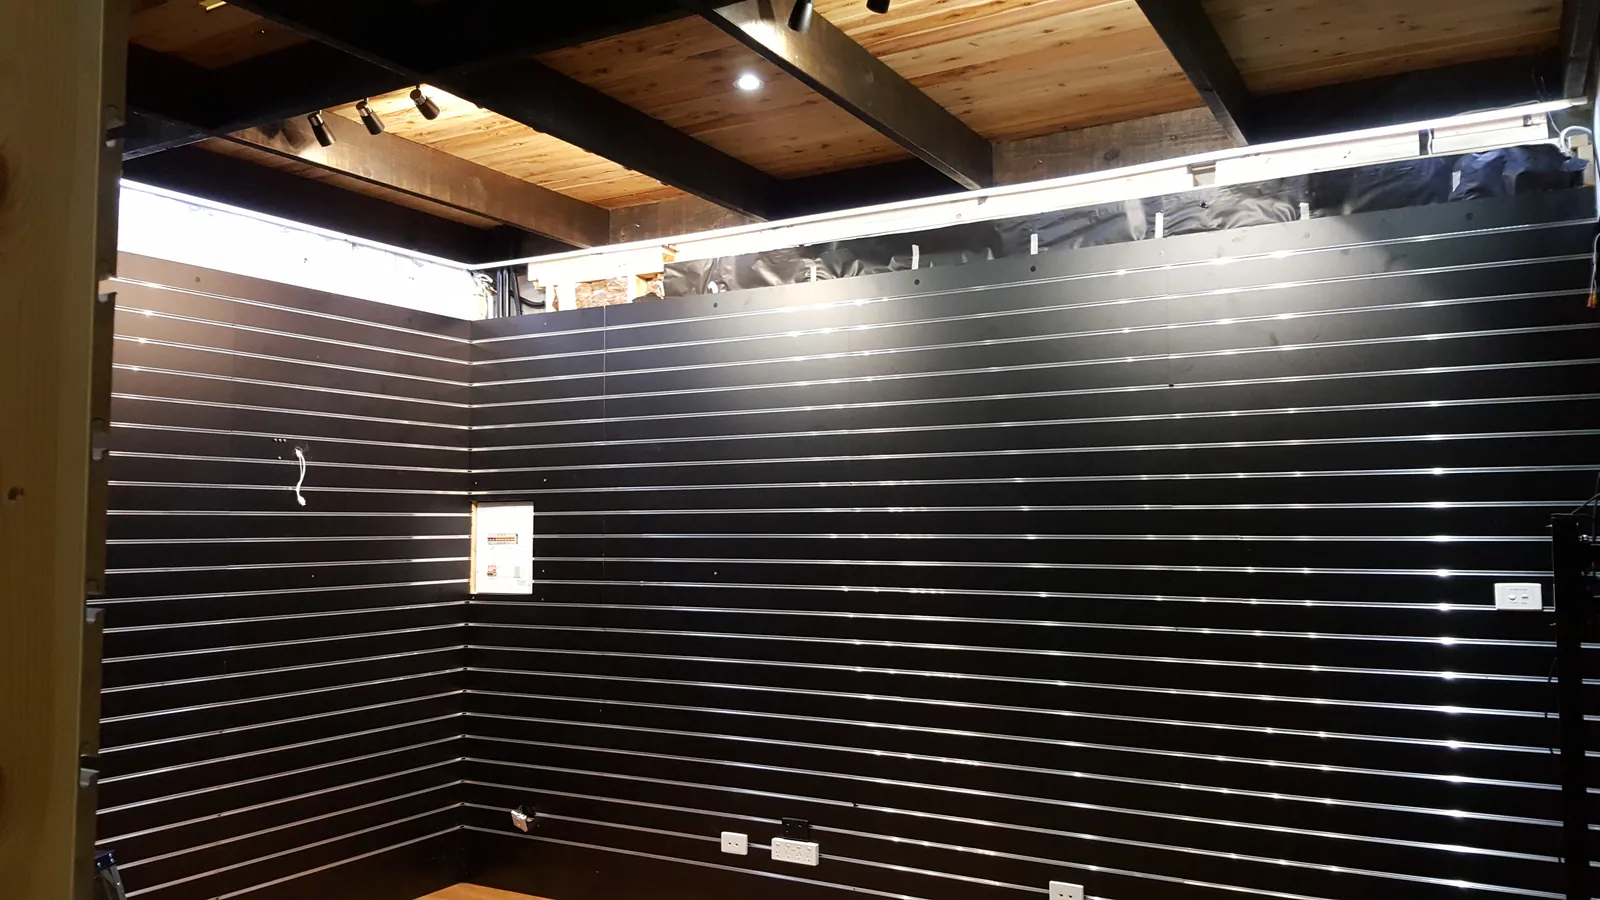
Dark-painted beams frame the new ceiling and display walls.
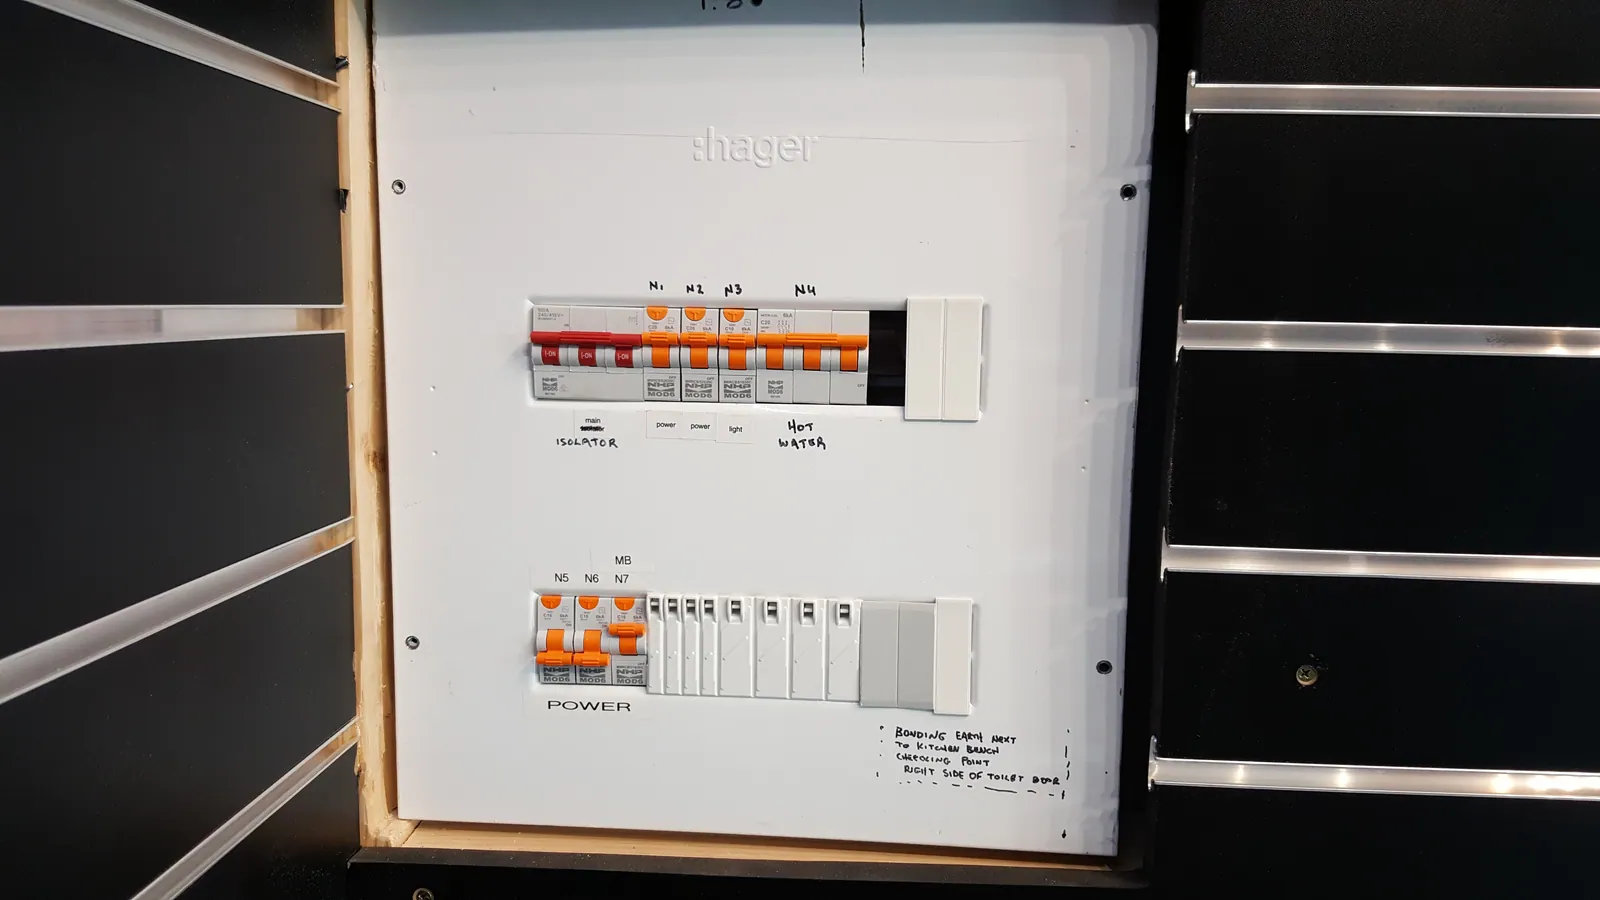
The electrical distribution panel is shown during the finishing work.
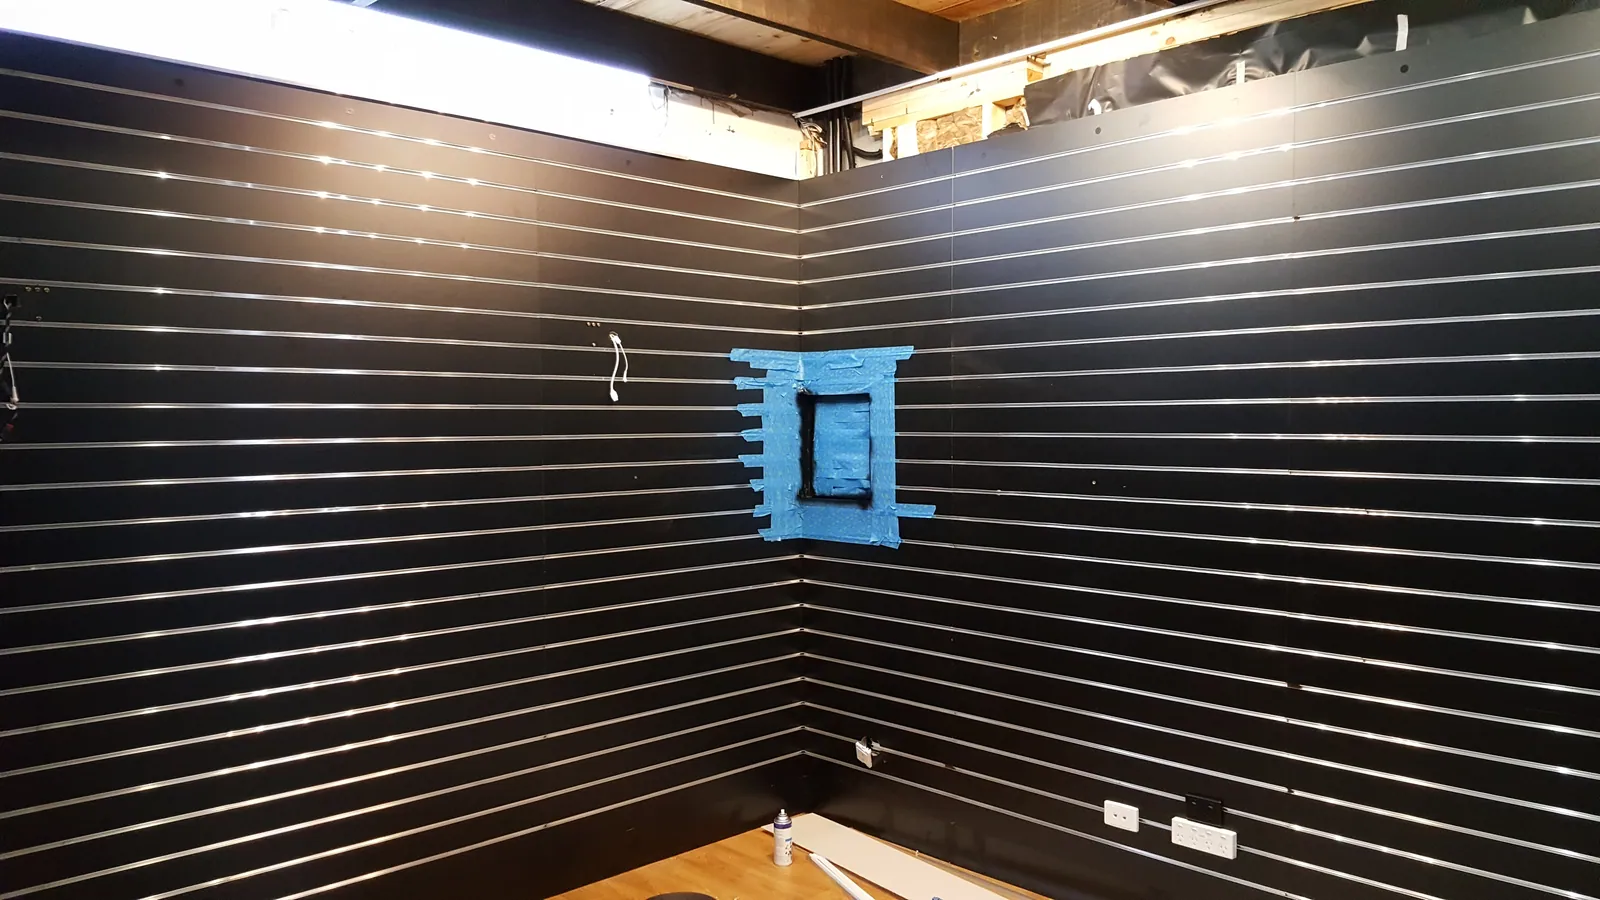
The panel area is masked while the surrounding finish is completed.
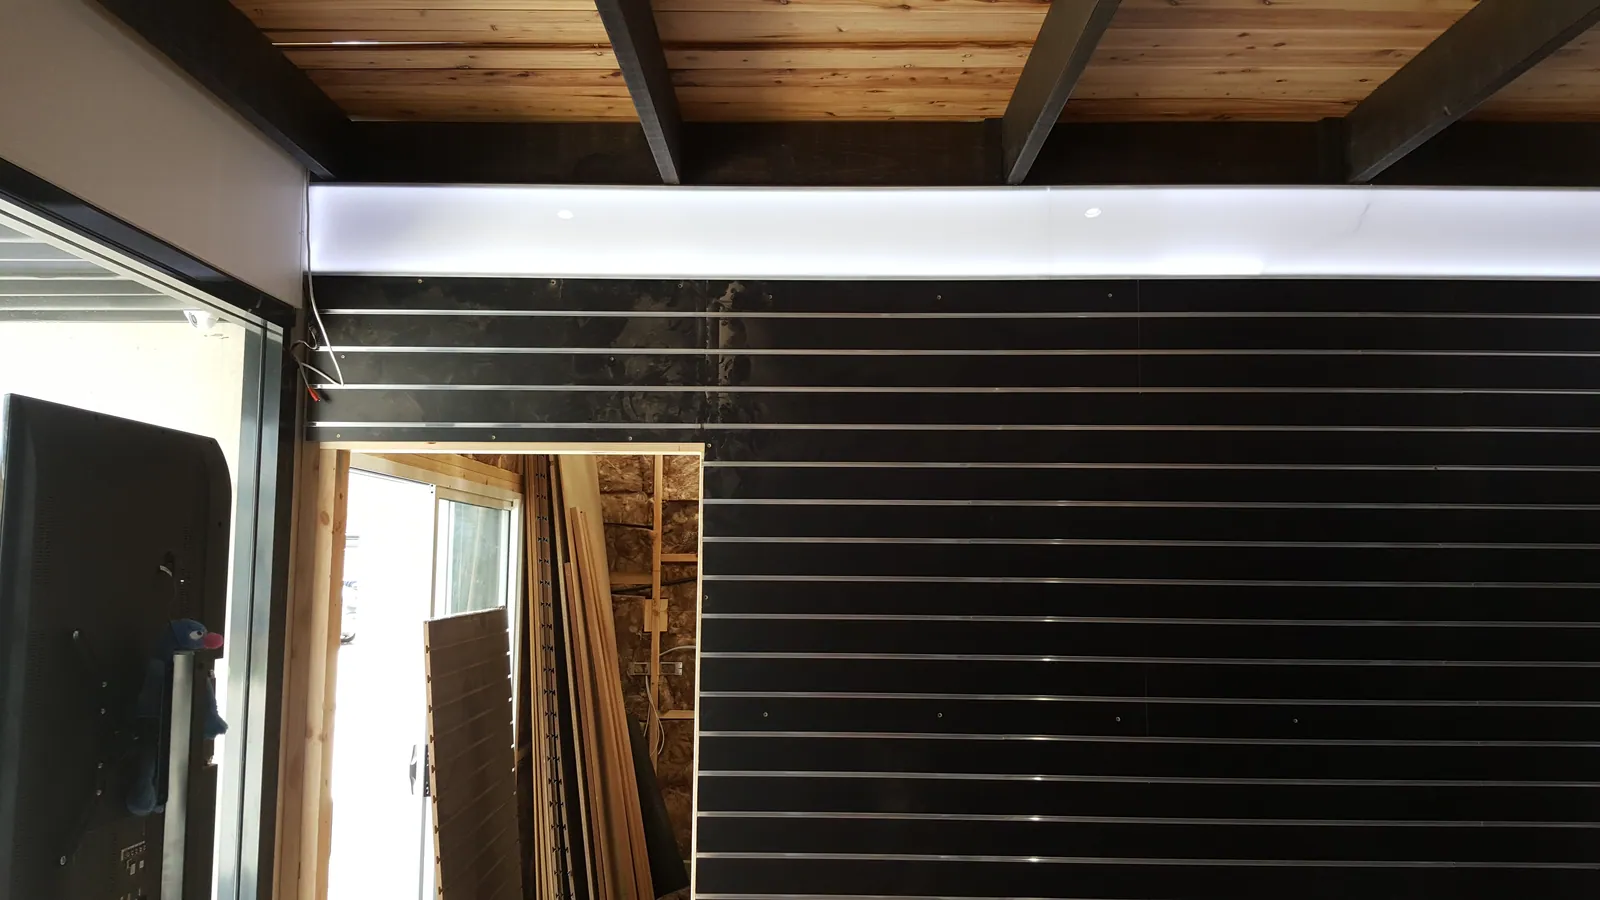
White upper trim is added around the display walls.
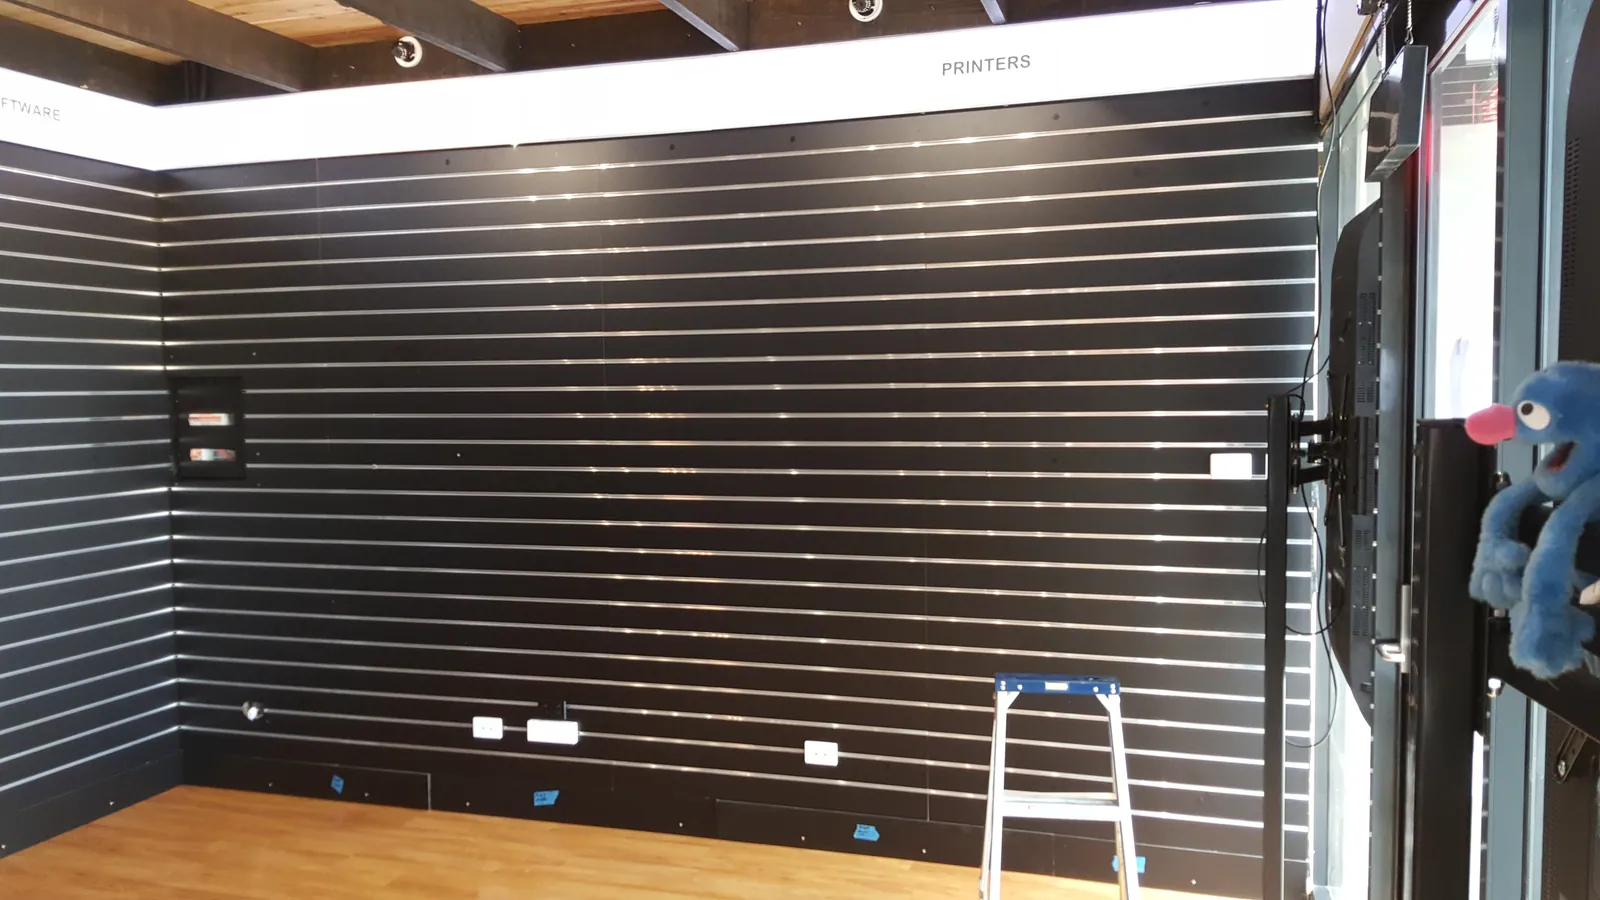
The finished display wall is ready to receive stock.
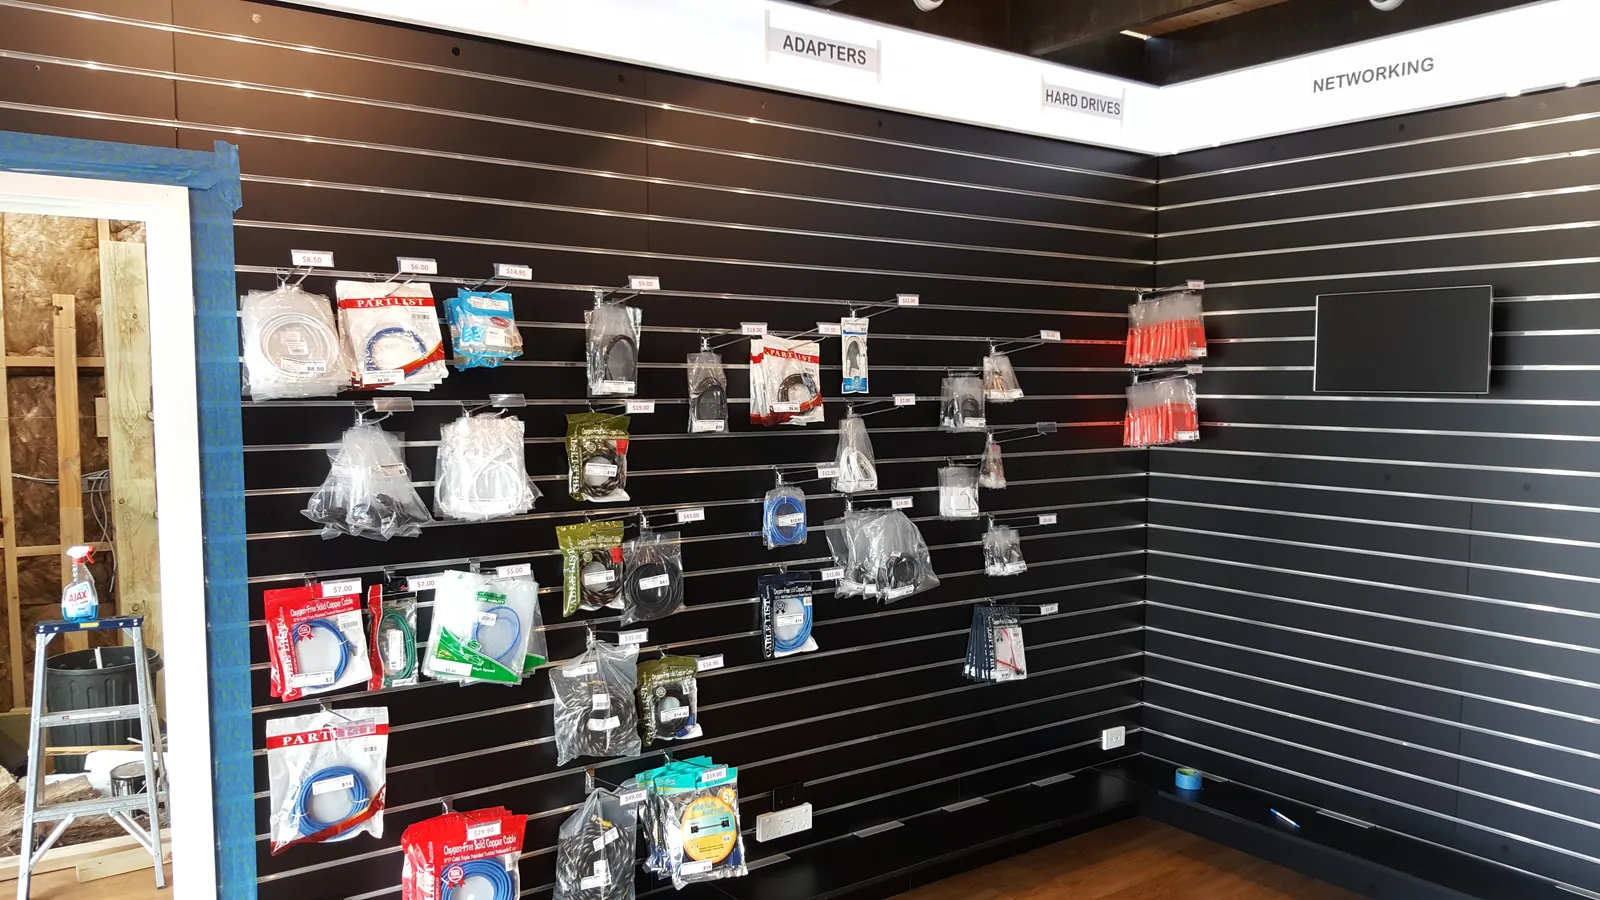
Stock begins filling the completed wall.
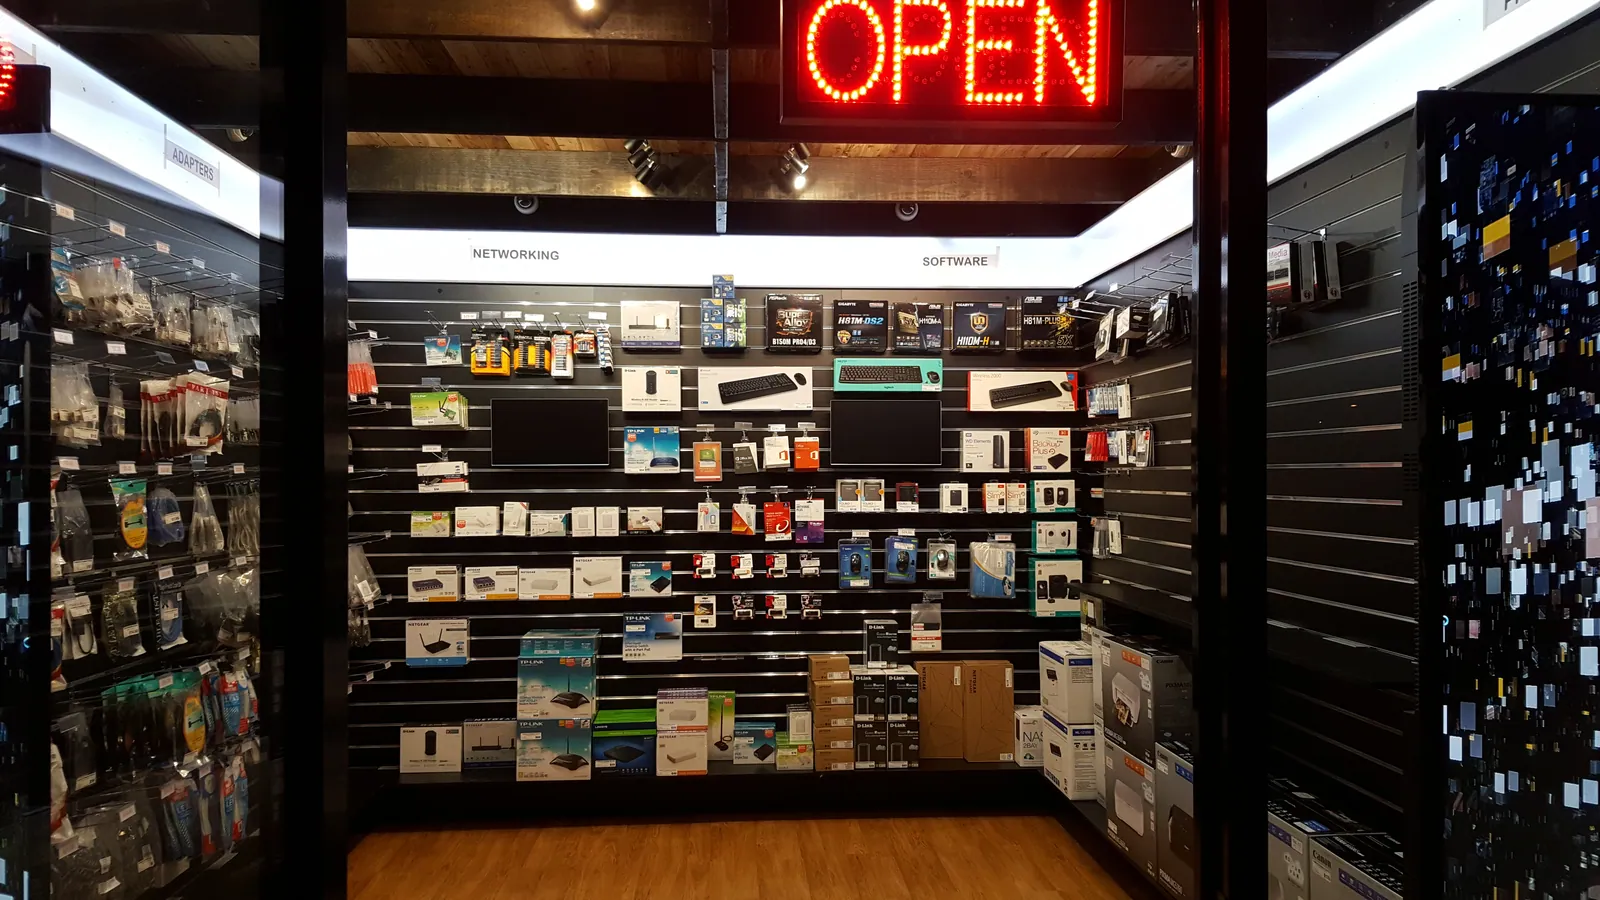
An evening view through the entrance shows the stocked displays.
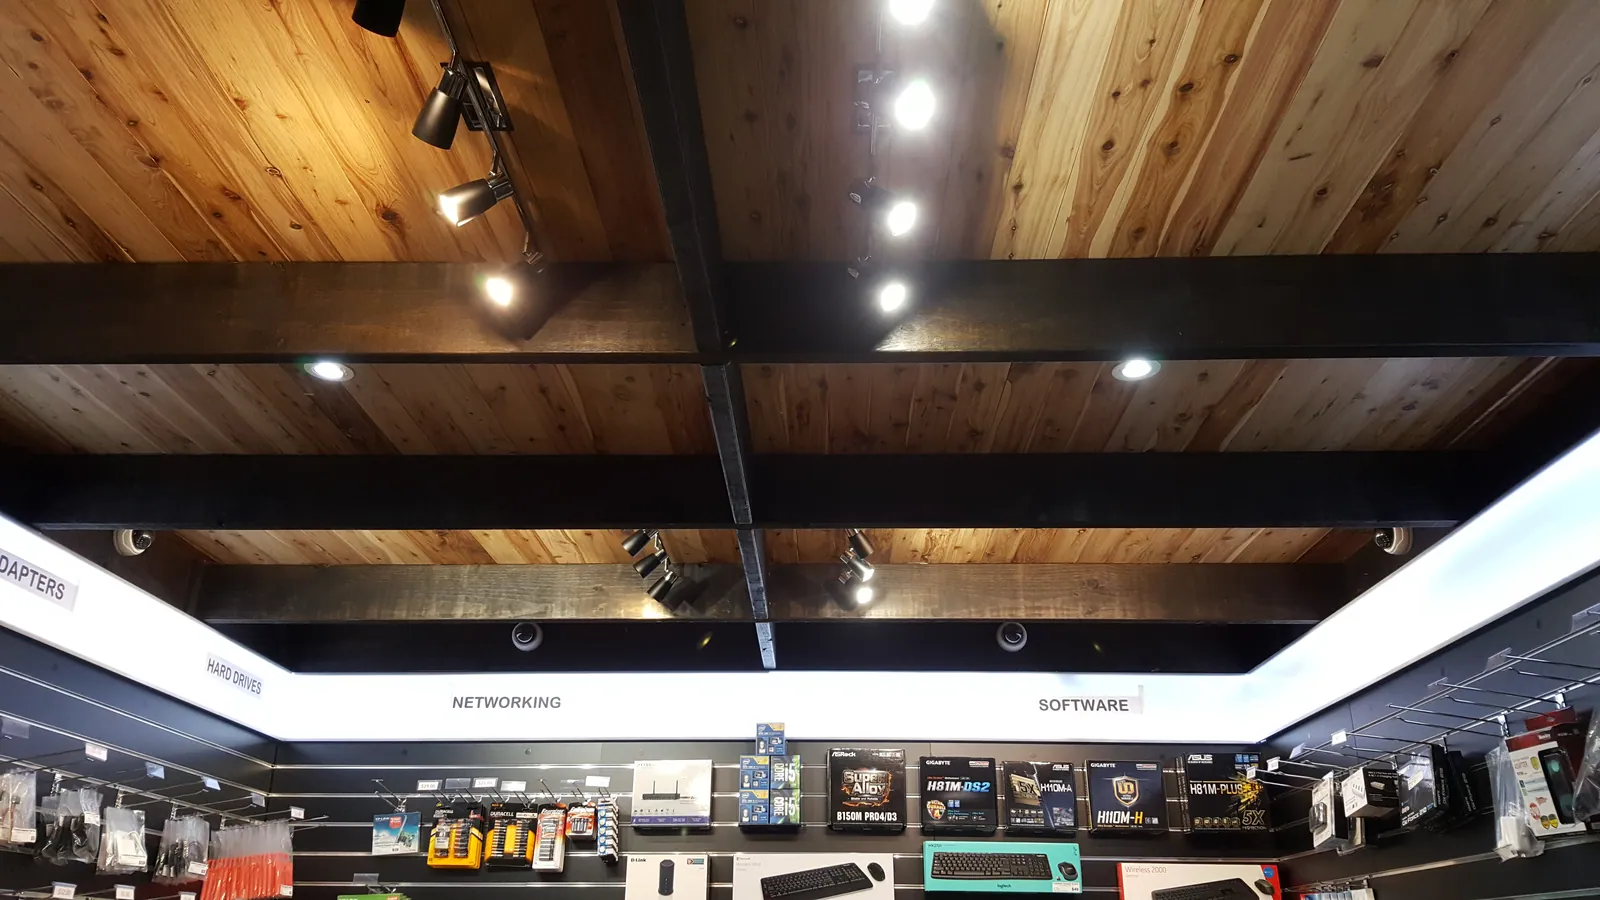
A close view records the completed timber ceiling and lights.
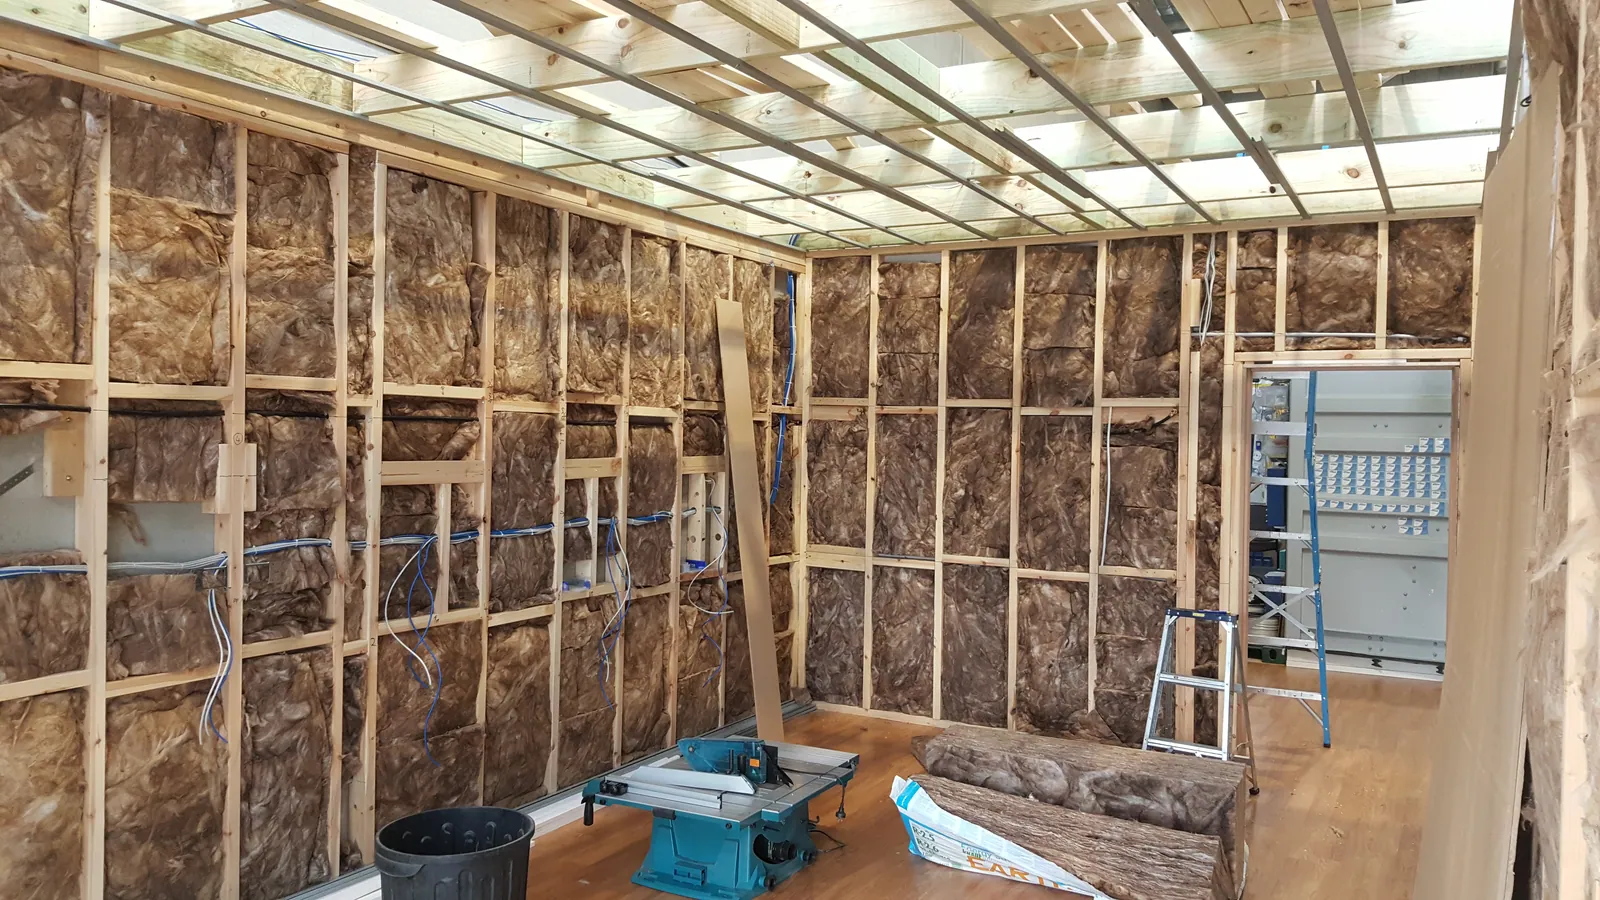
An adjacent area still has exposed insulation and framing.
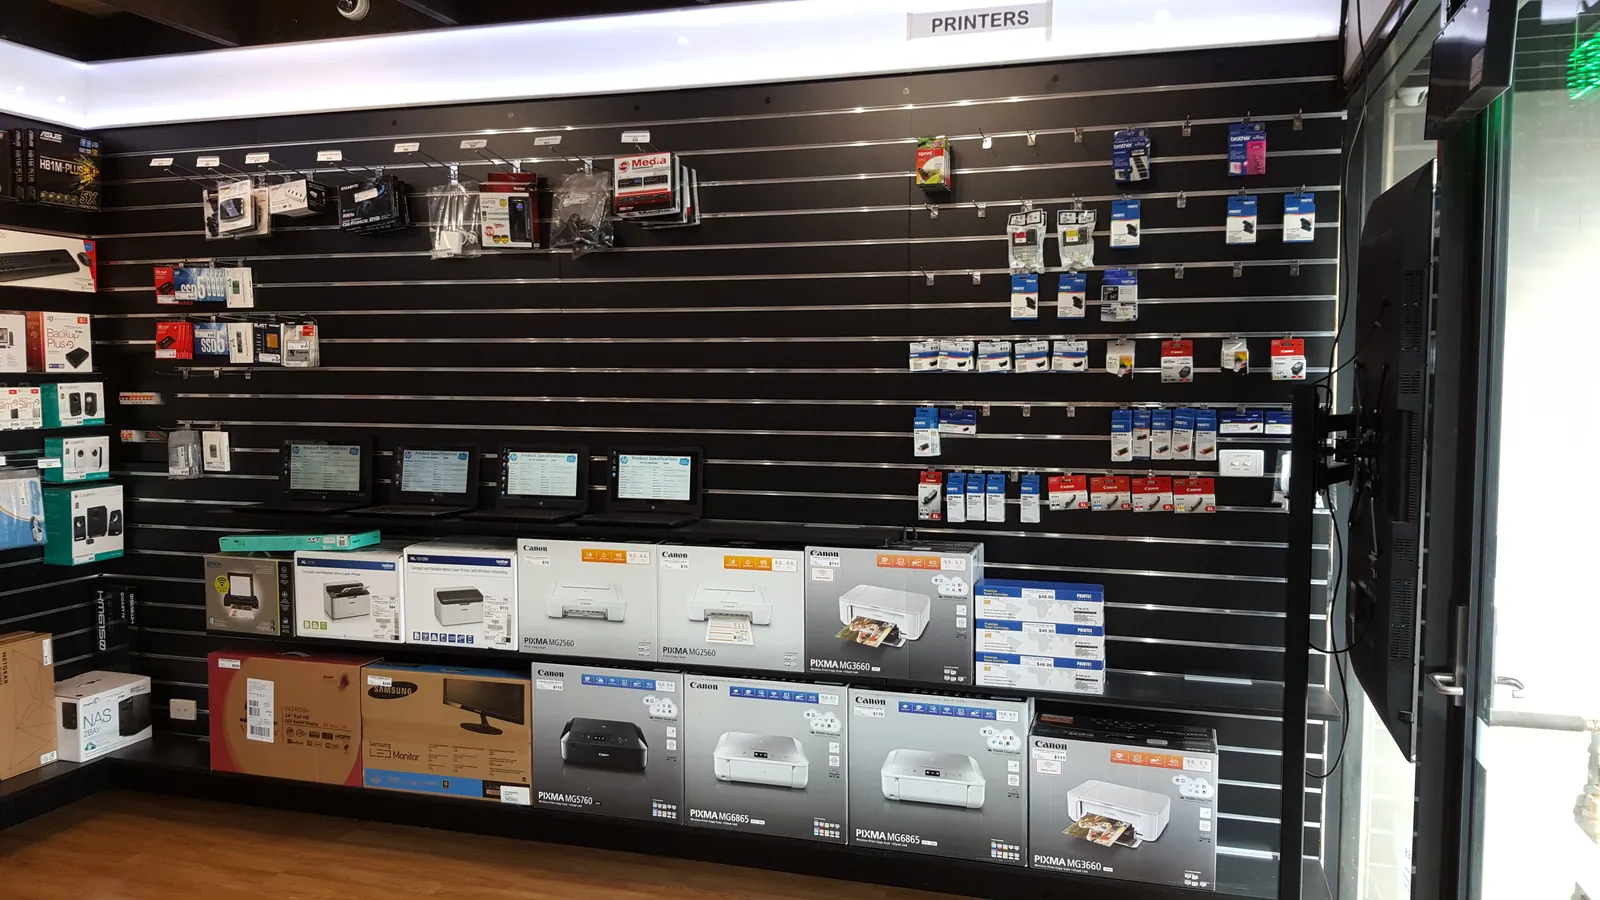
A wide view records the stocked retail displays at the end of October.
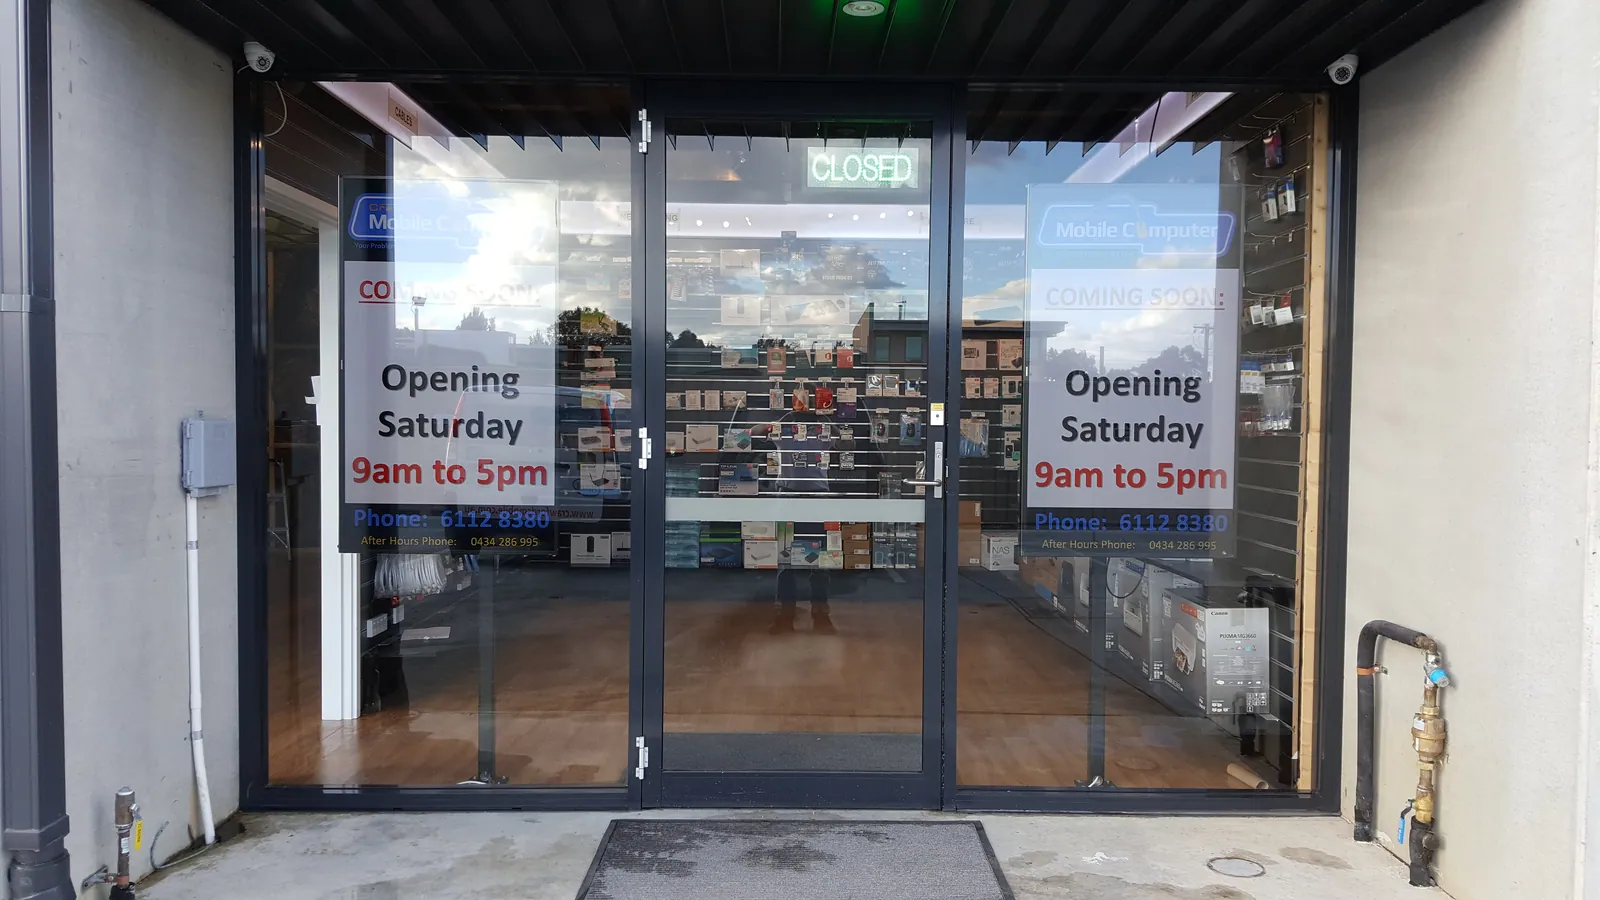
The shopfront in daylight with its signs and Saturday-hours notices.
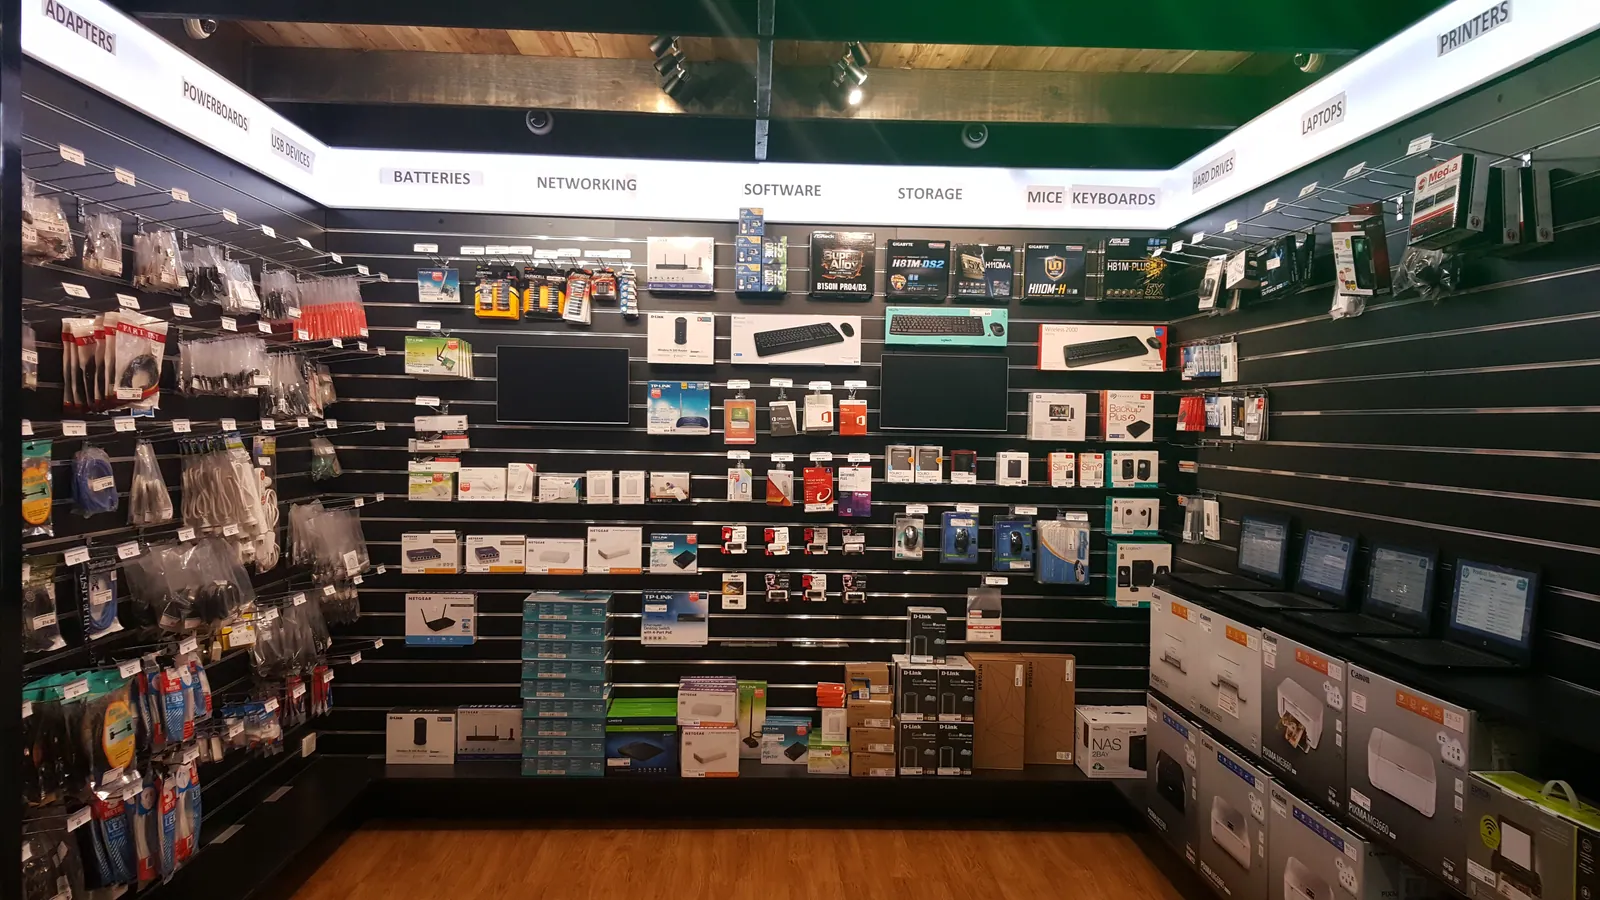
A wide view brings the finished retail fitout together.
05Lining, painting and services for the workshop — May–June 2017

The orange Computer Repairs sign appears in the photographic record in May.
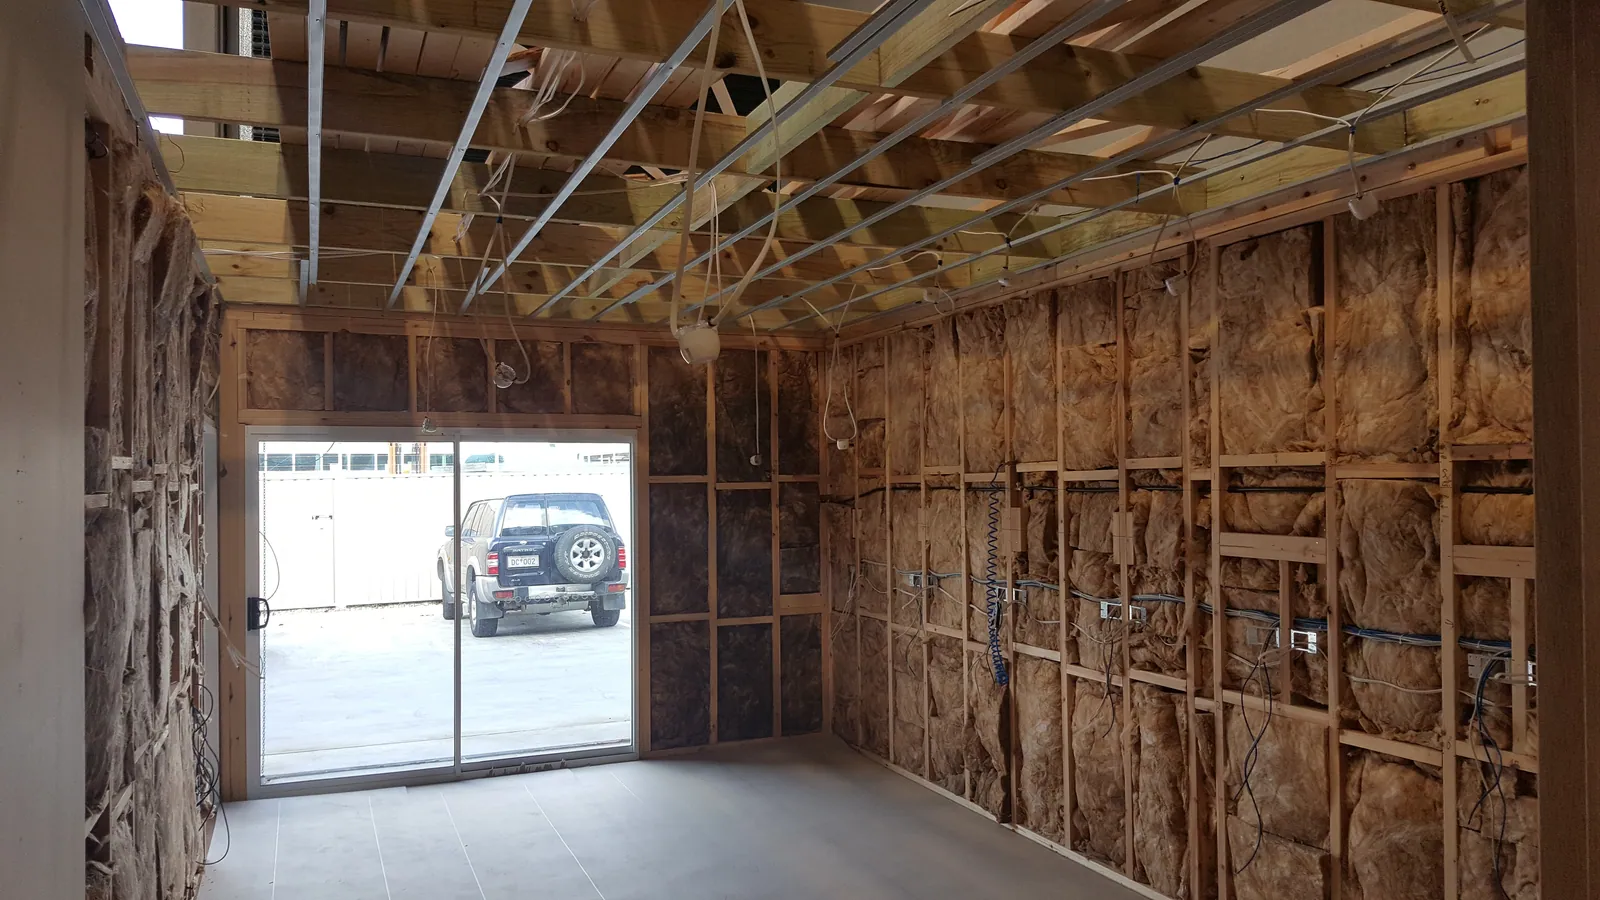
The next workshop phase begins with insulation and services still exposed.
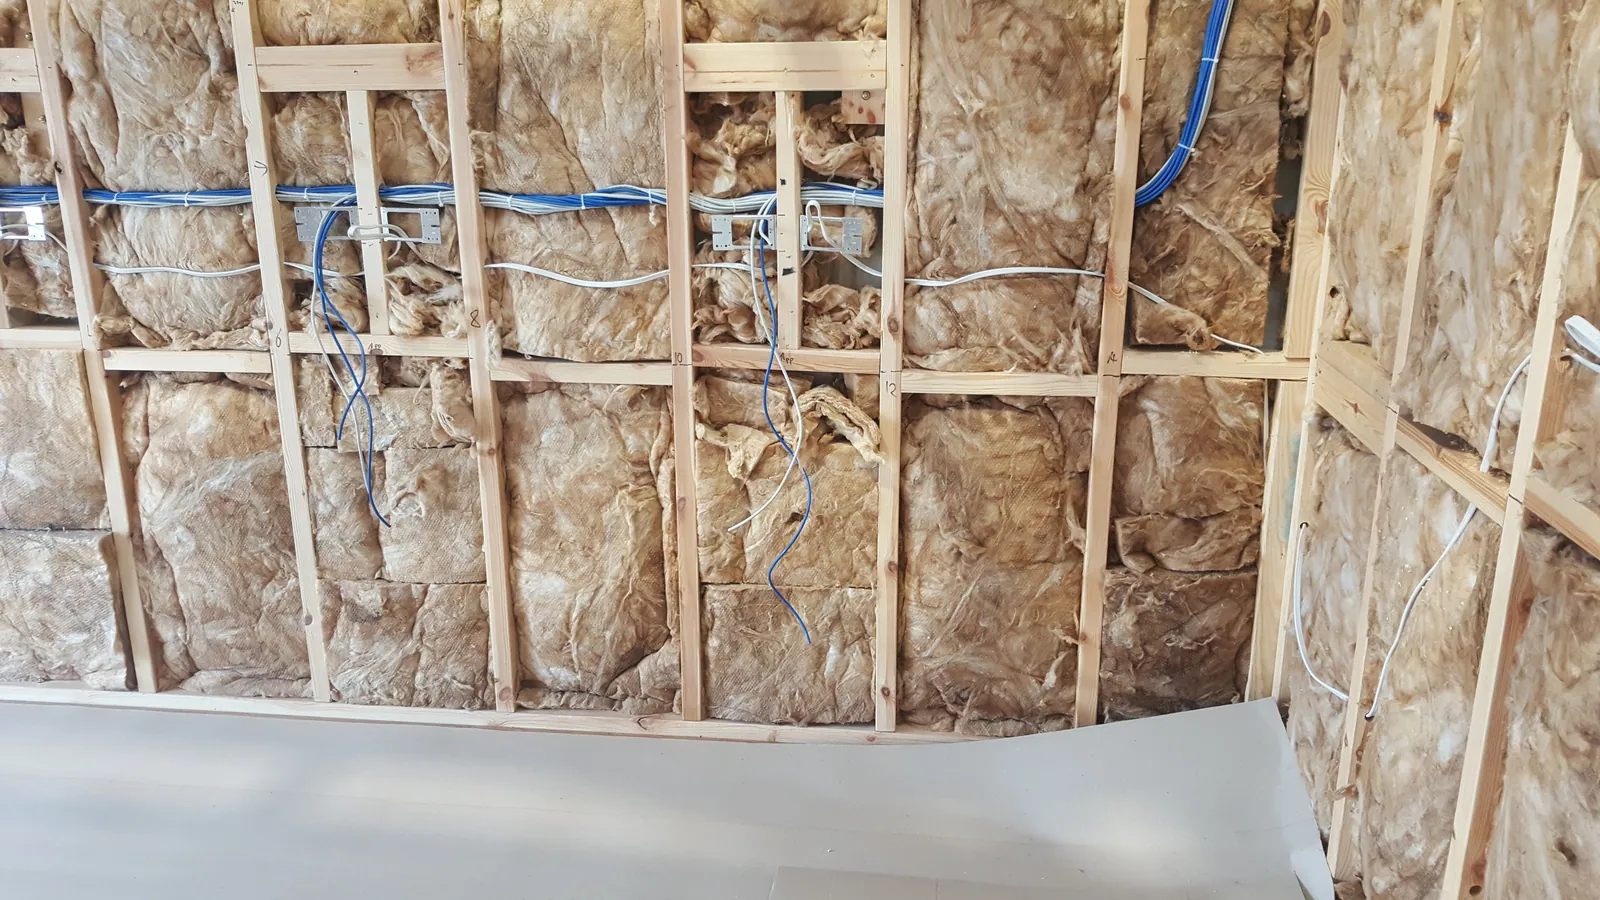
A closer view records the insulation and services before they are covered.
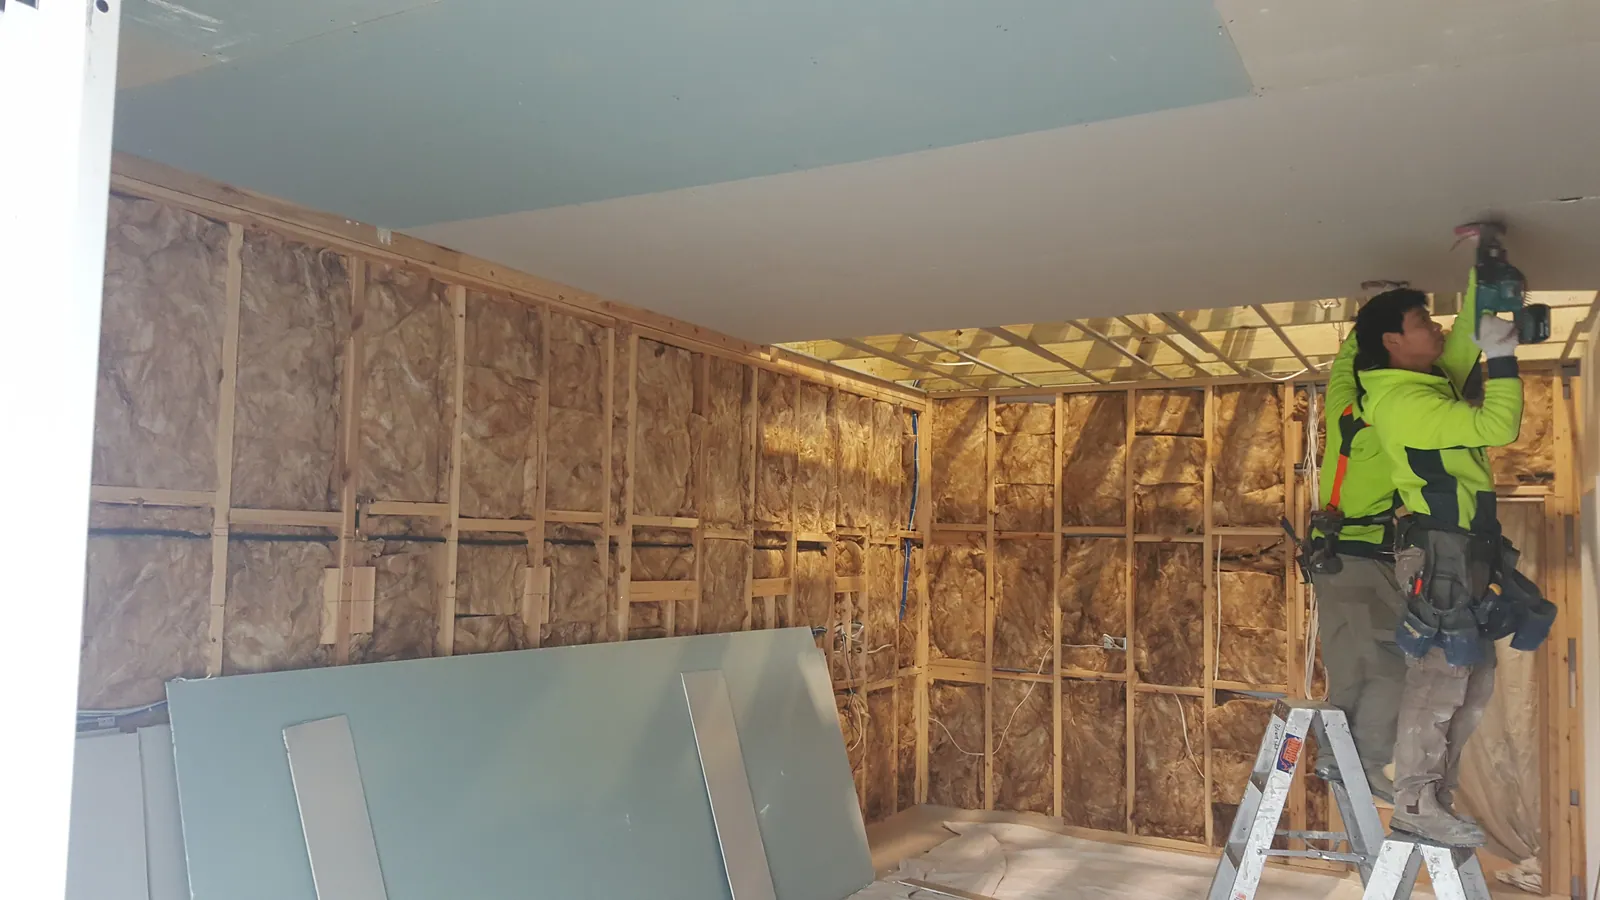
Ceiling sheets are fitted overhead.
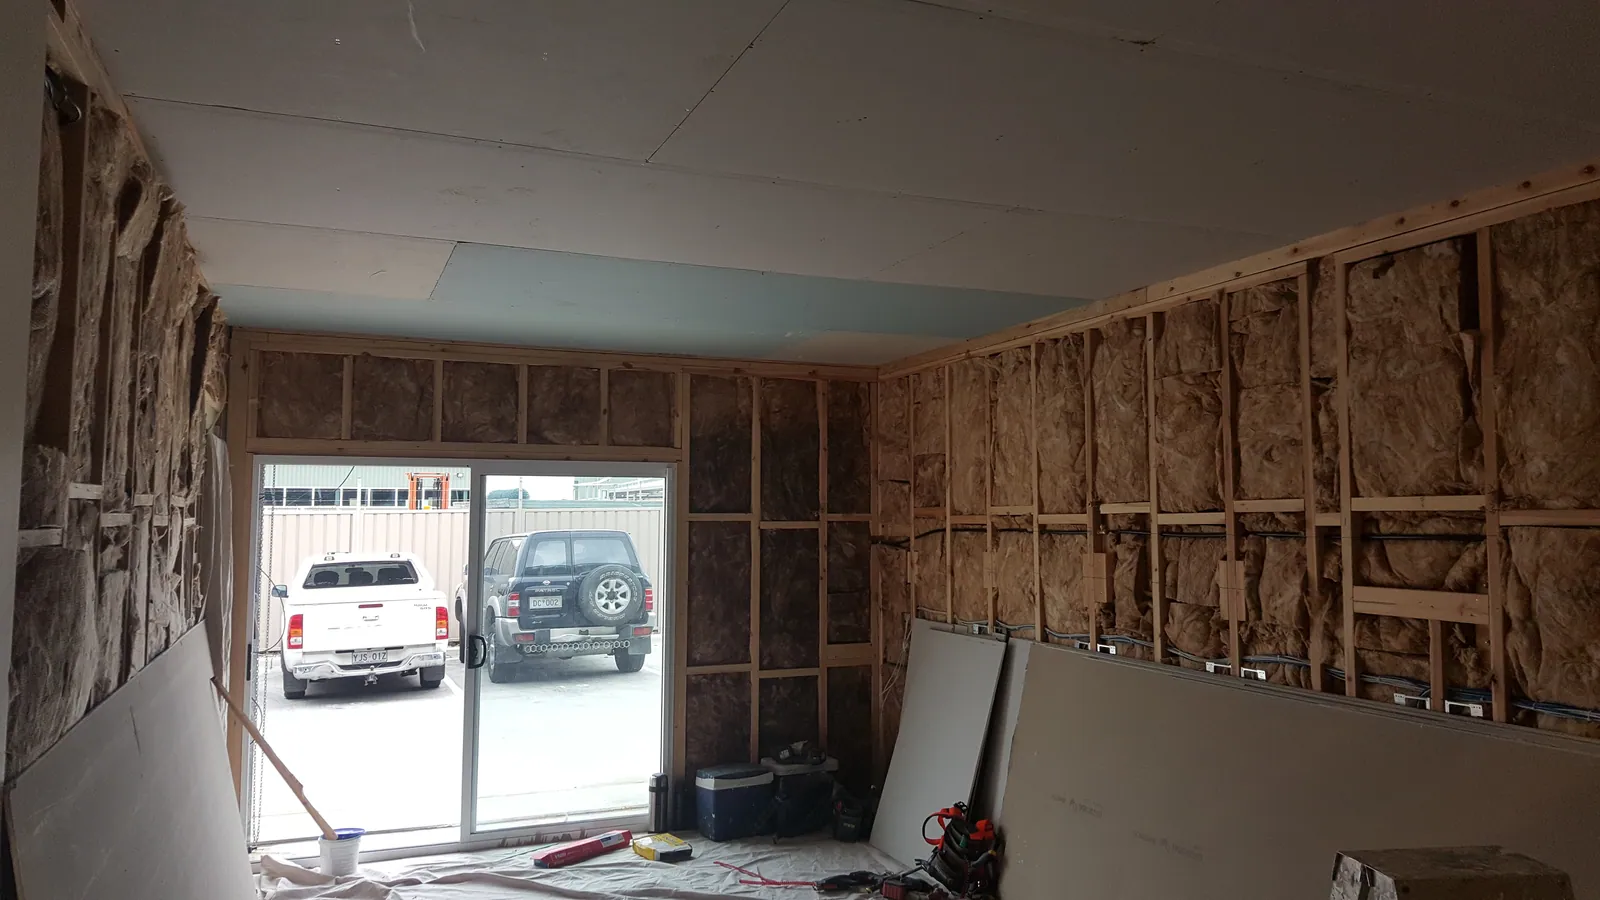
The ceiling is covered while the walls remain unfinished.
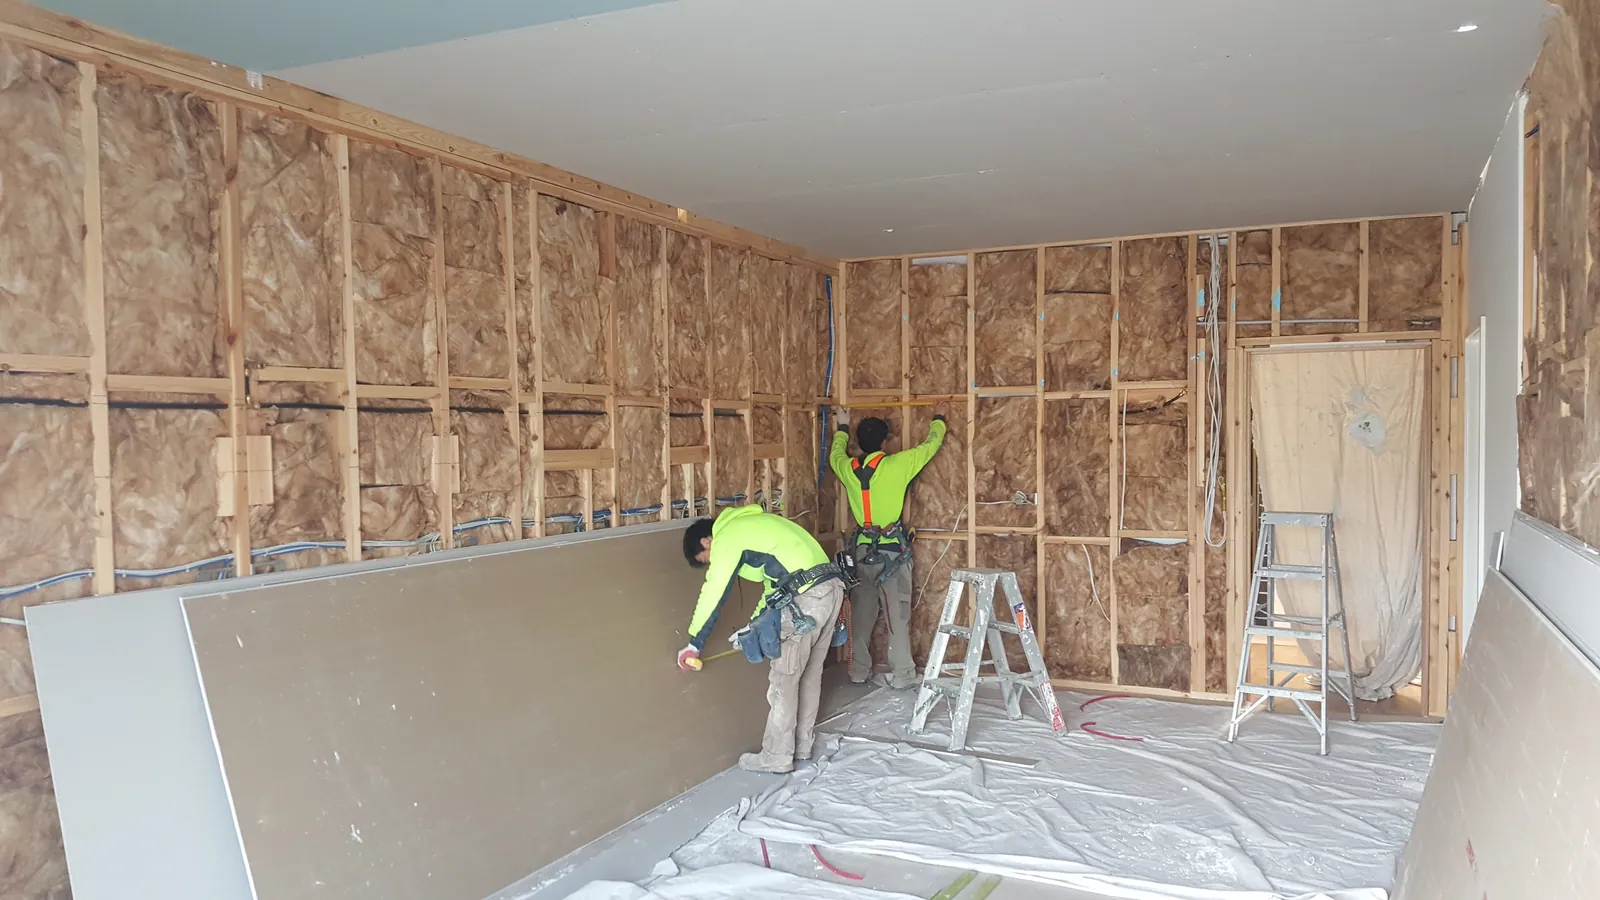
The wall lining is measured and fitted around the remaining exposed insulation.
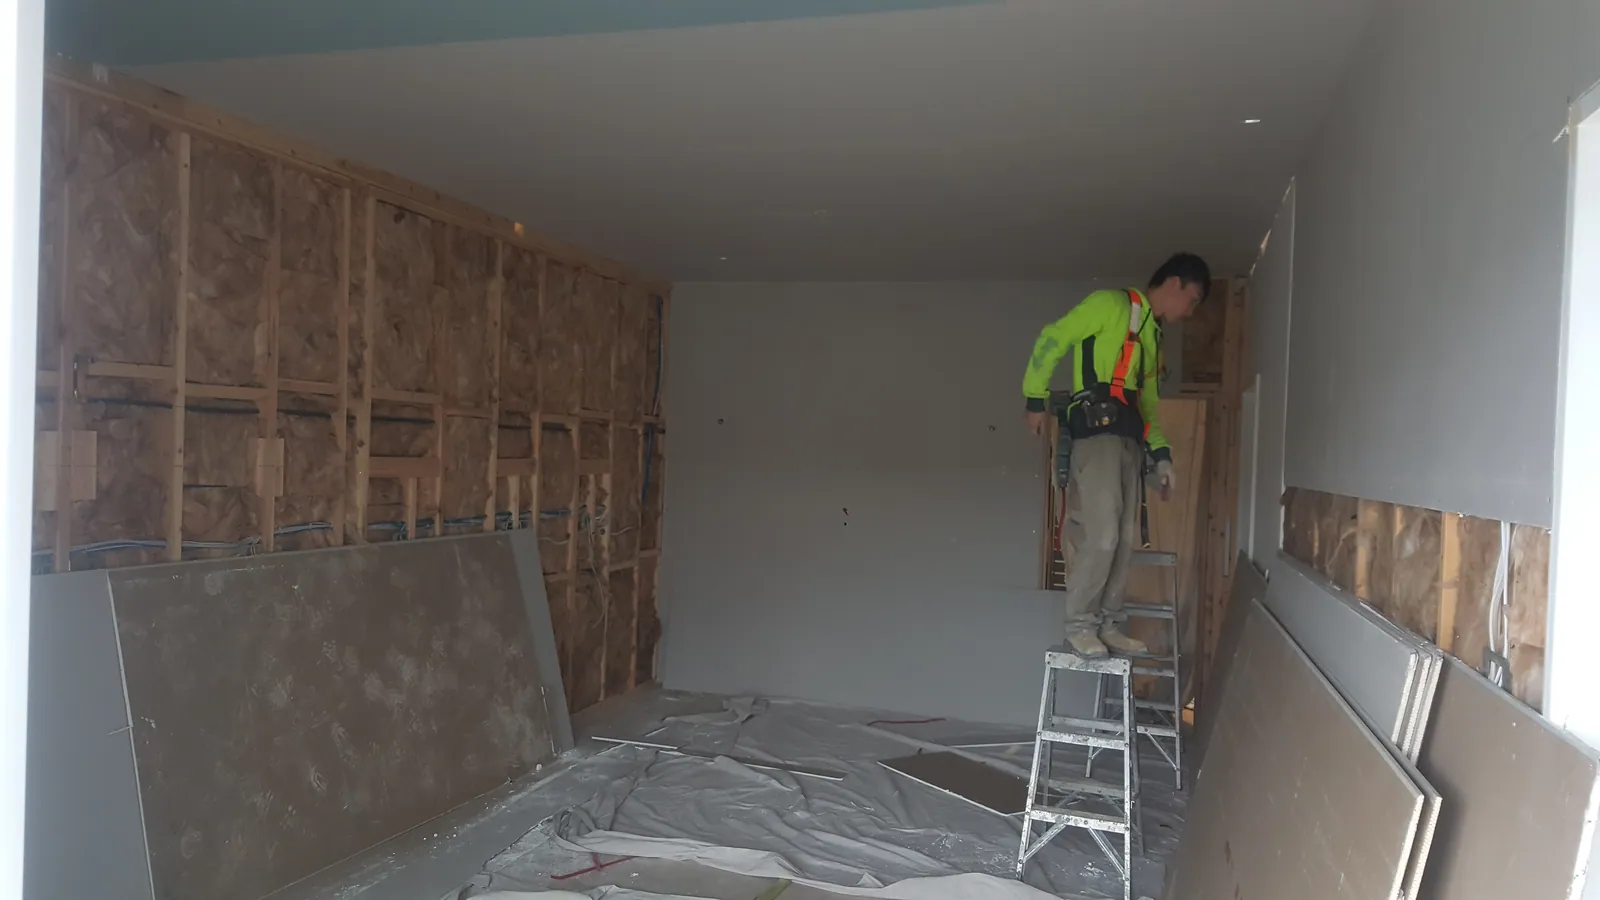
Wall panels now cover most of the room.
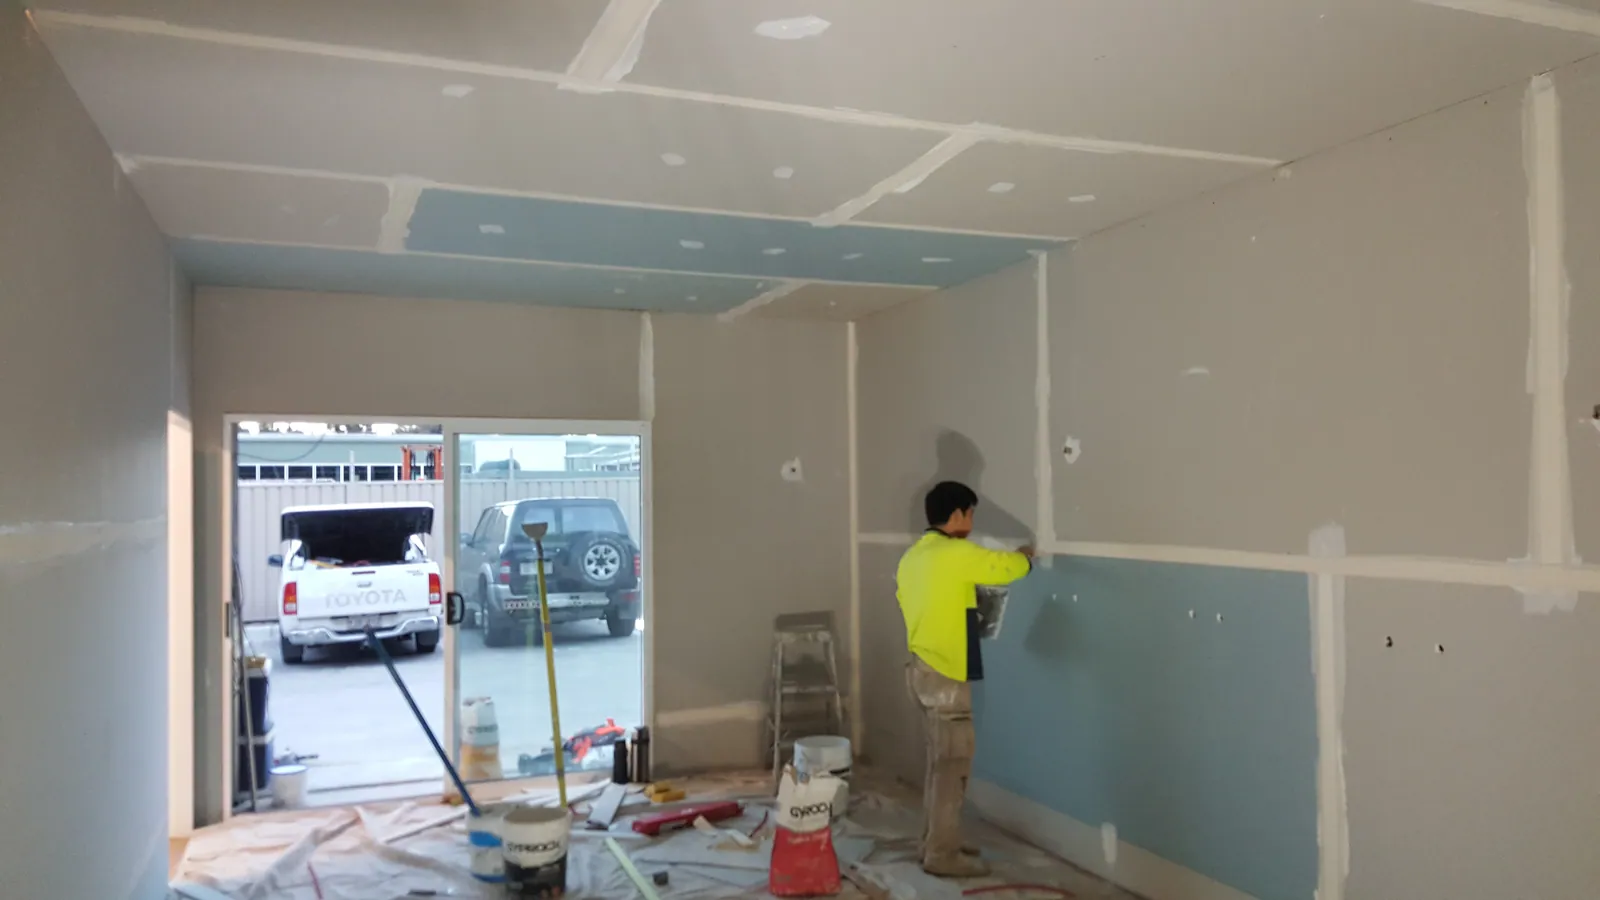
Joint finishing begins between the wall sheets.
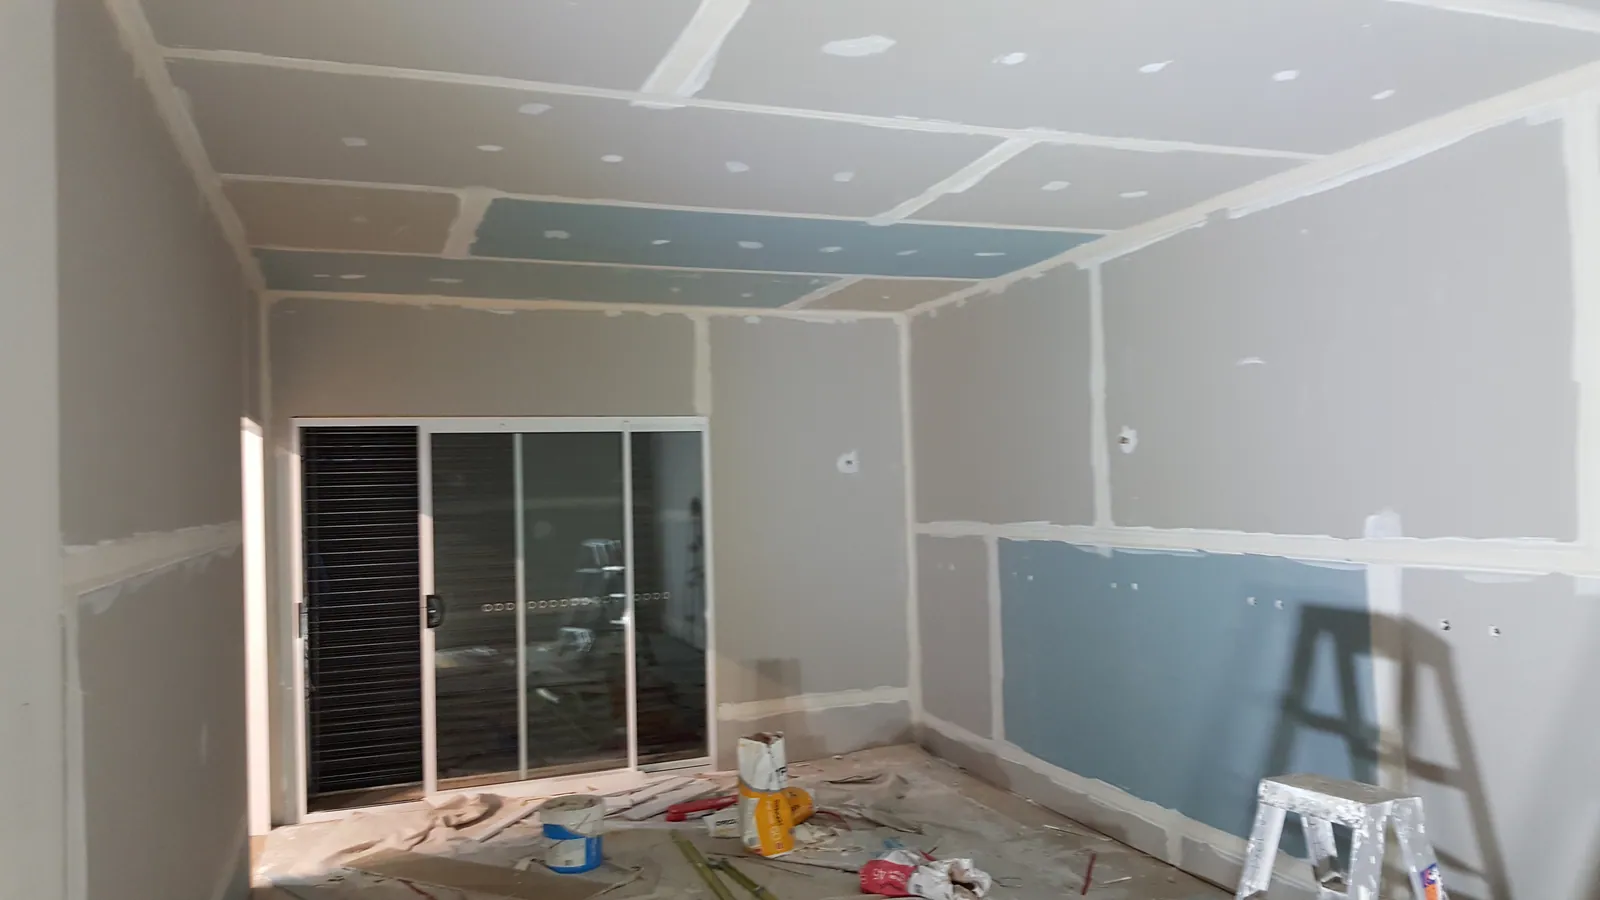
The lined room shows the pattern of freshly filled joints.
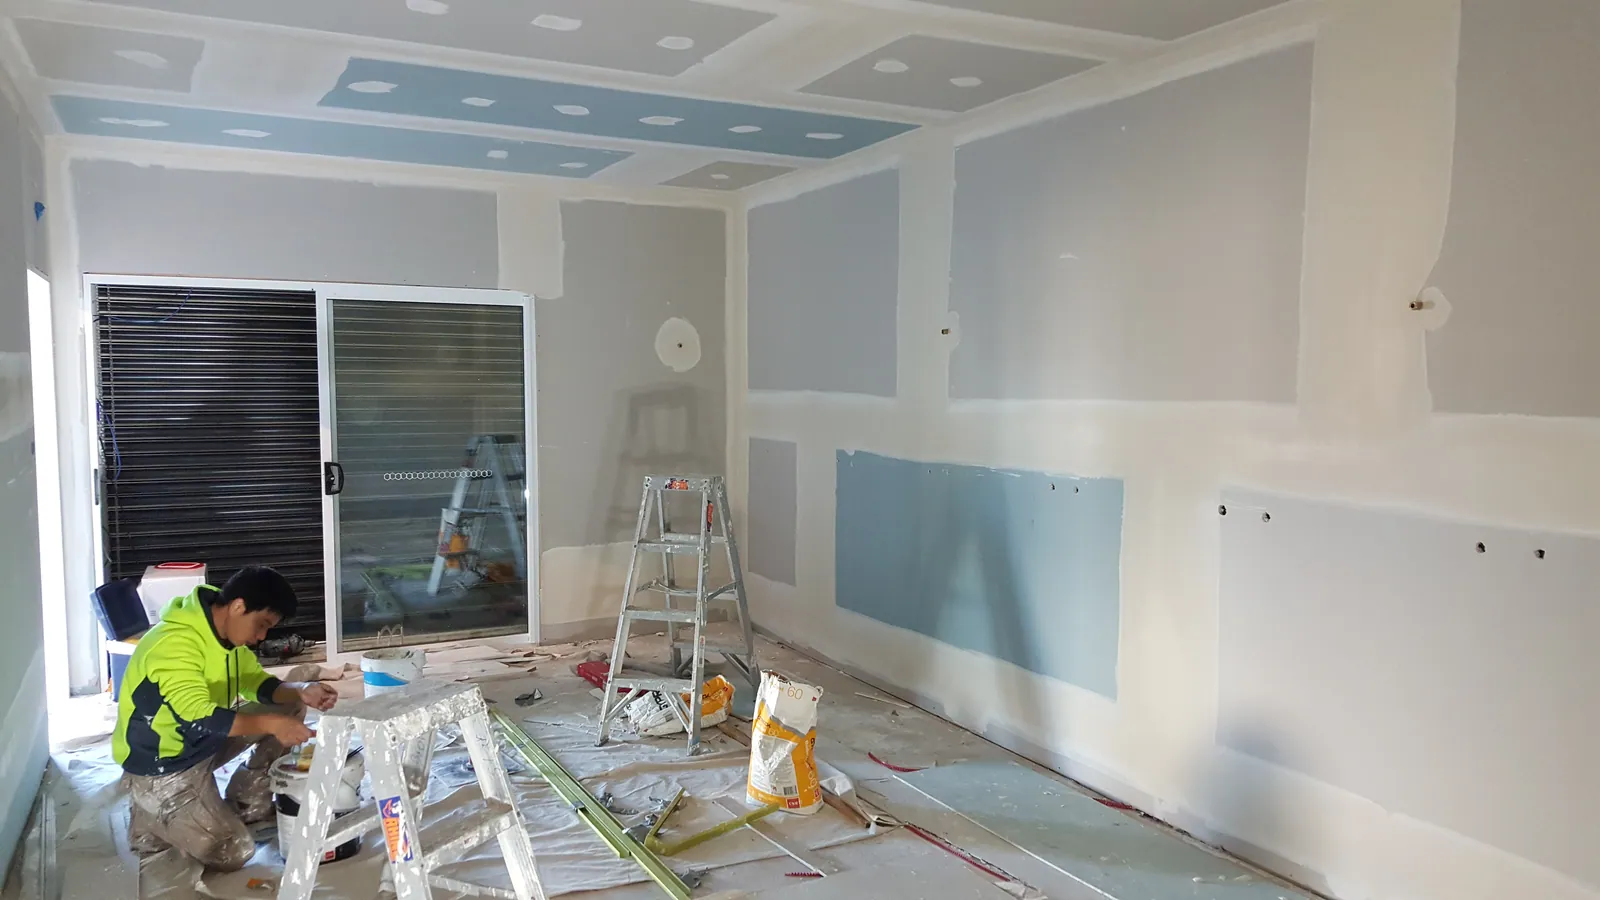
Wall preparation continues the following day.
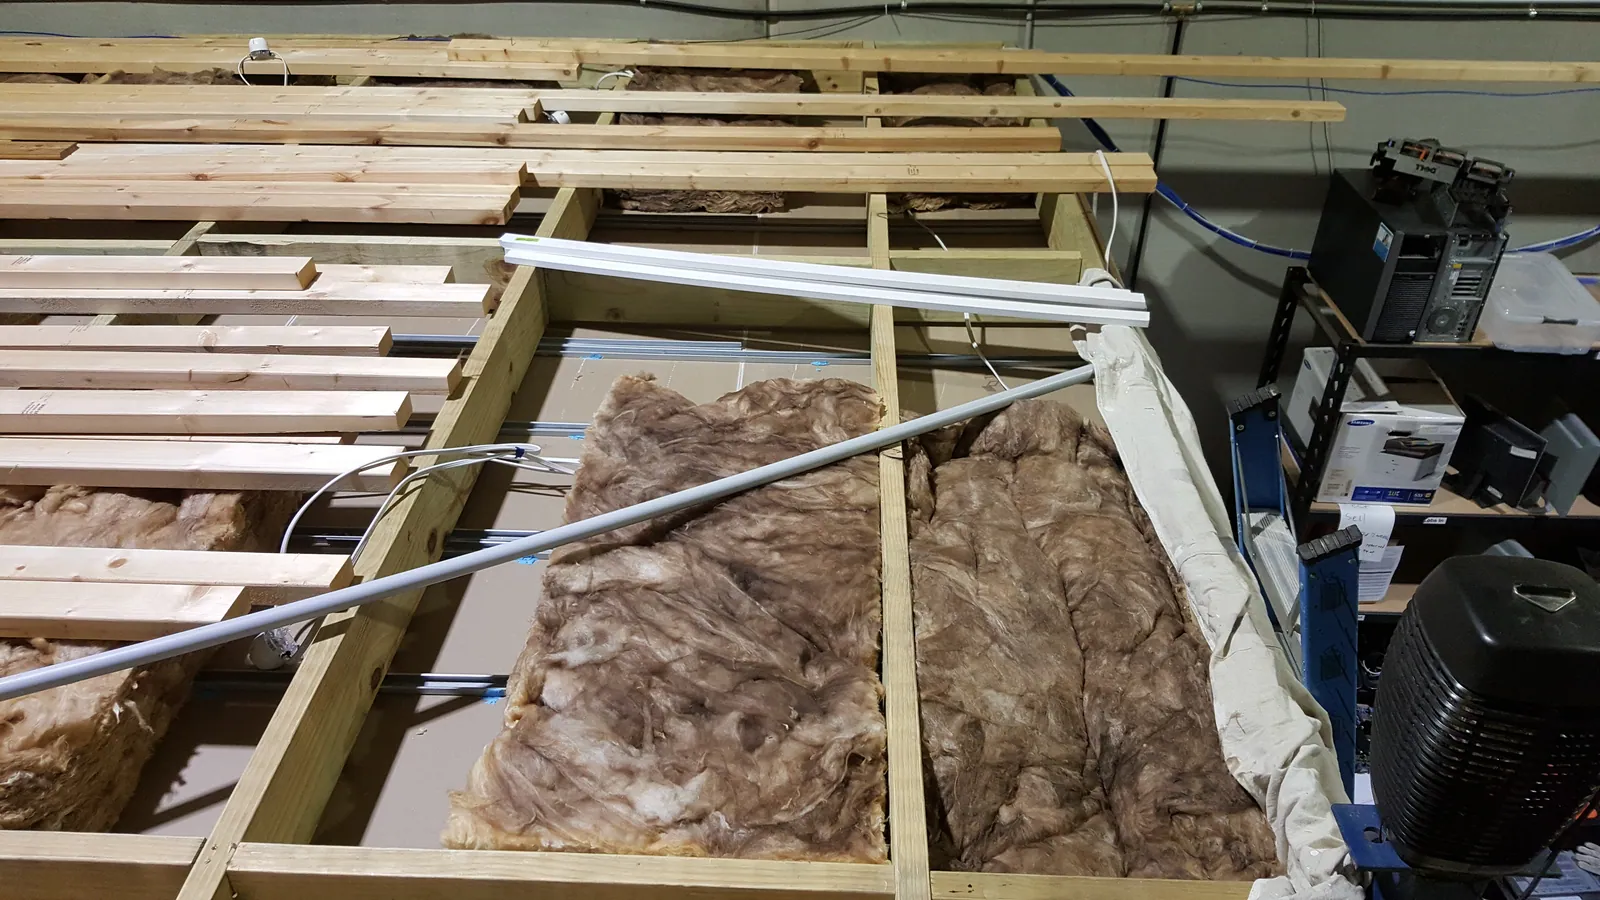
An above-ceiling view records the insulation before the space is closed up.
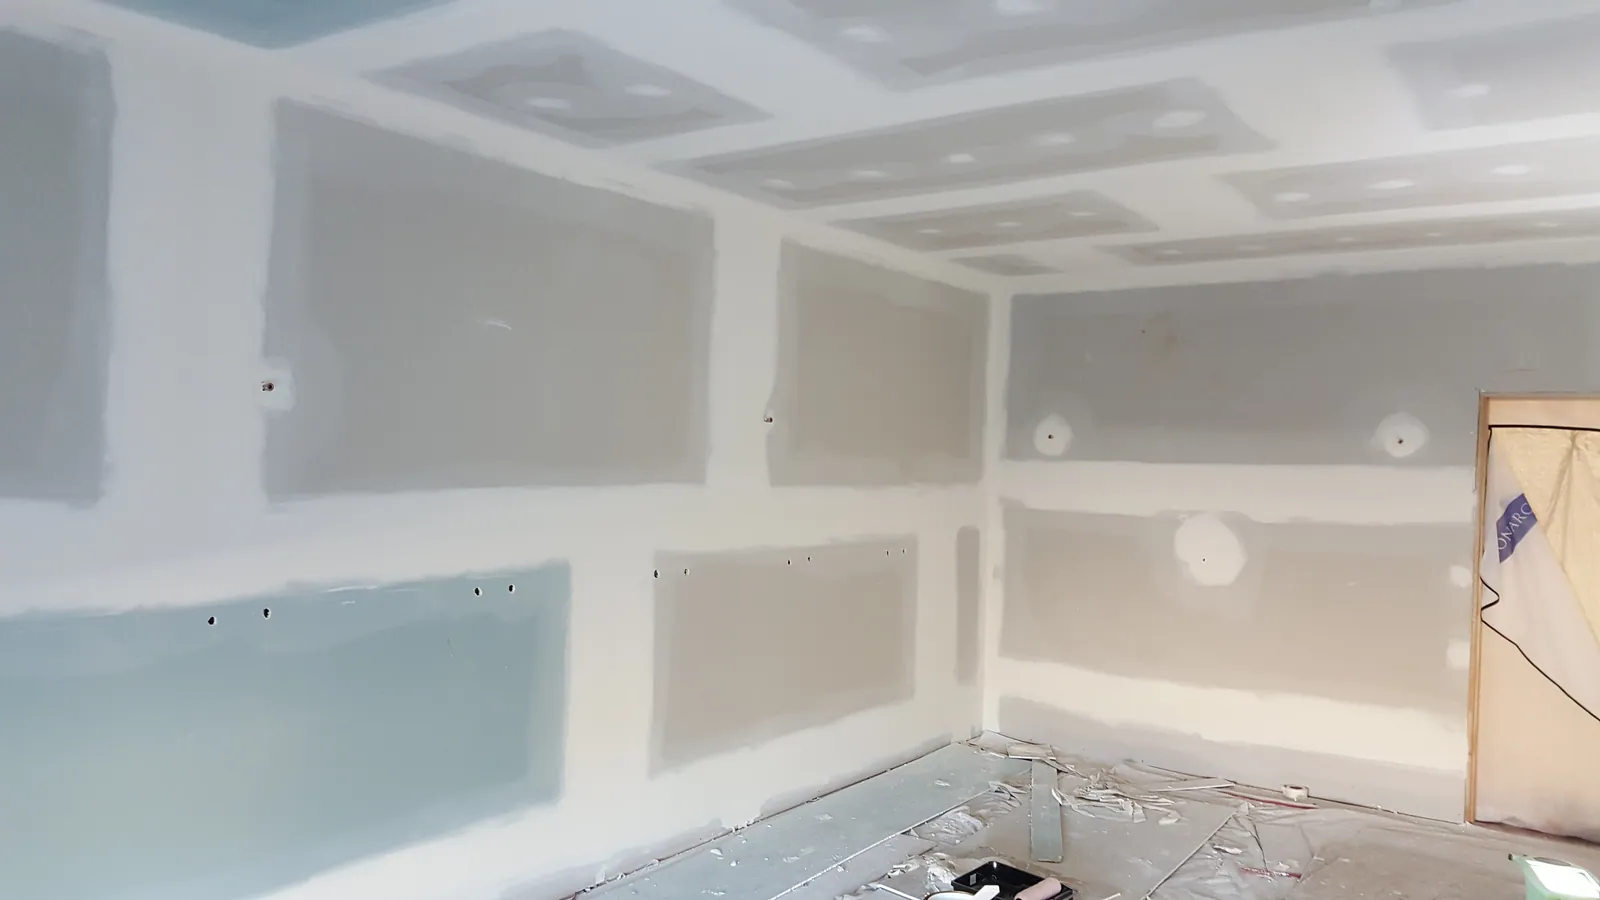
The filled joints and doorway edges are prepared for painting.
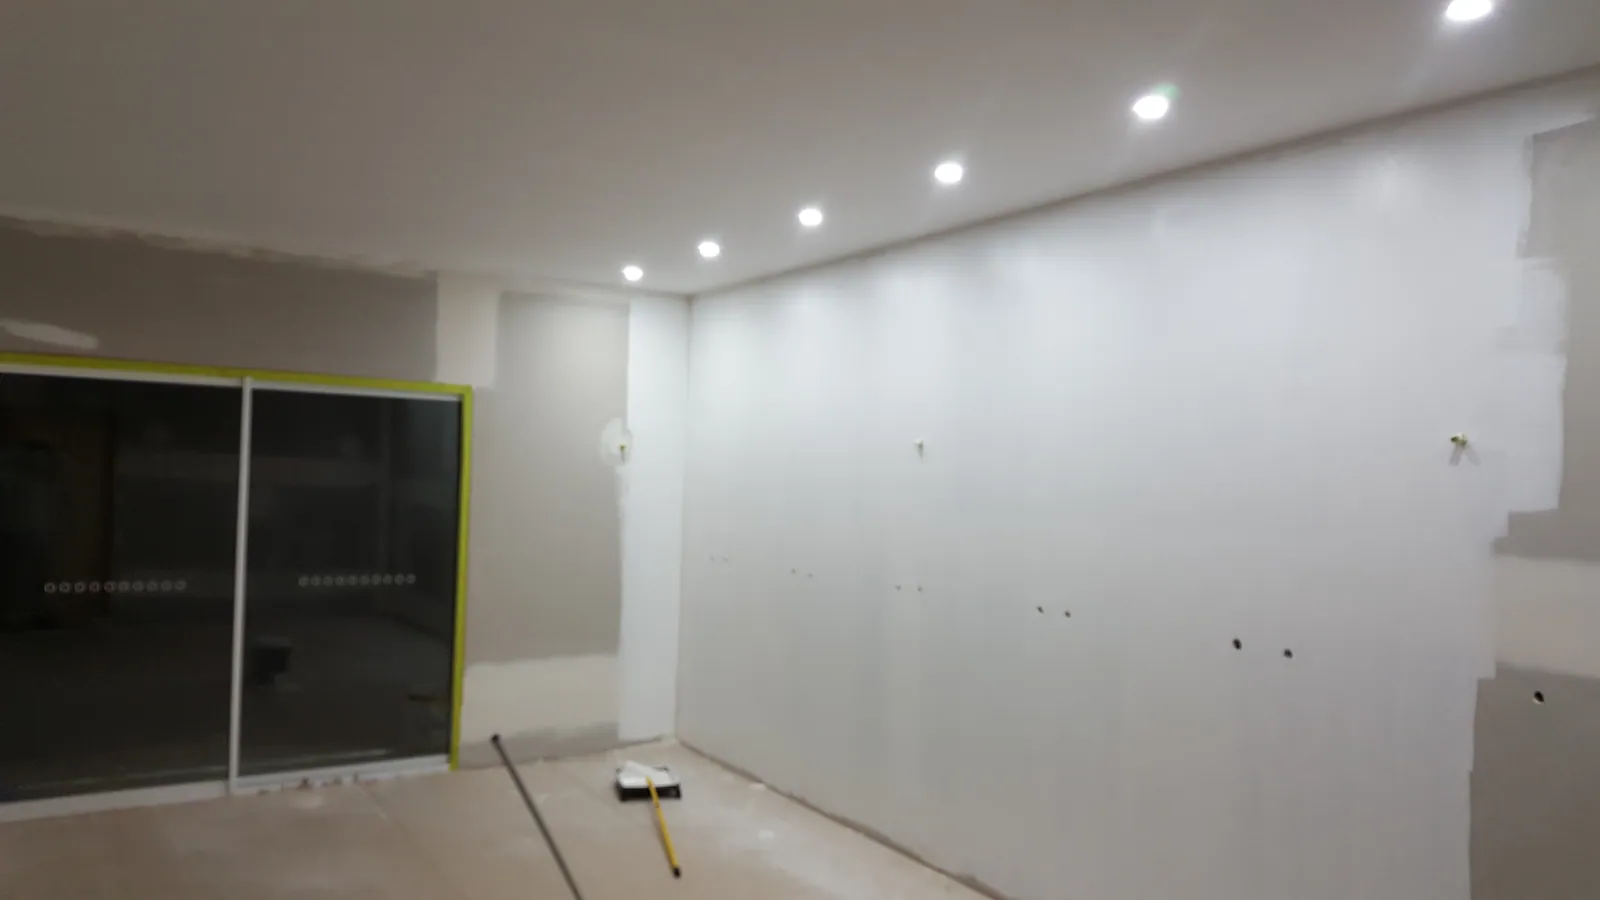
White paint starts covering the prepared wall.
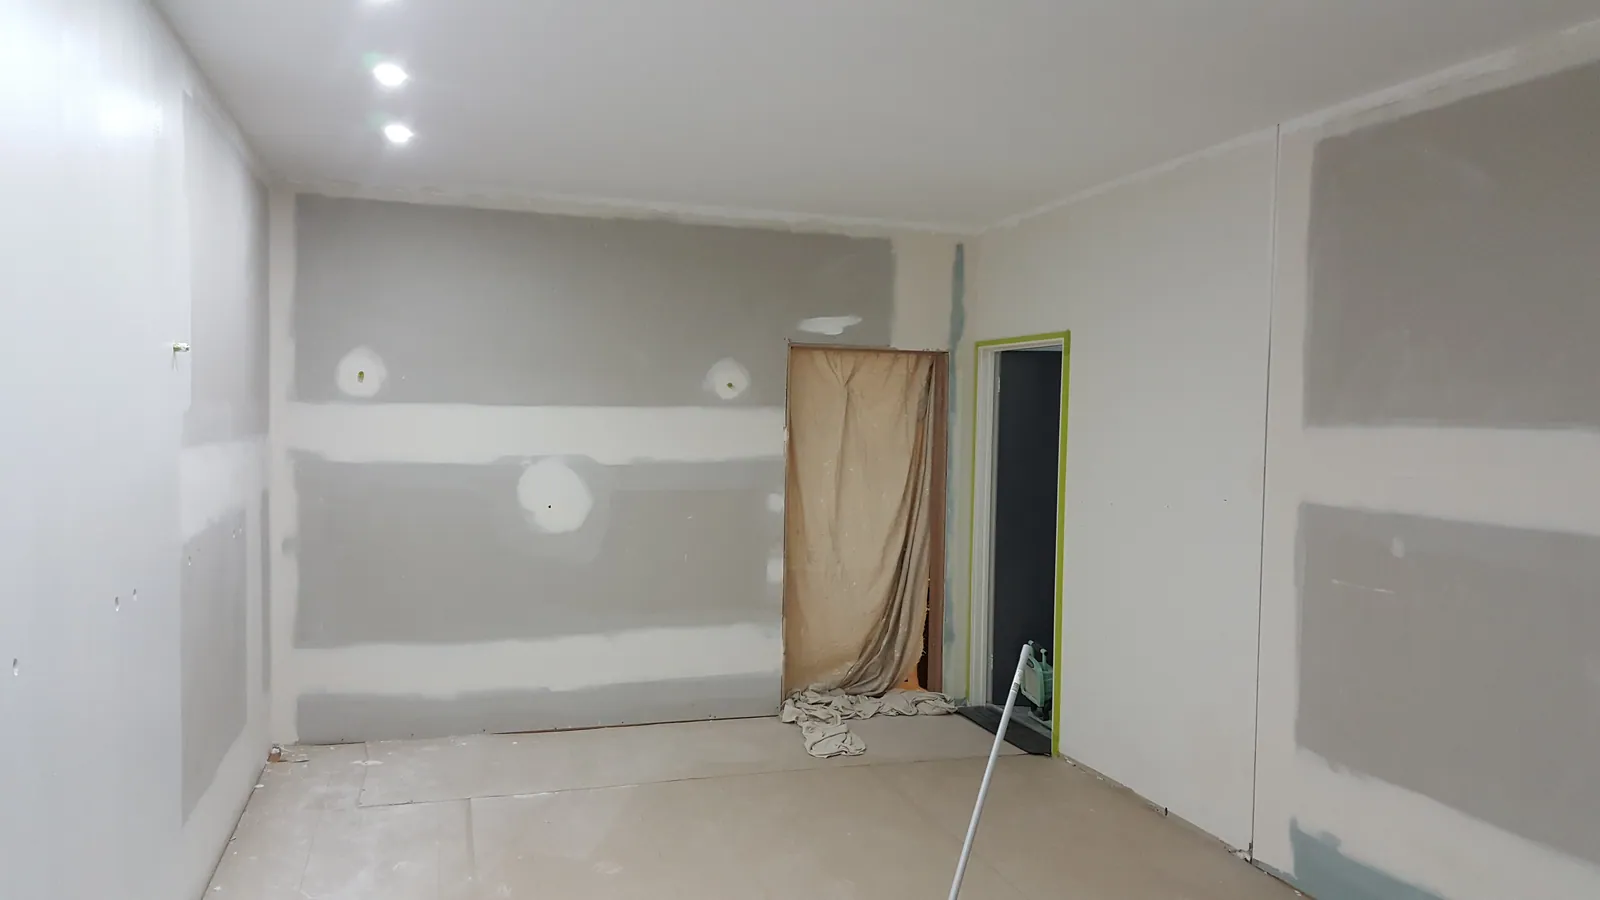
The reverse view shows paintwork still progressing around the room.
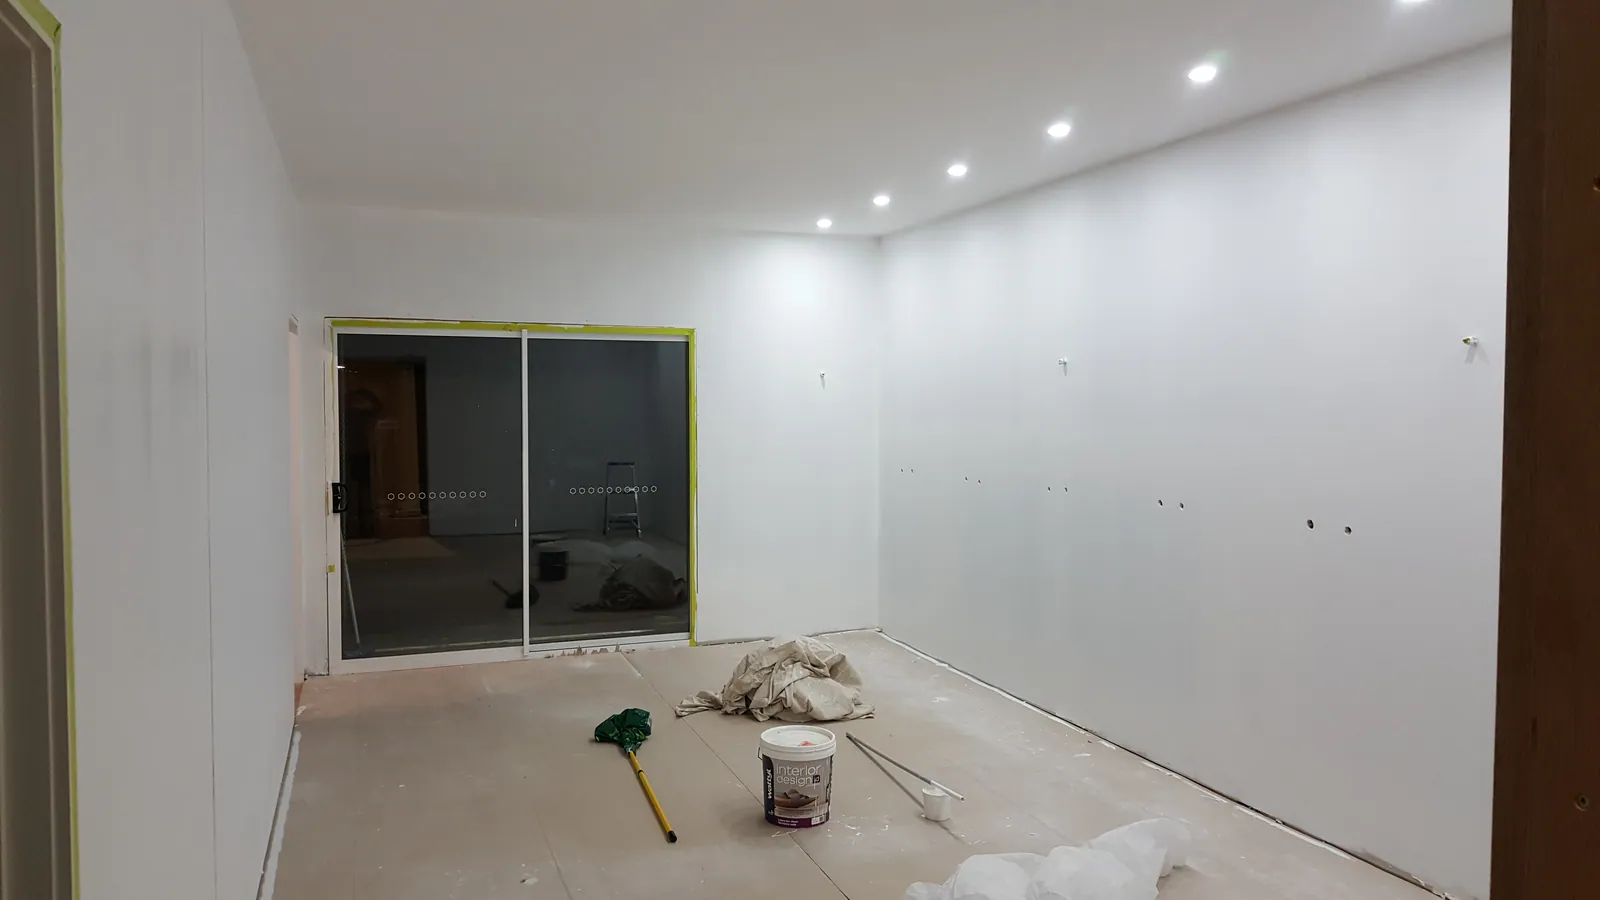
The room is now largely white, with services still to be finished.
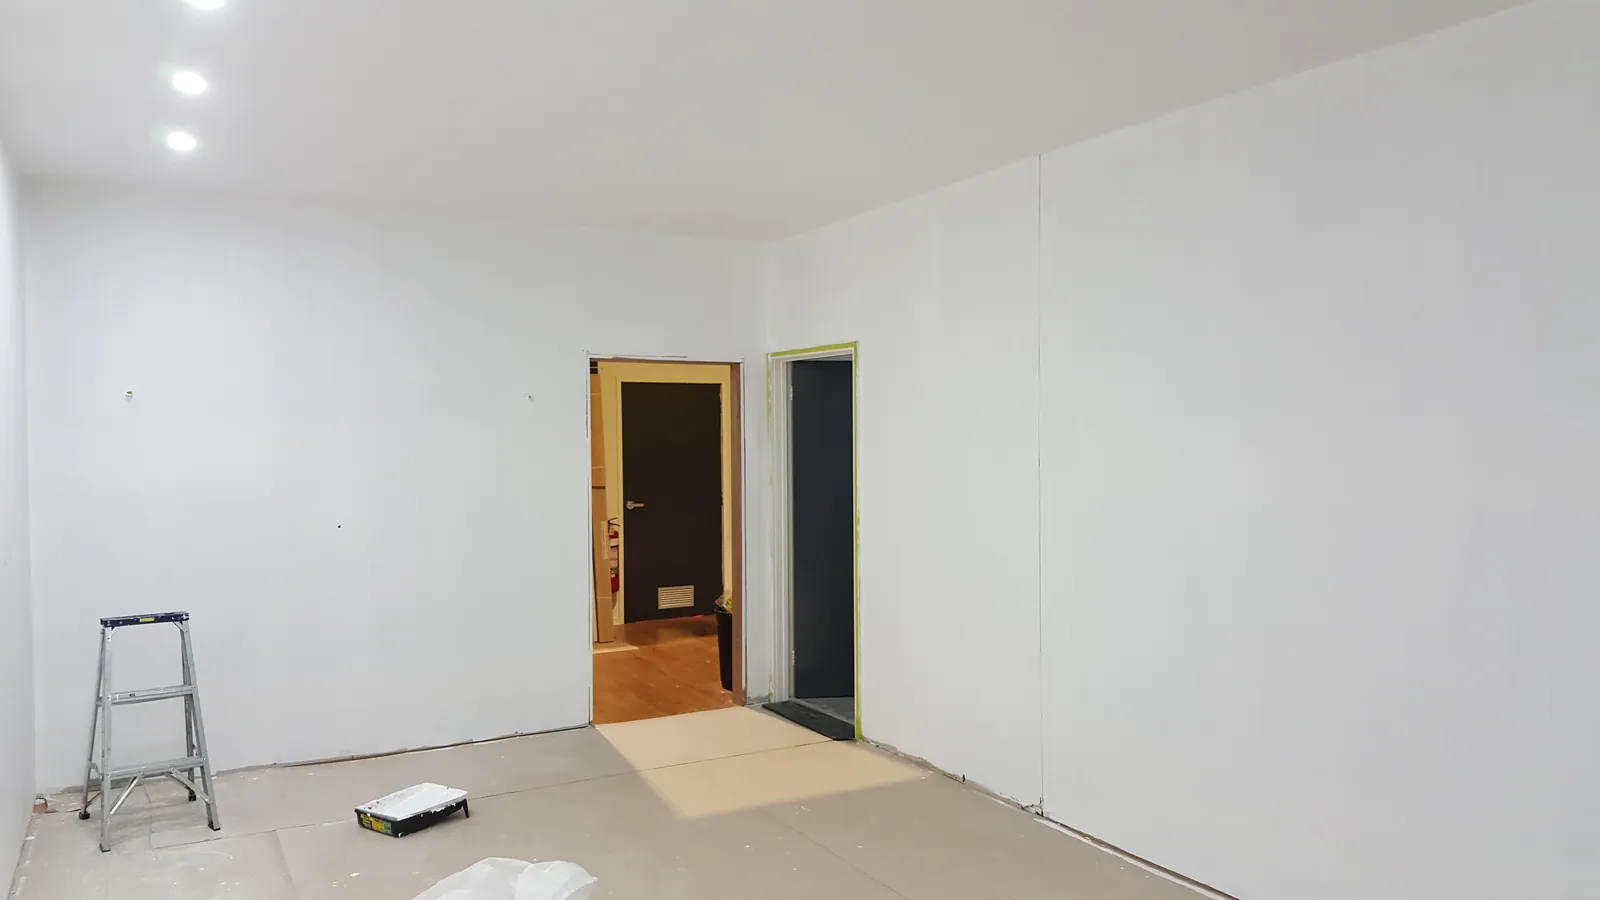
Painted walls and the timber doorframe mark the next stage.
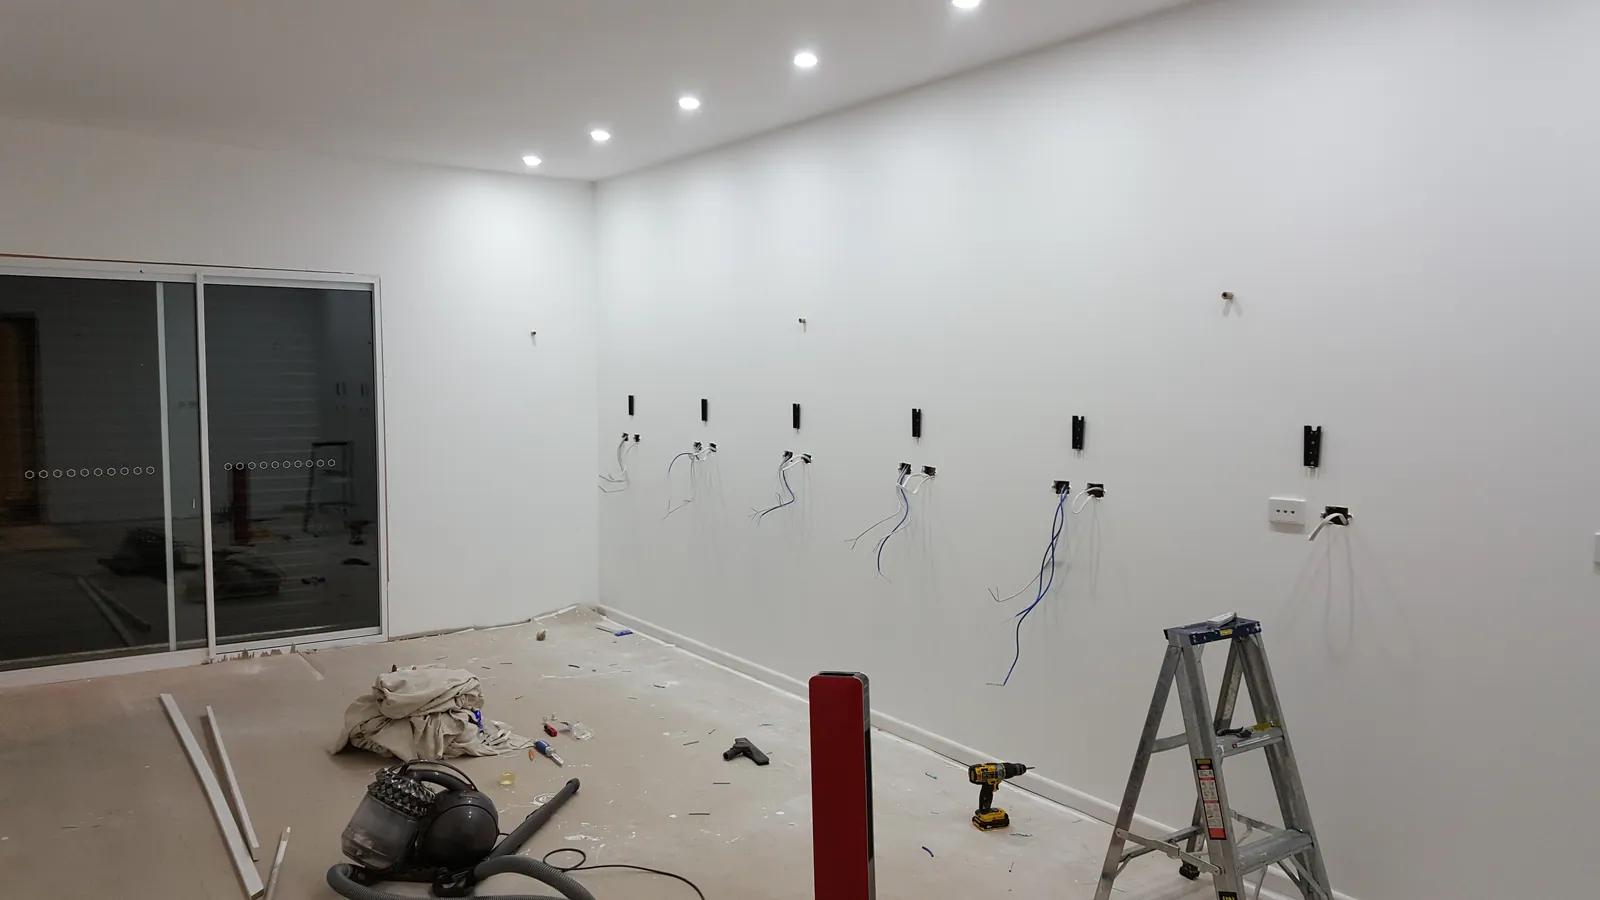
Service cables emerge along the wall where the benches will be fitted.
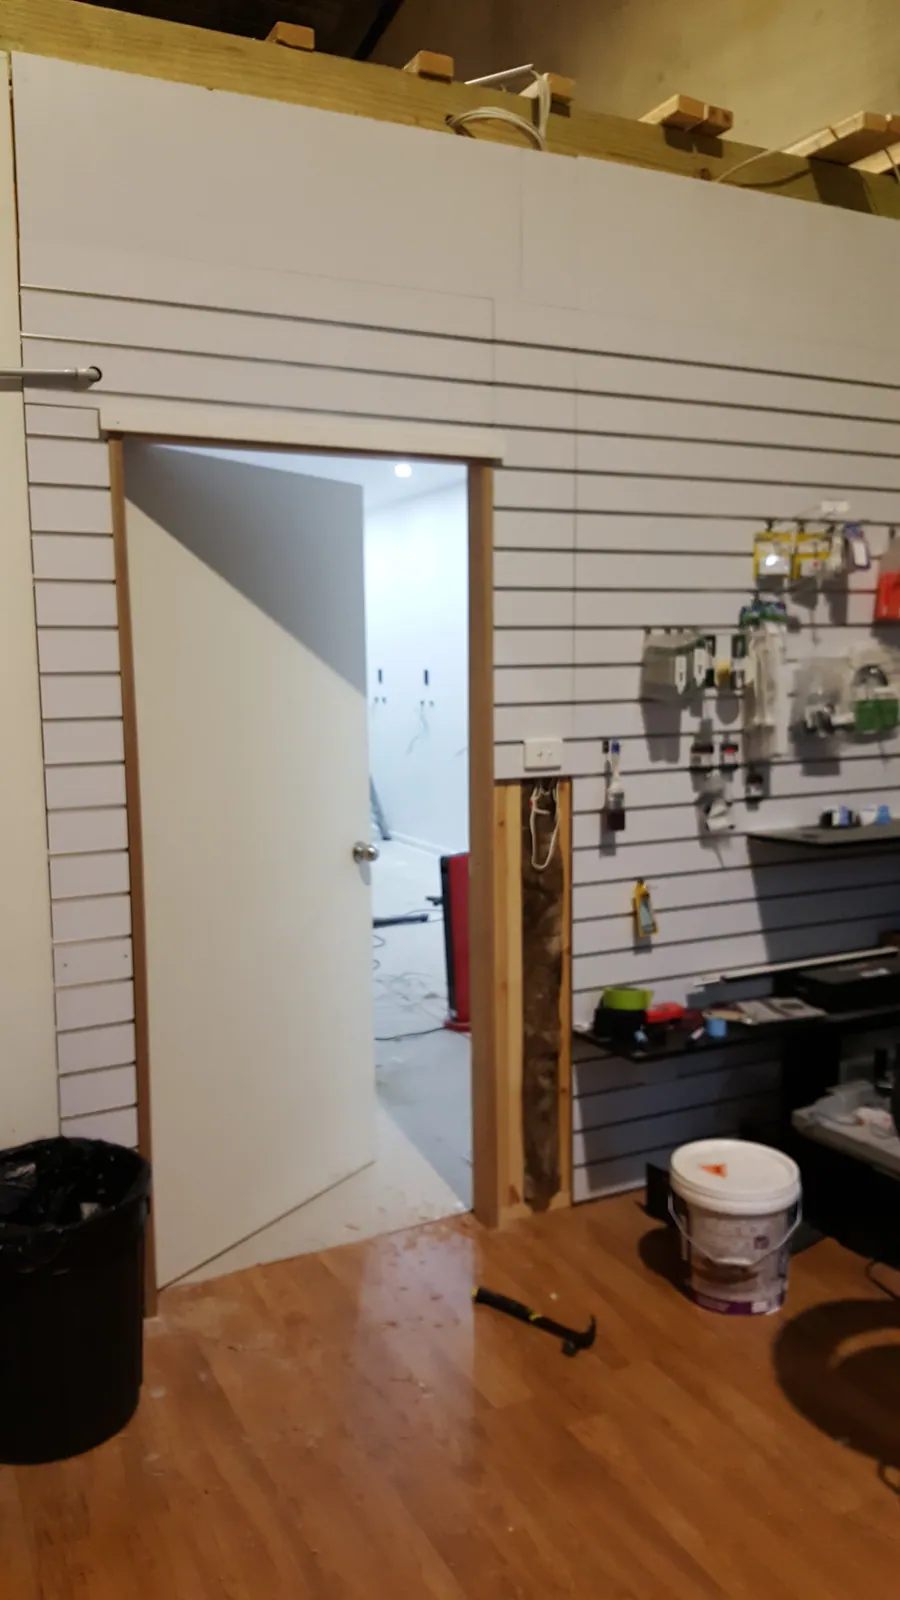
The workshop entrance is seen from the adjoining retail area.
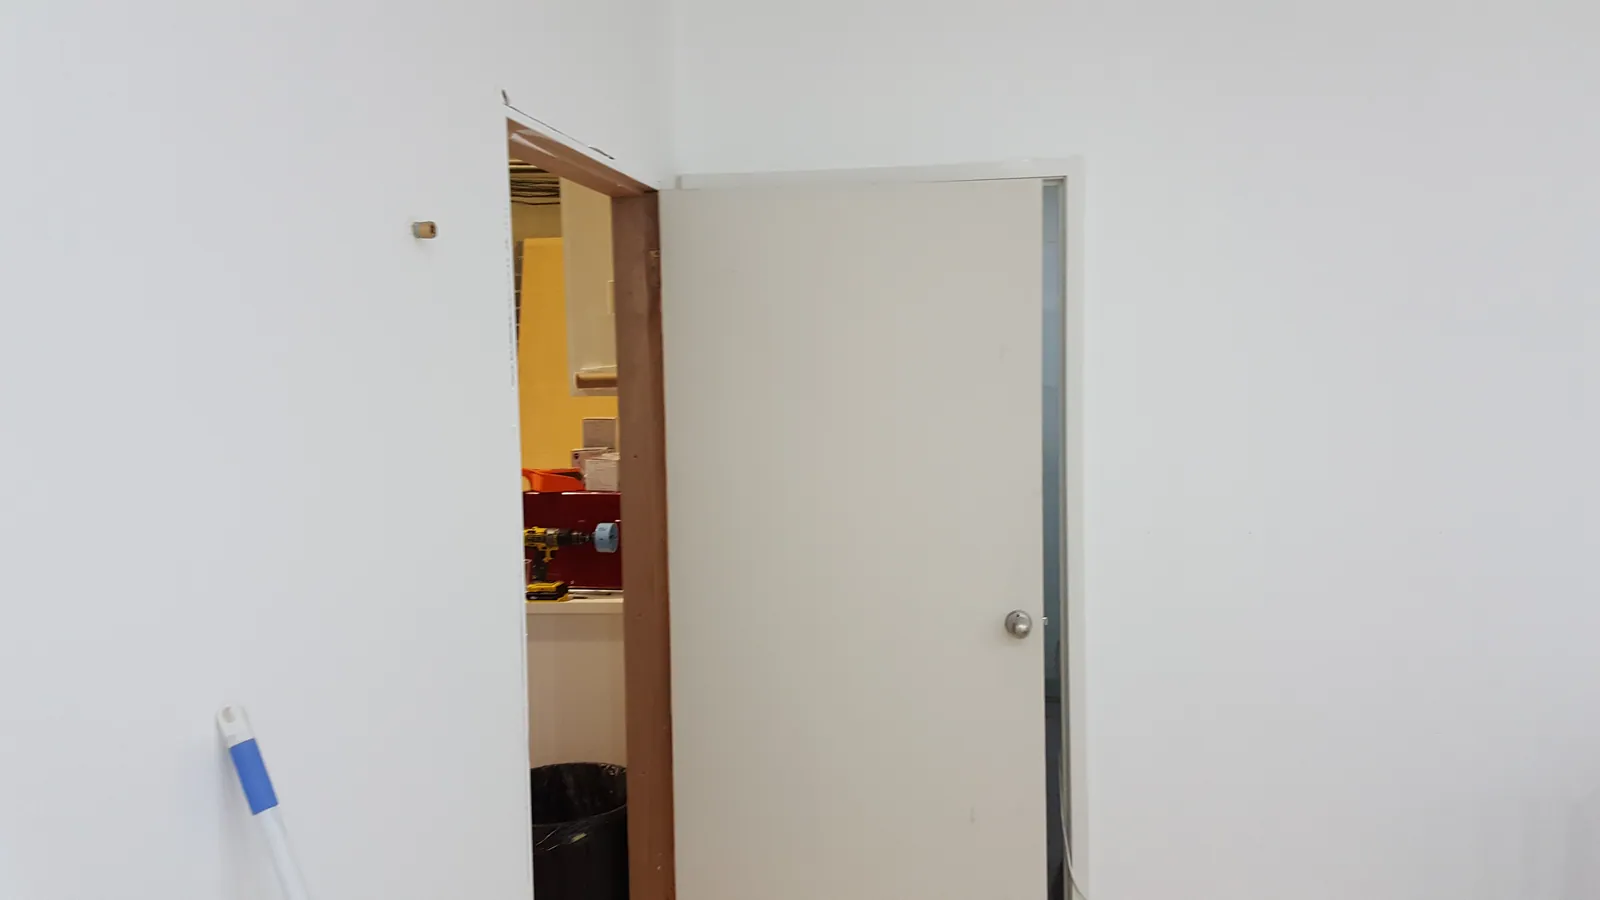
The painted door is fitted in place.
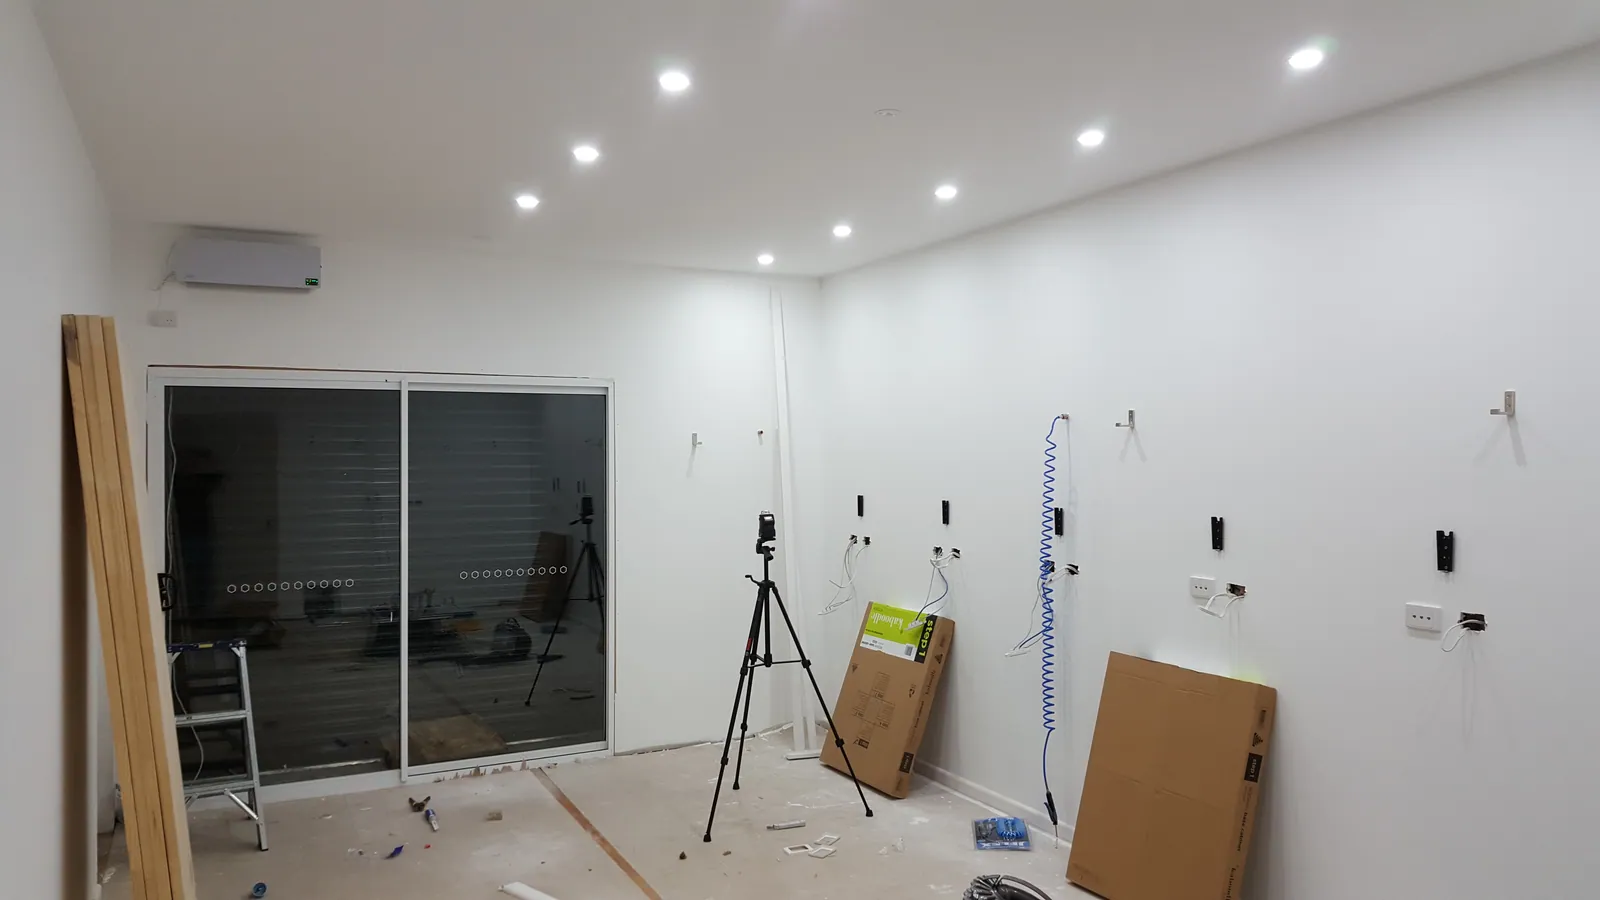
Air hoses and wall fittings begin equipping the empty room.
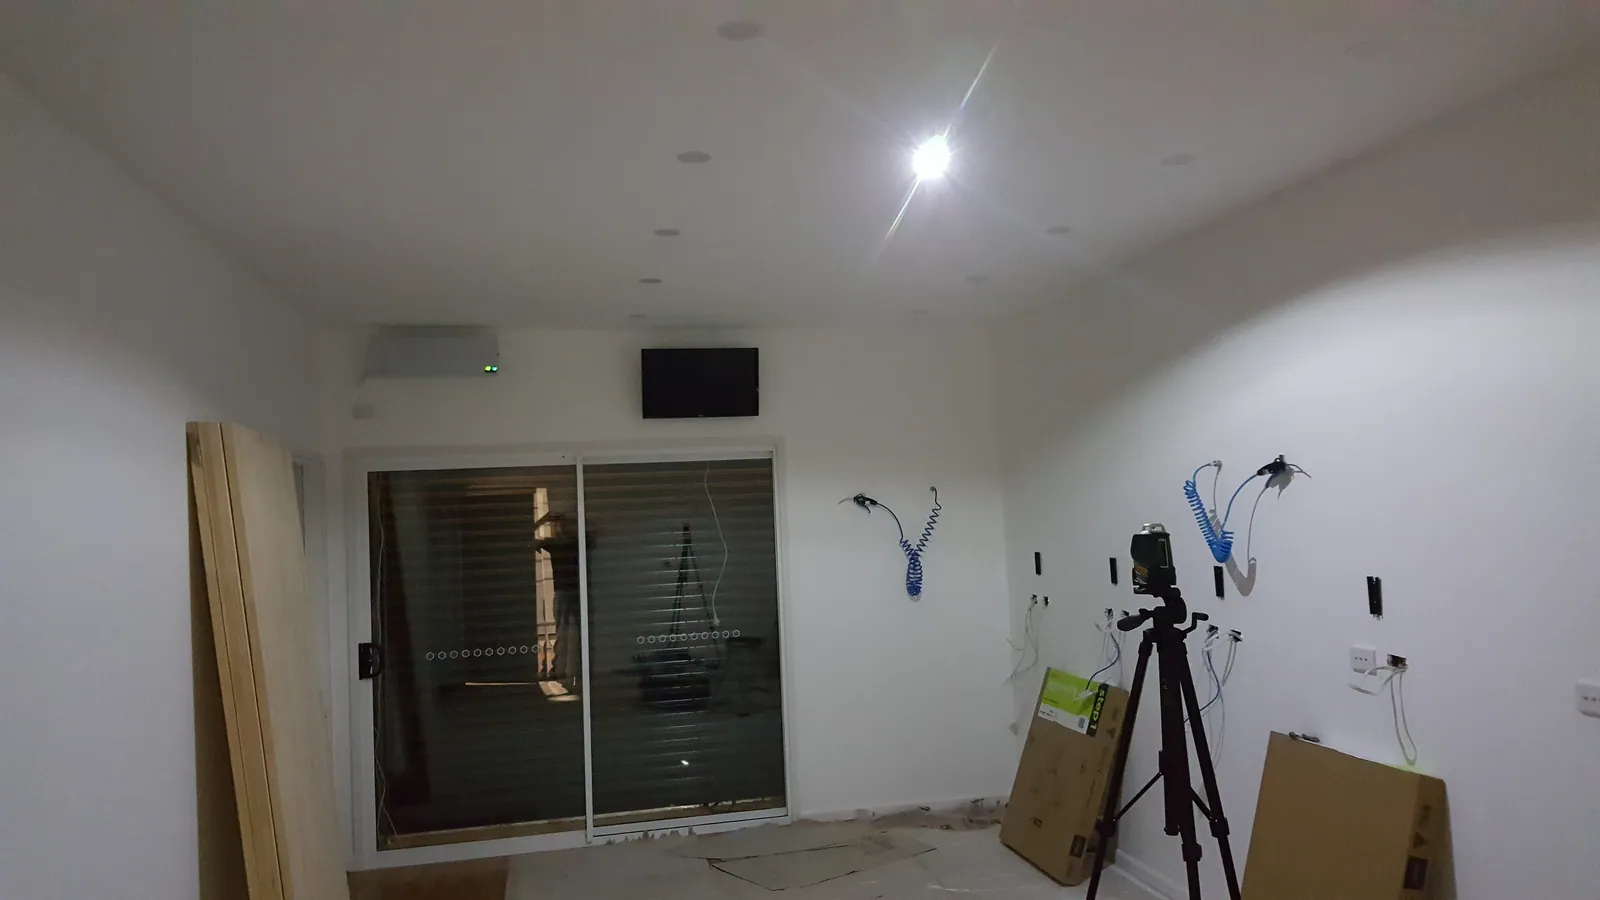
A screen is mounted above the sliding doors.
06Flooring, benches and workstations — June 2017
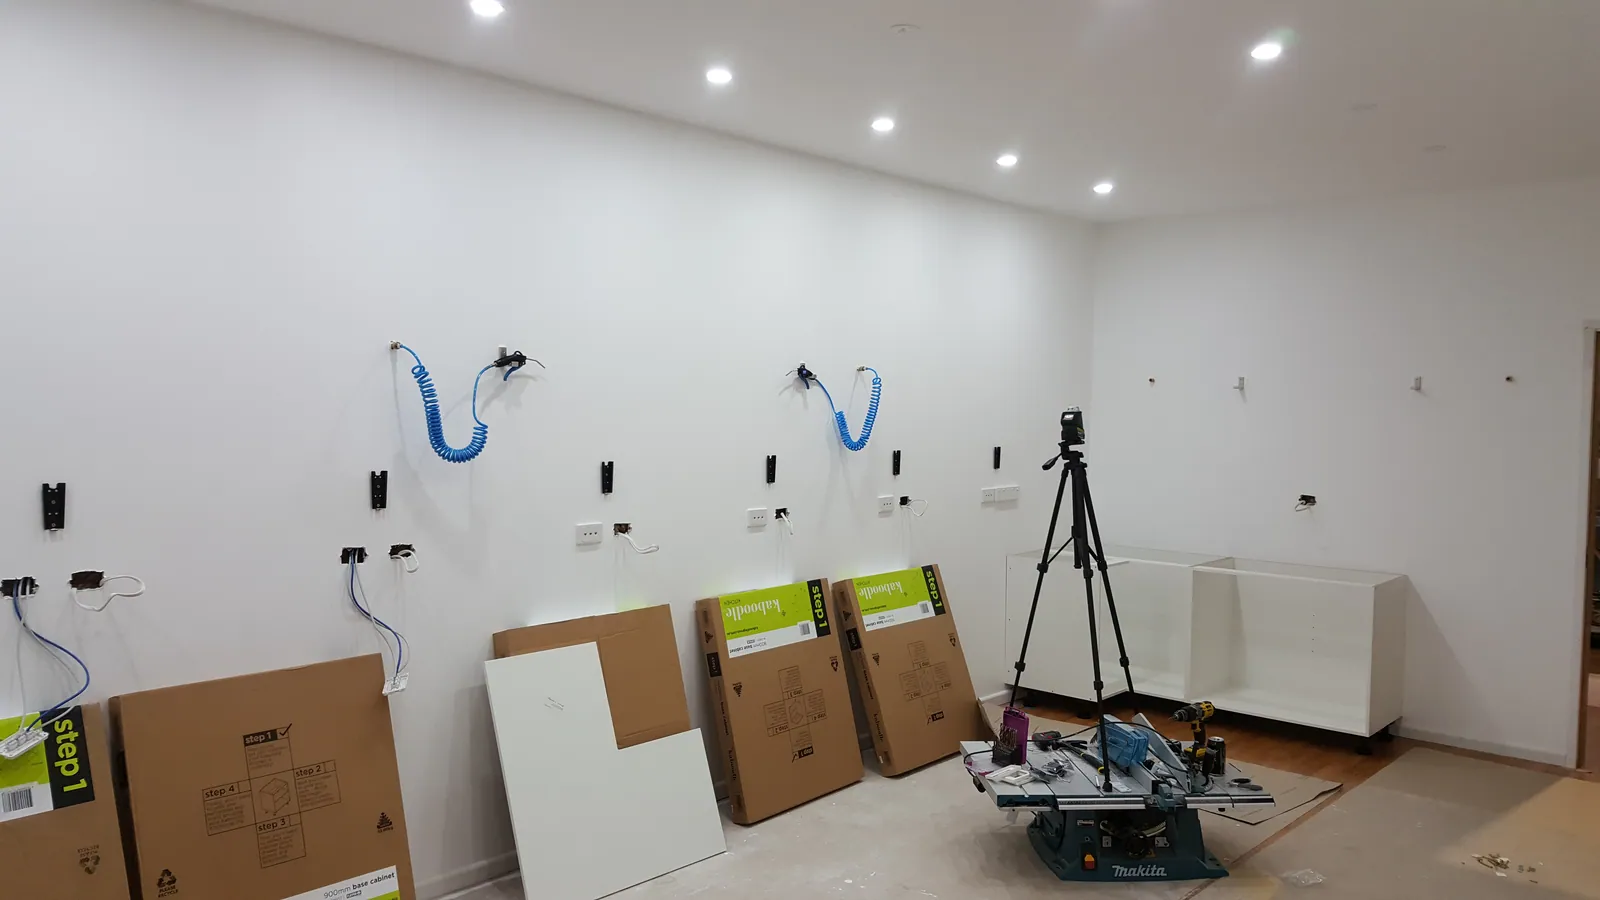
Materials are stacked ready for the bench installation.
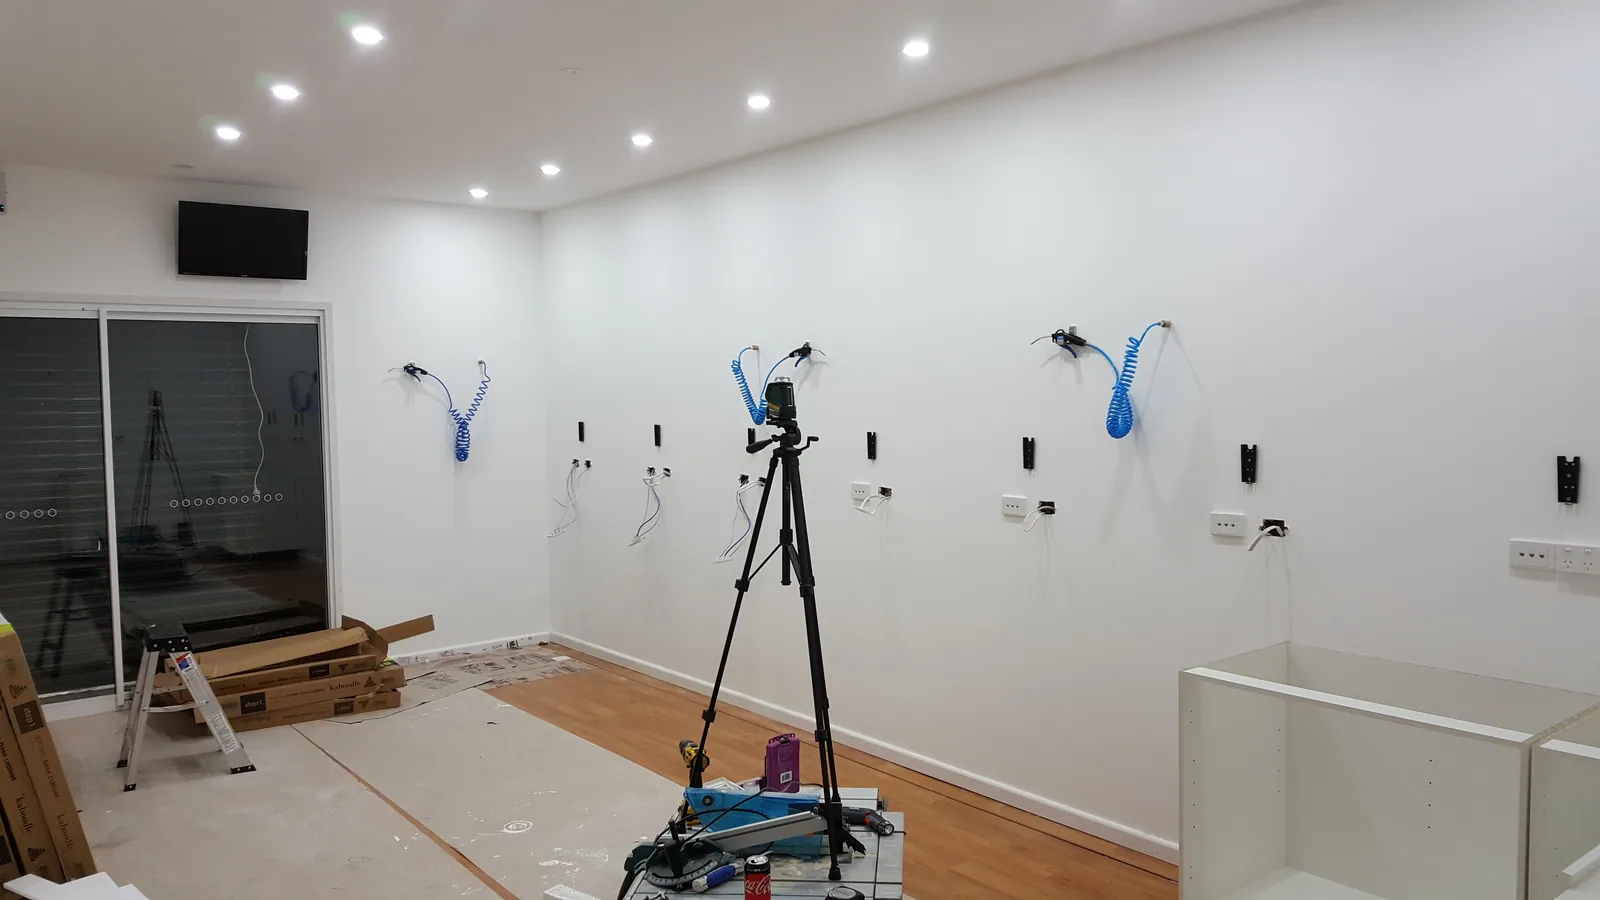
Flooring begins along the edge as the first cabinet bases are set out.
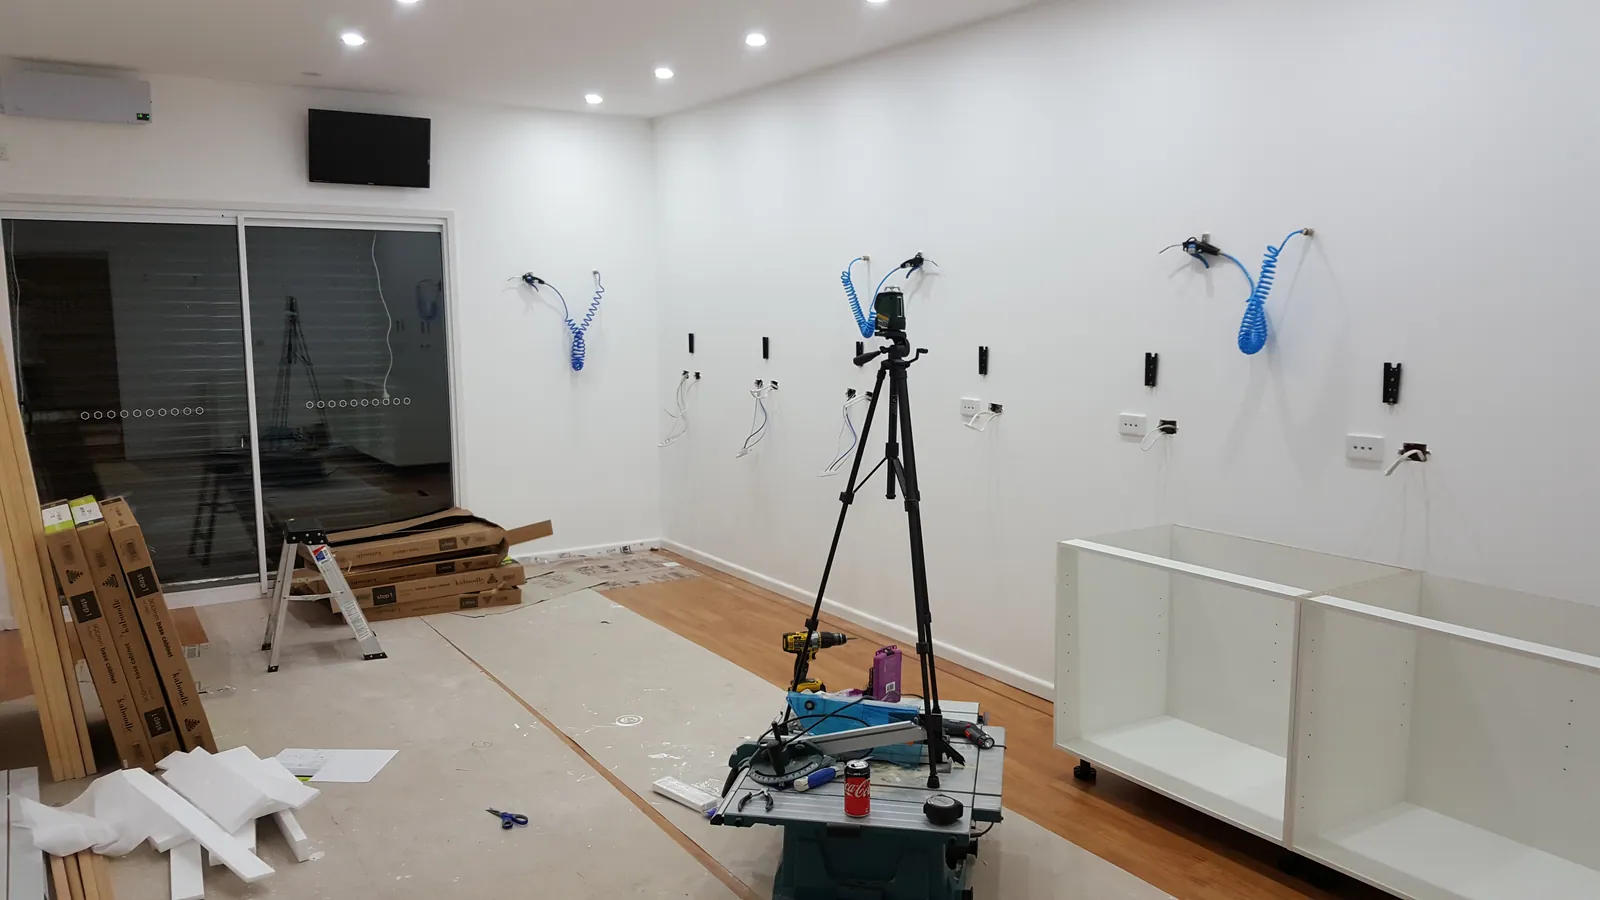
The first base units establish the bench layout.
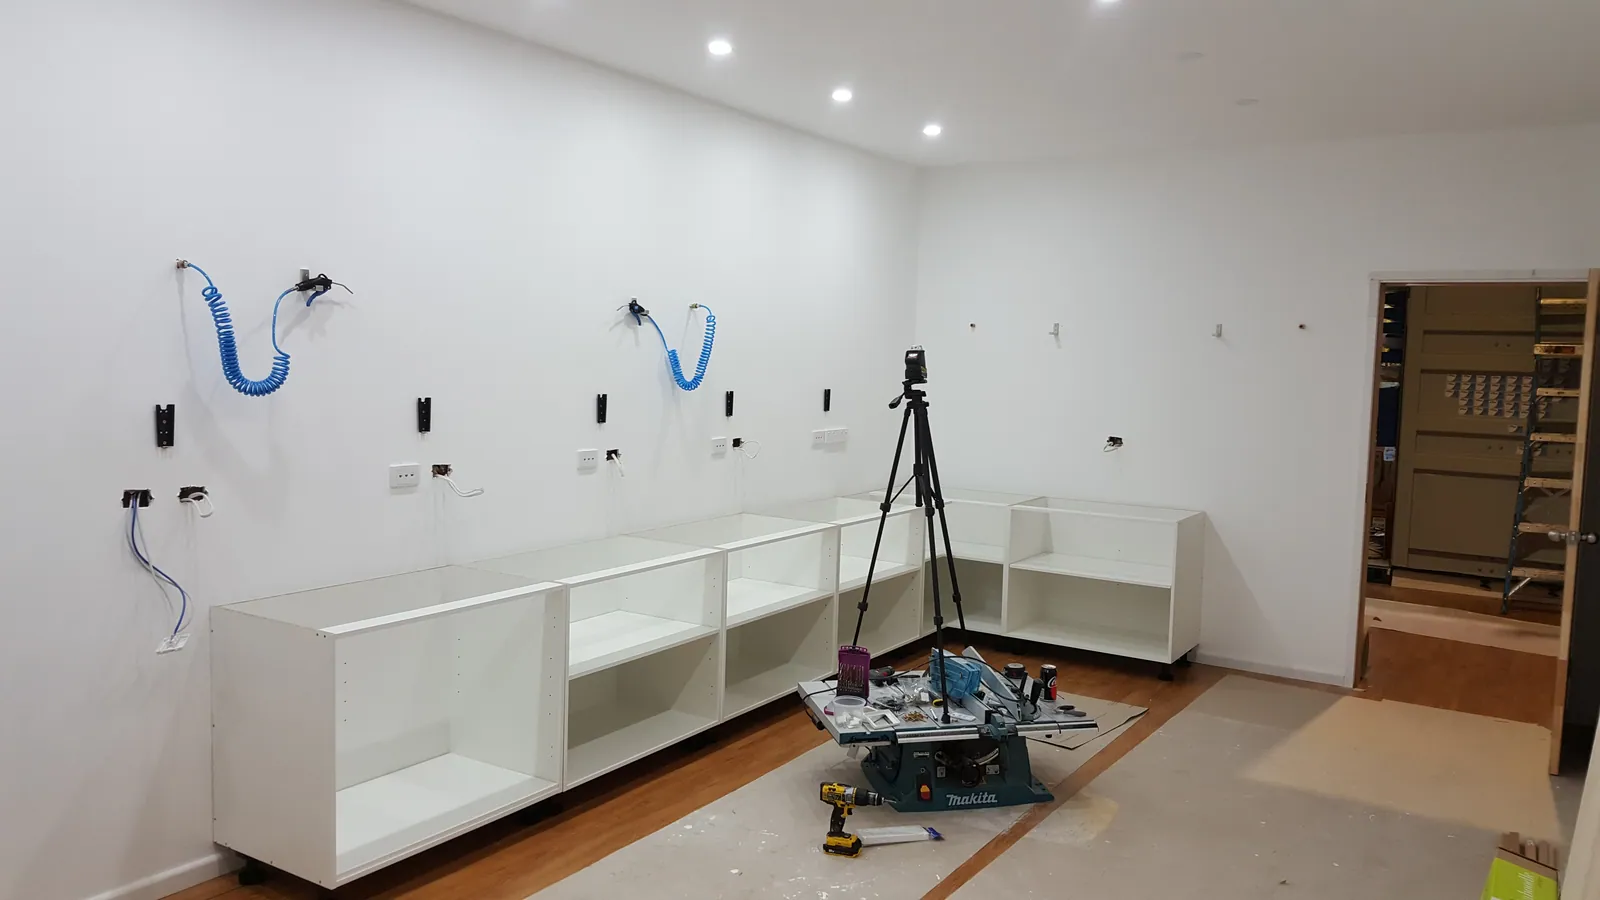
More base units extend the work area.
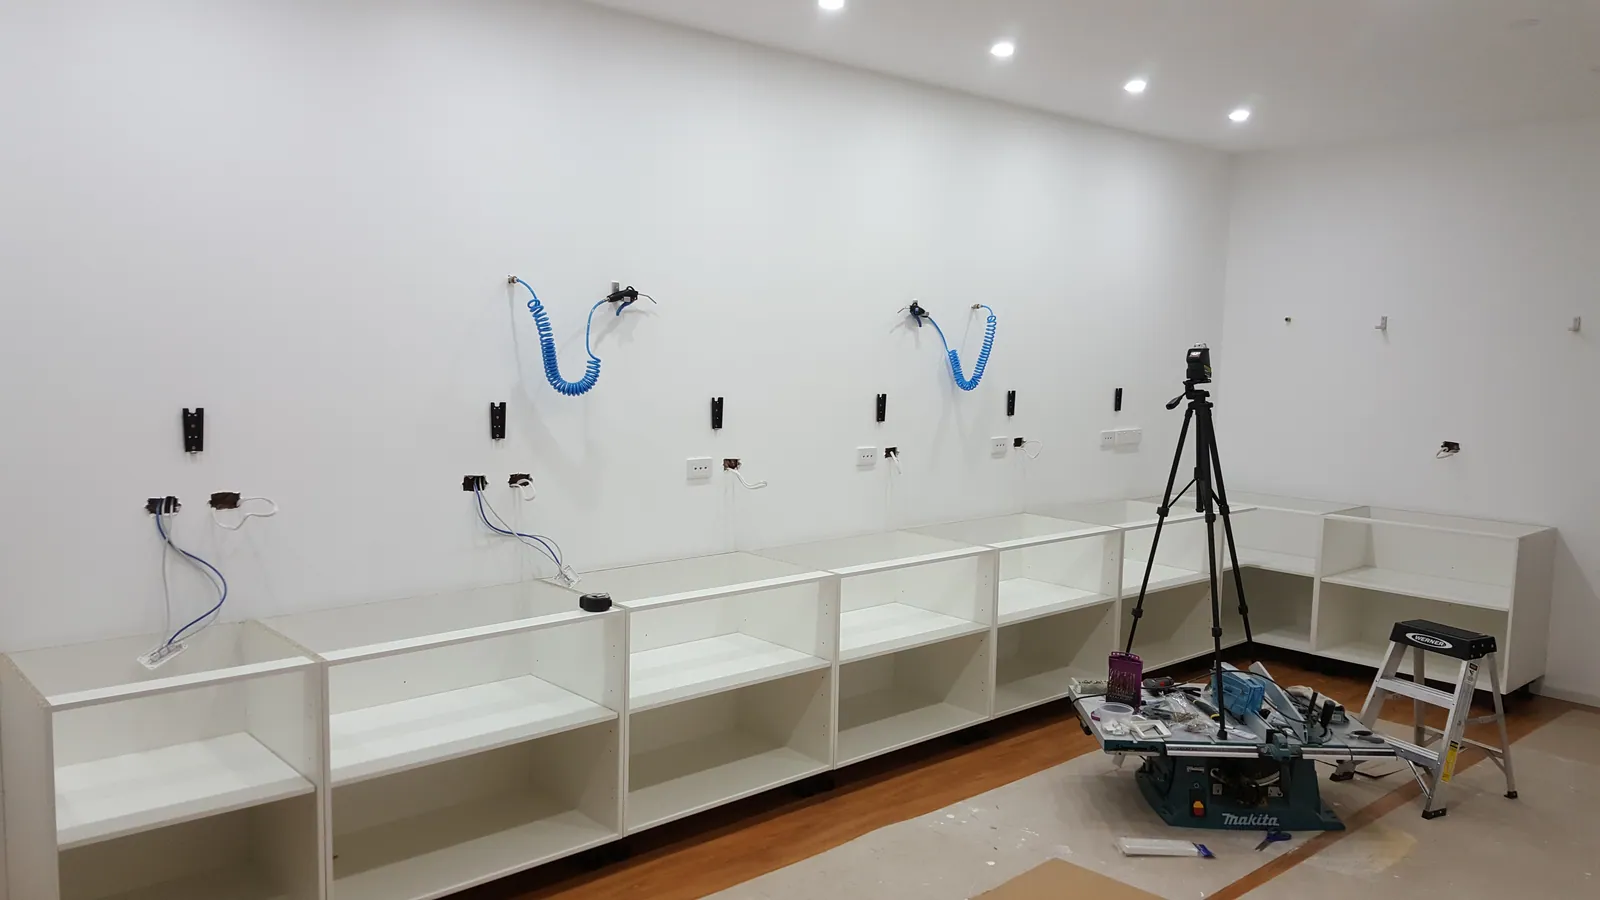
Cabinet bases now run along the workshop wall.
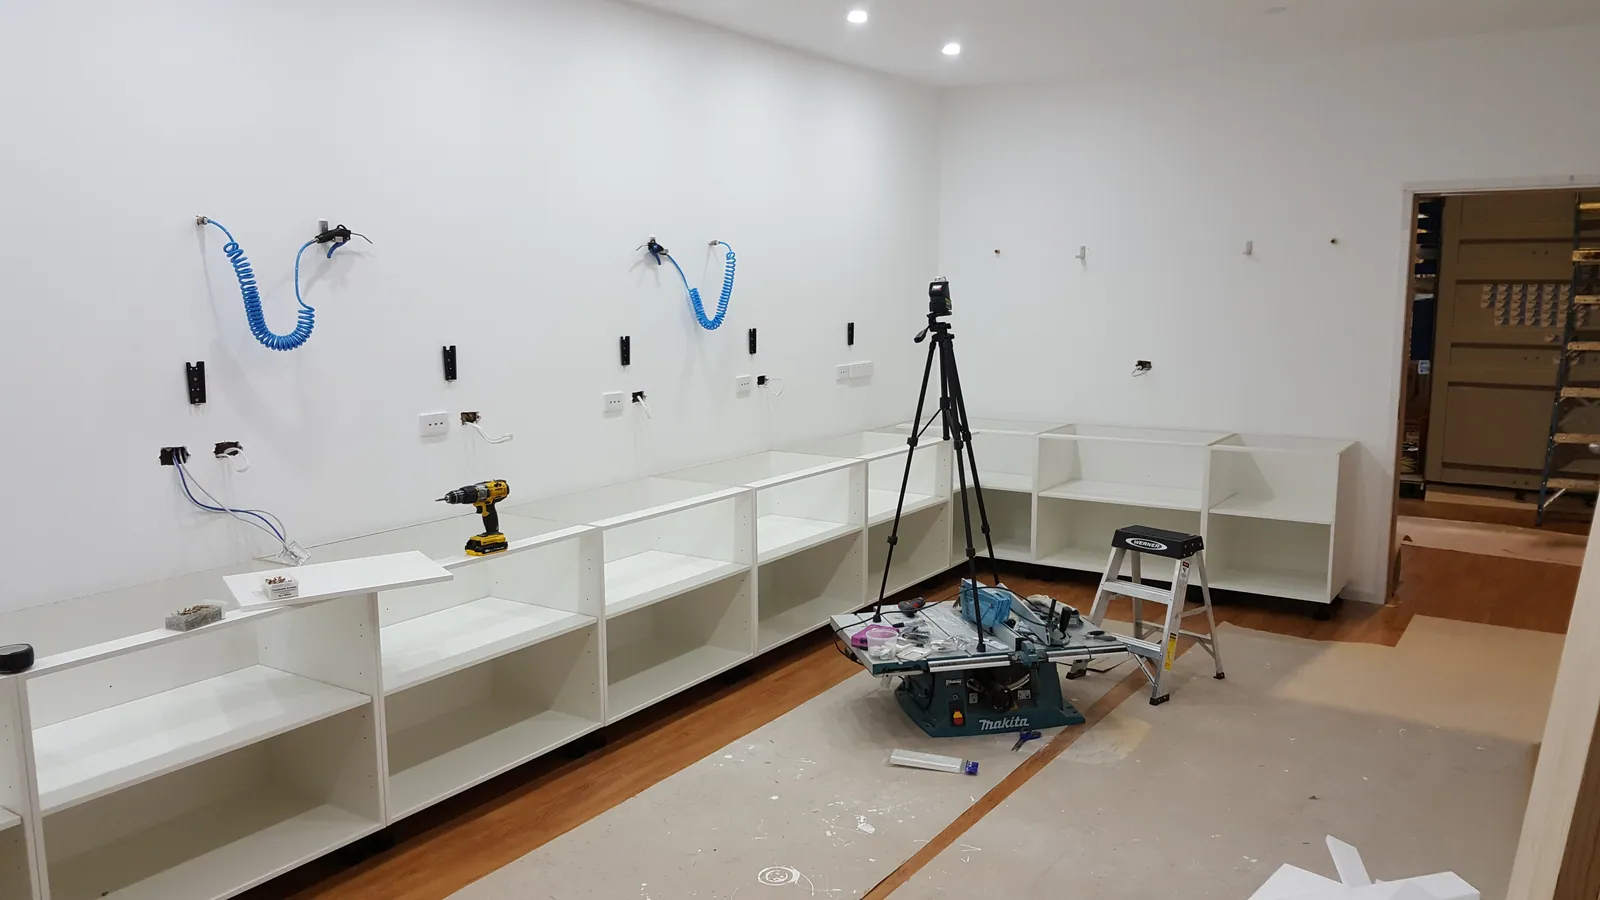
The floor advances around the fitted bases.
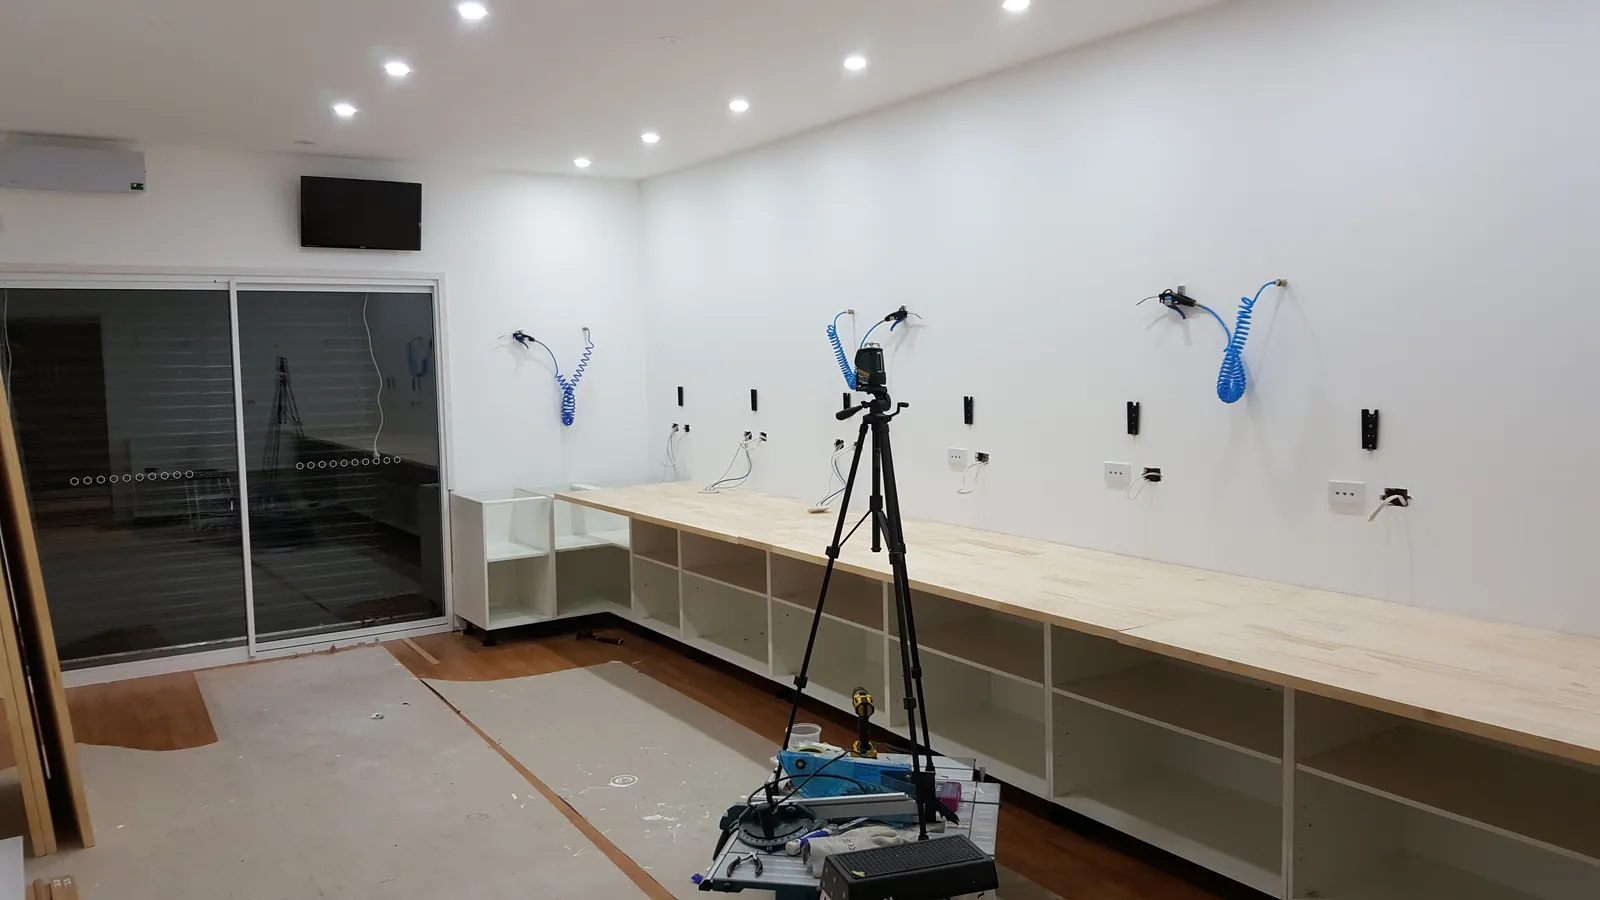
Timber framing is added across the cabinet row.
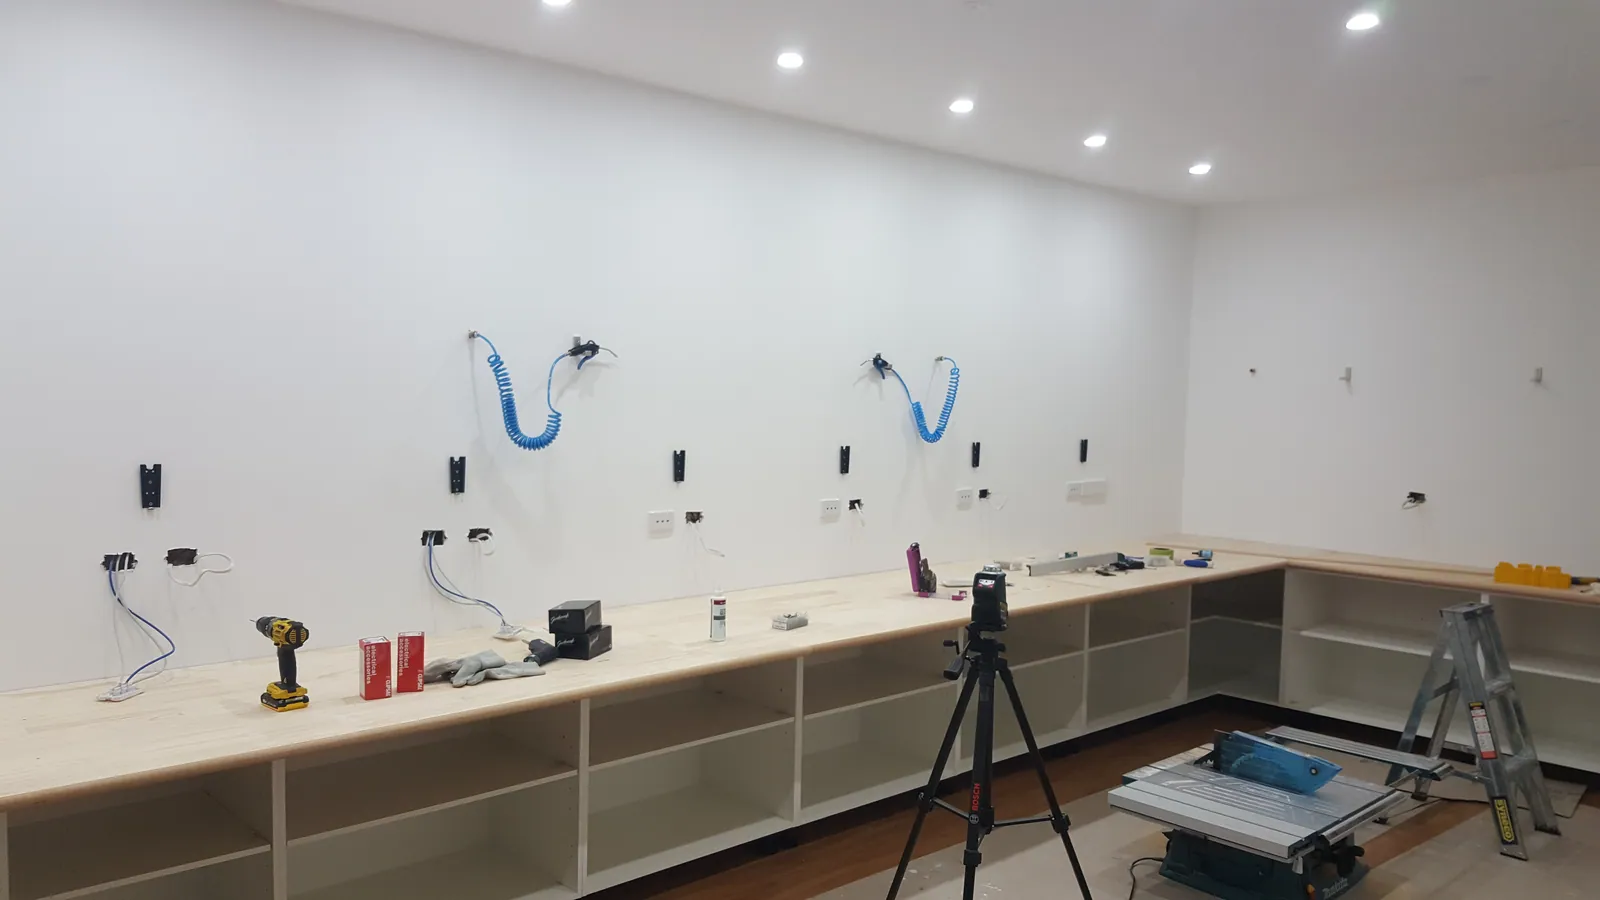
A perimeter benchtop is laid in place.
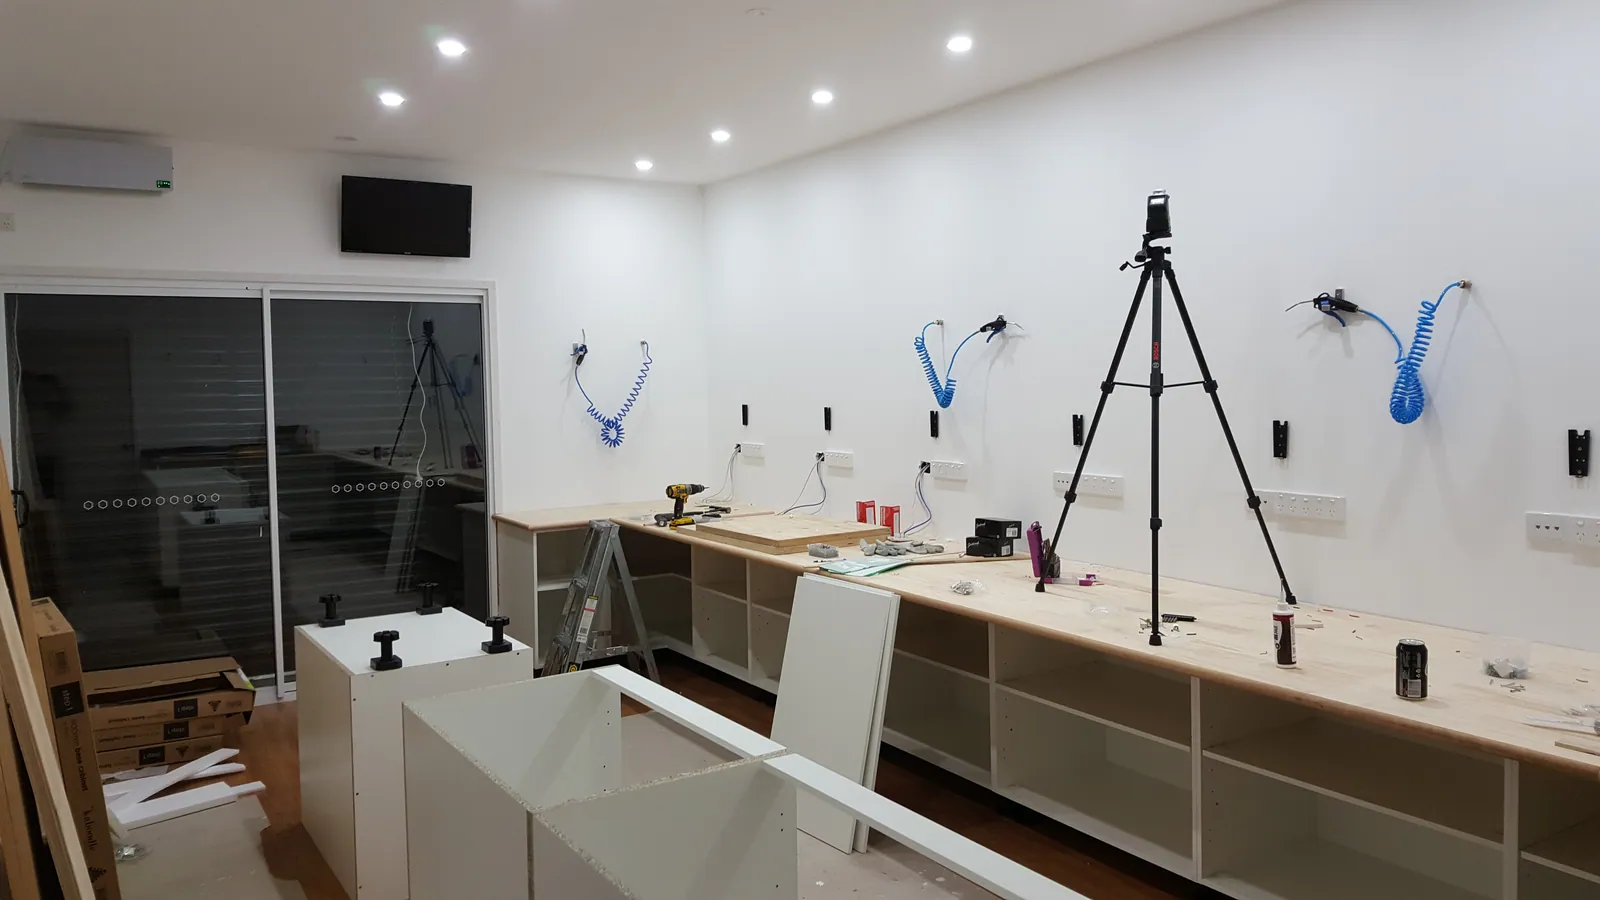
The central island starts with another run of base units.
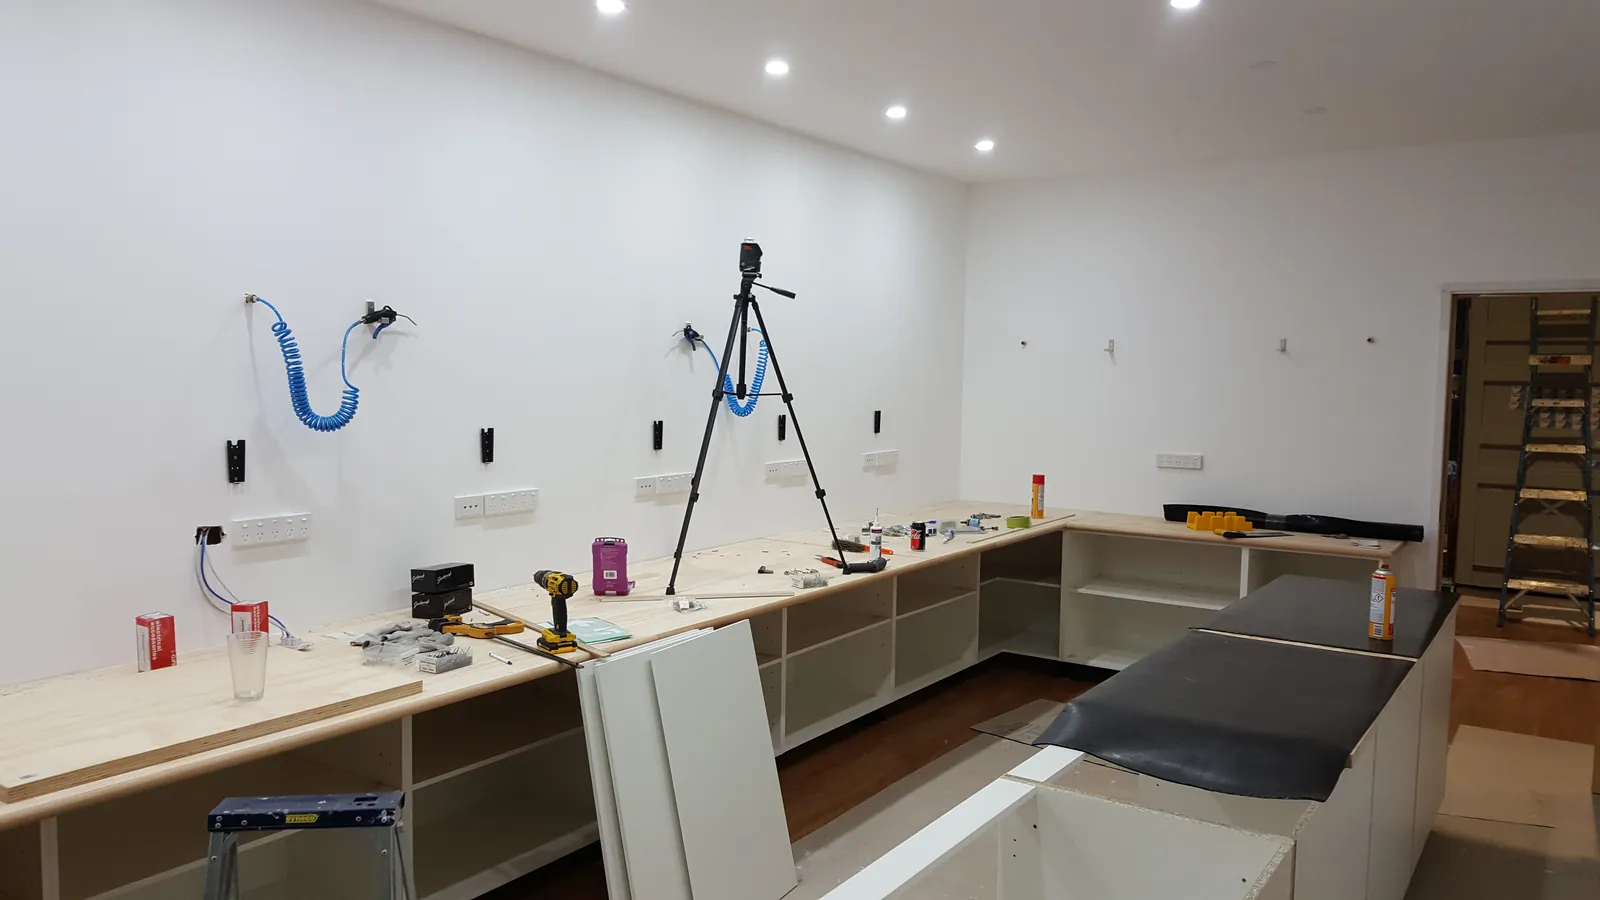
Dark benchtop sections are fitted to the island.
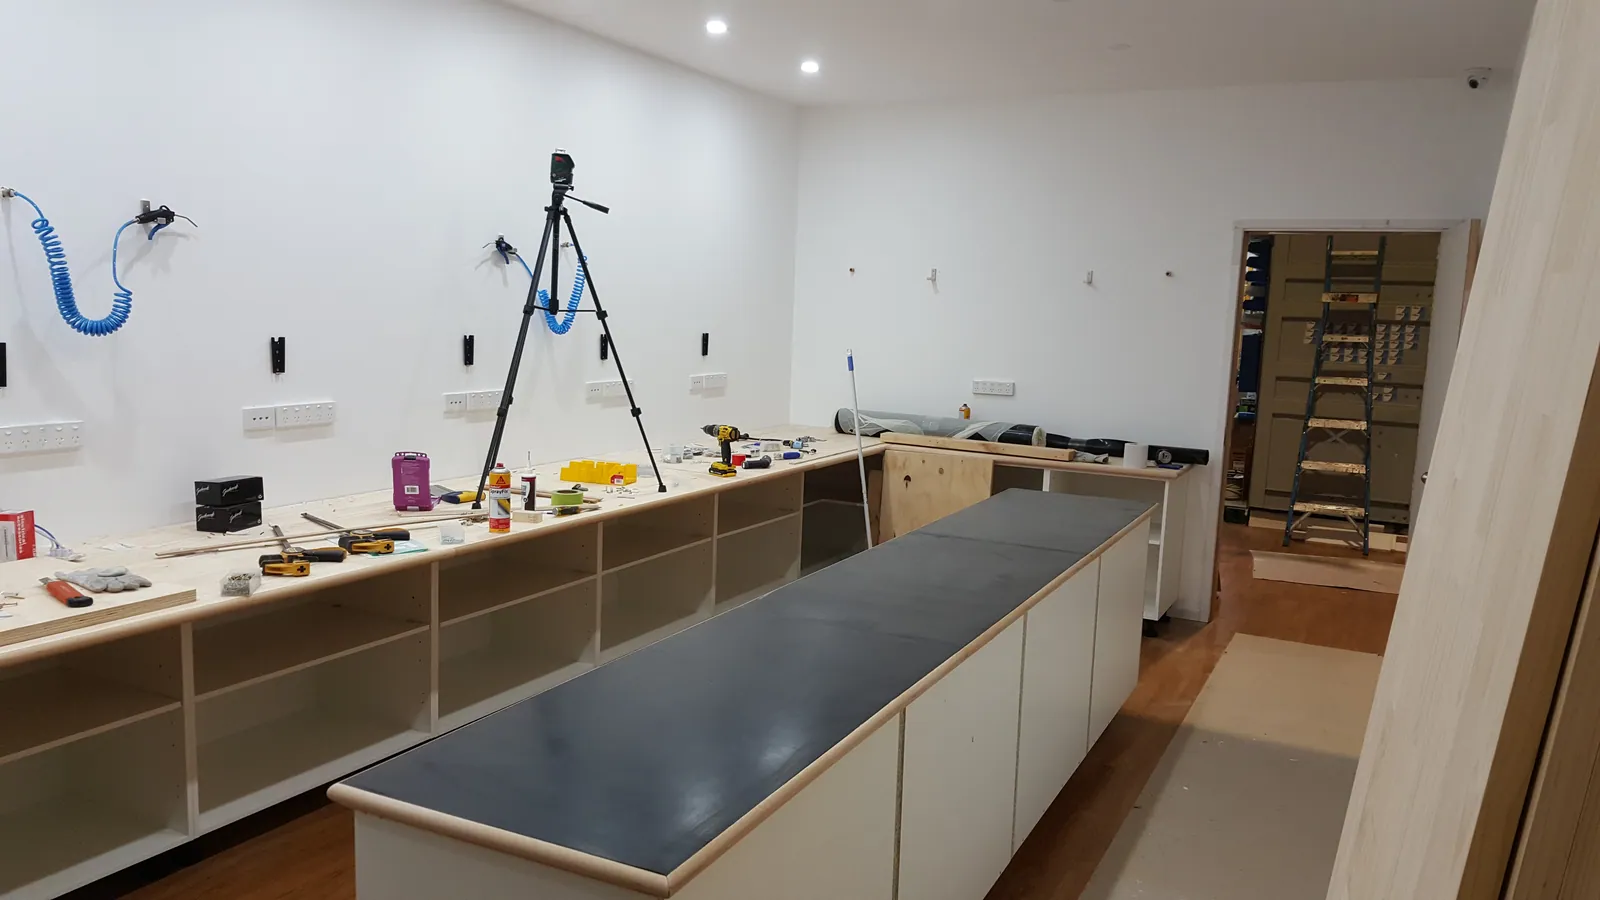
The full-length island top brings the central workspace together.
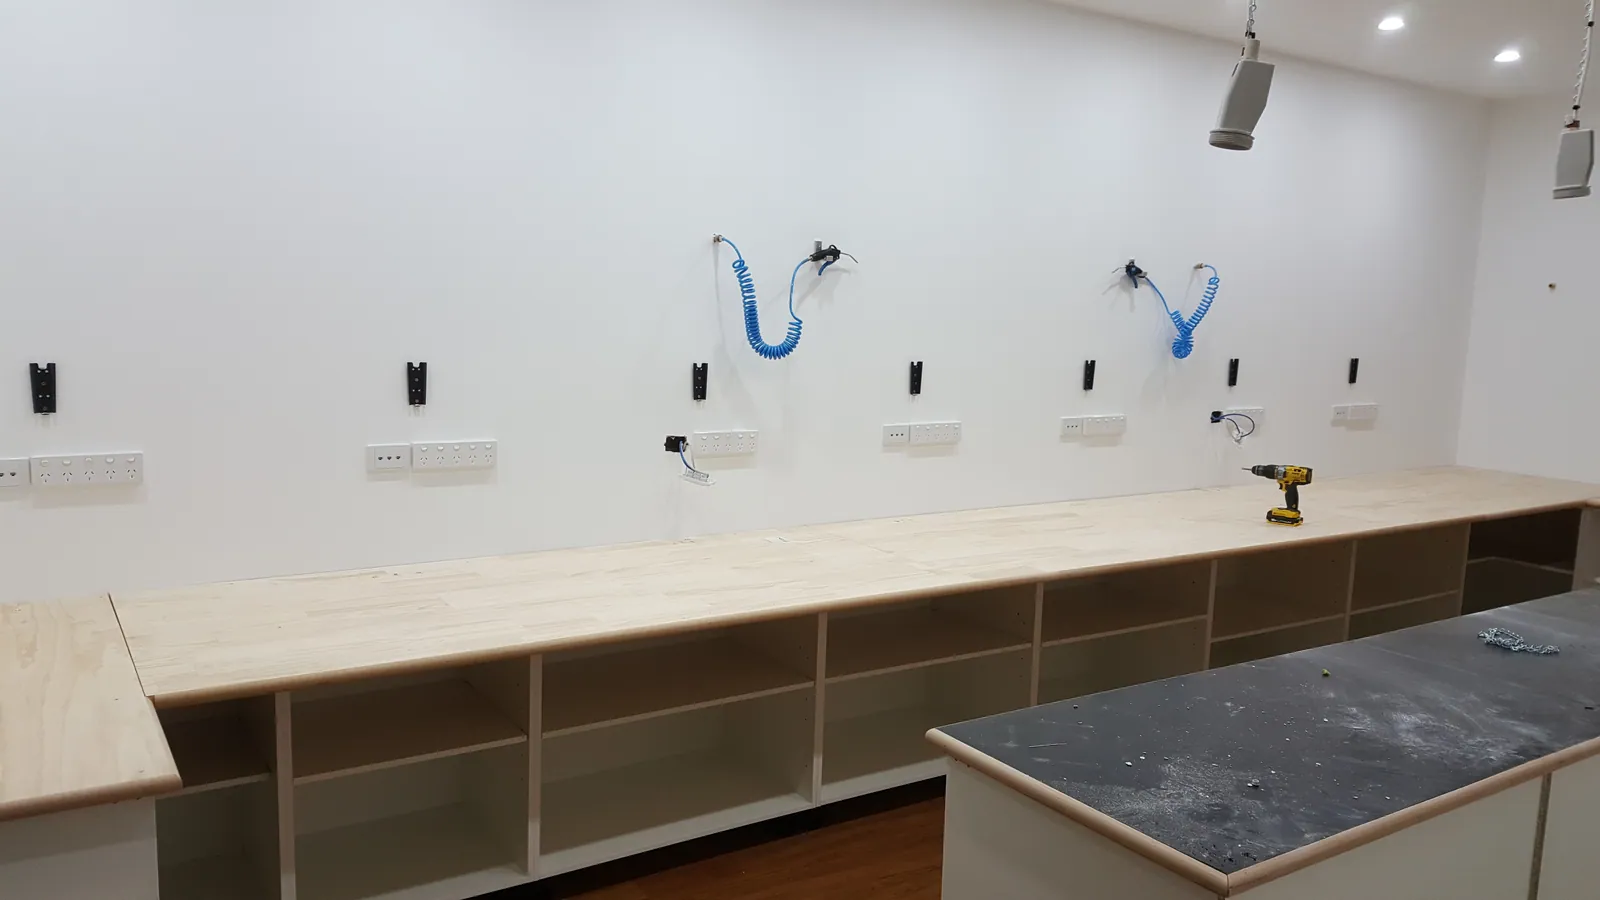
The perimeter bench and its power outlets are now in place.
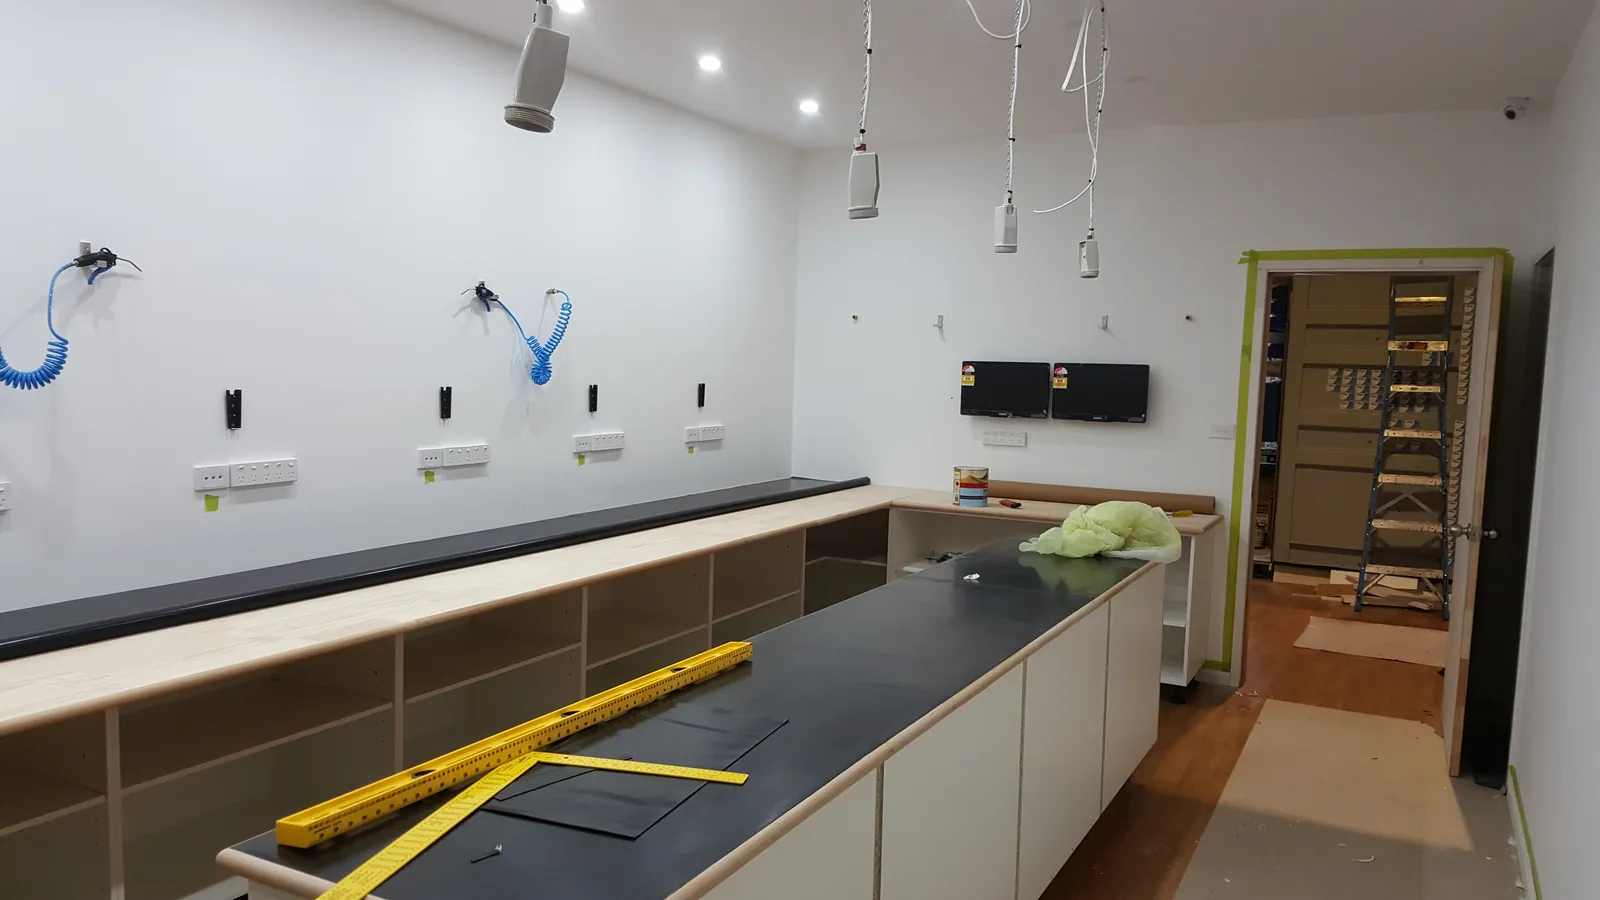
Dark bench covering is rolled out and cut to fit.
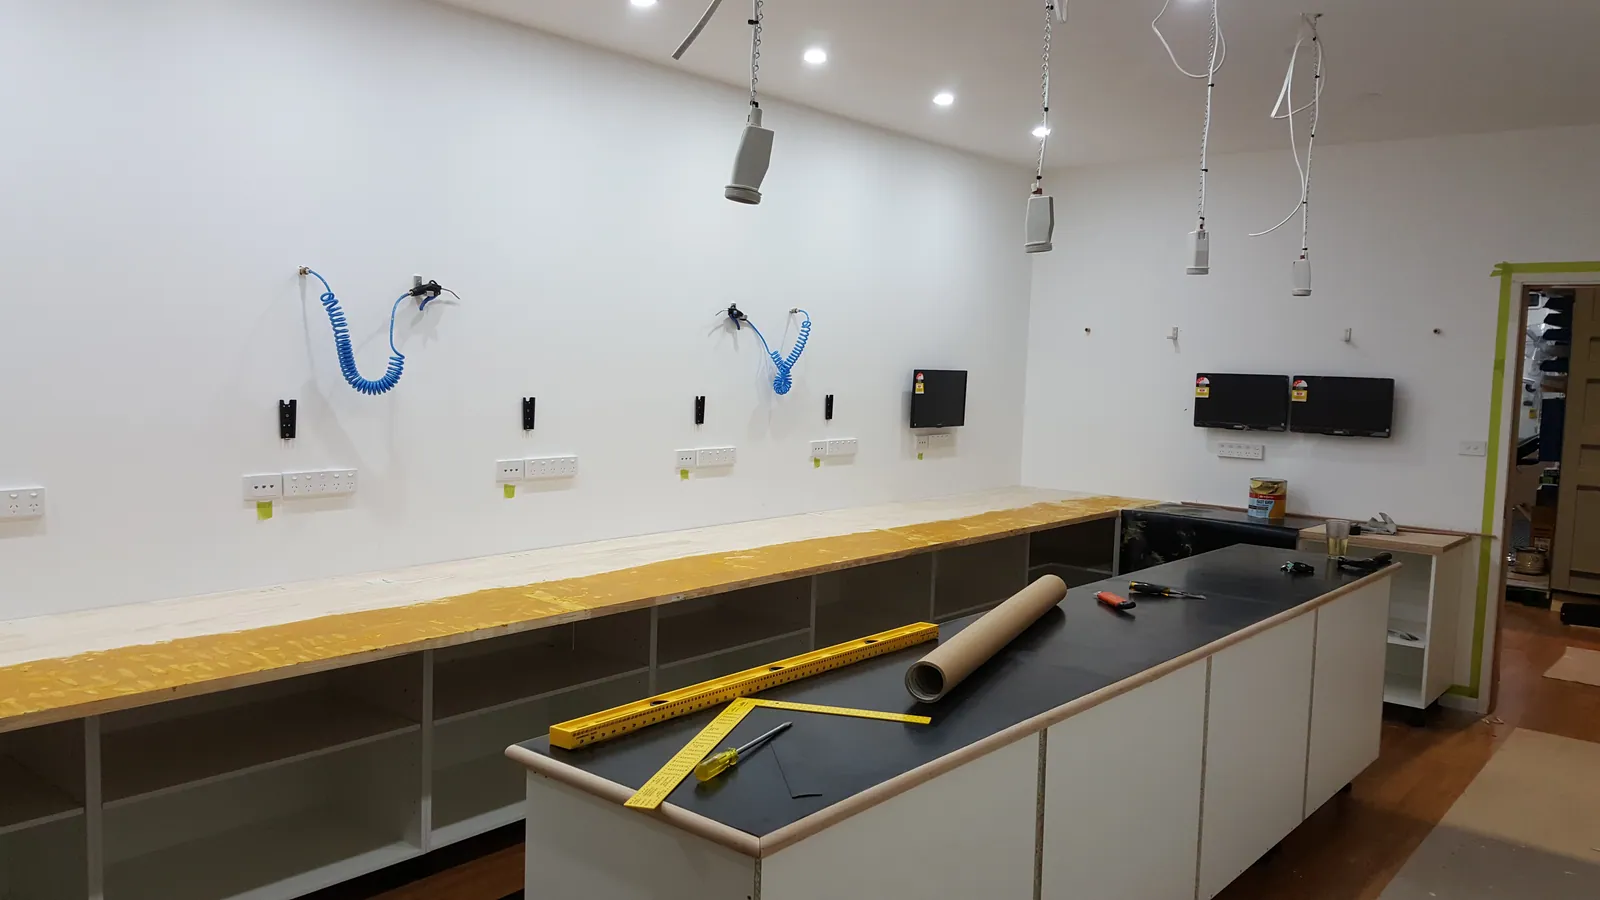
One benchtop is prepared for its covering while the island surface is already in place.
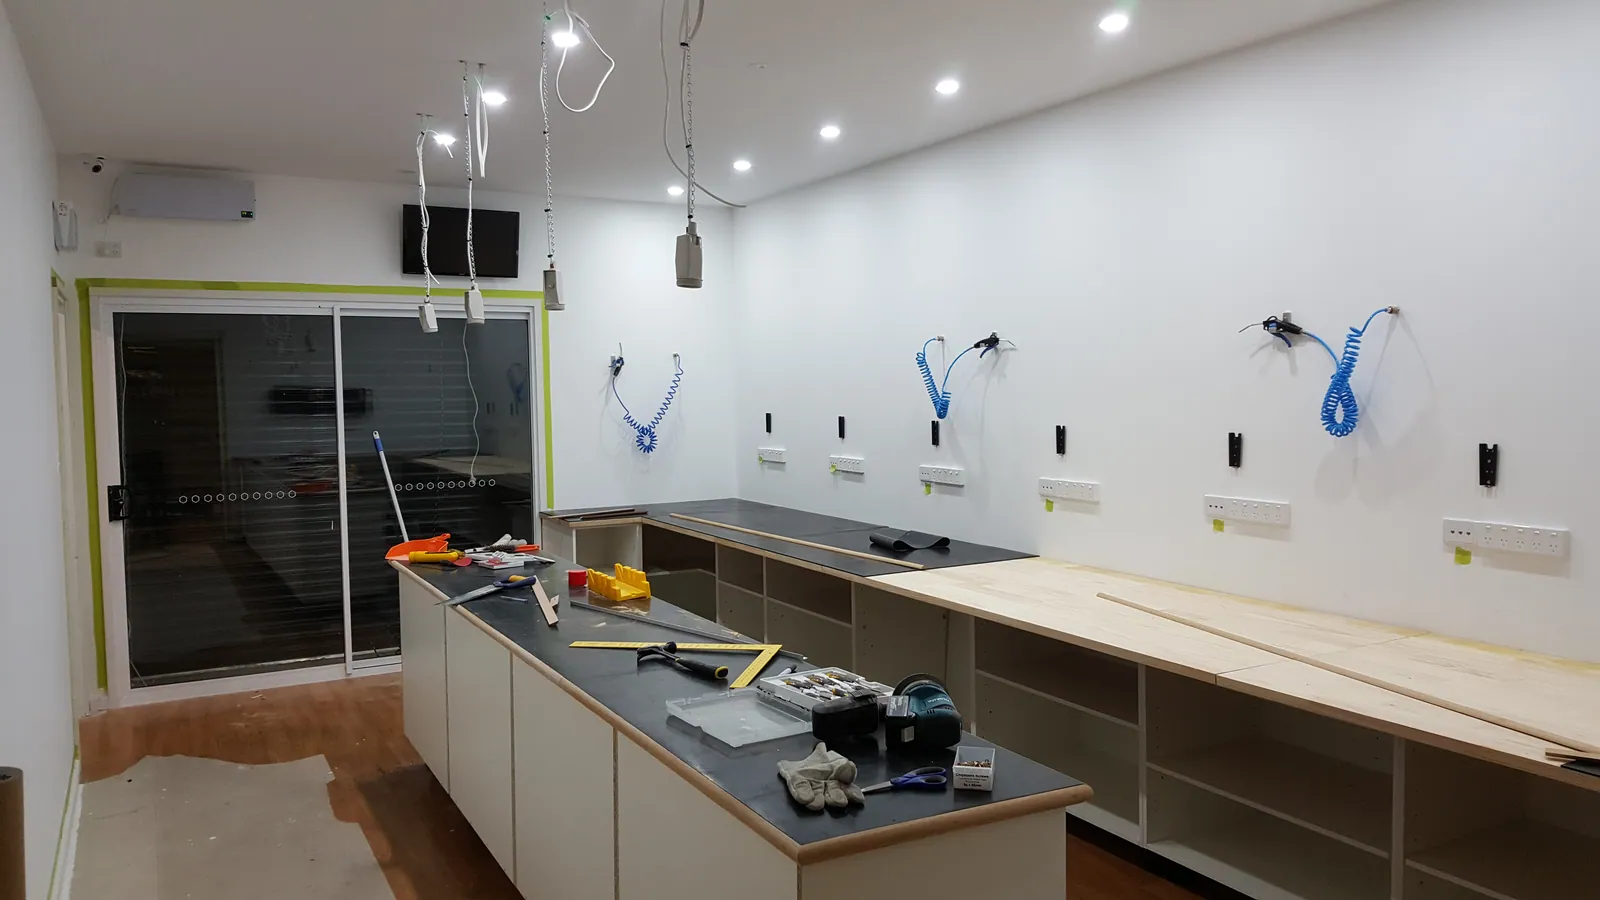
The workshop's long bench surfaces are nearly complete.
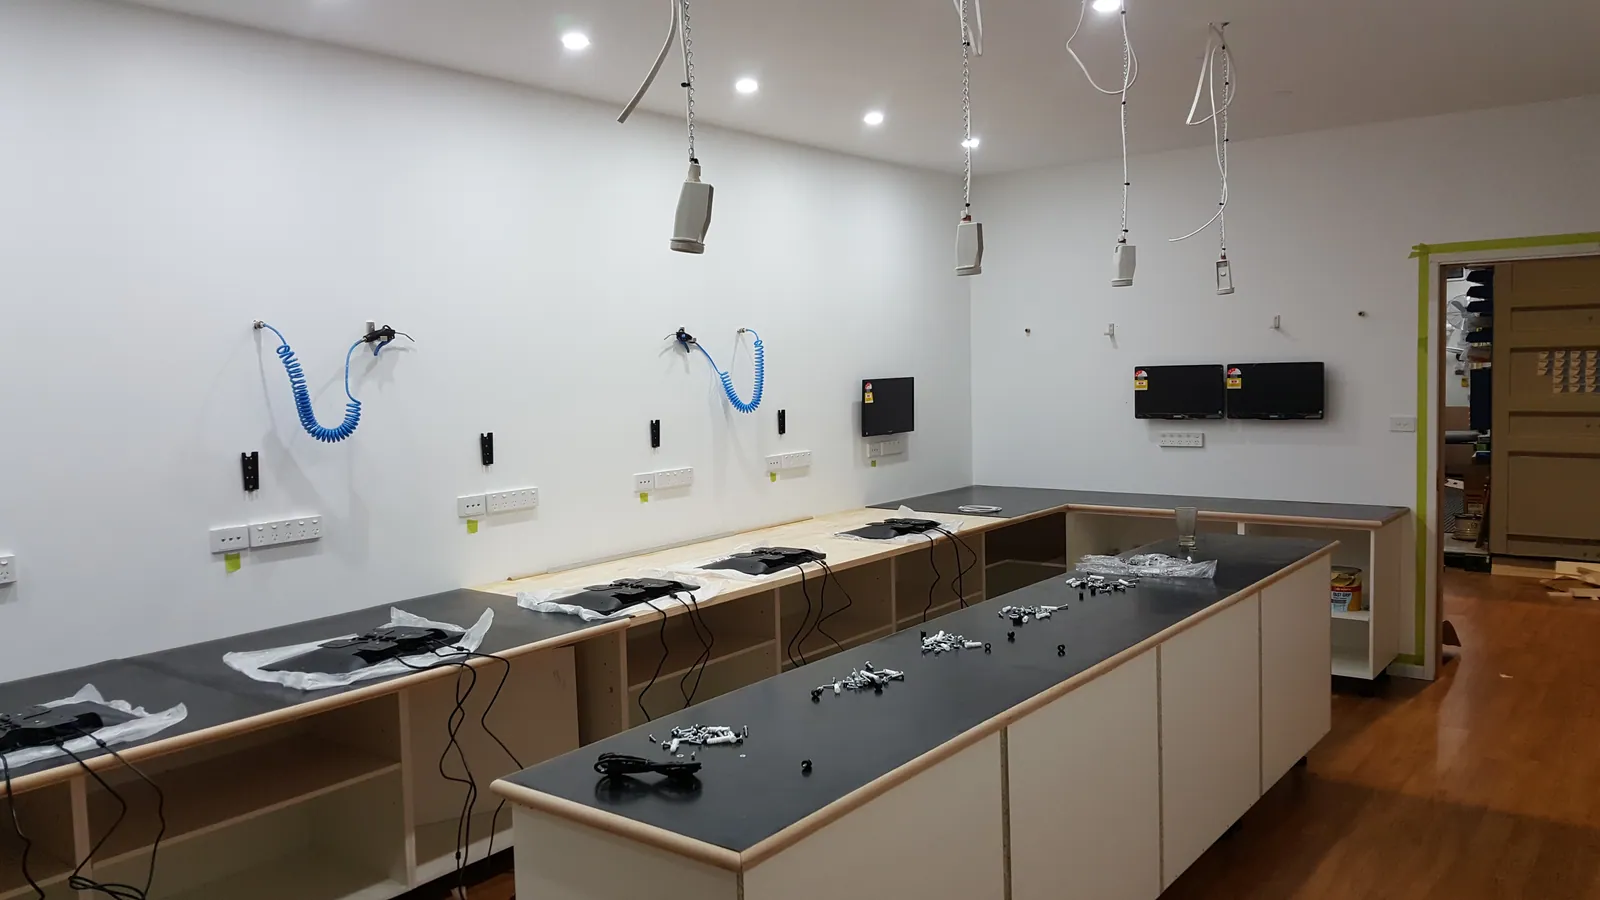
Wiring and equipment begin filling the bench stations.
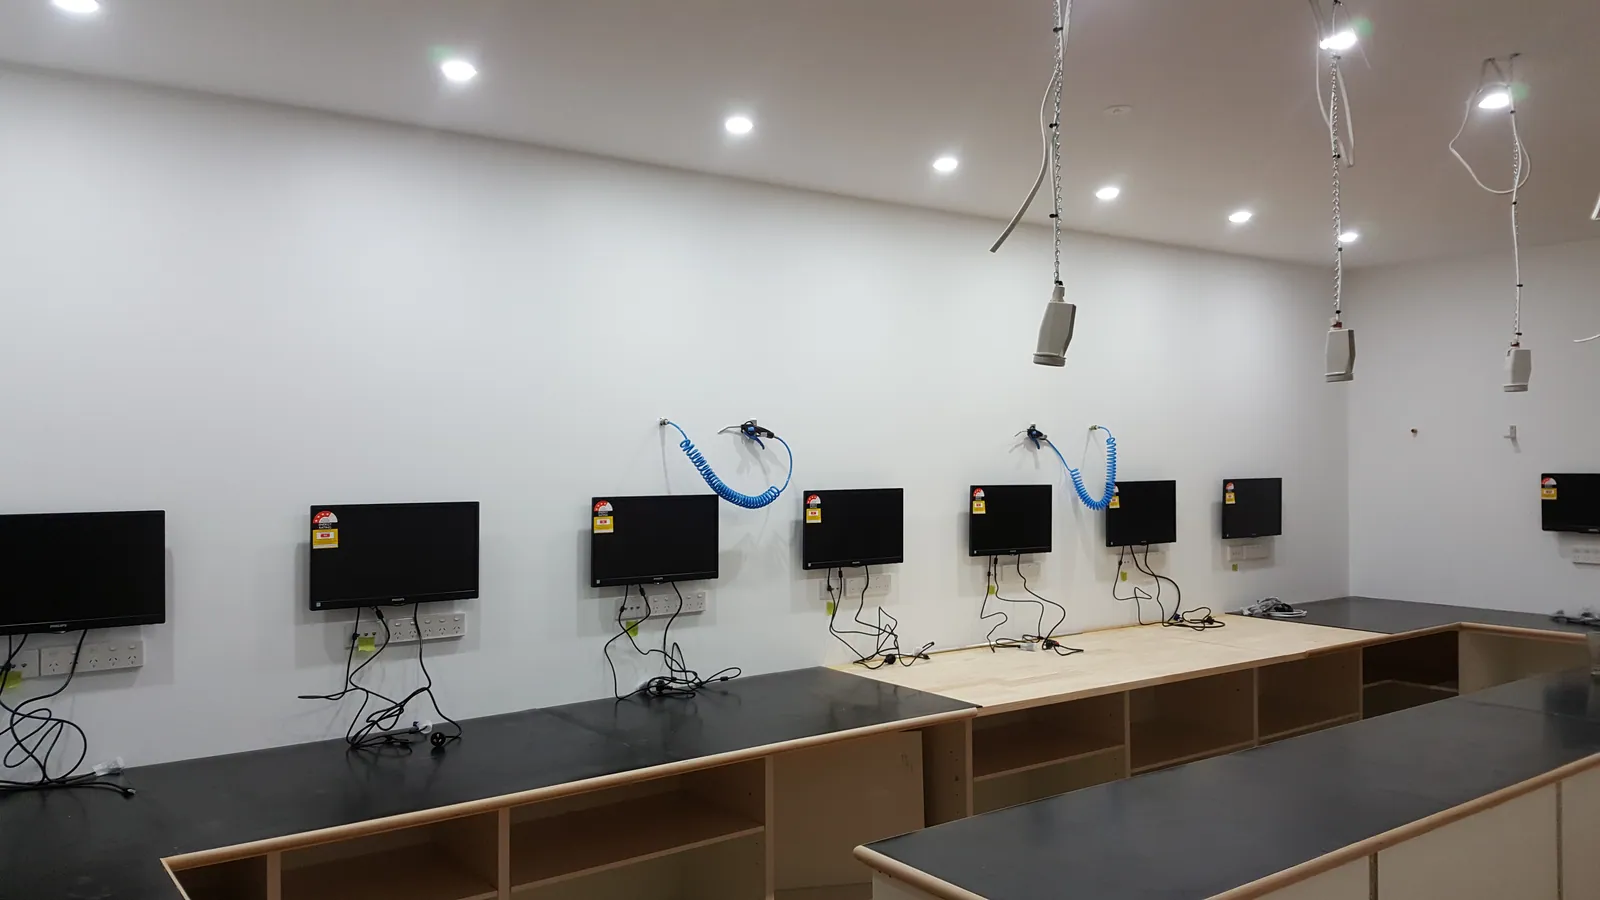
Monitors are installed along the wall.
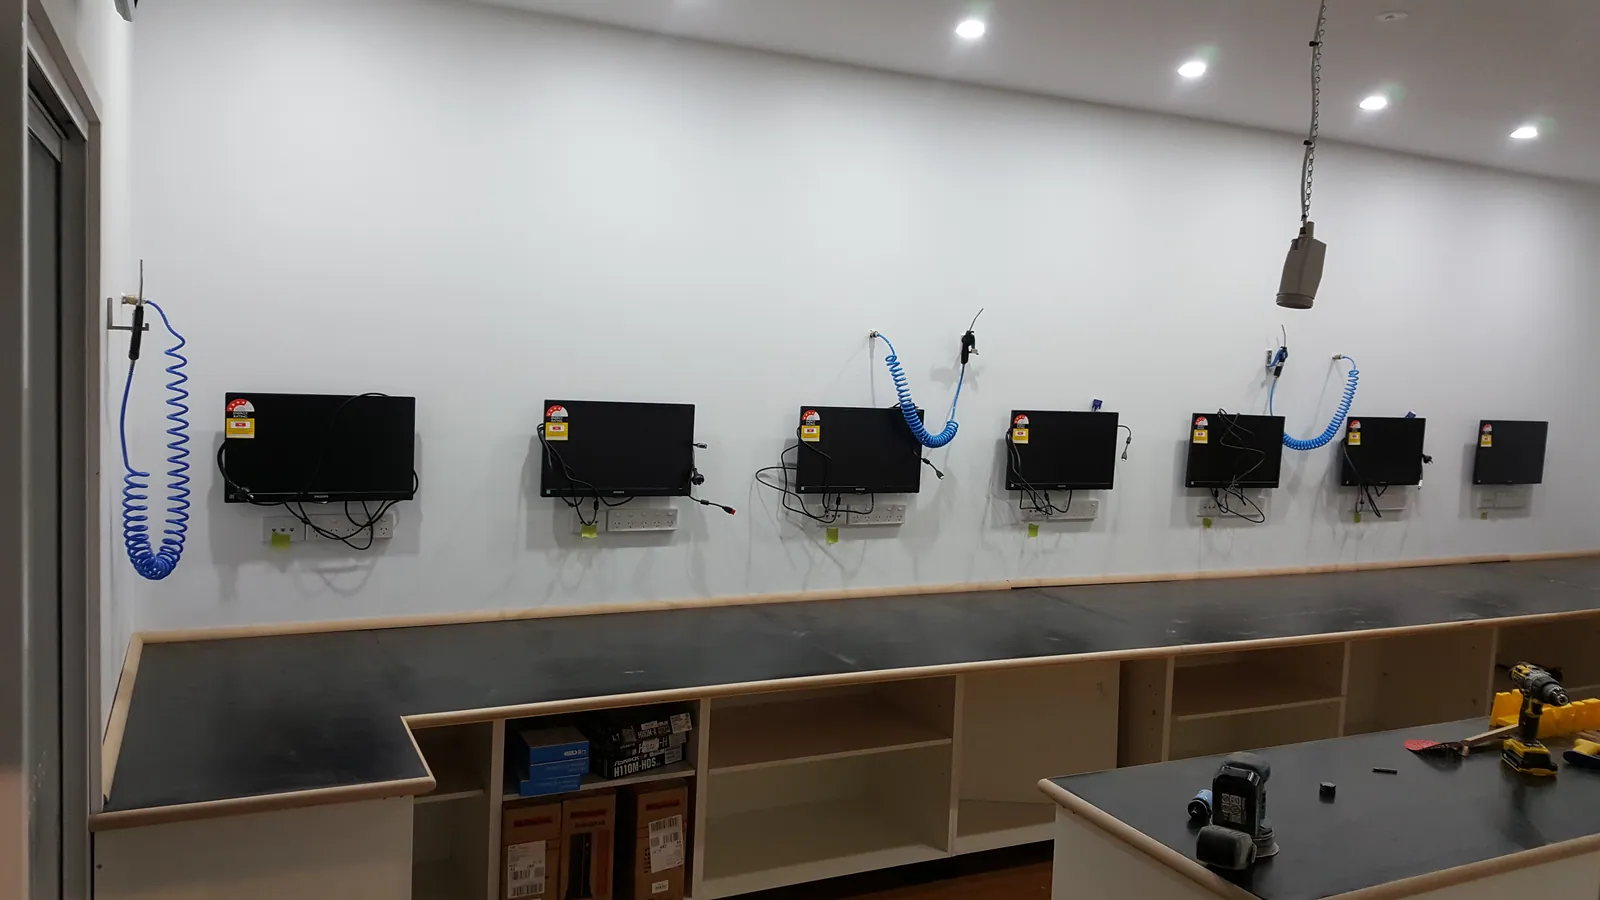
The workstations are nearly ready for use.
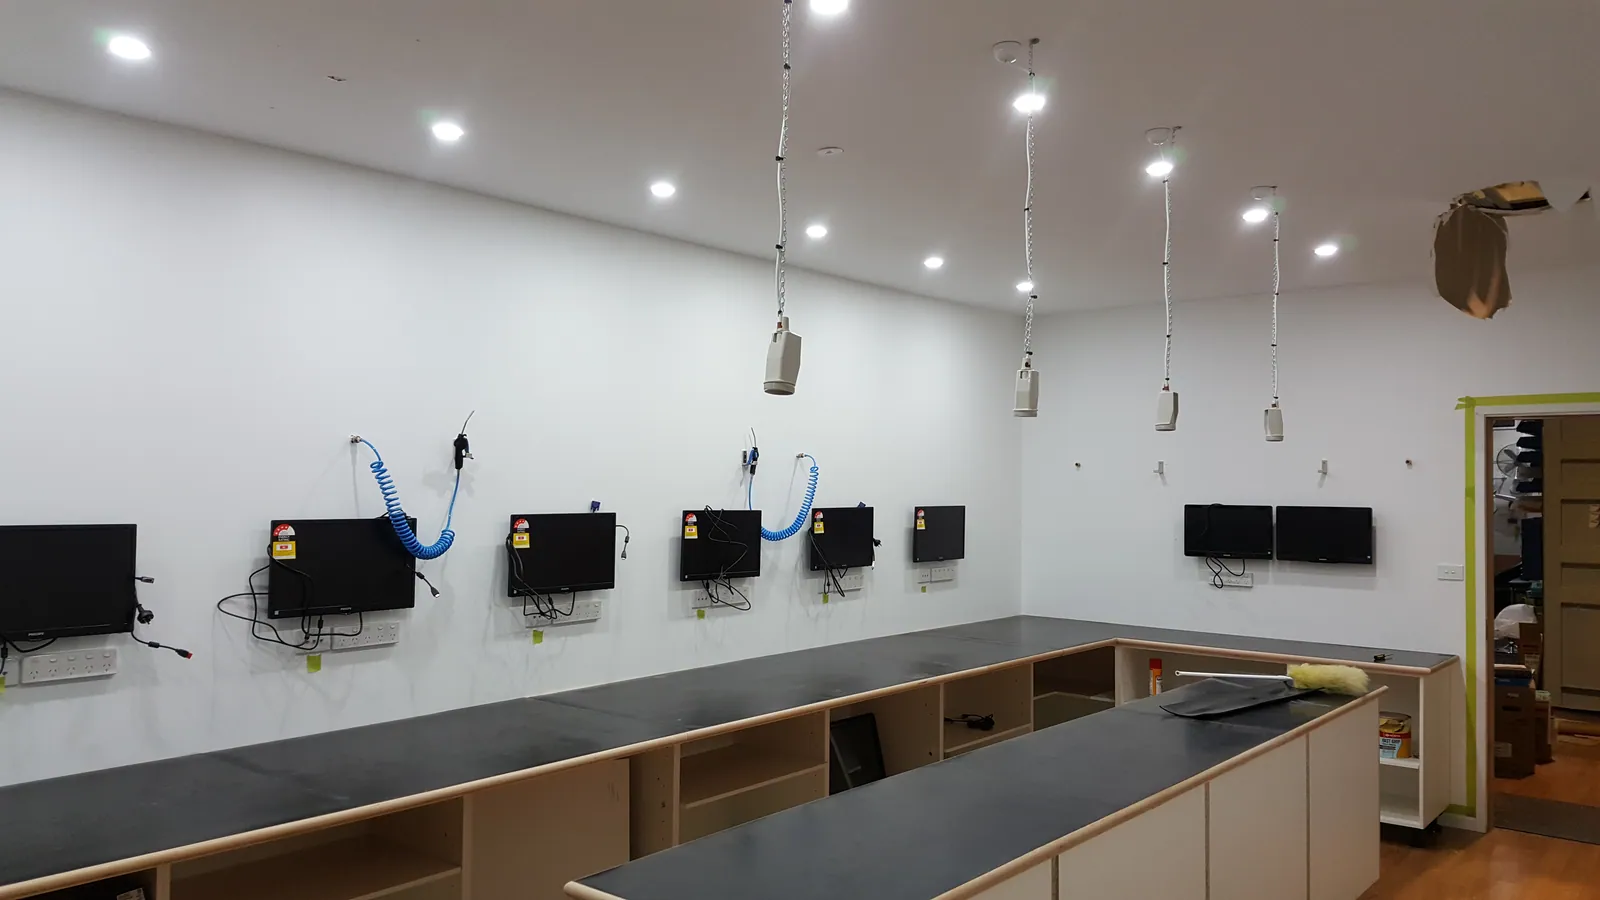
Hanging leads and fitted benches complete the main workshop layout.
07The sign and the finished workshop — July 2017
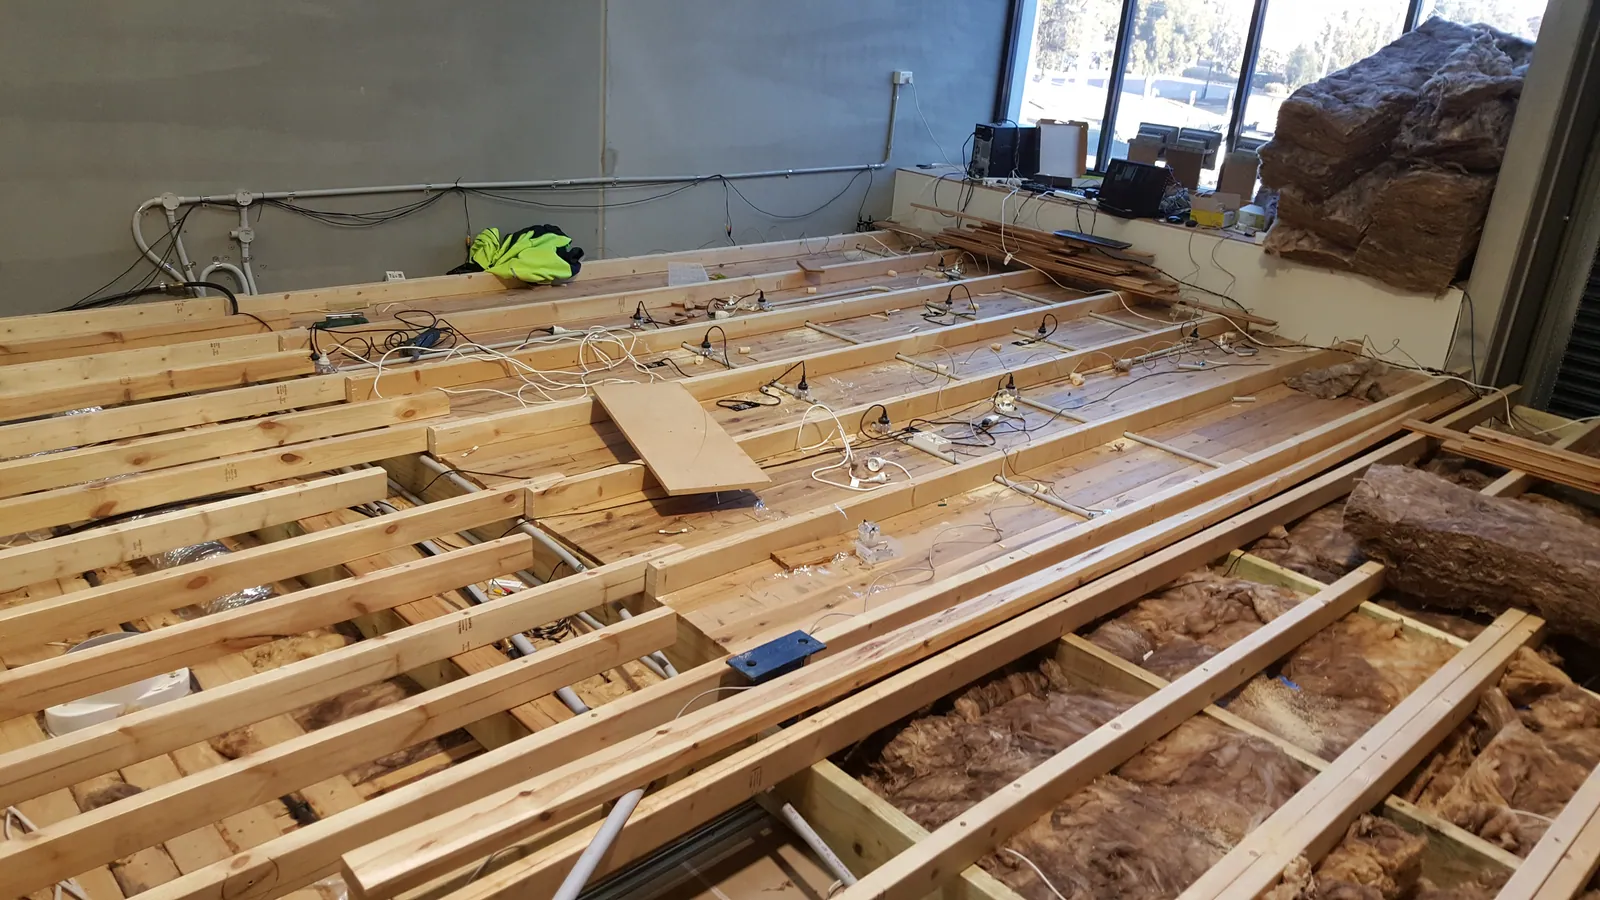
An above-ceiling view records further work at the start of July.
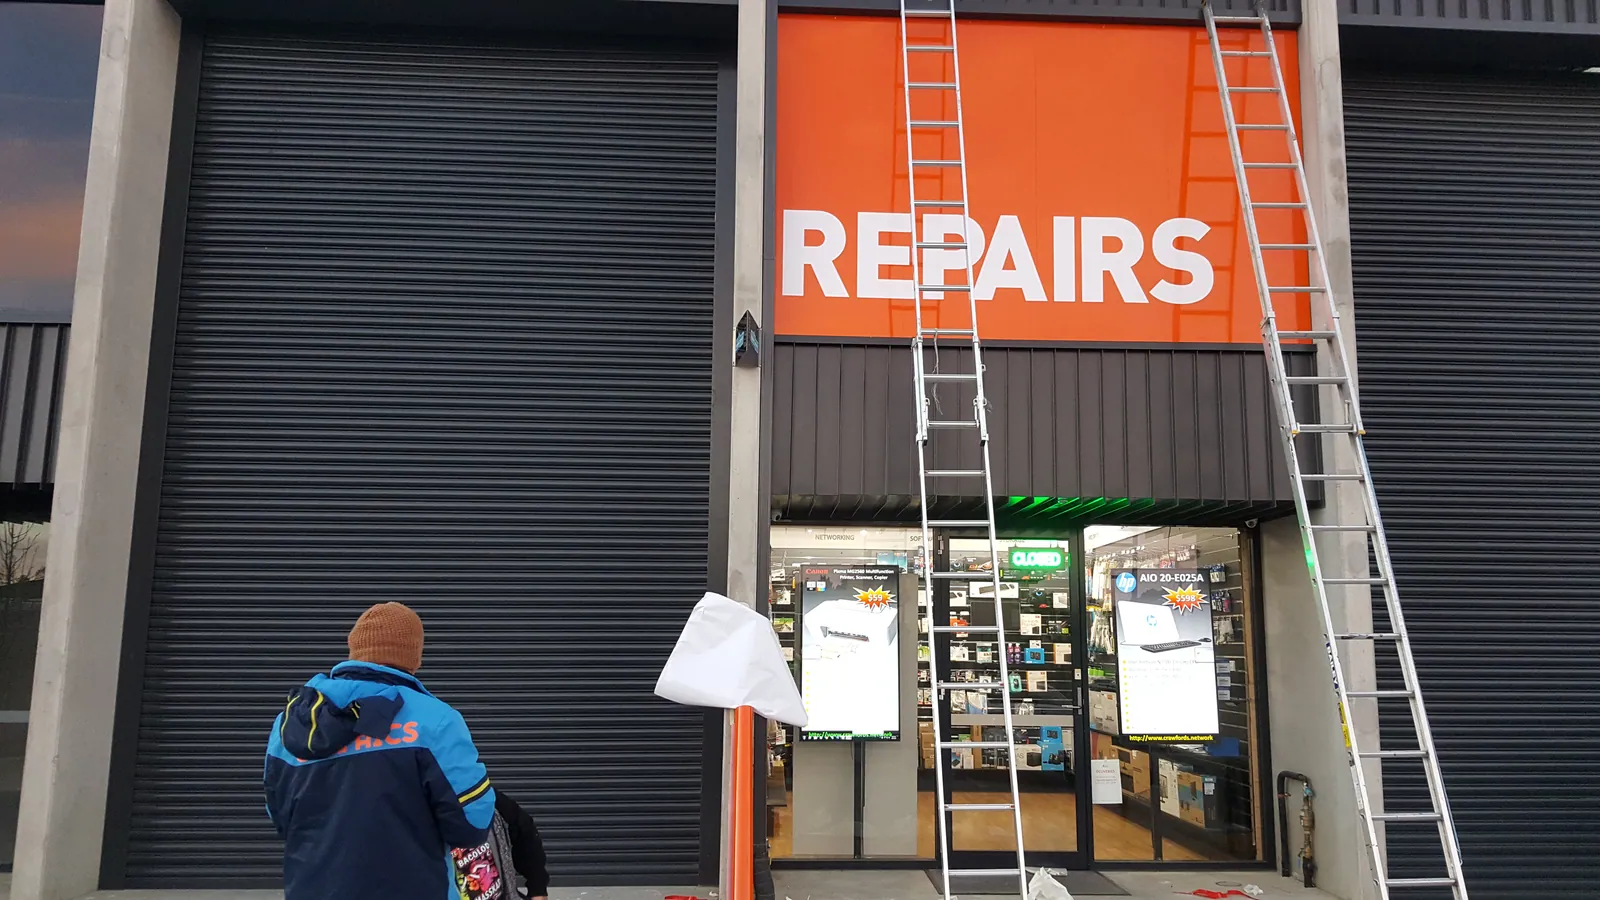
The orange sign is installed above the shopfront, with ladders still in place.
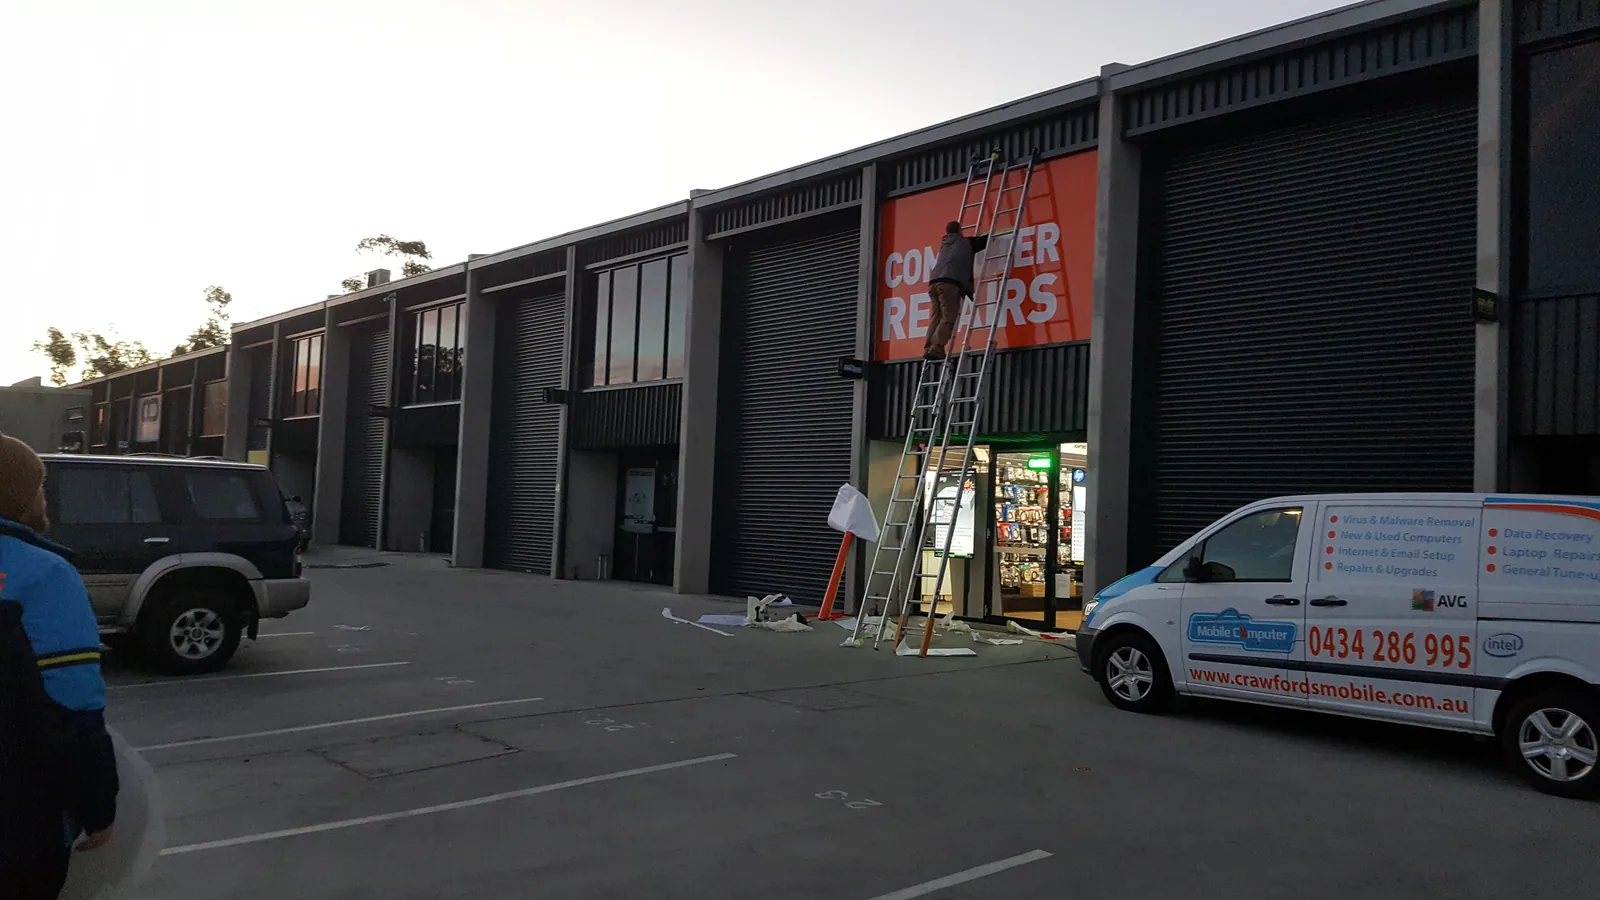
A wider evening view puts the Mitchell shopfront in its row of units.
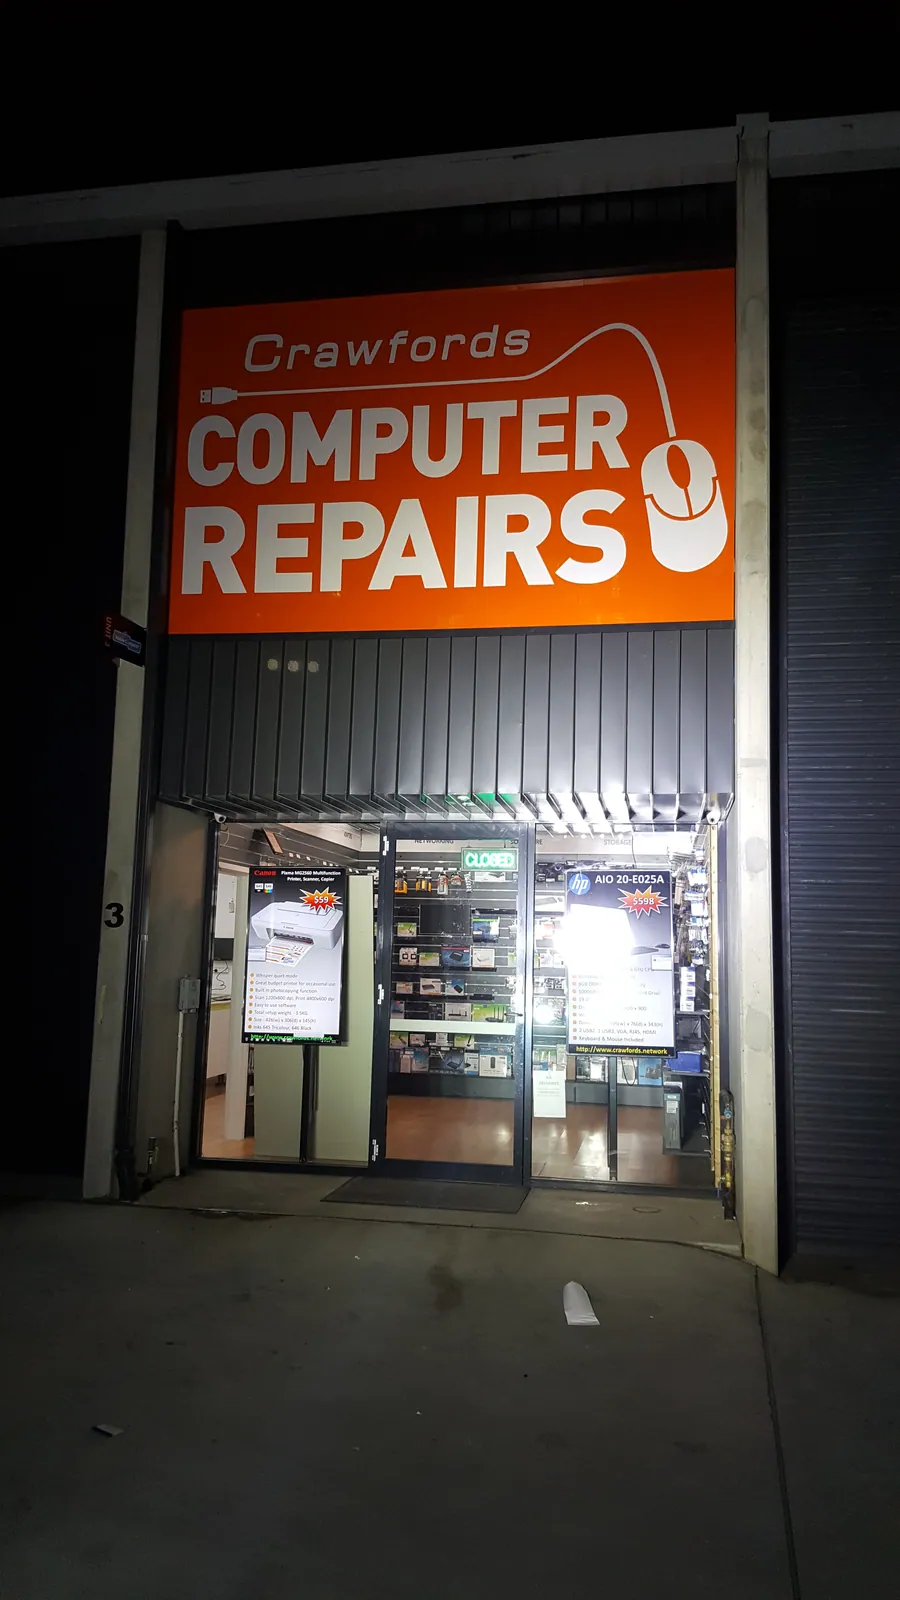
The completed frontage is illuminated after dark.
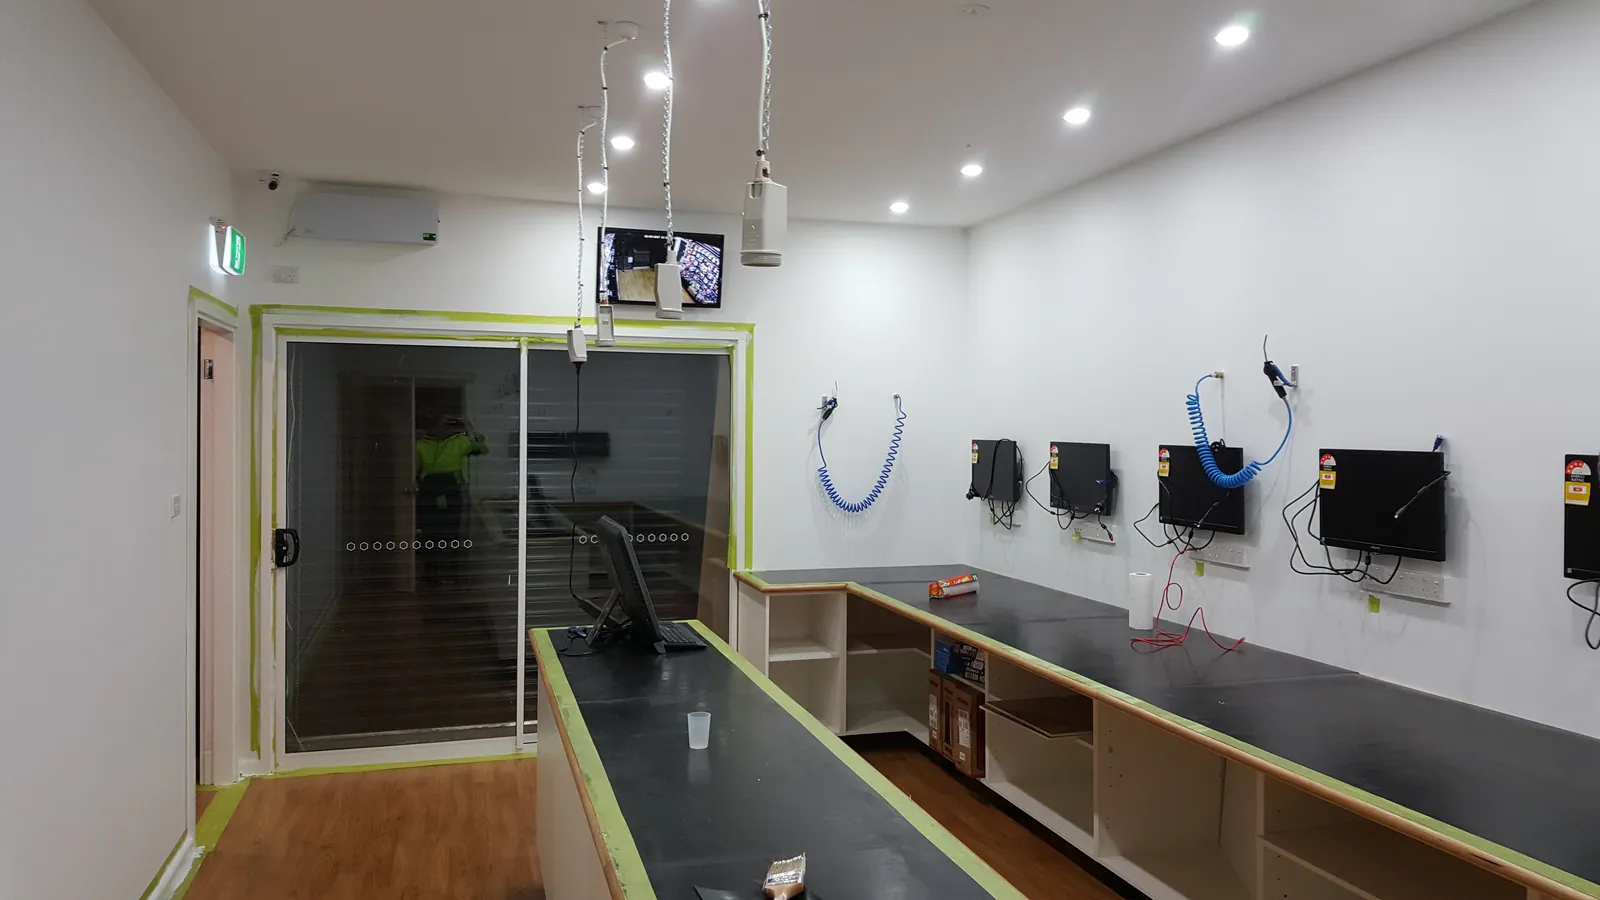
The fitted workshop is photographed with its benches and equipment in place.
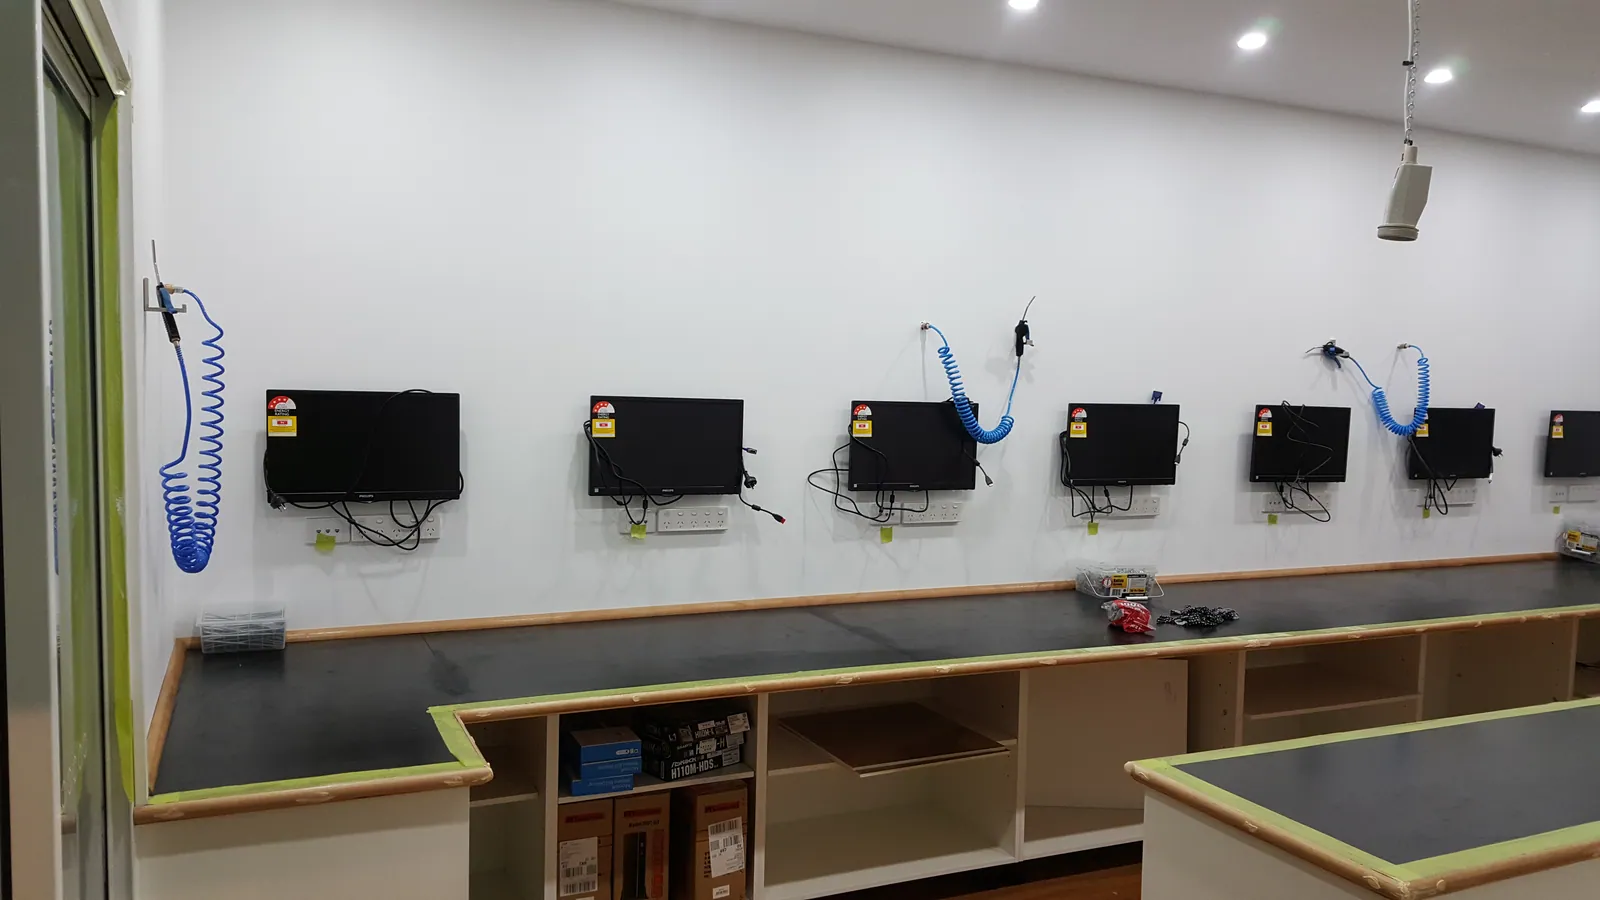
A final view along the long bench row records the completed workstations.
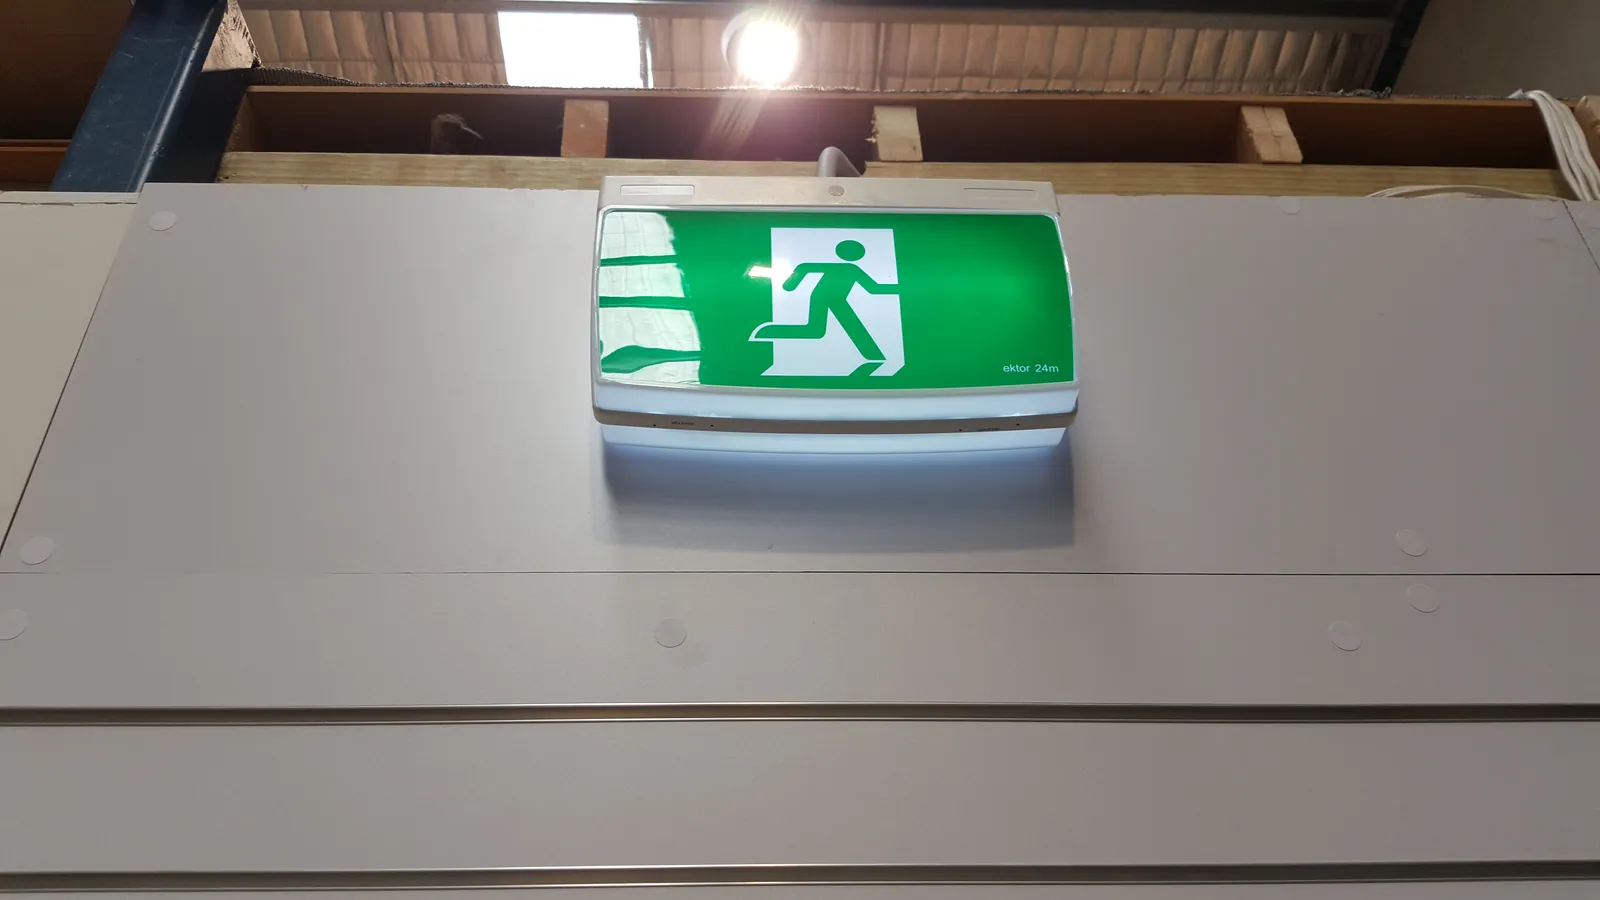
The illuminated exit sign records another detail of the finished fitout.